Você está no 3DFinder
Buscamos em Thingiverse, MakerWorld e Printables ao mesmo tempo para te dar o melhor de cada uma.
Descrição
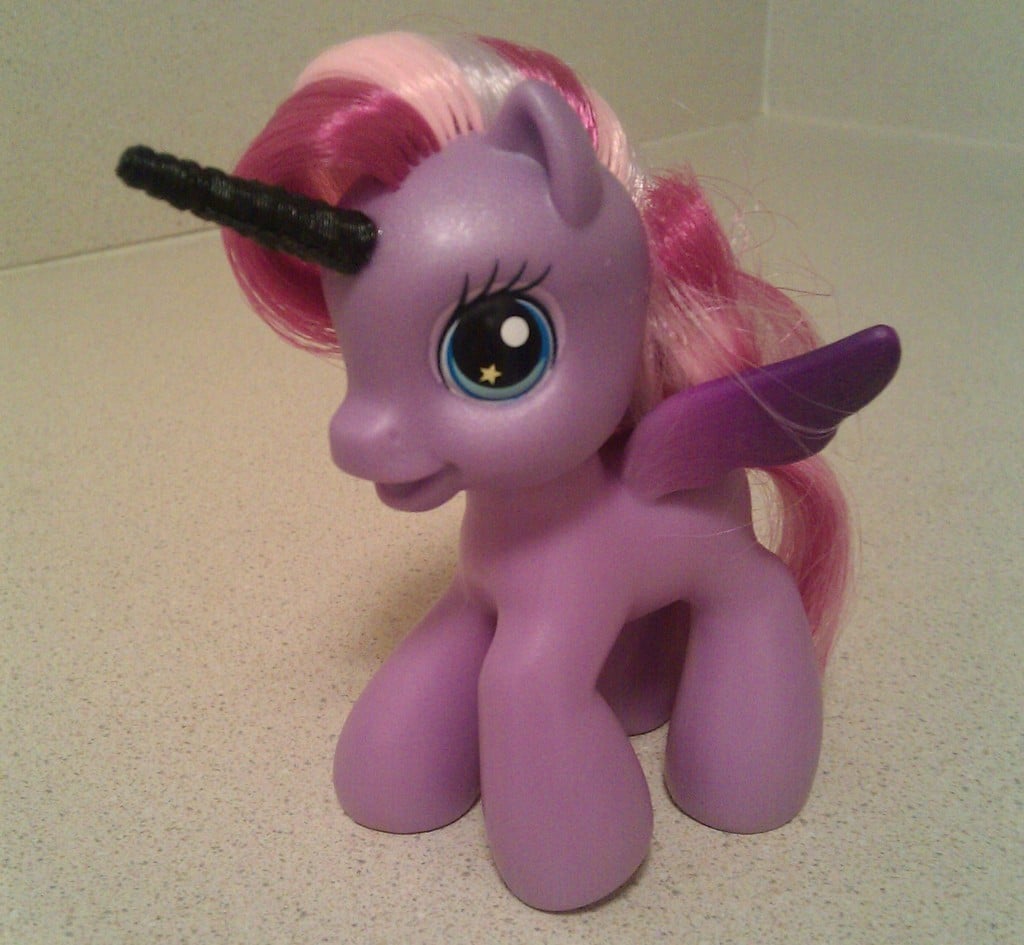
A parametric Unicorn Horn, for attaching to the foreheads of things that need their awesomeness enhanced.
This is my first experiment with using OpenSCAD. A friend of mine is making an NES case mod and he needed a unicorn horn (don't ask). I searched through Thingiverse, but all I could find were prints for the pen plotter. Clearly, this needed to be fixed.
The design is just a parametric spiral with a bit of an offset to make it seem twisty and more natural. It's made entirely with blobs, which gives it a really cool texture when it prints.
I tried to put in pins for alignment, but I could never get them to print cleanly enough. The spiral was a good enough guide for me, but someone who's better at OpenSCAD might be able to get it to work.
Instruções
I wanted a horn about 8 inches high, so I printed it in four pieces. I managed a 1/8th scale print as a single part, but it's basically too tall to print as one piece.
Here's what I did to print the horn.
- Print the unicorn_horn_print.stl file. If you're really brave and your table doesn't shake like mine does, you might be able to get away with printing unicorn_horn.stl
- Break off the bridges between the parts. A hobby knife helps to remove the ridges.
- Sand the top and bottom of each piece flat. My printer curls the edges on the base pretty obviously, so it helps to sand the middle down a bit. Try to get the pieces flat and parallel or the horn will come out crooked.
- Align the parts. The horn has a counter-clockwise spiral and the ridges from the print supports can help align the horn parts.
- Superglue everything together. I pressed each section together, then let it set for ten minutes. Any gaps can be filled with superglue, which melts the ABS together and produces a nice finish.
After a little sanding, the horn looks pretty good.