Você está no 3DFinder
Buscamos em Thingiverse, MakerWorld e Printables ao mesmo tempo para te dar o melhor de cada uma.
Descrição
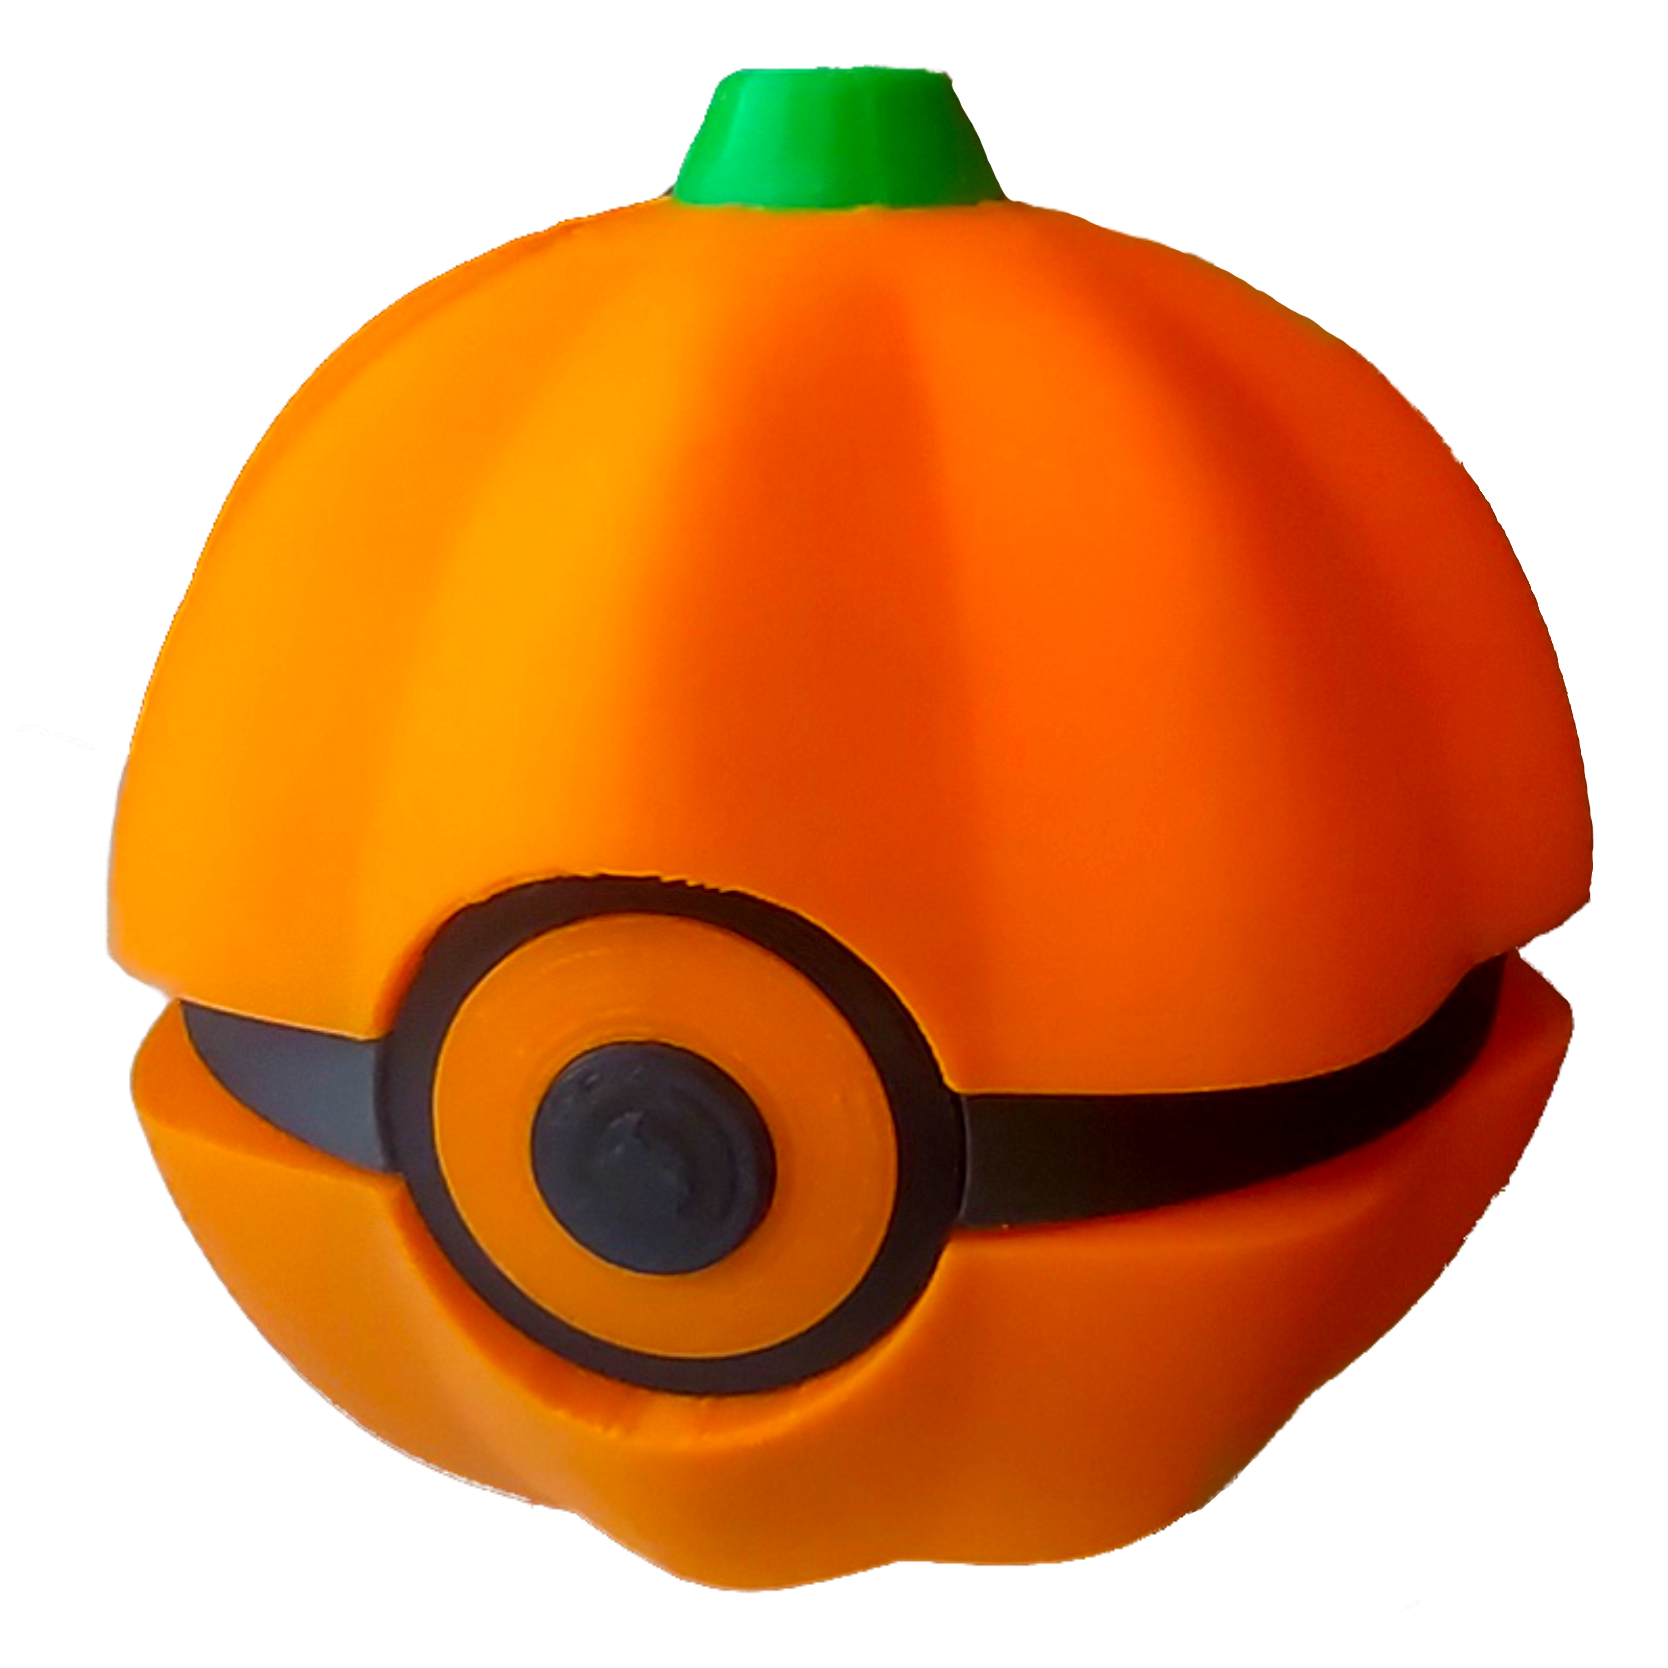
Booster Energy Keychain Intro The Booster Energy is an item found in Pokemon Scarlet and Violet. I’m told it activates Paradox Pokemon’s abilities, but if I’m to be perfectly honest, I just thought it was cool, so I challenged myself to model it!
Due to popular demand, I made it into a keychain, and as part of the challenge, I converted it into a container with a twist-snap lid. Store your vitamins, breath mints, or secret messages and keep them safe with a tight lid that (probably) won’t come undone in your pocket!
Just… don’t use it for anything illegal, ok?
I’ve included a 3MF with all the settings used in the example photos, and I’ve also included STEP files of both the AMS version and the Single Extruder version, if you for some reason want to split it up and slice it up yourself.
Technical details can be found below, with an assembly video at the bottom.
Keep in mind, though, that this print has a decent amount of small parts and details, so make sure your printer’s settings are dialed in and the print bed is clean!
Parts List Files: BoosterEnergy3mf - 3mf file for both AMS and SingleExtruder Version. Plates 1 & 2 are for the AMS version, plate 3 is for both, and plates 4-8 are for the SingleExtruder version. Notice that the SingleExtruder version doesn’t have any black accents on it. BoosterEnergyAMSSTEP - STEP file containing the parts for Printers that can print in multiple colors at the same time. Recommended for quality’s sake. BoosterEnergySingleExtruderStep - STEP file identical to the AMS version, except for built-in tolerances to glue the now-separated parts together. Also lacks the black details on the Silver Tube, due to difficulties in assembly. Not recommended to the AMS version, but a decent substitution for those who can’t print in multiple colors at once. Filaments: (All BambuLab Basic PLA, except where otherwise noted) Pumpkin Orange (Main parts of the caps) Yellow (lines around the caps) Red (Triangles on the caps) Black (Black lines around the red triangles; details on the Silver Tube) Silver (Silver Tube) Generic Purple PLA (Purple Liquid) Printed Parts: Special Print Instructions: I’d definitely advise printing this with a 0.2 nozzle and a thin layer height to get the best detail as possible. I used 0.08mm to make sure everything worked out well. If you have access to multicolor printing, I’d highly advise using the AMS version, as the Single Extruder version, while a decent substitution, doesn’t have as much detail and precision as the AMS one. AMS version: Top & Bottom (Orange, Red, Black) Top hook (Orange; print on its side with supports for strength, as this will be the part the keychain will hook to.) Bottom Hook (Orange) Silver Tube (Silver and Black) Purple Liquid (Purple; I recommend putting an inner brim for bed adhesion) Single Extruder Version (Essentially the same as above, but with the Top & Bottom disassembled into its separate colors) Top & Bottom (Orange) Yellow Ring x2 (Yellow; 1 each fit into the Top and Bottom, respectively) Black Triangle x2 (Black; 1 each fit into the Top and Bottom, respectively) Red Triangle x2 (Red; fit into the Black Triangles Top hook (Orange; print on its side with supports for strength, as this will be the part the keychain will hook to.) Bottom Hook (Orange) Silver Tube (Silver; no black accents due to difficulties in assembly) Purple Liquid (Purple; I recommend putting an inner brim for bed adhesion) Non-Printed Parts: Super Glue Keychain
Assembly Intro: Of course, I have the video at the end of the description here, so I recommend you check that out instead of this. But if you can’t or don’t want to do that, essentially assembling it is just a matter of gluing a few pieces together. If you printed out the Single Extruder version, start at number one directly below, and if you printed out the AMS version, skip to step 4 below.
Instructions:
After removing all supports, glue the yellow rings to the Top and Bottom (one of each). You’ll need to bend them a little bit to get them in, but that’s fine. Make sure the beveled edge is the right way; if it doesn’t fit properly, flip it over and try it that way. Making sure the flat side is down, glue the Red Triangles into the divots into the Black Triangles. They should fit snugly in. Glue the combination of Black and Red Triangles into the corresponding triangular divots in the Top and Bottom, with the Red Triangle visible. Glue the Top Hook and the Bottom Hook into their corresponding holes in the Top and Bottom, respectively. Make sure you push them all the way in. Match up the triangle divot on the Purple Liquid with the triangular bump on the concave part of the Top. Make sure it fits. Do the same with the Silver Tube around the Purple Liquid. Once you’ve confirmed they fit, glue them in place. Thread the Keychain through the Top Hook. Insert the Bottom onto the end of the Silver Tube, and rotate clockwise until it falls into place and then clicks firmly shut. Turn it counter-clockwise and separate to remove. Attach it to whatever Keychain or Keychain-esque item you want, and enjoy your little secret compartment!
Conclusion: That’s it for the Booster Energy! Despite not really being familiar with what it does in the games, it was a fun little side project to try out. I certainly enjoyed the process of seeing it as a little container and figuring out how exactly to make it work out like I did. This took a surprising amount of work to figure out exactly how to get the mechanism tight enough to not come undone in my pocket, but not so tight that you couldn’t physically get it to snap shut. If you like what I make, consider downloading, sharing, commenting, and posting makes! I love to see what you all do with the stuff I make, and doing that helps support me and allows me to keep releasing models to you all for free. See you next time!
Assembly Video: https://youtu.be/CxQZ-Et2qLk