Você está no 3DFinder
Buscamos em Thingiverse, MakerWorld e Printables ao mesmo tempo para te dar o melhor de cada uma.
Descrição
Instructions to configure your own circle test with the .STL file: https://youtu.be/XTf--hPGFfM https://www.youtube.com/watch?v=3q40M9j_s1c&t
Update: Includes PLA for 5+
Update: I have added yellow springs to all of my printers. I have made several prints and (so long as my printers are left alone) have not needed to level the bed again. I use the magnetic bed for easy removal of prints.
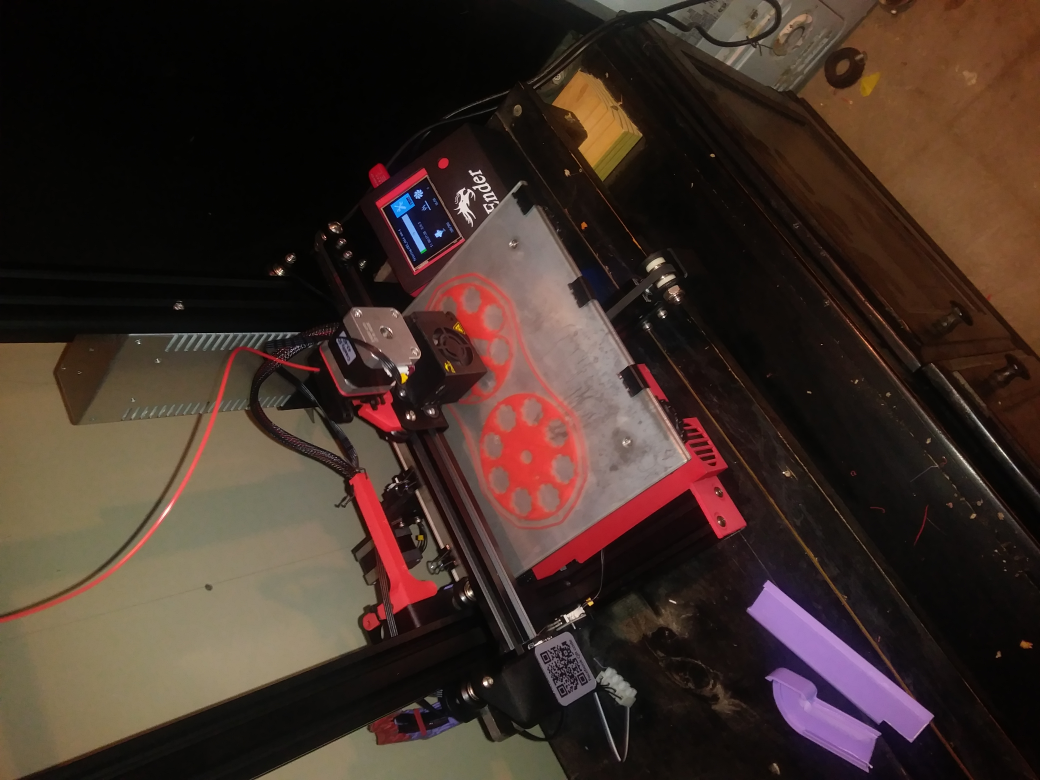
I made this test when I got my new springs for the bed. I wanted something that could print long enough to make all the needed adjustments on all sides. So I made this. This test is specifically made for live adjustments on the bed springs.
Before you begin using this test, clean your bed. I use alcohol in a spray bottle and a microfiber cloth.
Start by doing the paper test. After doing the paper test and verifying you will not destroy your nozzle on the bed, begin the print. The print will do a filament purge then begin the actual test. The first circle around is to verify the filament will stick to the surface of the print area. After the first pass, look for gaps between lines and thin areas. No gaps and no patters between lines means your bed is level. Any gaps or patterns that show up on any side needs to have that side adjusted. Gaps mean the bed is too far from the nozzle. Patterns and thin areas mean the bed is too close to the nozzle.
Be aware, if extrusion is not calibrated correctly, this will have a direct effect on this test.
Temperature for gcode is set to 200 and 50. ABS temperature is set to 230 and 90.
Gostou deste modelo? Crie uma conta grátis para salvar seus favoritos e voltar a eles depois.
Criar conta