Você está no 3DFinder
Buscamos em Thingiverse, MakerWorld e Printables ao mesmo tempo para te dar o melhor de cada uma.
Descrição
Introduction
The 3D Printable Jet Engine is great! However, I wanted a turbojet or low bypass turbofan to complement the original. So, I got to work designing the turbojet, afterburner and variable exhaust nozzle.
This conversion uses fewer screws than the original! It adds an additional compressor stage, making the model longer and thinner. The design philosophy matches the original, with hints of the GE J79 visible in the inlet.
I designed a stand. Making the jet sit low to the ground. It works great!
I made a video and written instructions for assembly. ( Video is more thorough).
My print profile (Bambu Studio) uses three colors, but feel free to unleash your creativity.
If you don't yet have the hardware for the Jet Engine, I offer a great kit on my website. It provides better hardware at a lower cost and greatly supports my work. Thank you.
Check out the Afterburner & Variable Nozzle!
Happy printing and great success! Message me with any questions! (The tolerances are optimized for BambuLab Printers.)
Tools used for assembly:
M2 Screwdriver
Pliers or anything that can hold nuts
Plastic Glue
Assembly
Pliers aren't needed for this step. Drop the nuts into the slots and screw in the bolts. | 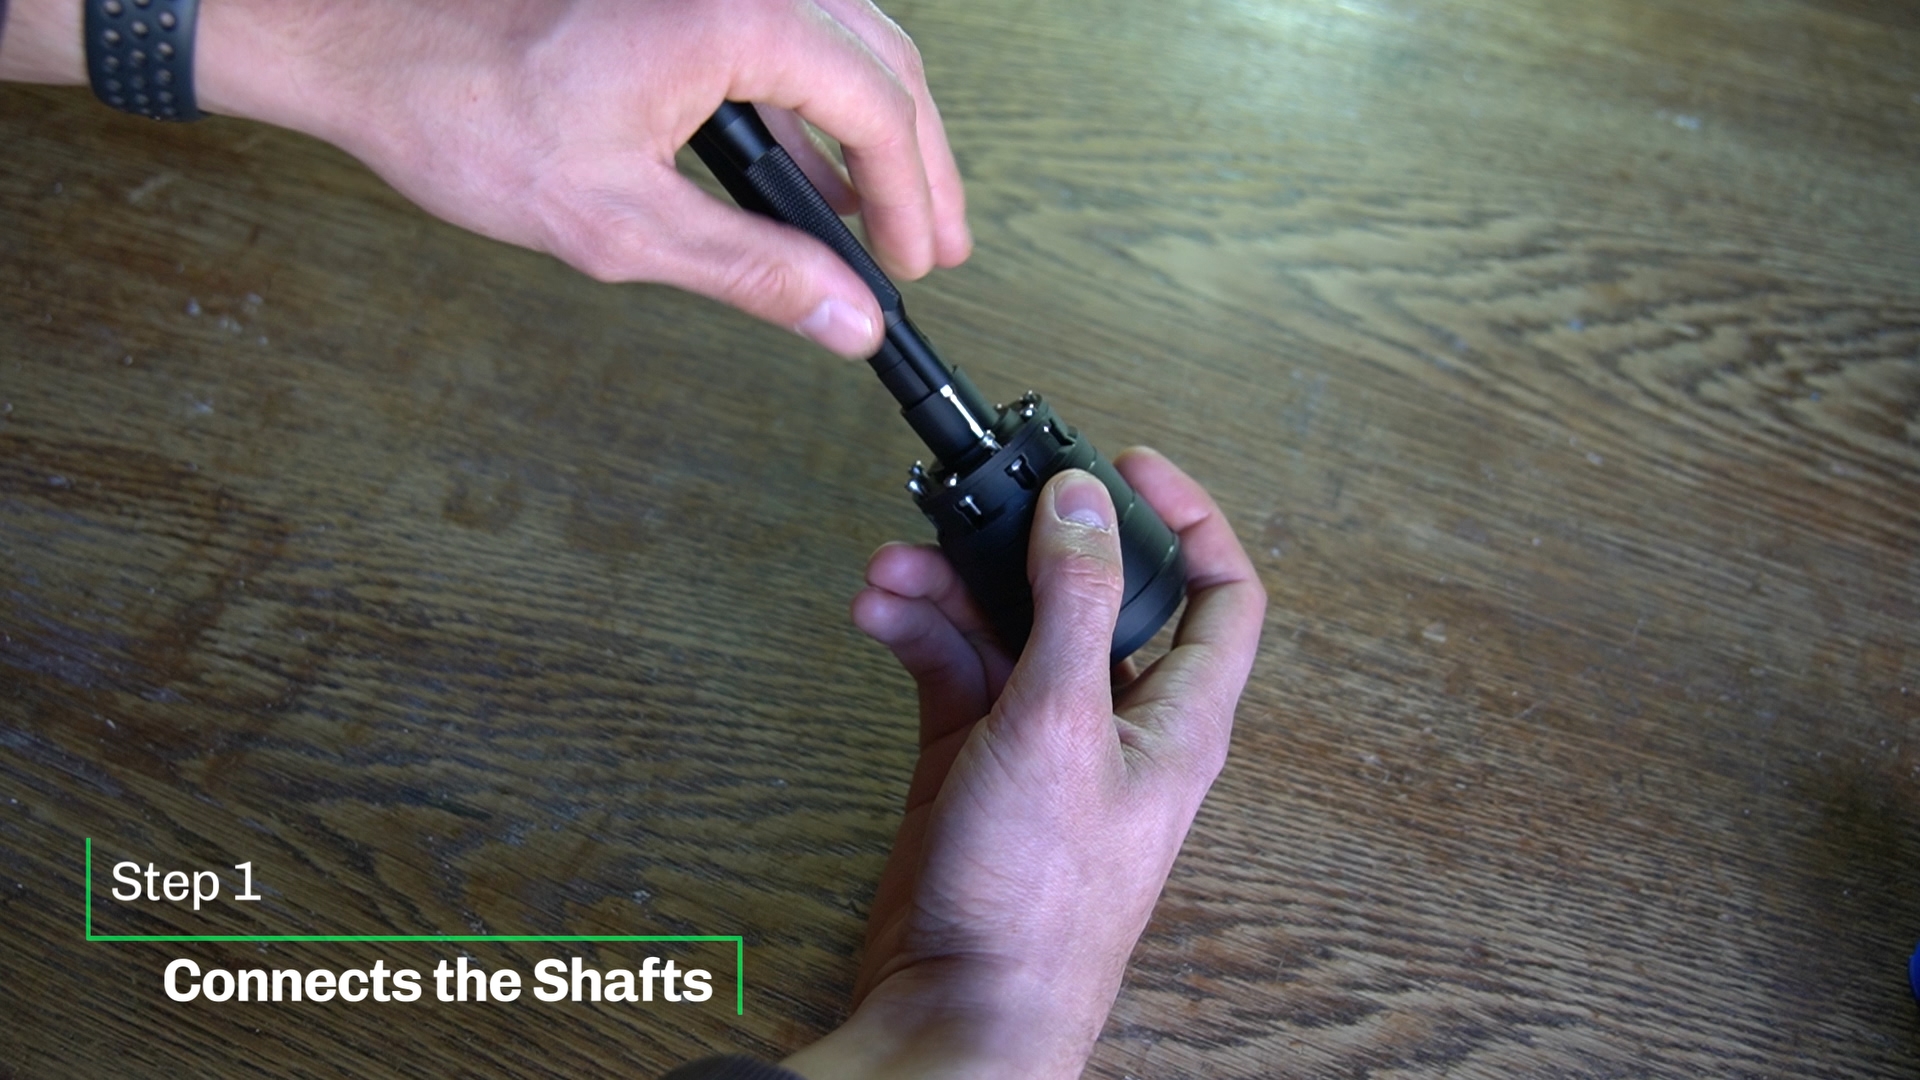 |
Use plastic glue. I let the glue dry properly before installing into casing. | 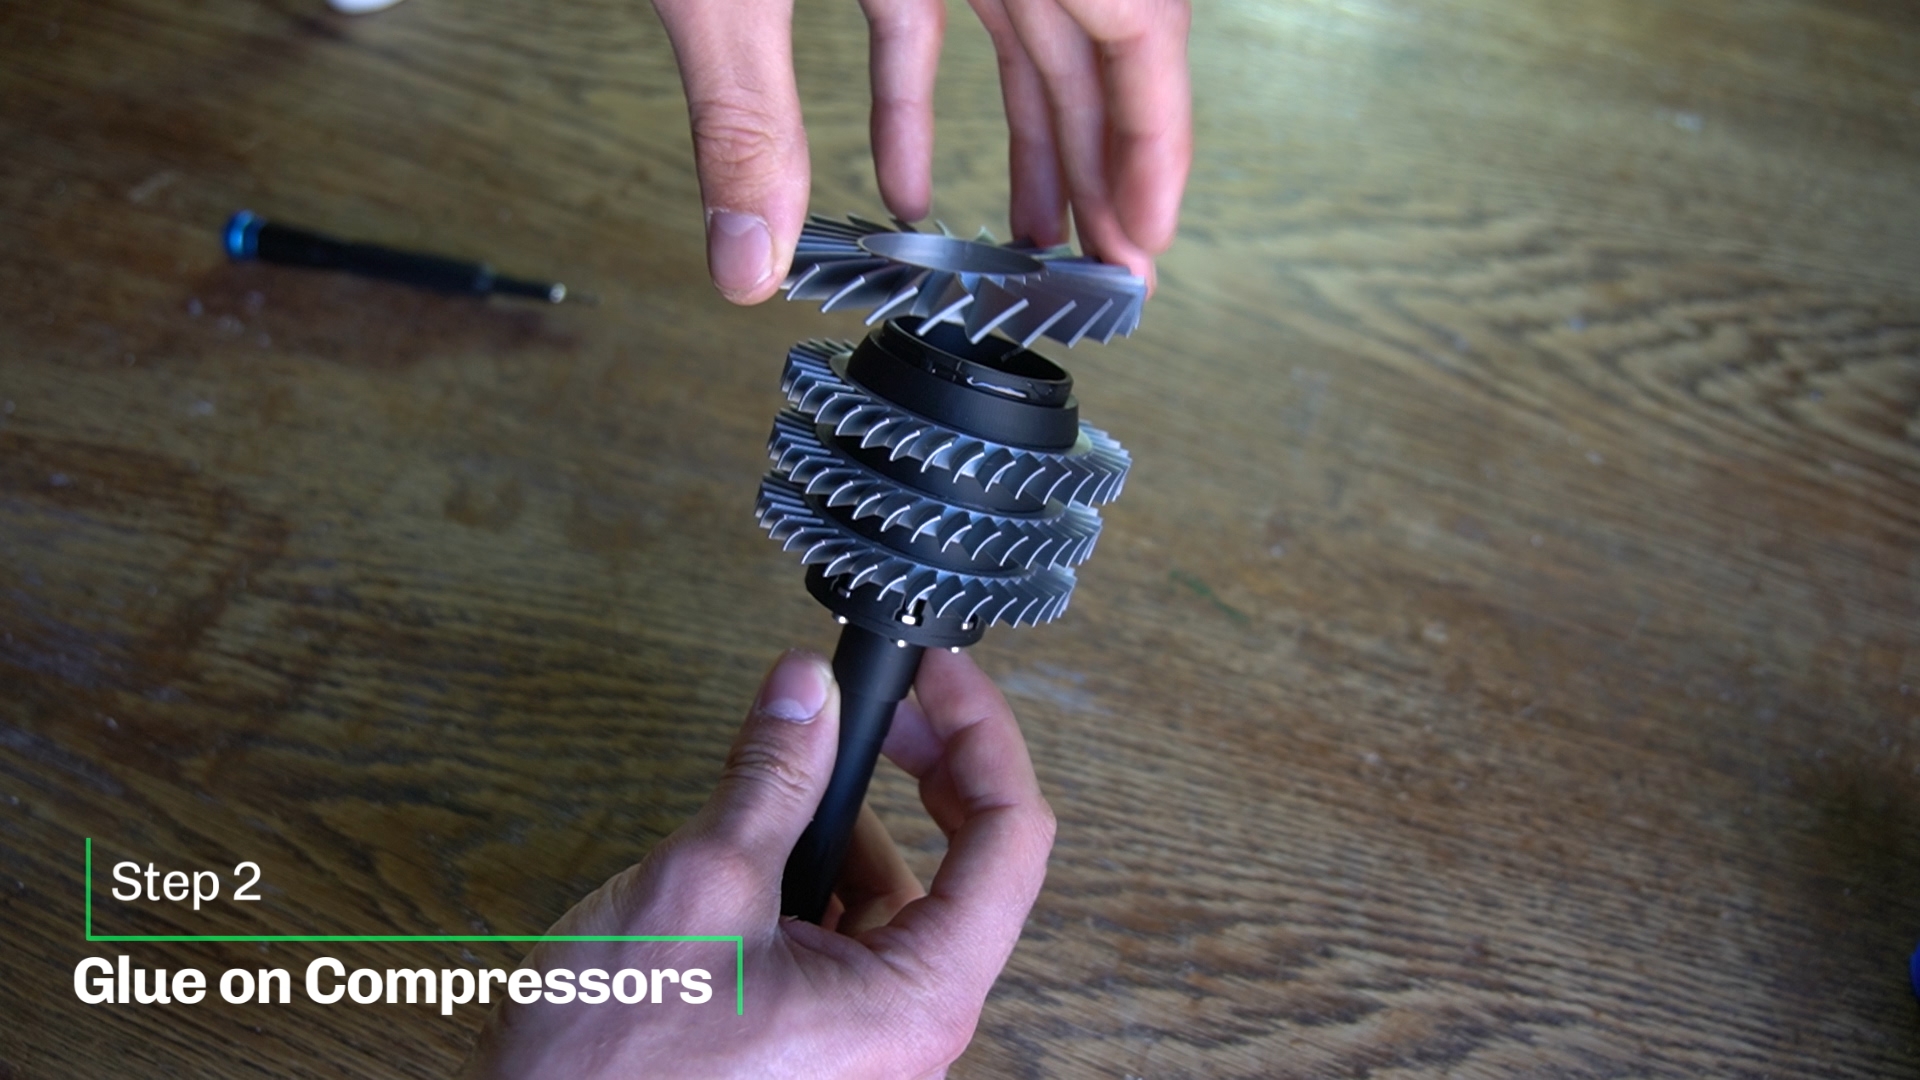 |
Don't glue them in place yet! :) | 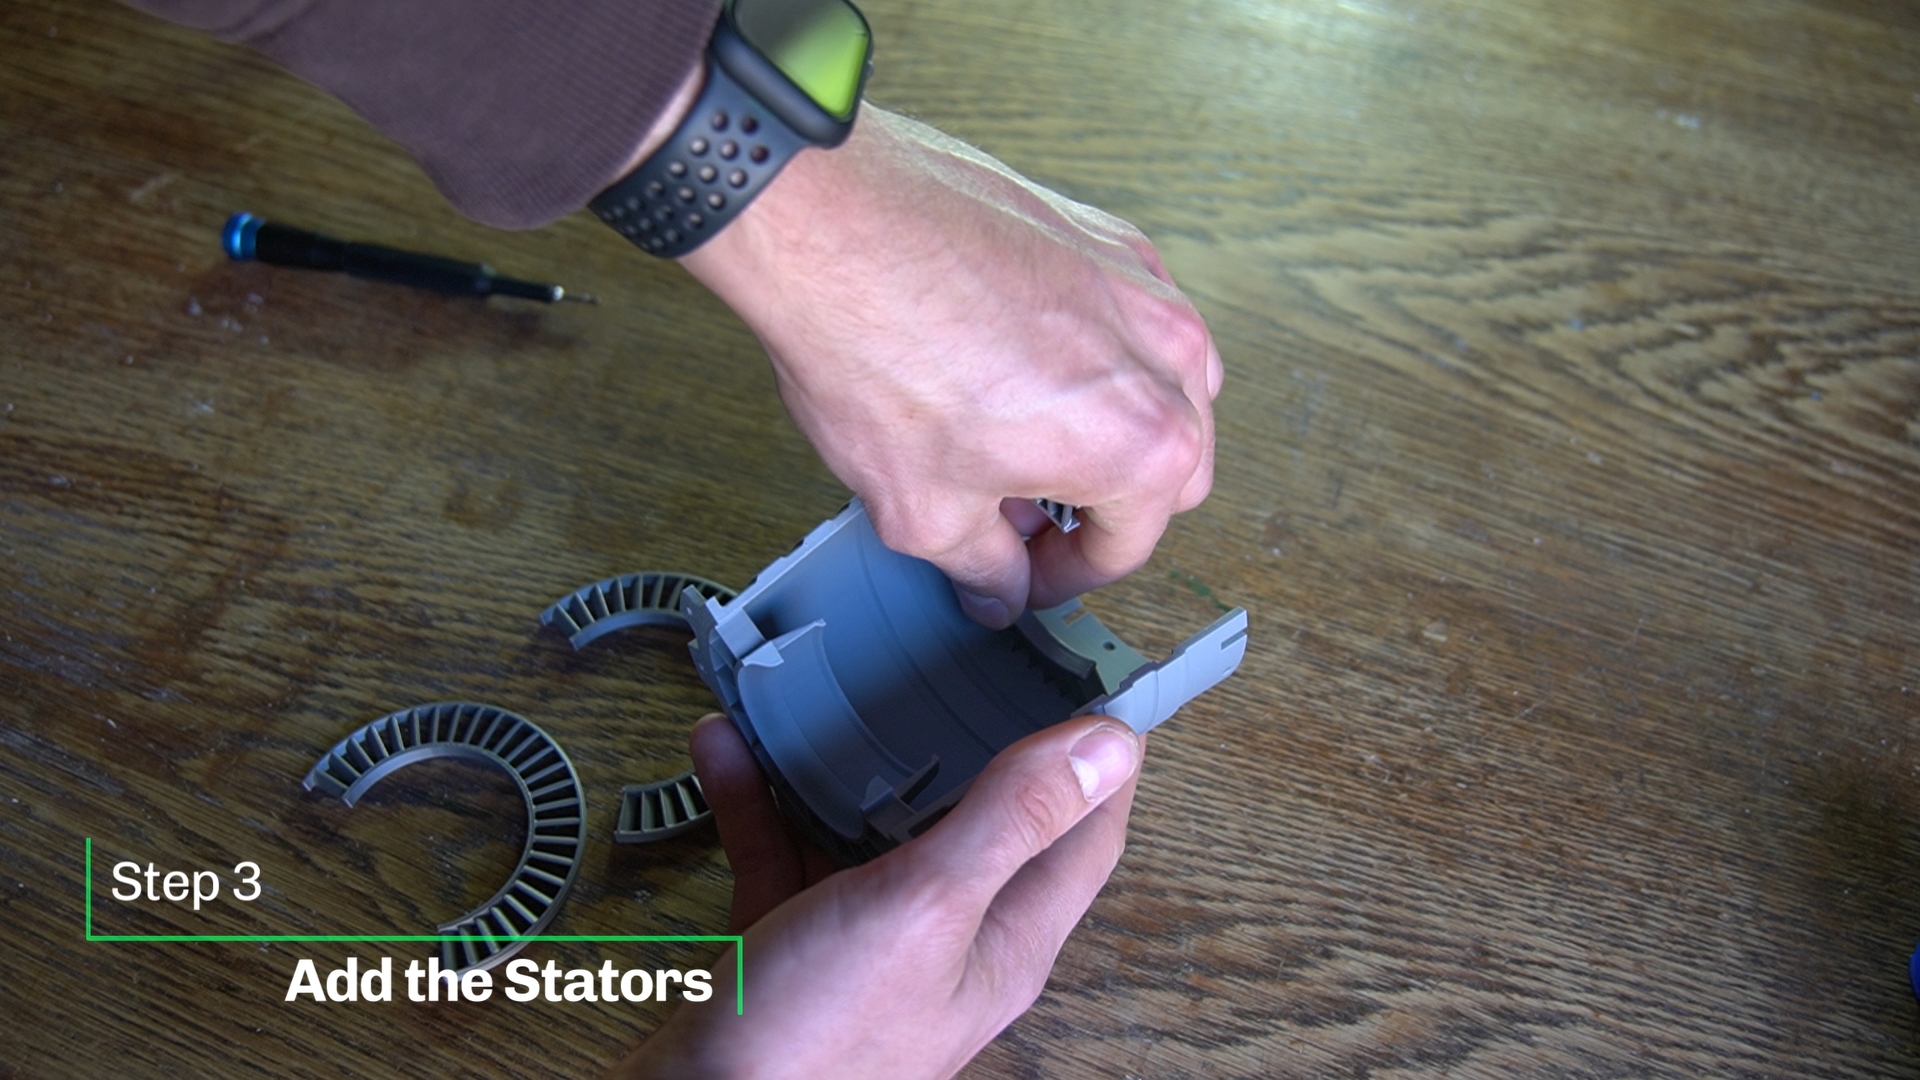 |
Easy… | 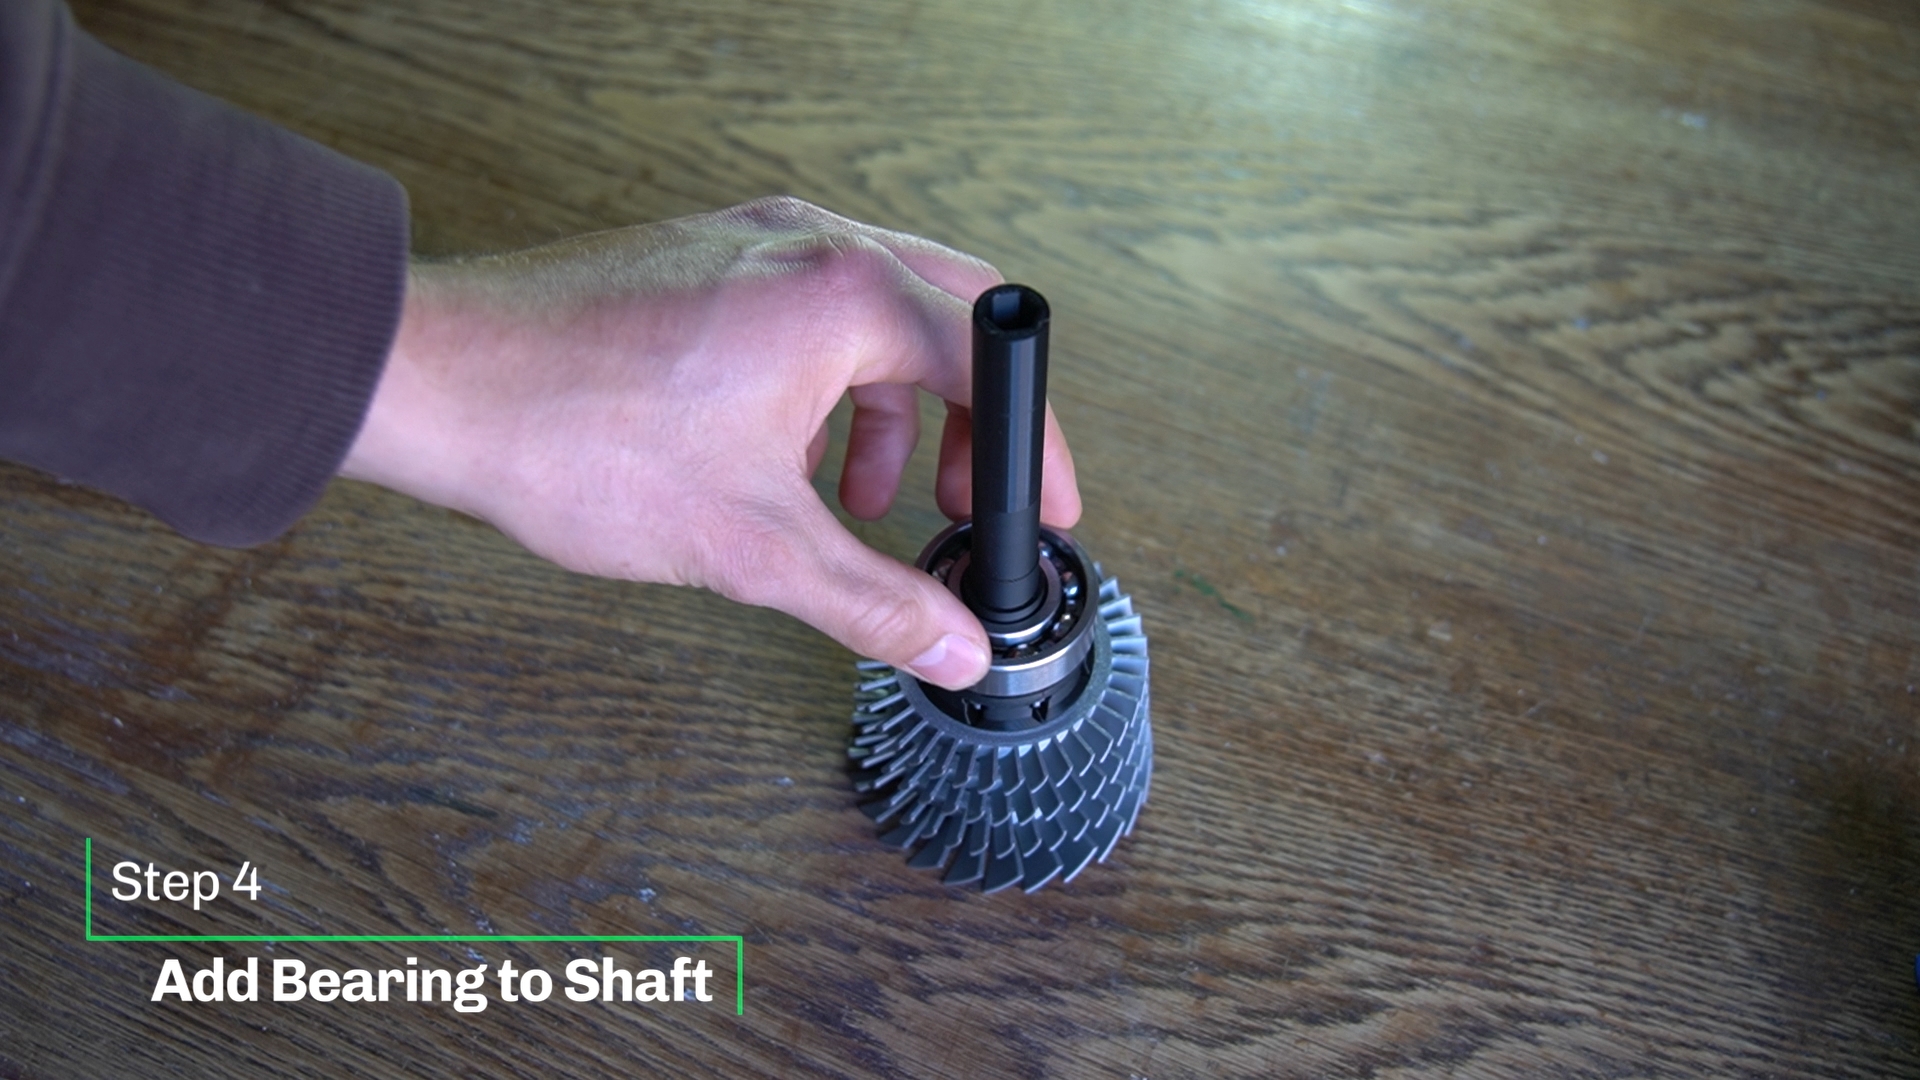 |
The bearing will also snap into place. | 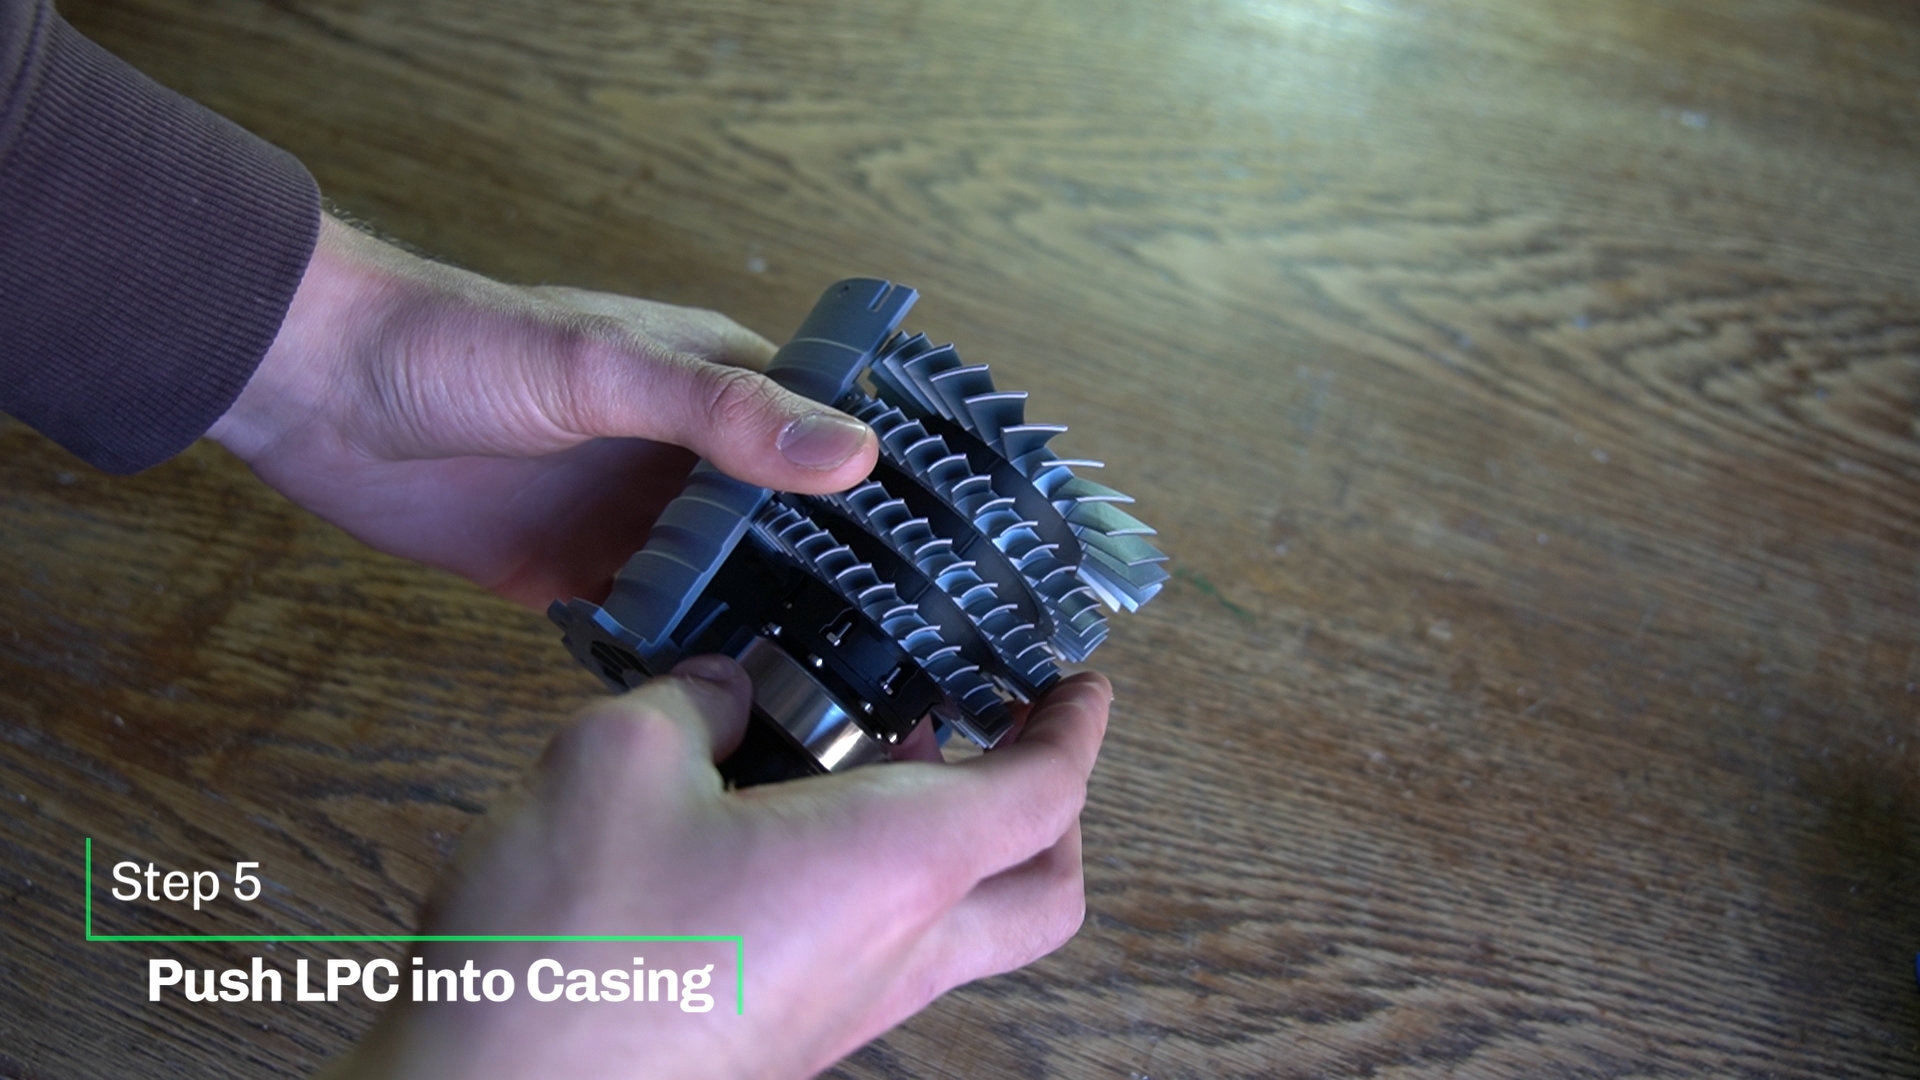 |
Easy… | 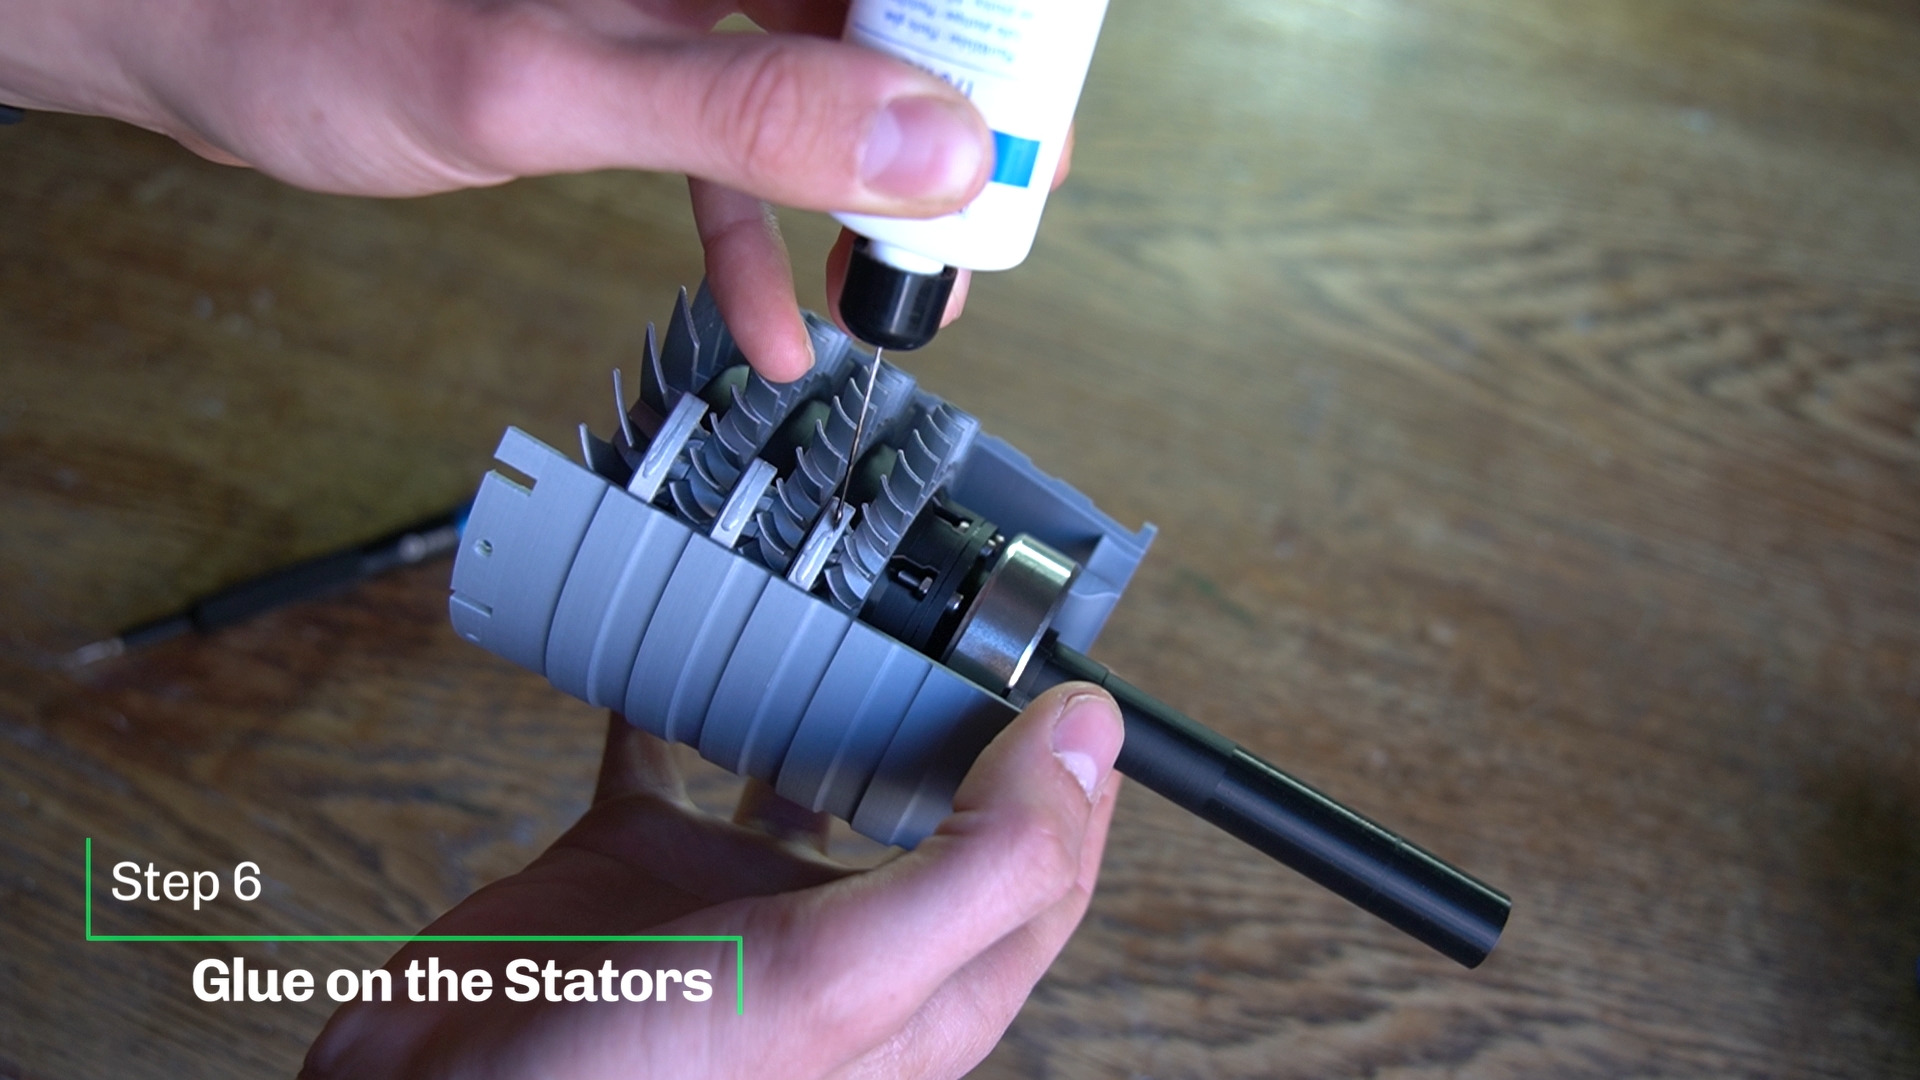 |
Don't tighten to much. You want even spacing around the inlet. | 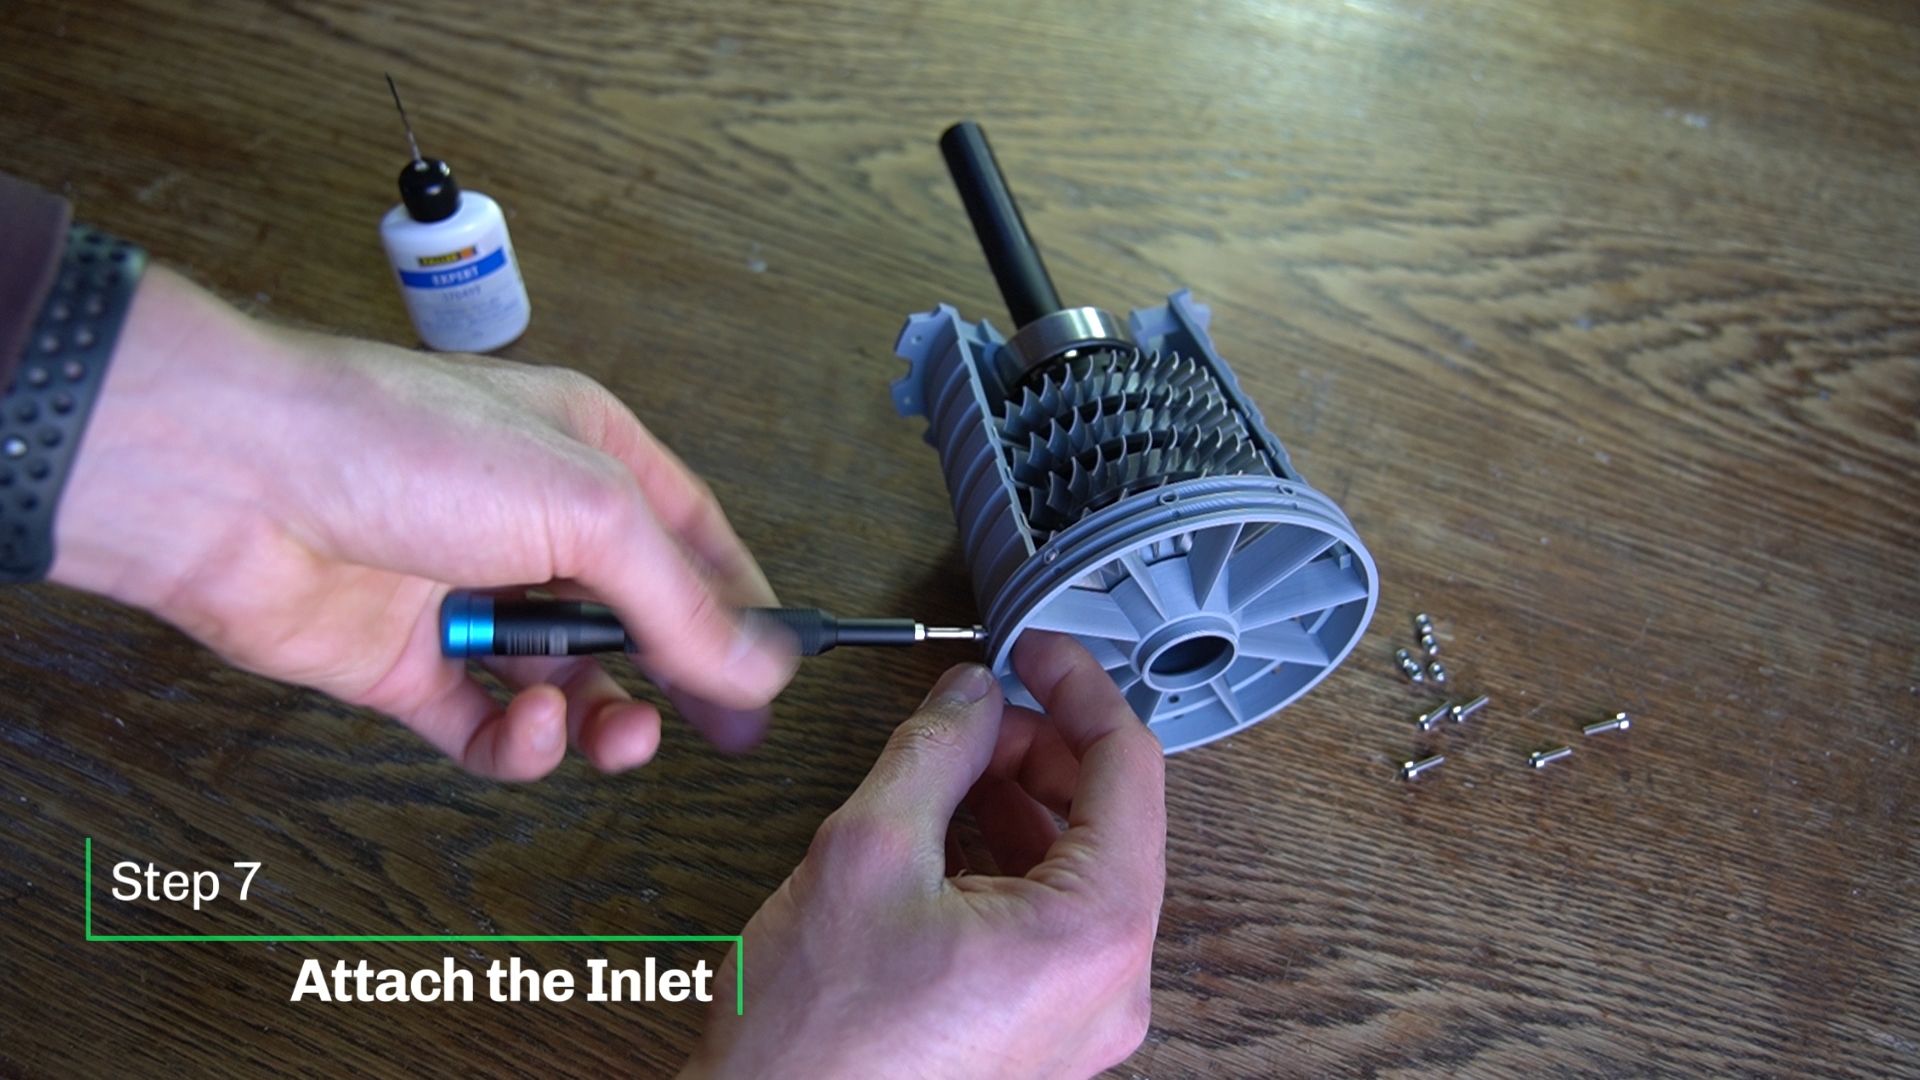 |
Easy… (I don't use glue) |  |
Last step… Make sure everything works. Congratulations! Thanks for printing! | 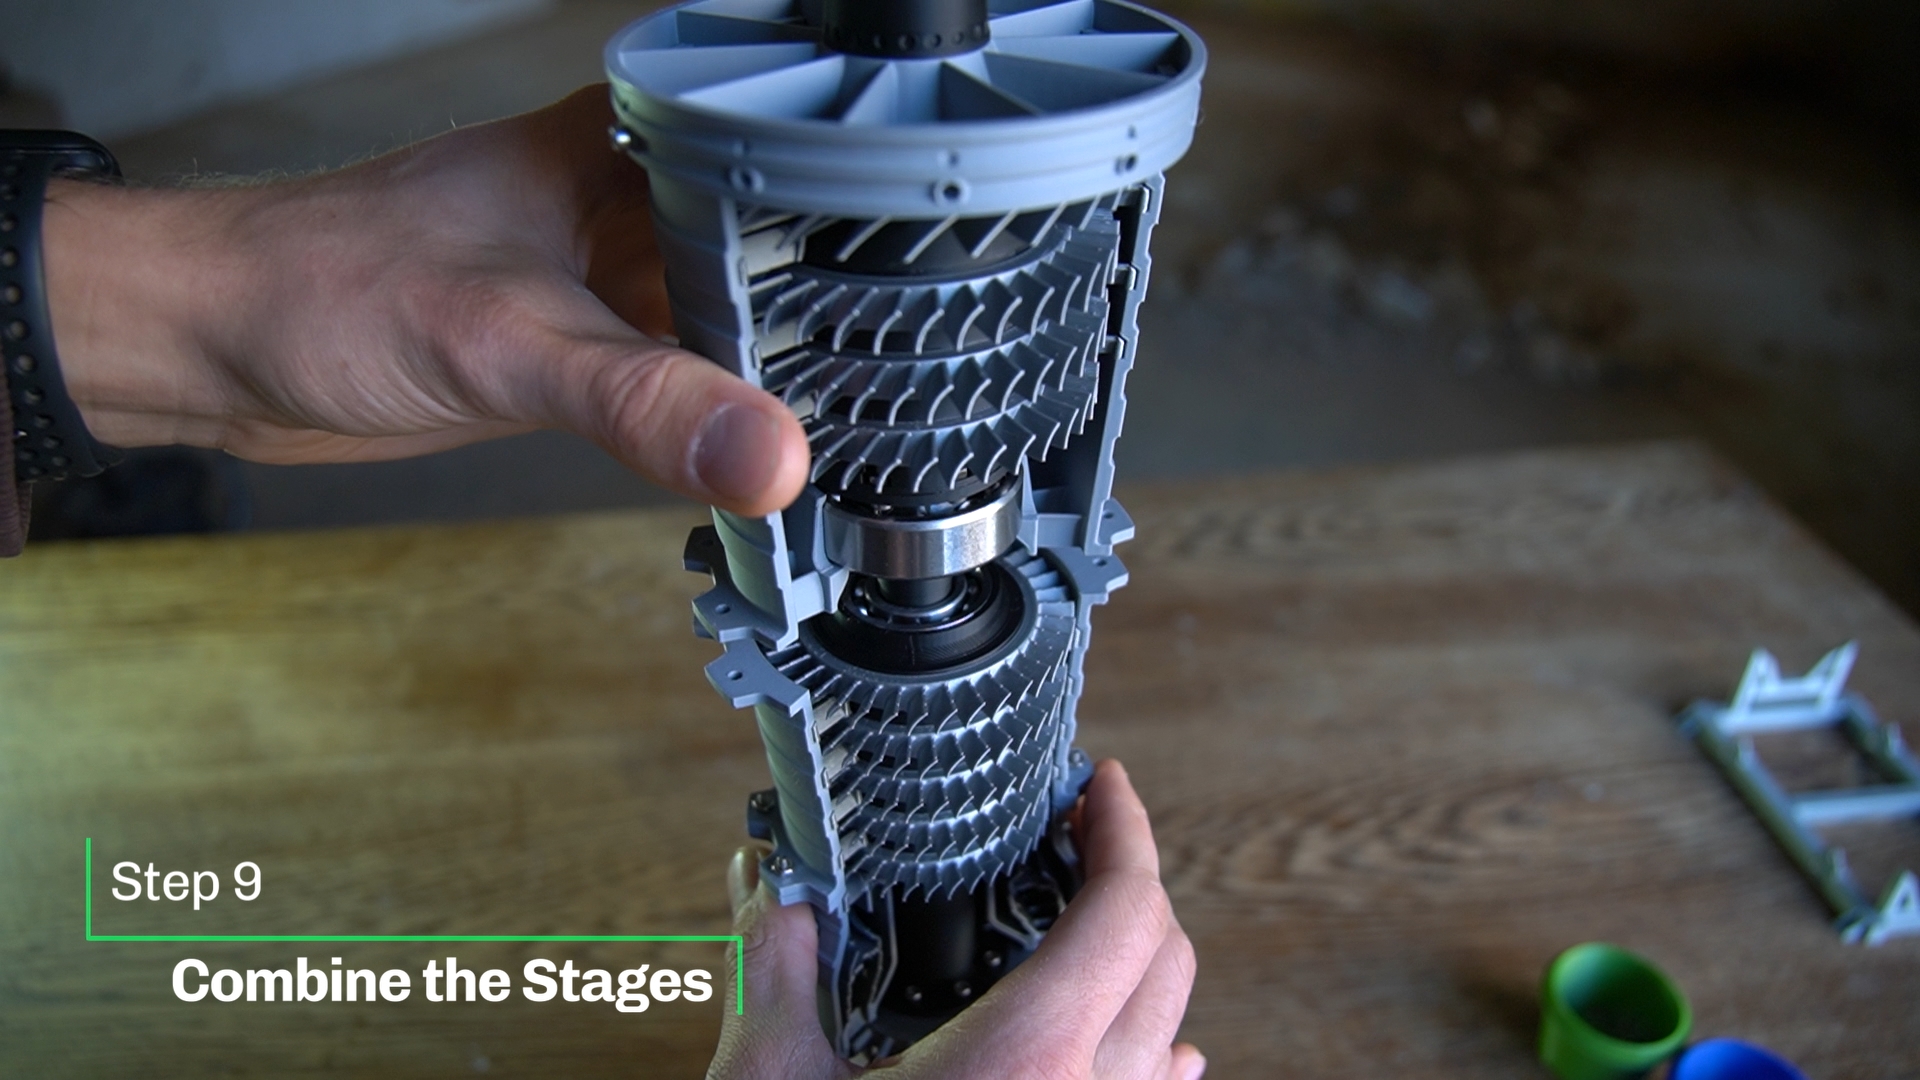 |
Placement of the engine on the stand | 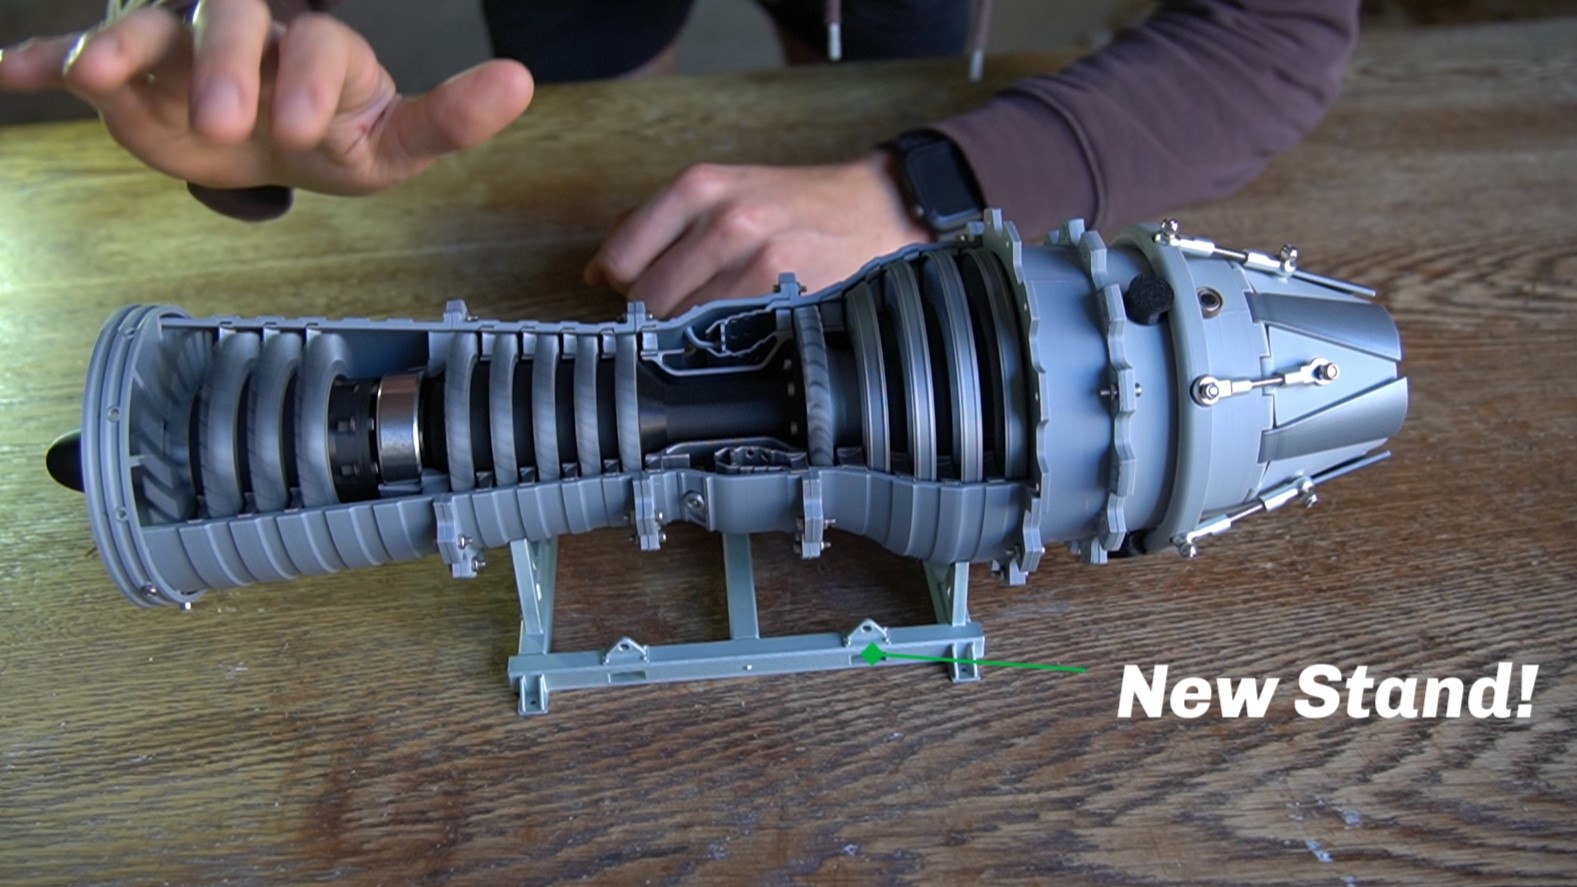 |
Designed by linus3d
My website: [https://linus3d.de/](https://linus3d.de/)

Gostou deste modelo? Crie uma conta grátis para salvar seus favoritos e voltar a eles depois.
Criar conta