Você está no 3DFinder
Buscamos em Thingiverse, MakerWorld e Printables ao mesmo tempo para te dar o melhor de cada uma.
Descrição
This is a lockbox.
I would recommend using supports only on the build plate on: The Key, The Inner Core, and The Baseplate. The pins may require a brim. The Outer Core is the only part that I would recommend printing with supports everywhere.
Step 1: Supplies
For this build, you will need: The Outer Core, The Inner Core, The Baseplate, The Key, Two 7/32 inch in diameter ¾ inch in length springs (5mm by 20mm for most of the world) (I used springs from two old .7mm Pilot G2 pens), The Tall Pin, The Short Pin, Two Tiny Pins, Two Spacers, sandpaper (Optional), something to remove supports, and a long piece of paper.
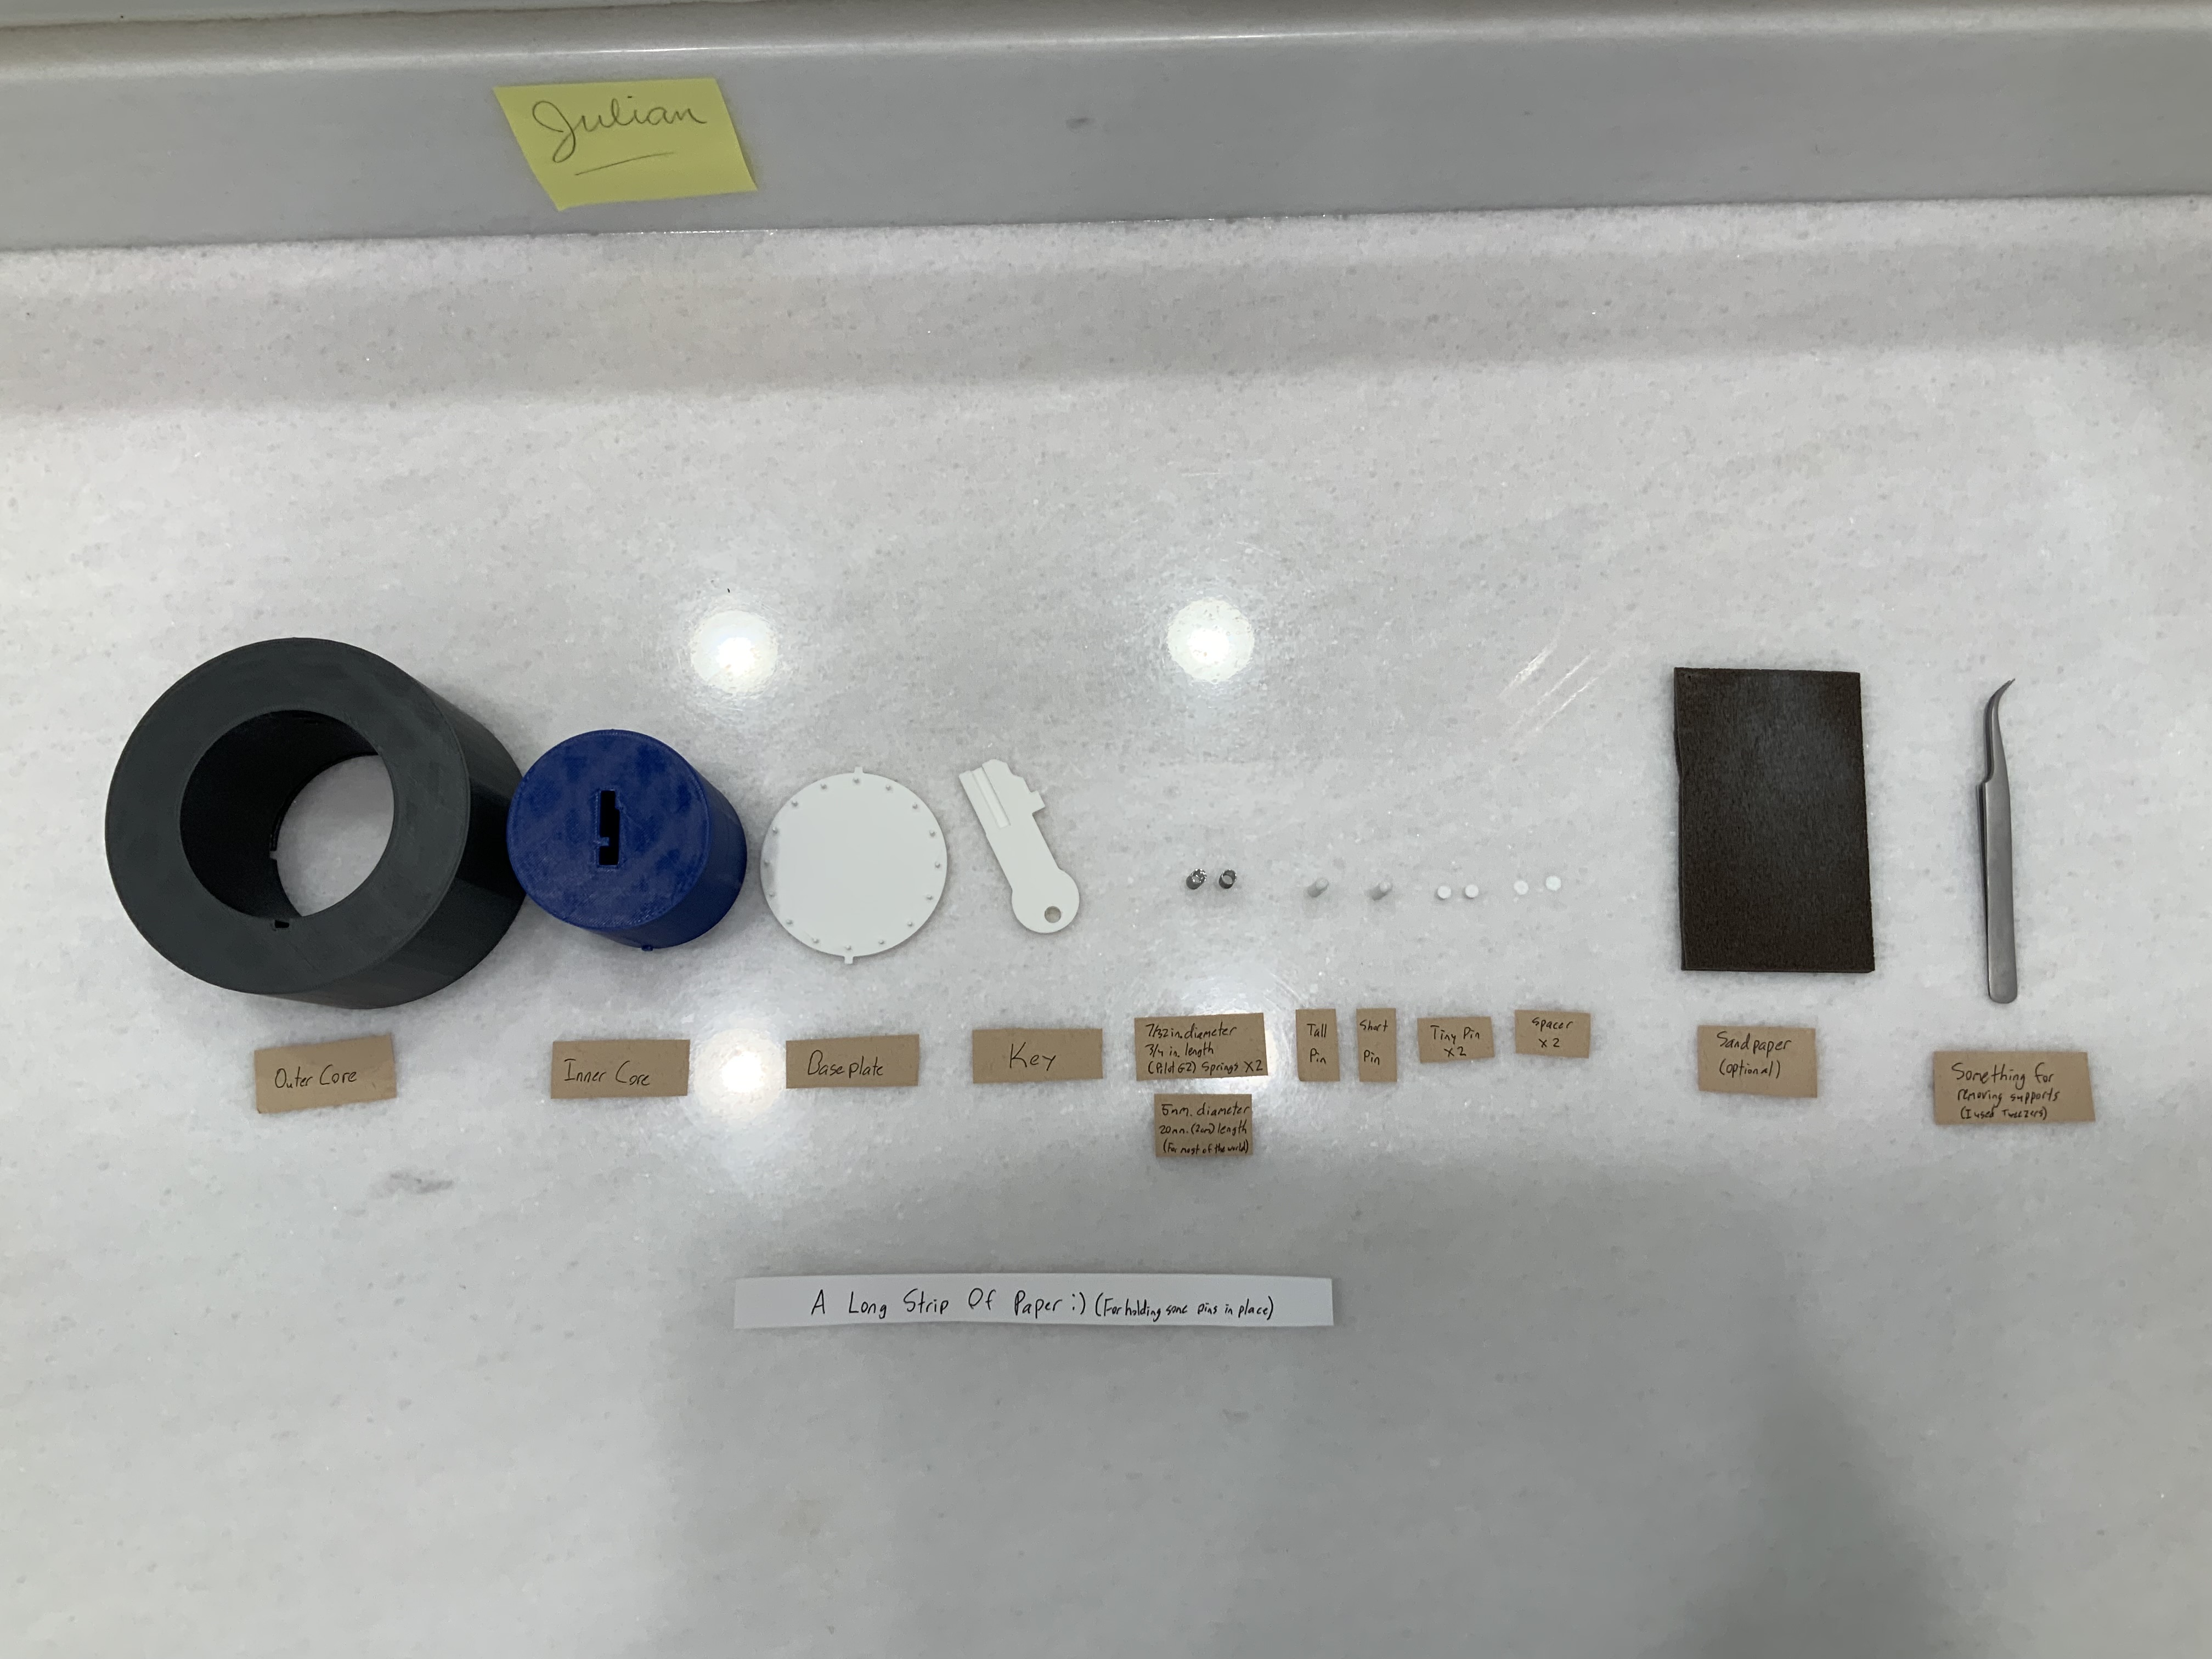
Step 2: Removing The Supports
Carefully remove supports and brims from all of the parts.
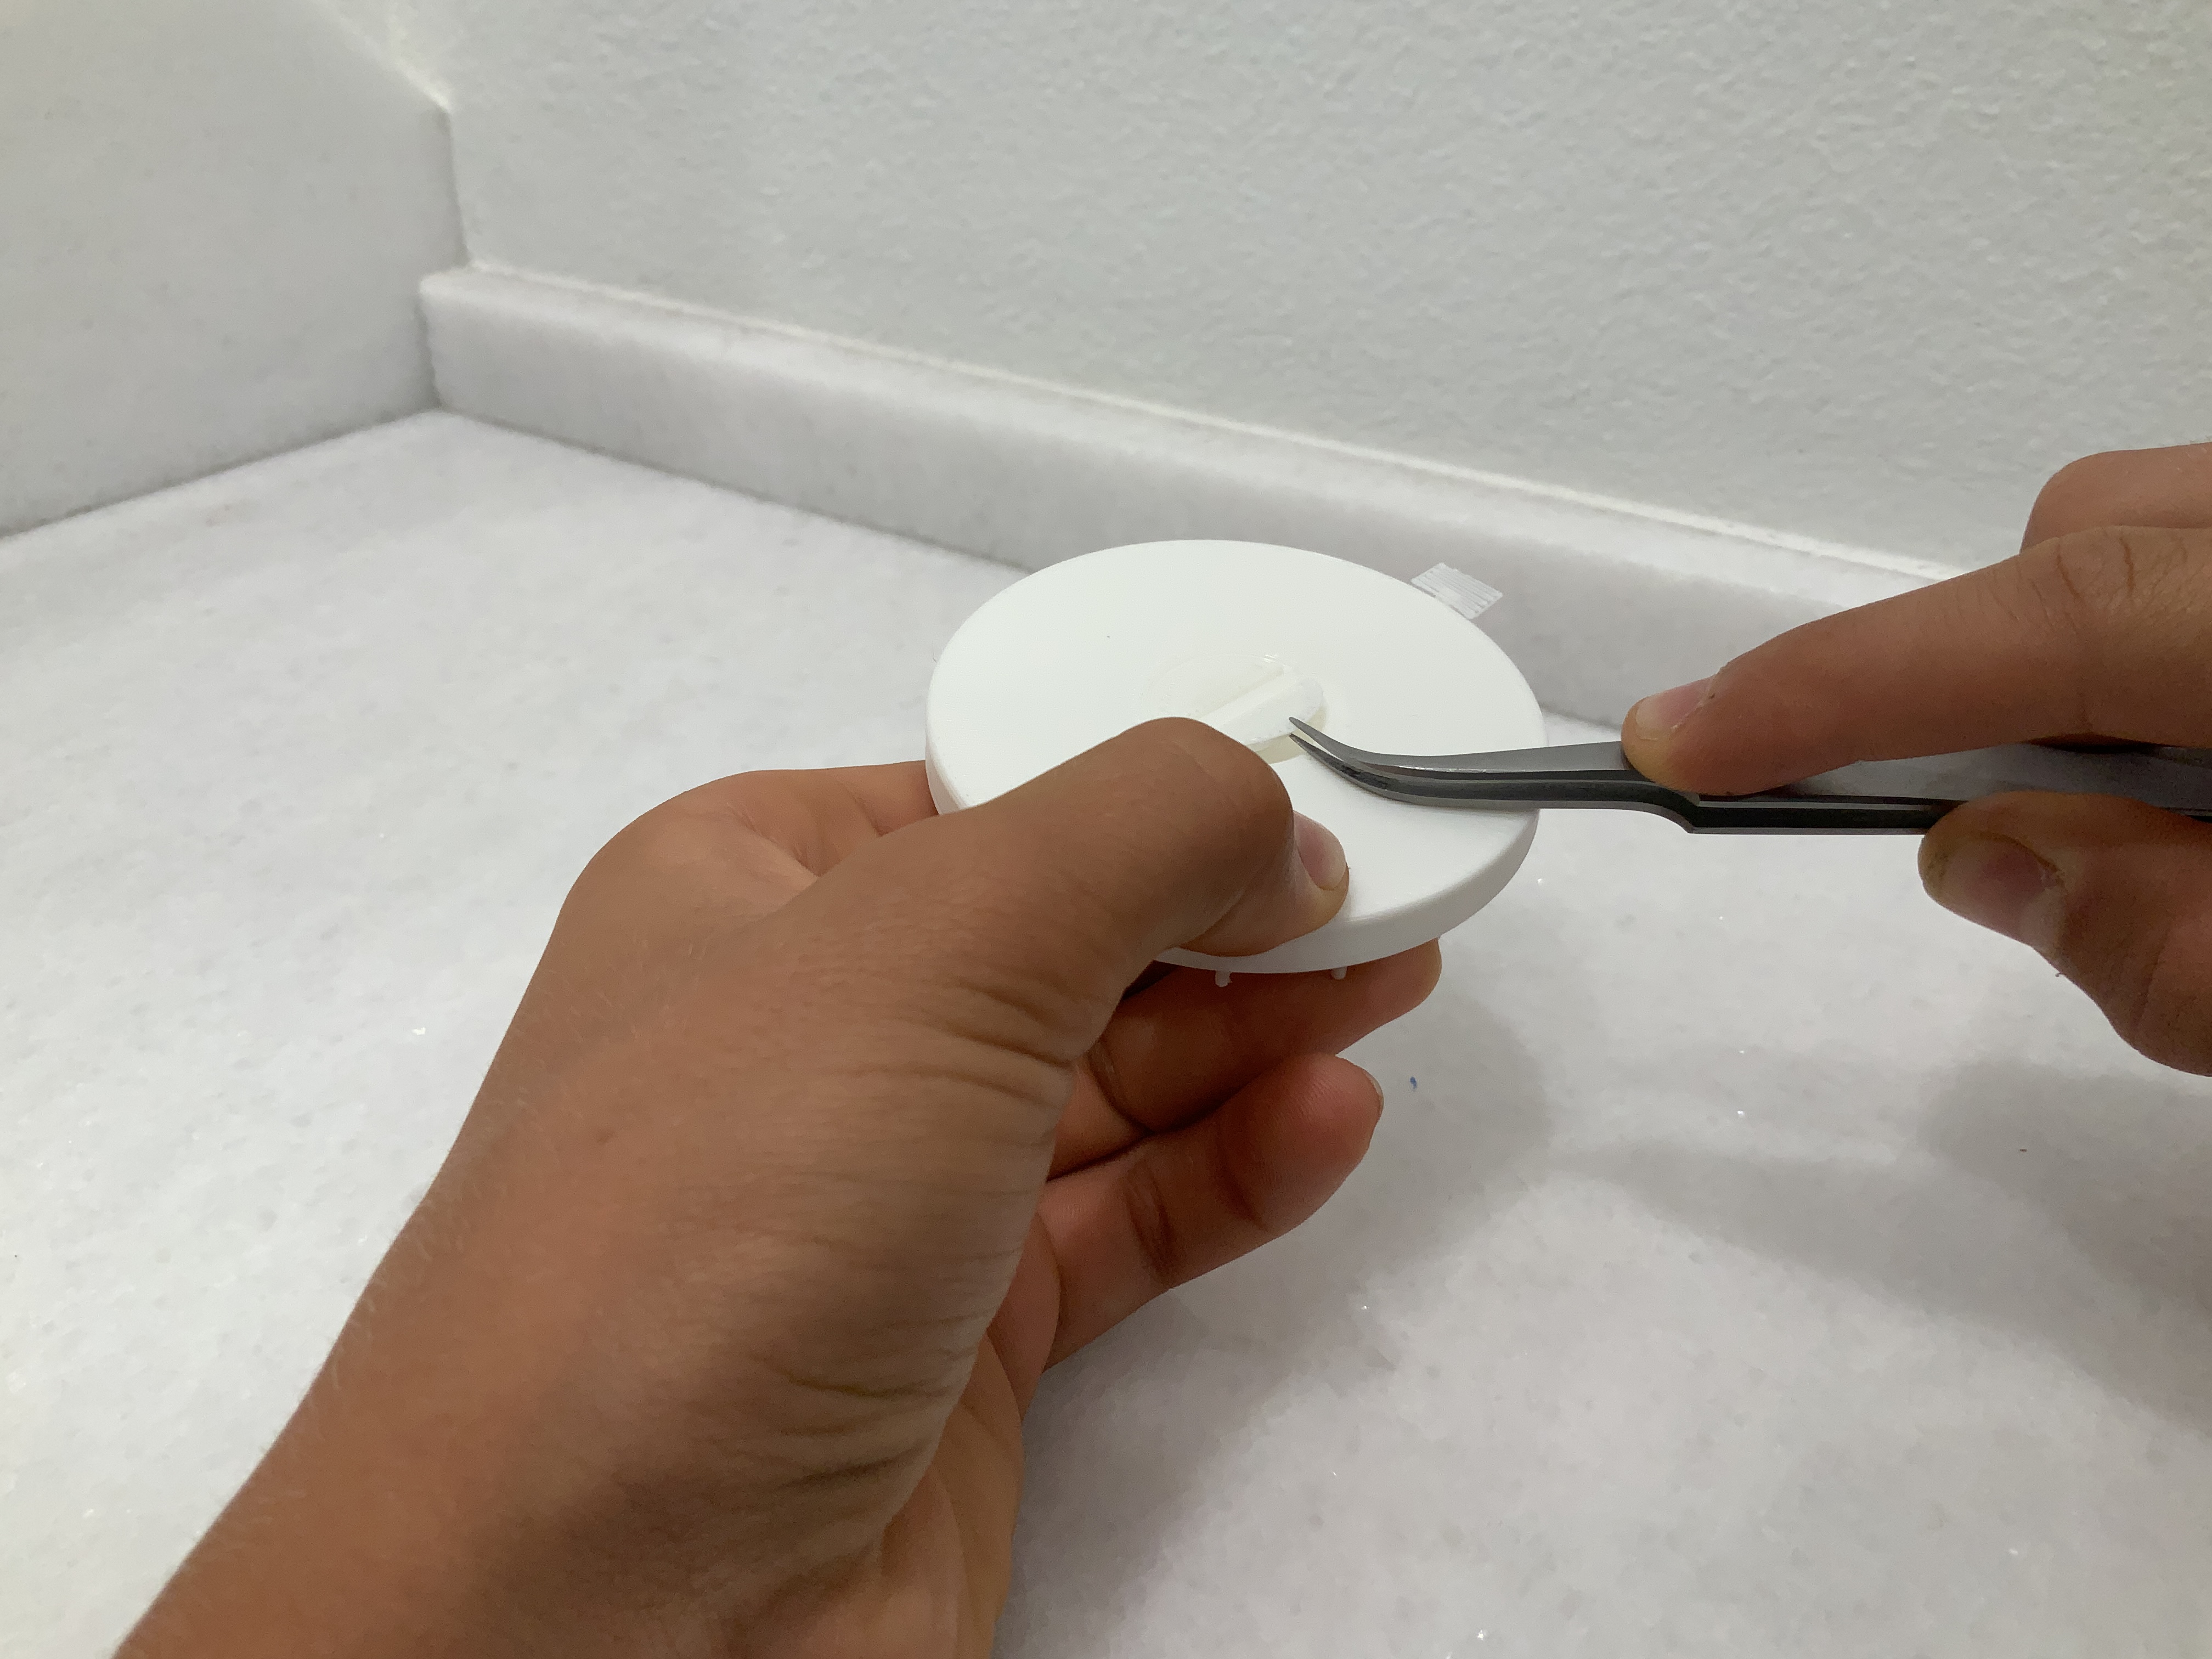
There will be supports on other parts of the Lockbox, but this is just an example:)
Step 3: Sanding
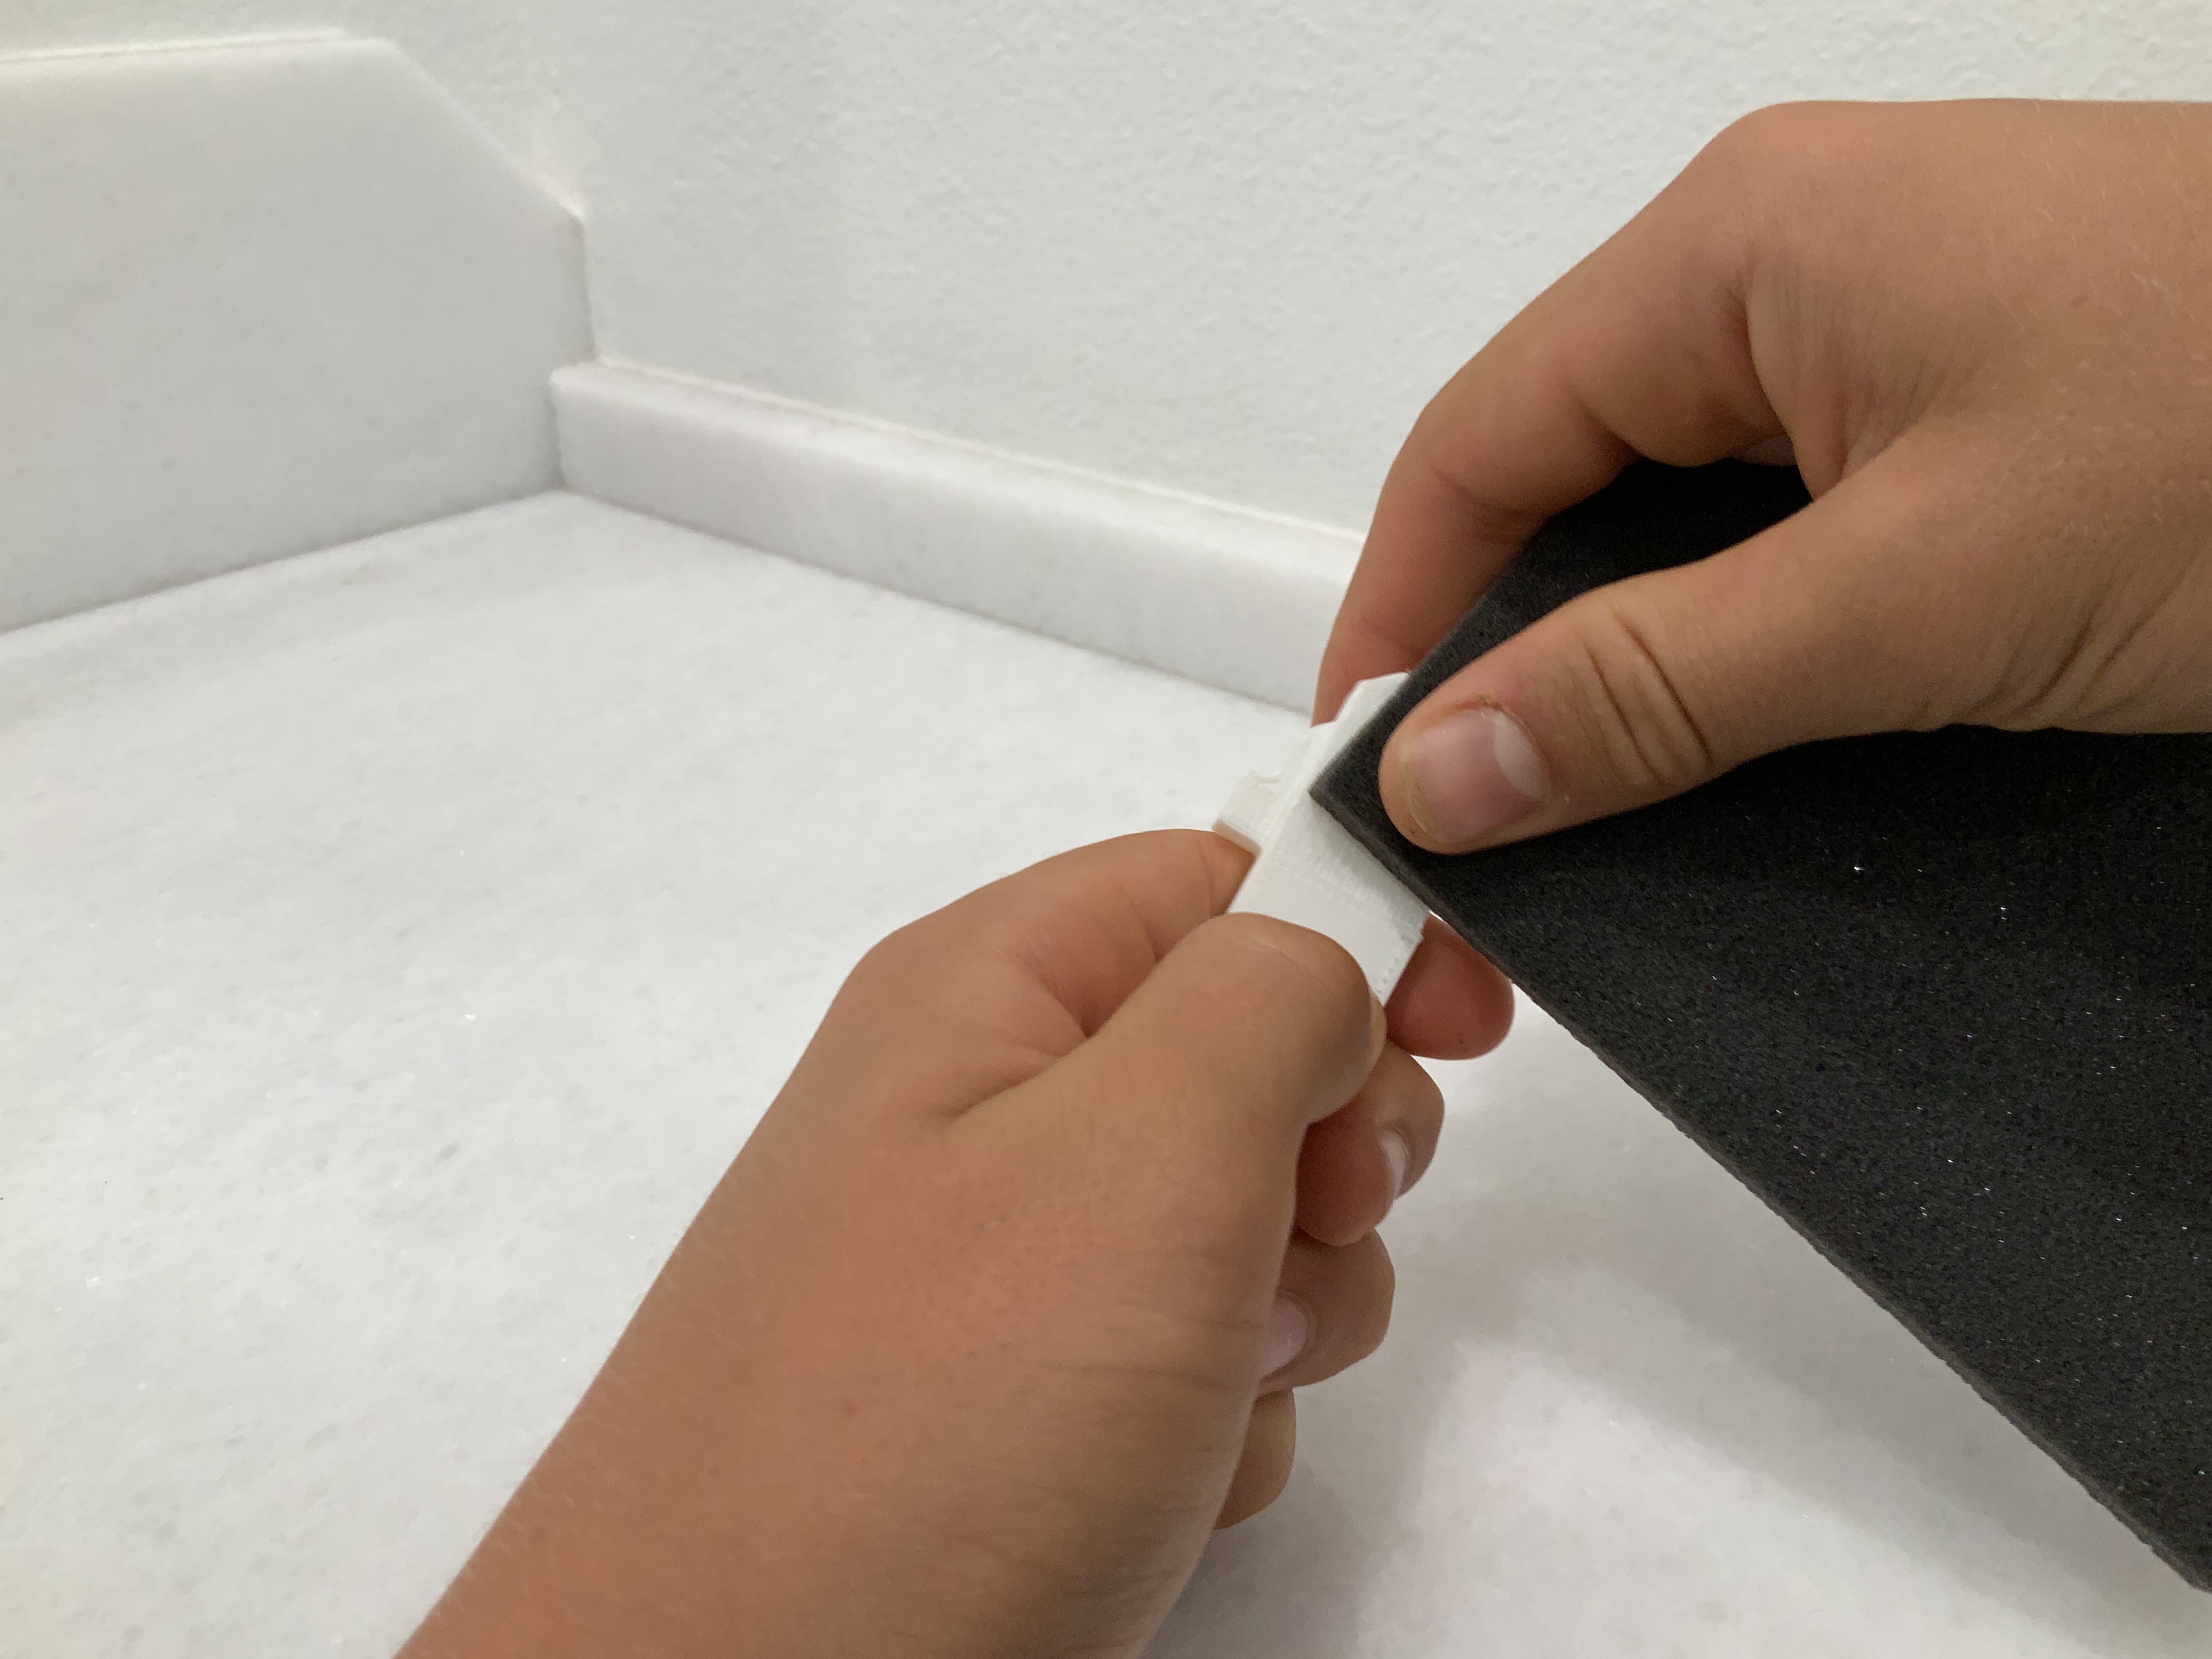
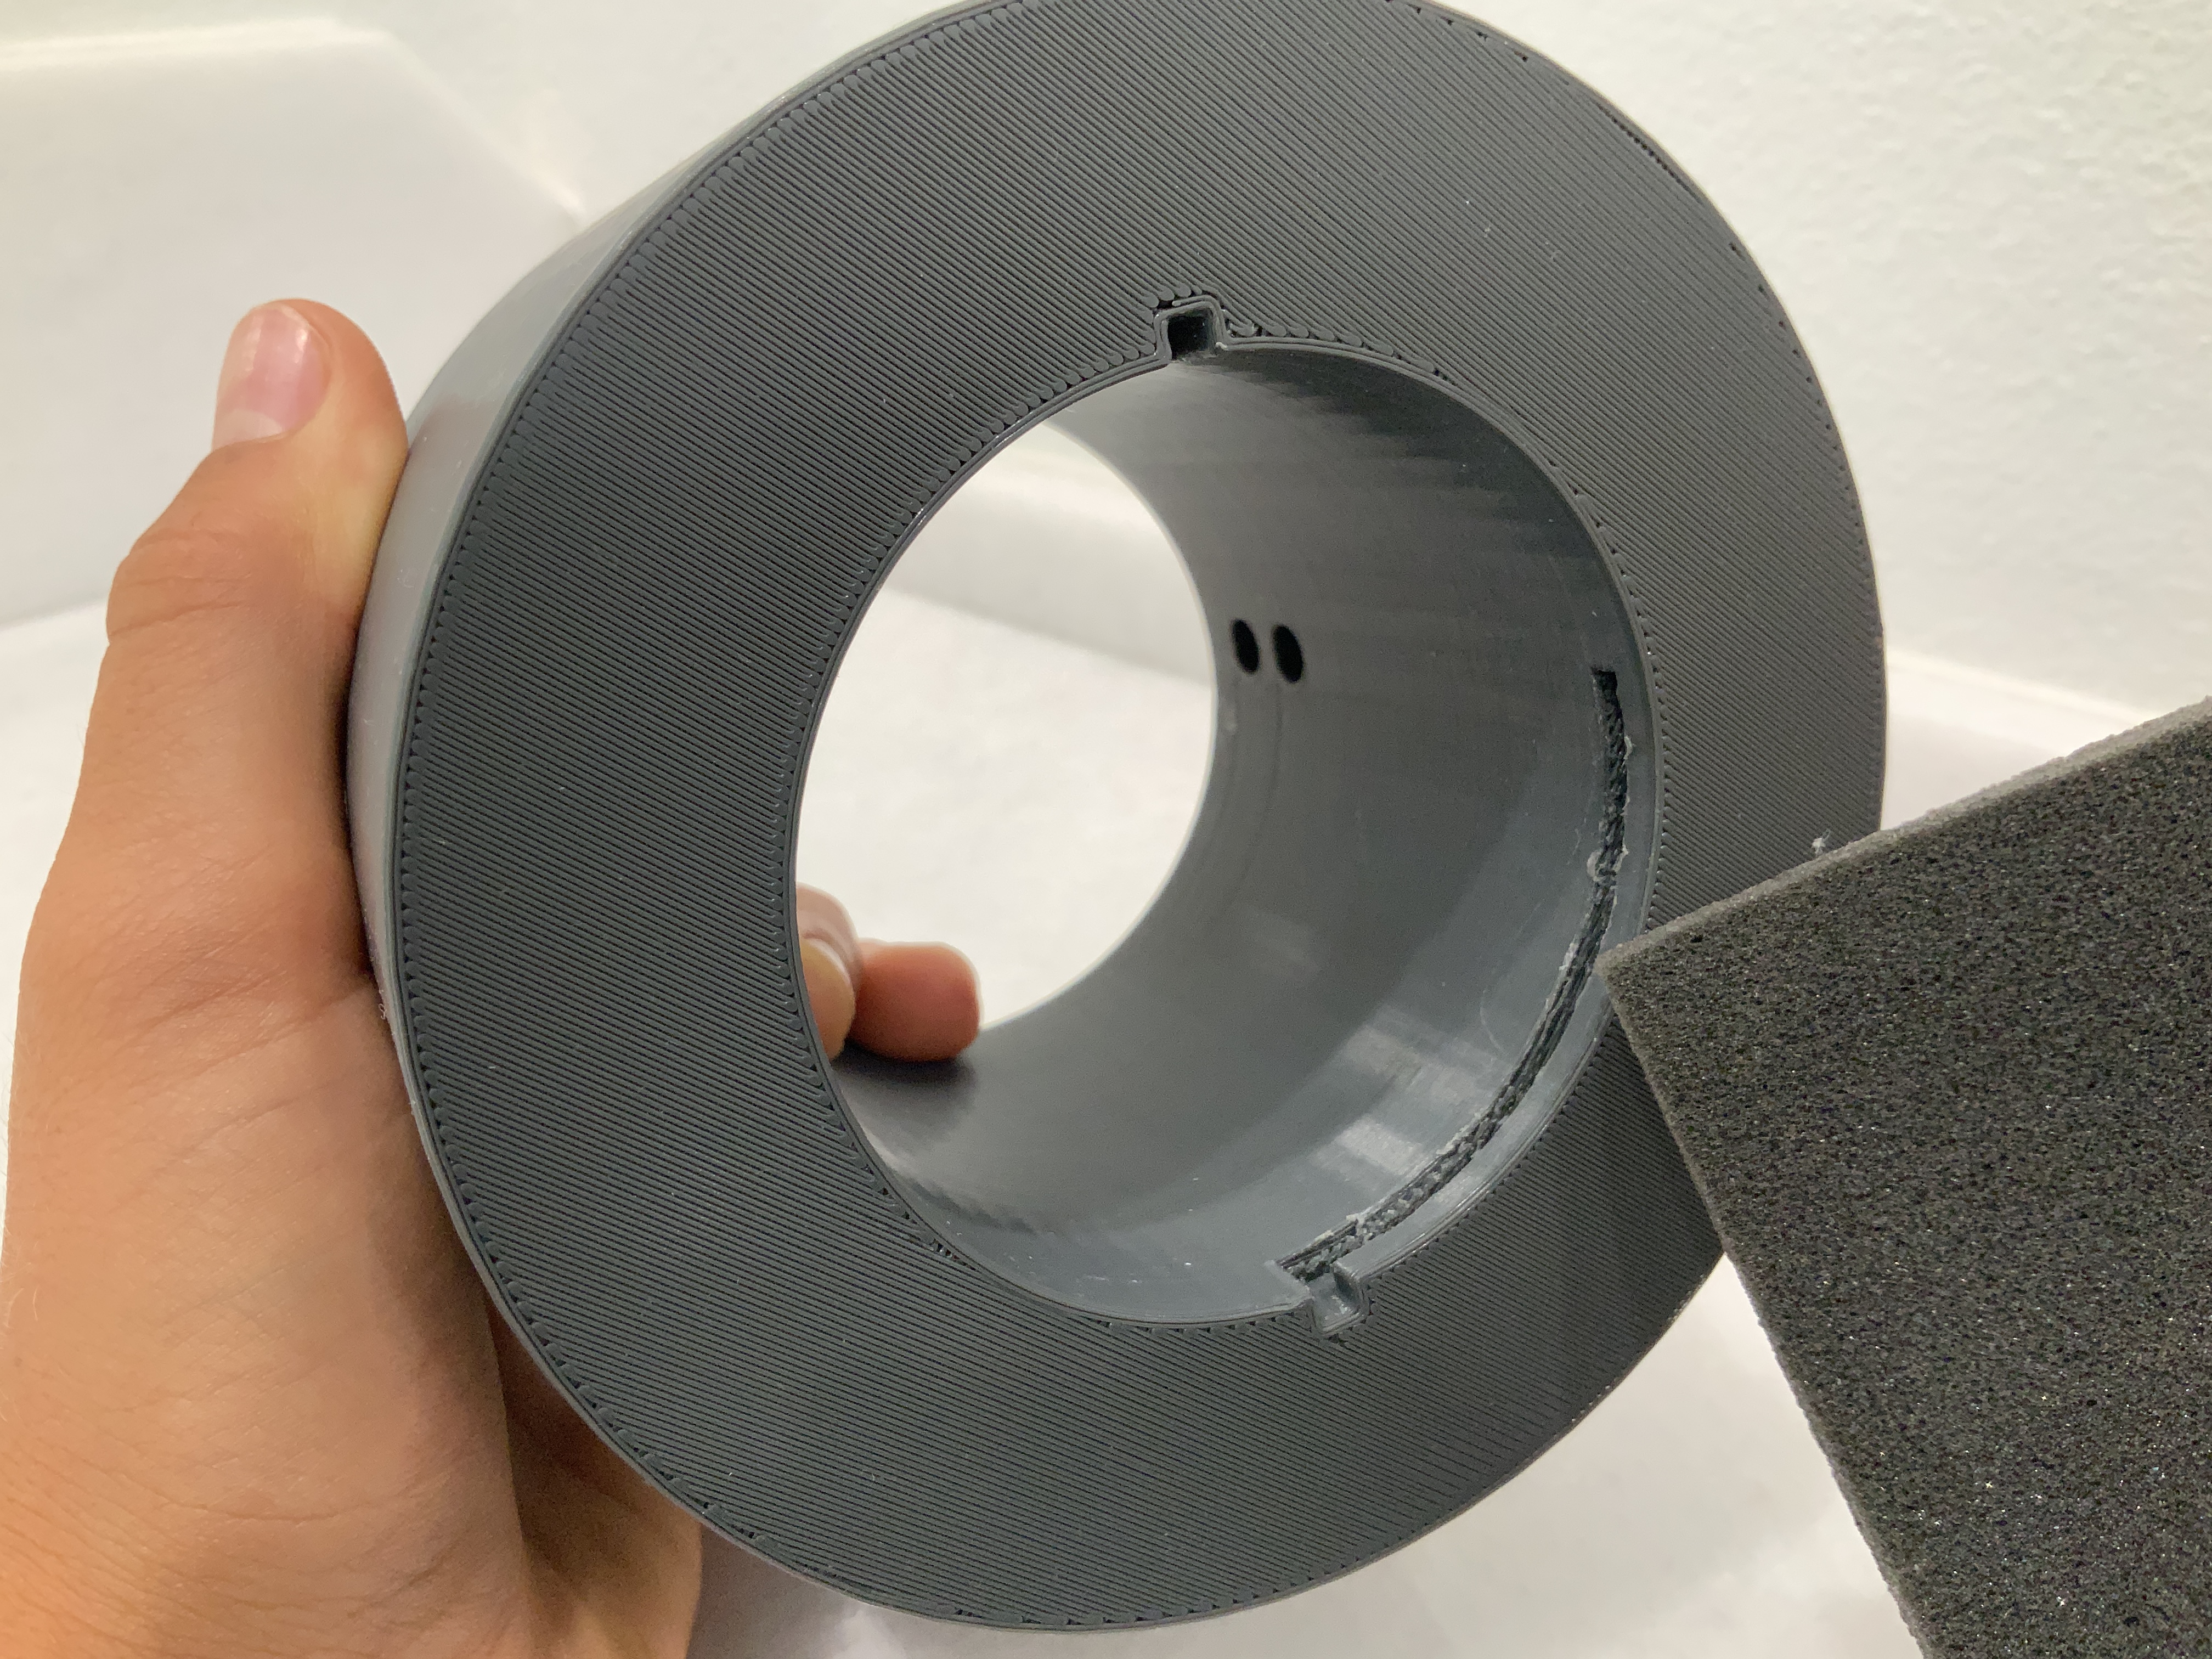
Sand parts where necessary. Some parts may have residual support material, or may just be rough around the edges, so carefully sand away anything that could hinder the movement of parts.
Step 4: Inserting The Springs
Insert one spring into each of the circular holes in The Outer Core.

Step 5: Inserting The Spacers
Place one Spacer on top of each spring in the holes.
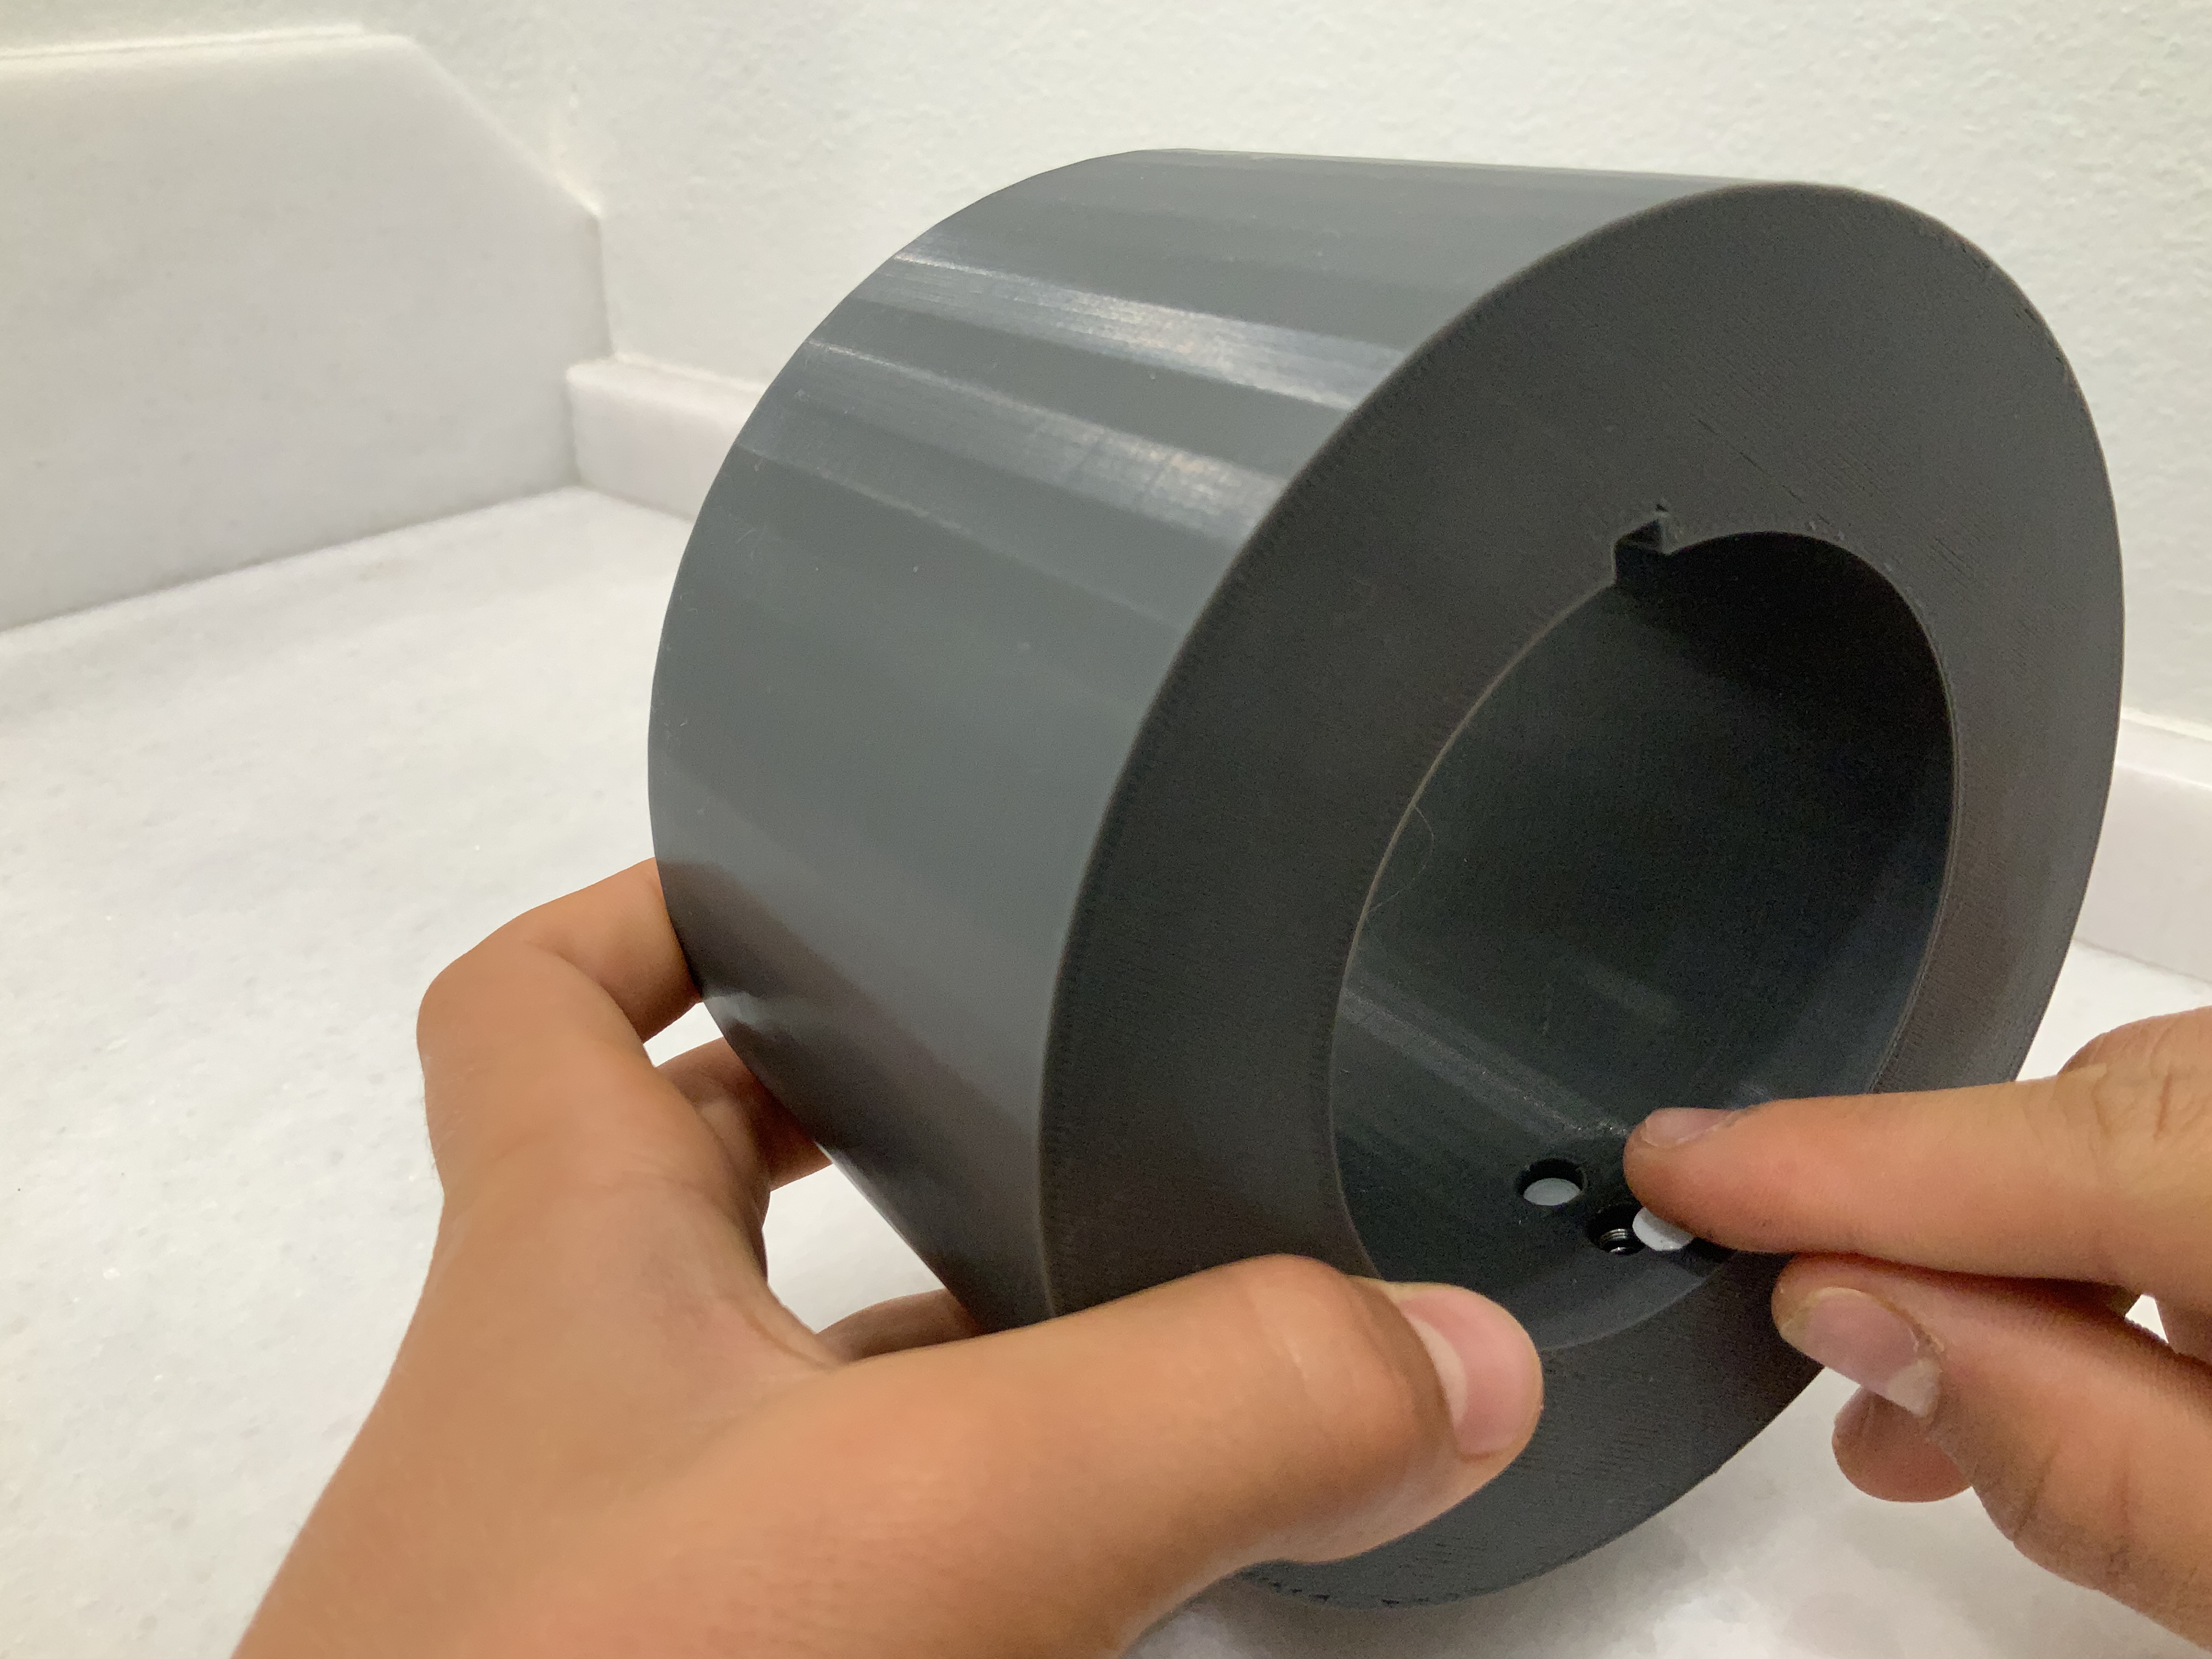
Step 6: Adding The Tiny Pins
Carefully place one Tiny Pin on top of each Spacer in The Outer Core.

Step 7: Adding The Inner Core
Use the long strip of paper to push The Tiny Pins down into the holes.
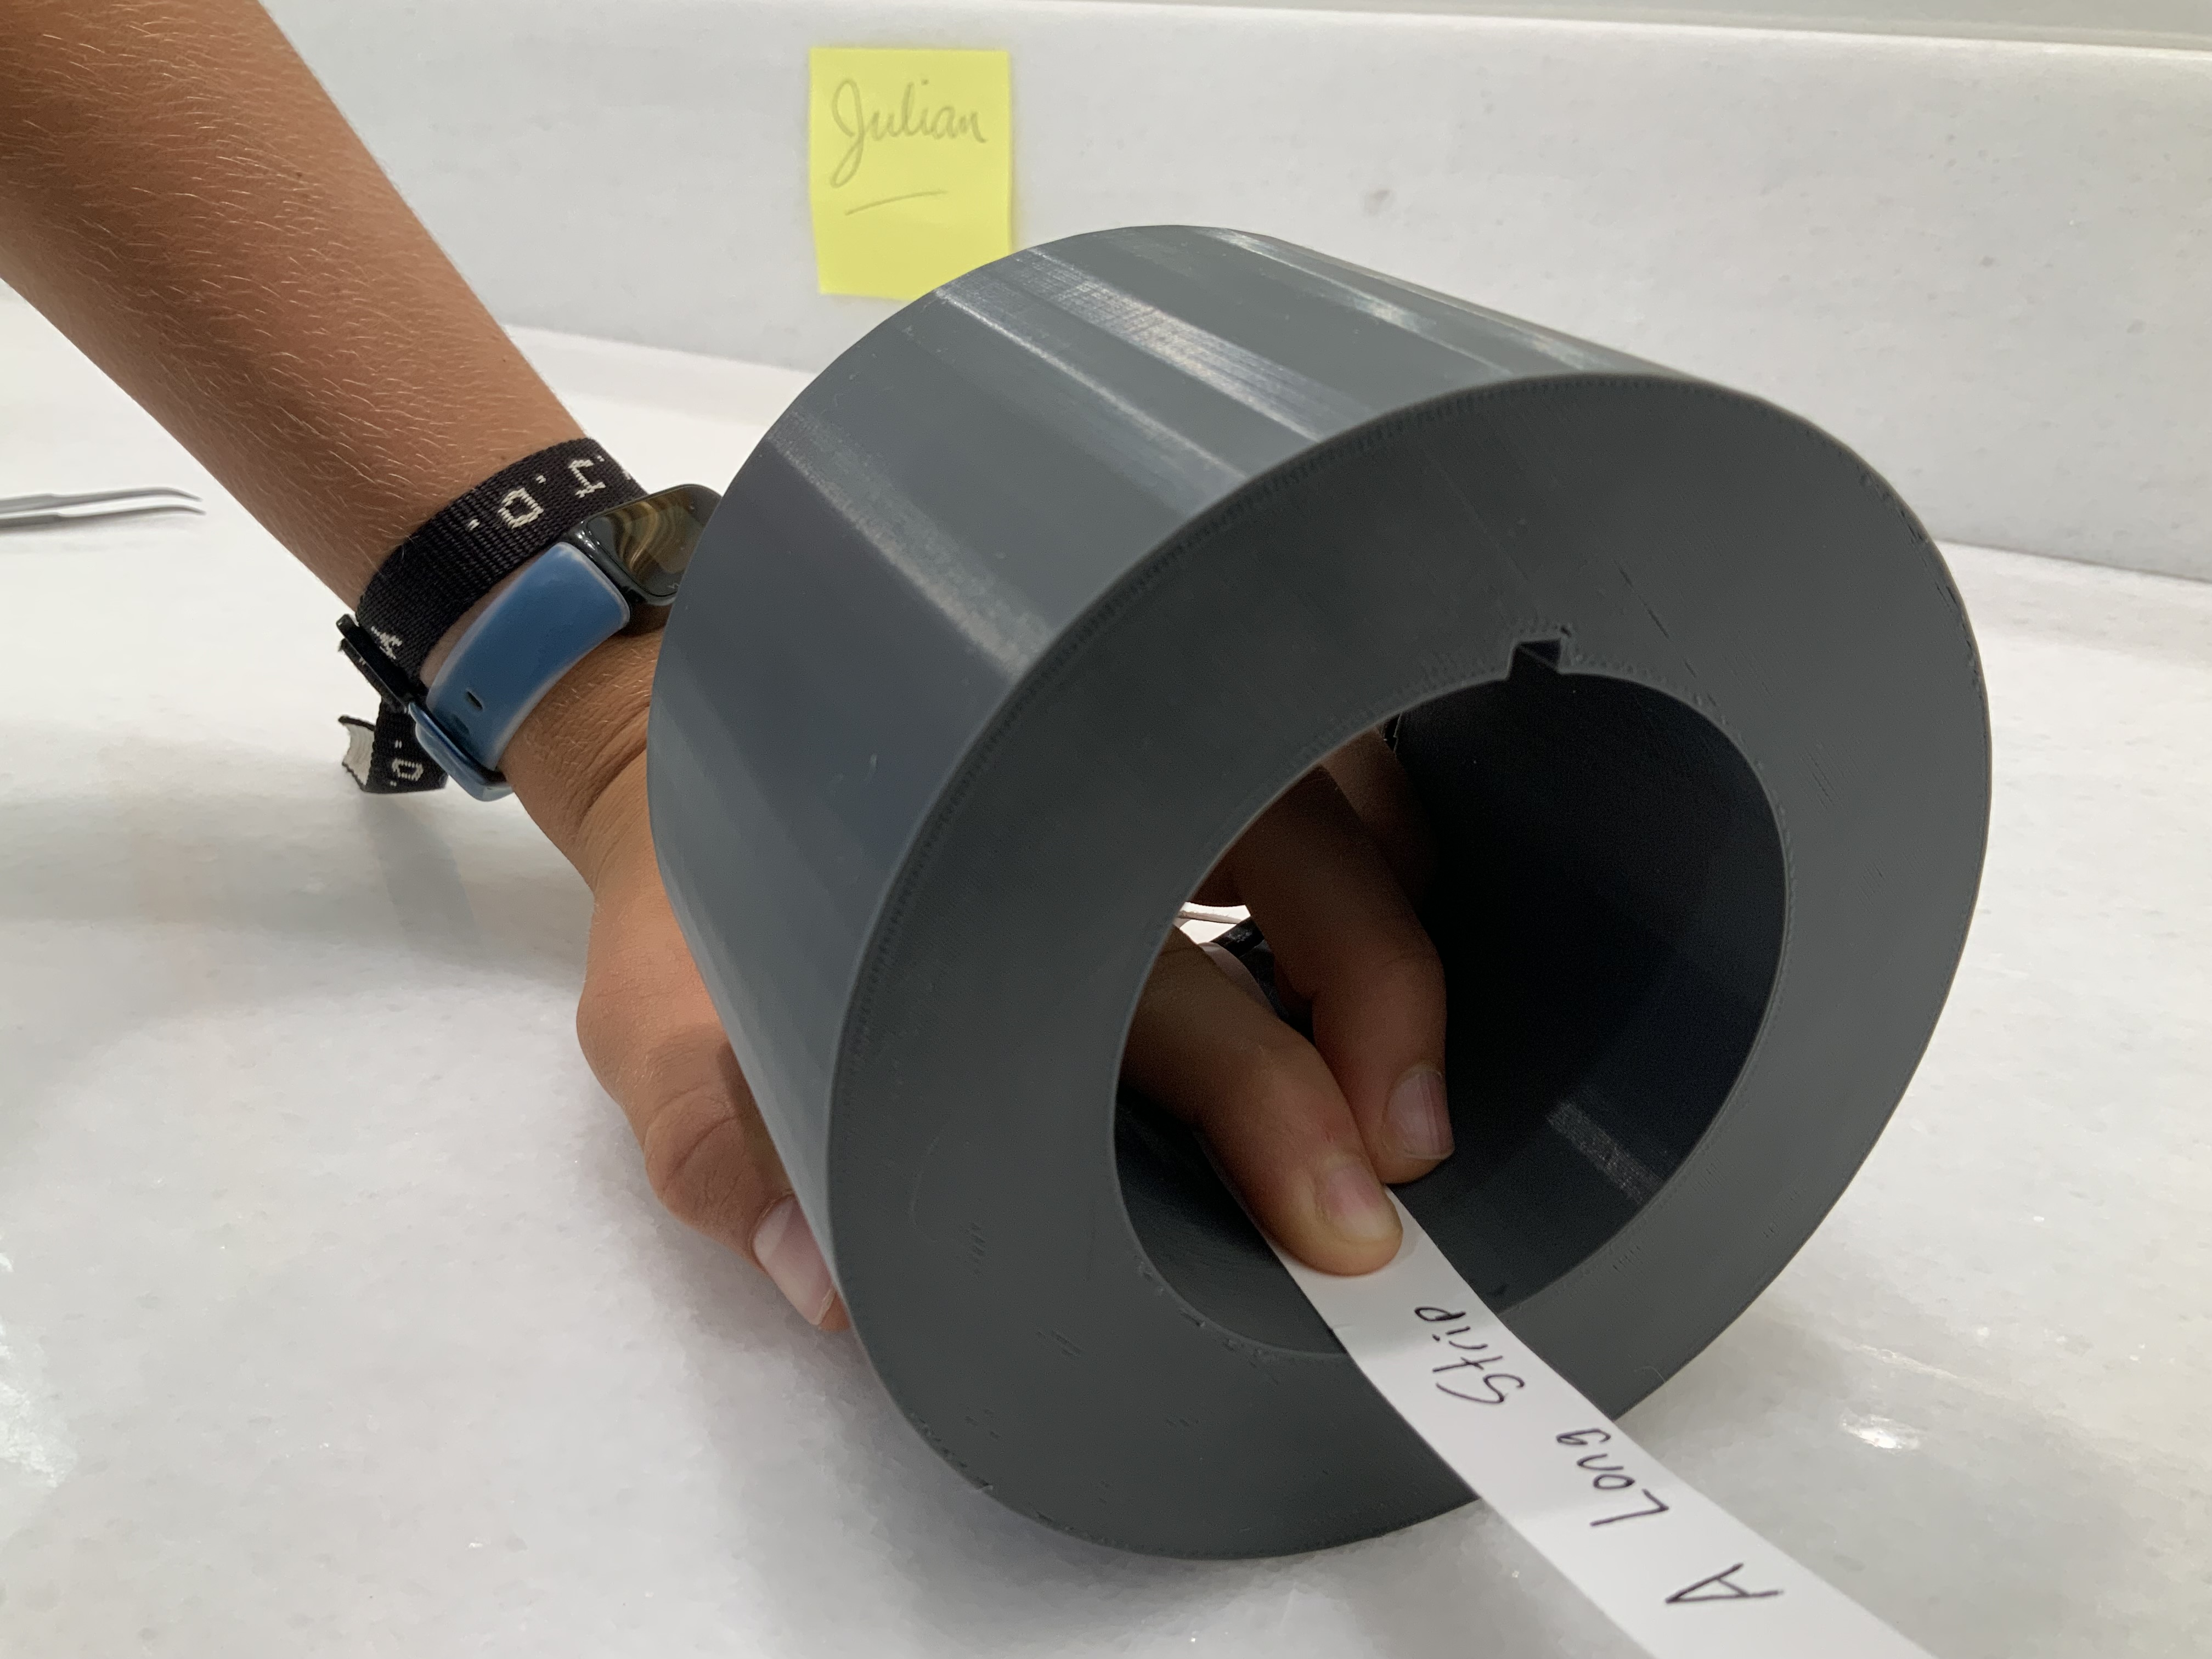
Maintain pressure and carefully add The Inner Core, being careful to not push it all the way into The Outer Core. Line up the notch in The Inner Core with the groove in The Outer Core. Make sure that you can still see the holes in The Inner Core.
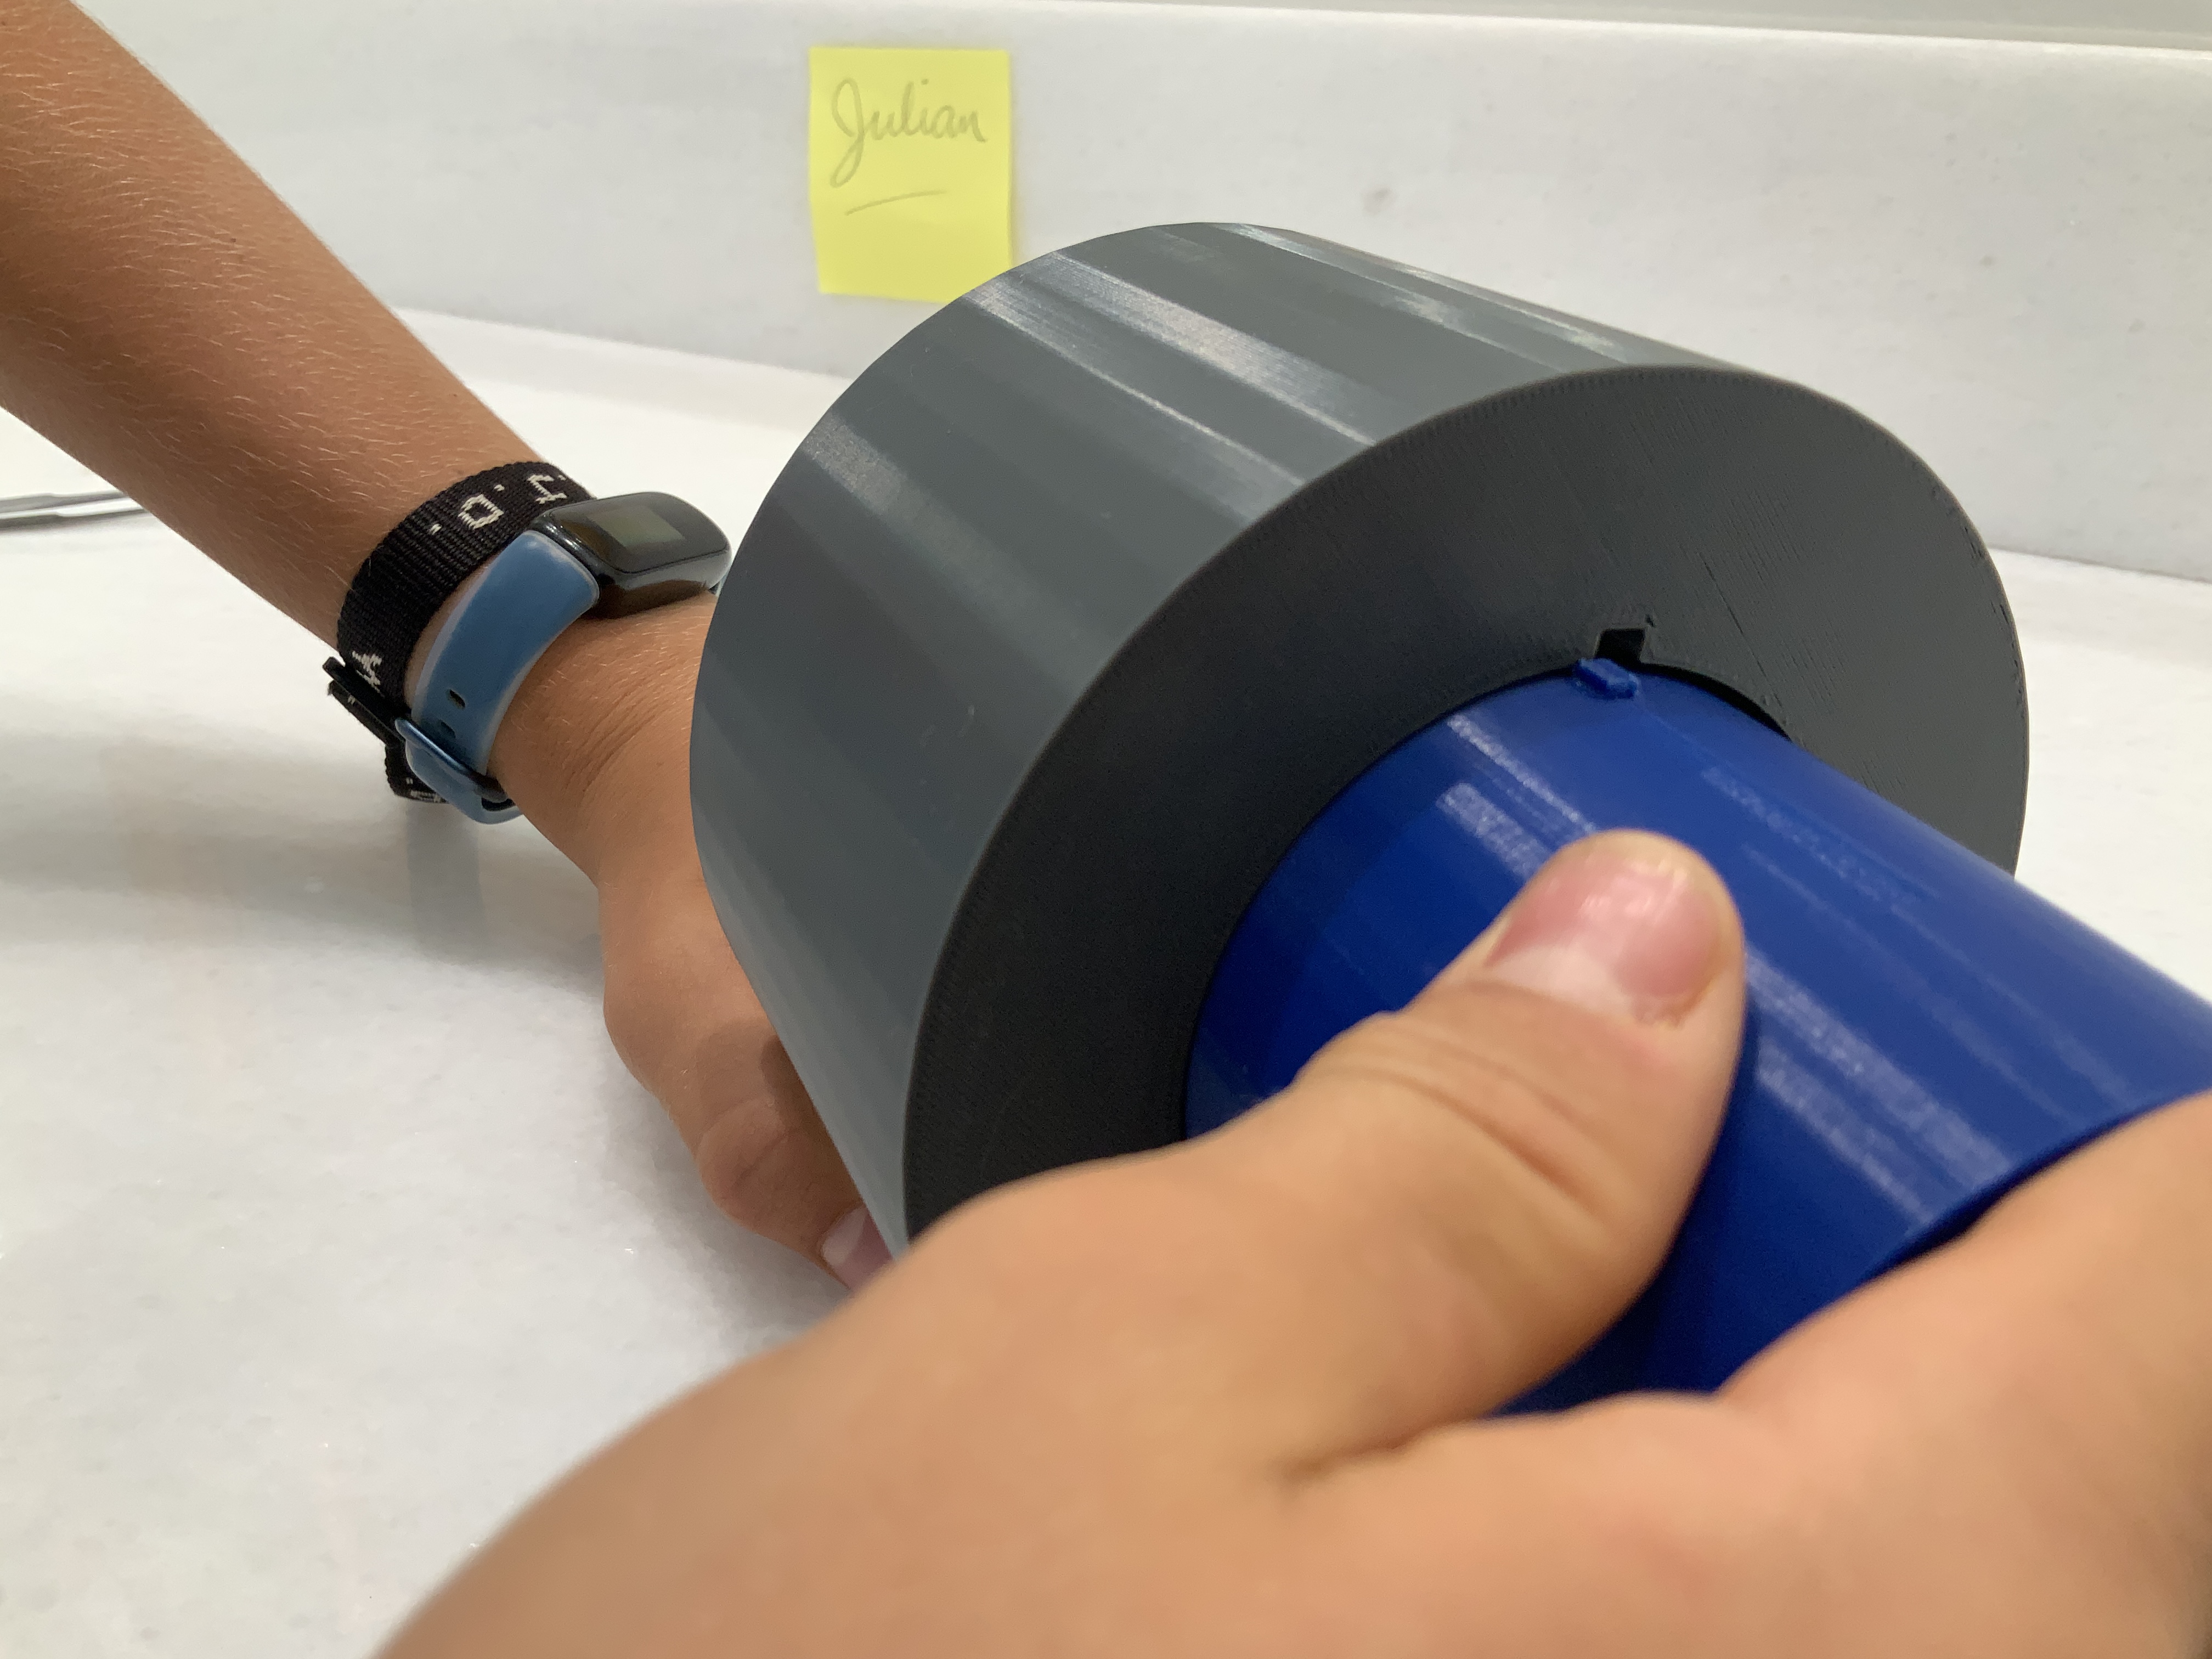
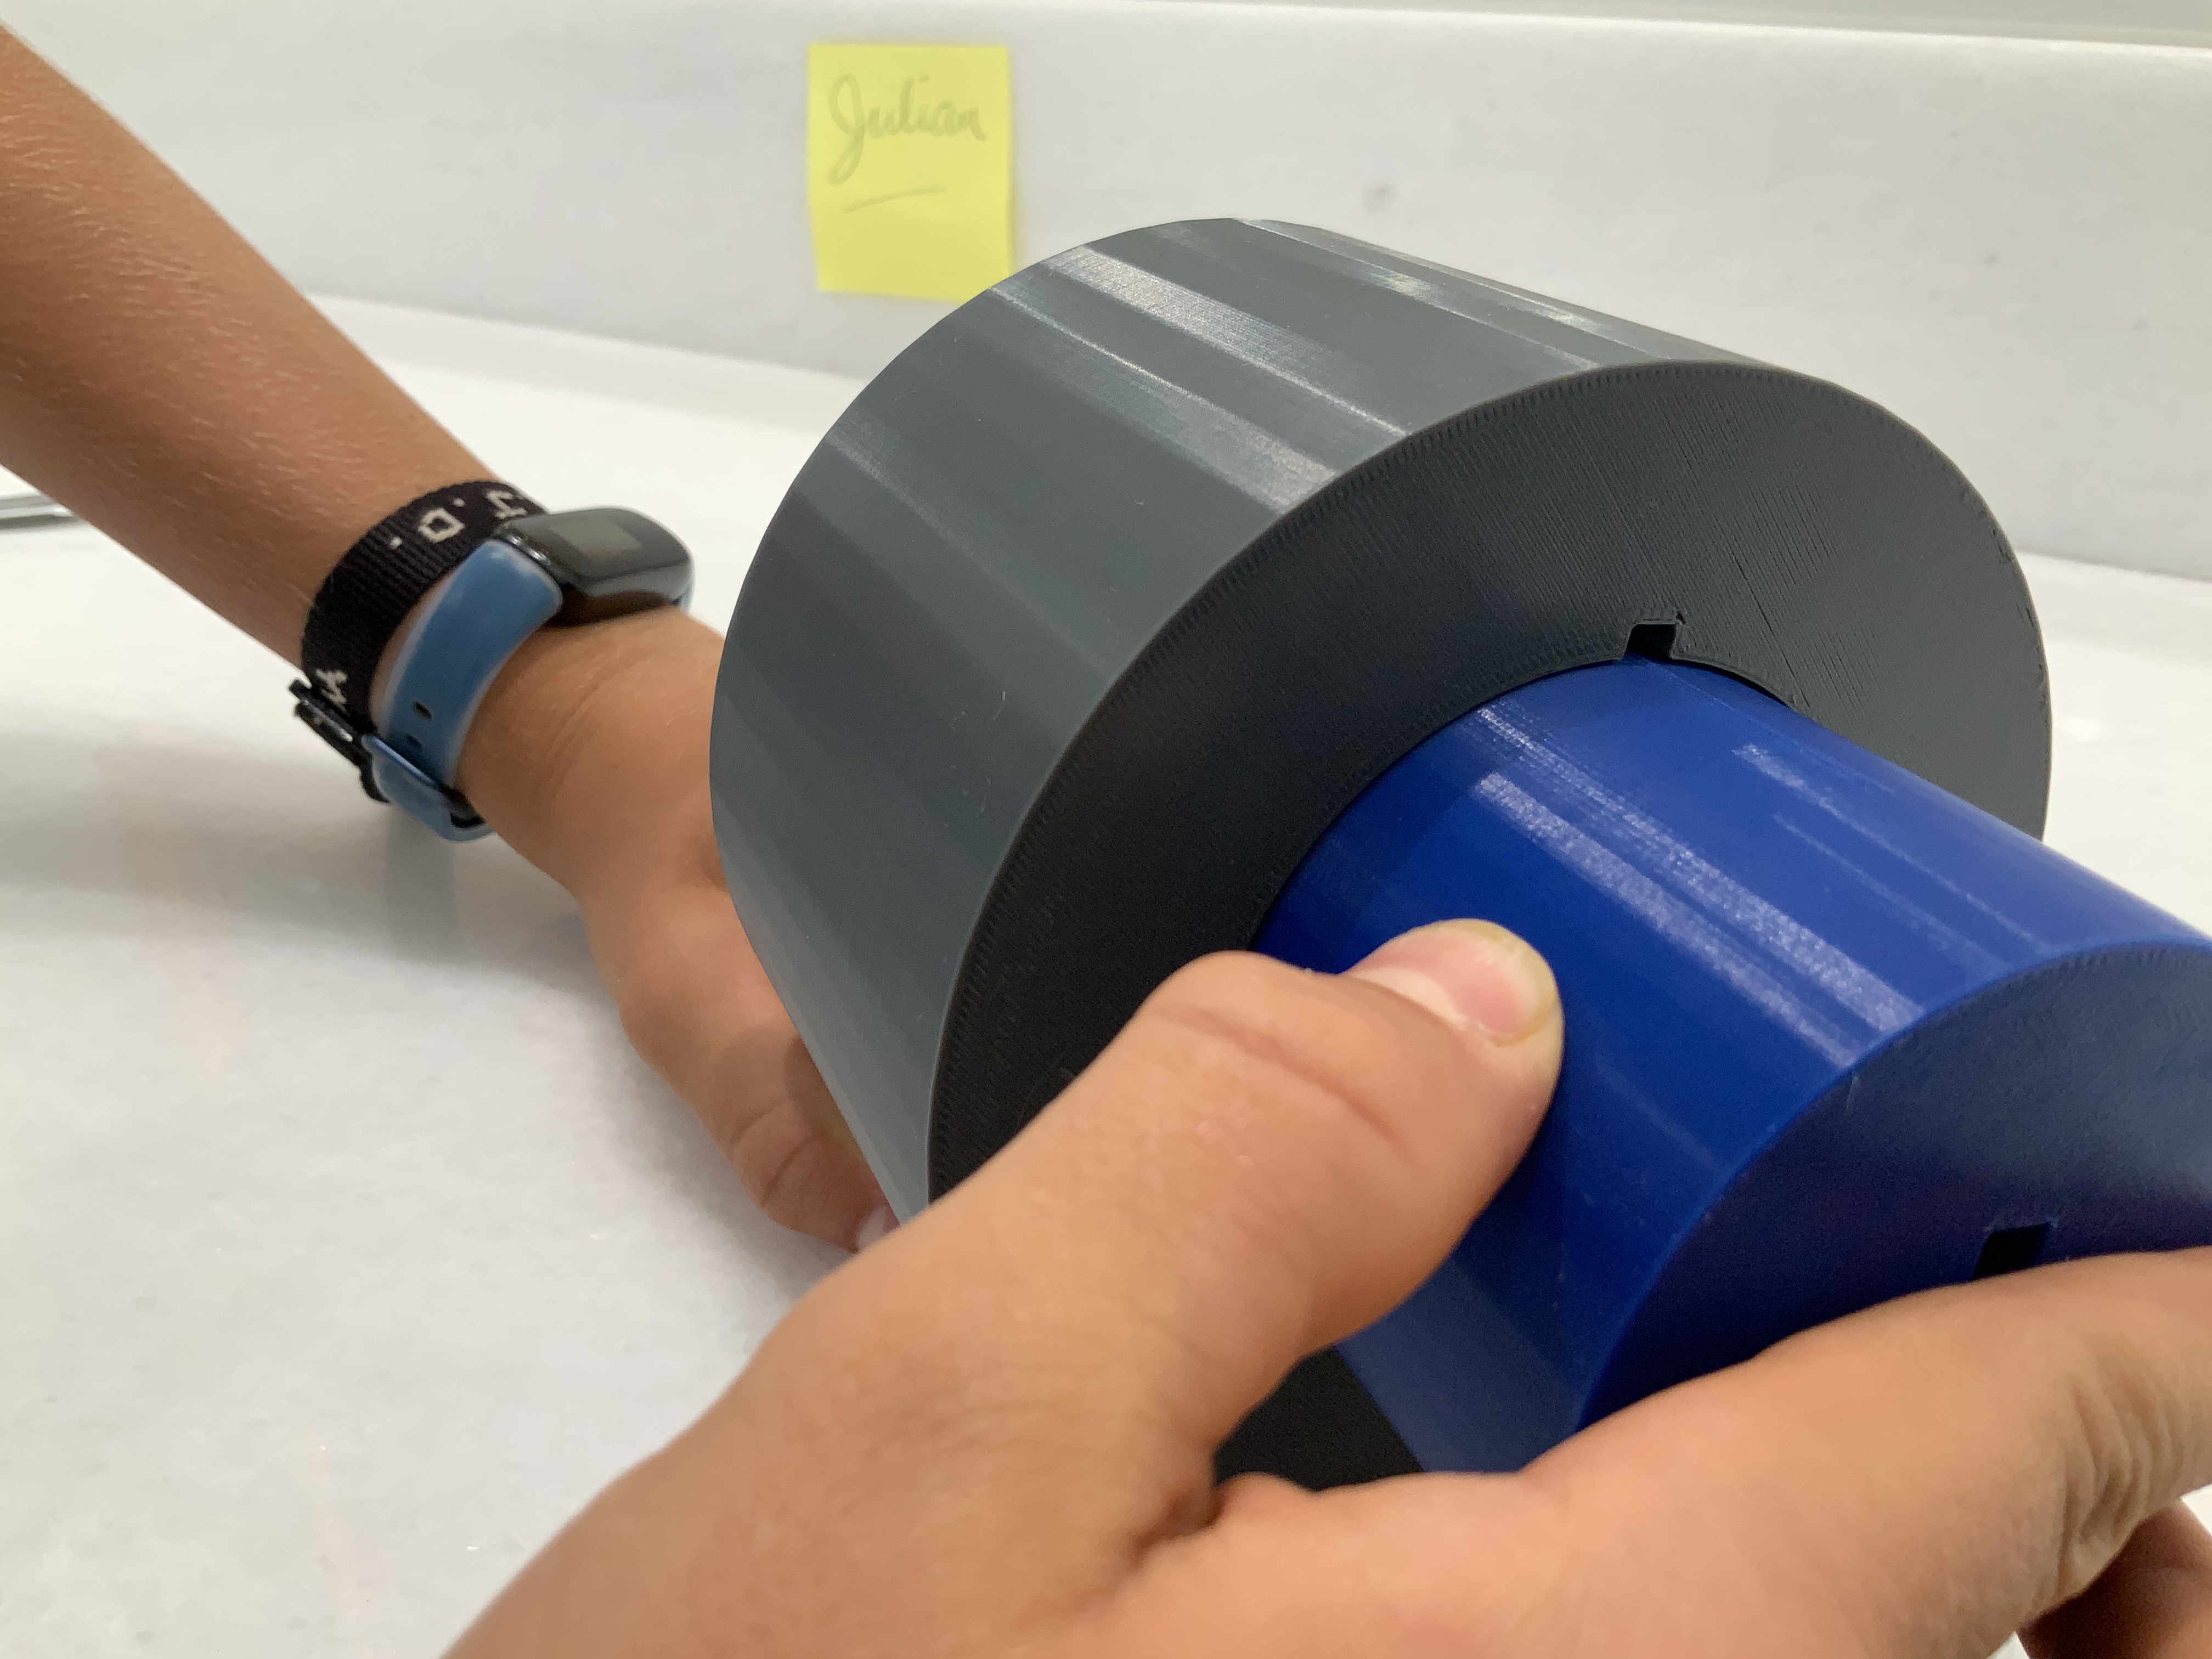
Step 8: Adding The Pins
Start by removing the long piece of paper.

Now, insert The Tall Pin into the hole in The Inner Core that is closer to The Outer Core.
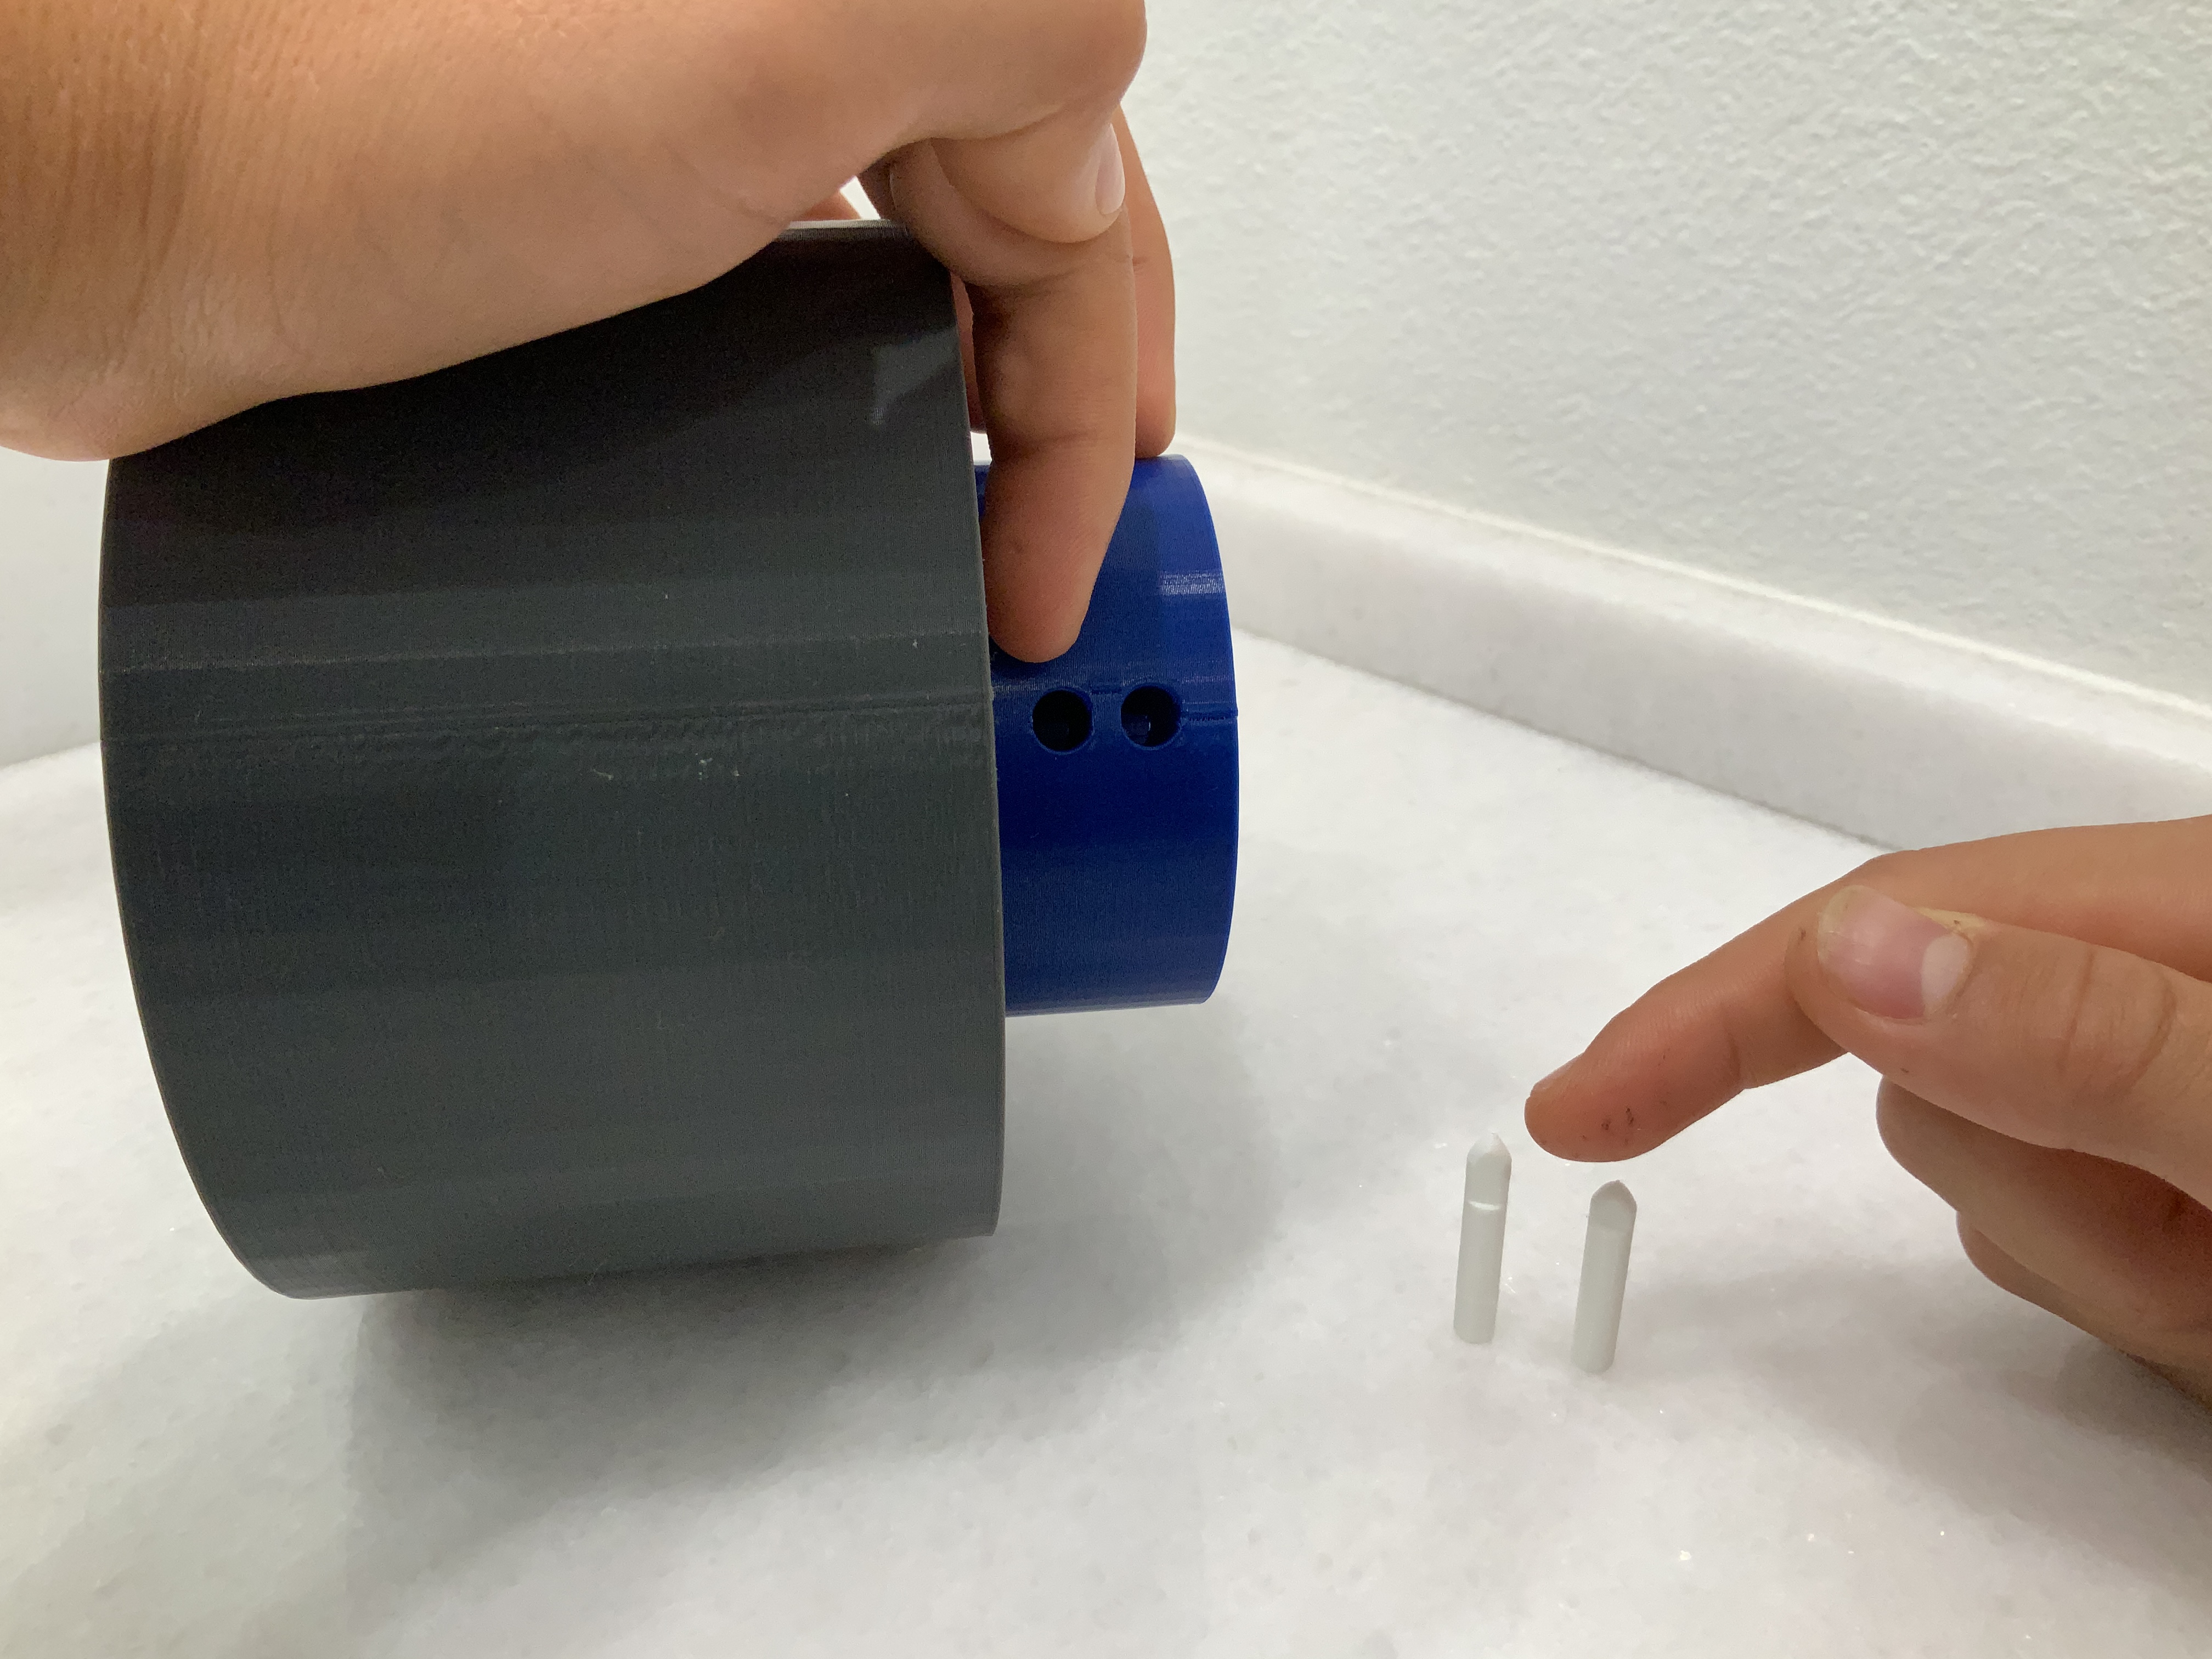
Be careful to line up the notch in The Tall Pin with the block in the key slot of The Inner Core.
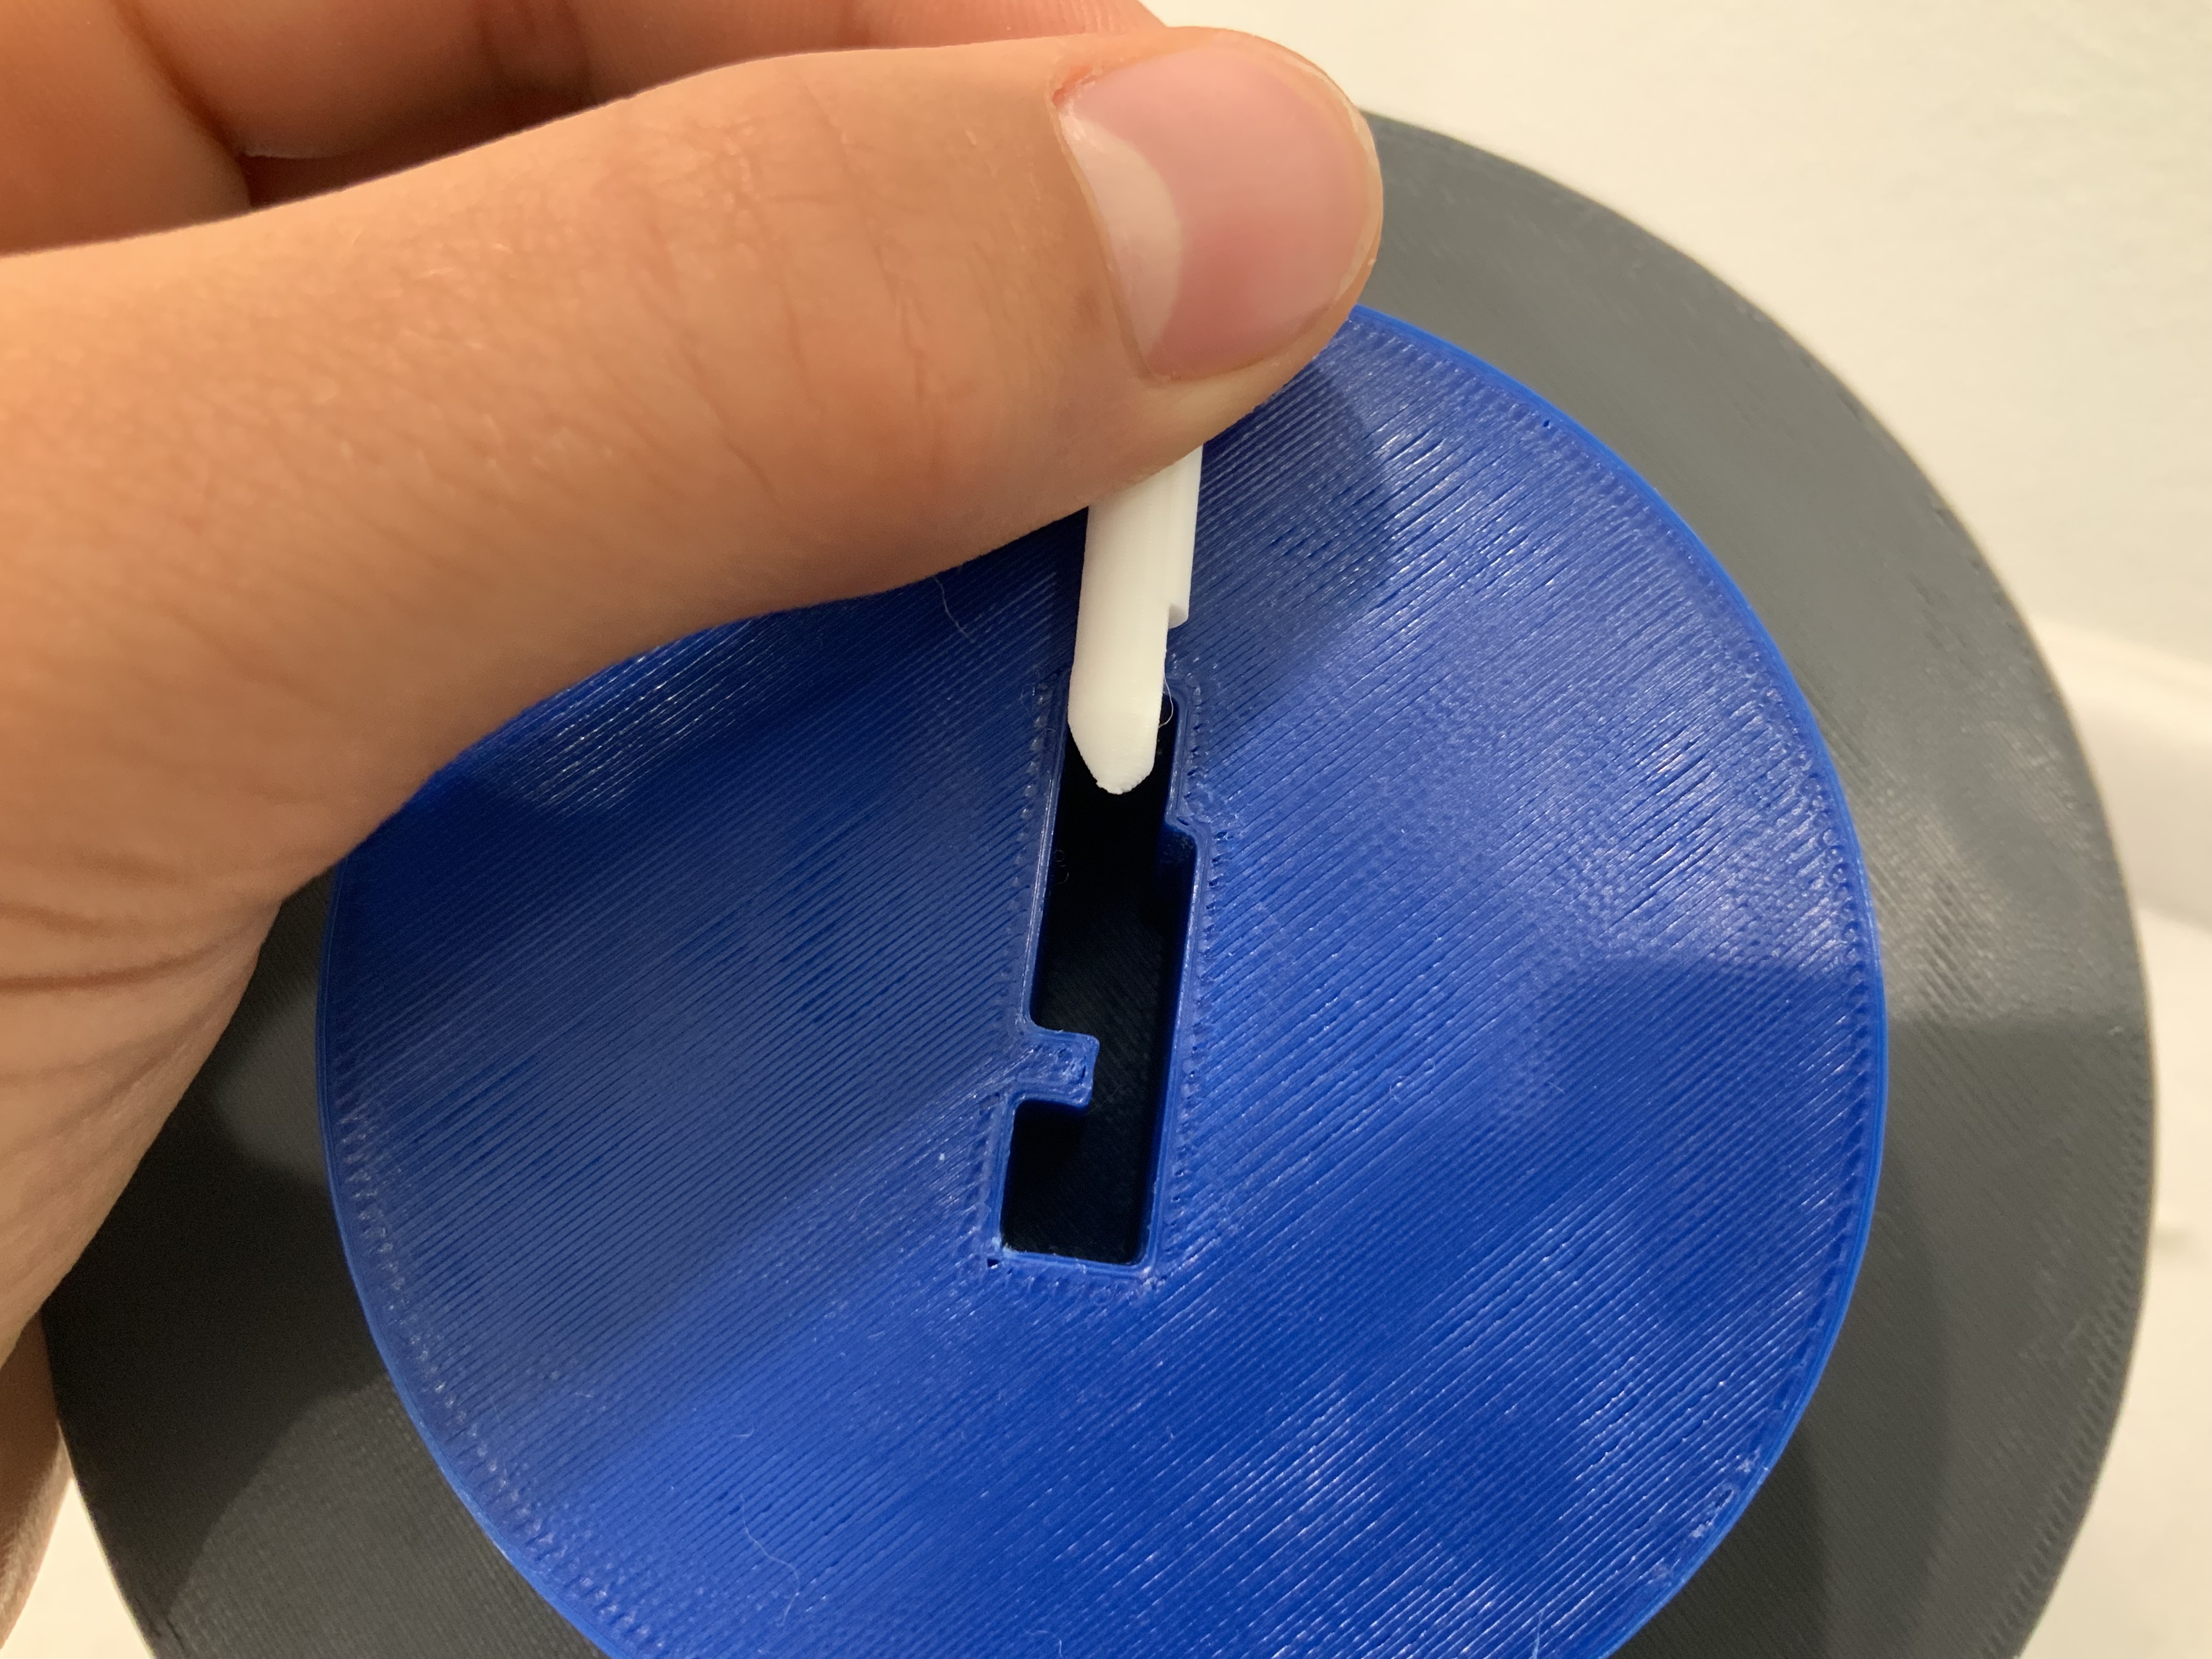
Now, use the same method to add The Short Pin and slide The Inner Core into The Outer Core without letting the Pins fall out. You may have to insert The Key and remove it a few times as you push The Inner Core in, as The Pins may engage in the wrong holes.
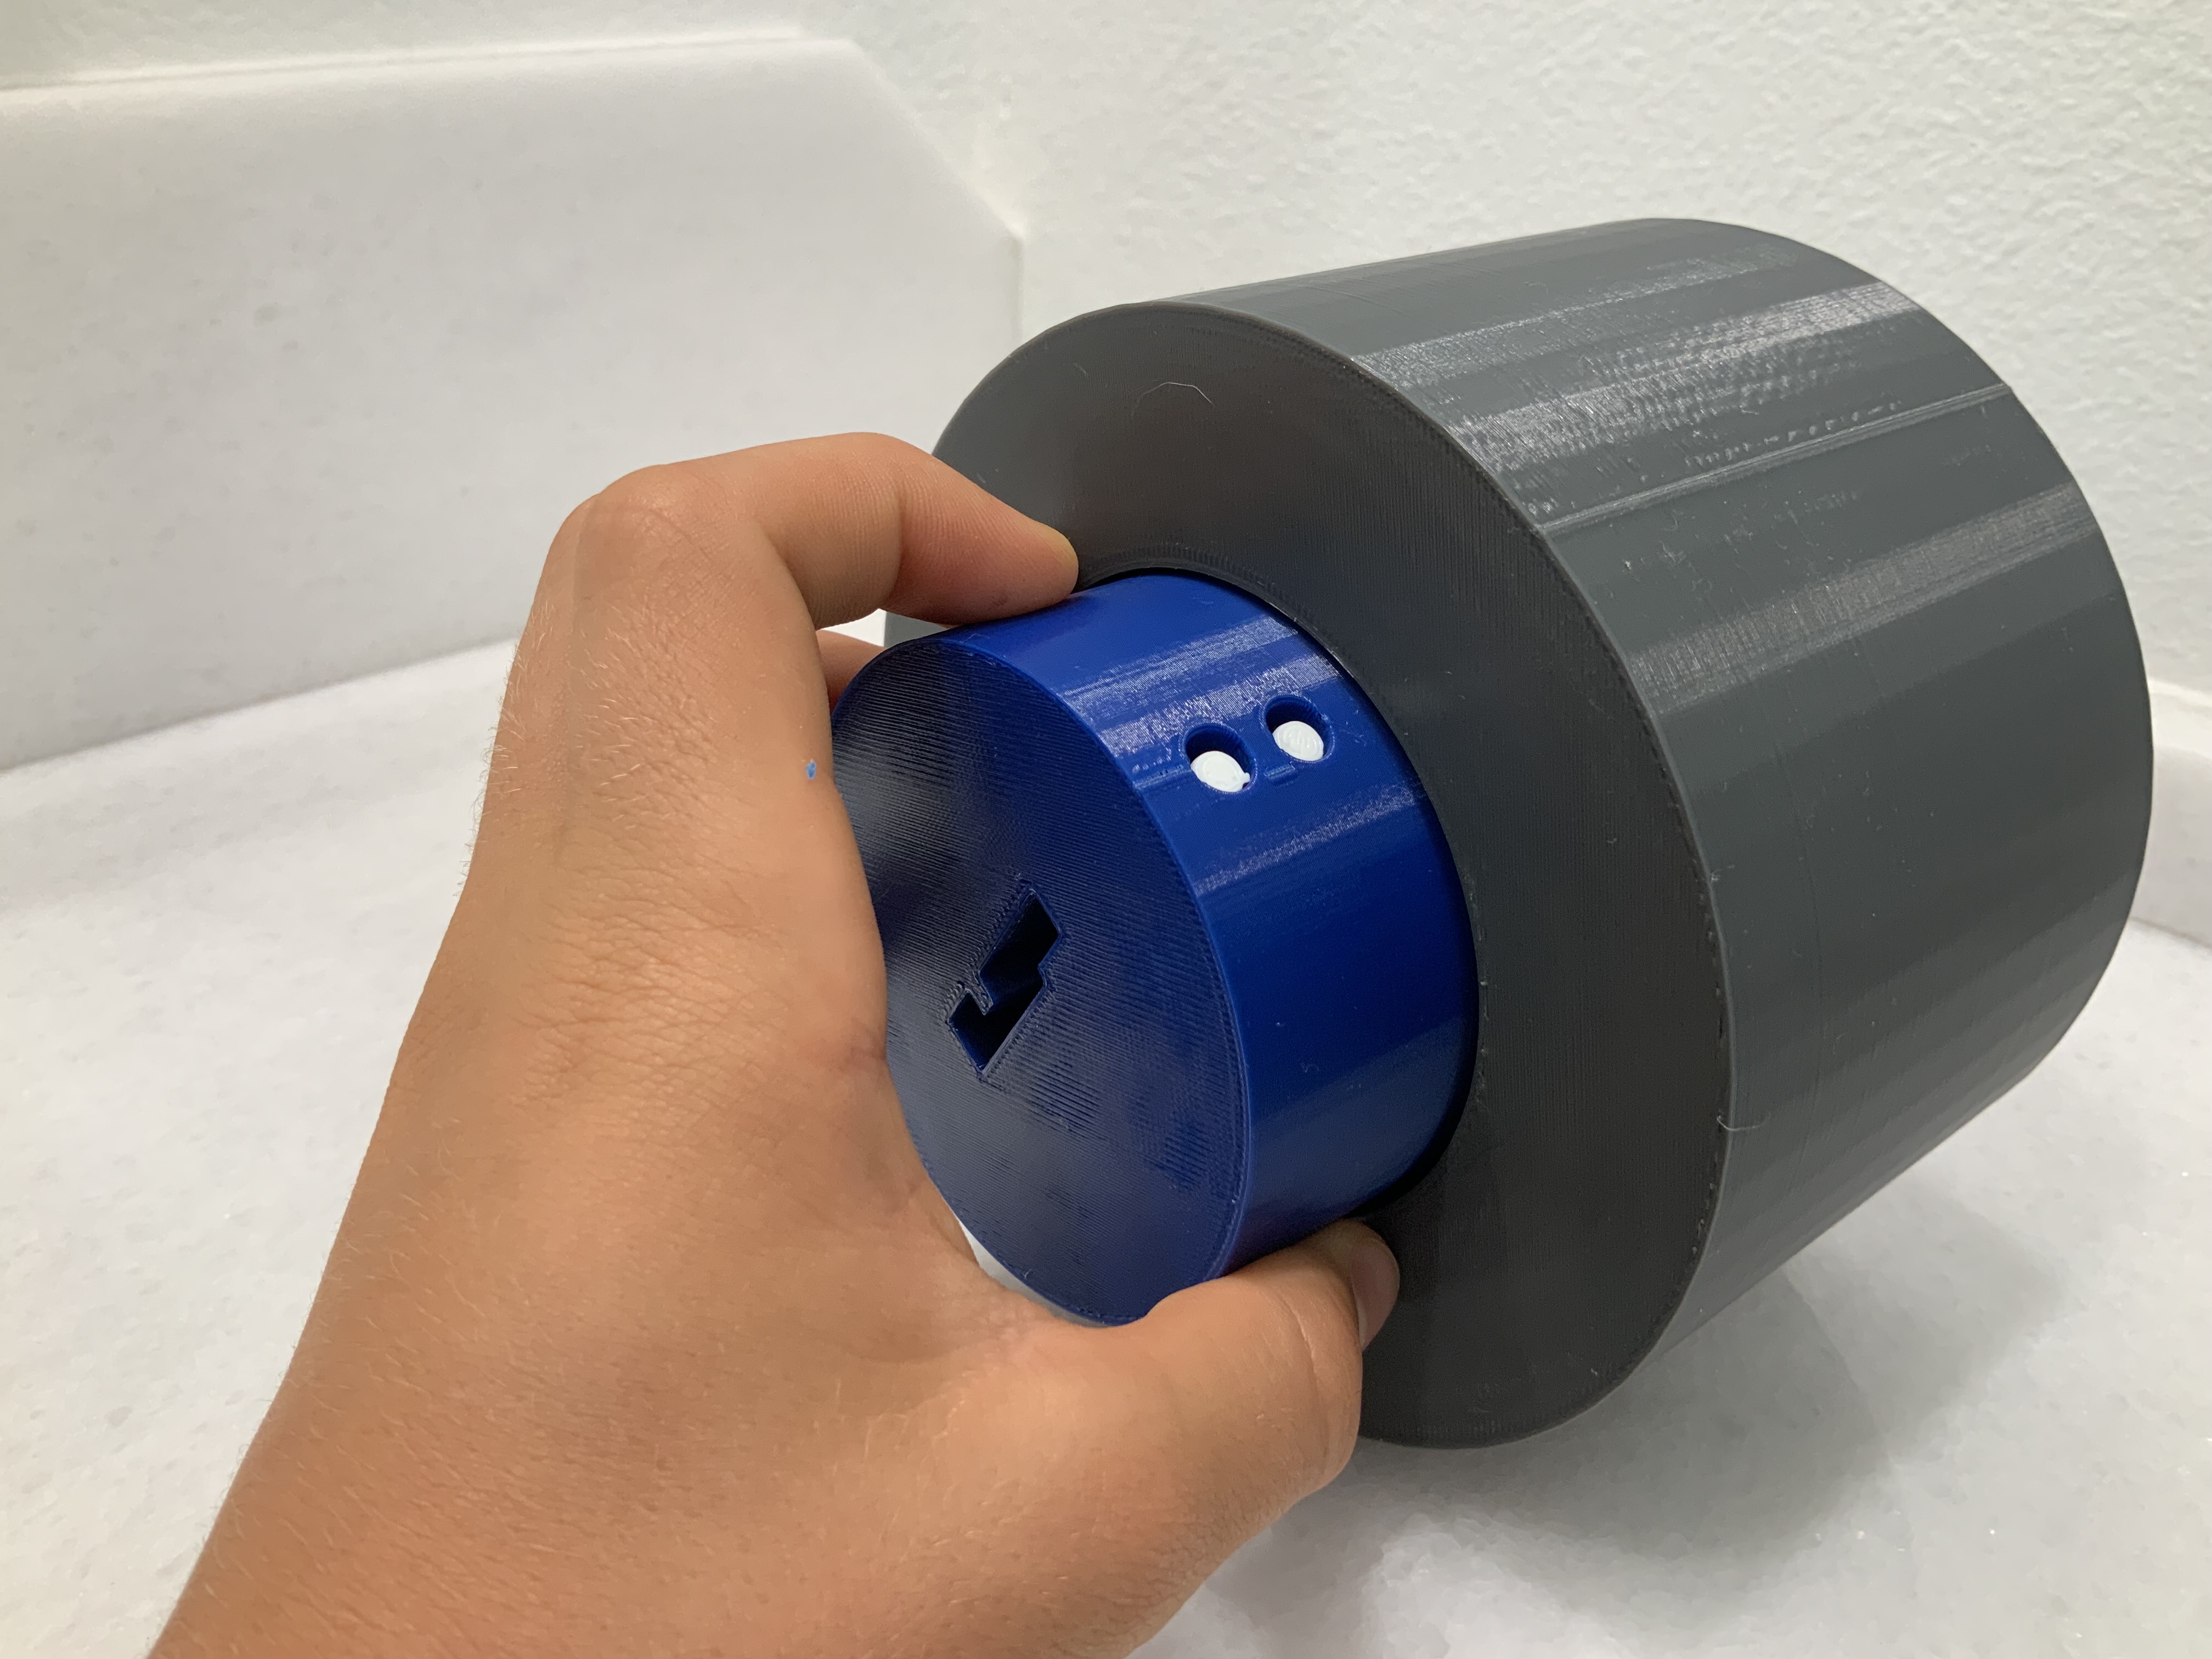

Step 9: Adding The Baseplate
Start by inserting The Key and turning counterclockwise to unlock The Lockbox.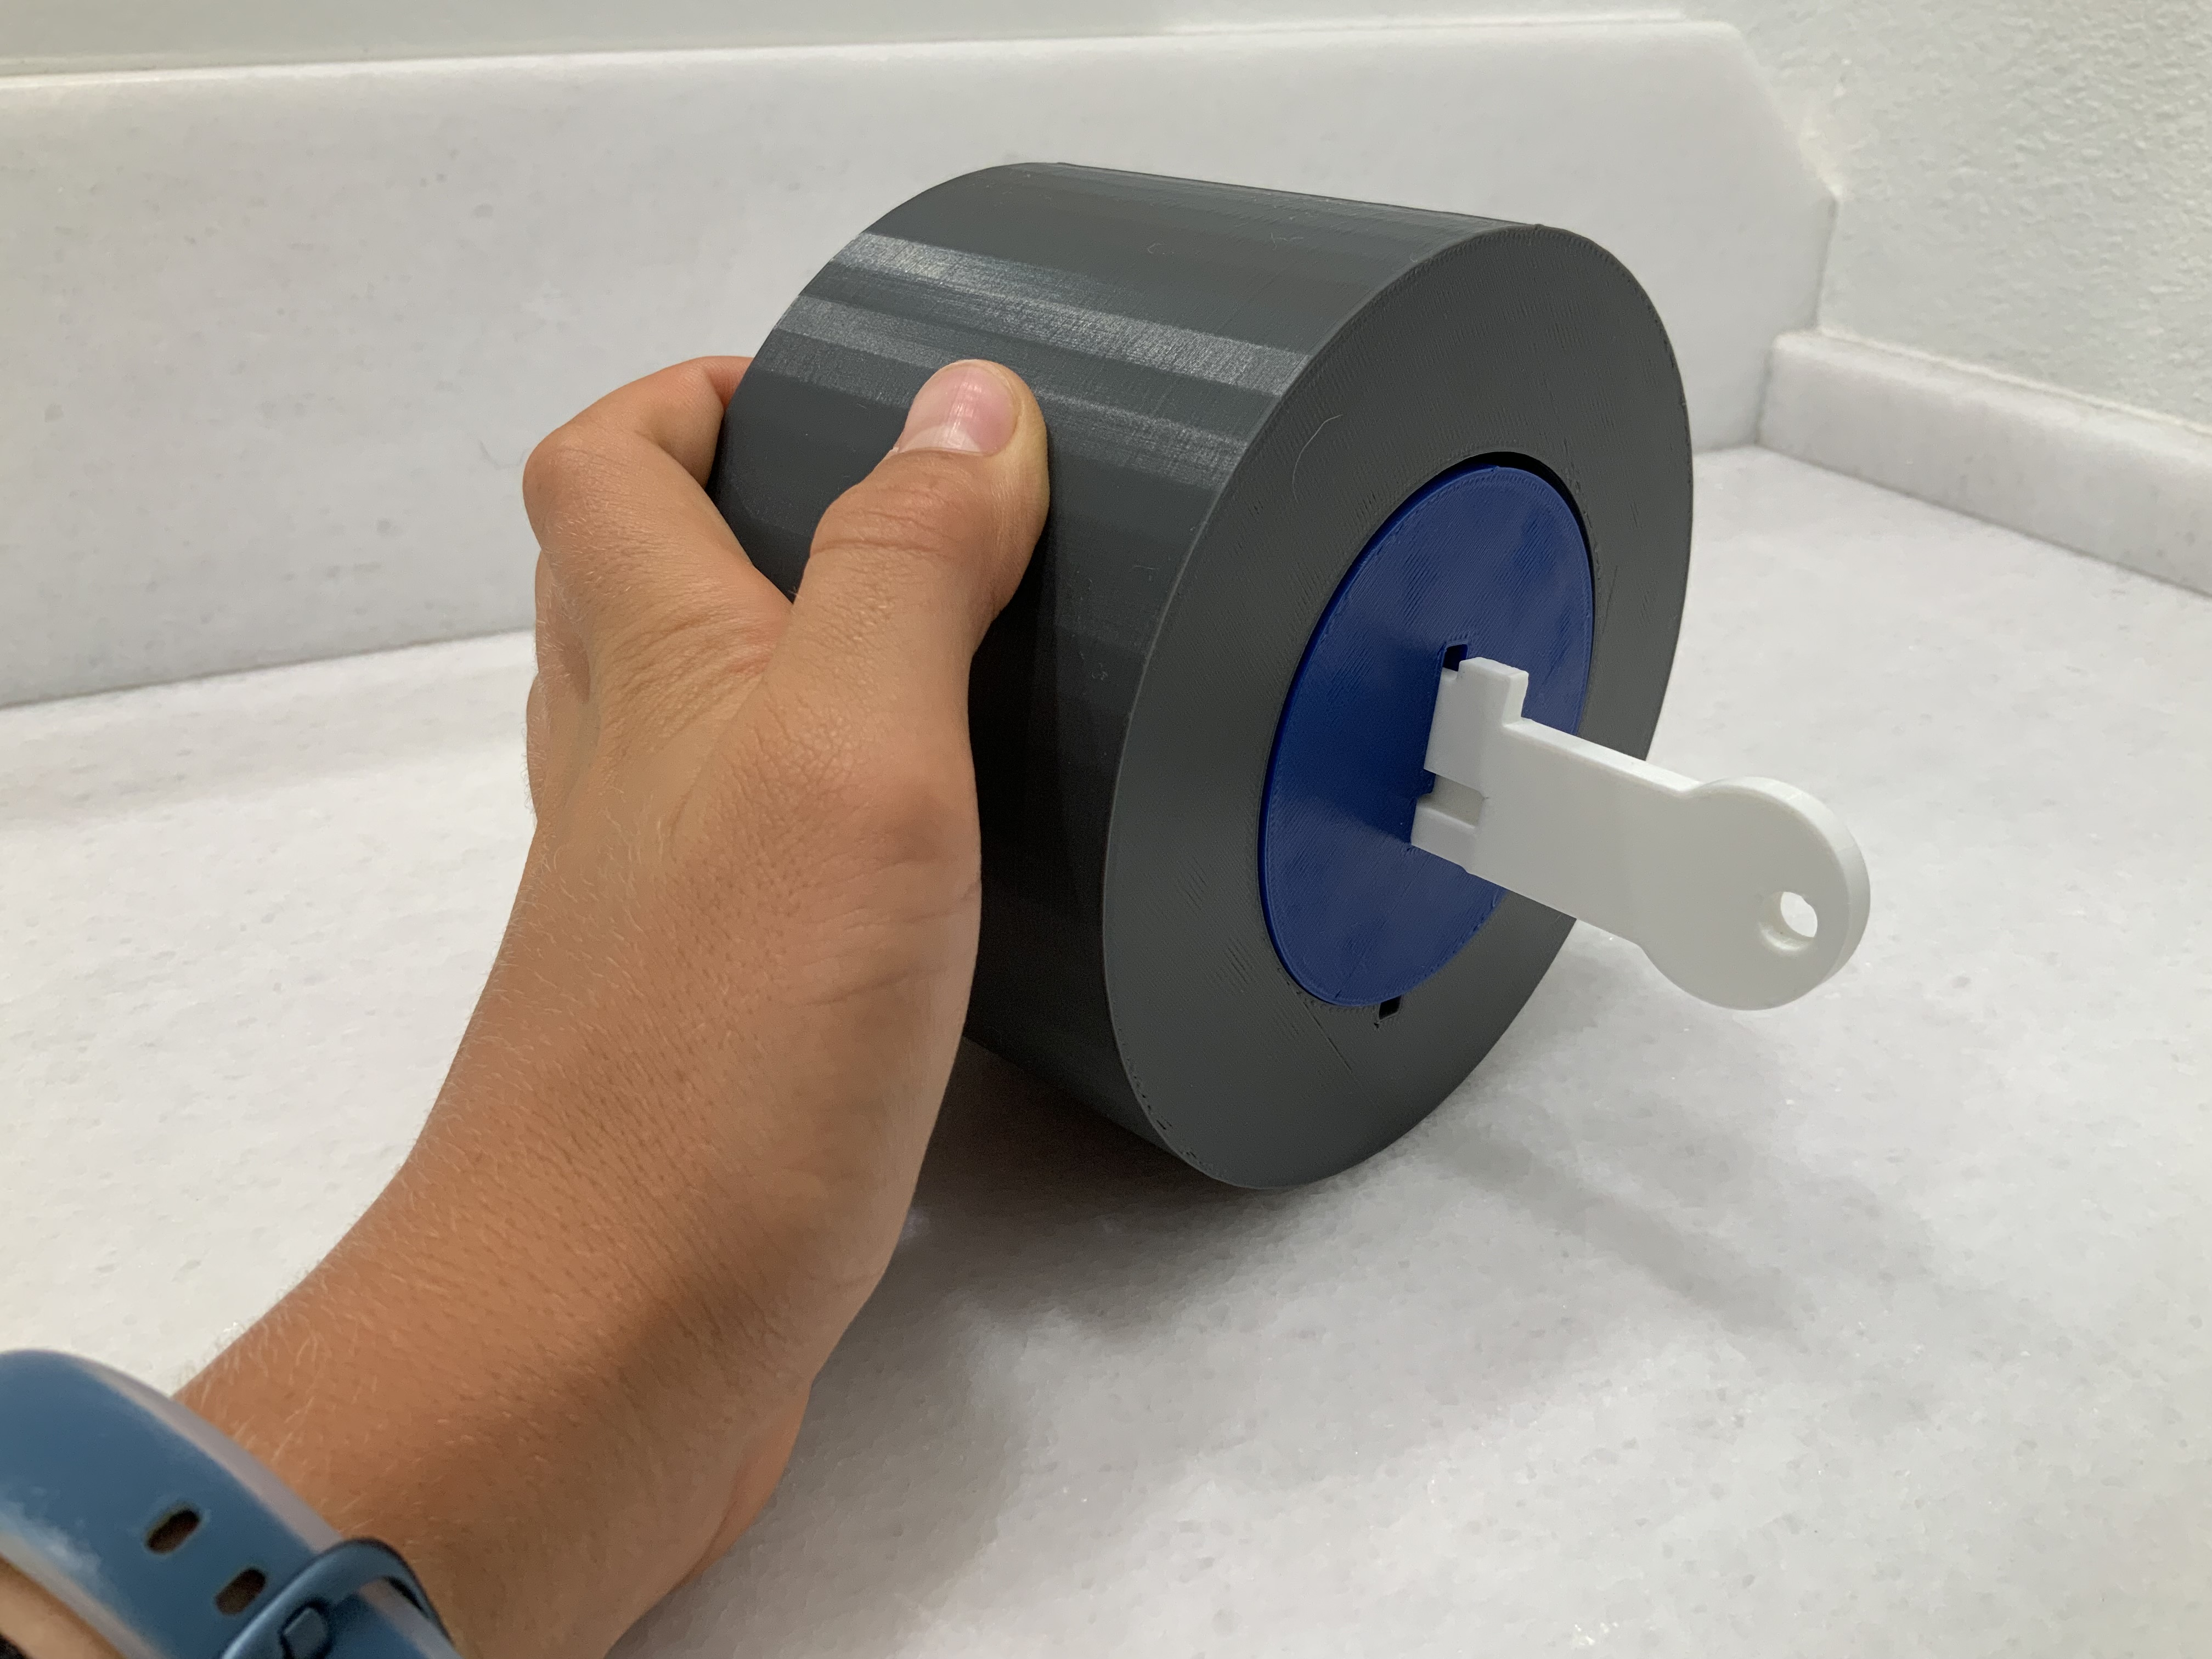
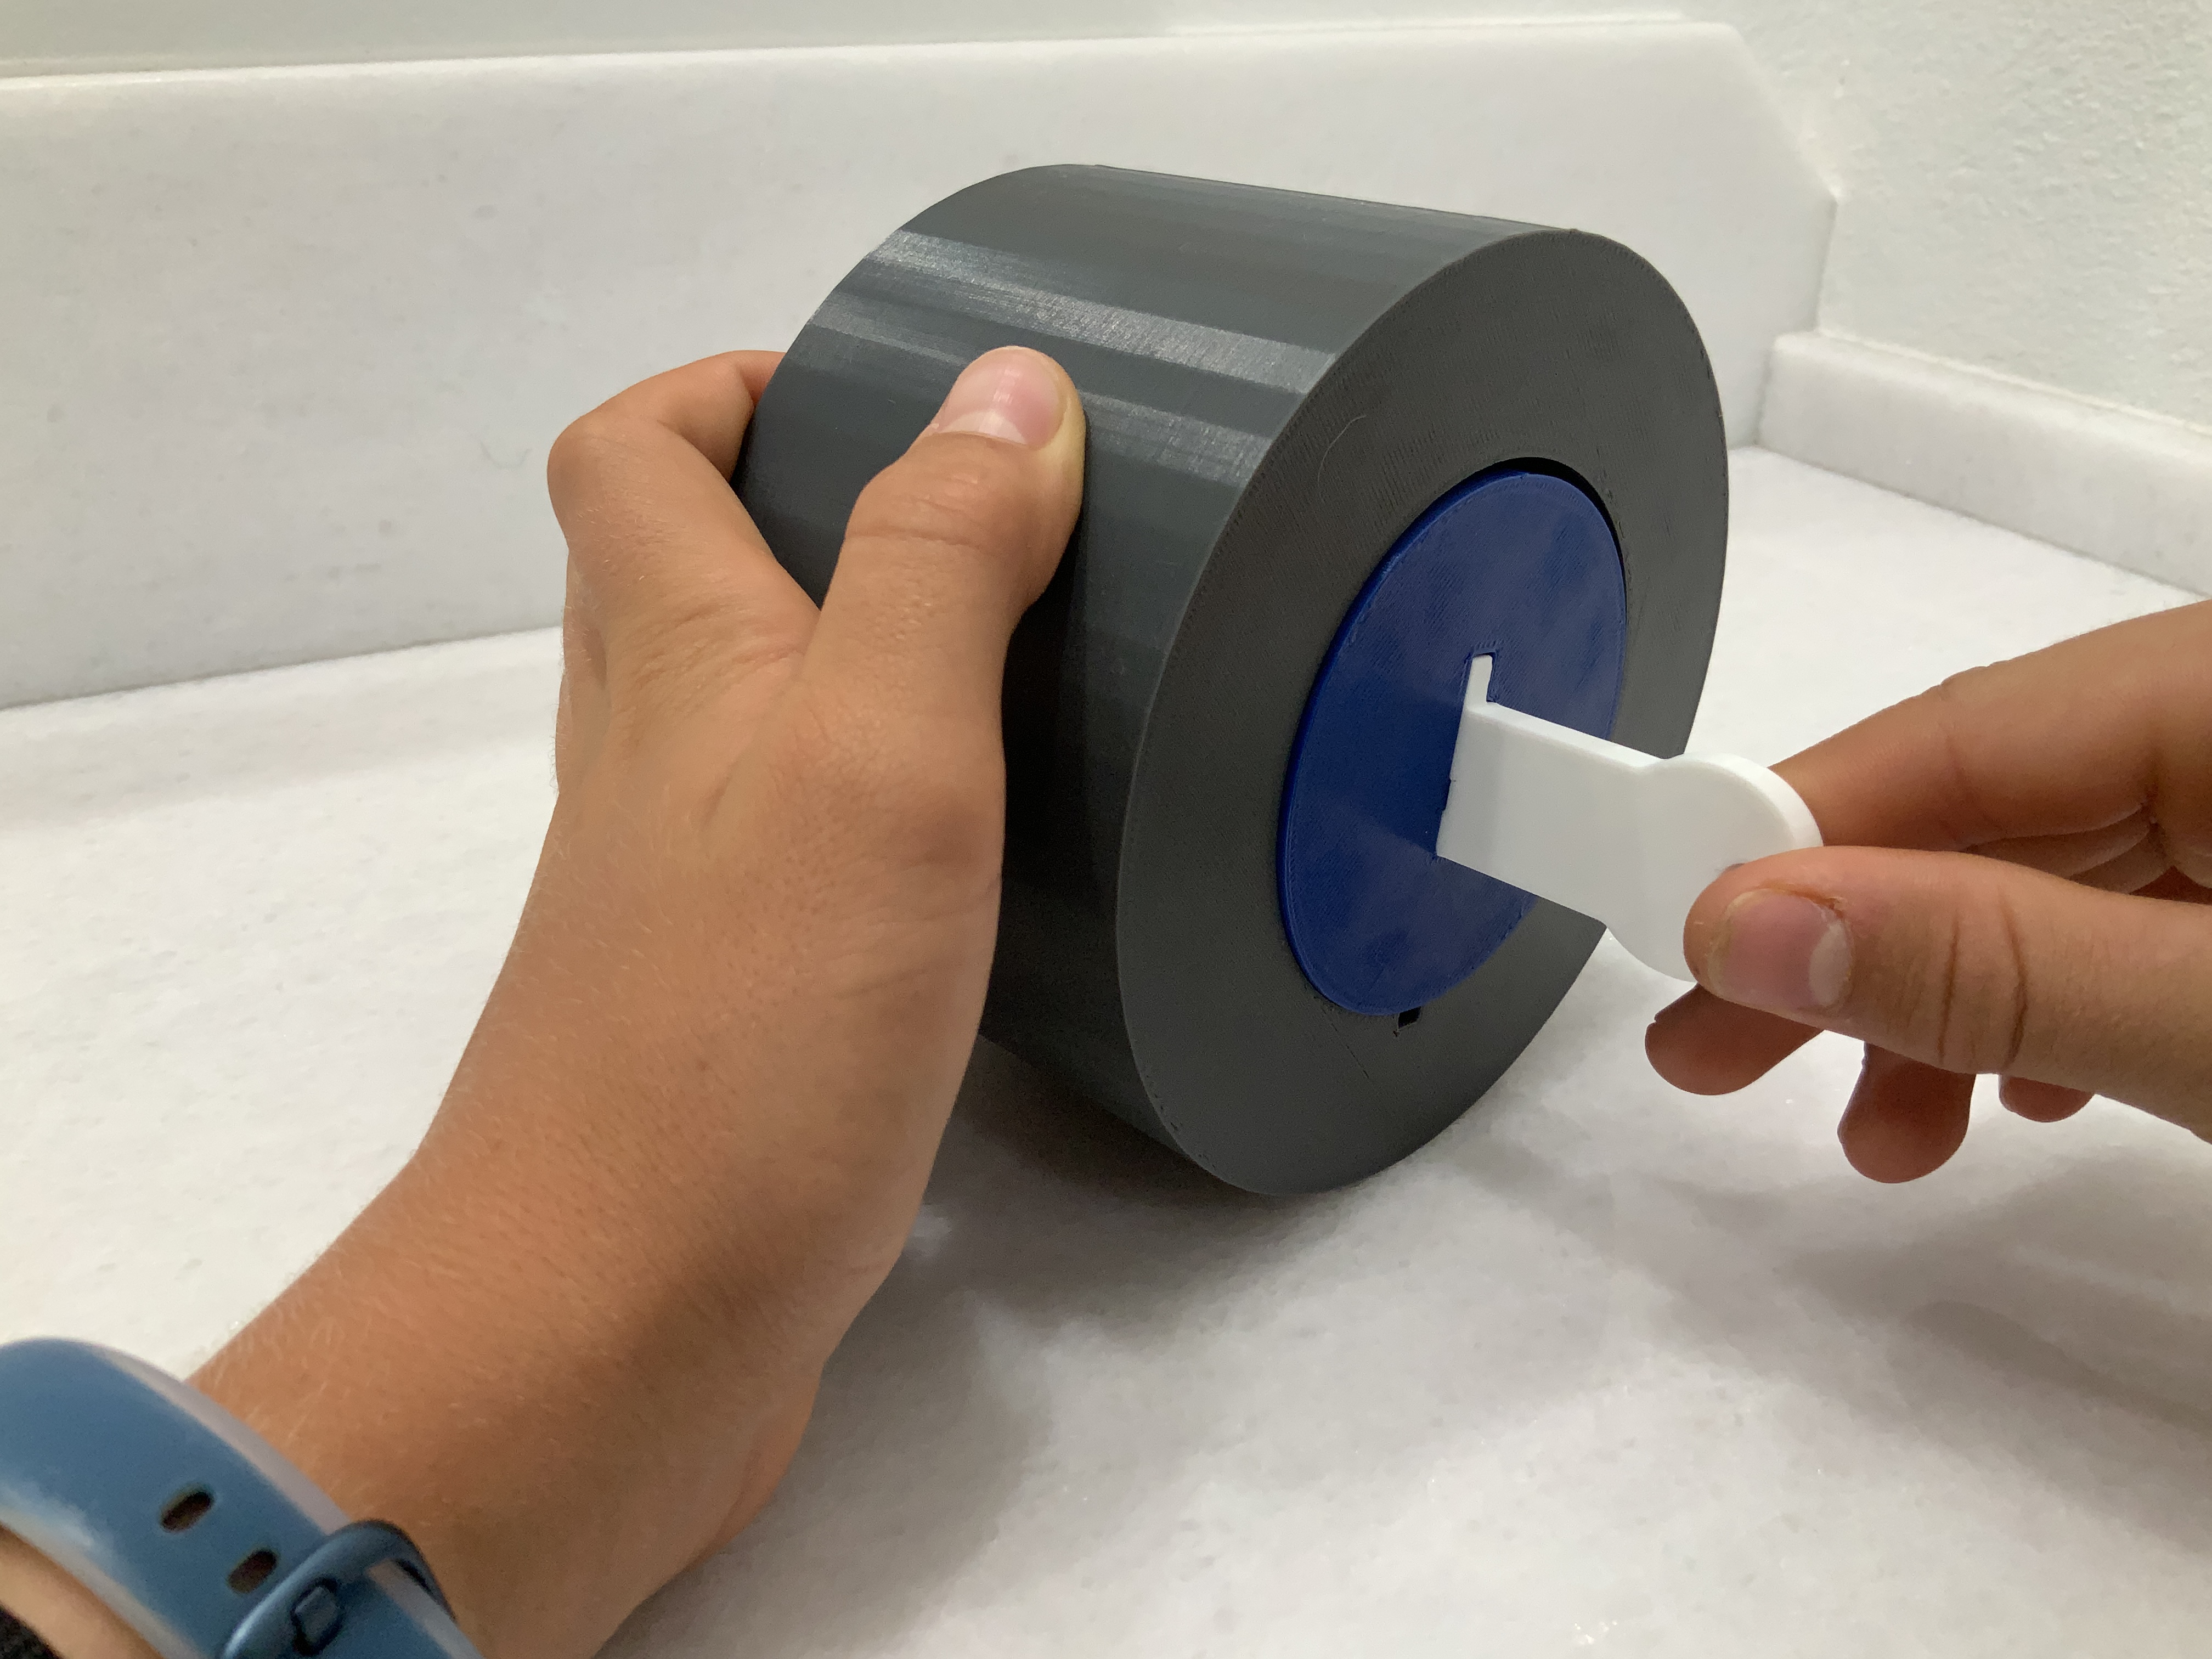

Turn The Lockbox around and fit the notches on The Baseplate into the grooves in The Outer Core. 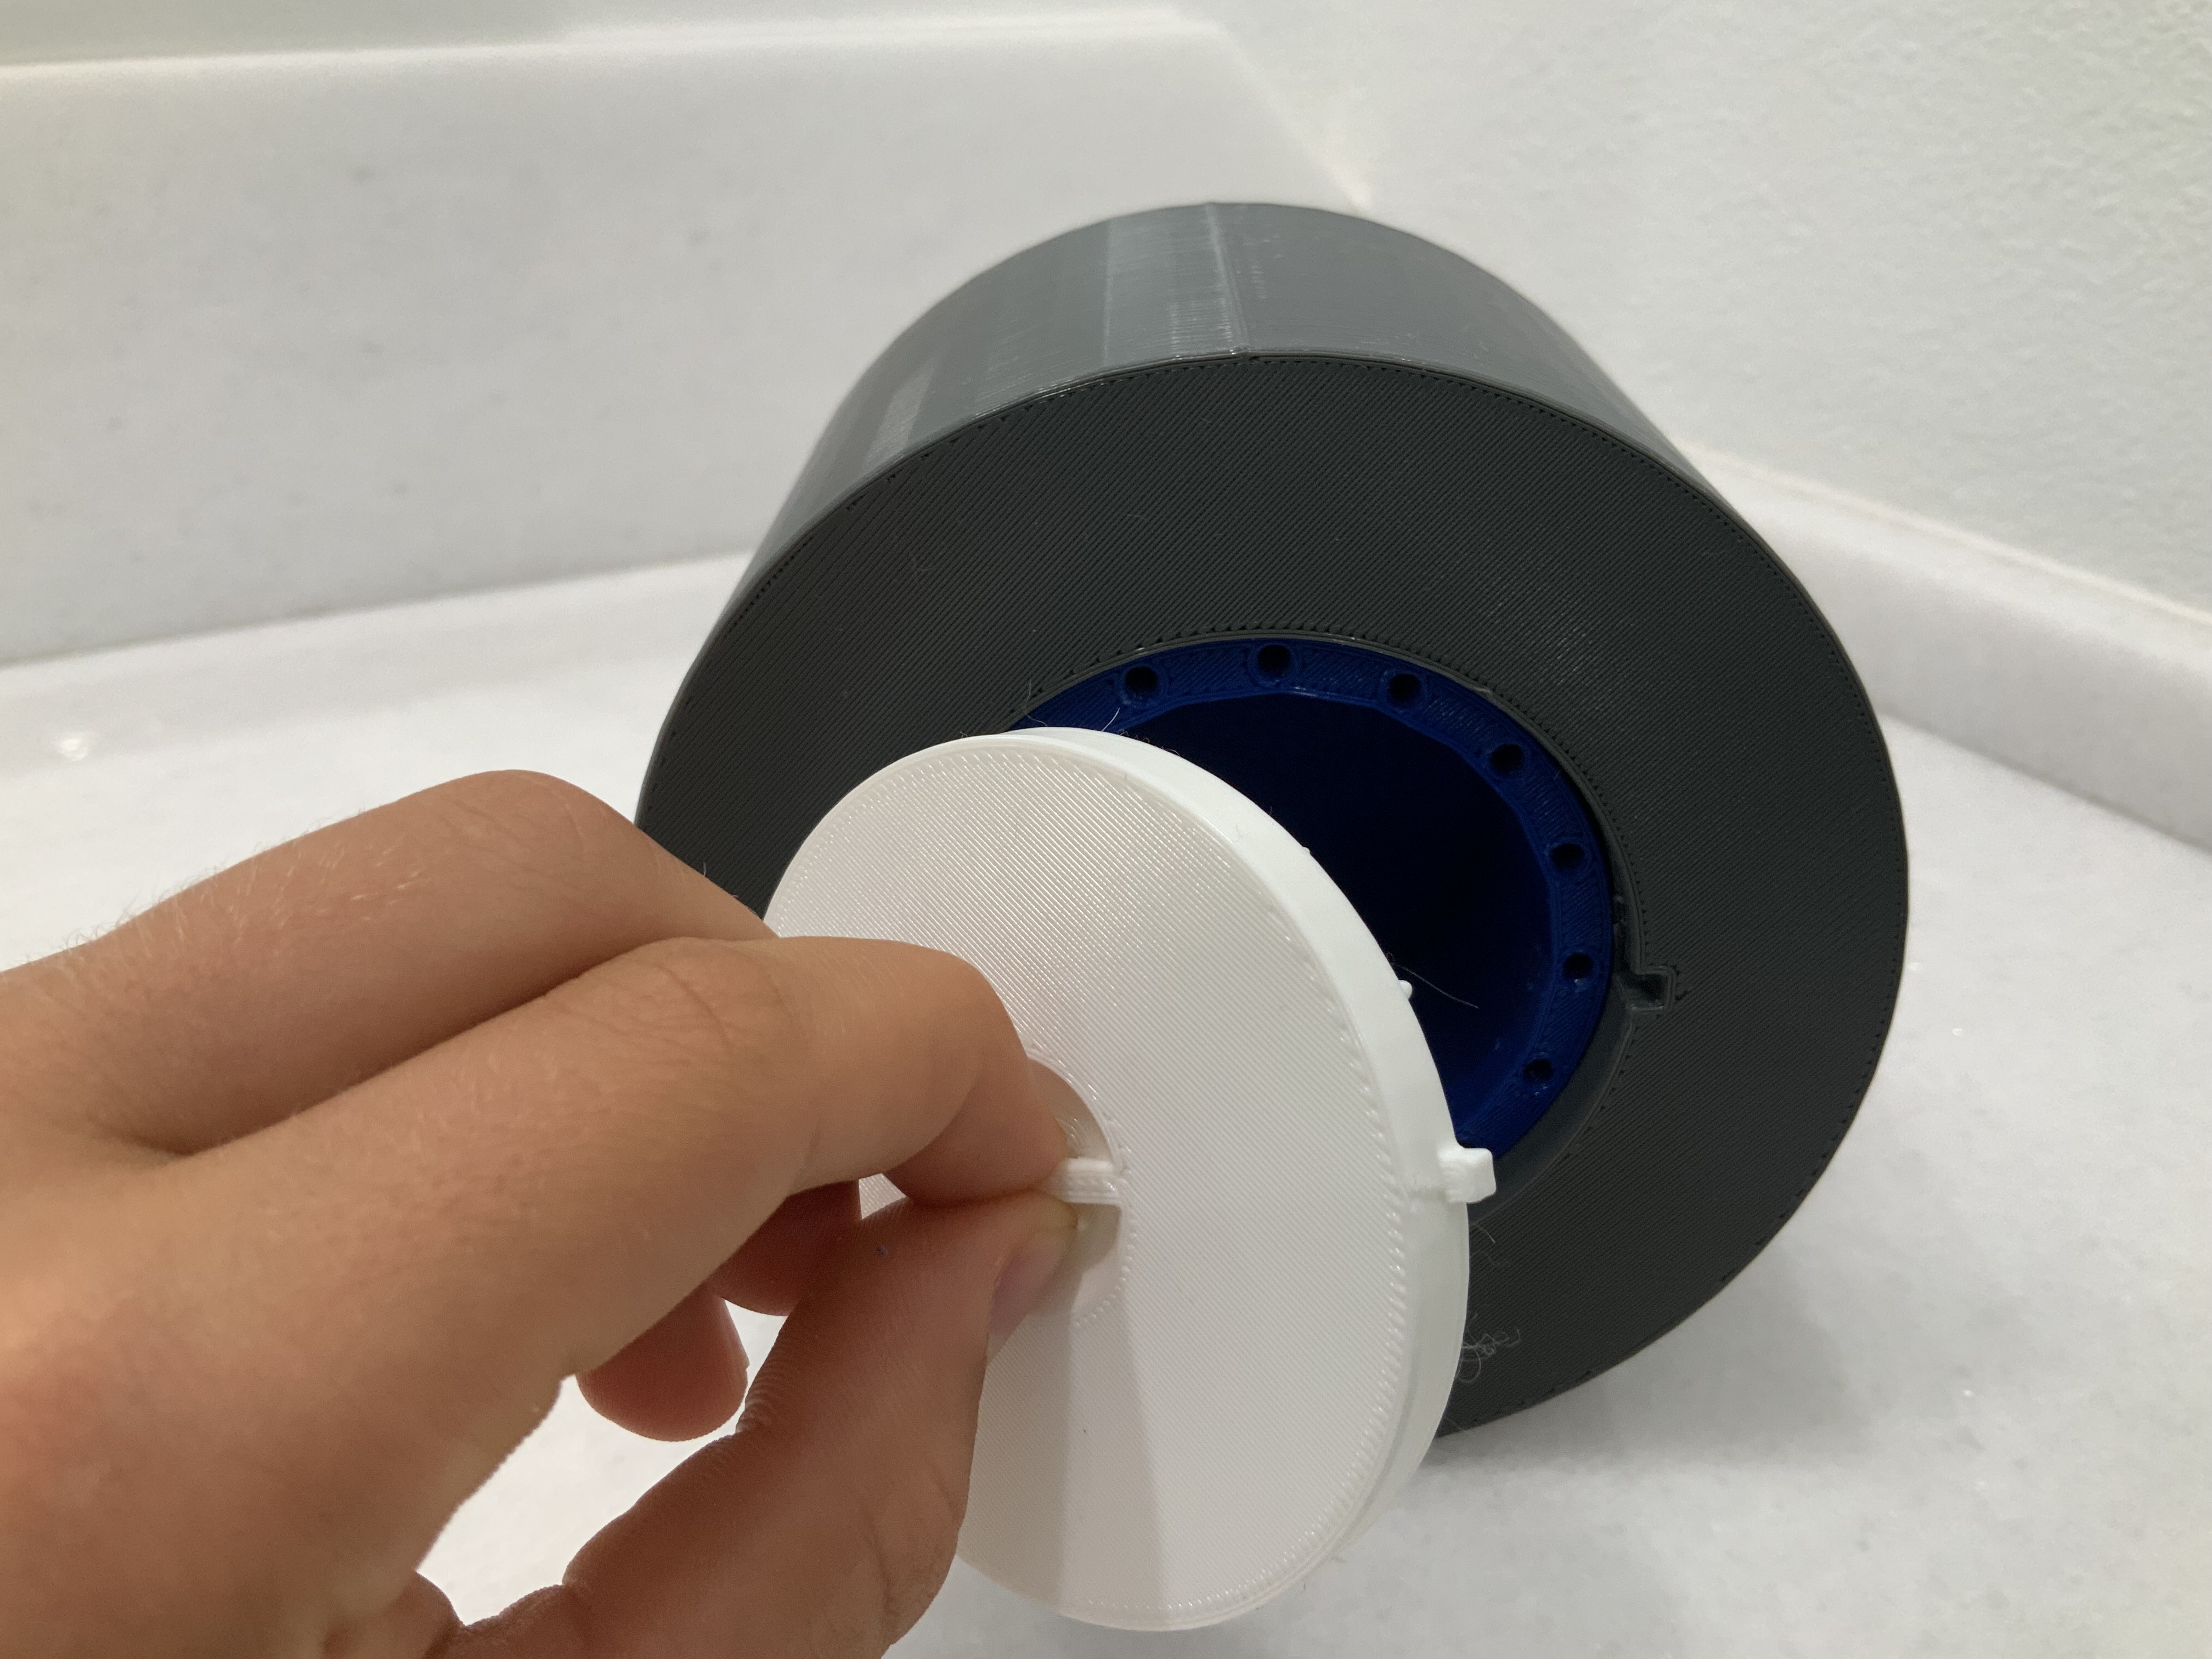
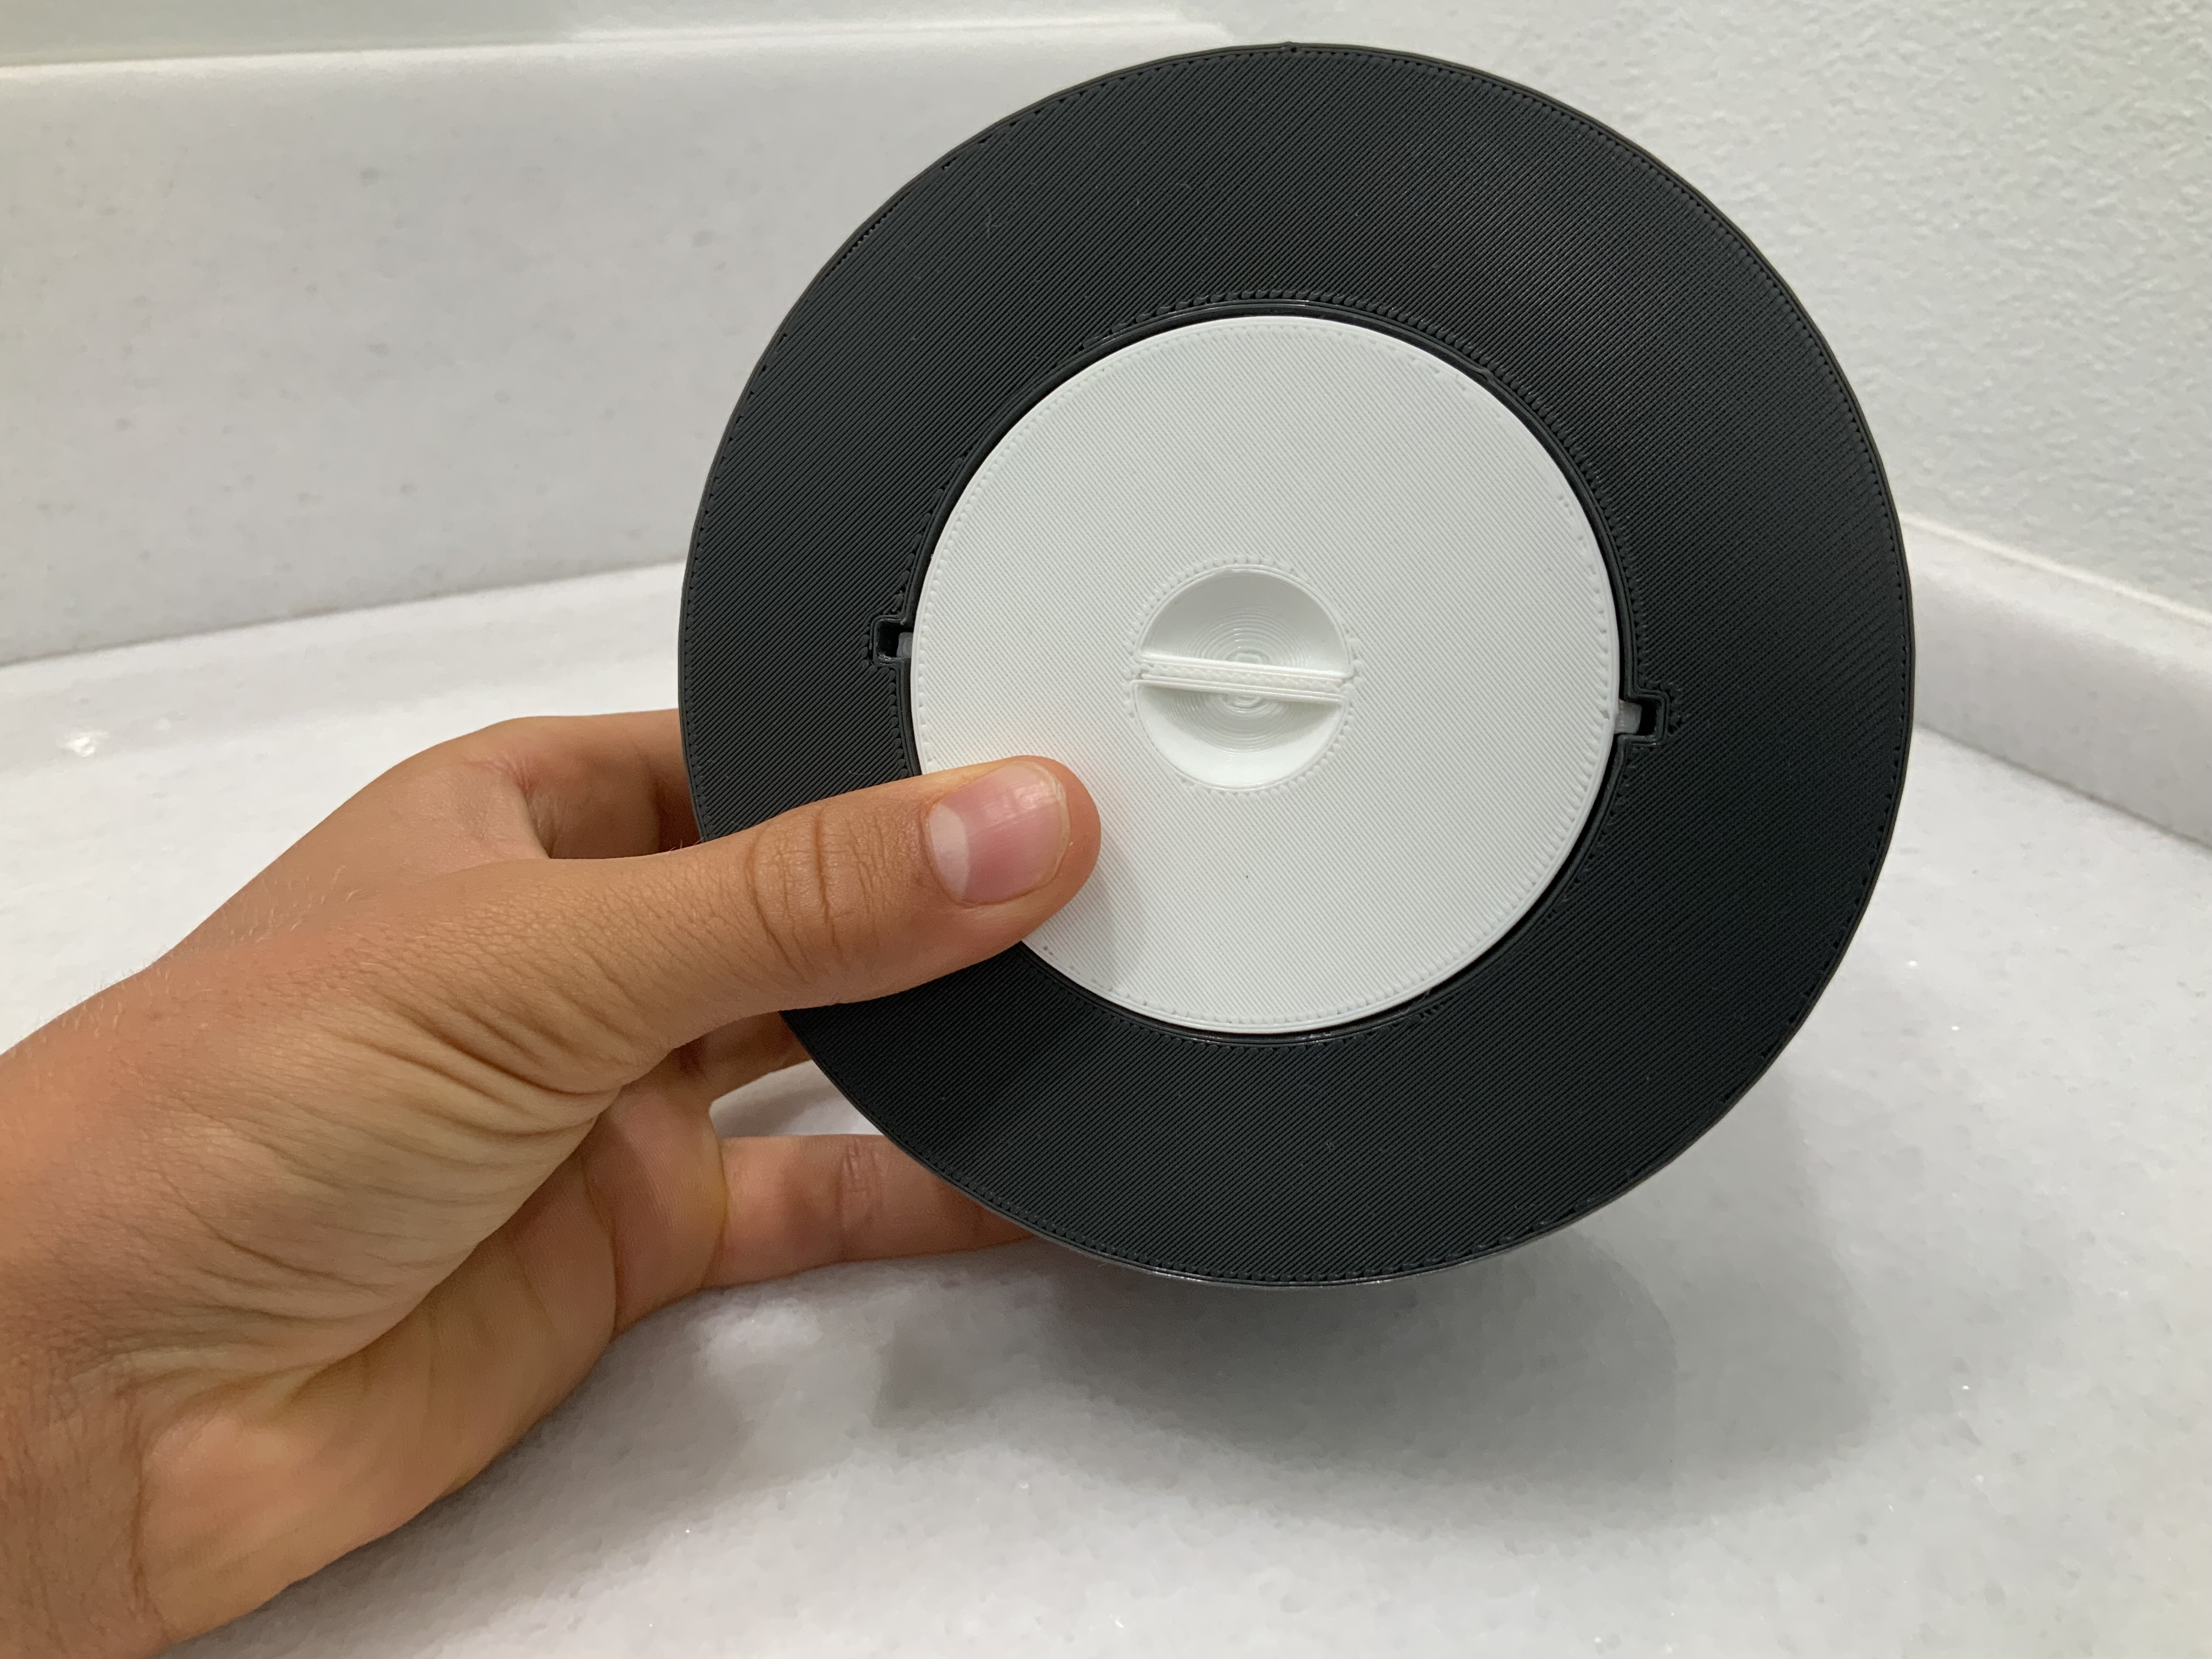
Step 10: Using The Lockbox
Pull The Key out just enough so that it disengages with the pins And turn it back clockwise until it clicks. 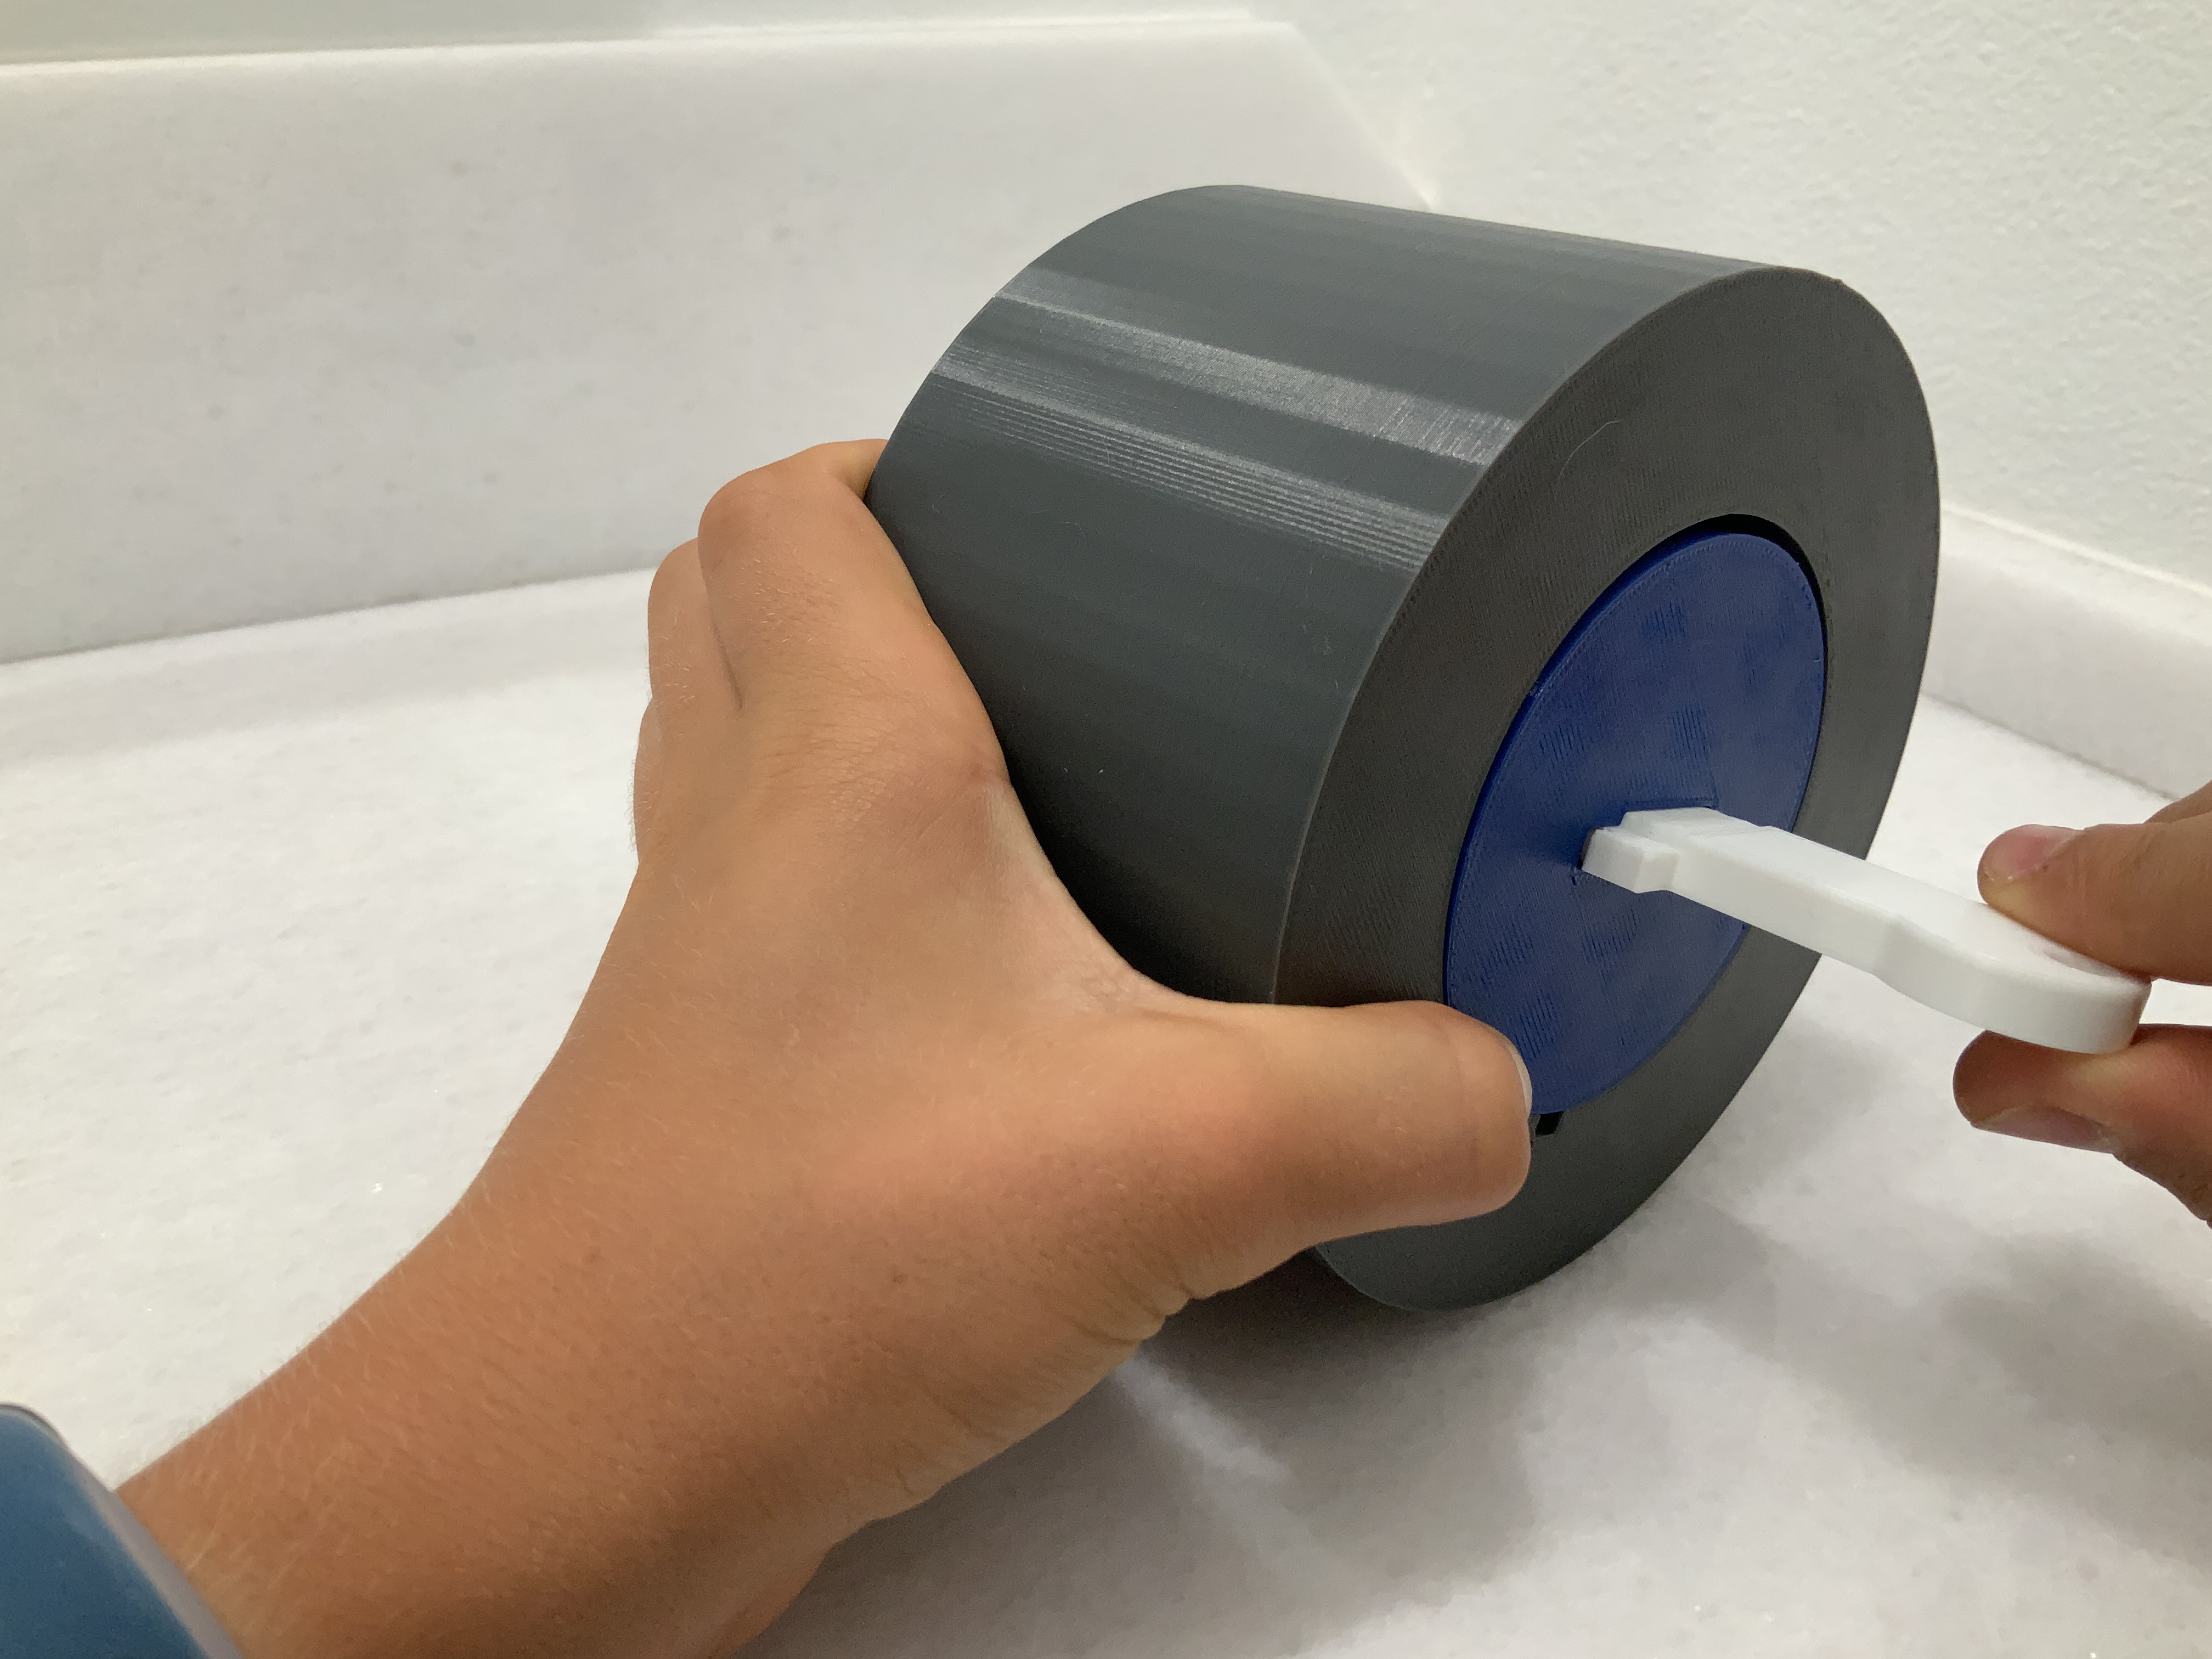
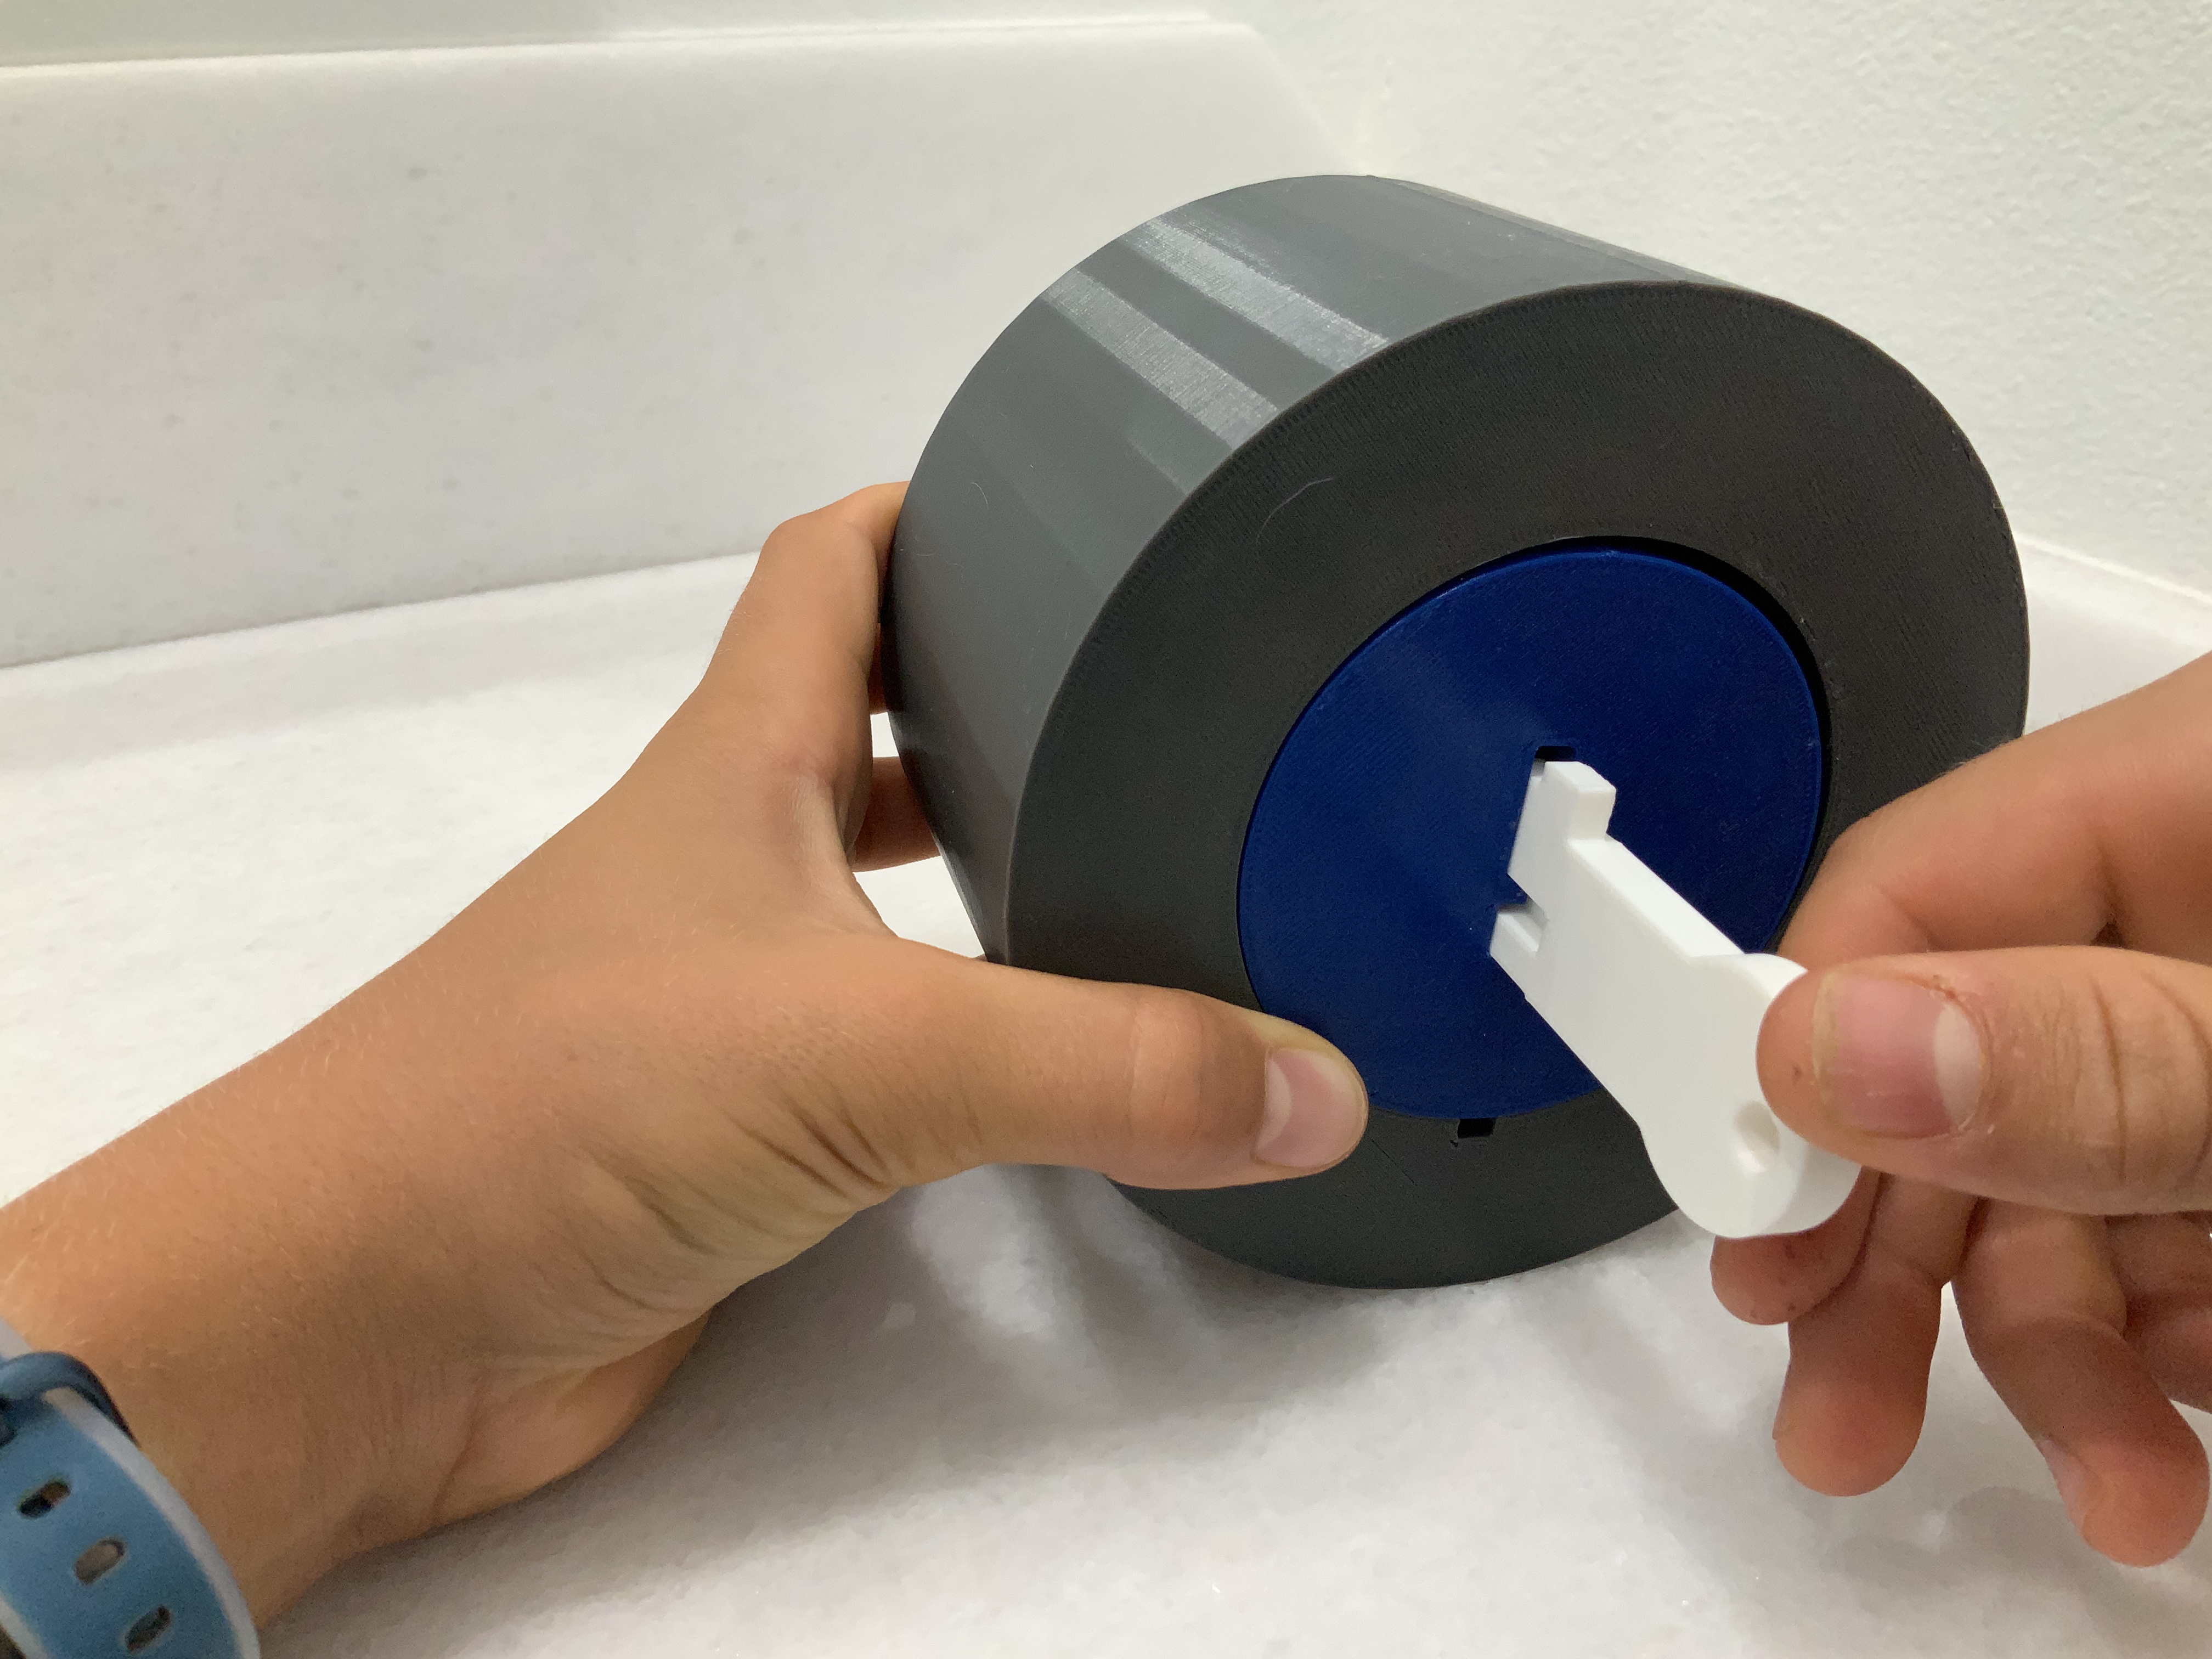
Now The Lockbox is locked. You cannot turn it without The Key, and you cannot remove The Baseplate without turning it. To unlock, simply insert The Key, and turn counterclockwise. Then you can pull out The Baseplate. You can place items into the cavity behind The Baseplate, and lock them in.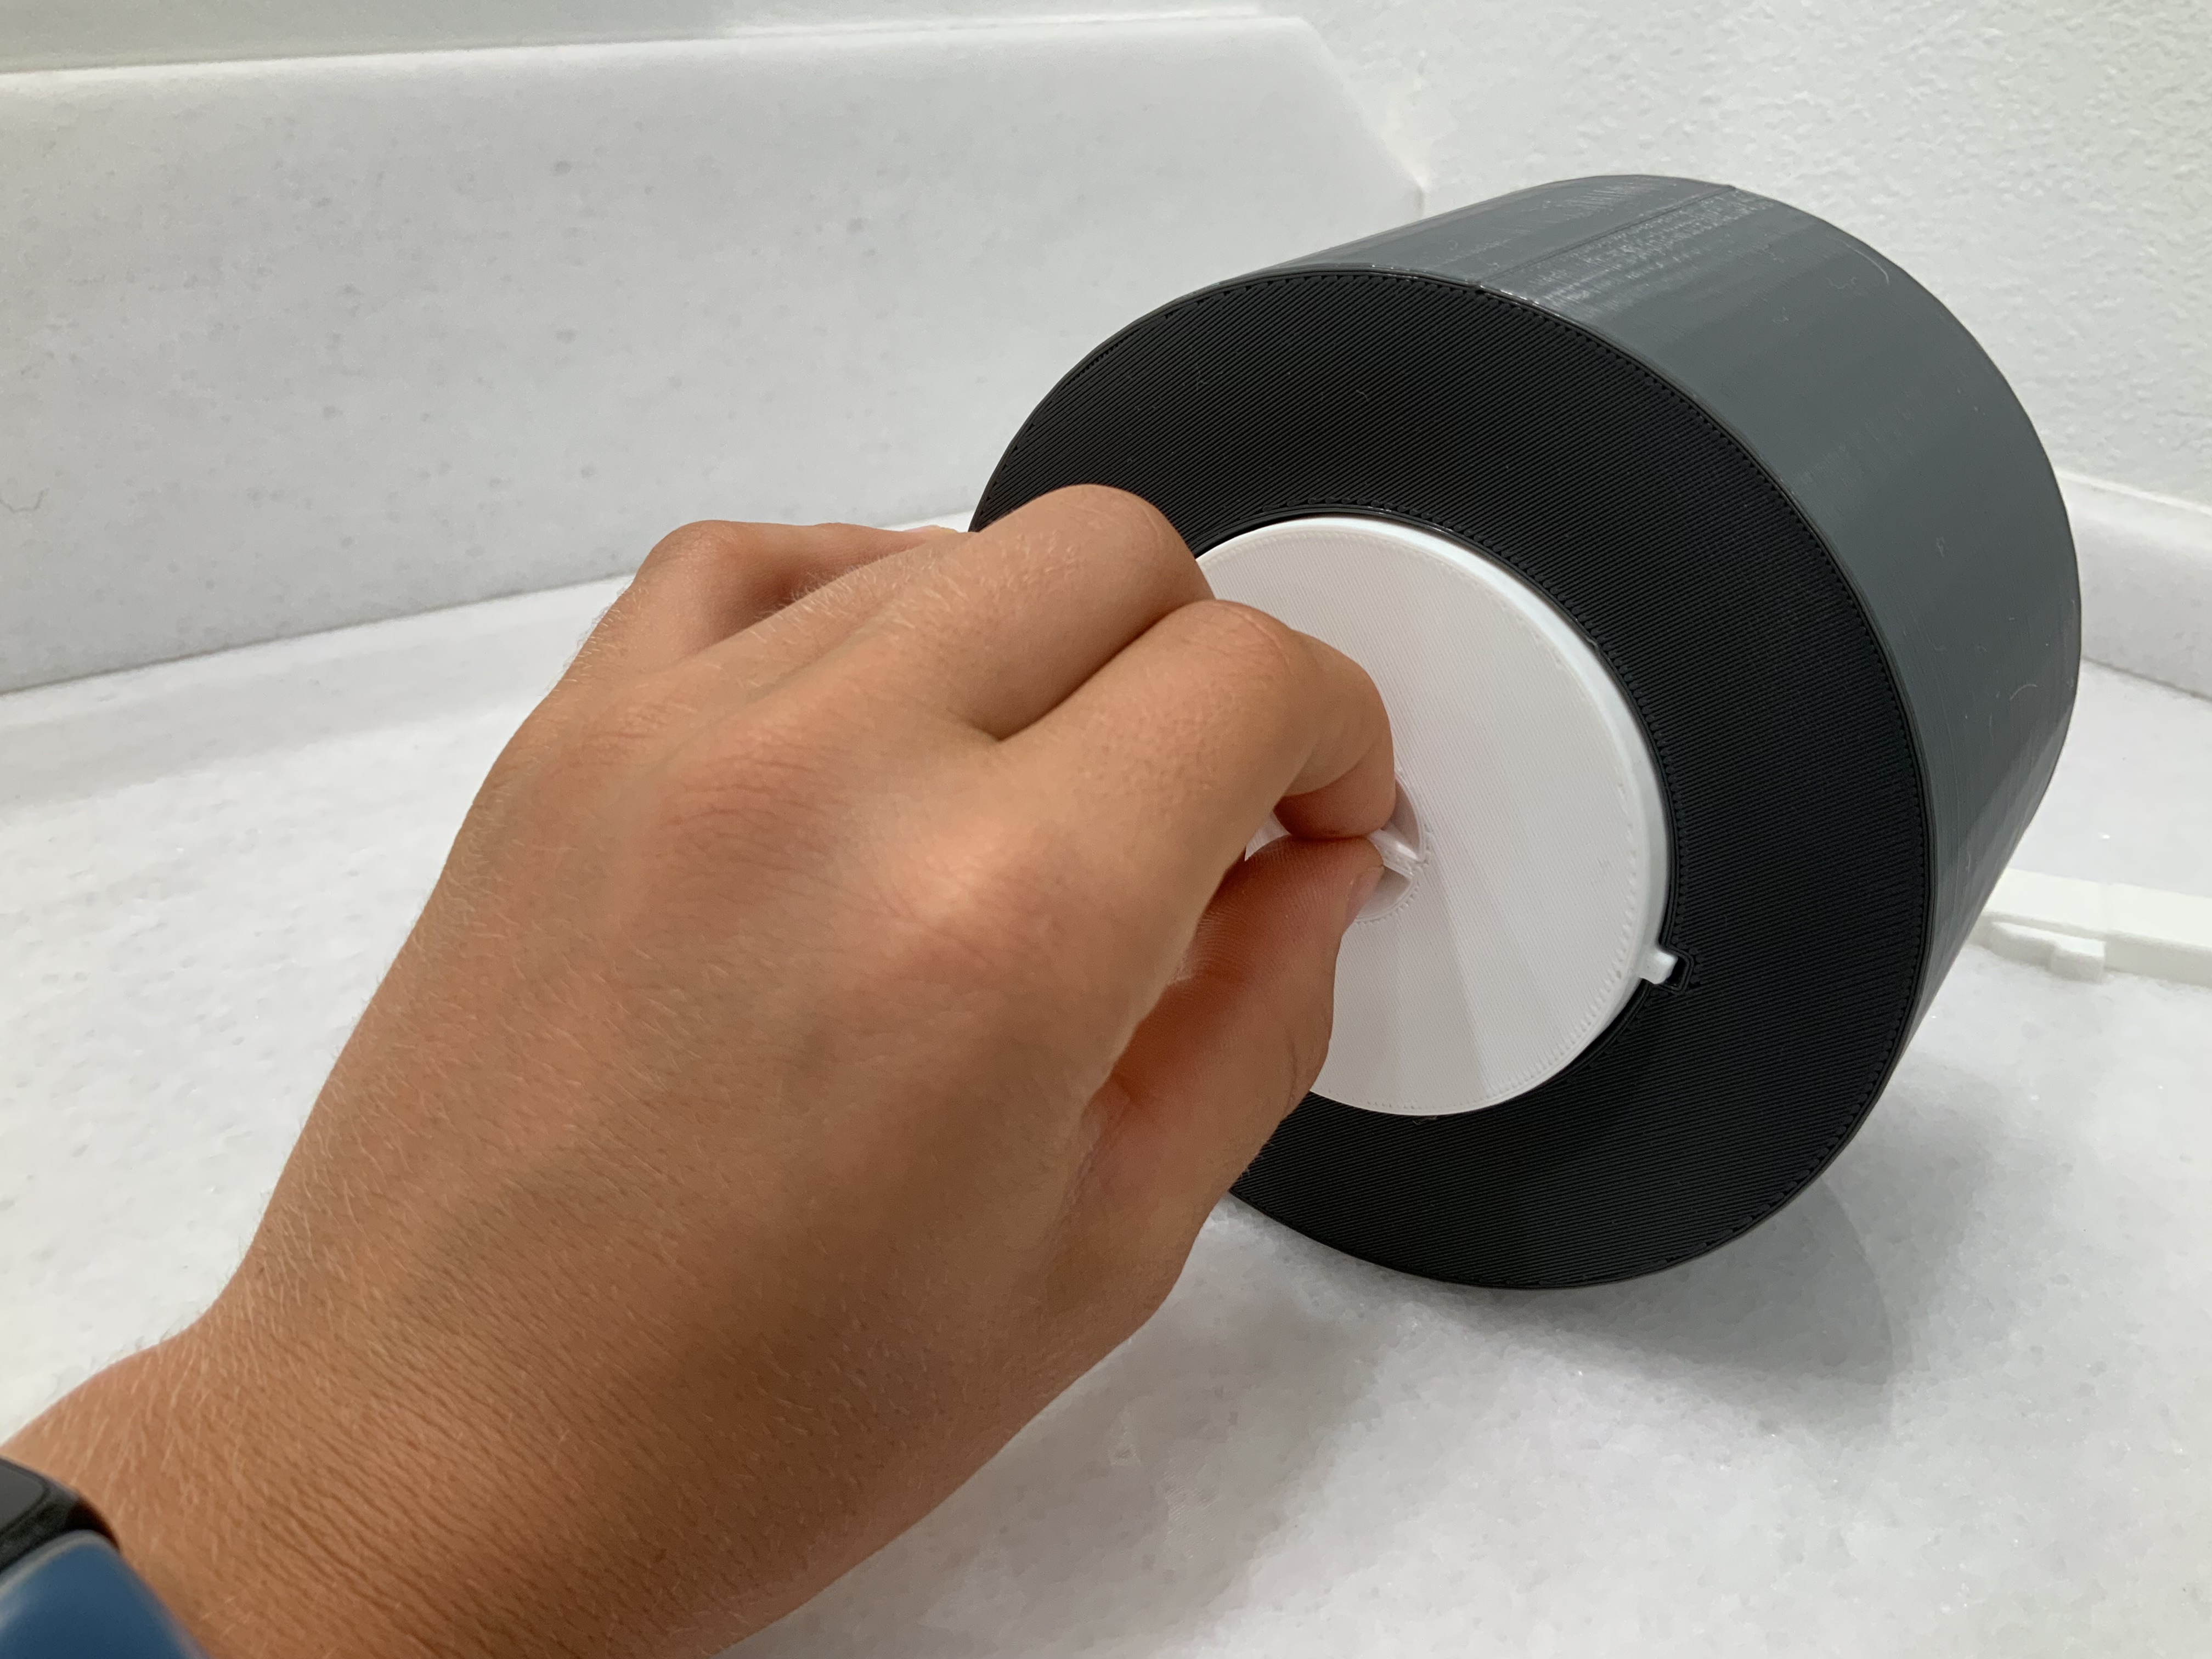
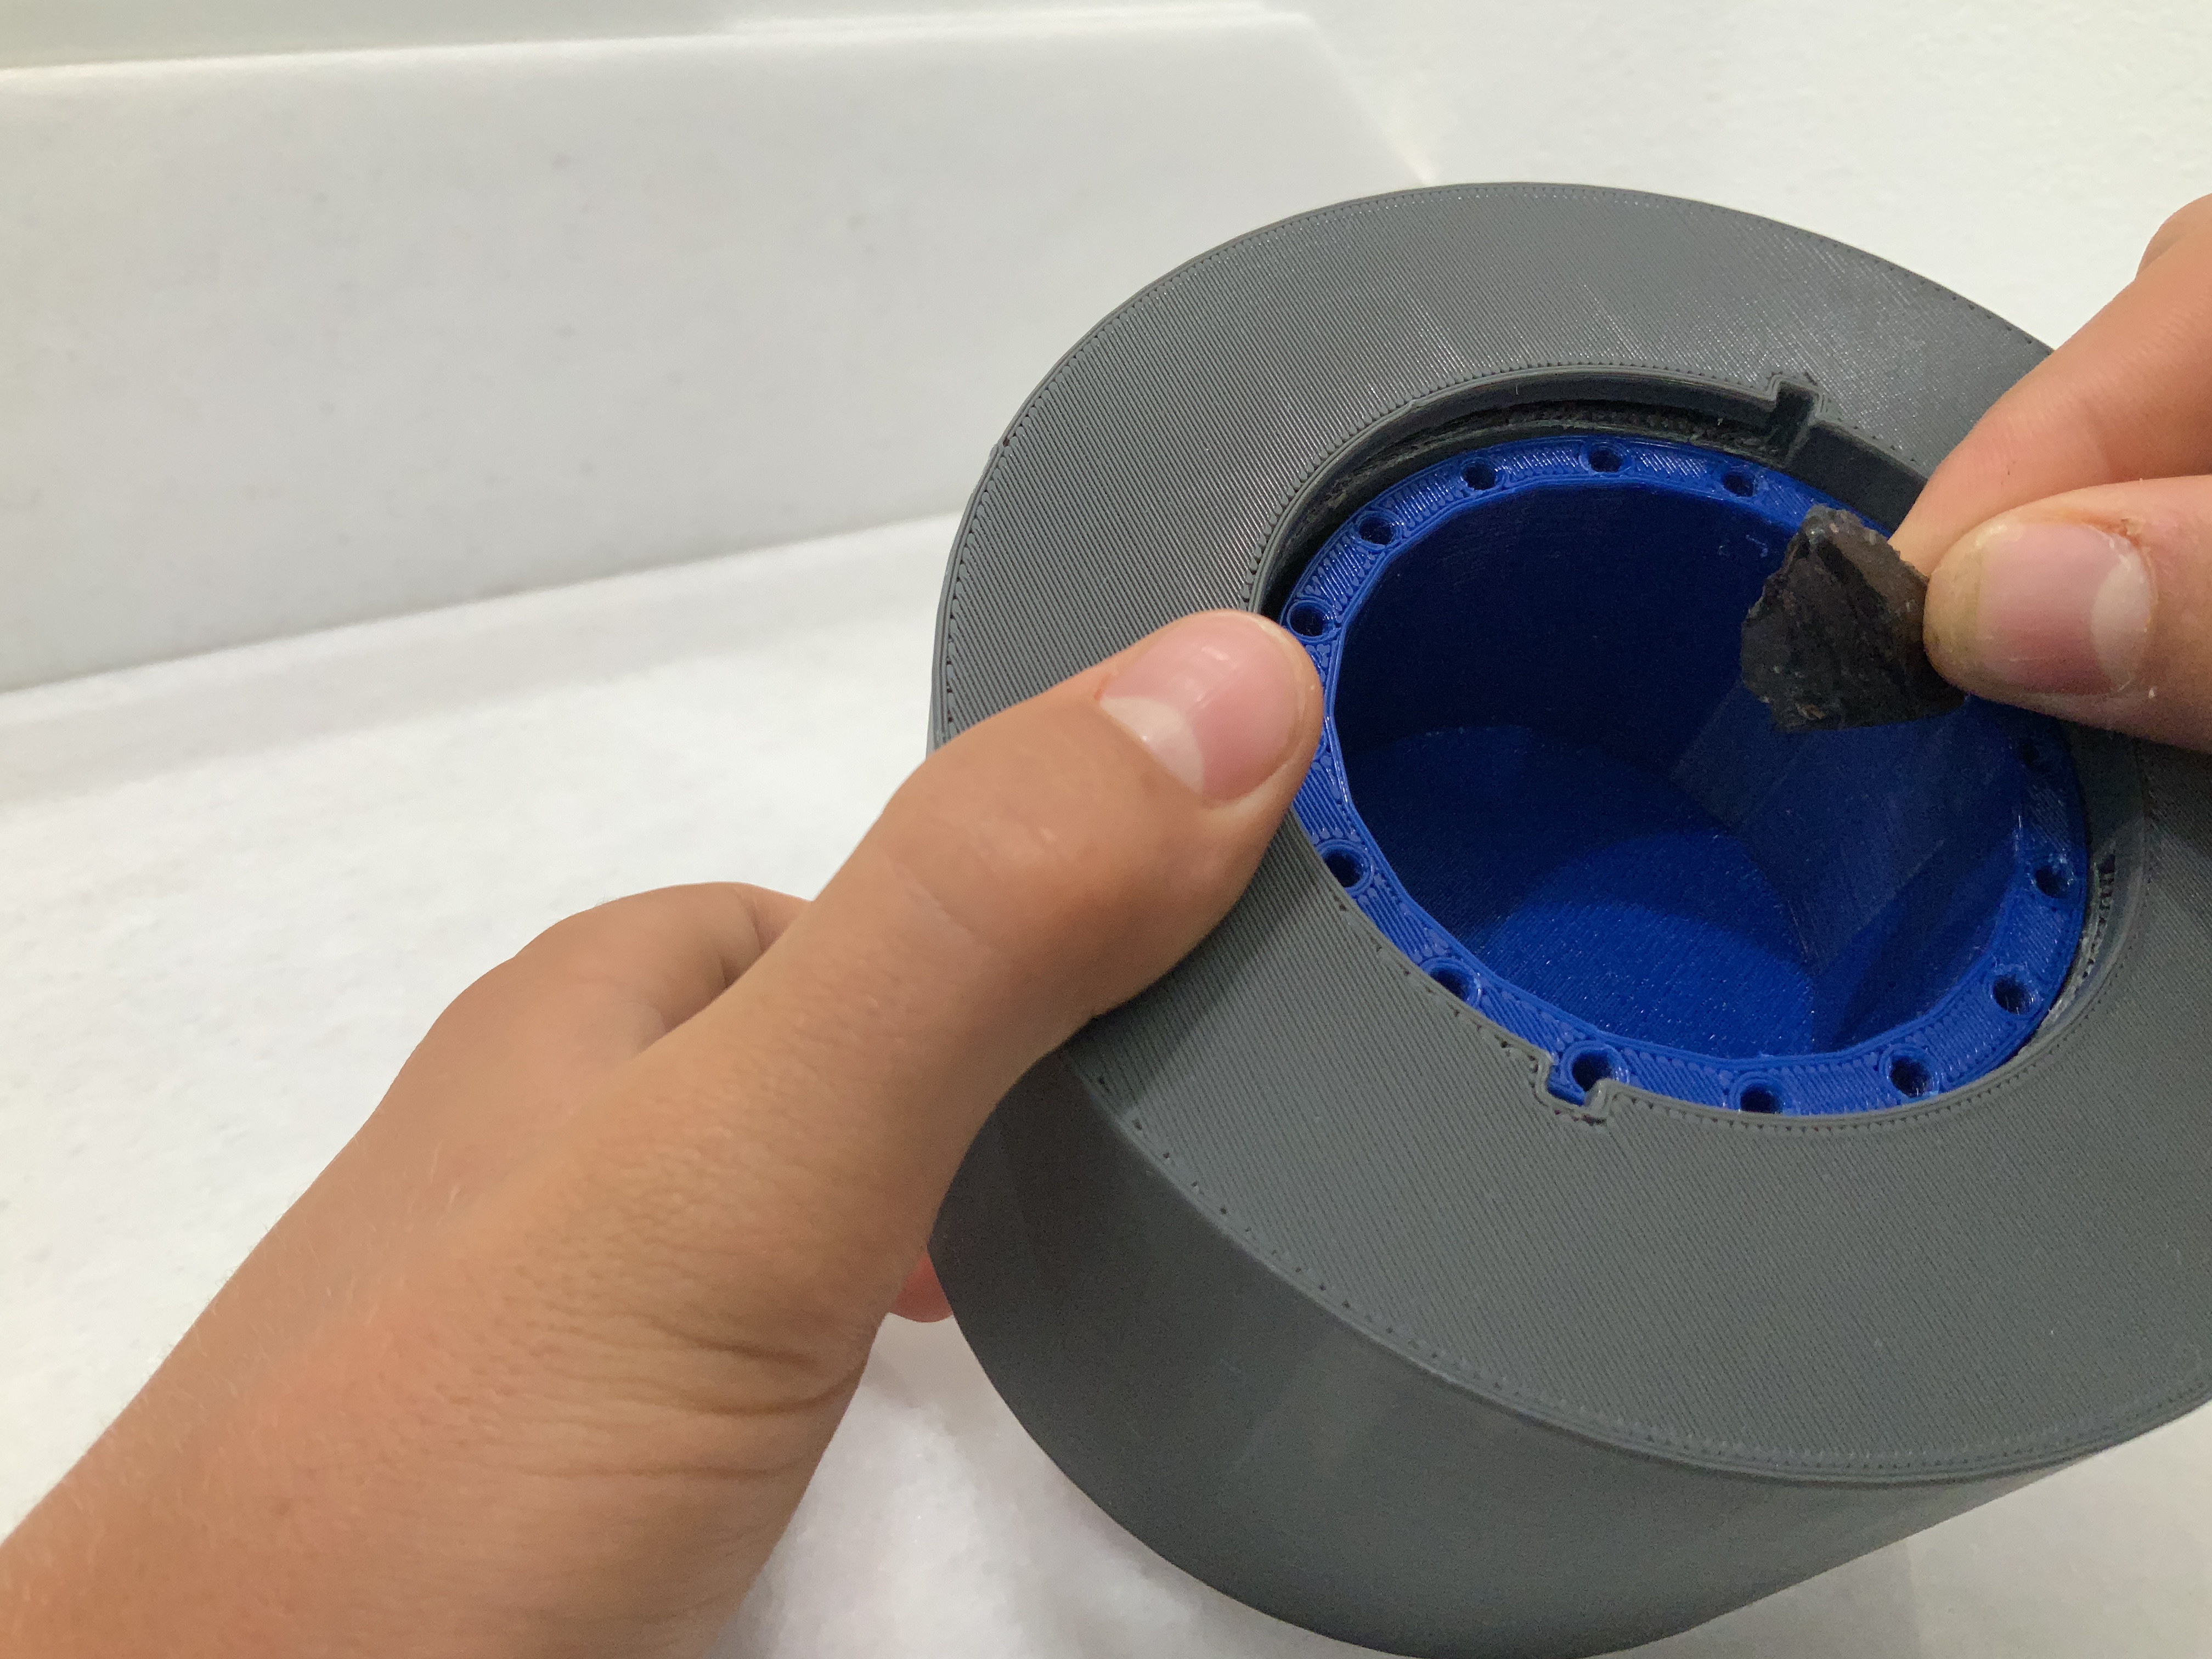
Congratulations! You have a lockbox! Please feel free to leave comments and recommendations!

Gostou deste modelo? Crie uma conta grátis para salvar seus favoritos e voltar a eles depois.
Criar conta