Você está no 3DFinder
Buscamos em Thingiverse, MakerWorld e Printables ao mesmo tempo para te dar o melhor de cada uma.
Descrição
I present to you my Easter train. I like this train very much. So let's start printing.
First the print details:
- Egg 1 - first change color row 12,2 mm or layer 61
- second change color row 24,4 mm or layer 122
- third change color row 30,6 mm or layer 153 - Egg 3 - first change color row 10,2 mm or layer 51
- Pilot - first change color row 2,2 mm or layer 11
- Chimney 1 - first change color row 14,0 mm or layer 70
- second change color row 18,0 mm or layer 90 - Filament PLA
- 0,2 mm layer height
- Files for printing where support is needed: Pilot, Glass for front light, Egg 2, Wagon base, Train base, Cabin
So let's start building Easter train:
- Take the train base and attach pilot to it
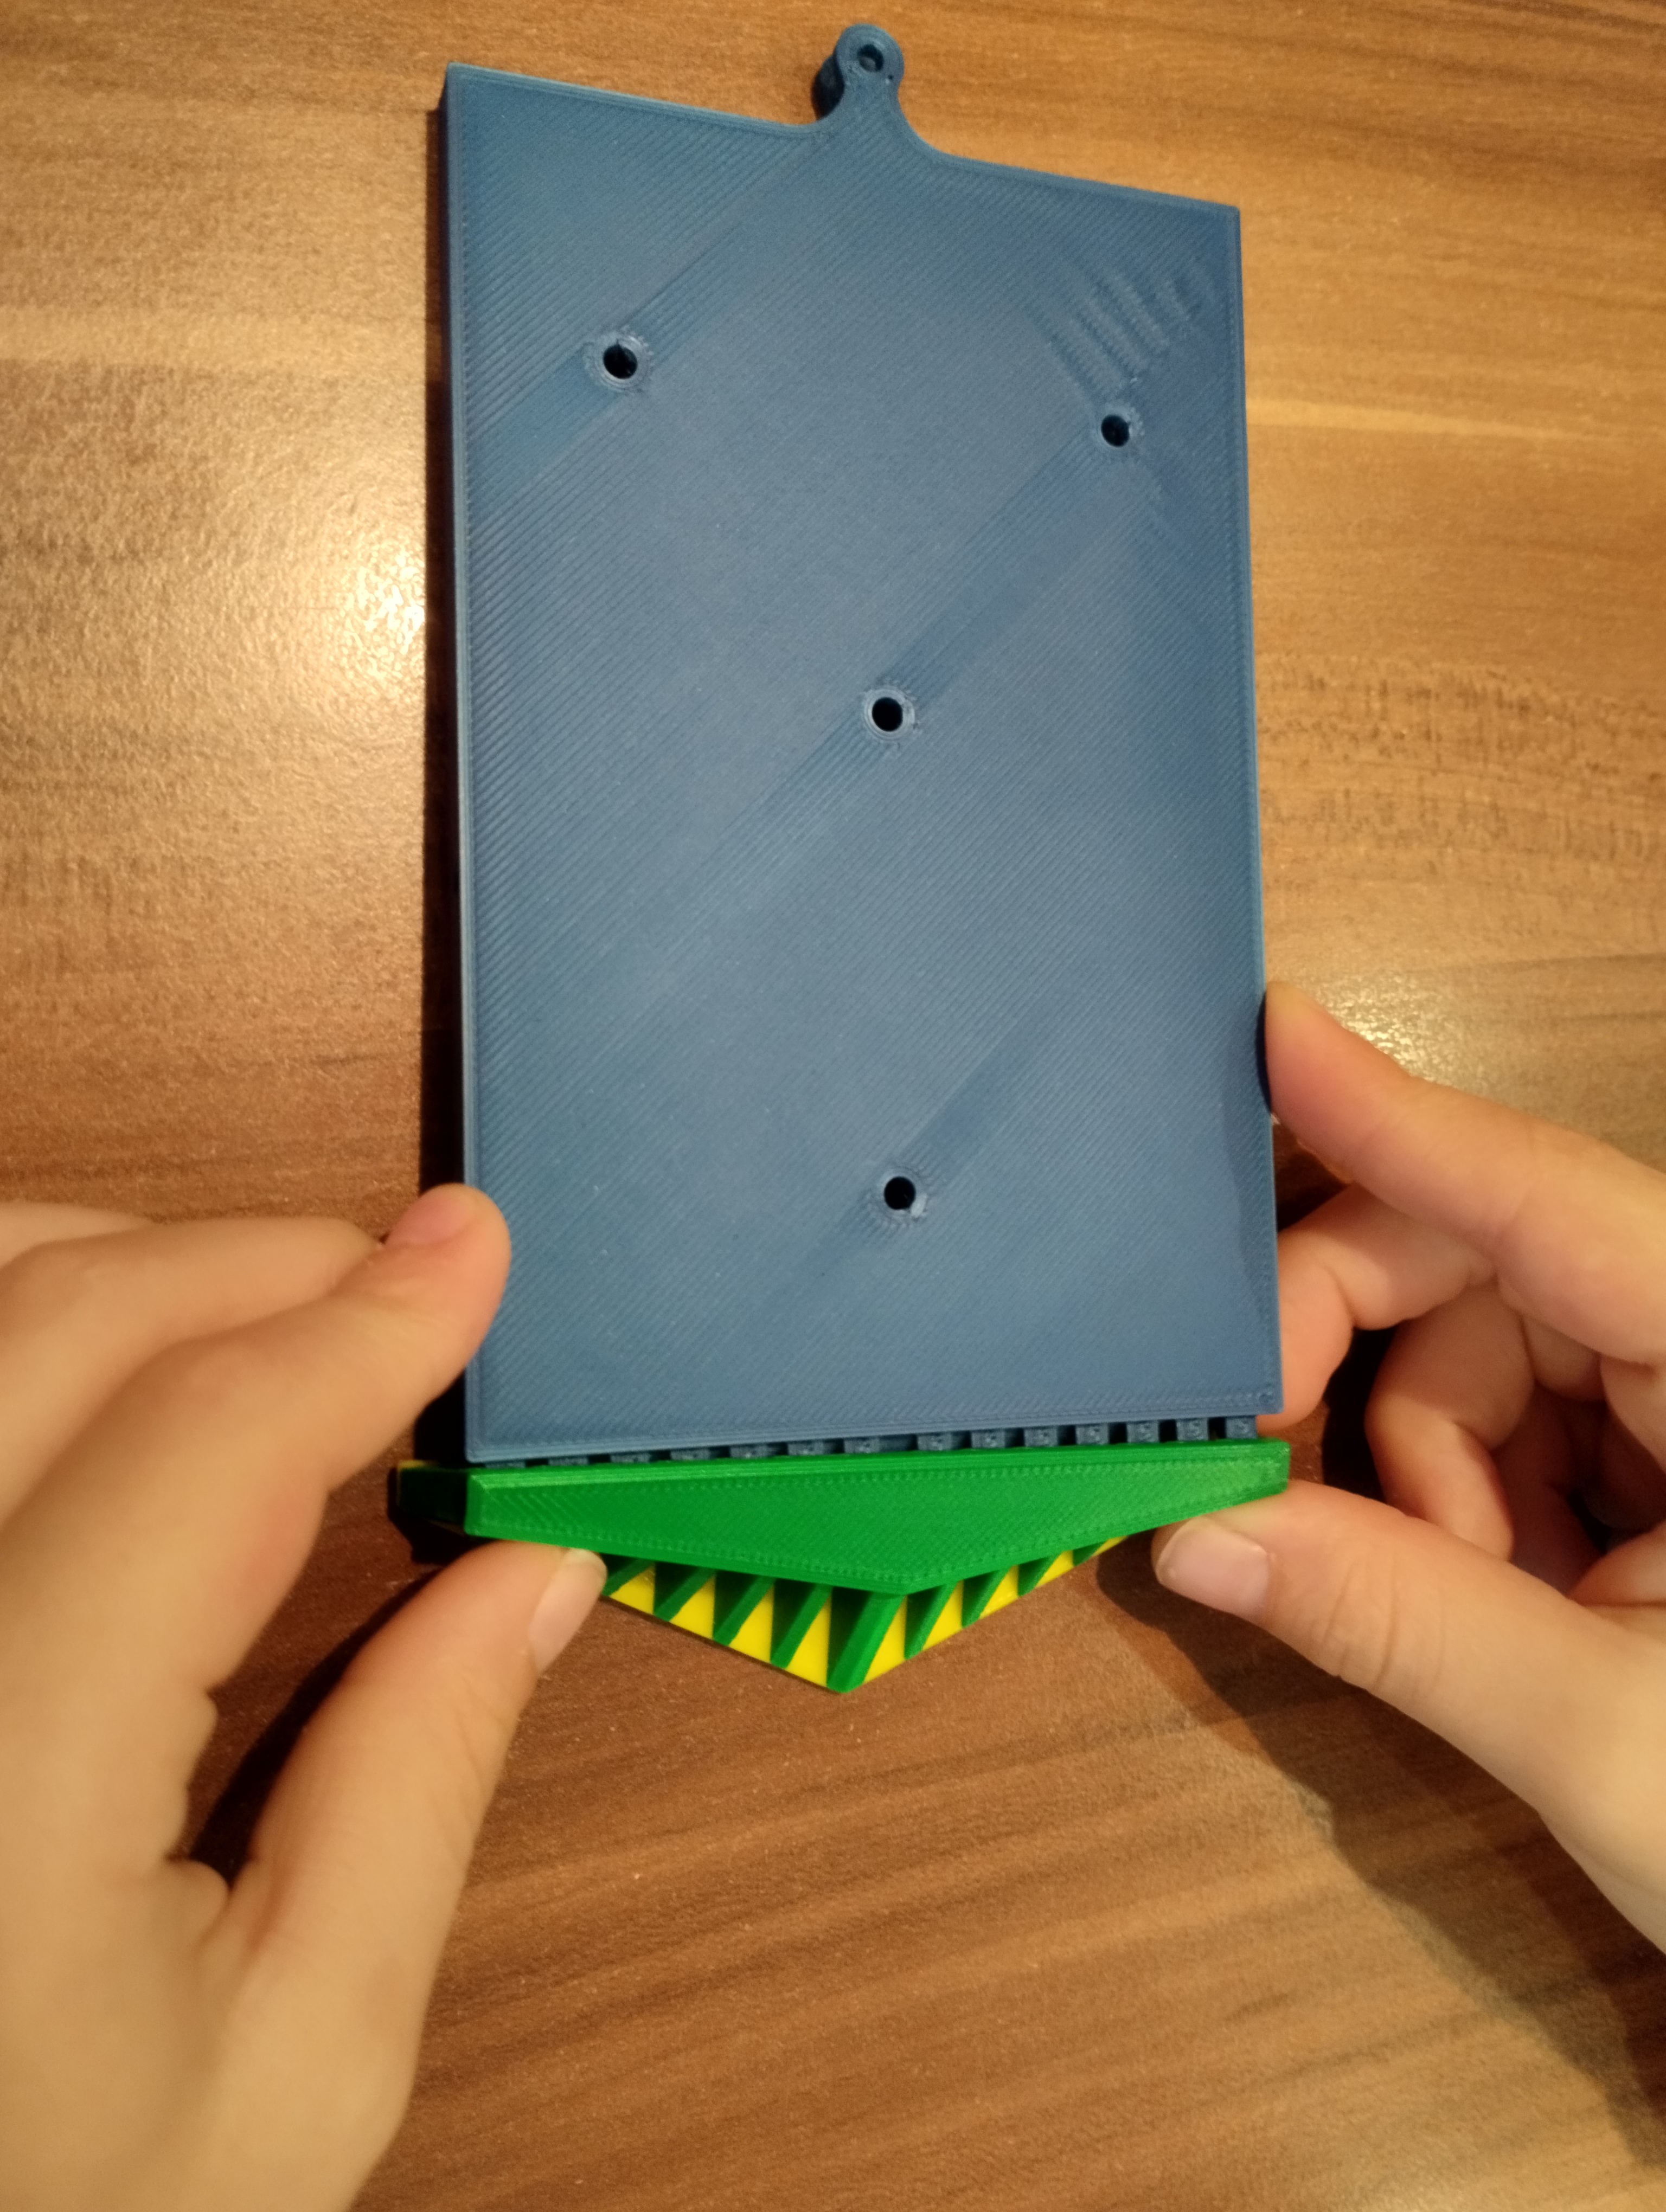
- Now we attach the cabin to the train base with M3x8 mm screws

- Take a small wheel and insert small flowers into it
- Take a big wheel and insert big flowers into it

- Assembly the wheels on the train base using M3x18 mm screws. Tighten the screws so that the wheel rotates. Not to the end.
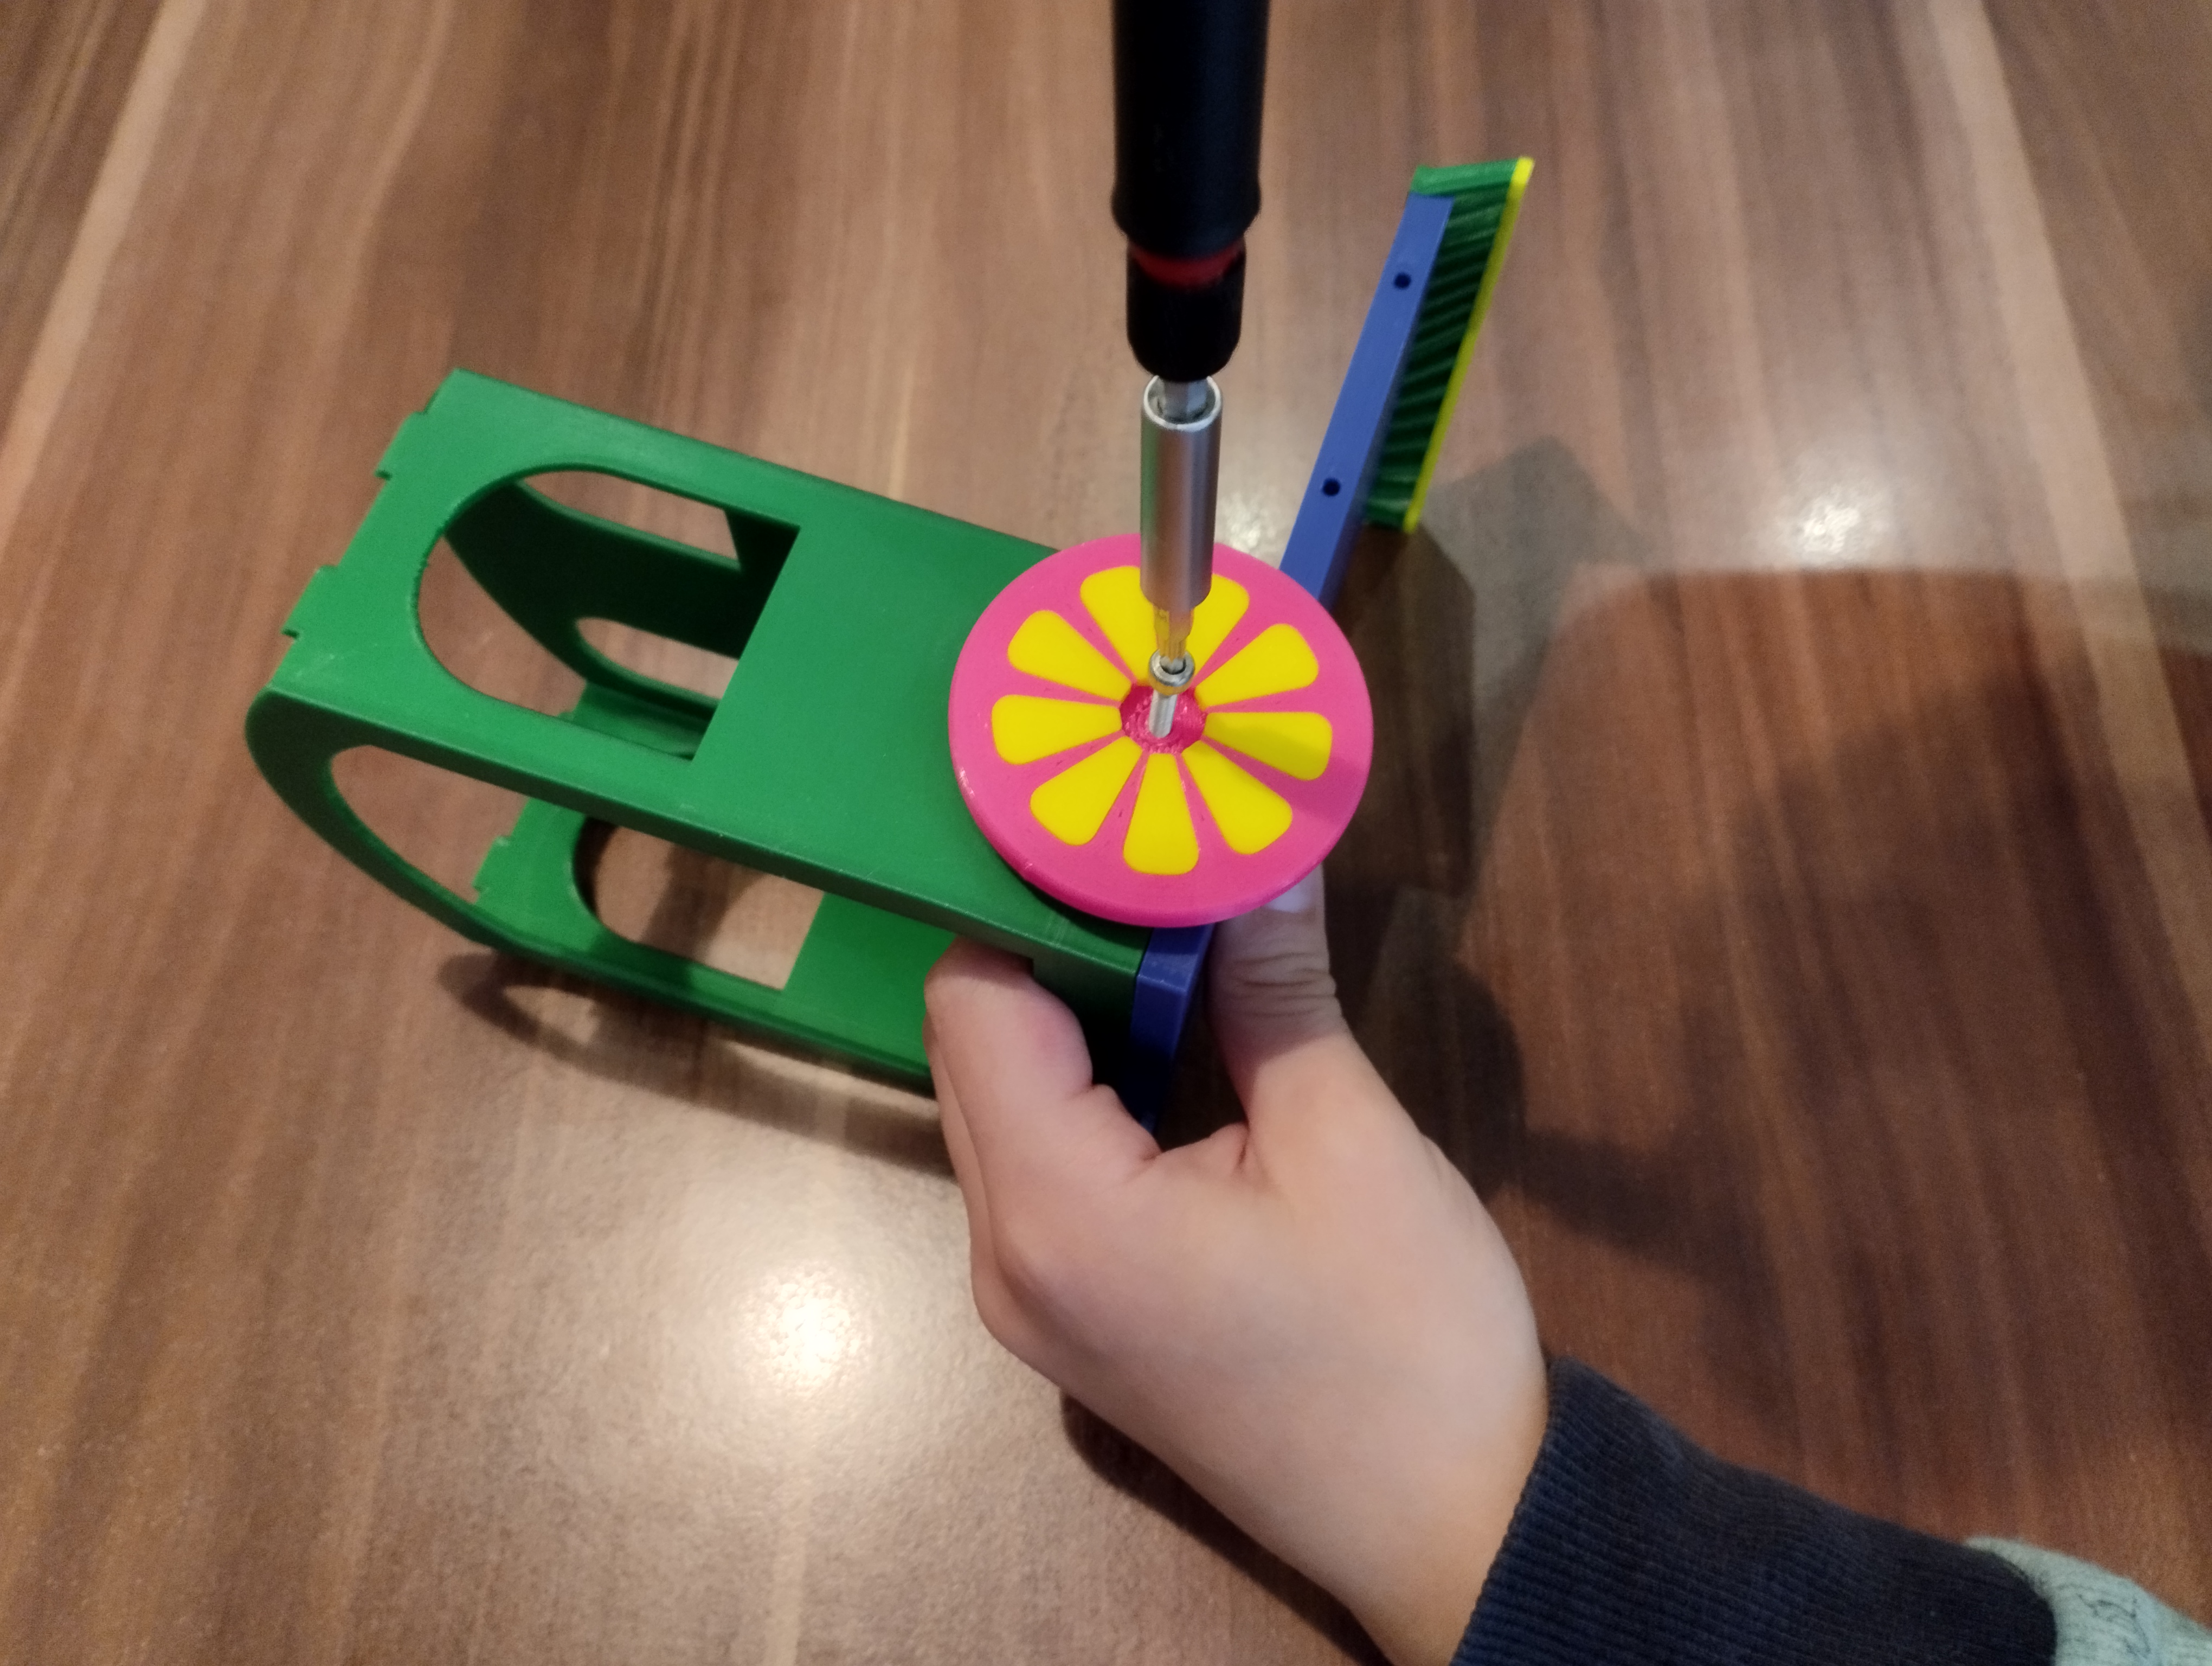
- Take chimney 1 and connect it with the chimney connecting rod. Then we connect chimney 2, chimney 3 and finally chimney 4 to it. We mount this assembly group on egg 2.
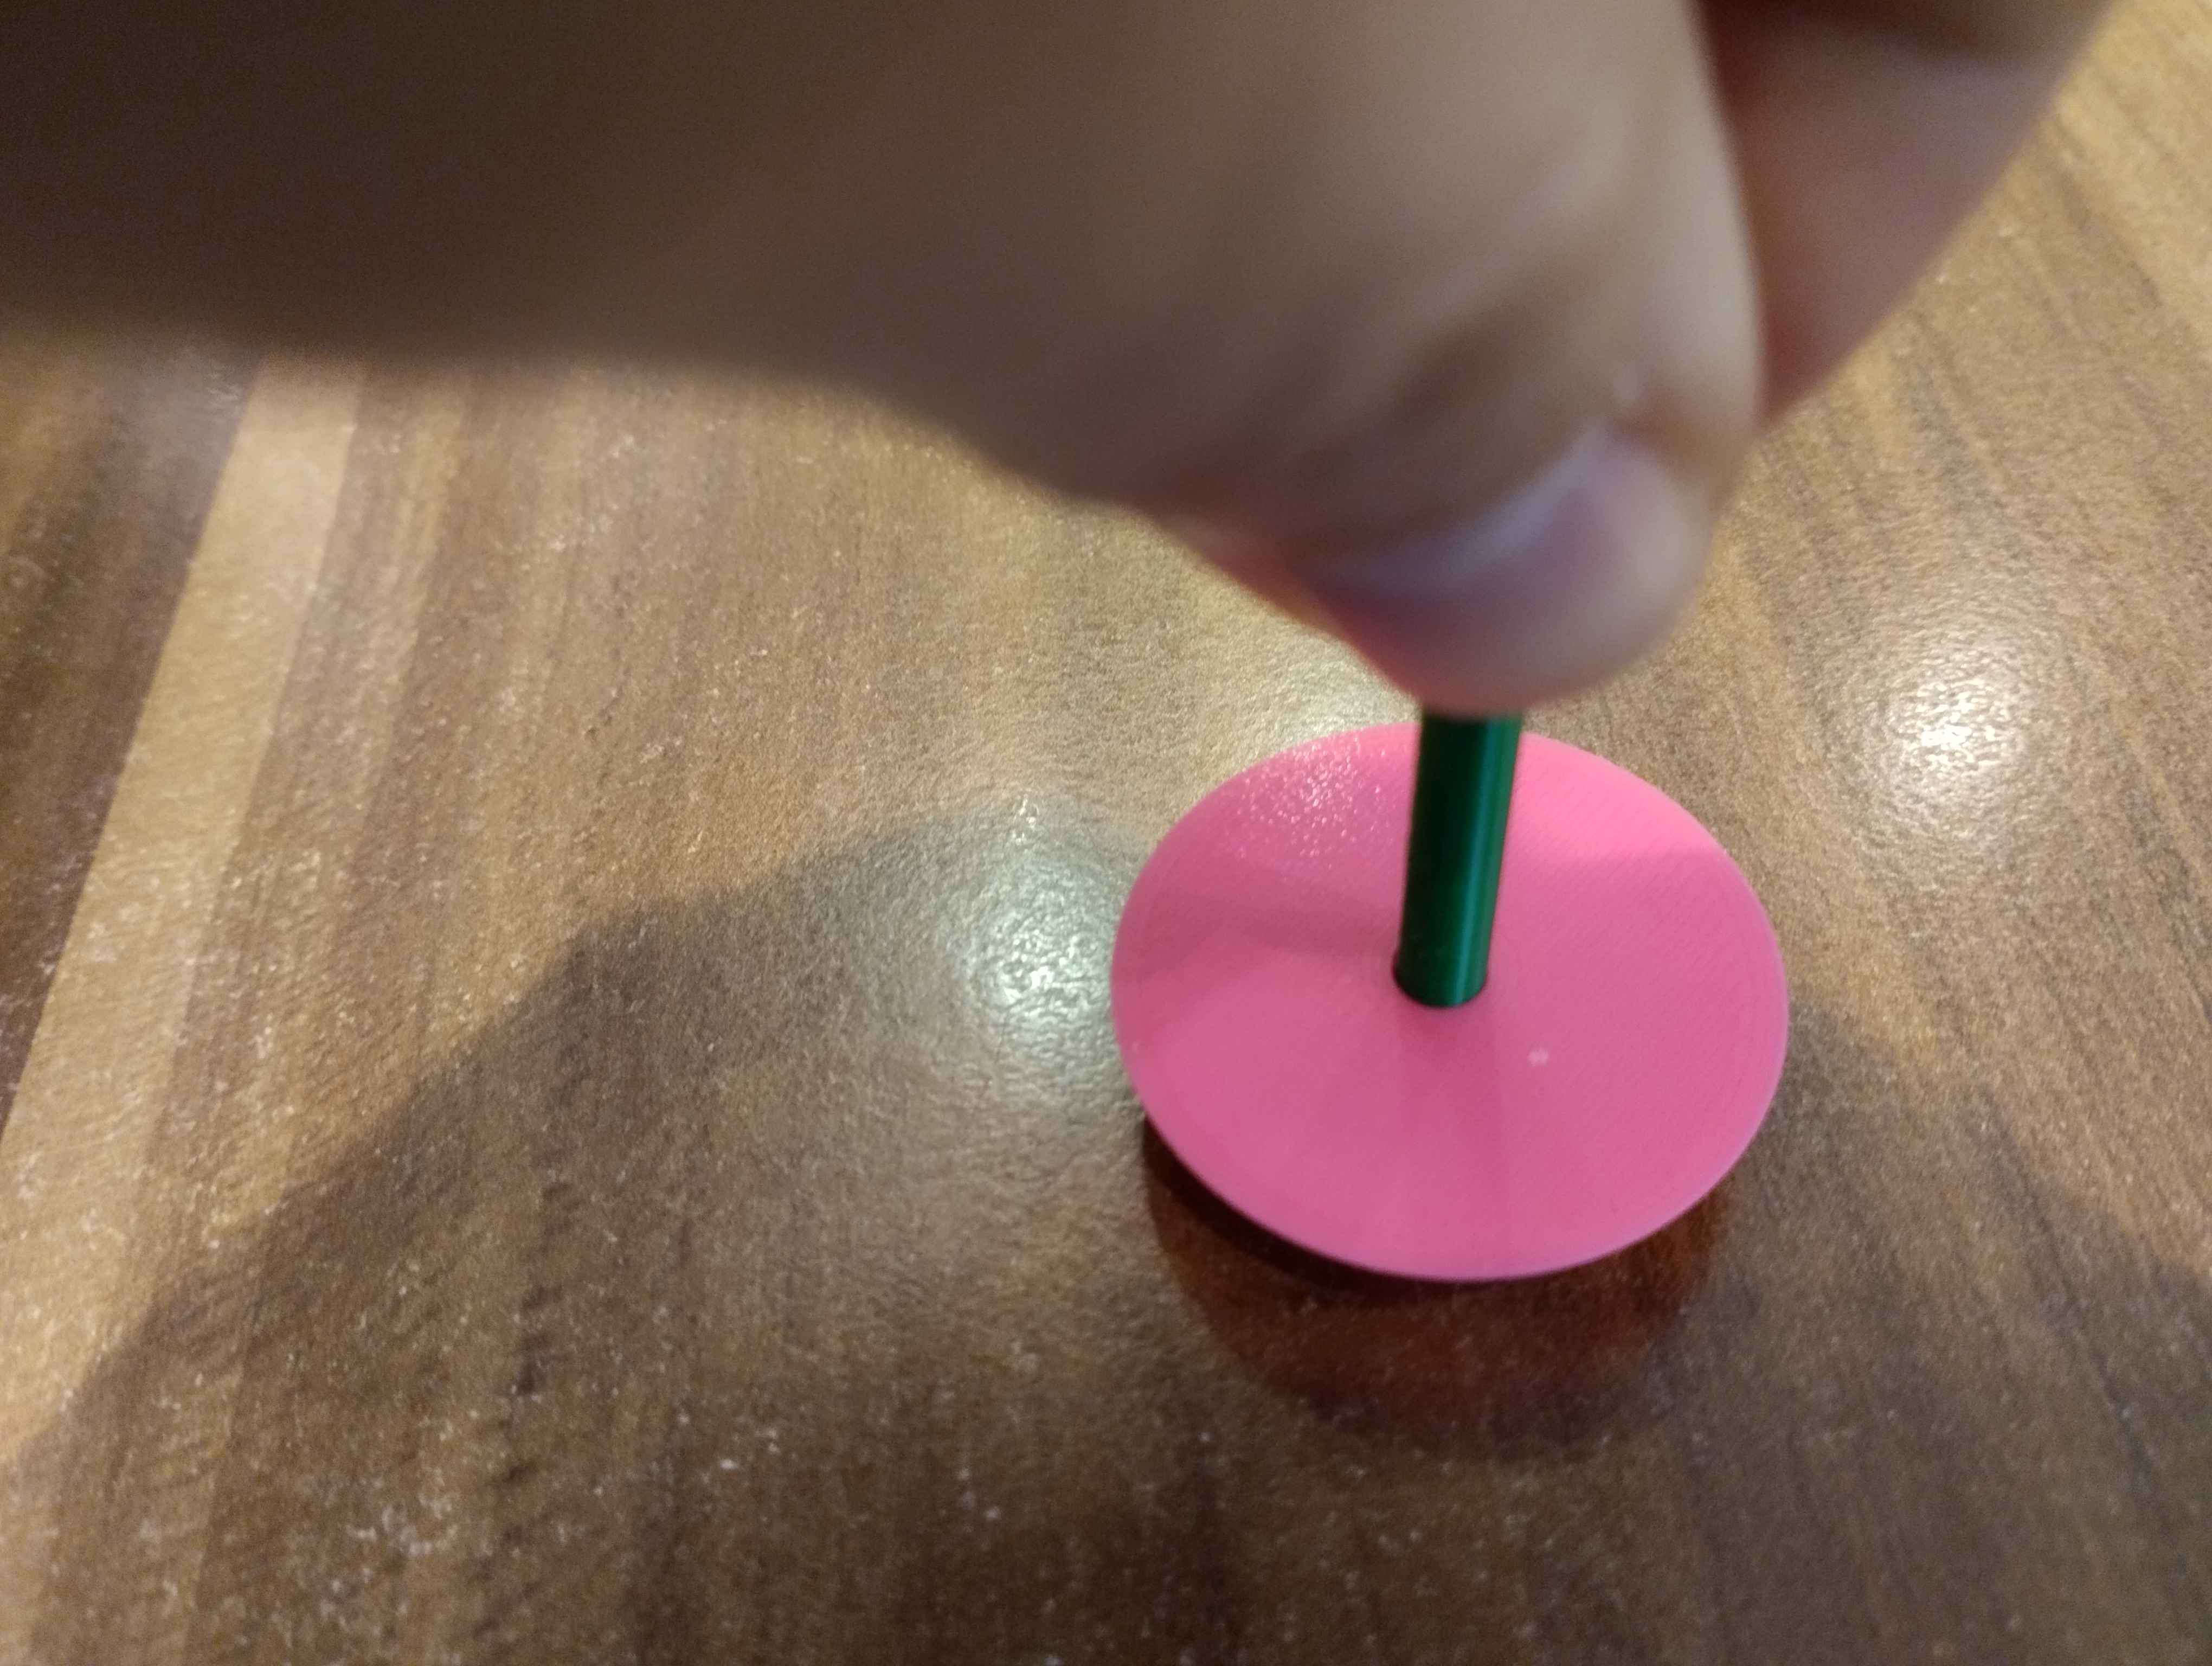
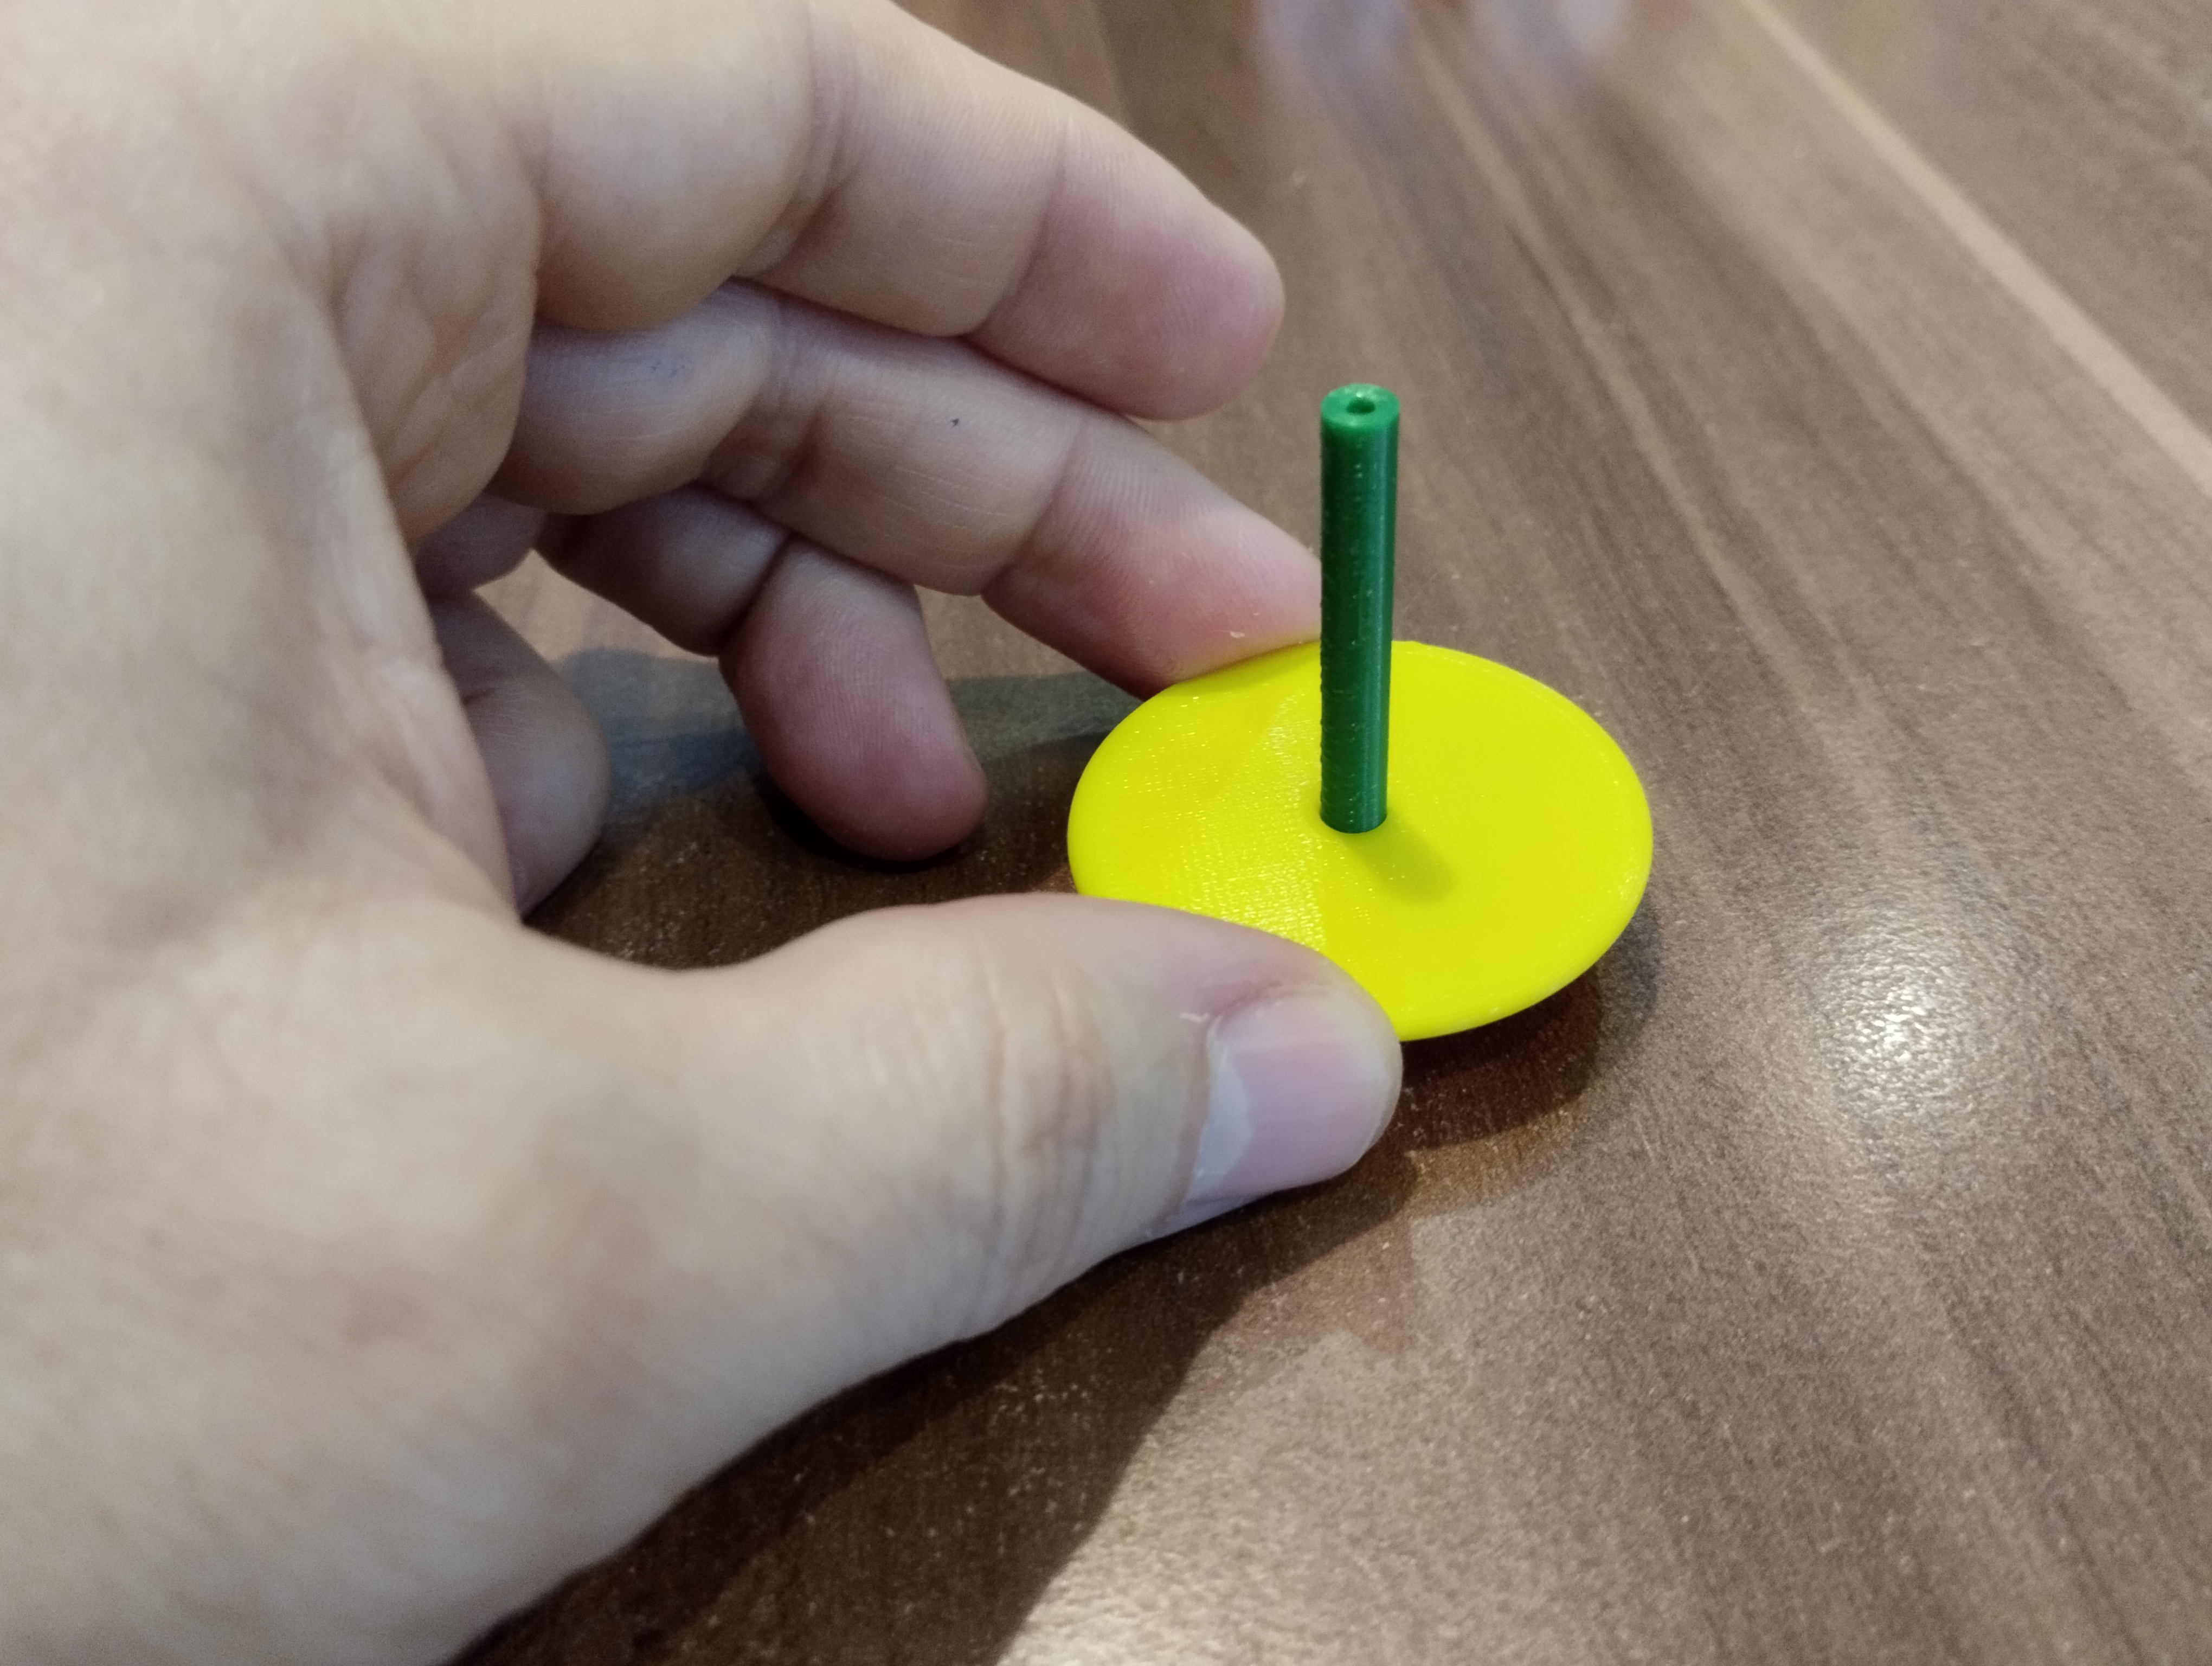


- We insert the front glass into the front light.

- We pass the led light through the hole in the cabin, then through egg 3, 2 and 1.

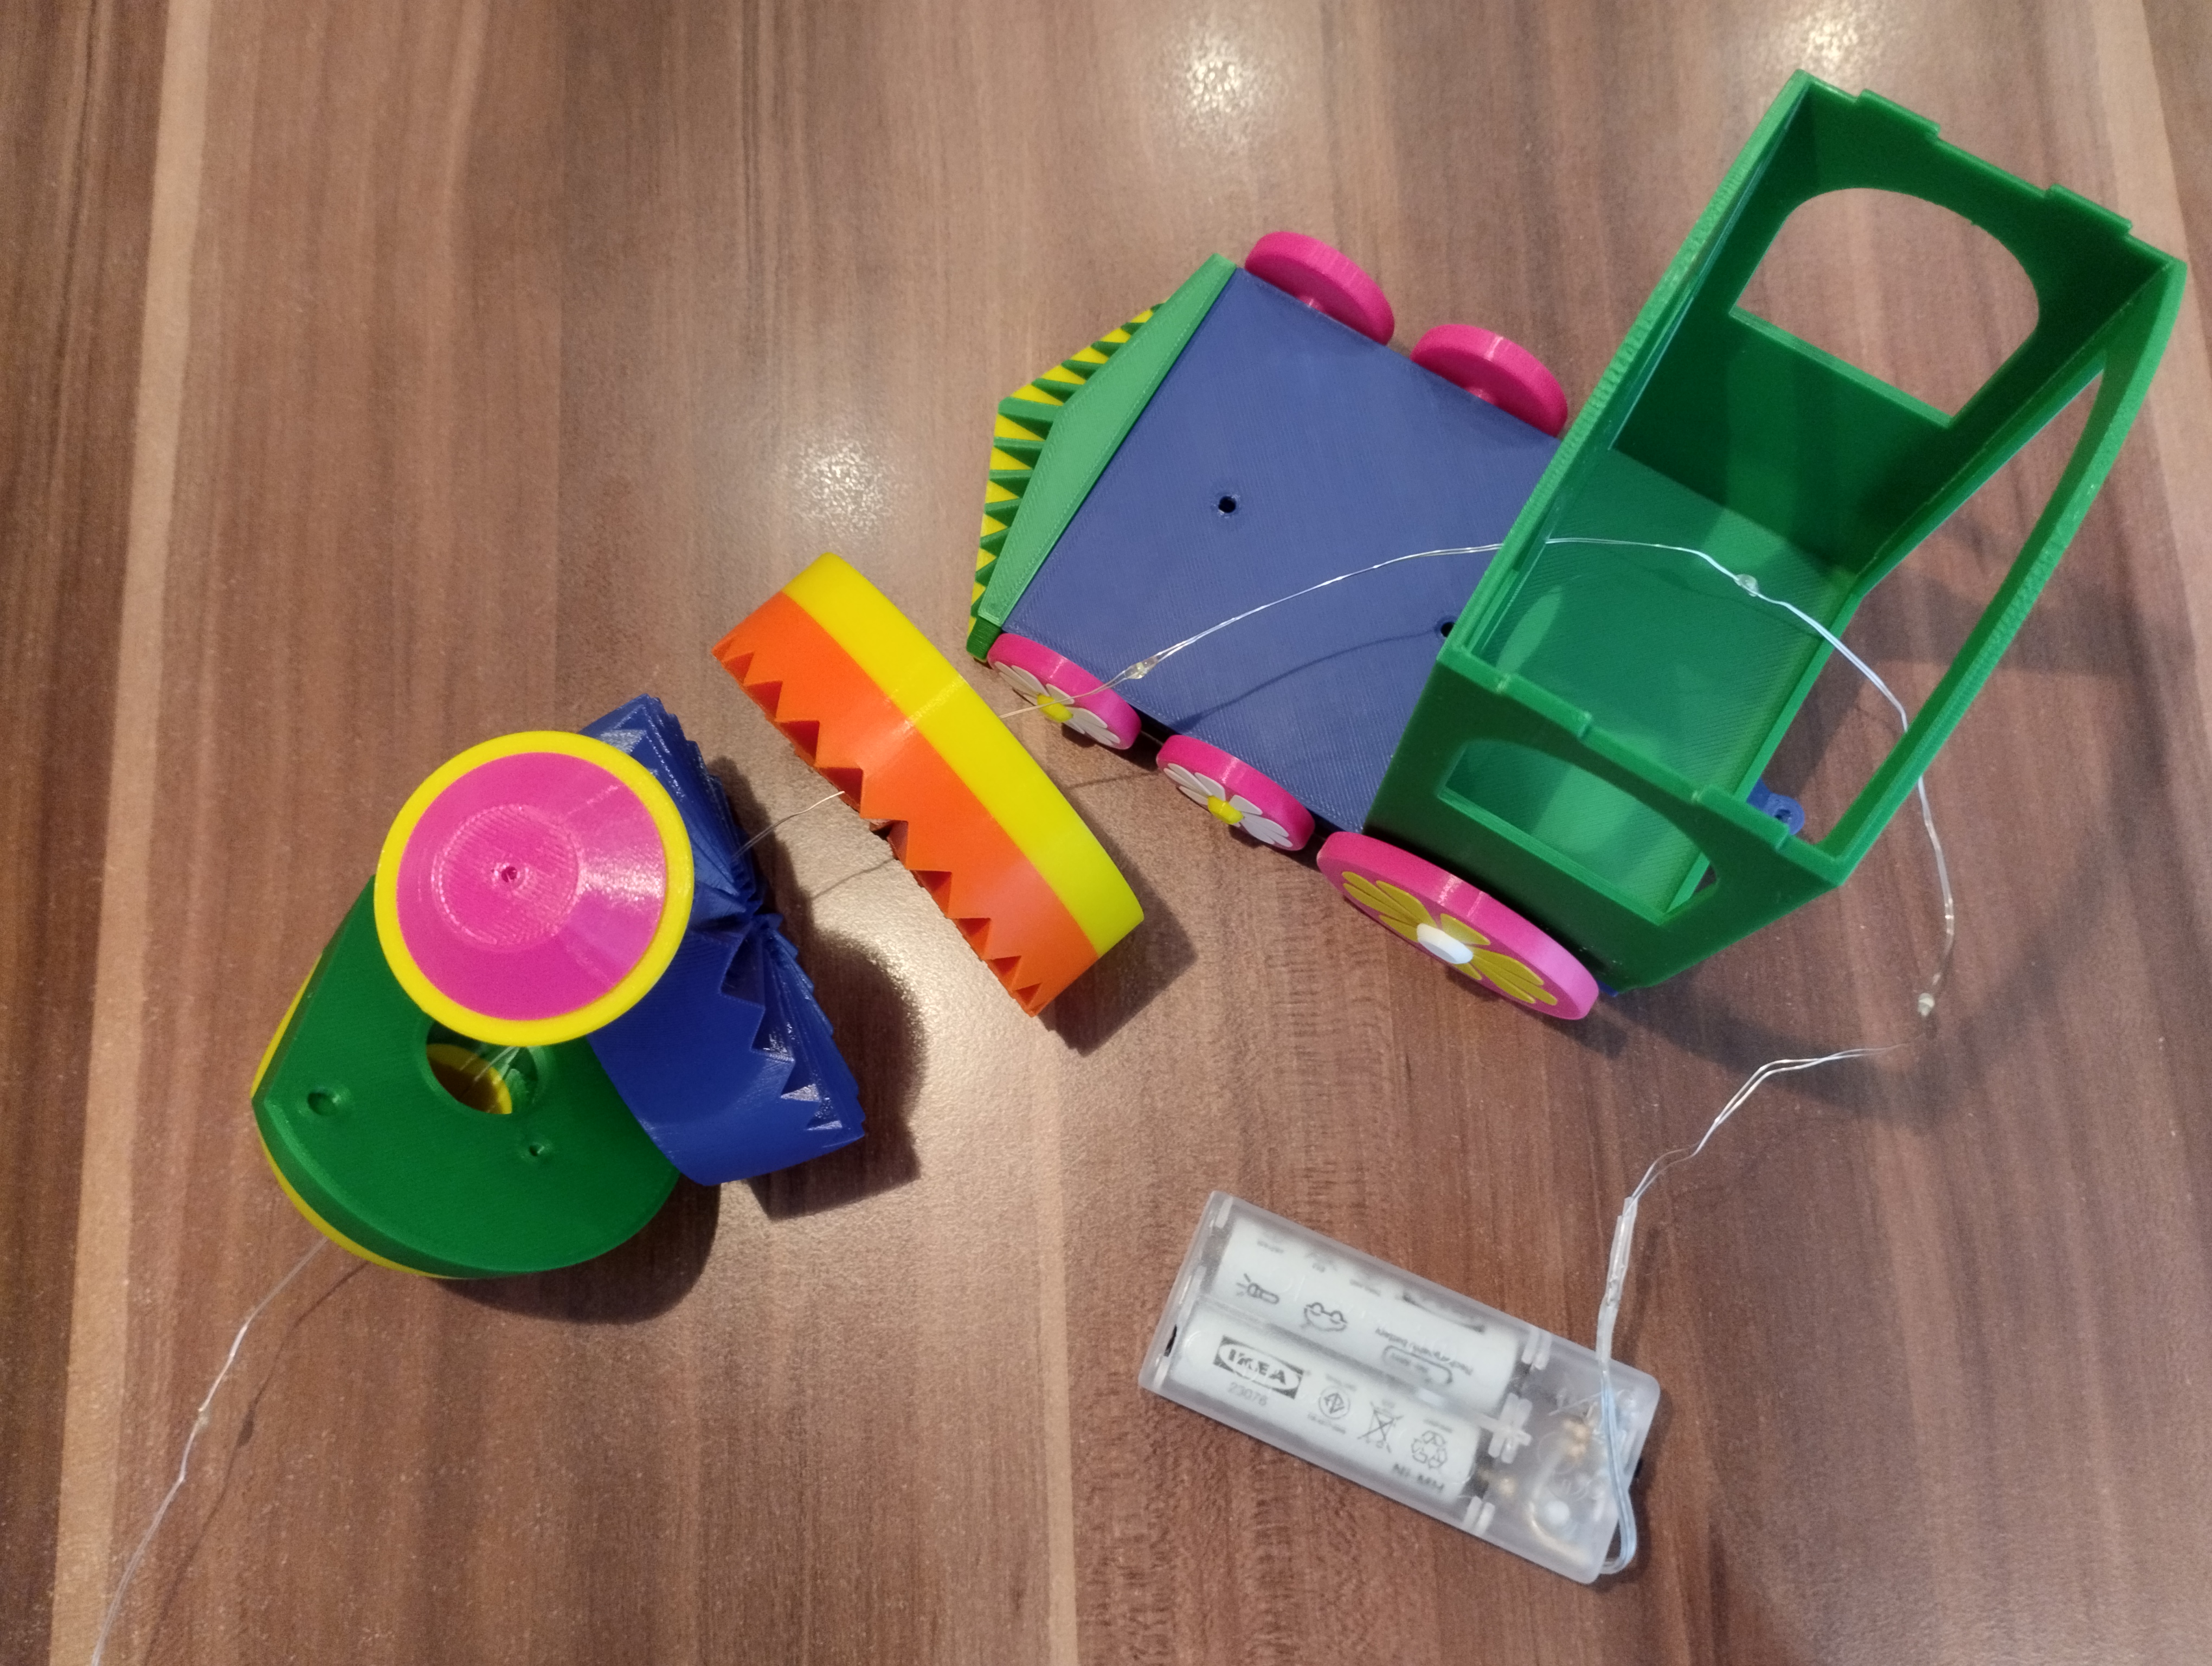
- We put the LED lights that I wound on a pencil into the front light and connect it to egg 1.
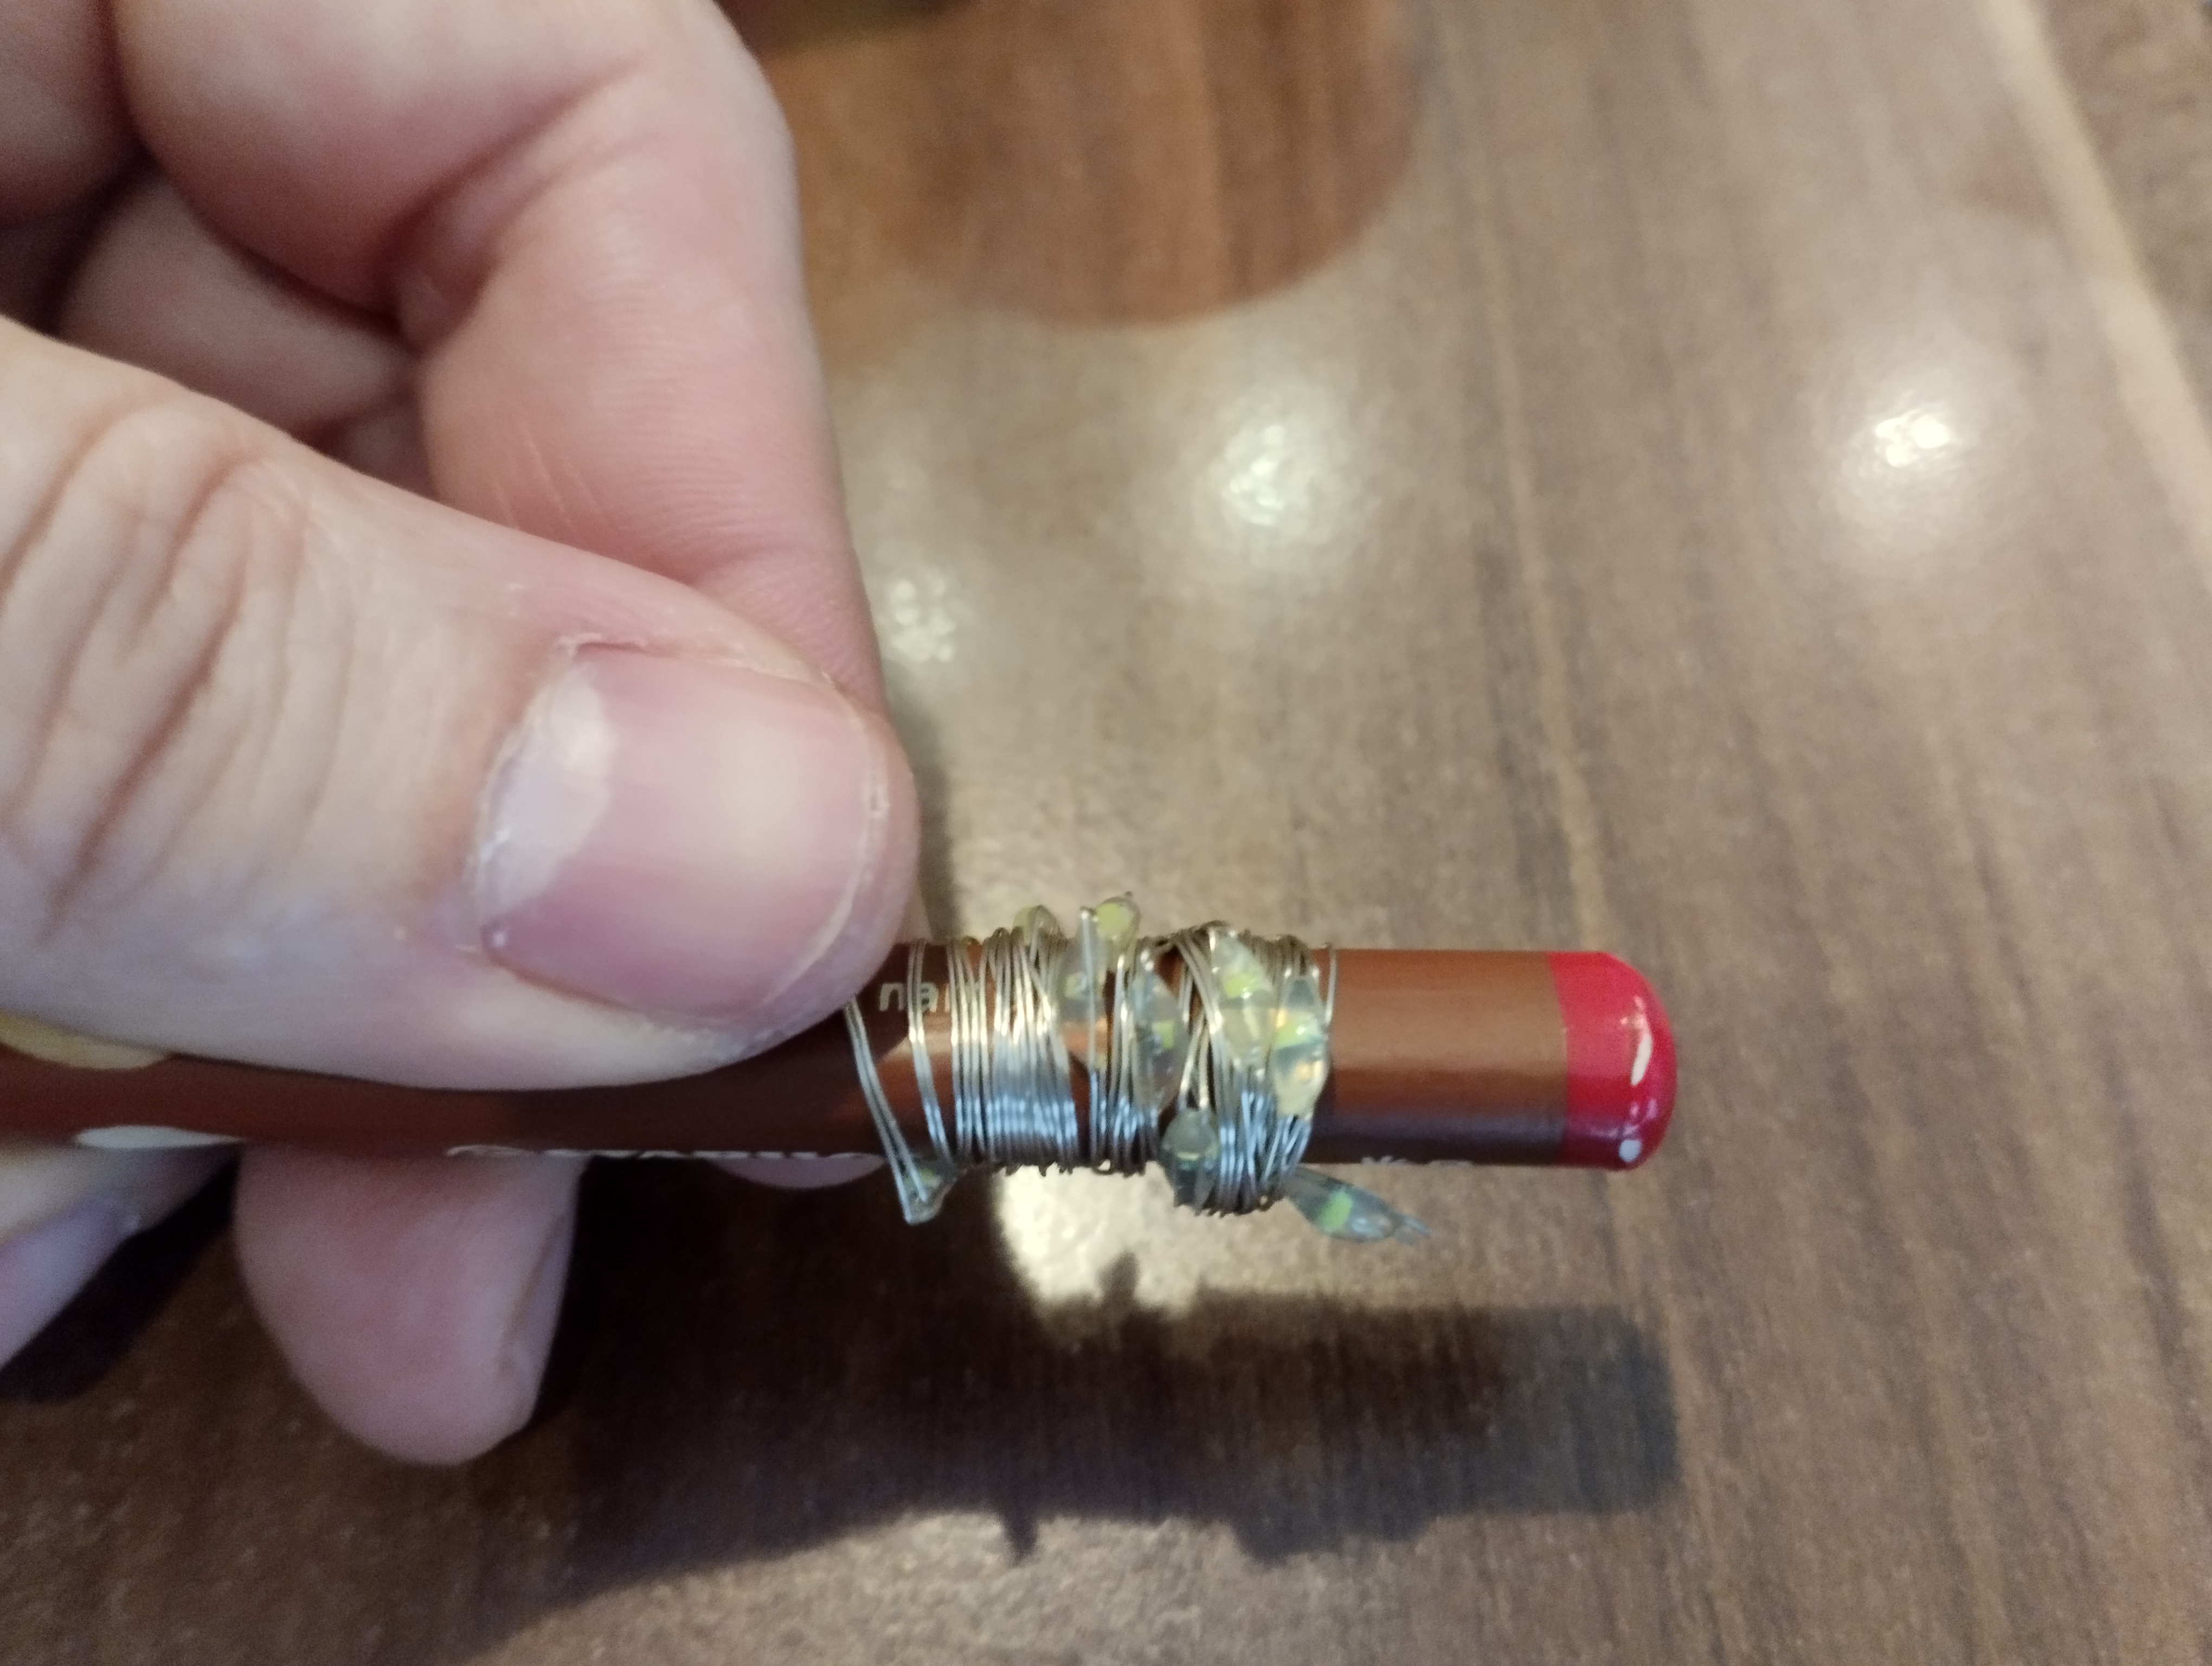
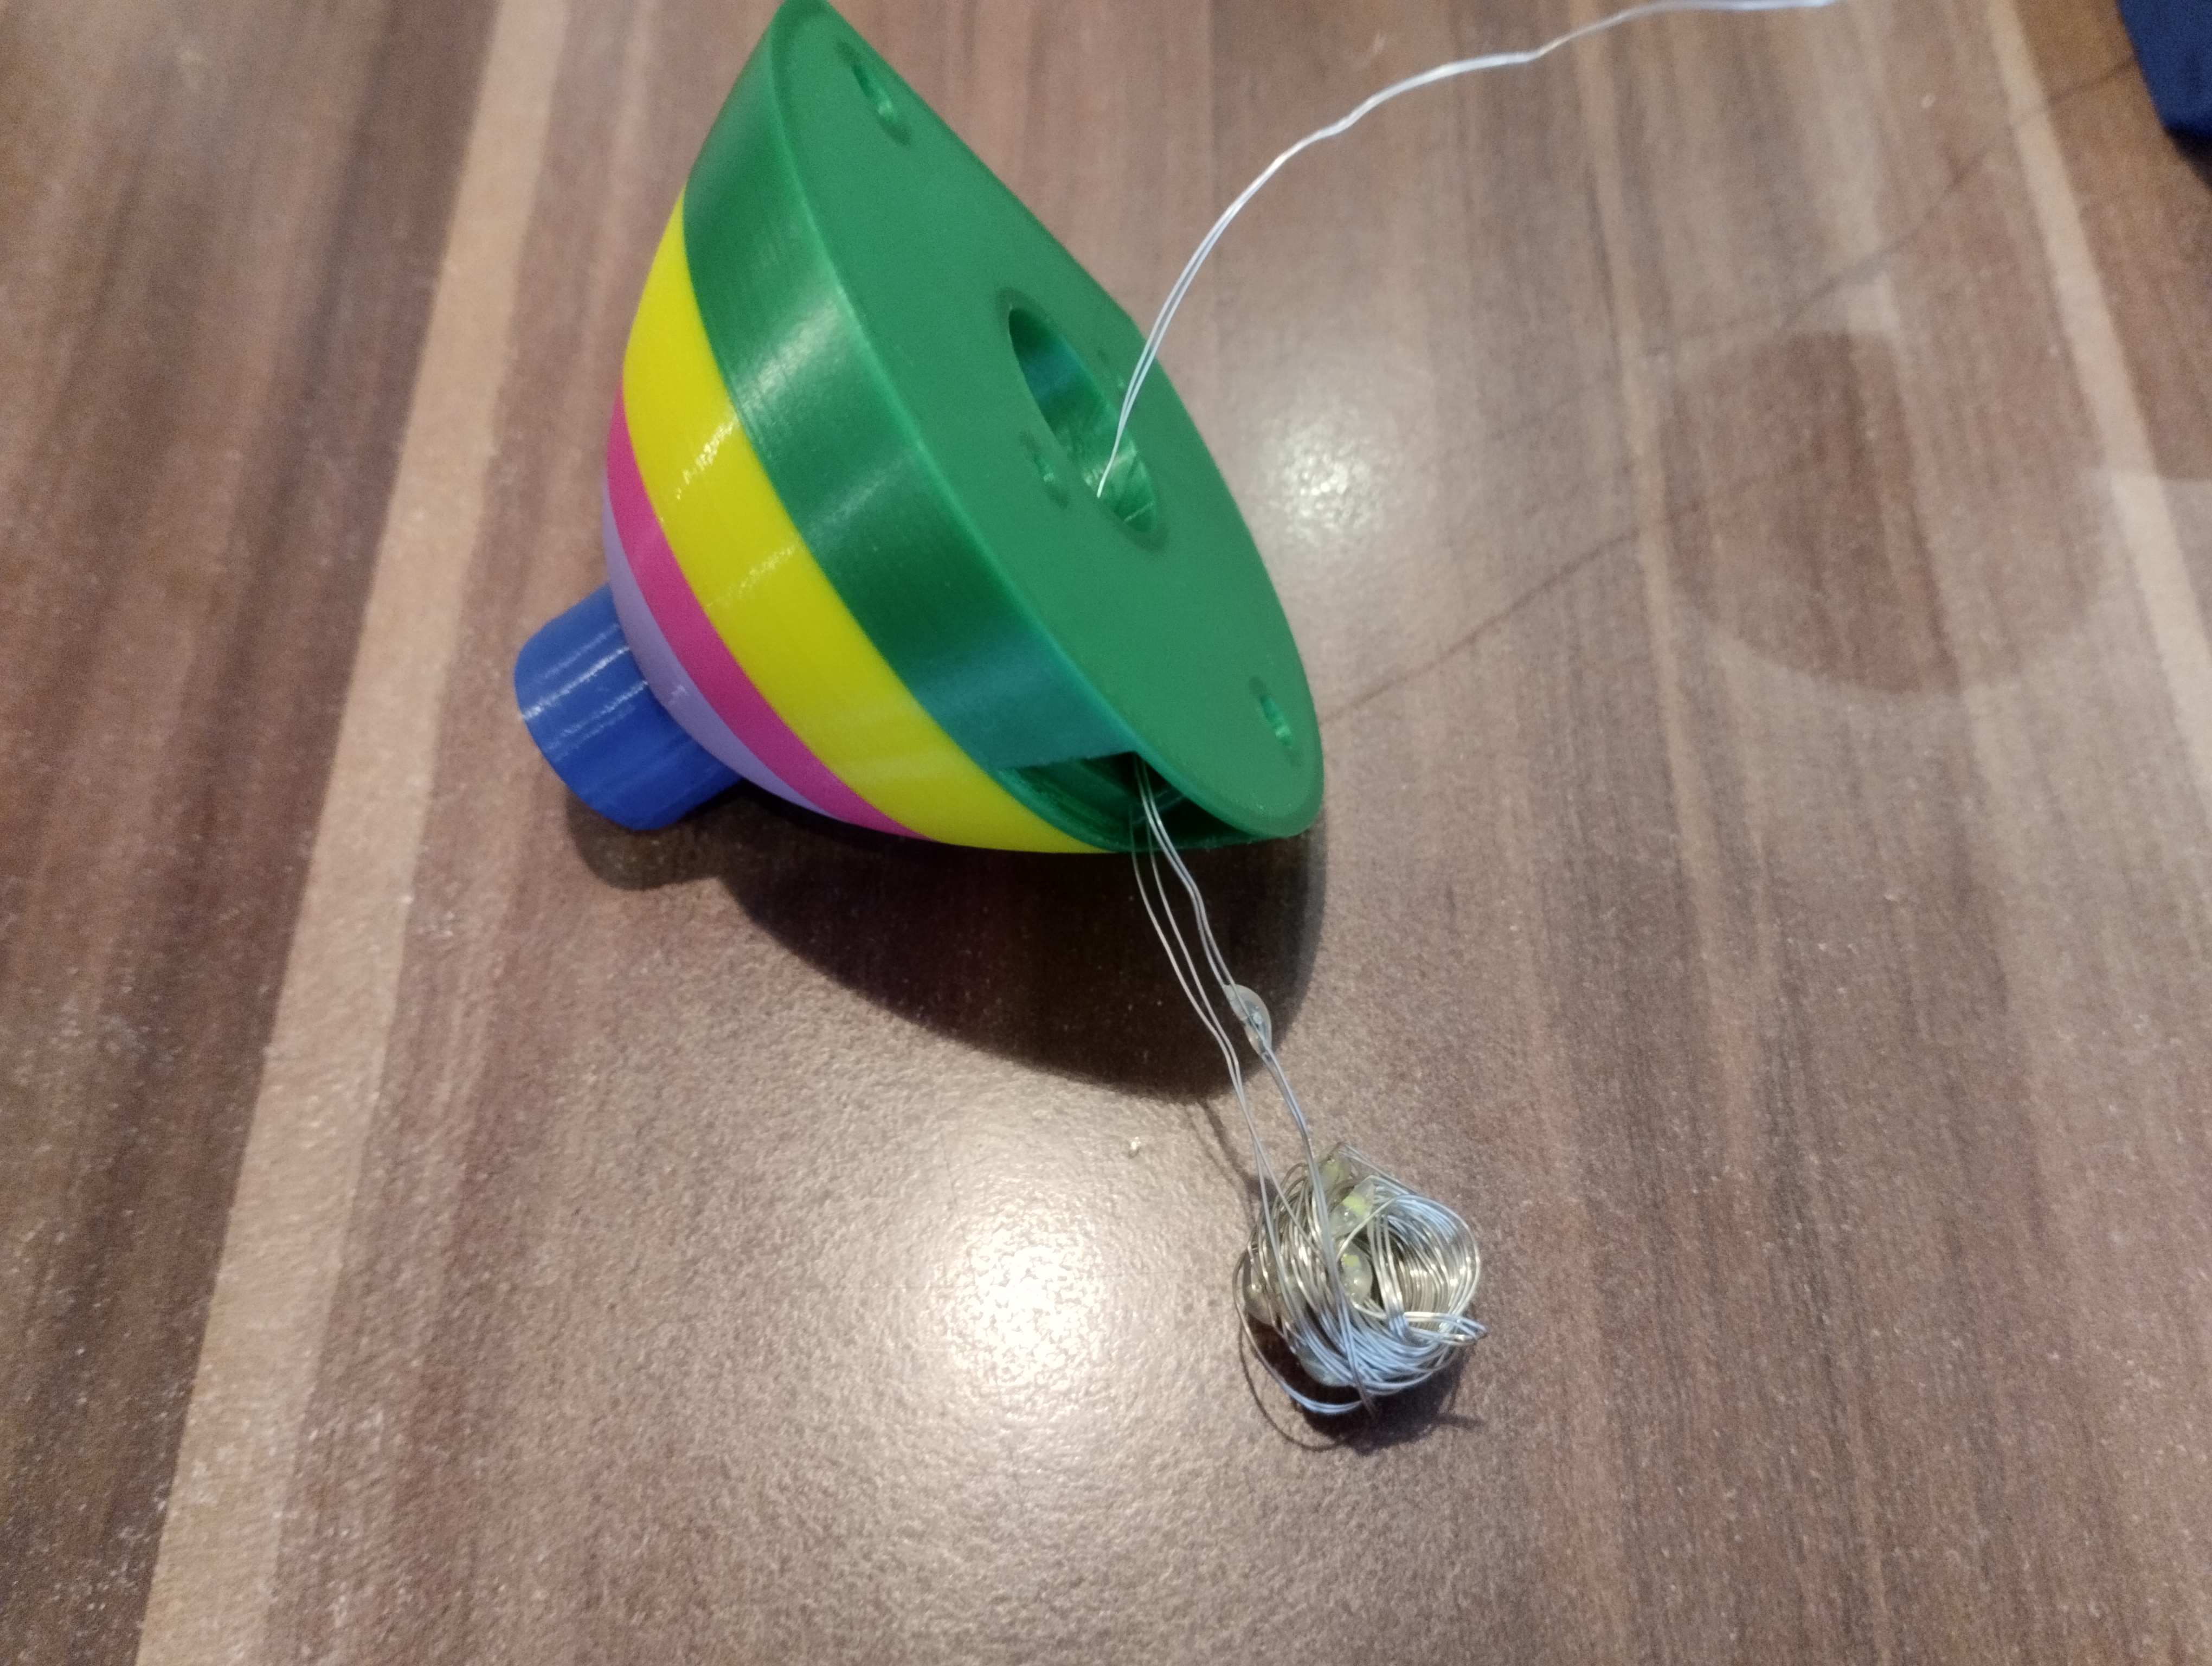

- We pull out the rest of the led lights through the hole on the top of egg 1. Then we wind it on a pencil and insert it into the rear light. Put the rear glass into the rear light. Insert the pre-assembled of rear light into egg 1.


- We connect eggs 1 to 3 and screwing them with two M3x35mm screws.


- We place the front part on the base and screwing it with two M3x18mm screws.
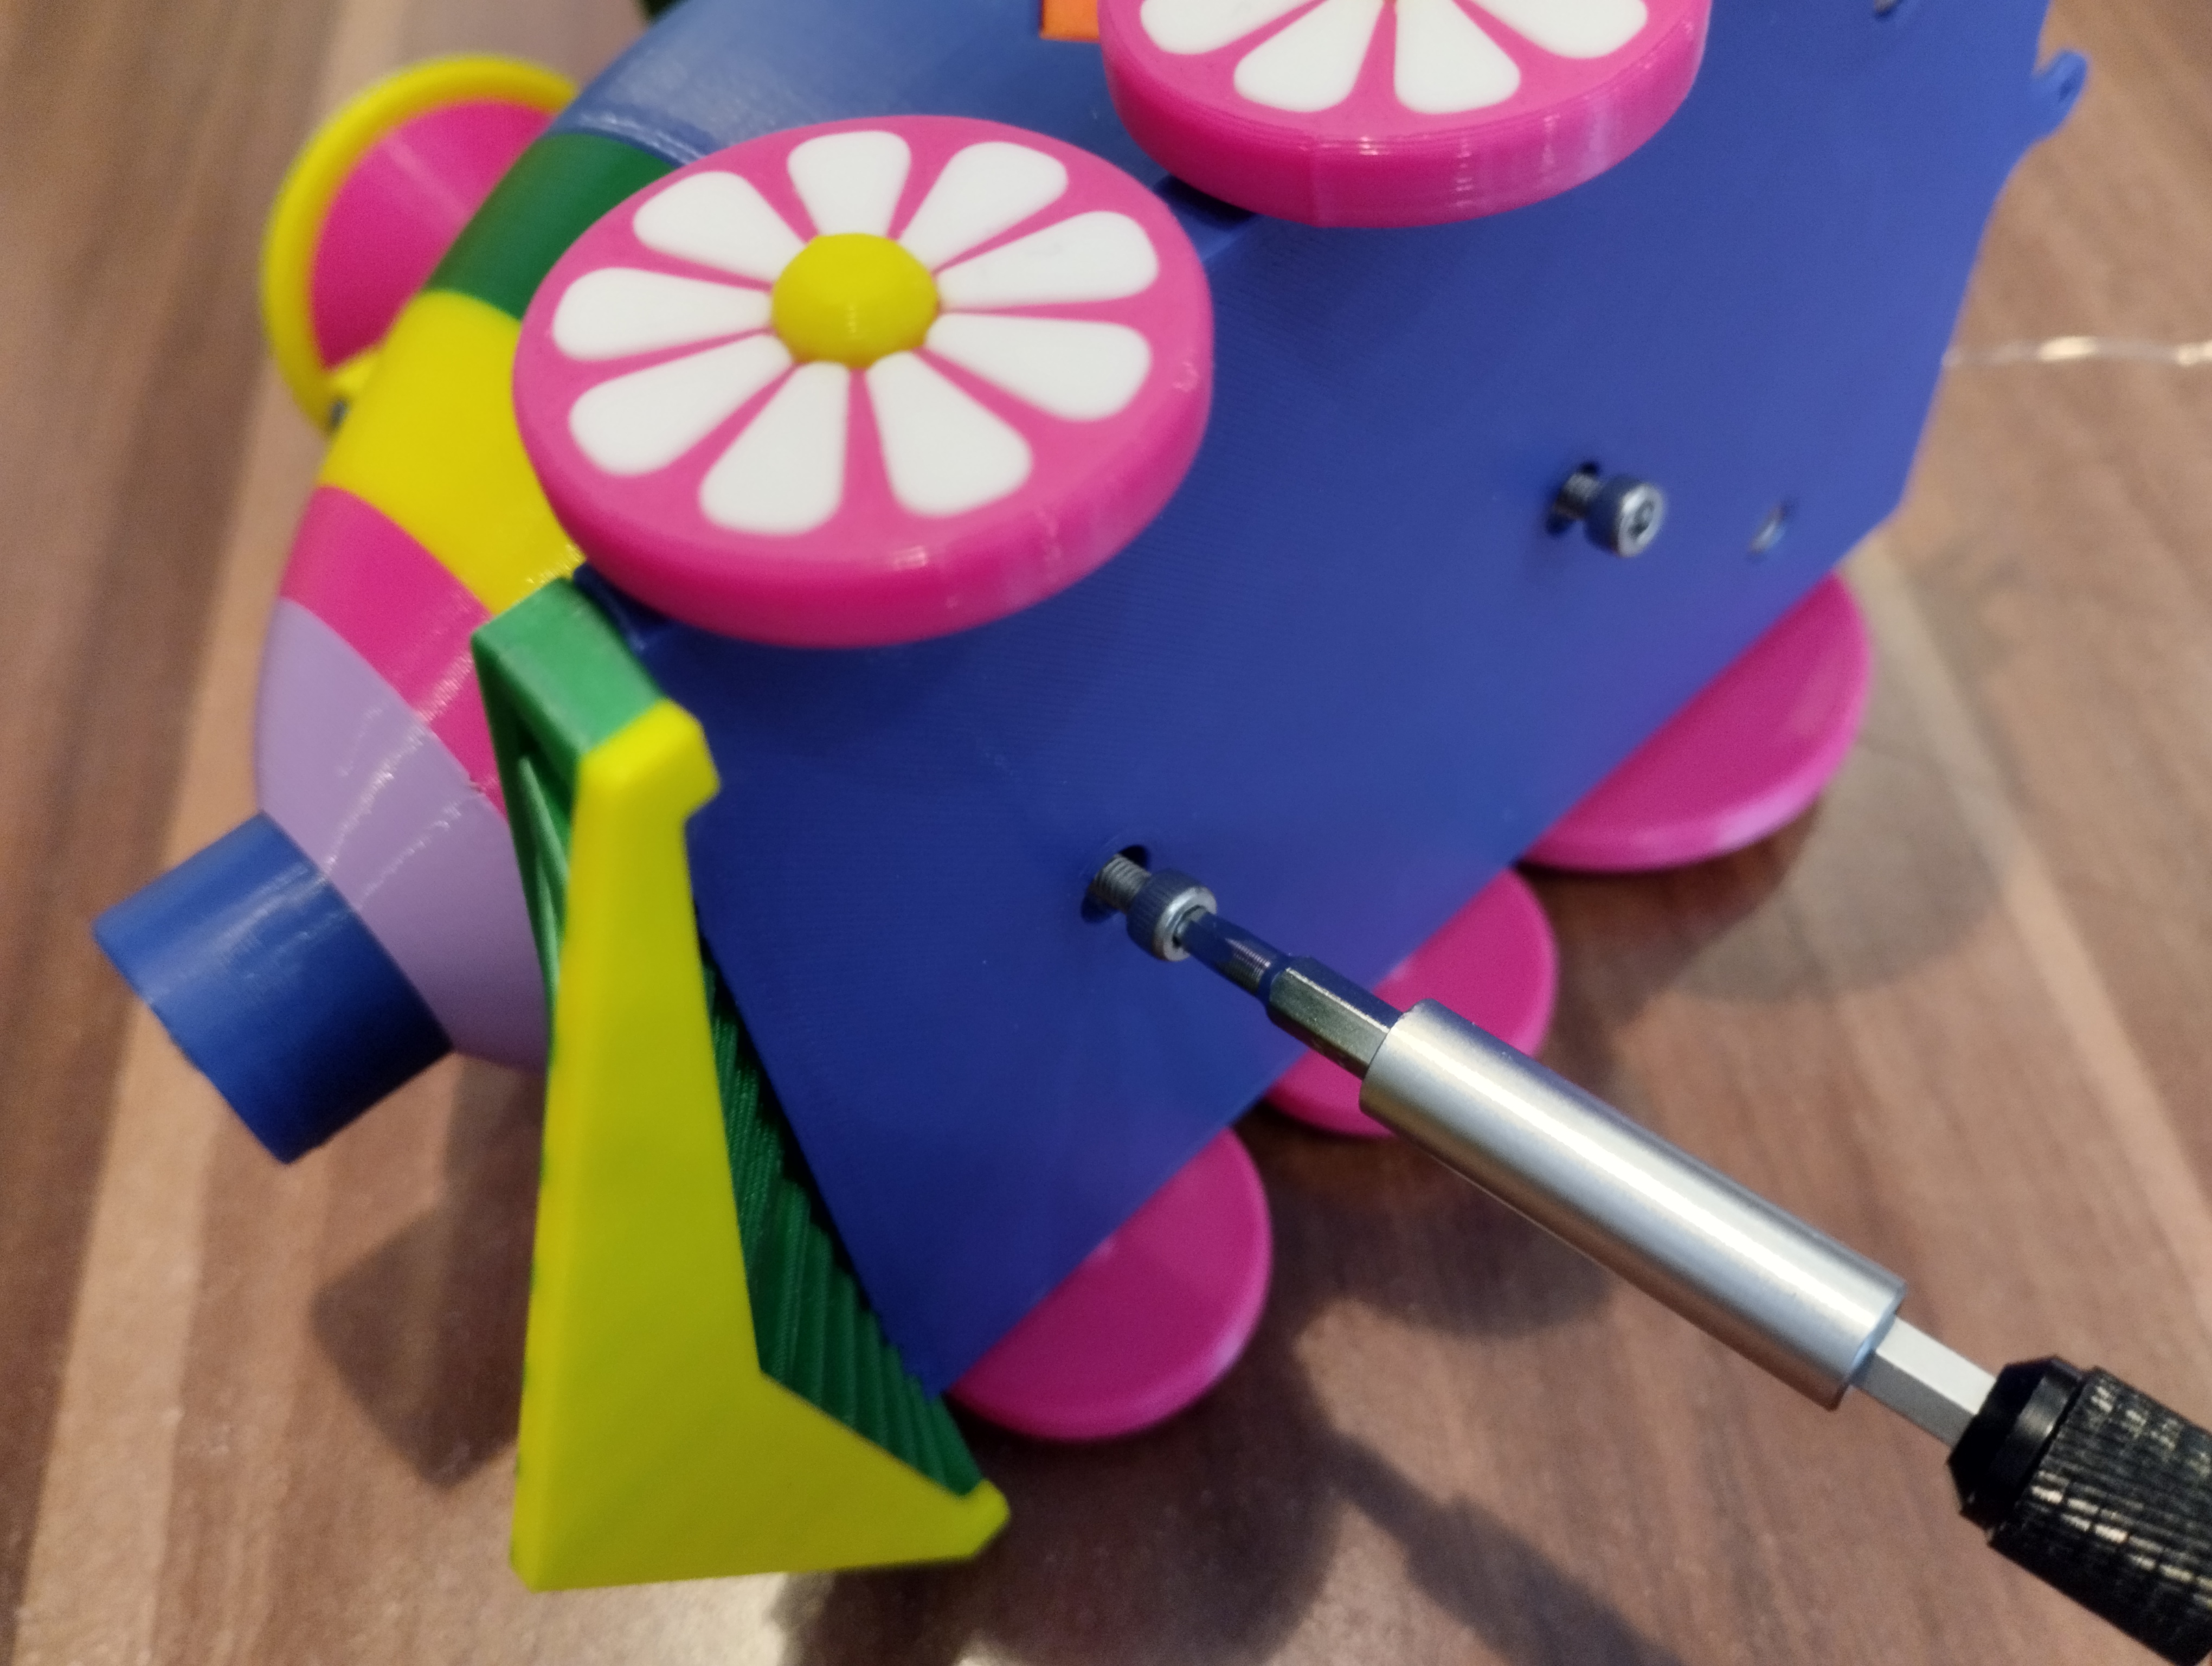
- Put the roof on the top cabin.

- The train is finished. Hooooooooray.
Building wagon:
- Take a small wheel and insert small flowers into it (picture in train step 3).
- Now we attach the wagon to the wagon base with M3x10 mm (Wagon 1) or M3x6 mm for wagon 2 screws.

- Assembly the wheels on the train base using M3x18 mm screws. Tighten the screws so that the wheel rotates. Not to the end.
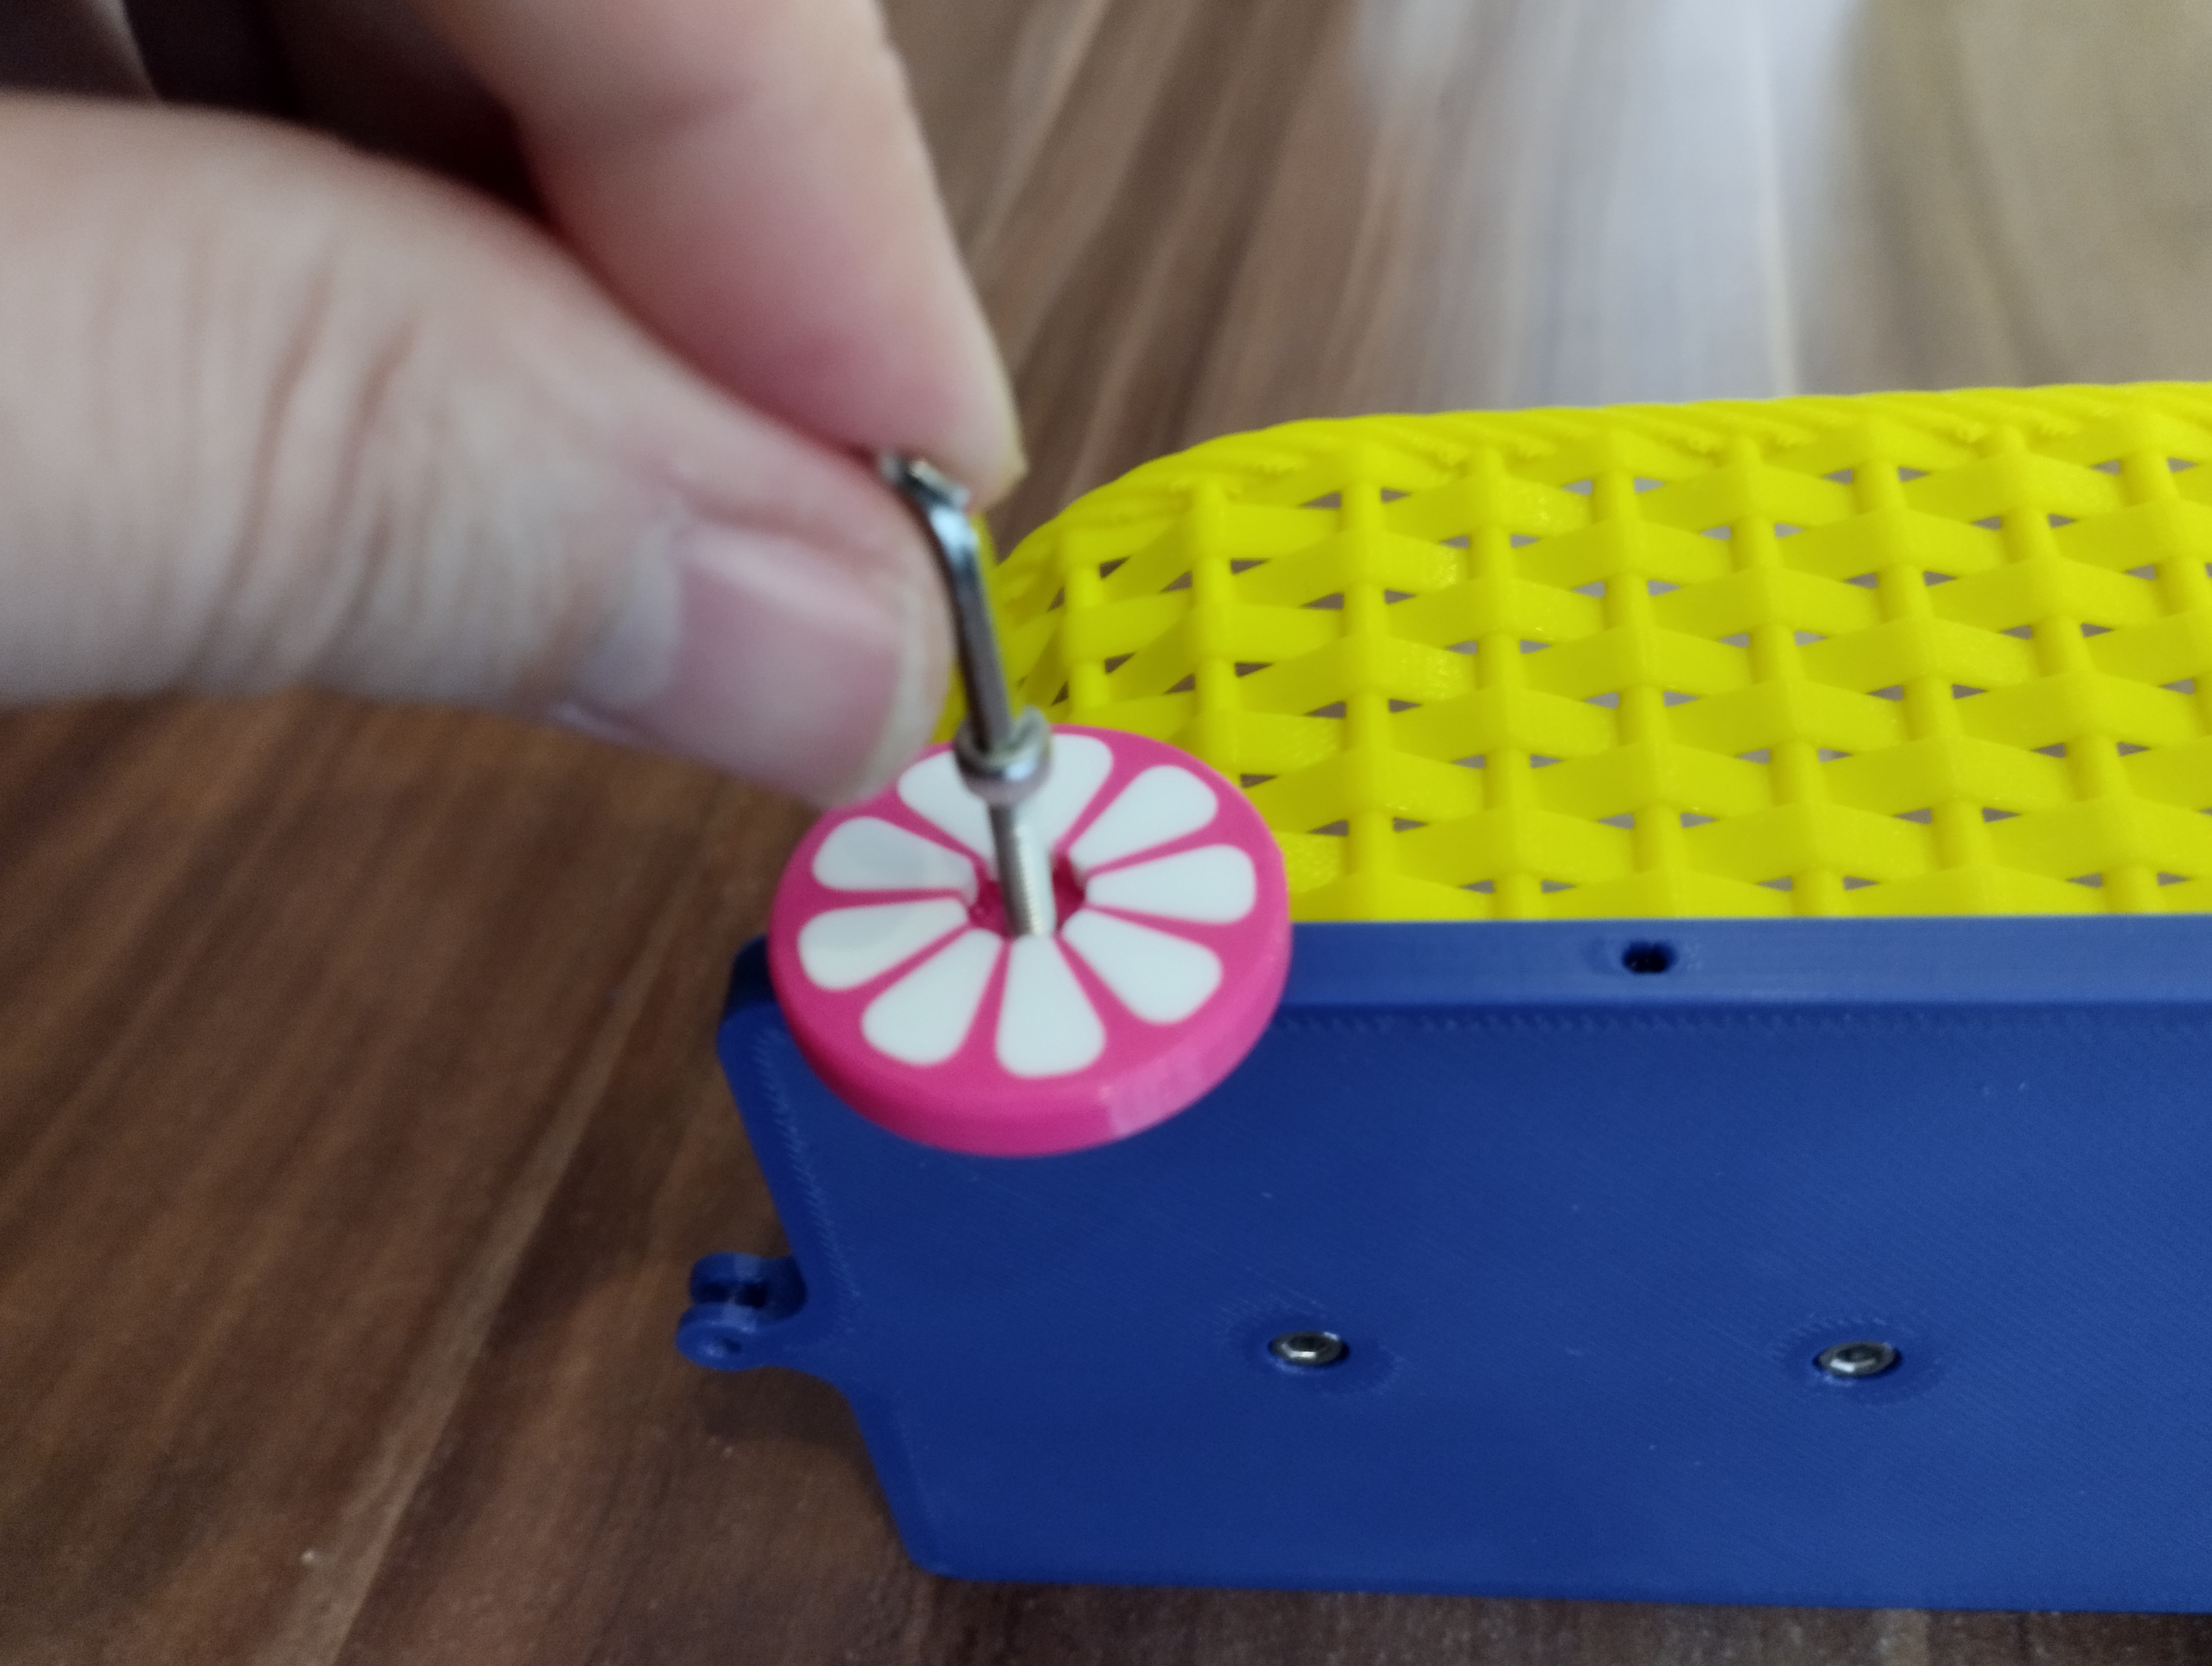
That is all. Enjoy the easter.
________________________________________________________________________________________________________________ If you want to support my other projects, you would contribute to filaments at PayPal. Thanks.

69
Curtidas
147
Downloads
3
Impressões
Categoria
Spring & Easter
Tags
holder
easter
eggs
holders
train
trainset
easterdesign
eastereggholder
eggholder
easterbasket
easterdecoration
Licença
Creative Commons — Attribution — Noncommercial — Share Alike
Arquivos (26)
Train base.3mf
83.5 KB
Egg 1.3mf
370.6 KB
Egg 2.3mf
344.5 KB
Egg 3.3mf
270.3 KB
Front light.3mf
197.9 KB
Glass for front light.3mf
133.2 KB
Back light.3mf
98.5 KB
Glass for back light.3mf
97.4 KB
Chimney 1.3mf
73.2 KB
Chimney 2.3mf
38.4 KB
Chimney 3.3mf
96.1 KB
Chimney 4.3mf
92.4 KB
Chimney connecting rod.3mf
36.9 KB
Cabin.3mf
140.4 KB
Roof.3mf
90.7 KB
Pilot.3mf
31.8 KB
Wheel big.3mf
176 KB
Flower Big.3mf
76.9 KB
Flower Big center.3mf
166 KB
Wheel small.3mf
184.8 KB
Flower small.3mf
108.8 KB
Flower small center.3mf
189.2 KB
Wagon base.3mf
91.8 KB
Egg wagon 1.3mf
2.3 MB
Egg wagon 2.3mf
4.4 MB
Joint.3mf
68.8 KB
Gostou deste modelo? Crie uma conta grátis para salvar seus favoritos e voltar a eles depois.
Criar conta