Você está no 3DFinder
Buscamos em Thingiverse, MakerWorld e Printables ao mesmo tempo para te dar o melhor de cada uma.
Descrição
What to Print
There are three parts you can print: a clock face, a frame, and a wall-mount bracket. Slicing and printing settings for each part are described below. In addition to printed parts, you will need a clock mechanism like this one. Total print time is between 11 and 13 hours.
Clock Faces
First, chose a clock face to print from the “Files” section. The Faces are labeled as shown:
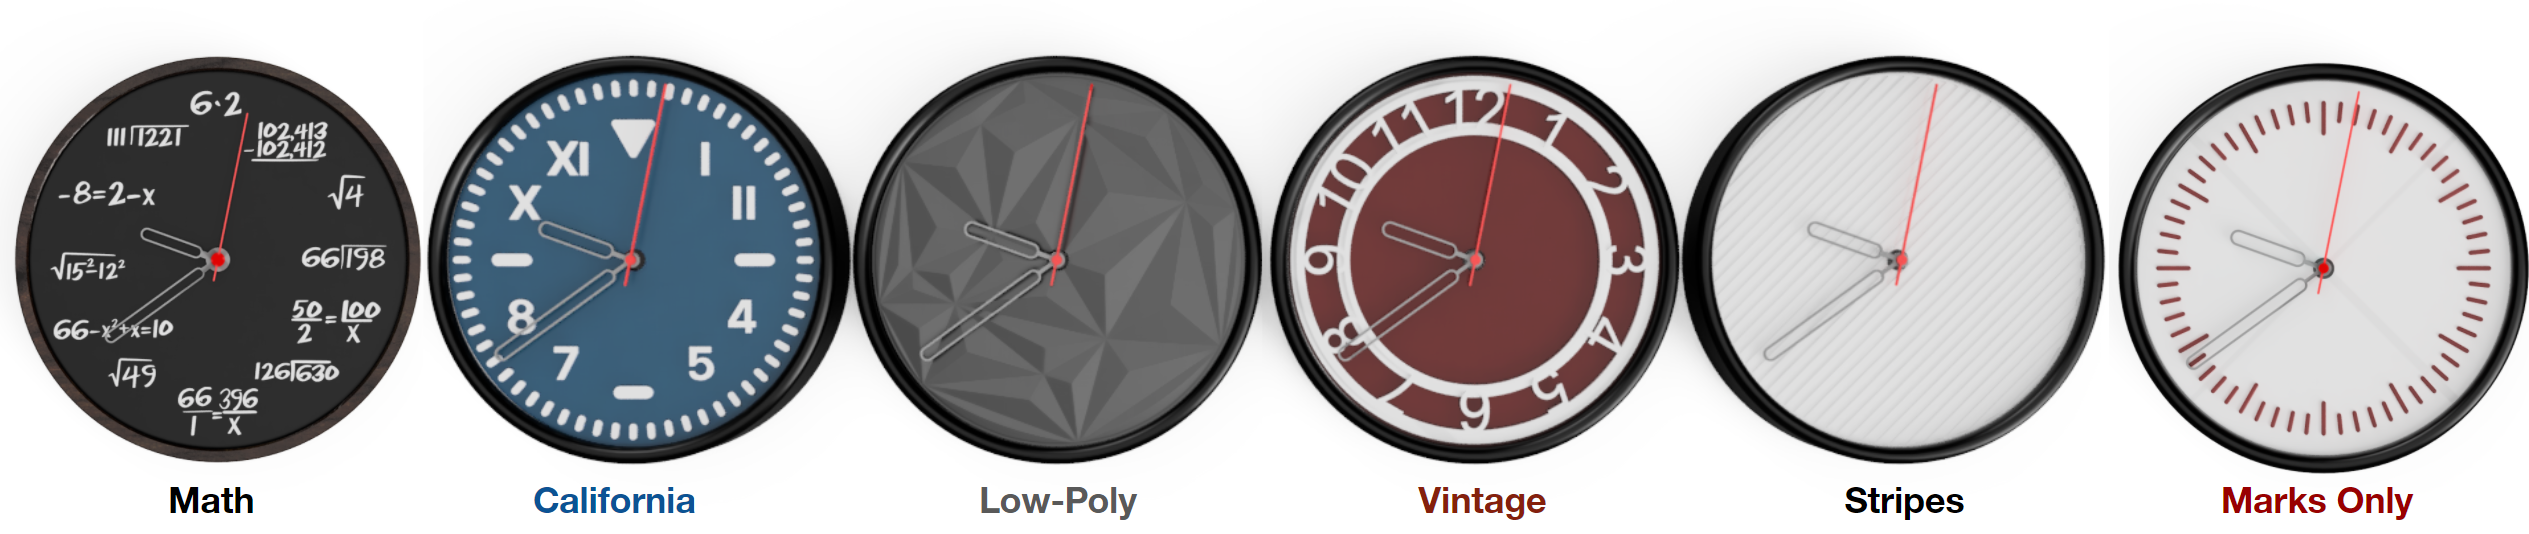
Print Settings:
- Orientation should look like the photo below
- PLA
- No supports
- 0.2mm layer height
- All additional settings (color change, variable layer height) are included in the 3mf files.

Frames
There are two frames. Both can be mounted on a wall, but the hexagonal frame also allows the clock to be set on a table.

Settings:
- Orientation should look like the photo below (curved face pointing up)
- PLA (Black color looks best)
- No supports
- 0.2mm layer height
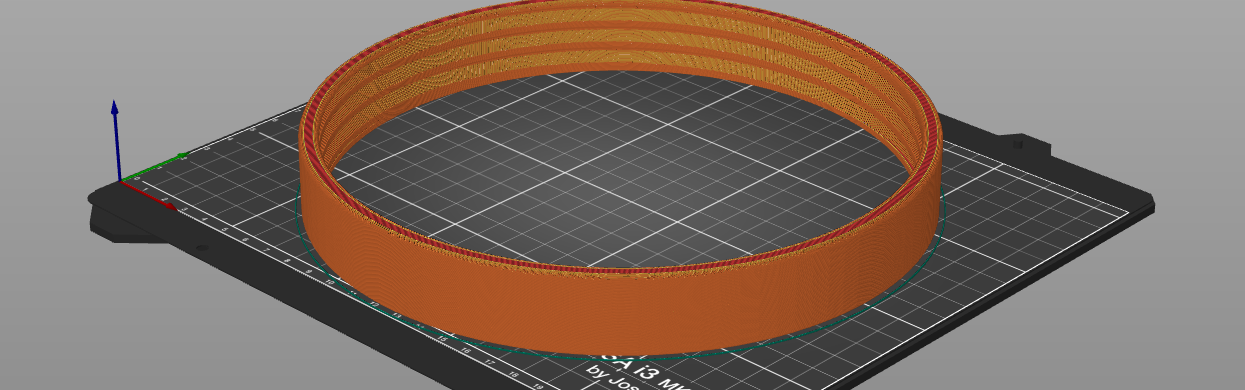
Wall Mount Bracket
The Wall Mount Bracket allows the clock to be mounted to a wall. This part is optional.

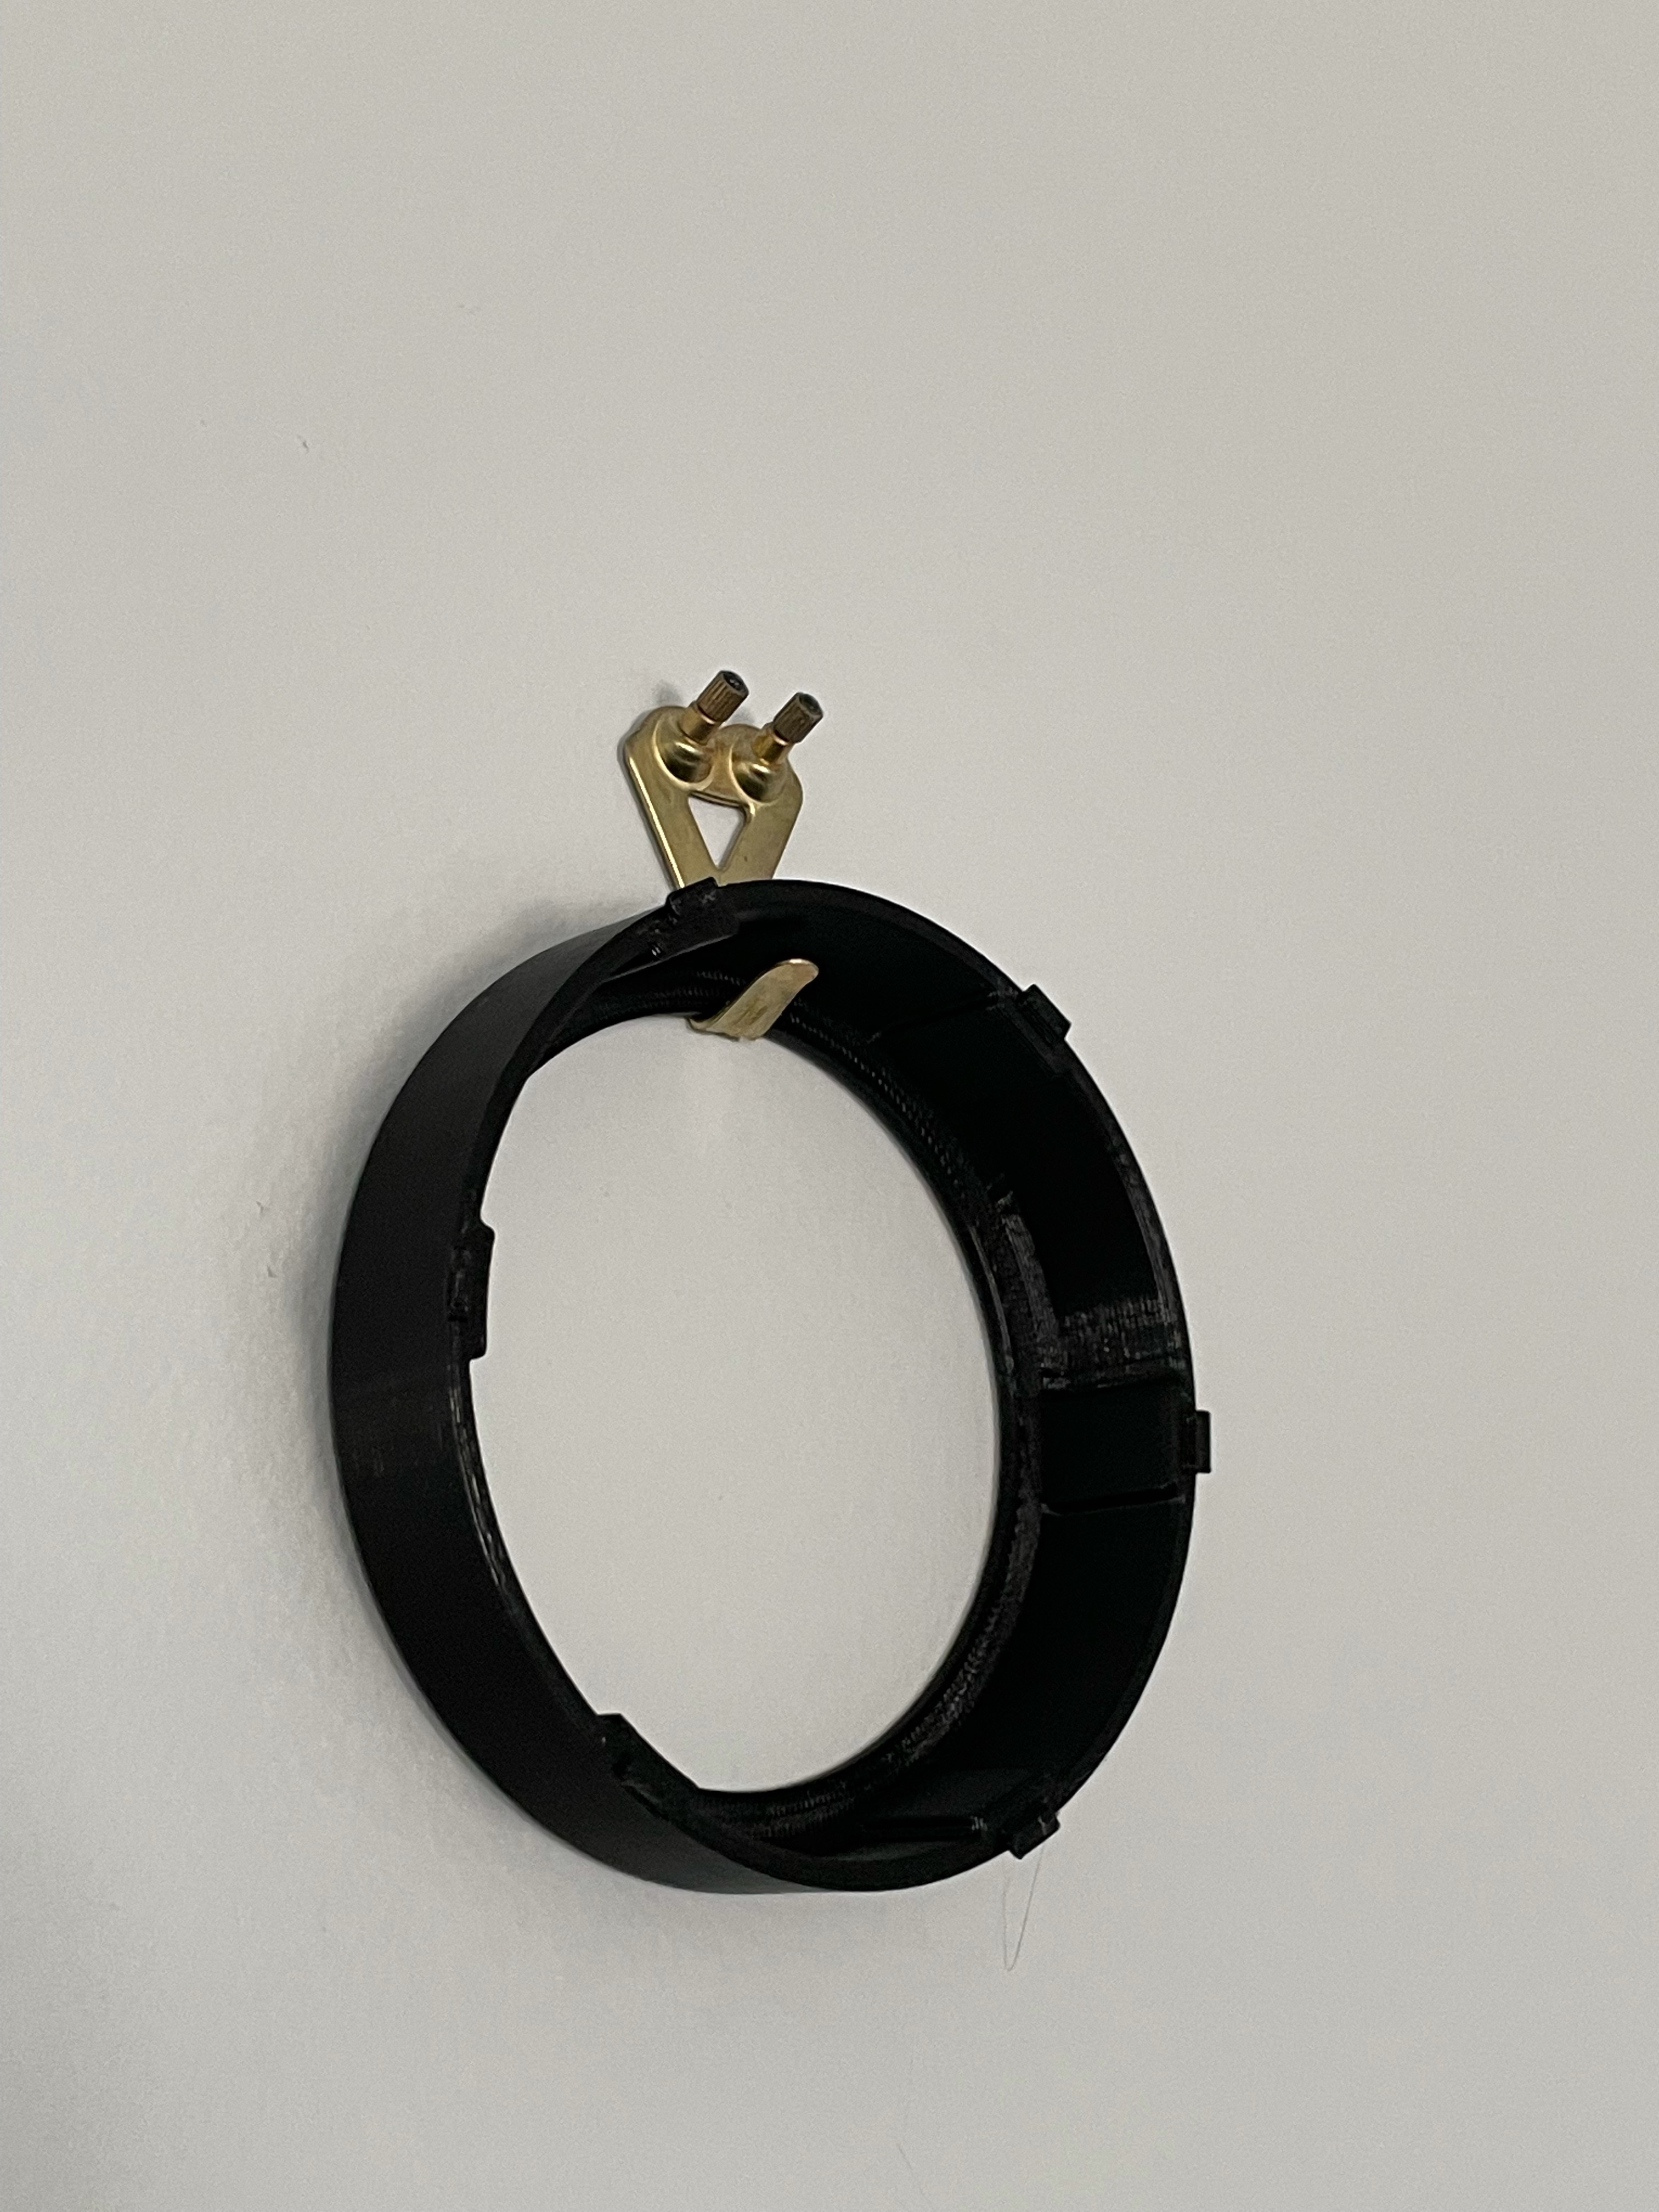
Settings:
- Orientation should look like the photo below
- PLA (Any color, this part won't be visible)
- No supports
- 0.2mm layer height

Assembly
If you printed the wall mounting bracket, place it at the back of the clock face, then twist it to lock it in place.
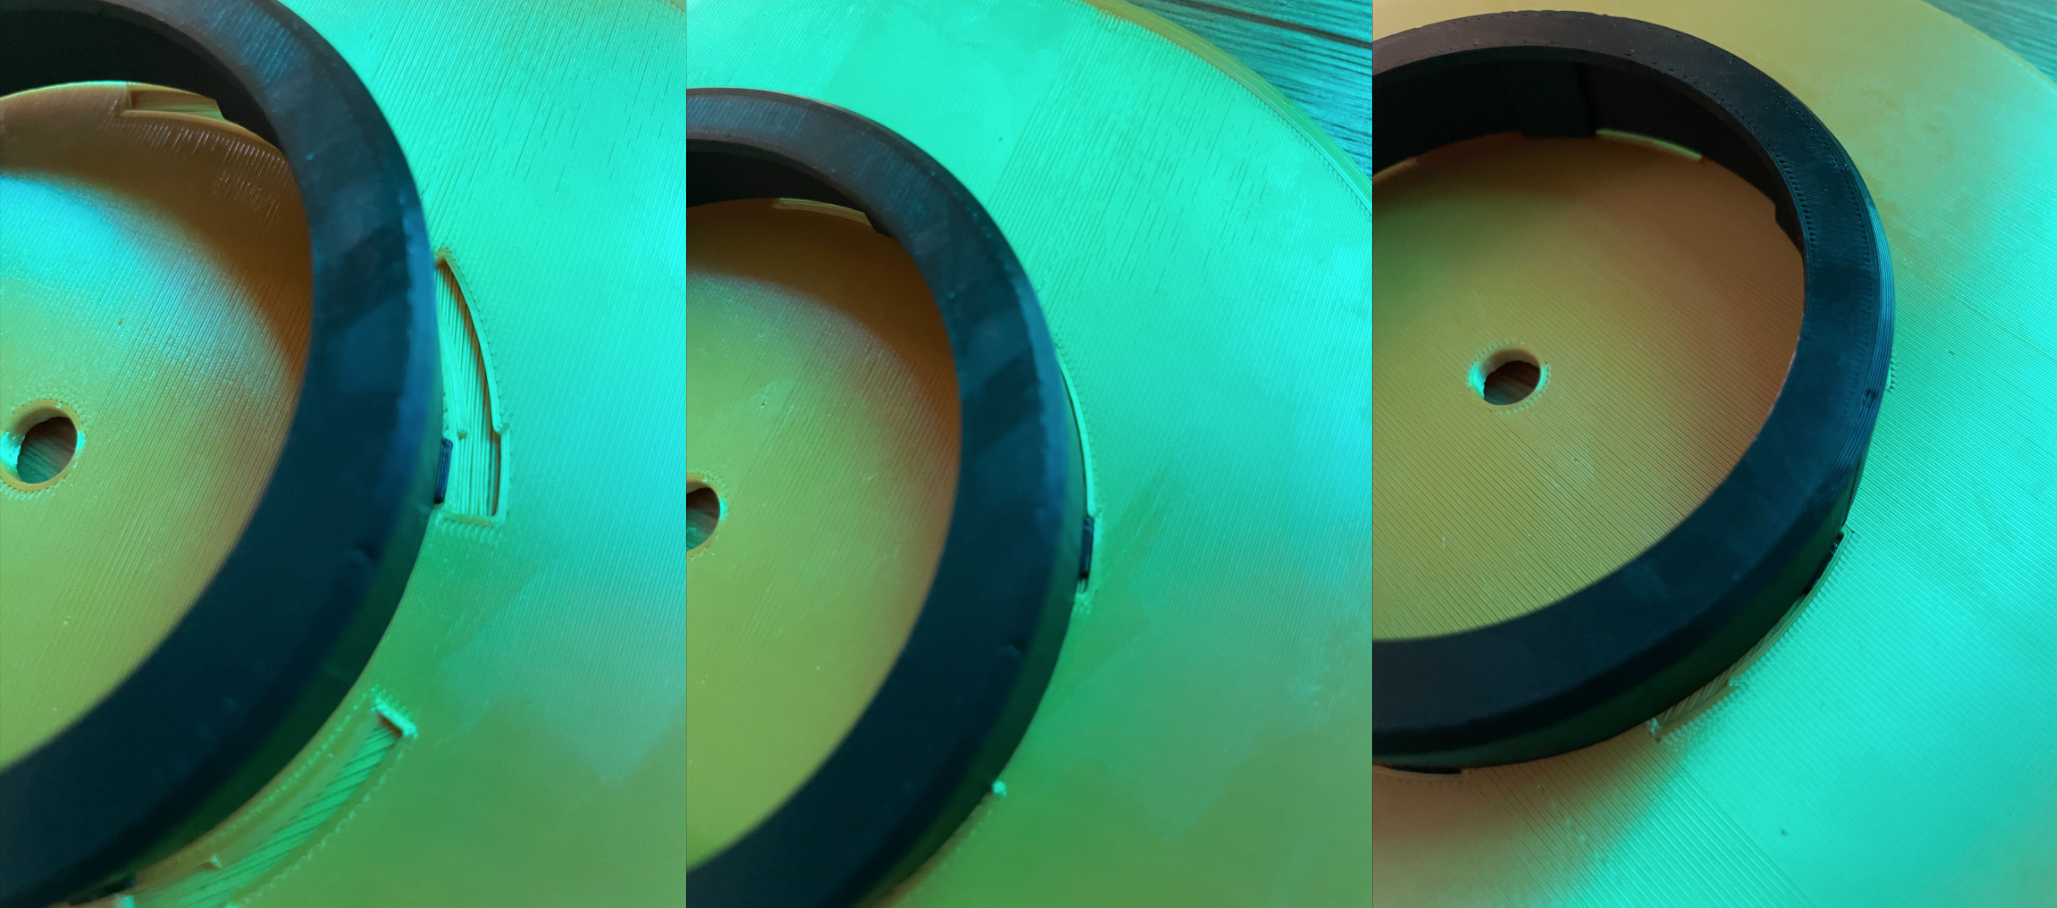
Screw the Clock Face into the Frame as shown in the image below. Be gentle with this step and take your time.

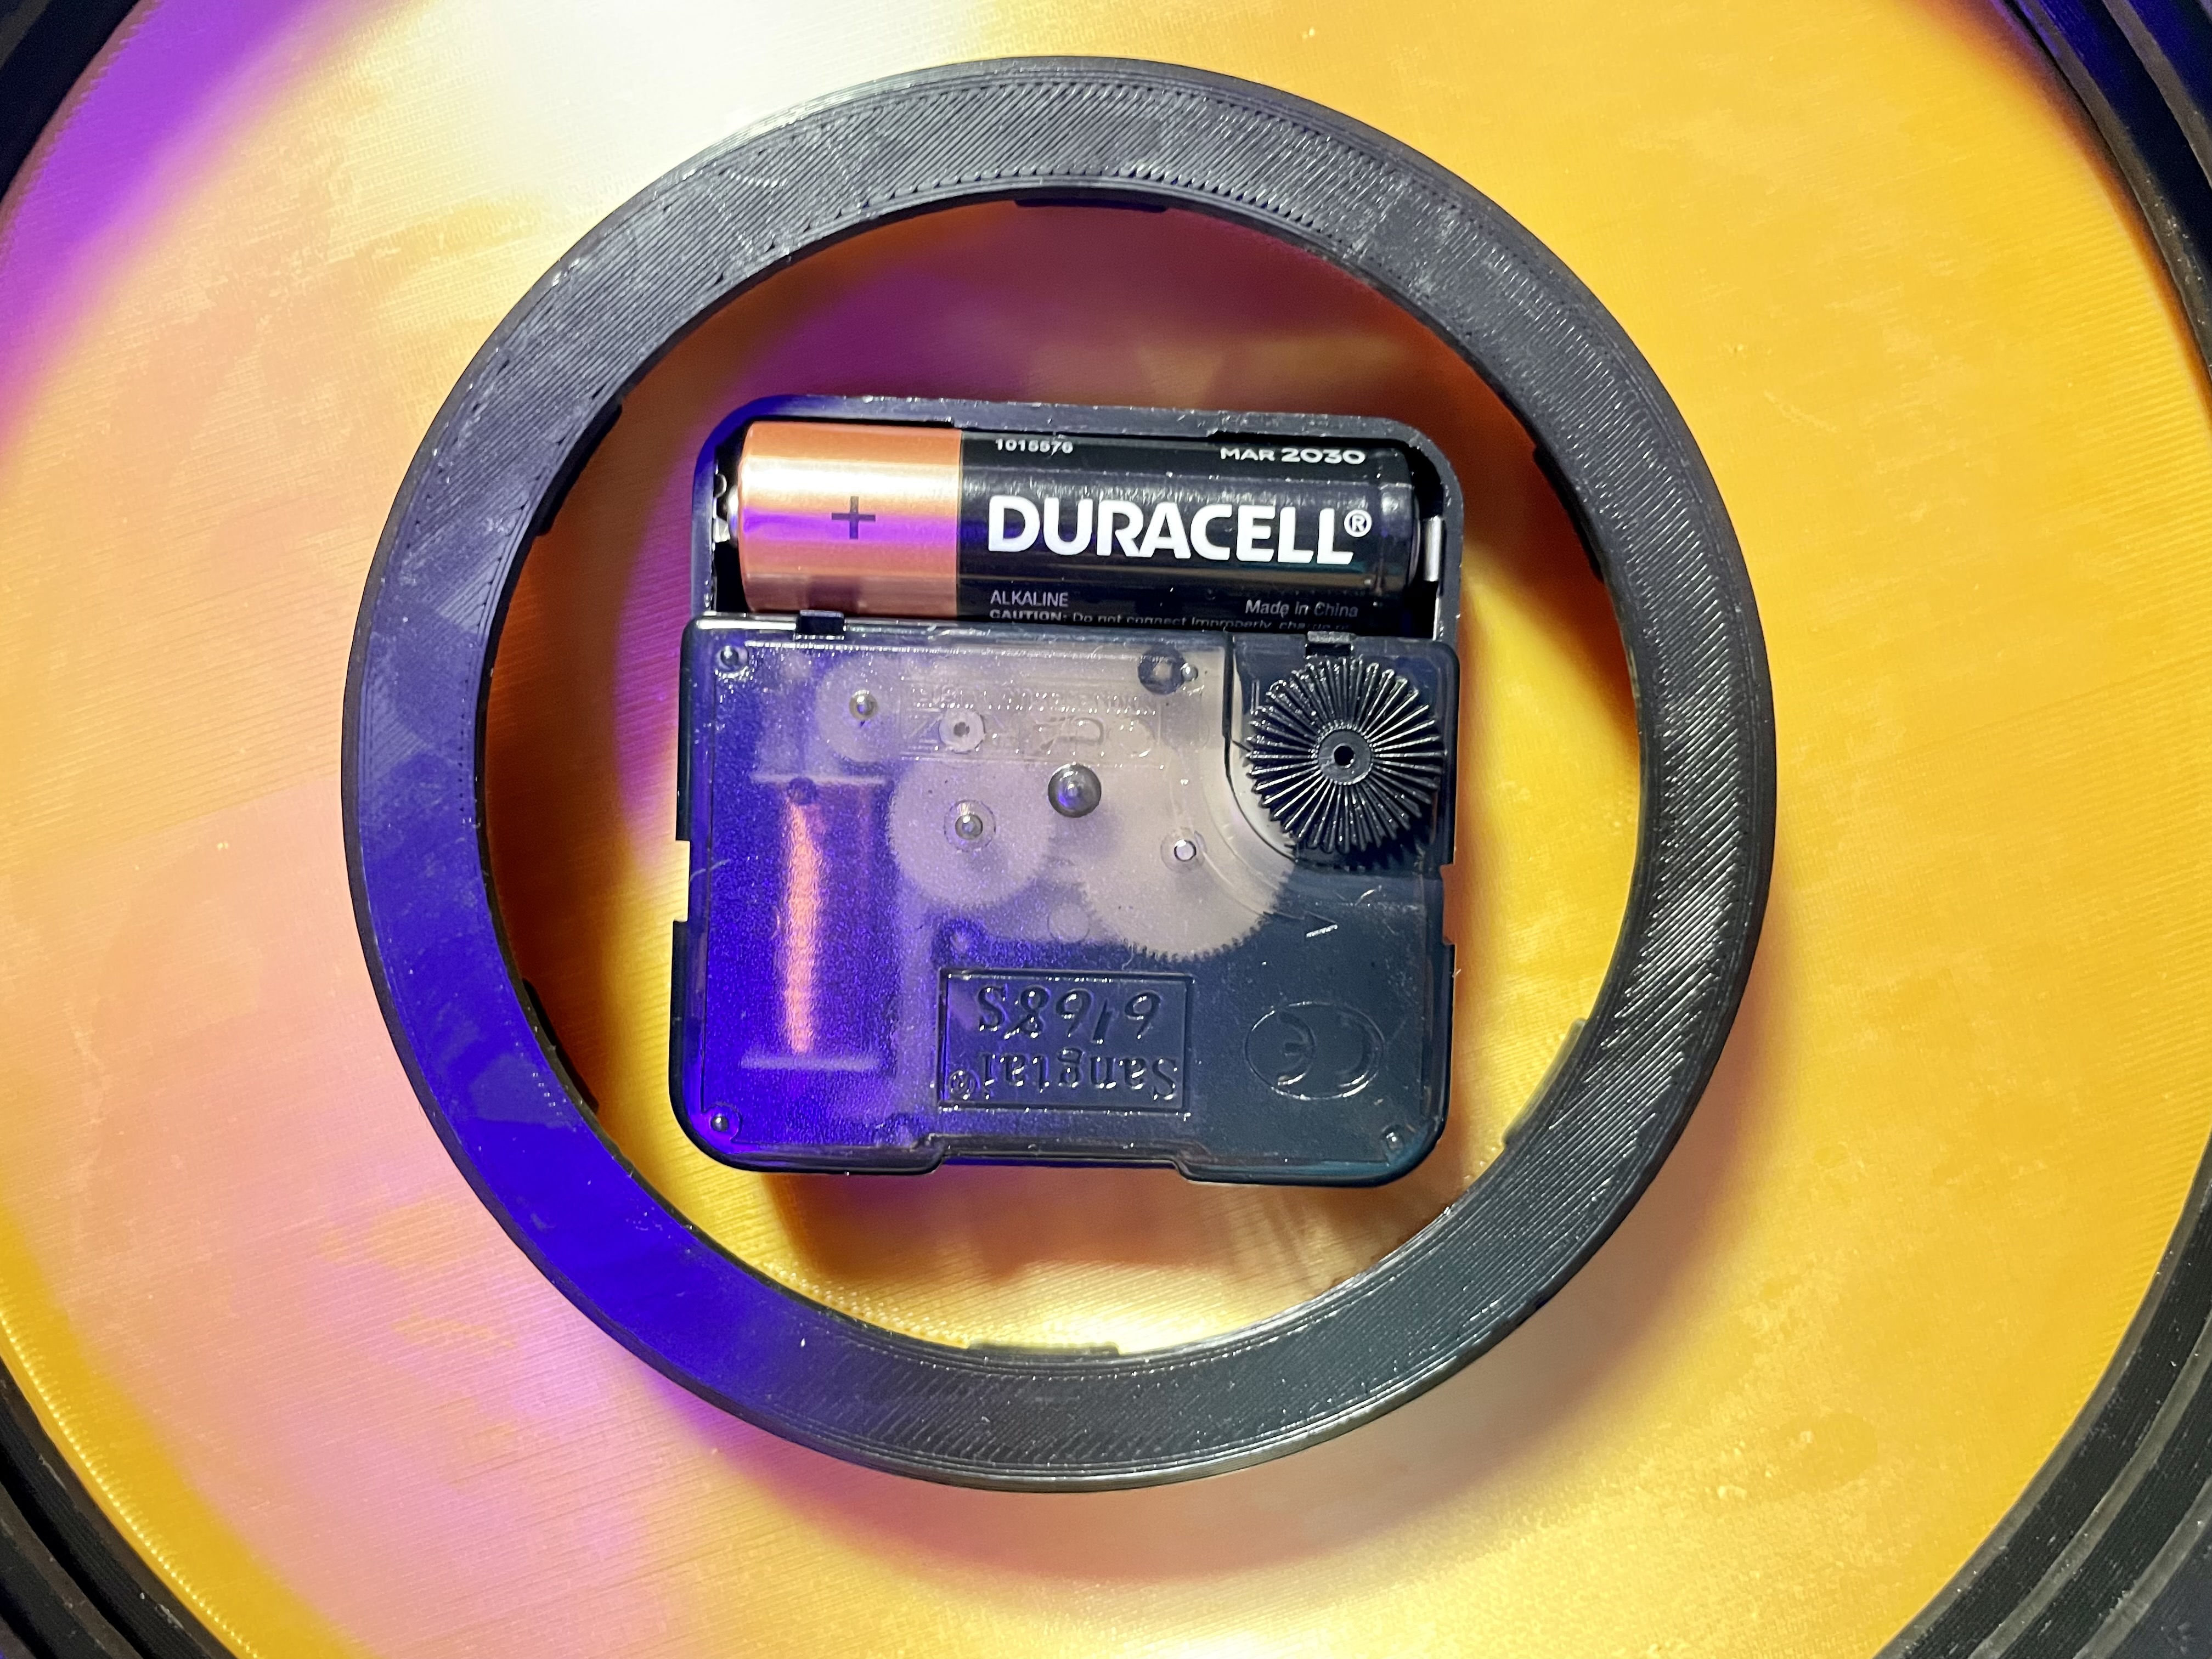
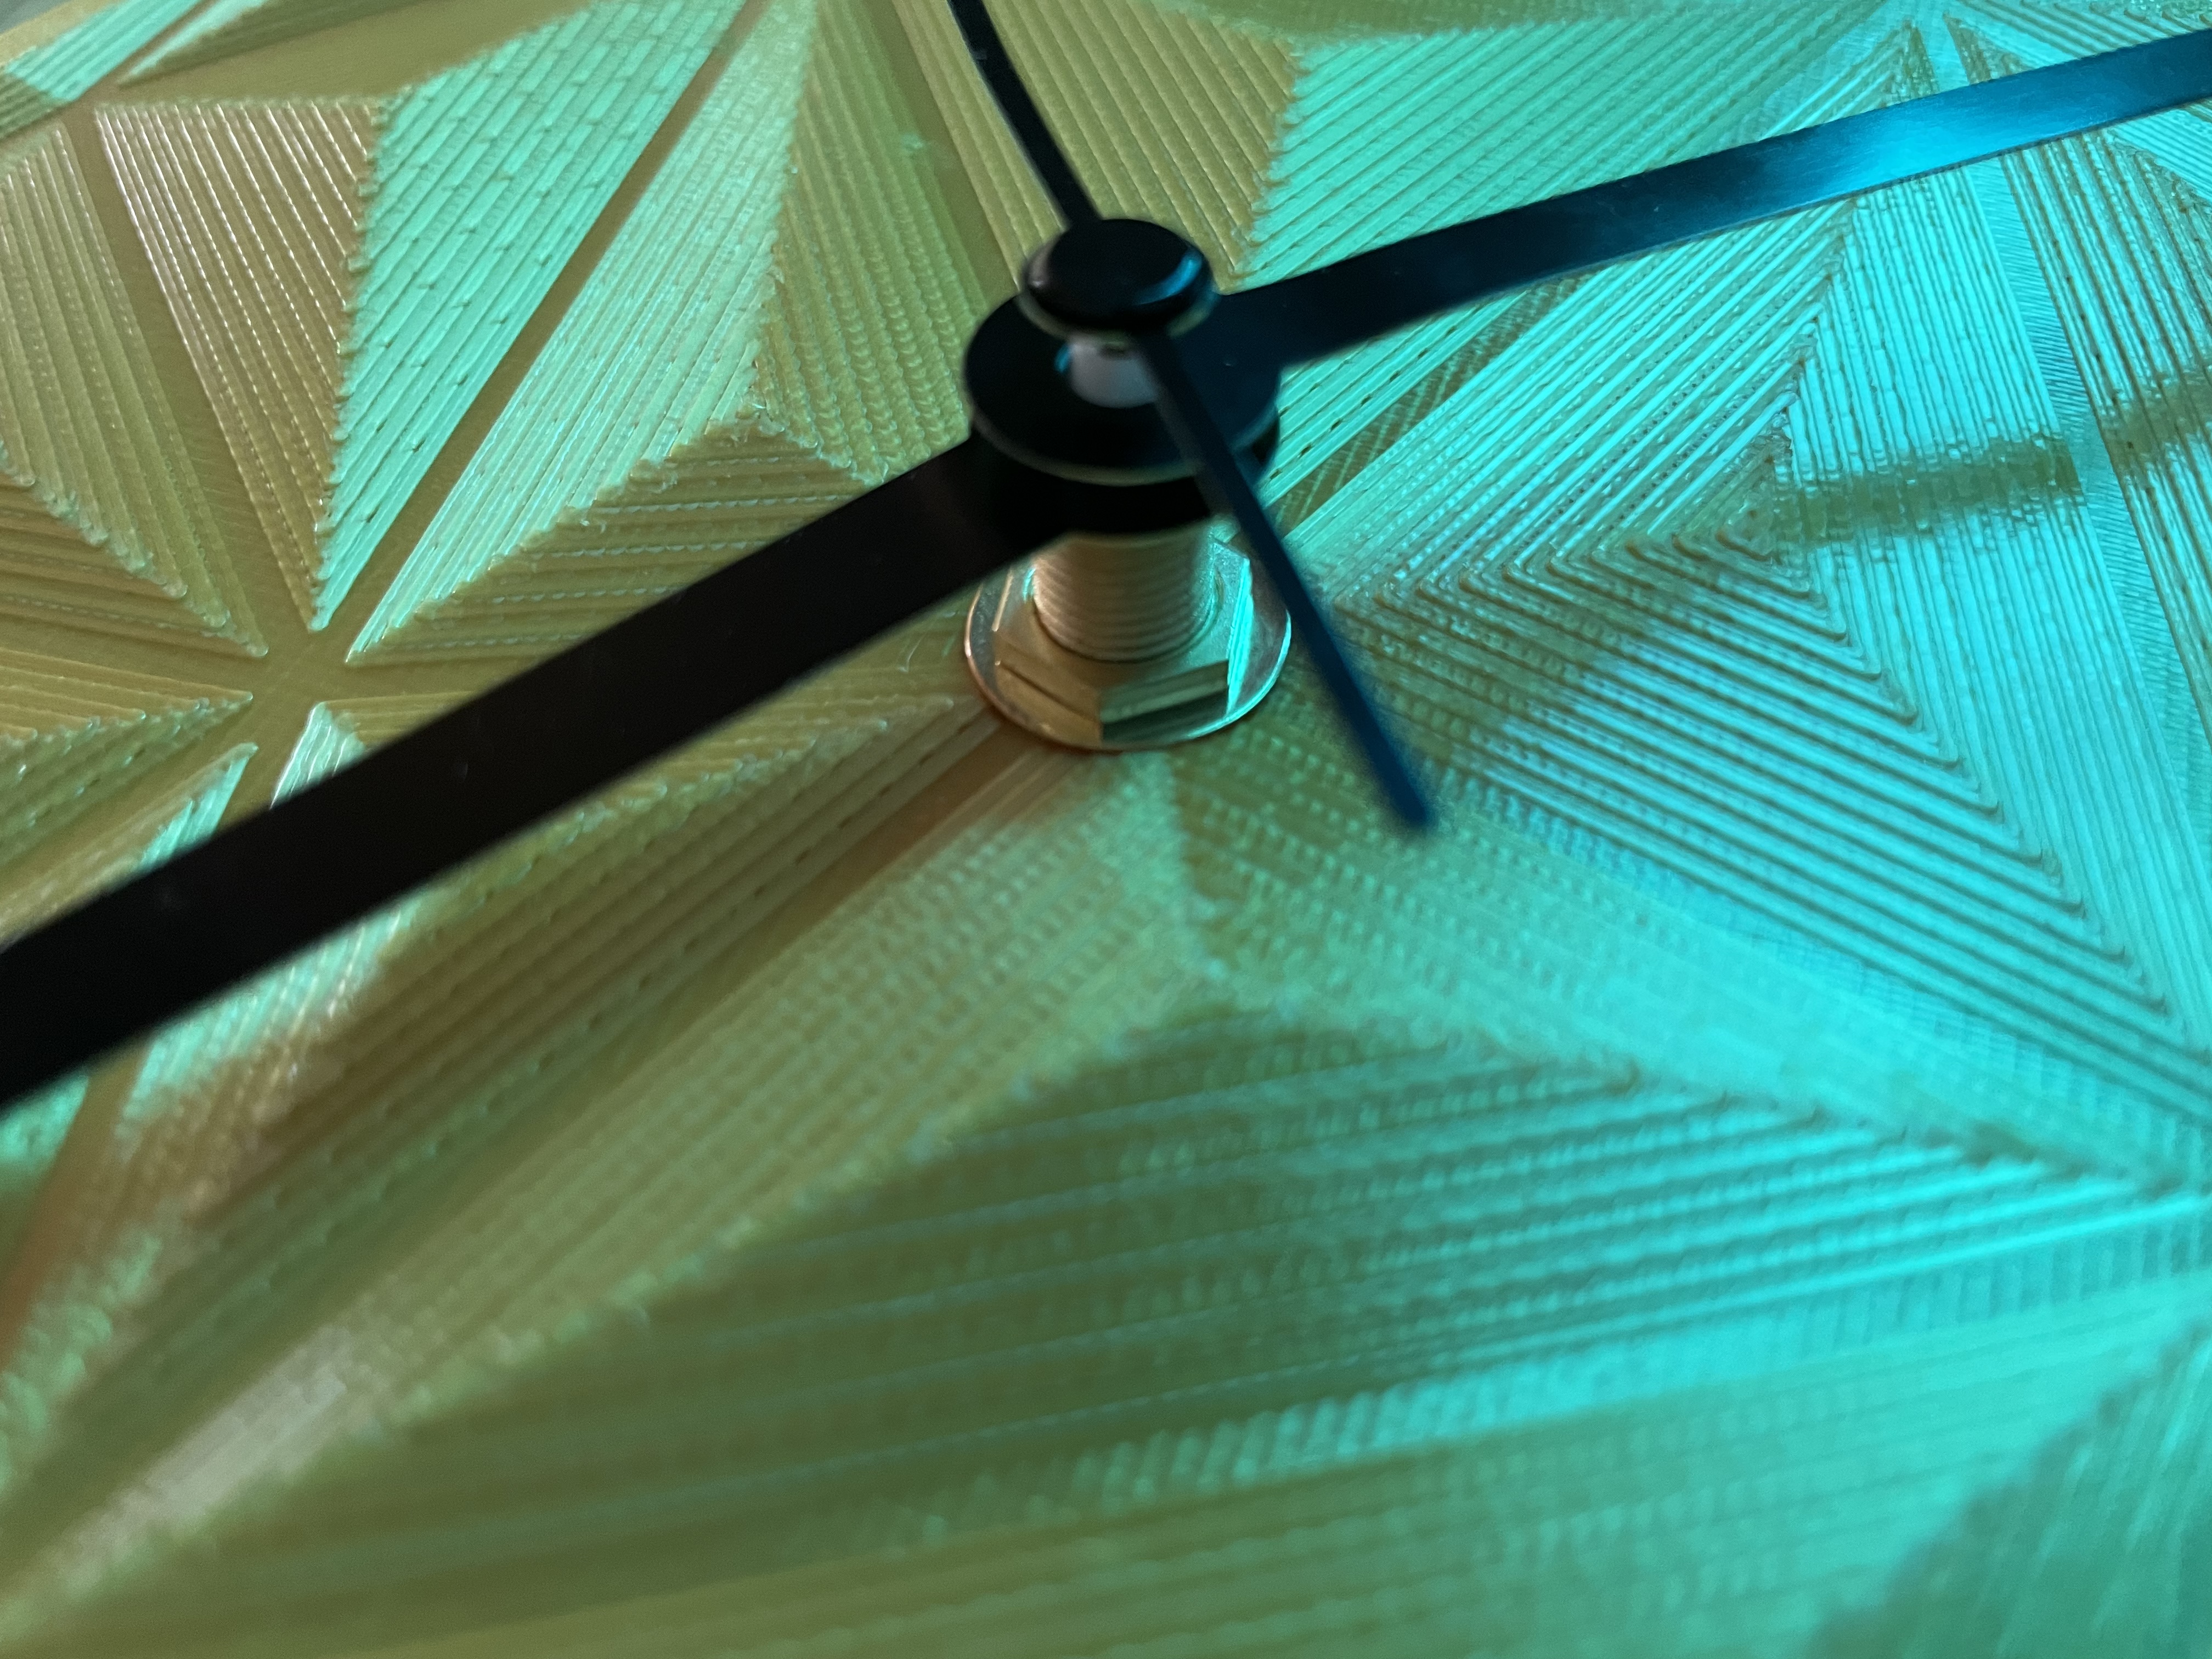
Then, attach your clock mechanism. If you bought this one, the final assembly will look like the one below.
That's all, Enjoy!
Change Log
-----------------
June 12: Uploaded Hour and Minute hand for Teque5
June 17: Updated Frame to eliminate ghosting from silk PLA

Gostou deste modelo? Crie uma conta grátis para salvar seus favoritos e voltar a eles depois.
Criar conta