Você está no 3DFinder
Buscamos em Thingiverse, MakerWorld e Printables ao mesmo tempo para te dar o melhor de cada uma.
Descrição
Overview
The mount features a worm gear and wheel with a reduction of 100:1, and has shown preliminary good results tracking objects in the night sky and photographing them.
This is not a complete build guide, but more of a starting point for someone who wants to build their own mount.
Purchased Parts
2 x Stepper Motors: 0.9° Step Angle: Stepper Online
2 x Ball Bearings: McMaster Carr
Counterweight Kit: Amazon
Lots of M3 Heat Set Inserts: Amazon
Lots of M3 Bolts: Amazon
Telescope
The scope I am using for this mount is of the 3D printed variety. All you really need for this, is a set of lenses, and a focuser. Both of which can be bought on ebay for ~$100 total
If you have some extra money to spend, definitely get the best focuser you can afford (better focuser). As trying to move the knob just the right amount forward and backward to find the perfect focal point can be a bit challenging. You may have to modify the design to accommodate this. You just need to make sure that the camera sensor can hit the focal plain of the telescope at infinity(500mm)
Dovetail Mount
I designed the dovetail mount so that it could accept any type of telescope. All you need to do is design a new set of scope rings that fit the bolt pattern on the dovetail. Attaching the dovetail to the mount uses two M6 bolts with a 10mm bolt head. Luckily, I have a couple designs for nice knurled covers for hand tightening these in the field.
Where to mount all of it
I had a cheapish camera tripod laying around, so I designed a quick adapter to hold this to the mount. Check out the the tripod mount section.
Controller and Firmware
For the controller, you will need an Arduino Uno, a DS3231 RTC and two Pololu DRV8834S stepper Drivers.
Pololu DRV8834S Stepper Driver
Raspberry Pi (Using the Pi 4)
Controlling the mount.
All of the firmware code, schematics, GRBR files, and Shell Scripts I am using to control the mount, and camera, can be found on my Github. The mount talks to a raspberry pi via Serial. Similar to a 3D printer. I don't have a nice interface for it yet, but the commands are all there in the main loop shell script. The current workflow features two seperate scripts. One for focusing, and one for capturing.
Focusing
This loop simply takes a picture, waits a second for you to move the focuser, and then takes another. The images are saved under the unix timestamp, and displayed on the screen using the feh tool.
Capture and Guiding
Capturing, is combined with guiding currently. Images are captured, and then every so often, the image is plate solved, using Astrometry on the pi. My initial thought was that the pi might not be powerful enough to plate solve in a reasonable time. However, if you know the angle for each pixel given your telescope and camera, solving can happen in as little as 5 seconds. Although this is fast enough to do every frame. The field does not move enough frame to frame to justify the 1-3 frames it takes for the mount to achieve stability after a move. Currently the script takes 20-50 frames, (30 Sec Per Frame ~ 10-25 minutes. During this time, the subject slowly drifts out of the frame at which time an image is plate solved and the difference is calculated and sent to the mount. This seems to work reasonably well for the current rendition and I was actually able to get usable results. Its not perfect, but we can improve.
Camera
Initially I was using a raspberry pi, HQ camera. With poor results. Due to the incredibly tiny pixels (1.5um). Focus was challenging if not impossible to achieve, and the tiniest inconsistencies in tracking blurred the pictures.
Here is a picture of the Fireworks Galaxy(NGC6946), using the HQ camera. Total capture time: ~15 hours over 3 nights.
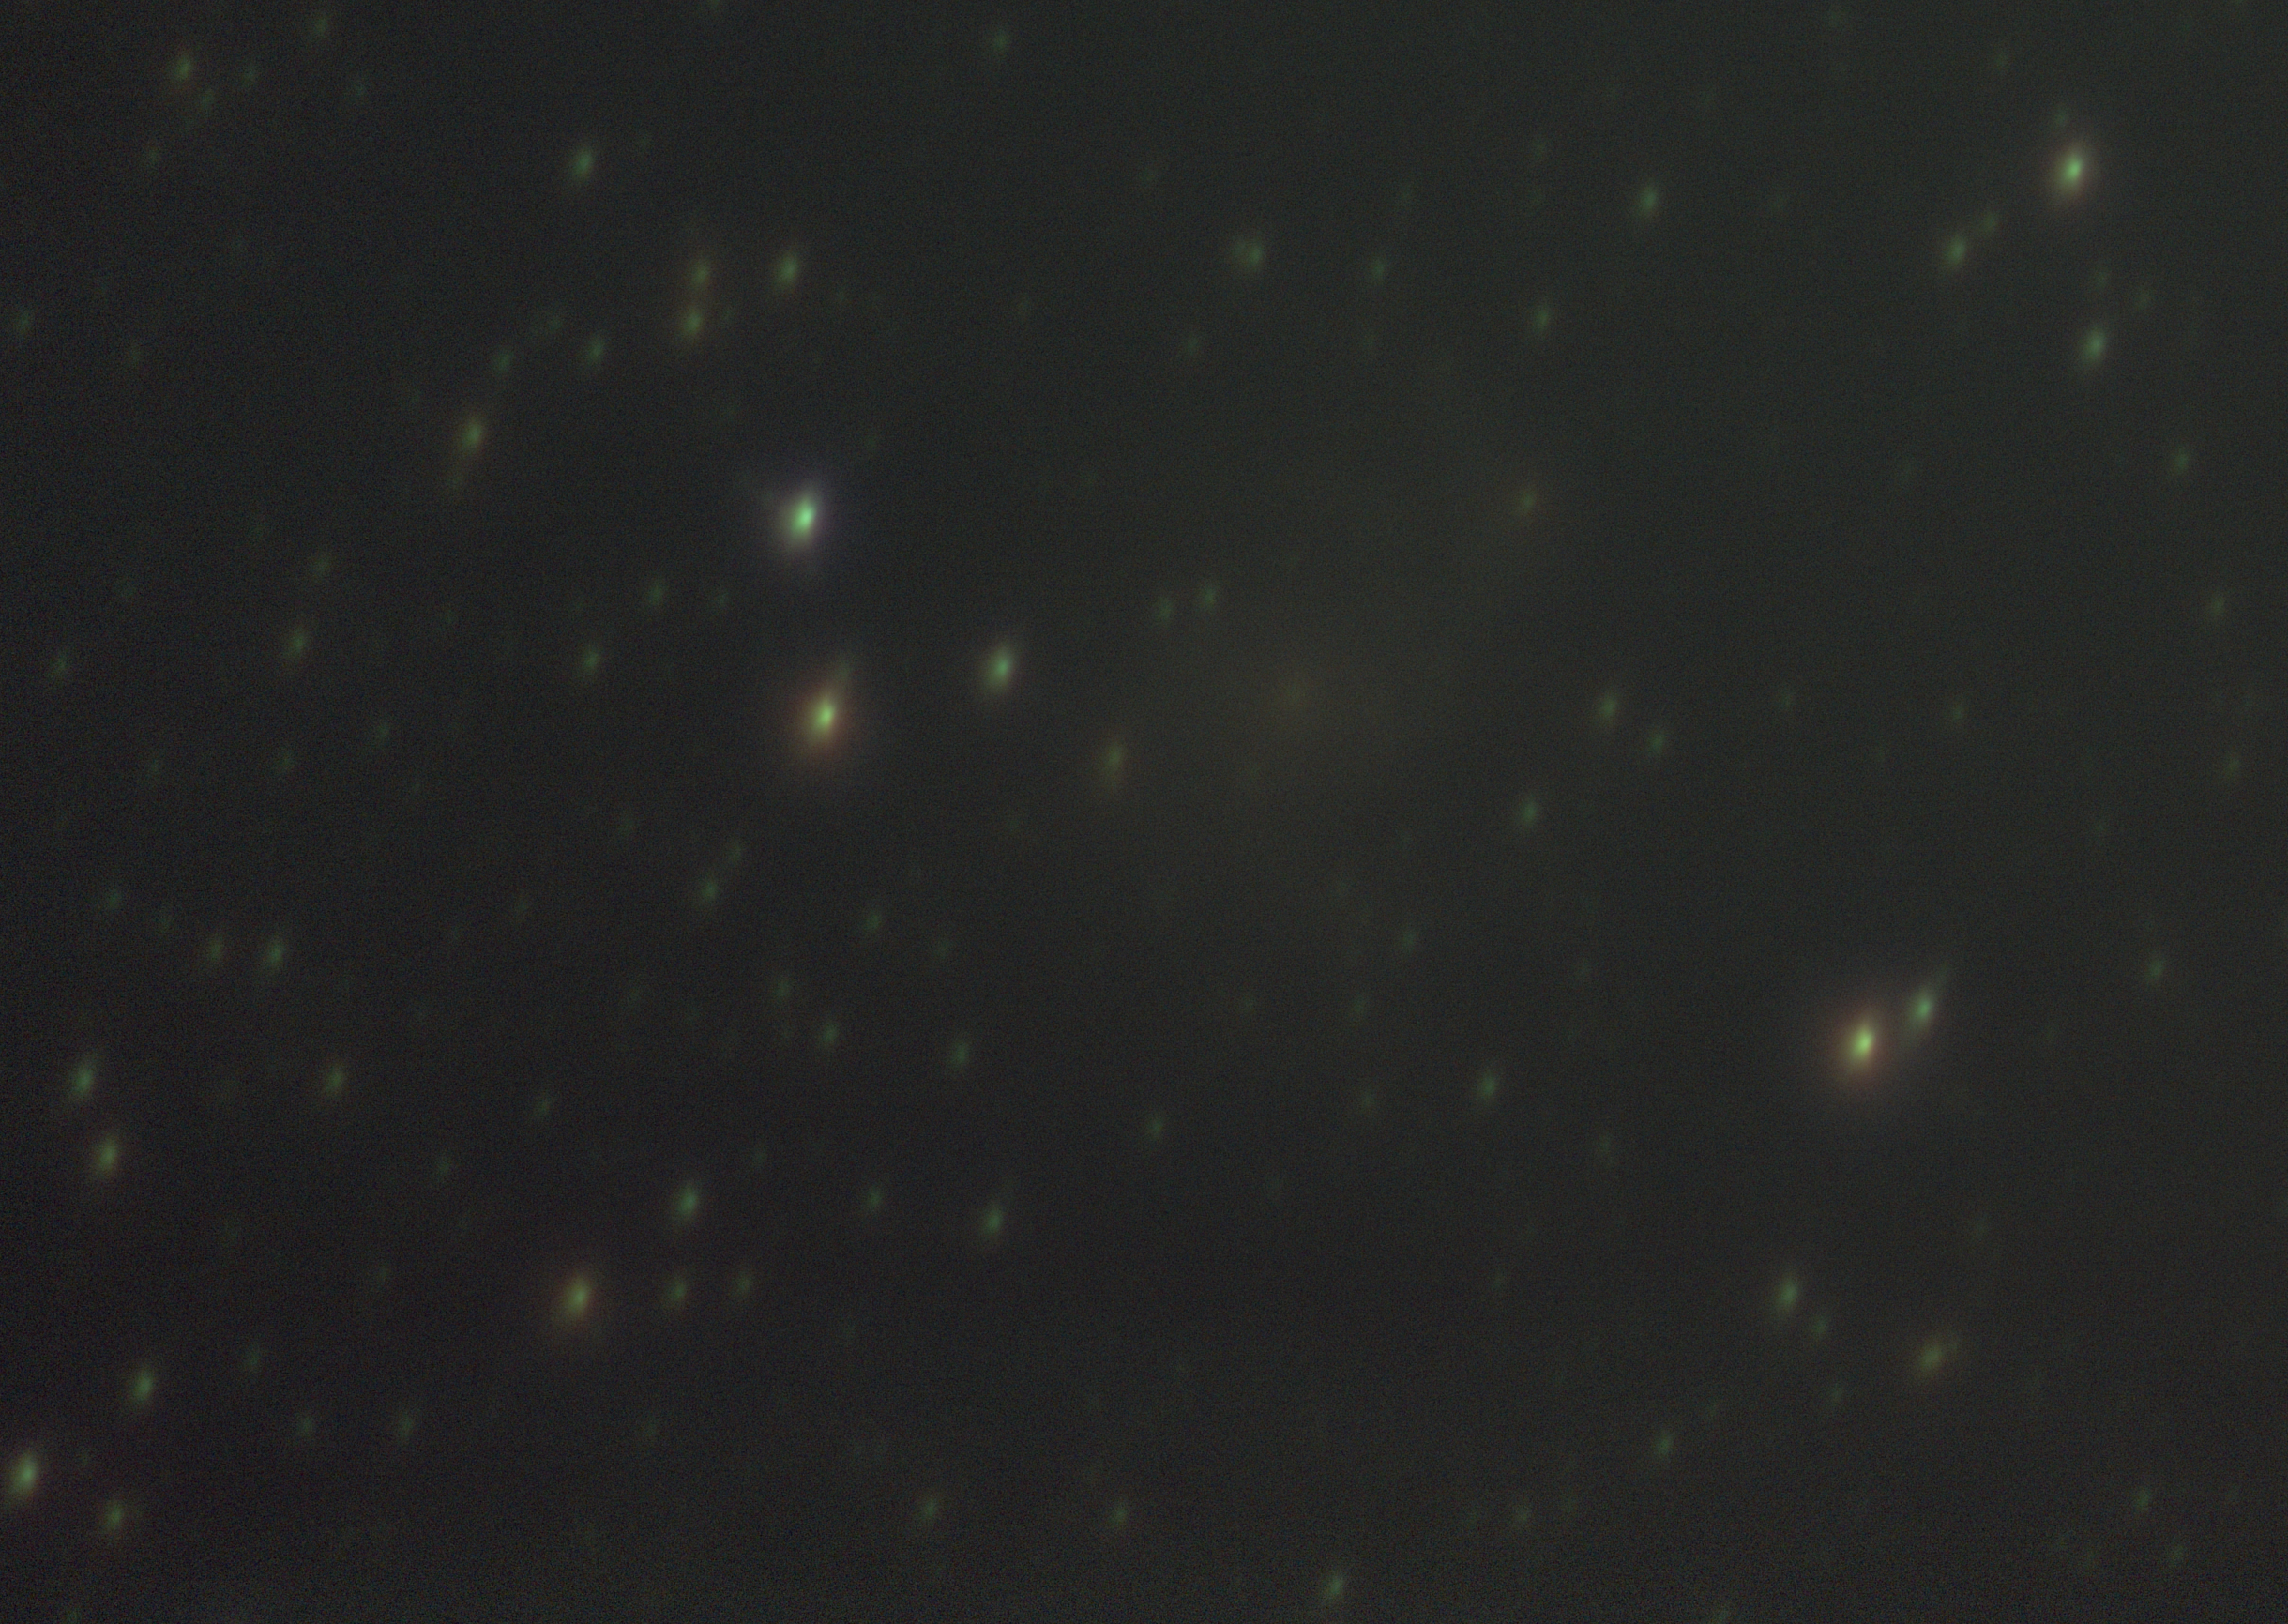
The solve for this problem, is to use something with larger pixels. Luckily older, and I do mean older; APS-C DSLR's can be bought on eBay for about the same price as an HQ camera.
I bought a Cannon EOS T1i specifically for use with this mount. It's a little heavy but the results speak for themselves. Individual pixels are now ~6 um x 6um. Meaning 4 times larger in width and height, or a 16x gain in individual pixel surface area. This means that not only do we have 16x the surface area for collecting faint light from distant galaxies, but also, our mount wobble is now reduced by a factor of 16x.
Here is a picture of the Deer Lick Group(NGC7331), with 4 hours of capture in a single night with the cannon camera. You can even see 5 faint galaxies making up Stephan's Quintent(NGC7320) in the bottom left corner.
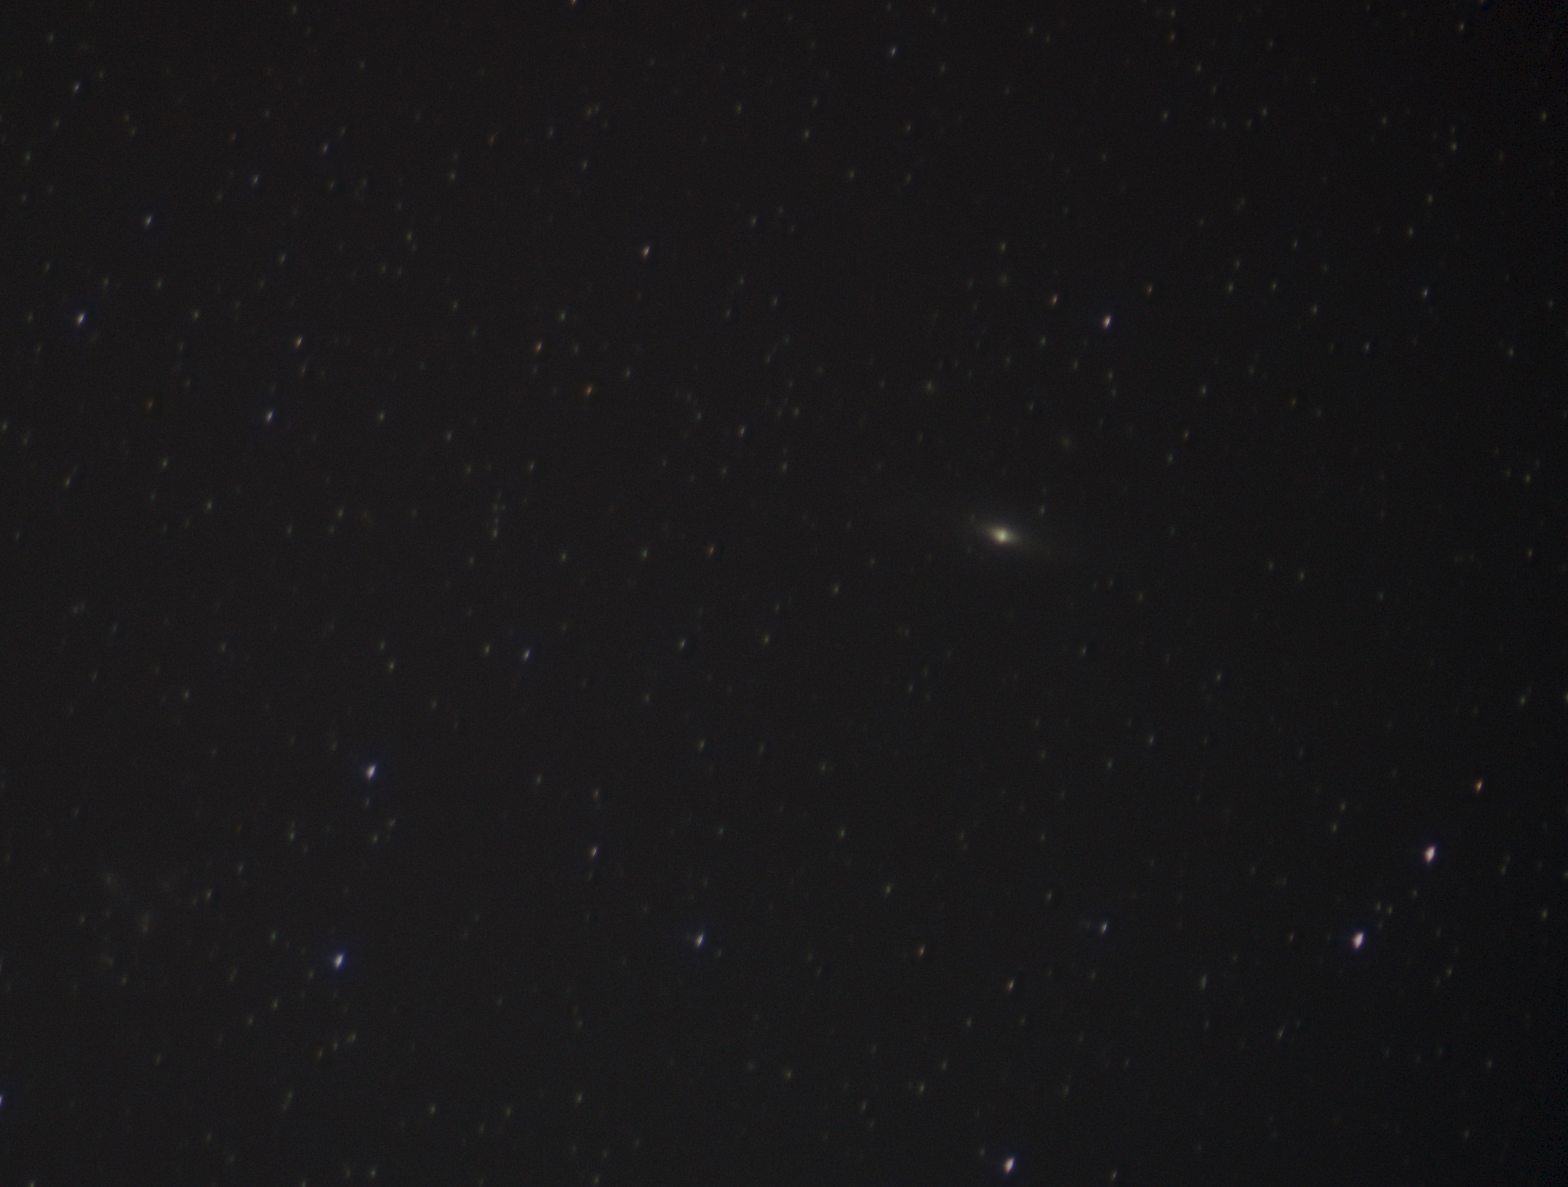
The camera is controlled in almost the exact same way as a dedicated Raspberry Pi Camera, through a USB2.0 Port. Pictures are saved in Raw Format directly to the raspberry pi.
Astrophotography Complete Set Up (Camera, Tracker, Code)

Publicado em 20 de out de 2023
Gostou deste modelo? Crie uma conta grátis para salvar seus favoritos e voltar a eles depois.
Criar conta