Você está no 3DFinder
Buscamos em Thingiverse, MakerWorld e Printables ao mesmo tempo para te dar o melhor de cada uma.
Descrição
My wife lost one zipper puller on her backpack, cord just pulled of it, so I printed replacement.
Initially I created two part piece with idea to put cord and assemble afterwards. But after some tests I realized that solid piece will be better. Helpfully 3d printing is the right tool for the job.
Preparation
You need a cord which will be melting when heated (to be able flatten the knot). Use a cord of 1-1.5mm in diameter. Tight a knot in such way so loop will be approximately 15mm longer that length of the loop on original puller. Heat knot with lighter and flatten it with pliers.
Slicing
I use 100% infill.
When slicing model you need to insert pause command before layer which will enclose cavity (for 0.2mm layer height it's 15th). You need to knew appropriate command for your printer.
PrusaSlicer
Cura
You can use “Pause at height” script.
For some reason my printer just resume printing immediately after pausing when I use M0 command, so I use M0 S3600; Do the actual pause for hour
Printing
Start print and wait until printer will pause. Insert cord into cavity:
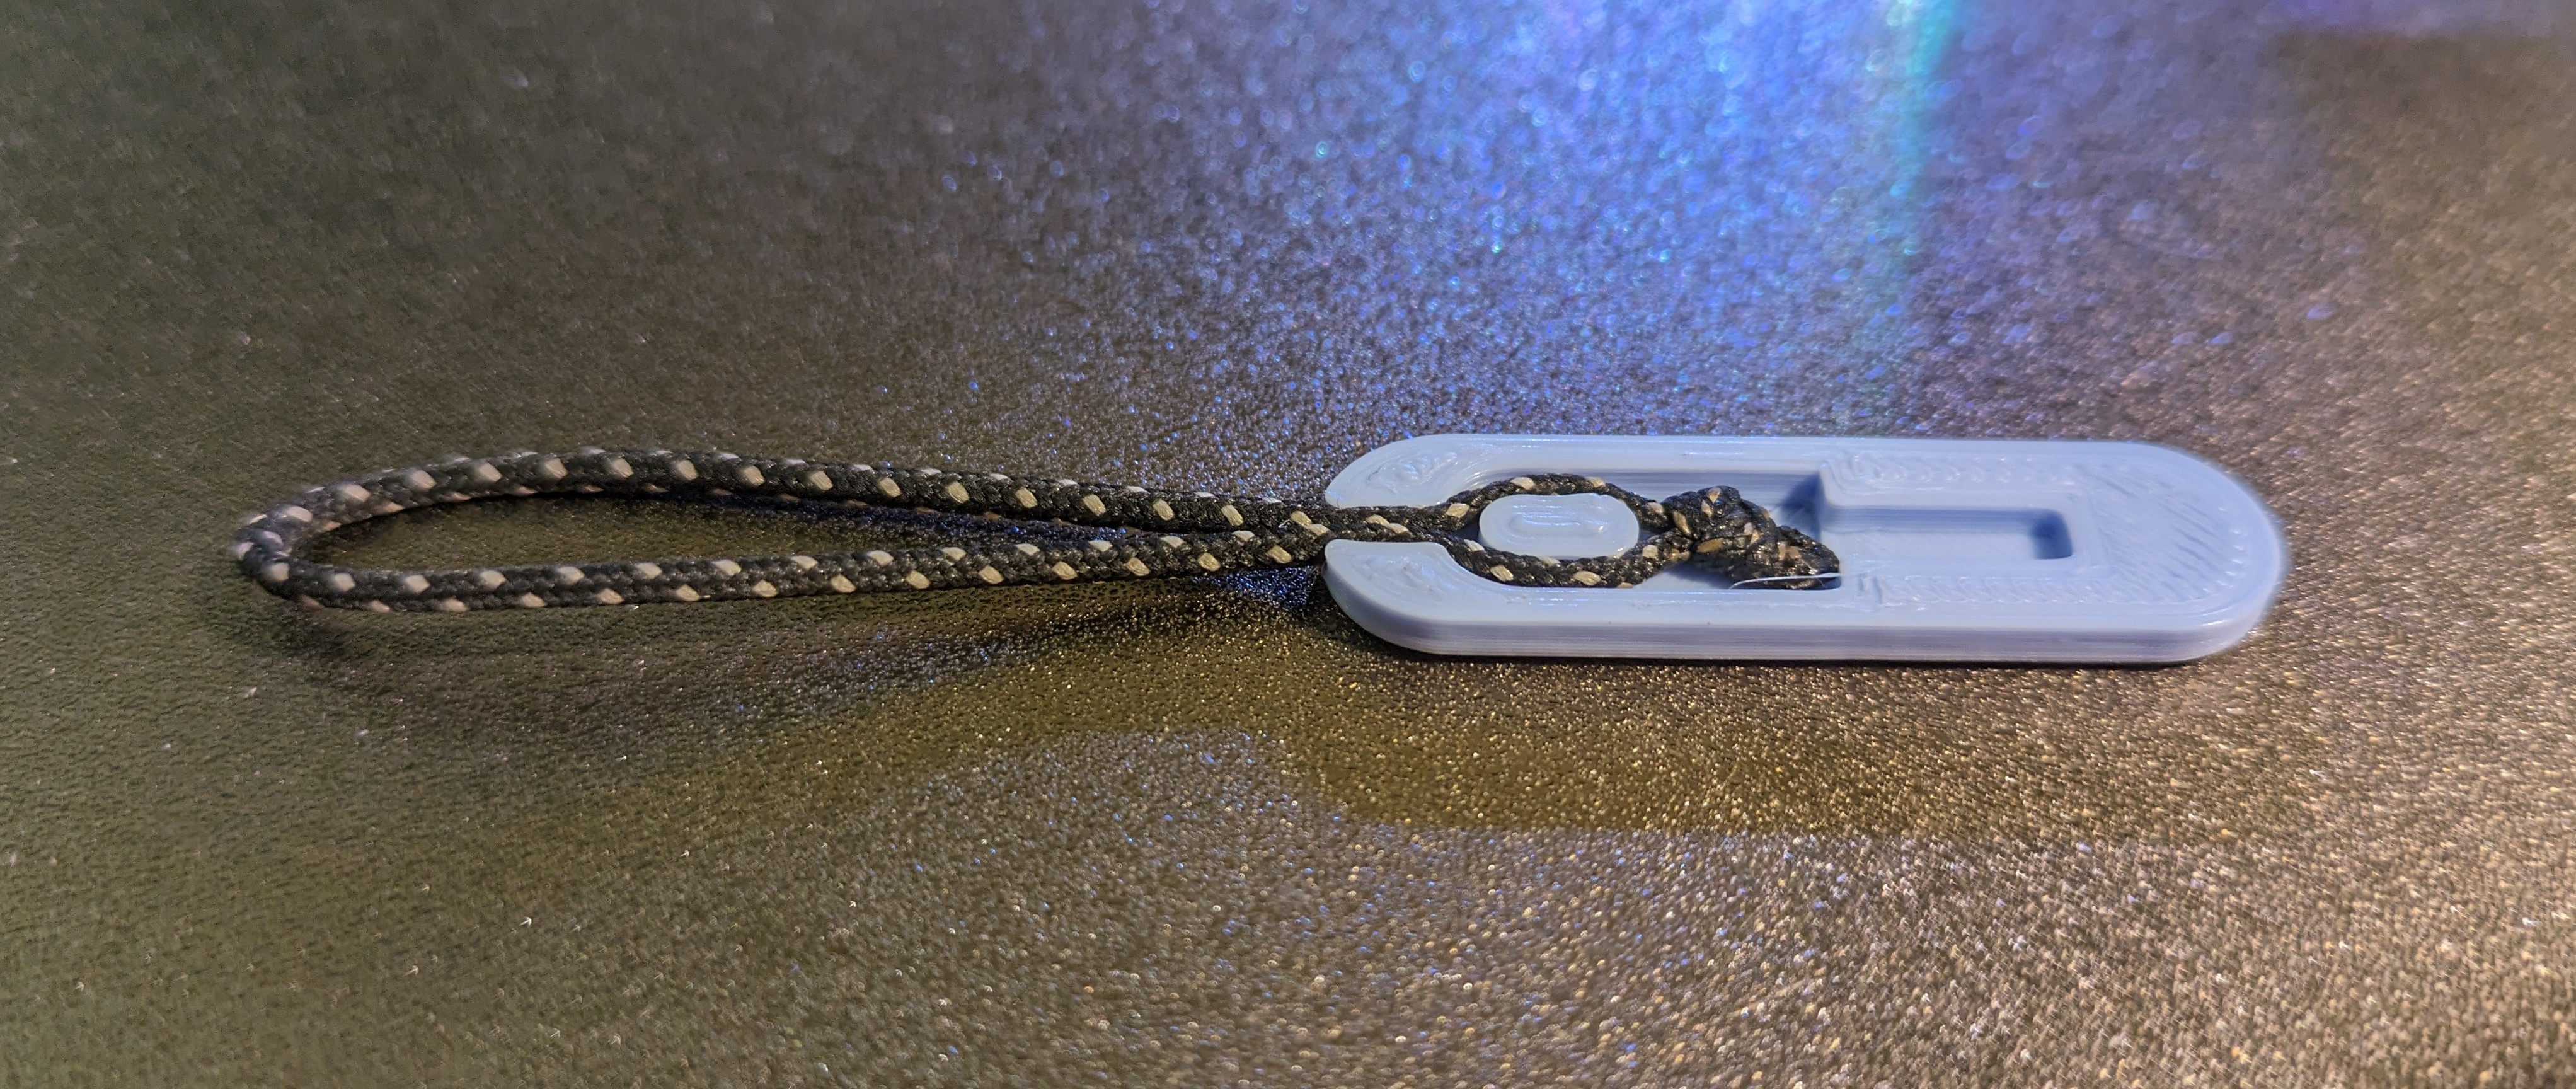
Make sure that knot was flatten enough and is no higher then printed piece:
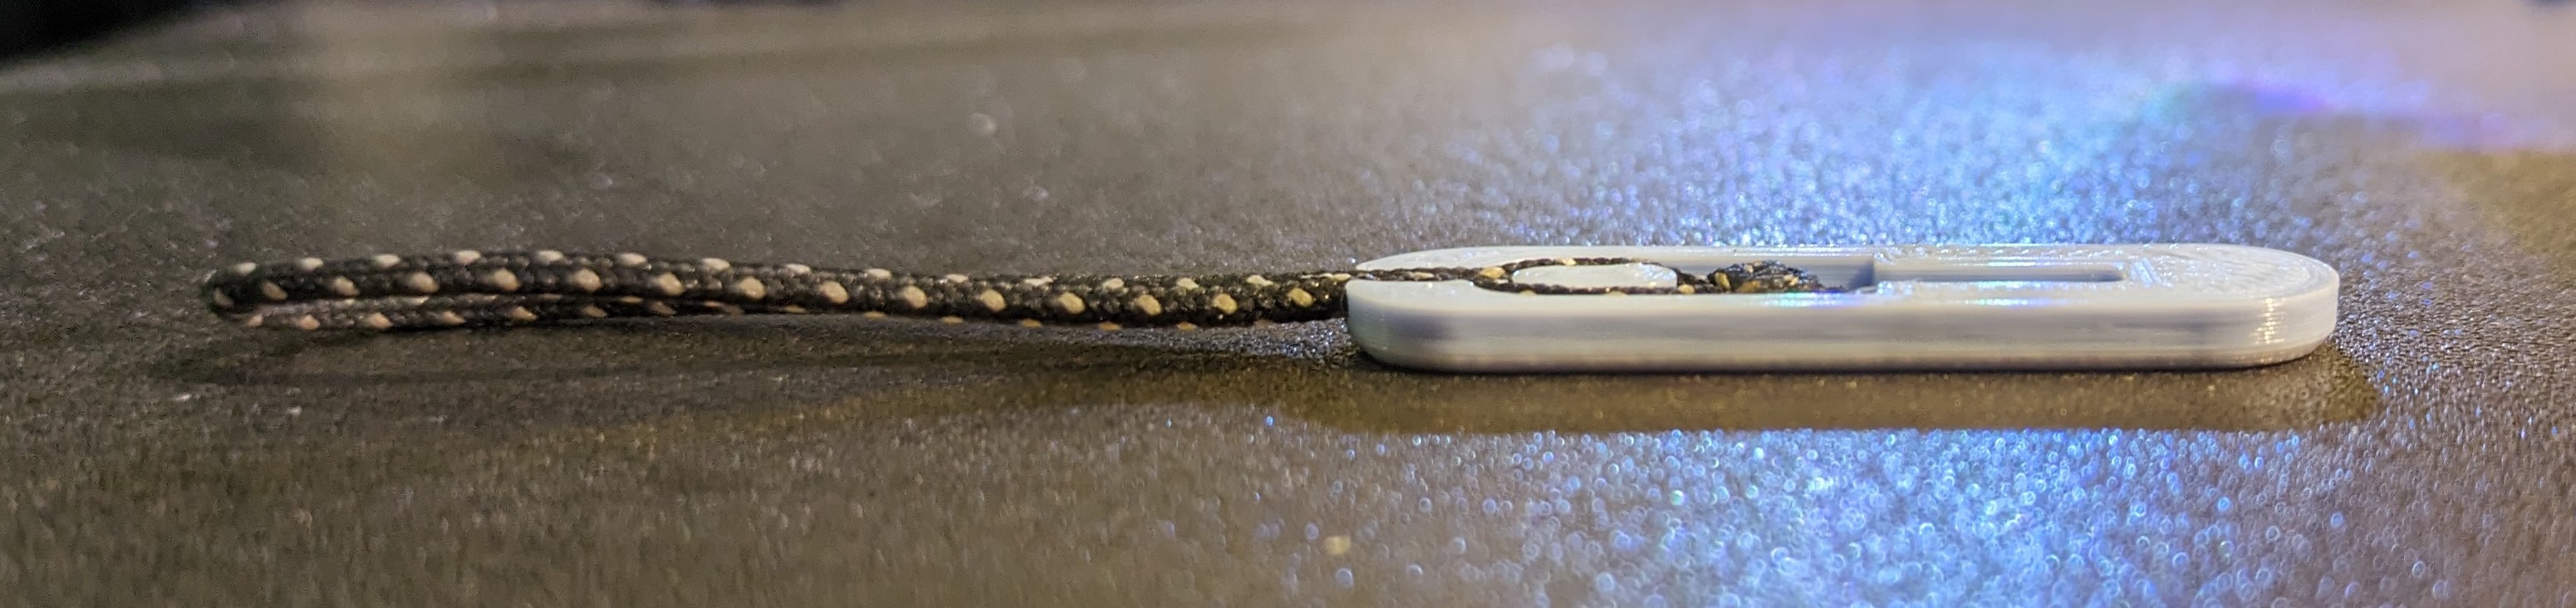
Resume print
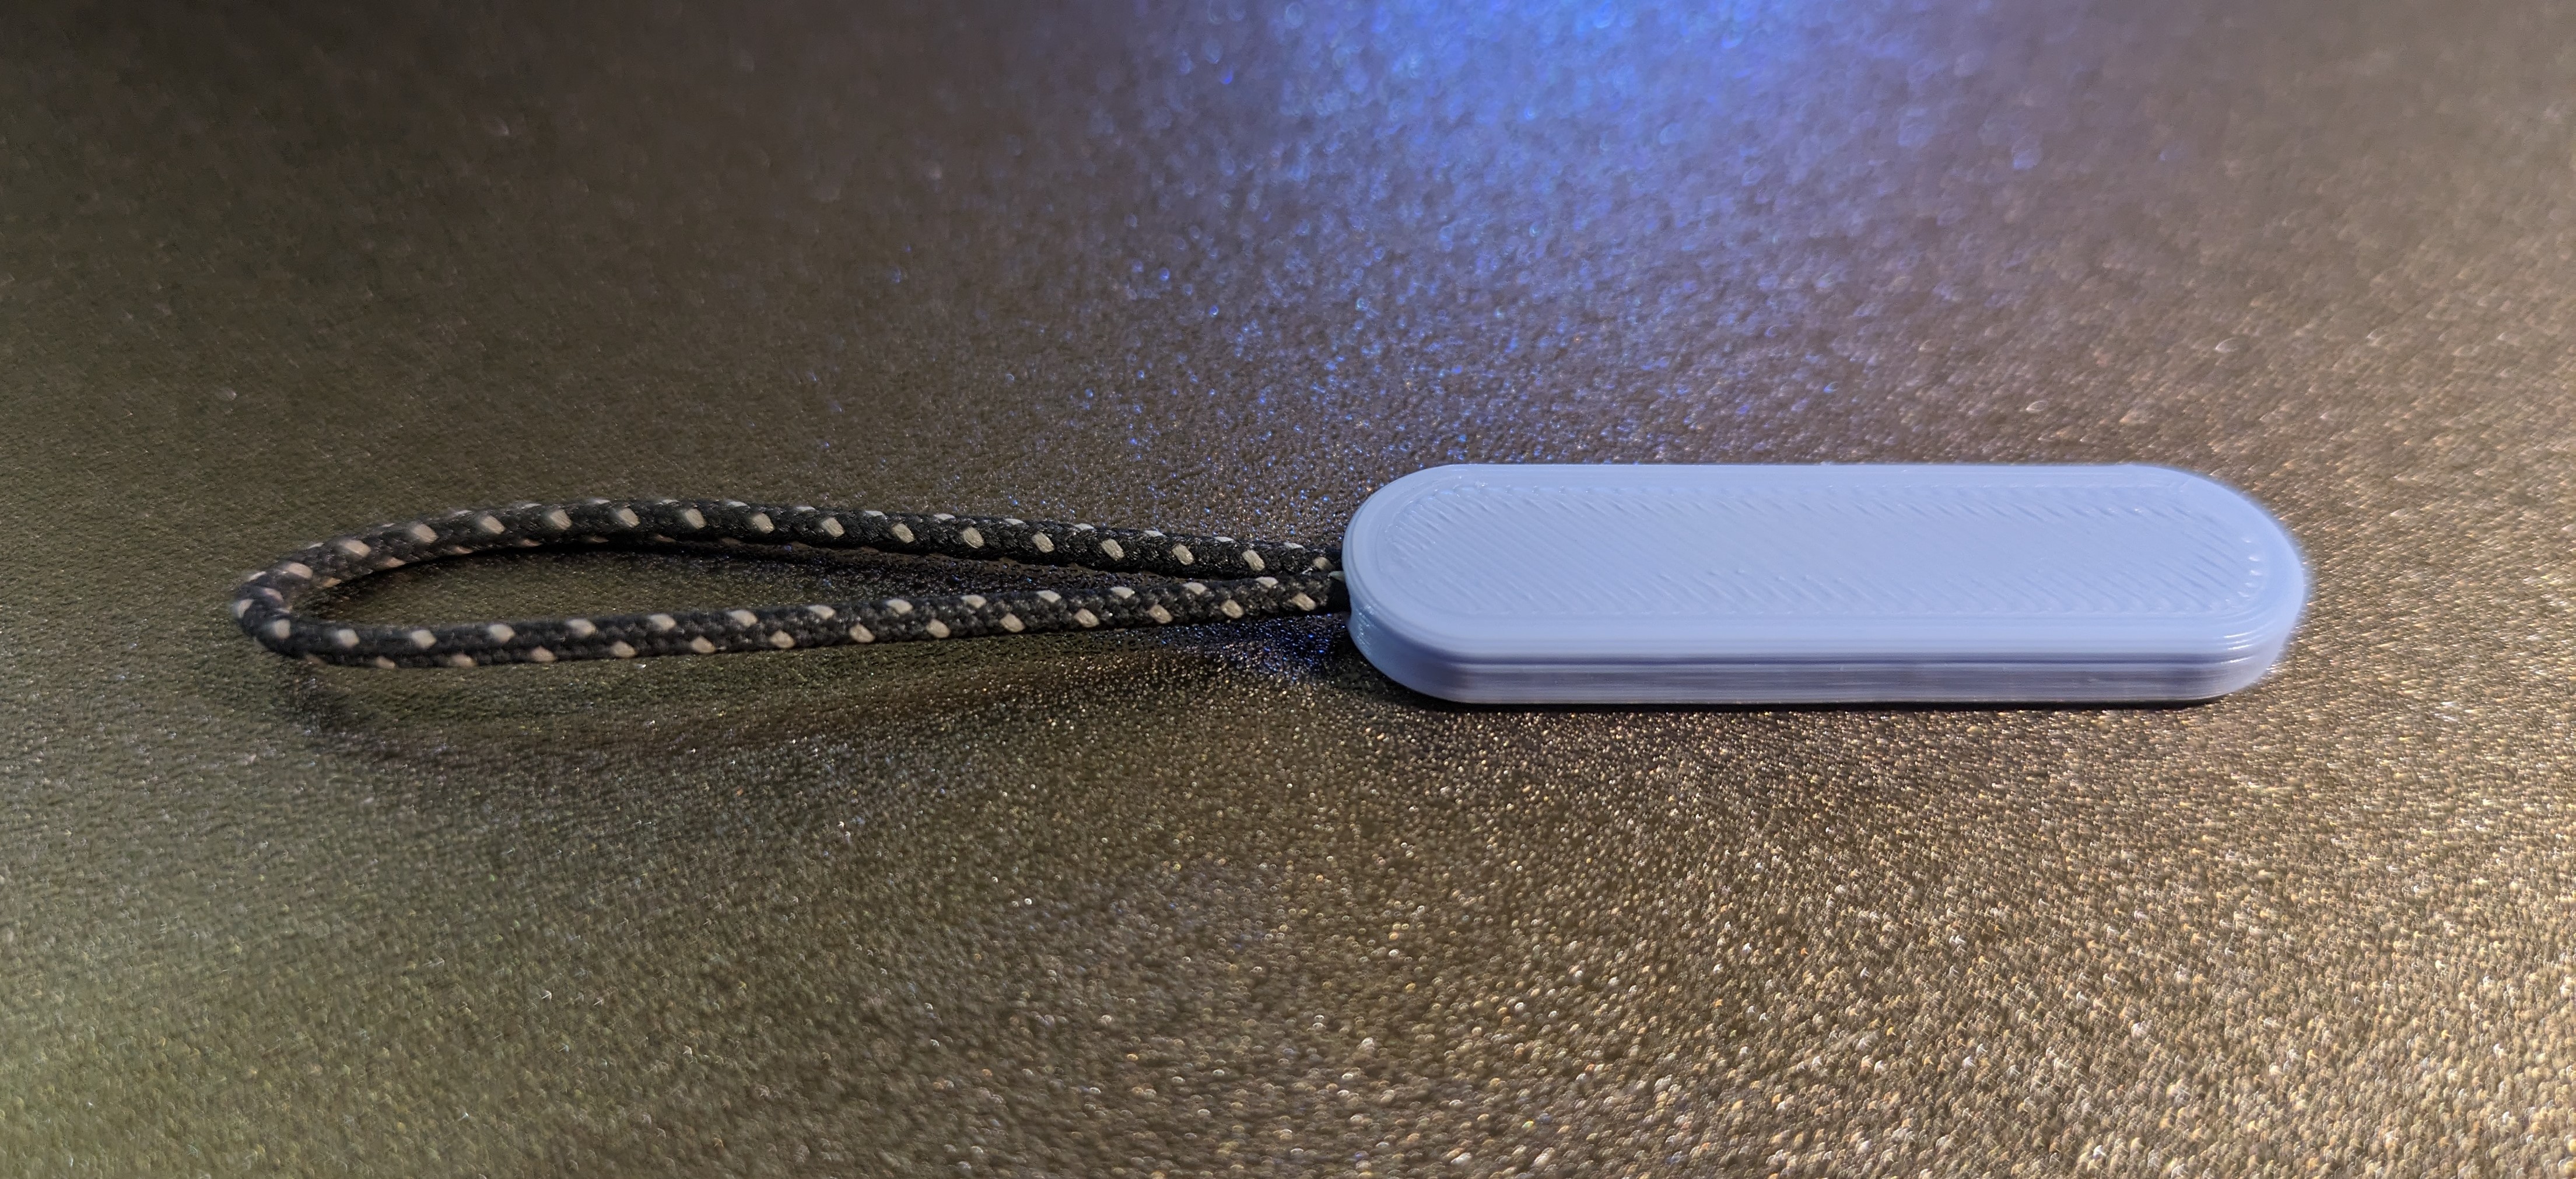
Attach new puller to your zipper and you're done!

Gostou deste modelo? Crie uma conta grátis para salvar seus favoritos e voltar a eles depois.
Criar conta