Você está no 3DFinder
Buscamos em Thingiverse, MakerWorld e Printables ao mesmo tempo para te dar o melhor de cada uma.
Descrição
Special features
- The Extruder Fan Cover can be removed independently (no need to also remove the BLTouch mount), thus maintaining the probe Z offset
- Optimized cable placement.
- Small and sturdy design.
Updates
3 February 2023 - Lowered the mount by 1.5 mm for more optimal BL-Touch height
Part list
- BLTouch-Mount (1x)
- M3n nut (2x)
- M3x8 screw or longer (2x)
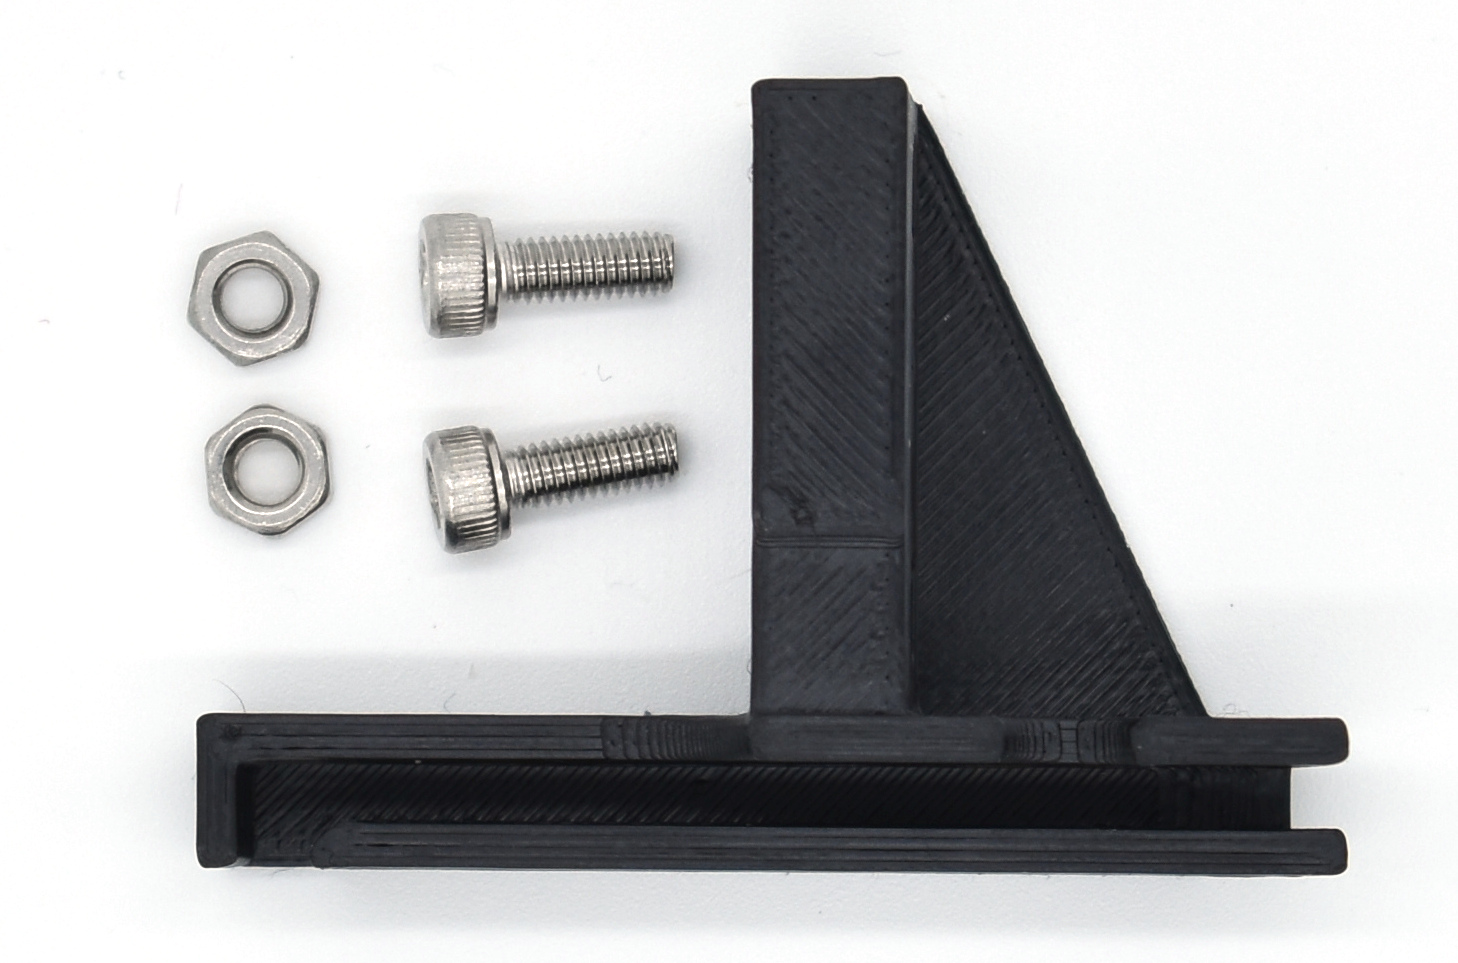
Assembly instructions
Step 1 Nut insertion
- Insert the two M3n nuts in the BLTouch-Mount.
- Pull the nuts with a screw to ensure proper insertion.
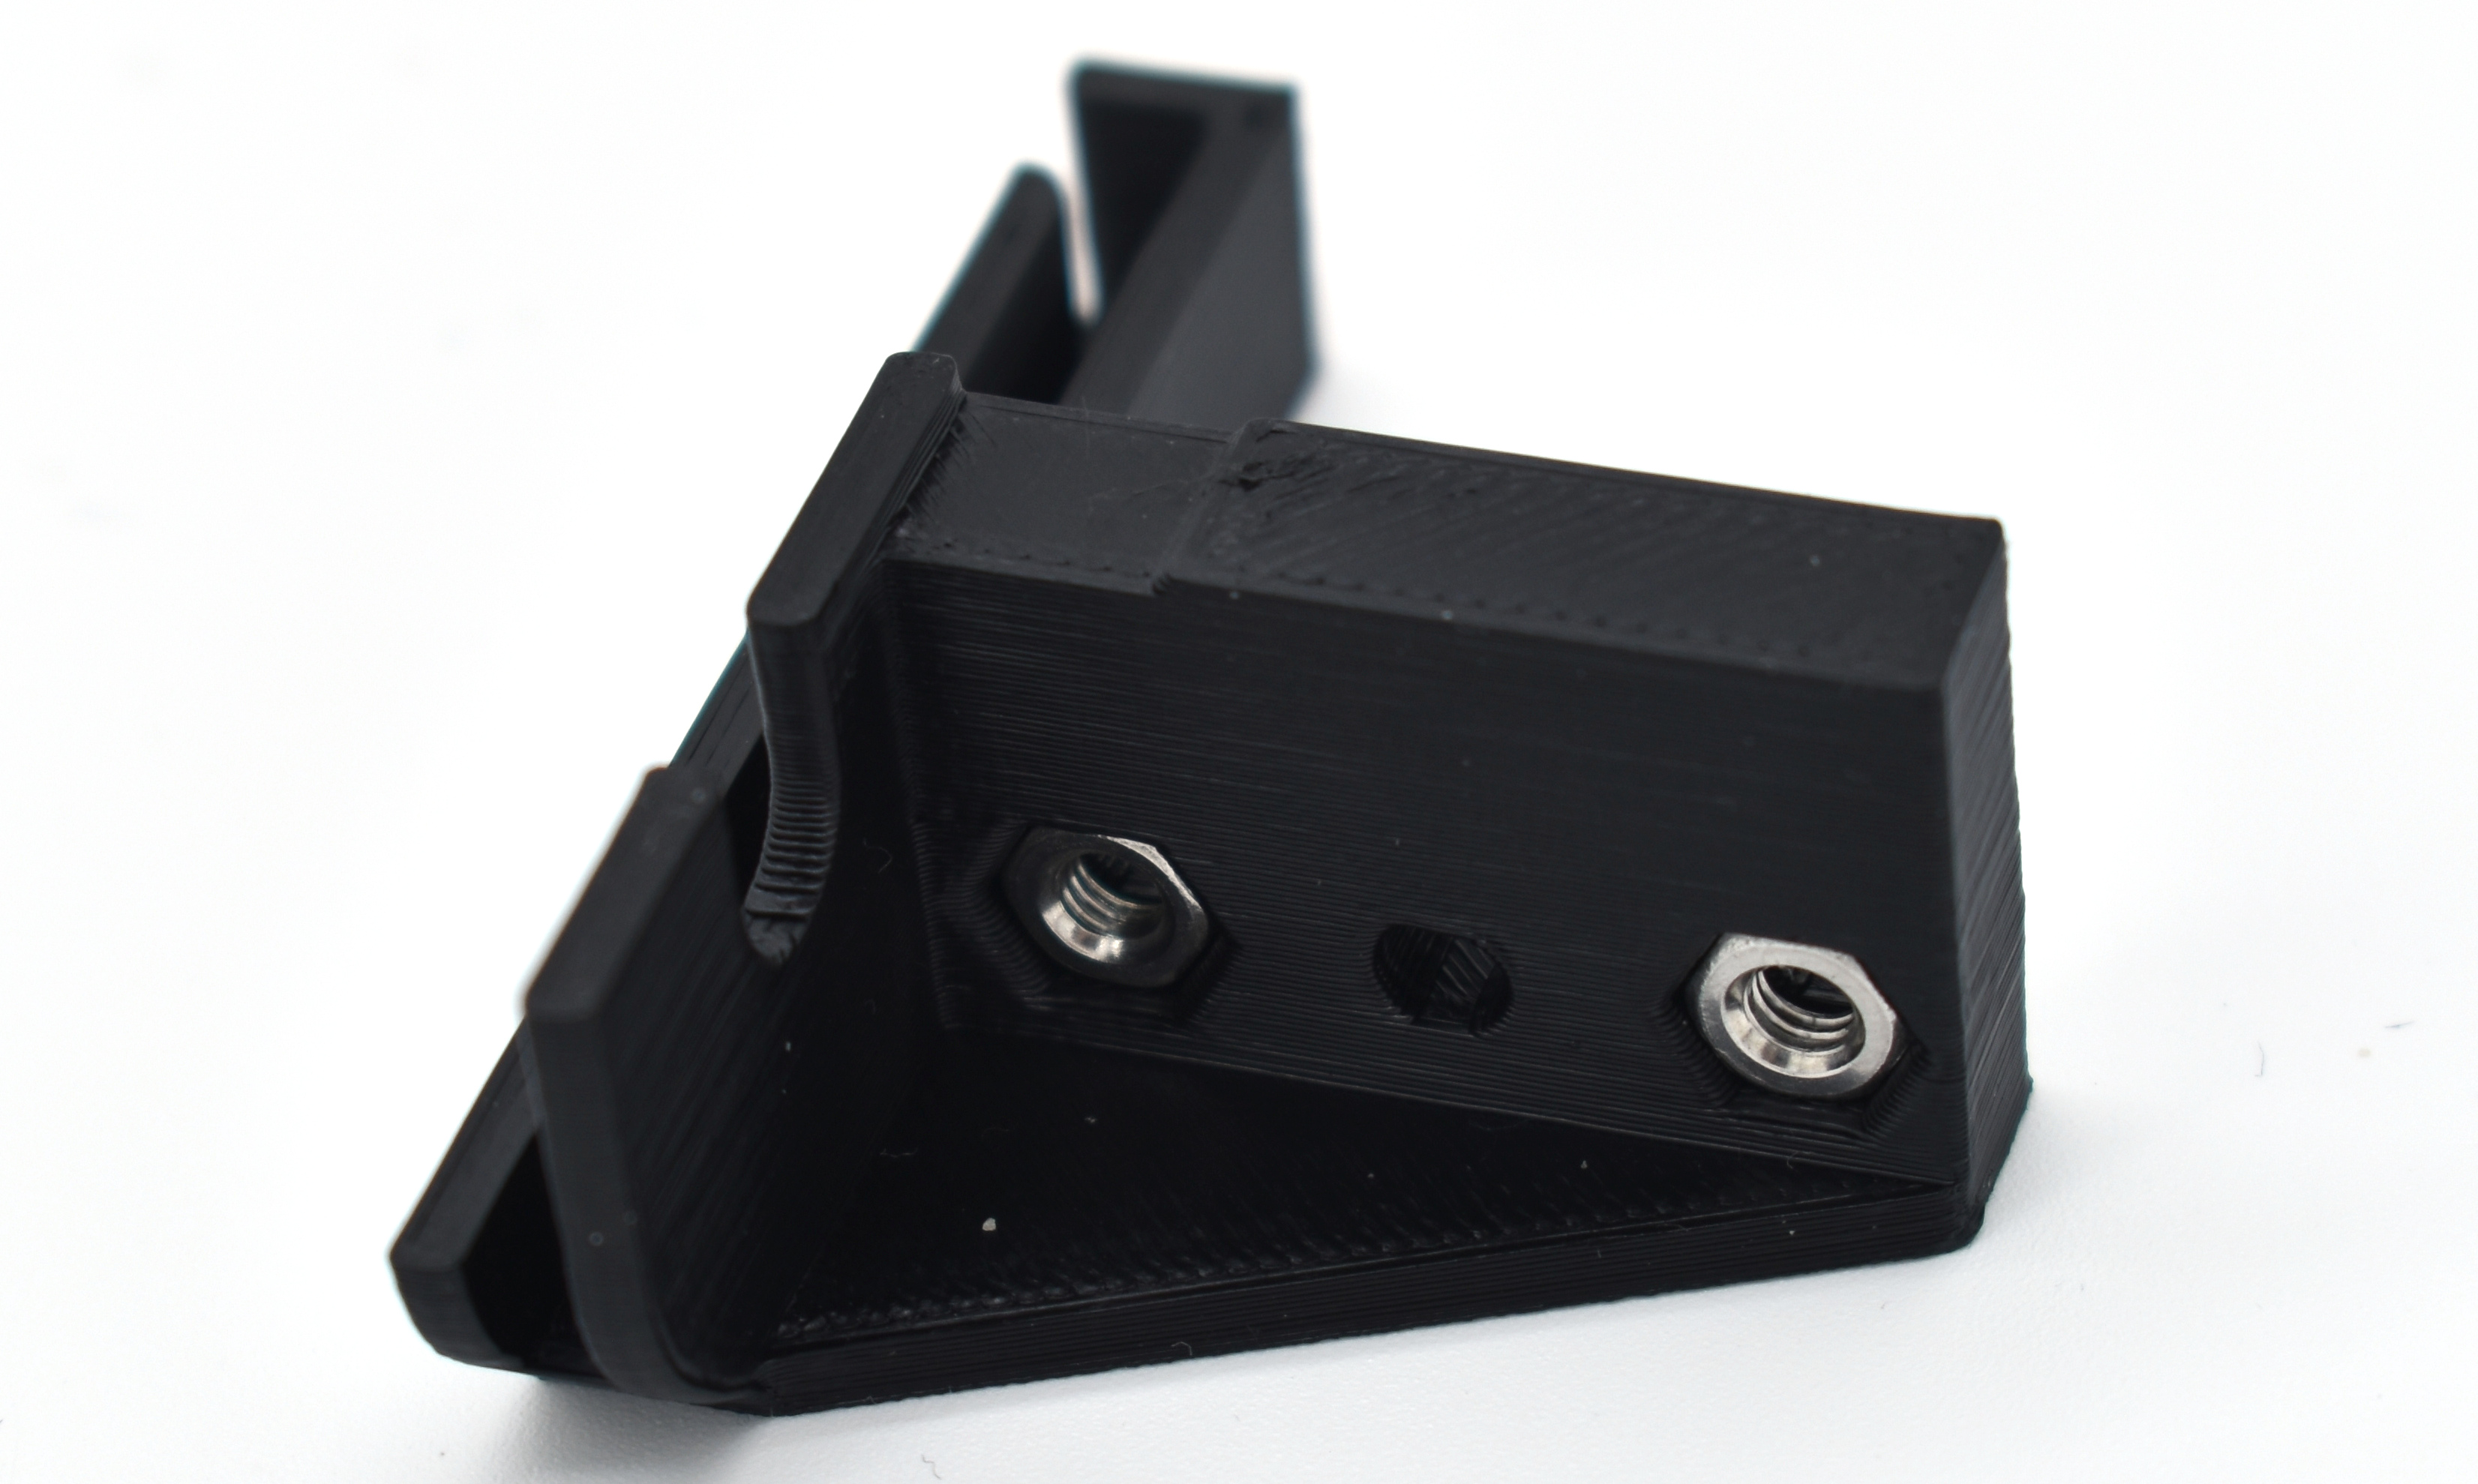
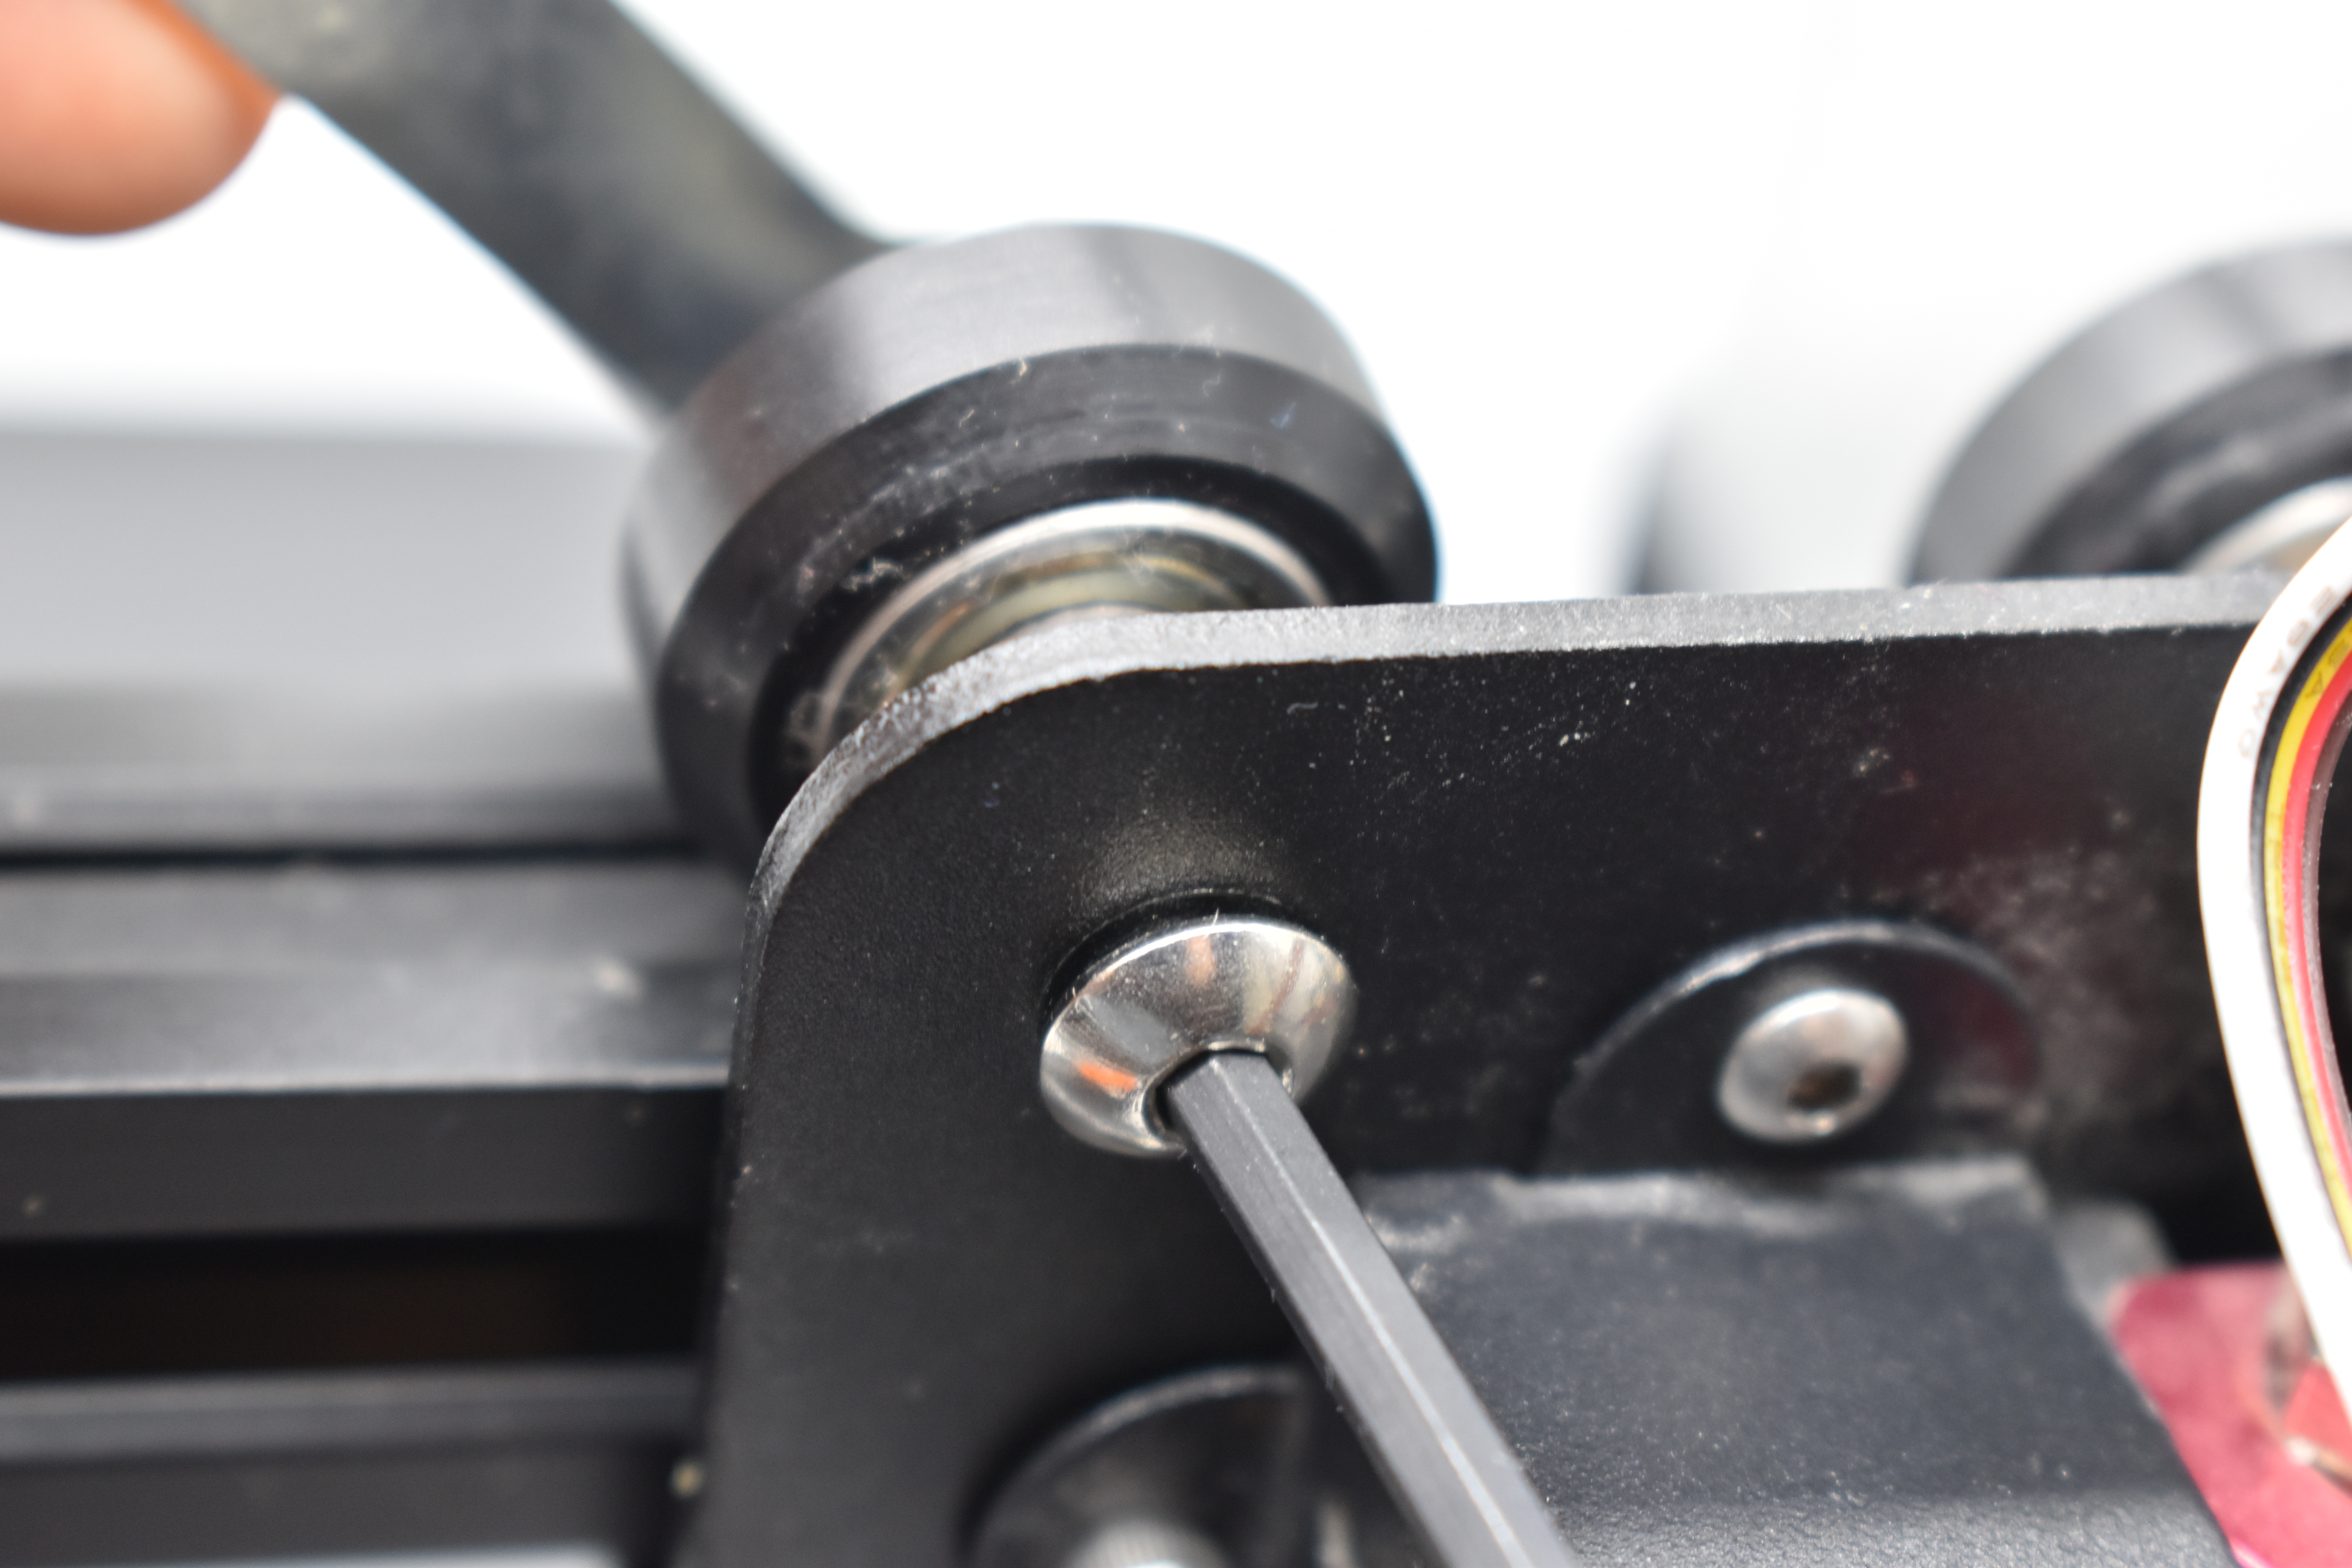
Step 2 Ender 3 preparation
- Using a wrench and an allen key, unscrew the top left screw enough to slide the BLTouch-Mount in.
Step 3 Mount installation
- Install the BLTouch-Mount by sliding it in to place.
- Secure it in place by tightening the previously untightened screw.
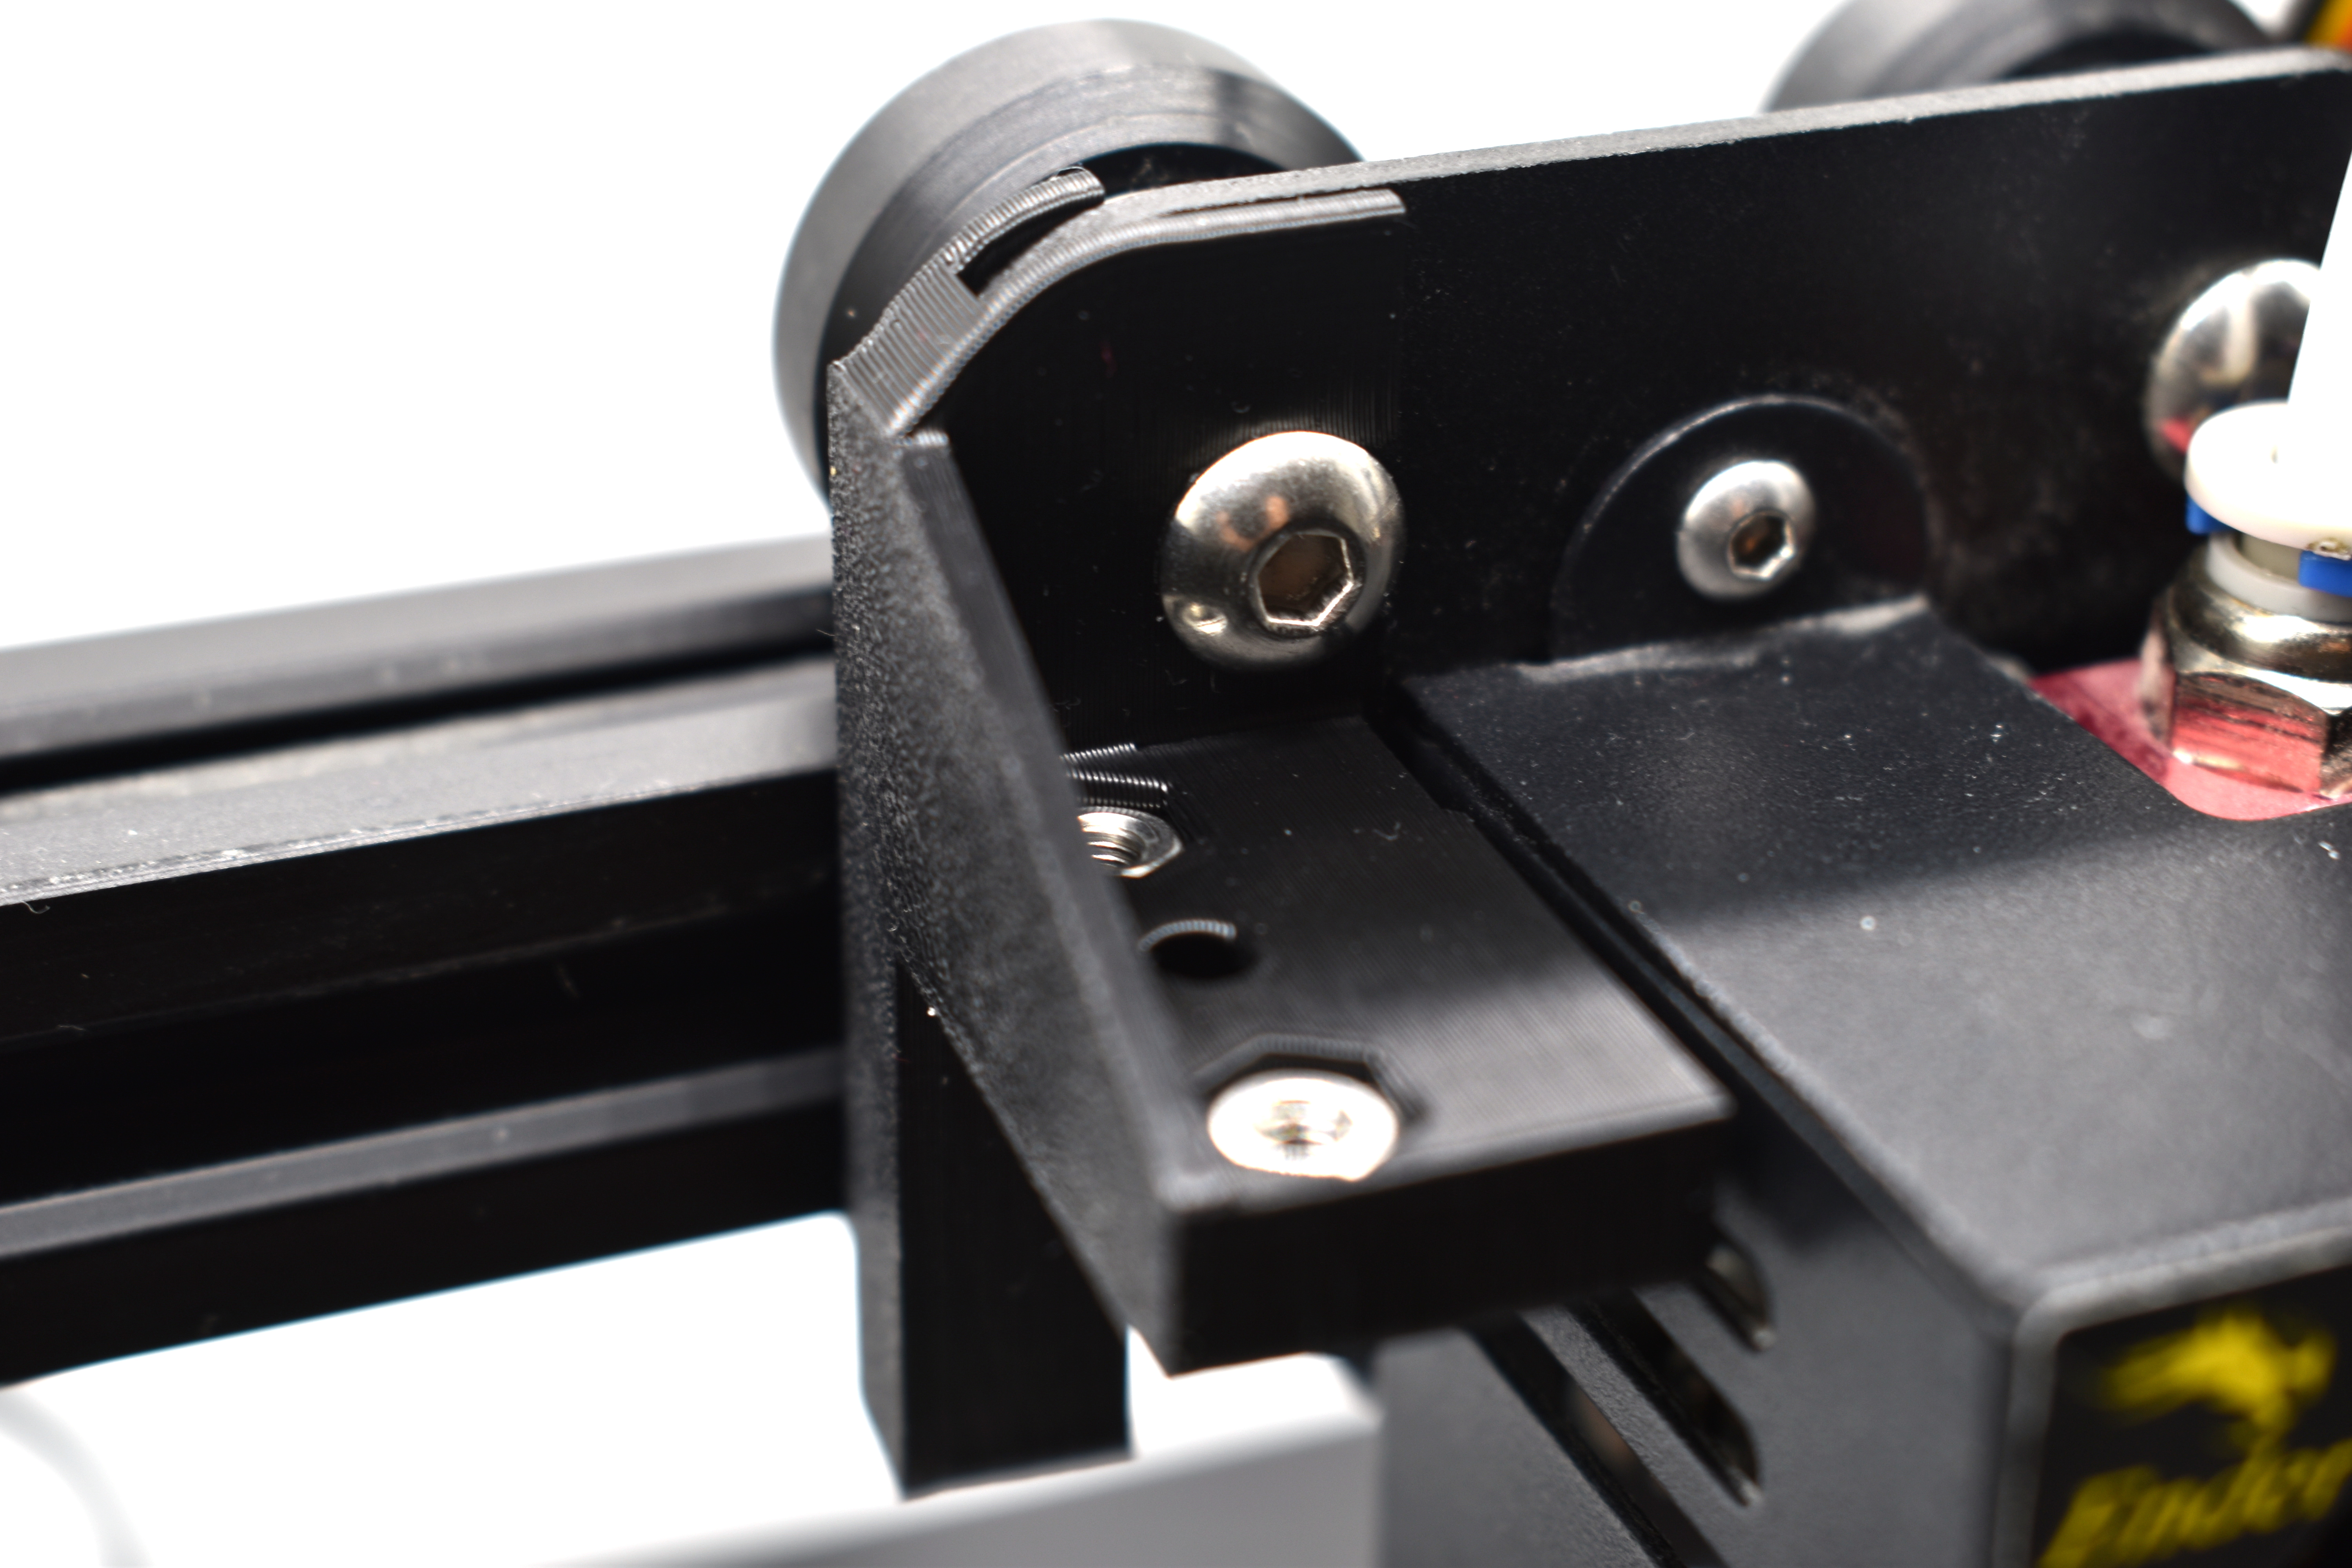
Step 4 BLTouch preparation
- Slide the BLTouch wire through the slot in the picture.
- Align the holes on the BLTouch with the ones on the mount.
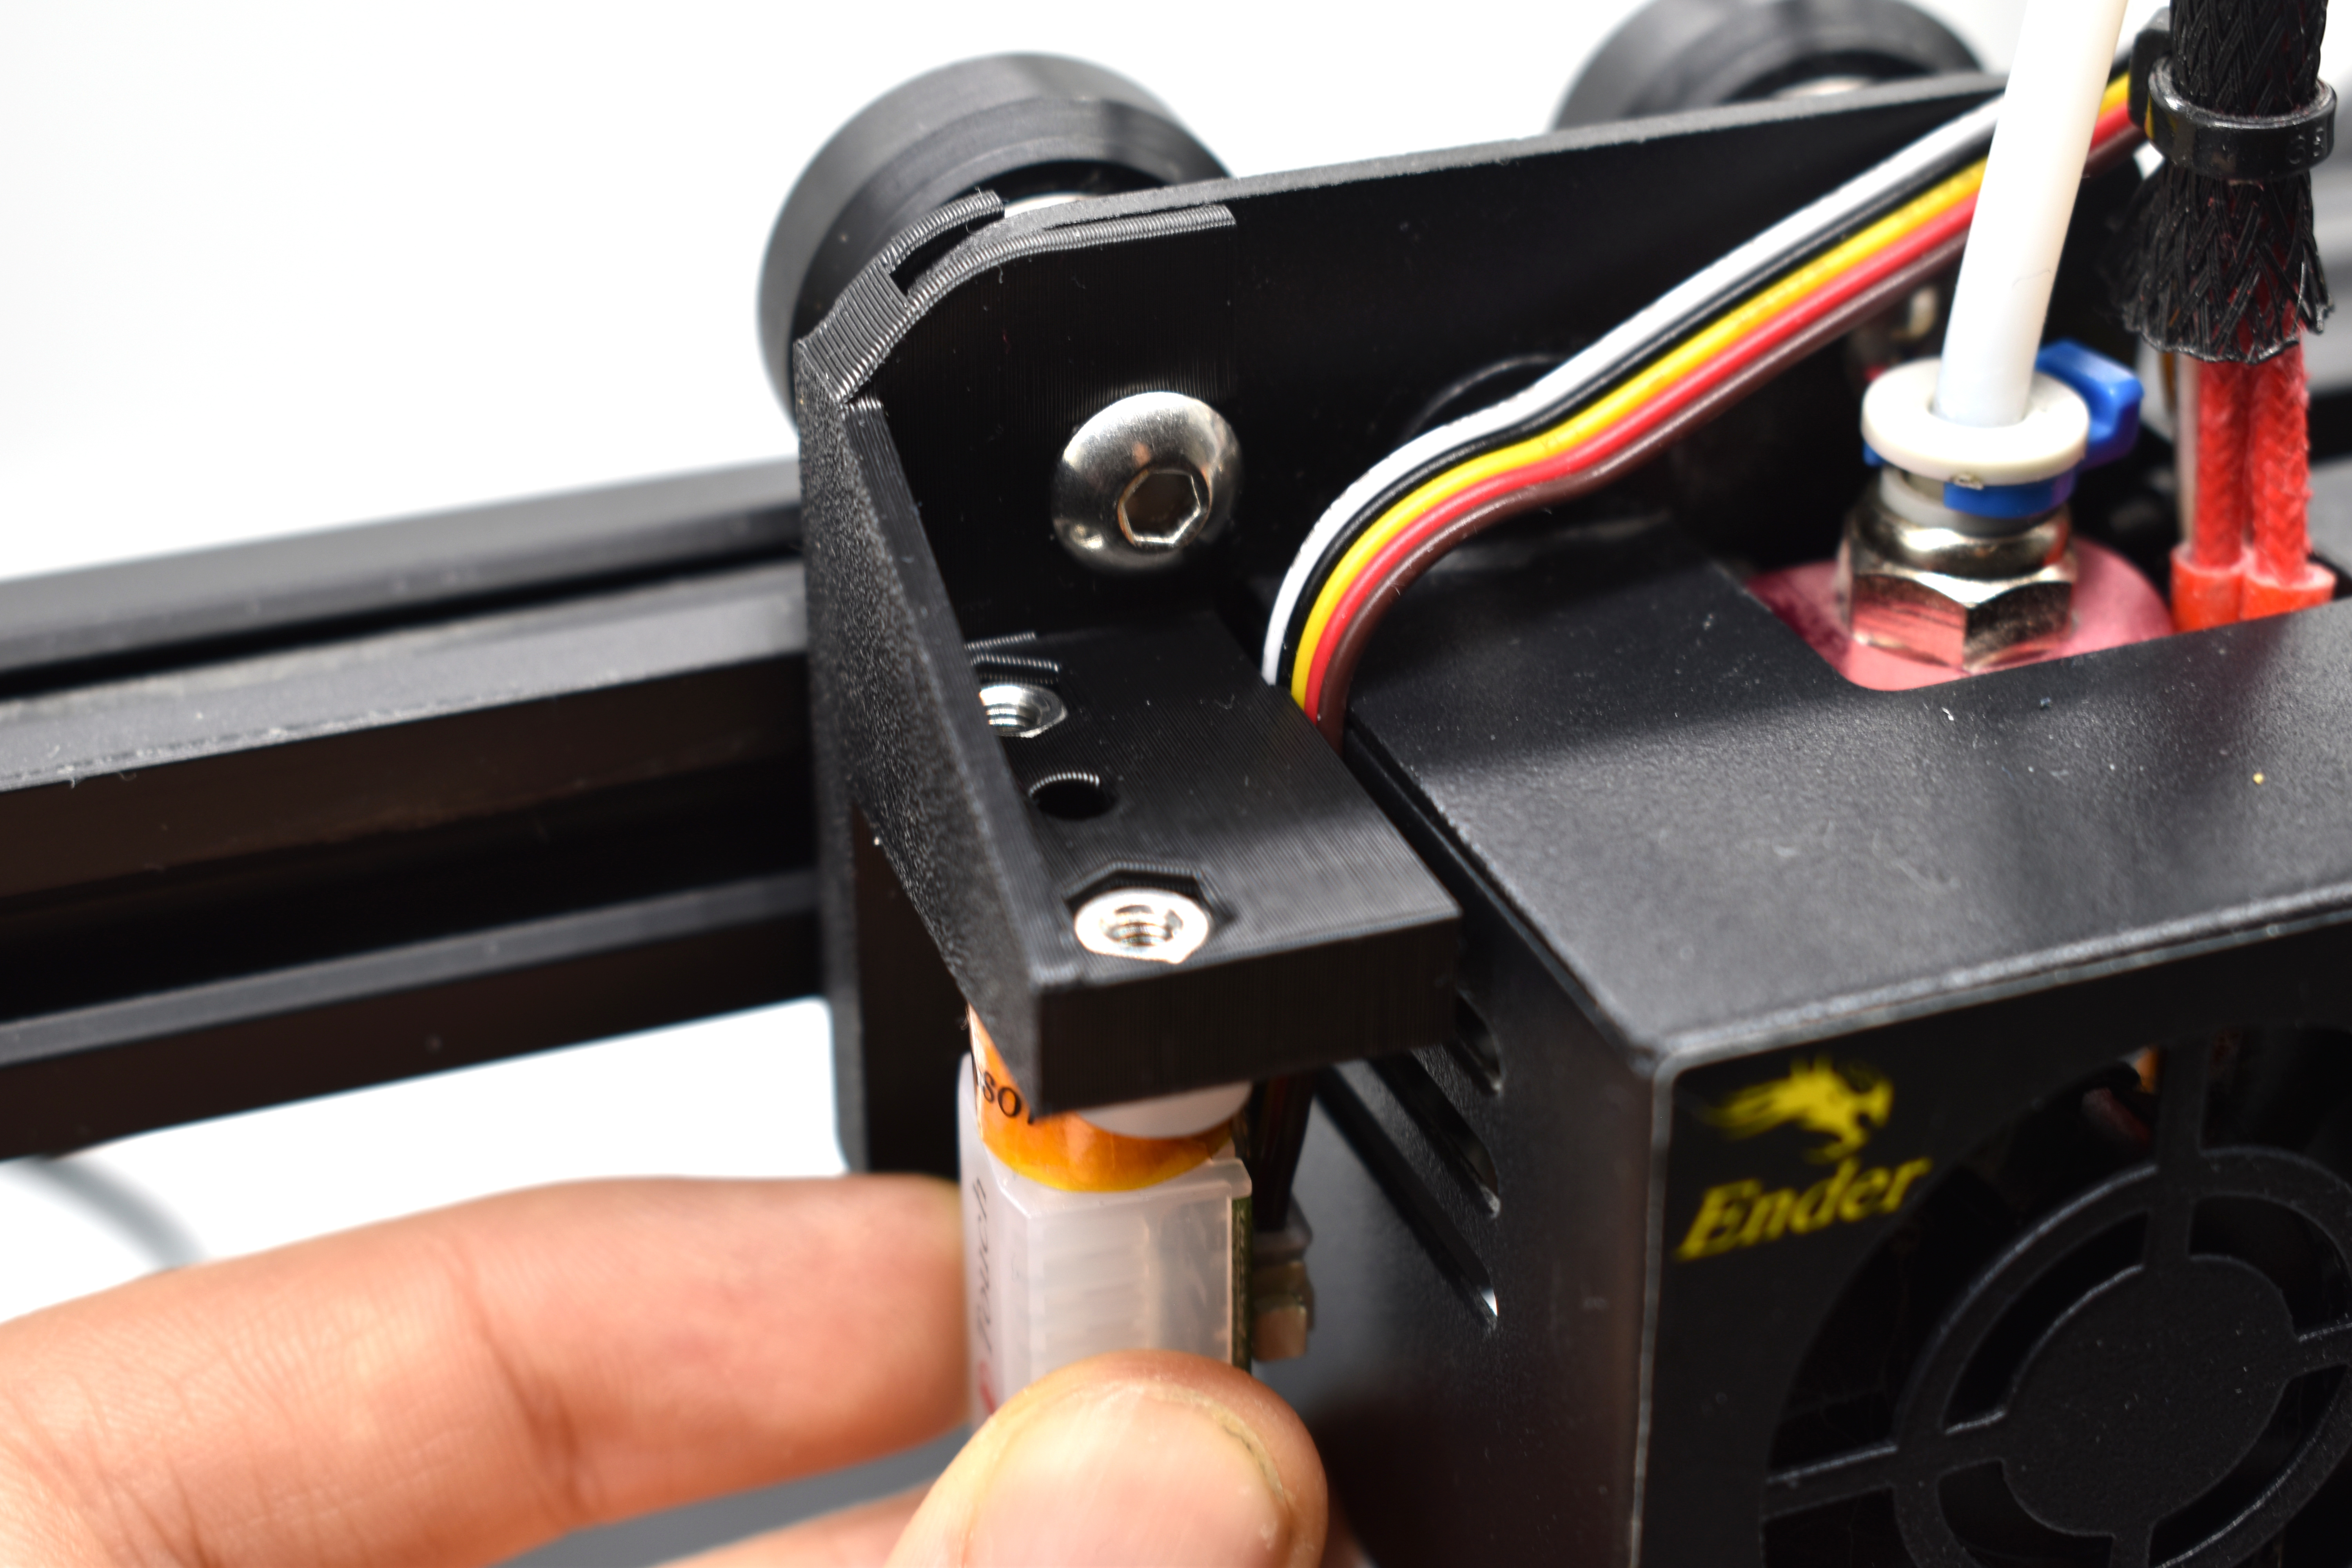
Step 5 BLTouch installation
- Secure the BLTouch with the two M3x8 screws.
- If you encounter any extruder-wobble, adjust the eccentric nut on the bottom wheel with a wrench.
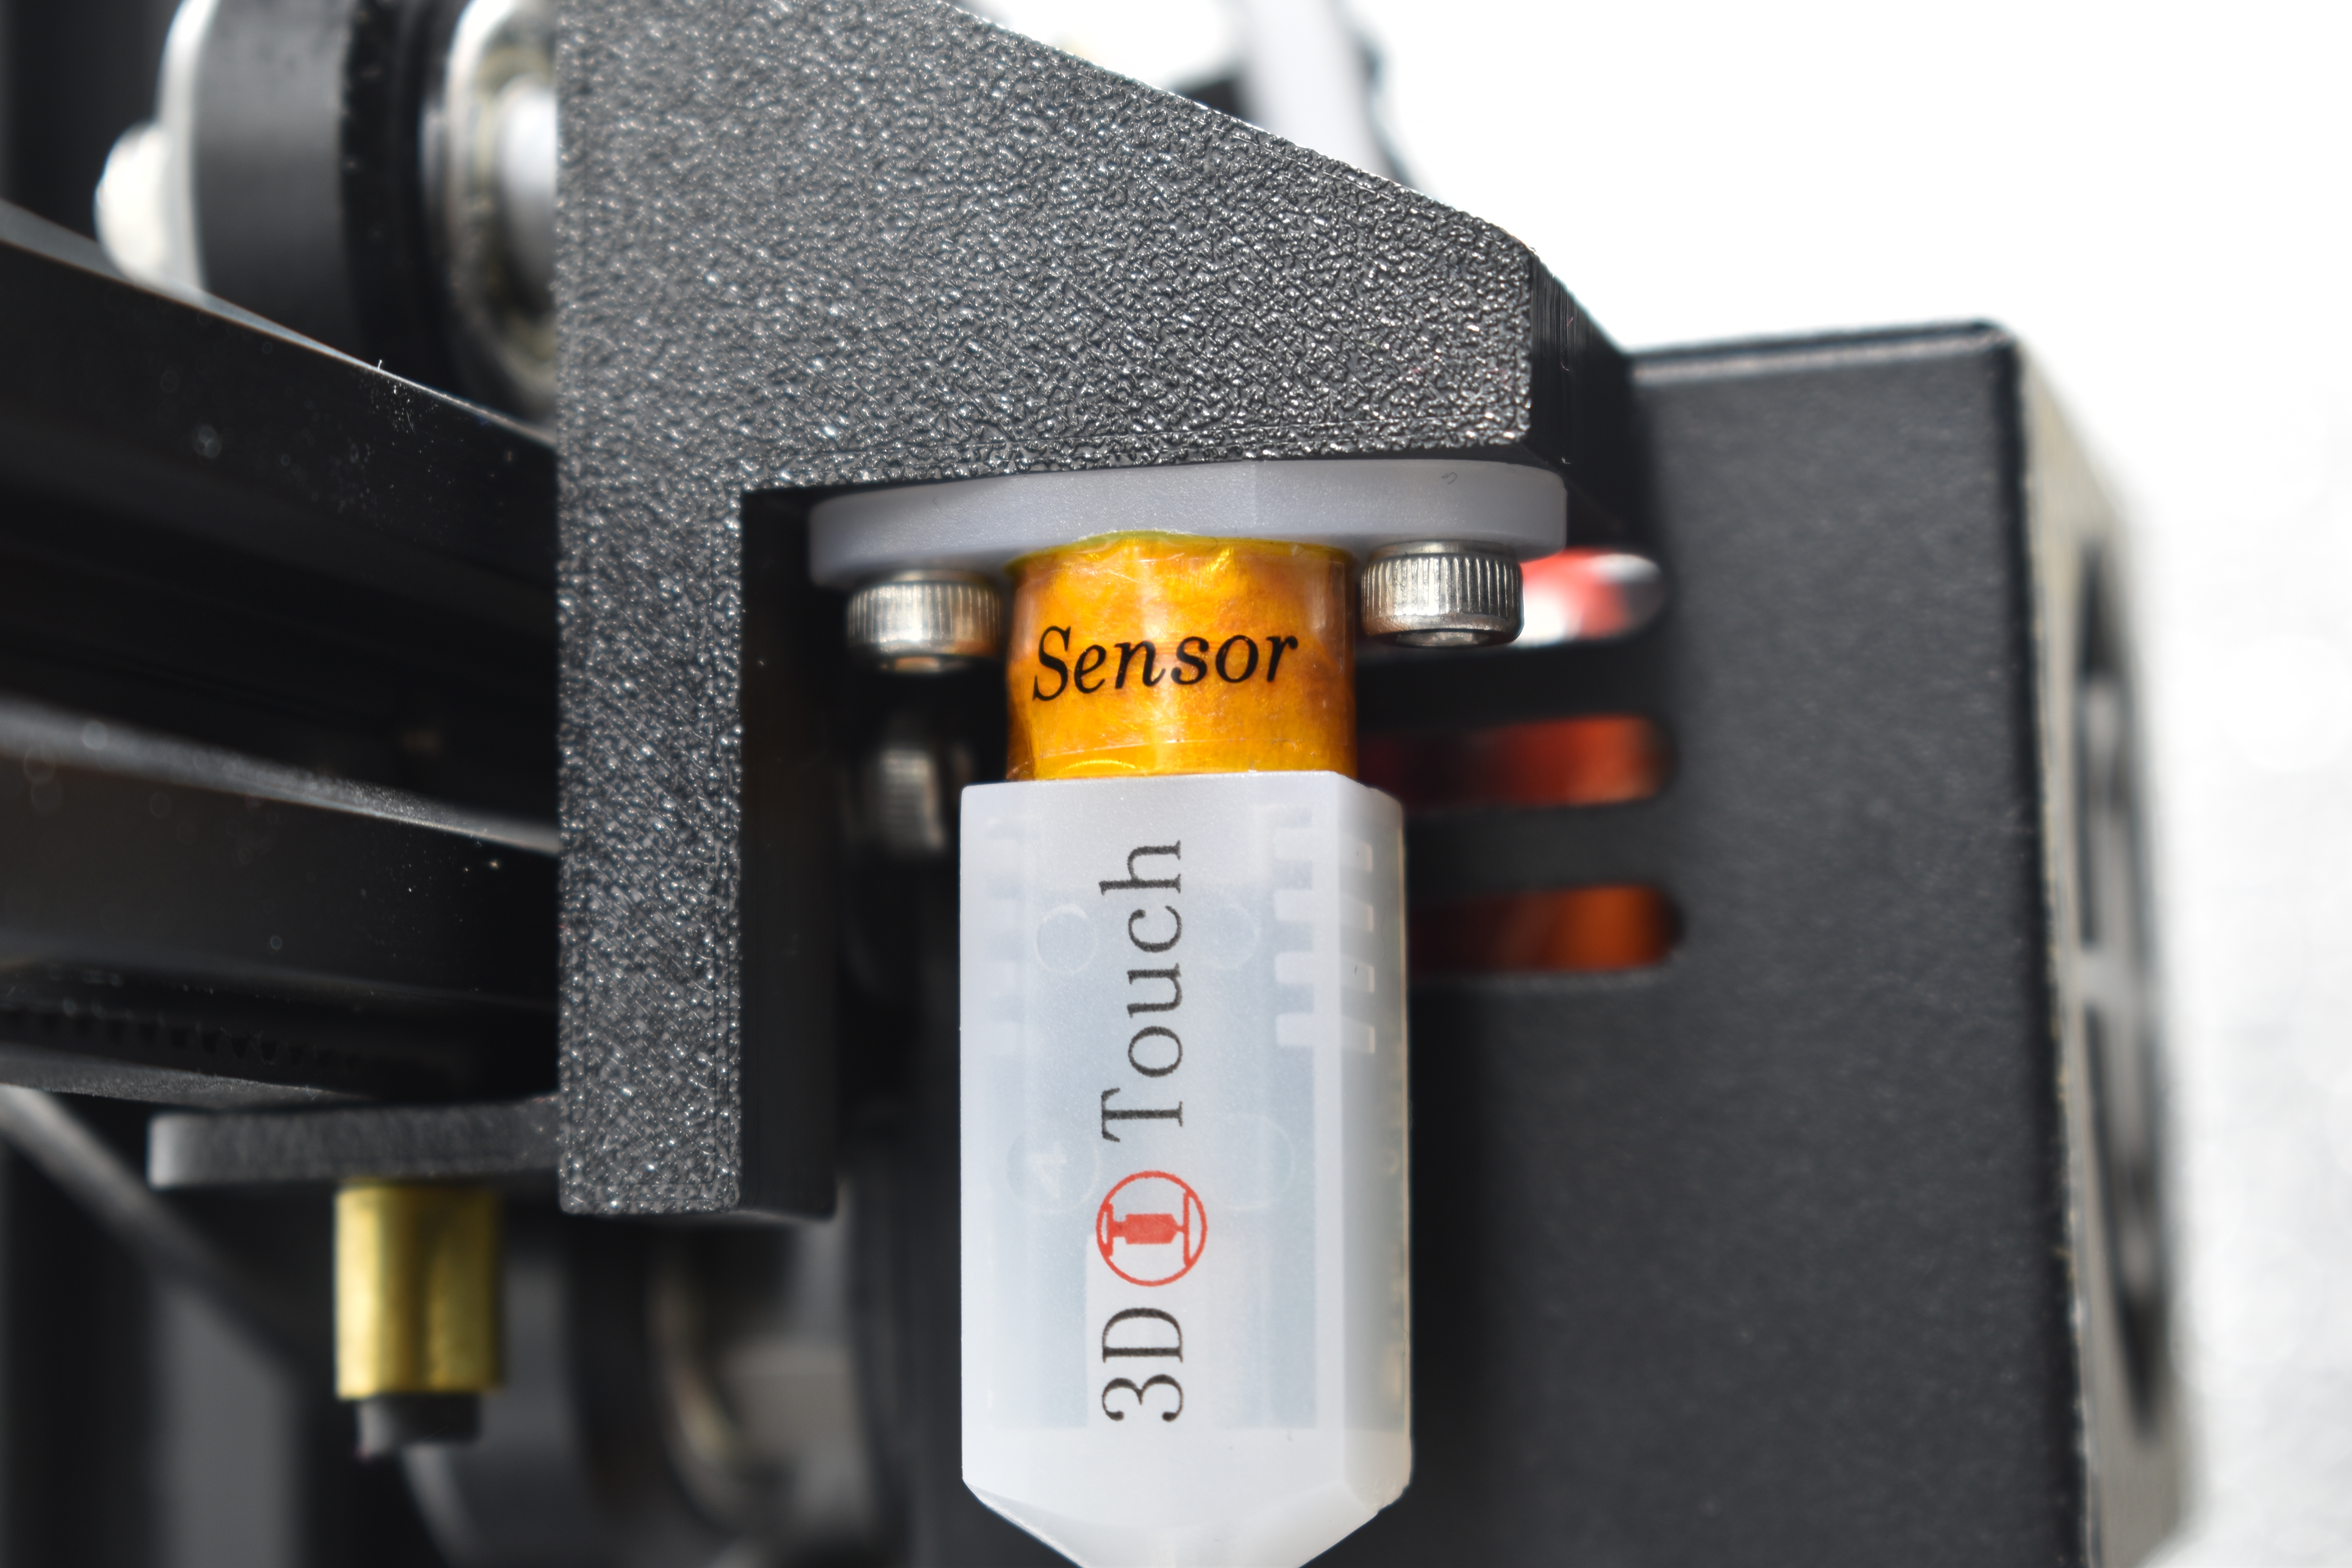
Step 5 Probe offset
- Change the probe X offset to -44.0.
- Change the probe Y offset to -5.0.
- The offsets can also be applied in the printer's configuration.h file (marlin).

Please post a make if you liked the model!

140
Curtidas
3,019
Downloads
21
Impressões
Categoria
Creality Parts & Upgrades
Tags
holder
mount
ender
bracket
pro
3
ender3
abl
bltouch
3dtouch
ender3pro
Licença
Creative Commons — Attribution — Noncommercial — Share Alike
Arquivos (3)
BLTouch-Mount (NEW).stl
62.1 KB
BLTouch-Mount (OLD).stl
61.7 KB
BLTouch-Mount.stp
93.4 KB
Gostou deste modelo? Crie uma conta grátis para salvar seus favoritos e voltar a eles depois.
Criar conta