Você está no 3DFinder
Buscamos em Thingiverse, MakerWorld e Printables ao mesmo tempo para te dar o melhor de cada uma.
Descrição
WoW, thanks Prusa for declaring me the winner. I am very thankfull for that.
If you have any questions about the project, you can write to me at any time.
Thanks to Christian Schwinne Aircoookie for this great WLED Software [https://github.com/Aircoookie](https://github.com/Aircoookie)
If you like WLED projects, maybe this is something for you. Added a second version. Description below. To see a Make would be awsome :)
If you prefer to have lights on the wall, check out this project: [https://www.printables.com/de/model/480506-led-tubes](https://www.printables.com/de/model/480506-led-tubes)
Very Important: If possible use the arachne function in your slicer. If it does not support this function, enable printing thin walls!! If possible use Prusa Slicer and a 0,6 Nozzle.

Full Ring Lamp Version
Full Wing Lamp Version
This setup with 5 wings works perfect with a standart mobilephone charger. You dont need any other power adapter. The ESP32 has a micro usb plug.
If you want to build a big tower, you will need a more powerfull power adapter. There is a bigger bottom base file you can use.

WLED is having a great Forum and Pot to chooce the right power for your Project. If you use to many LED lights, you need more than a phone charger. Please check first how many power your project need before you start.

I have now also added a wall mount
- The wall bracket is the same for the top and bottom. Below you need a nipple and above a plug plus 4 screws.
- The nipple in the lower bracket and the plug in the upper one.
- Pass the cables through the opening.
- Now connect the cables to the ESP32 and the power connector.

Here you can see the brackets attached and mounted
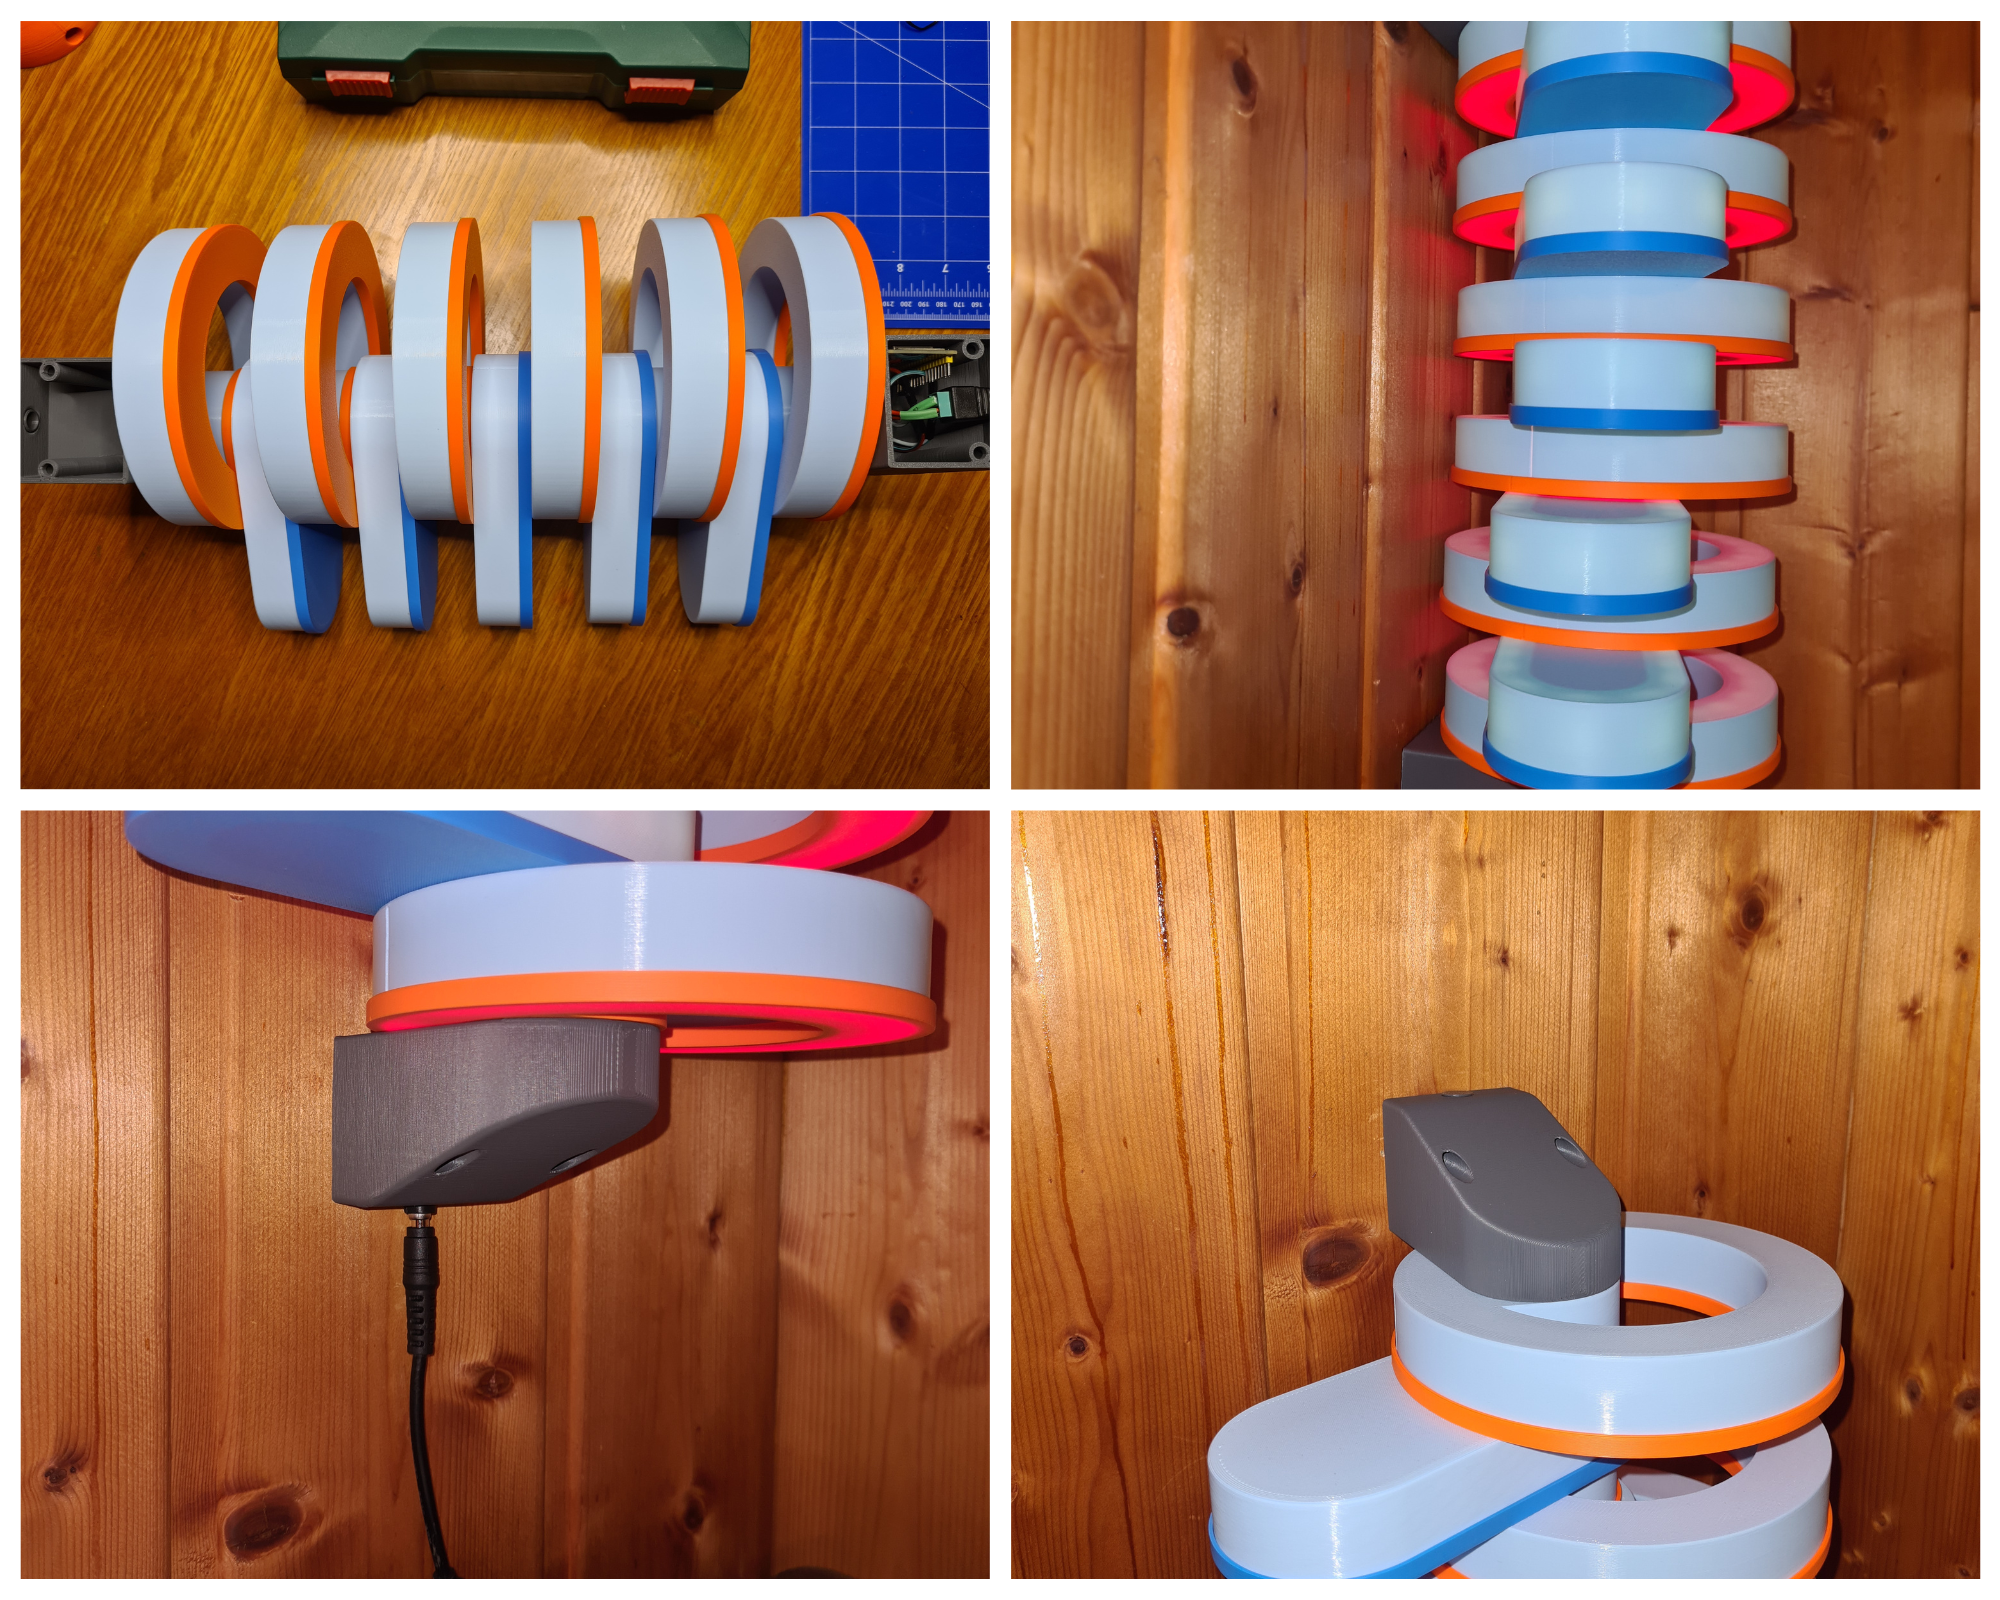

You can combine and rotate all the components as you wish.
This is an led lamp for predominantly programmable led strips. You can also use normal led strips but you have to cut the strips and solder them again or connect them with clips.
Each wing is an independent component and can be expanded as often as you want. You can rotate the wings to any position in a 360° radius you like.
Each wing consists of only two parts that are clicked together. The retaining plate and the cover.
The bottom has a base that offers space for an ESP32 and a cut-out for the cable. A cap on top serves as a finish.
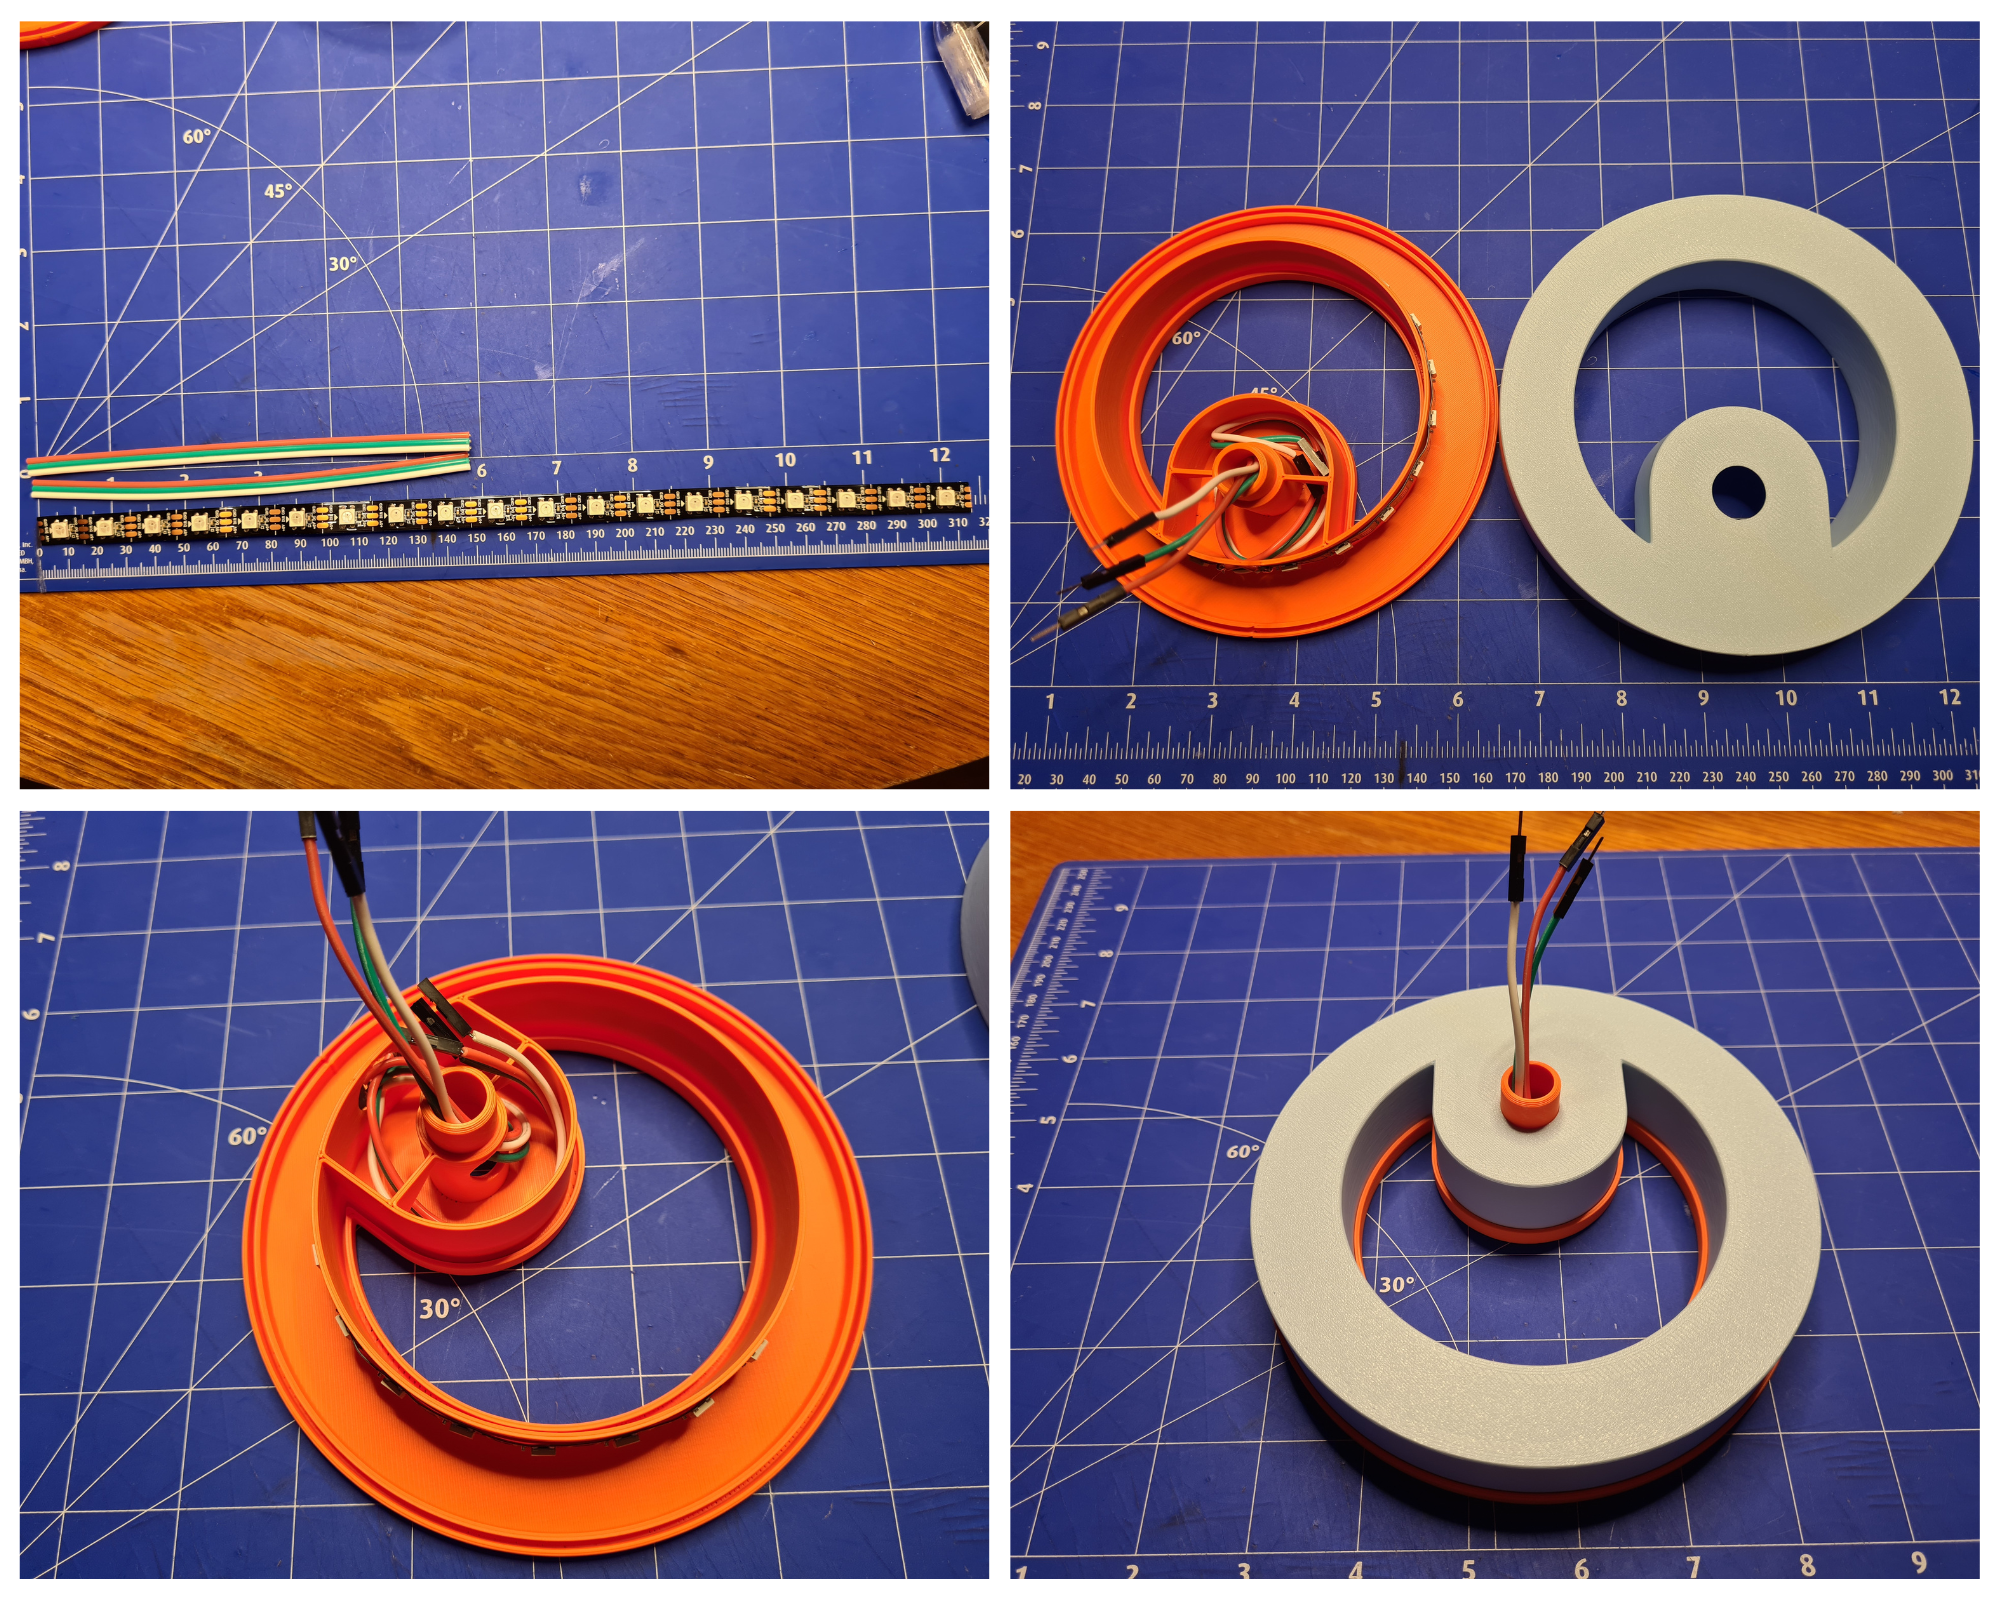
Here I show you the assembly of one of the wings:
- The length of the LED strip and wire.
- A base and a cover of one wing.
- Solder the wires on the LED strip.
- Crimp the Dupond plugs on the wire. Make sure to check the LED strip direction. At the inlet there should be the female plug. You can use other plugs if you have.

- Place the LED strip as shown in the picture.
- Overlap the cables and thread them through the opening.
- Now stick the LED strip on the wingbase.
- Thats how the wires should look when you are done.

- Now slide the cable of the lower wing up through the middle opening.
- Now connect the cables of the lower wing to the upper wing.
- Now you can attach the defusor.
- Next wing is done.
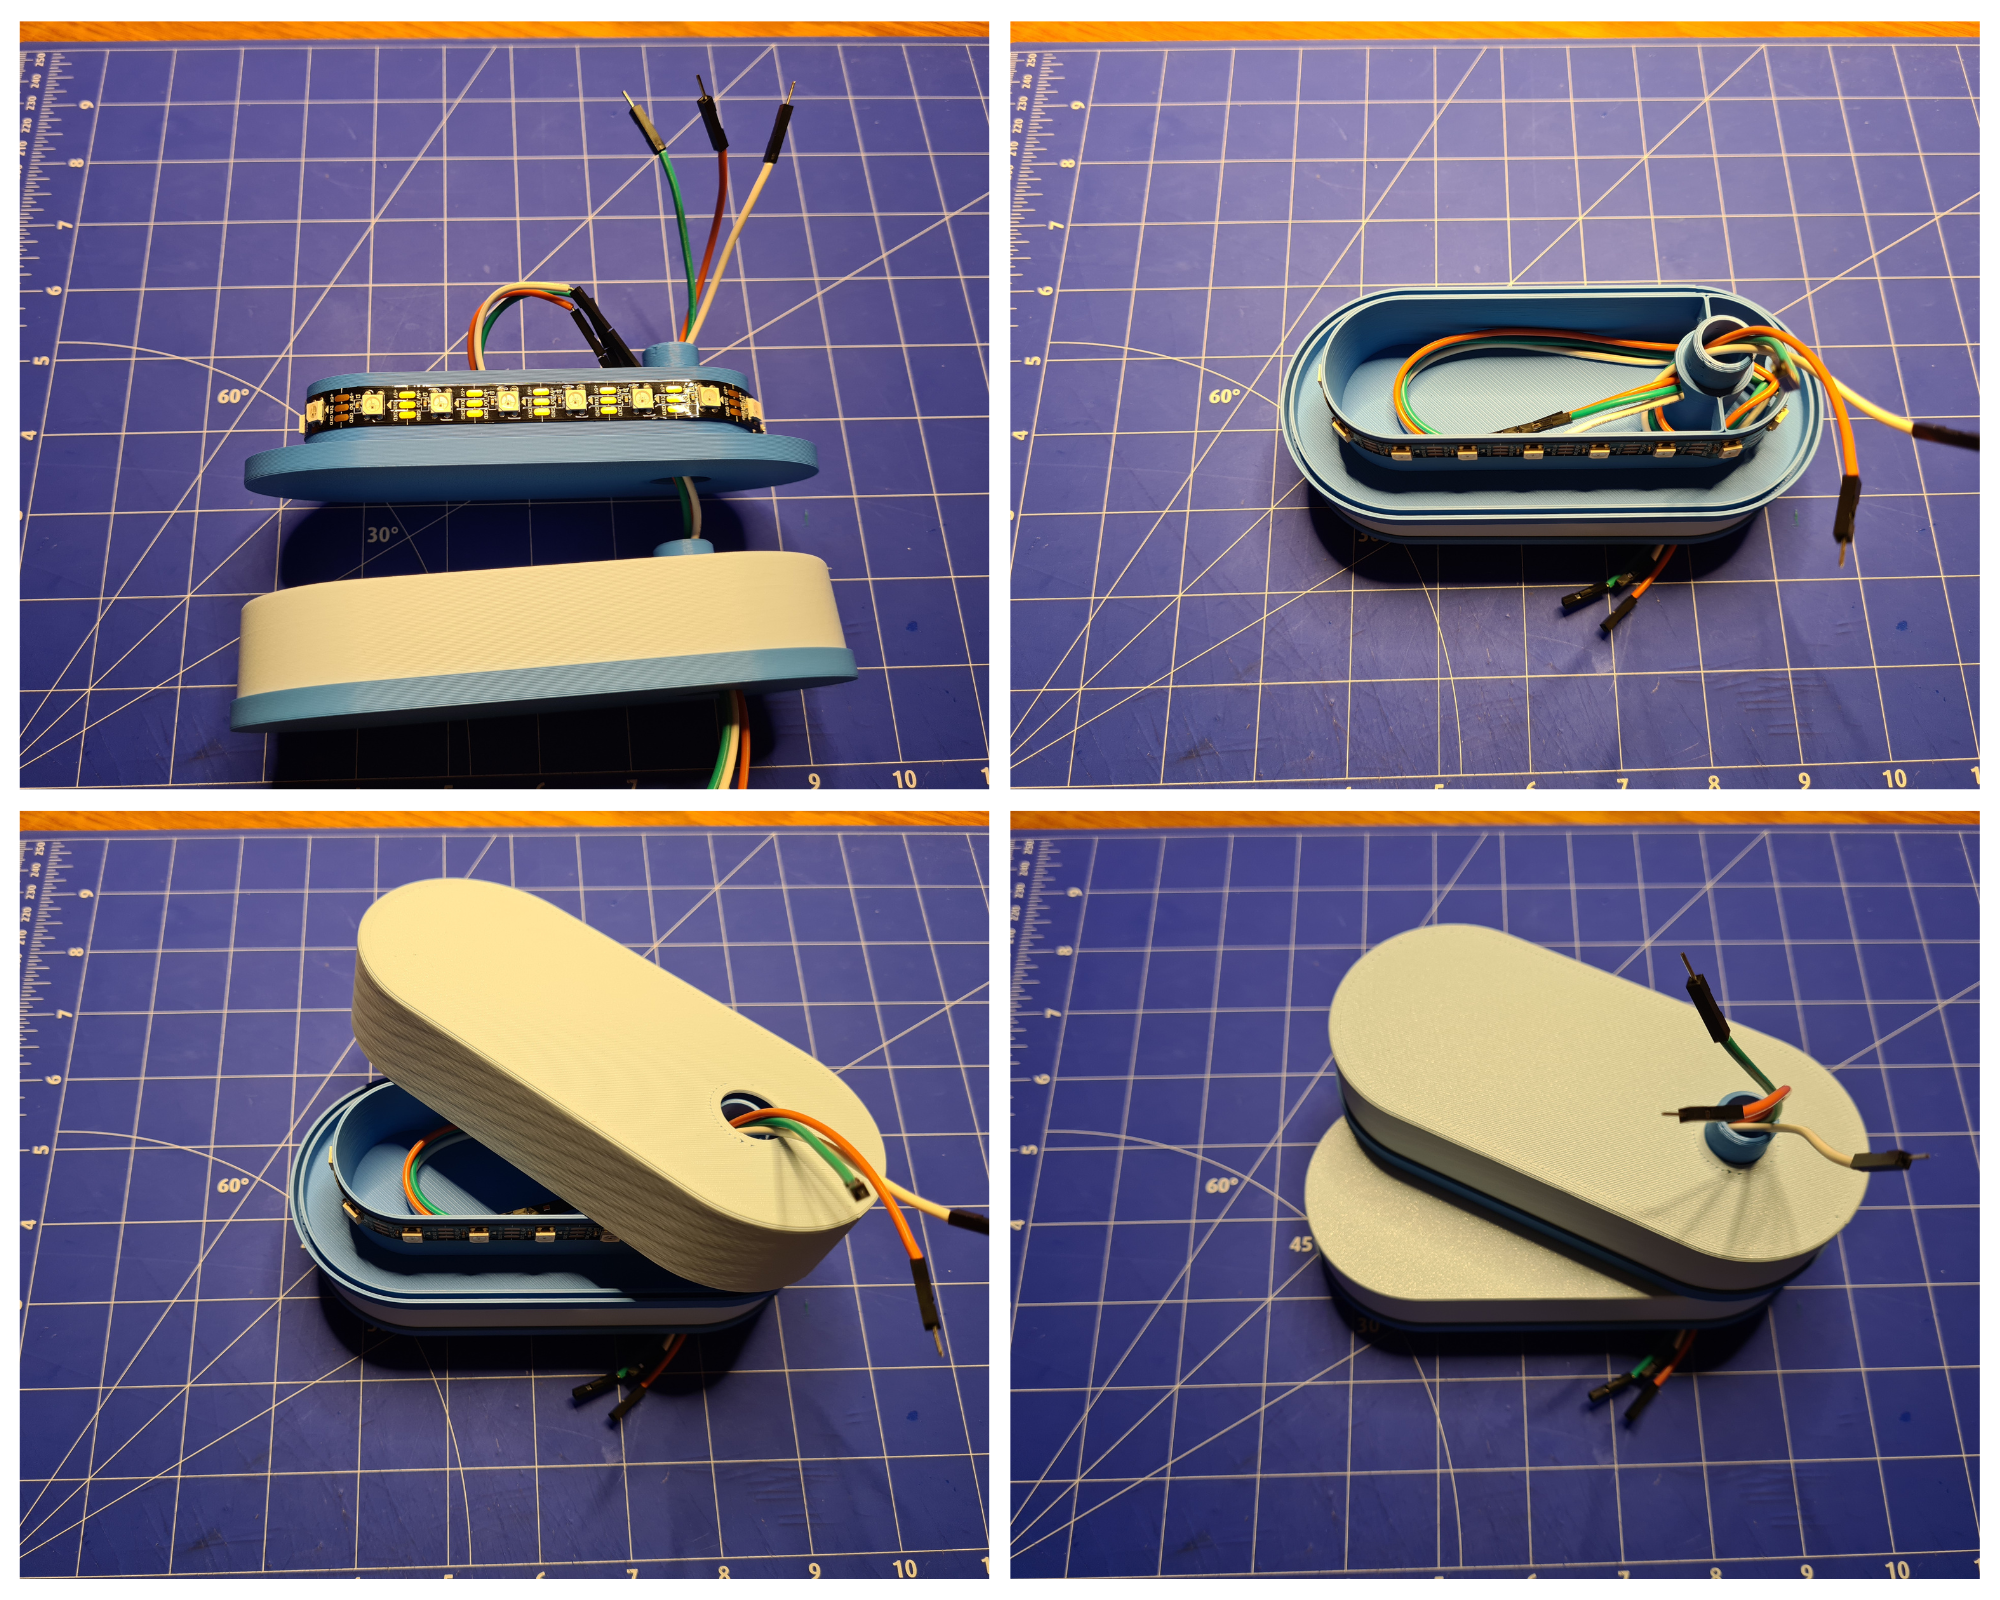
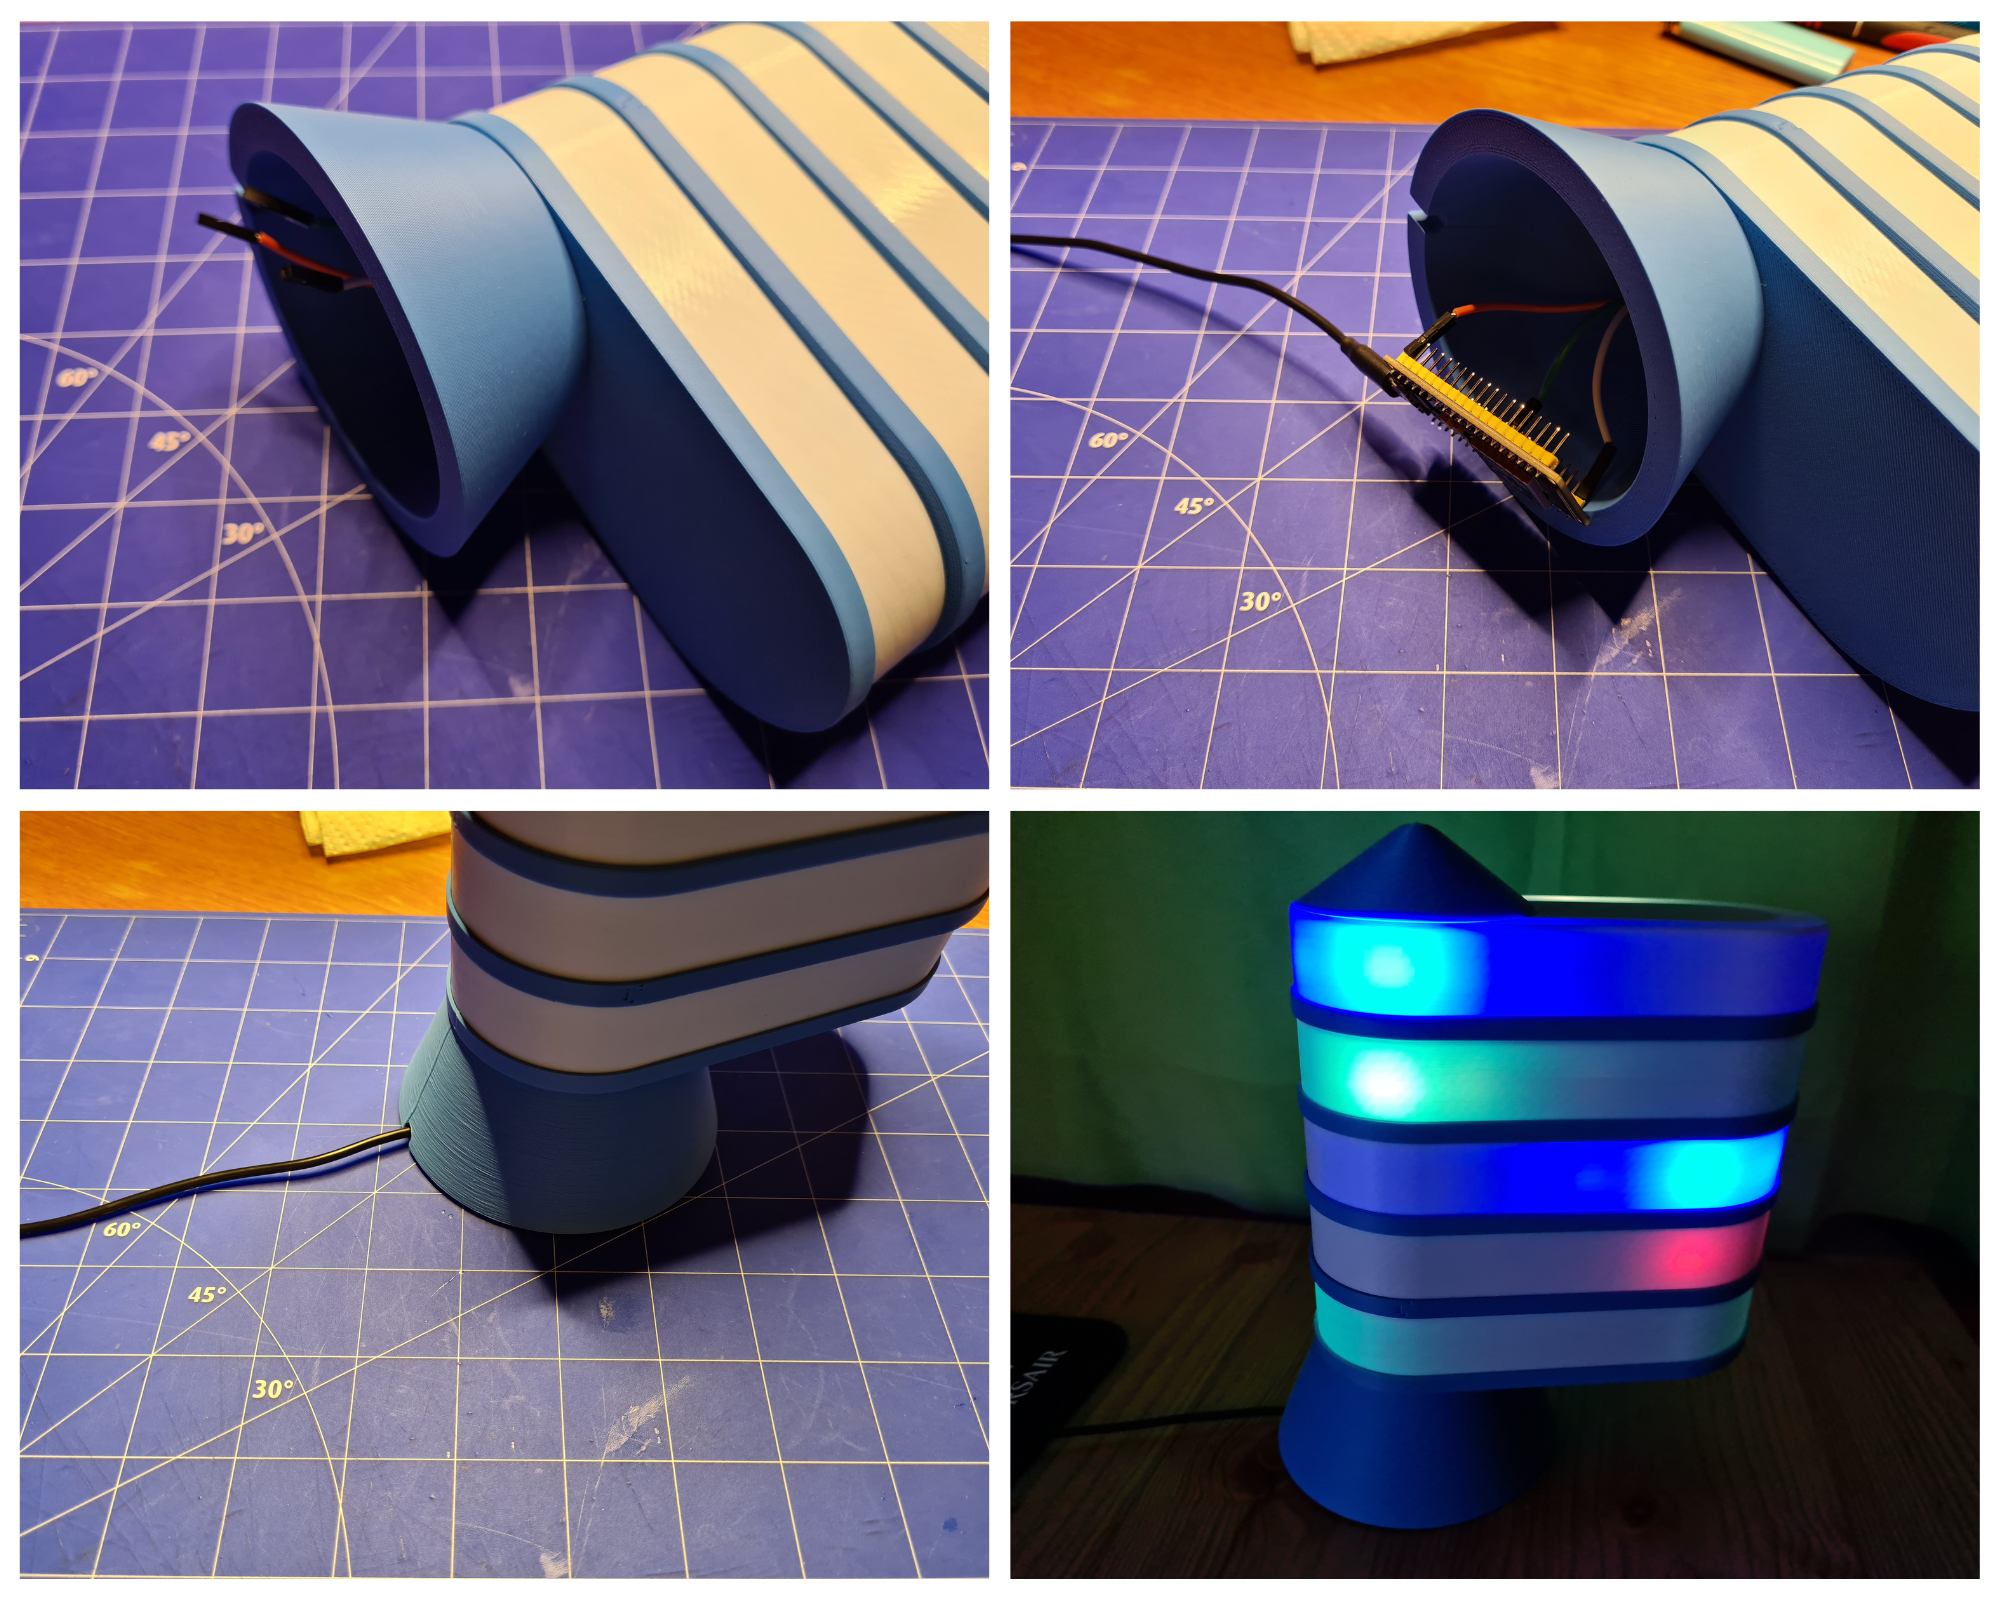
- Now put the base on the lower wing
- Attach the ESP32 to the bottom wing wires.
- Place the wing lamp on the base.
- Plug the cable to the power adapter, congraz to a nice LED lamp :)
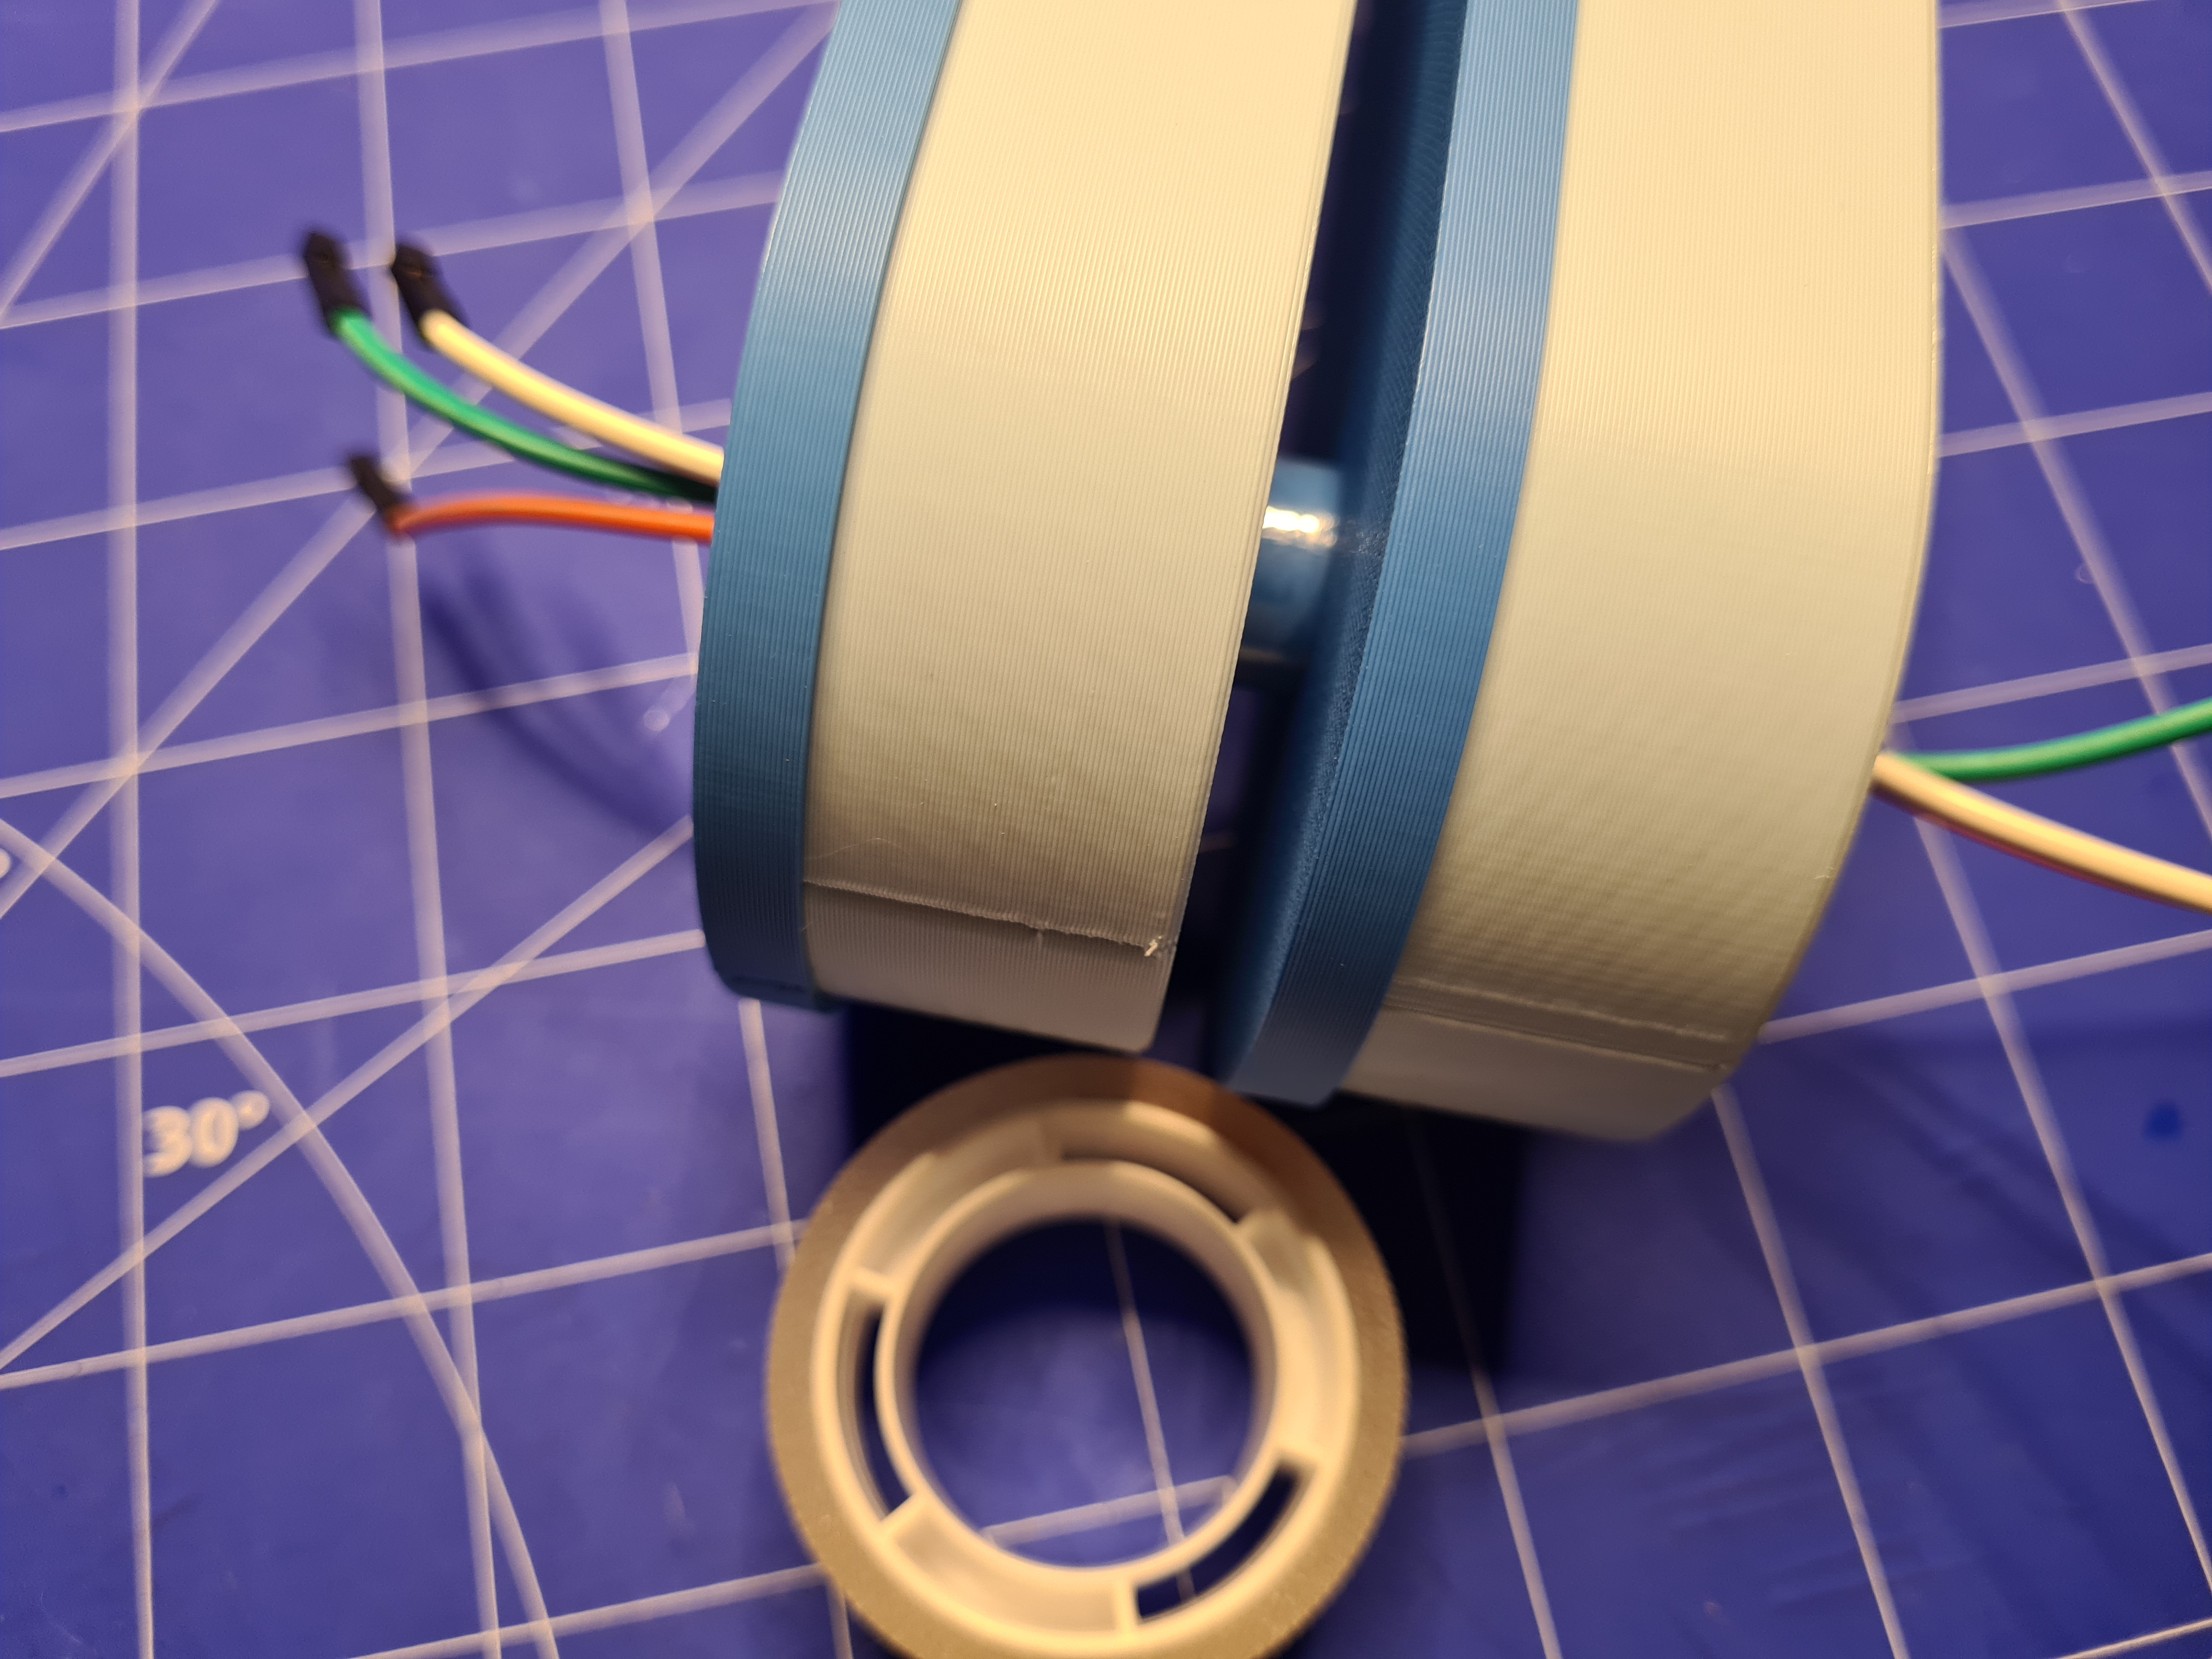
If the wings are rotating to loose, you can put some tape around the top nipple. I tried and it worked well.

Here is a second version. Choose what you like more.
All materials remain the same, only the led strip has to be a little longer.
BOM List i used:
LED Strip WS2812B 60led/m
ESP 32
Dupond plugs
LED Wire
Thats it, of course you need a soldering iron and solder wire.
Software for the ESP32 is WLED [https://kno.wled.ge/](https://kno.wled.ge/)
All parts are PLA printed with a 0,6 nozzle.
Very Important: If possible use the arachne function in your slicer. If it does not support this function, enable printing thin walls!! If possible use Prusa Slicer and a 0,6 Nozzle.
I hope you enjoy the project.
Wing Lamp (update Ring Element) Stack and Rotatable (Video)

Publicado em 3 de jun de 2023
Gostou deste modelo? Crie uma conta grátis para salvar seus favoritos e voltar a eles depois.
Criar conta