Você está no 3DFinder
Buscamos em Thingiverse, MakerWorld e Printables ao mesmo tempo para te dar o melhor de cada uma.
Descrição
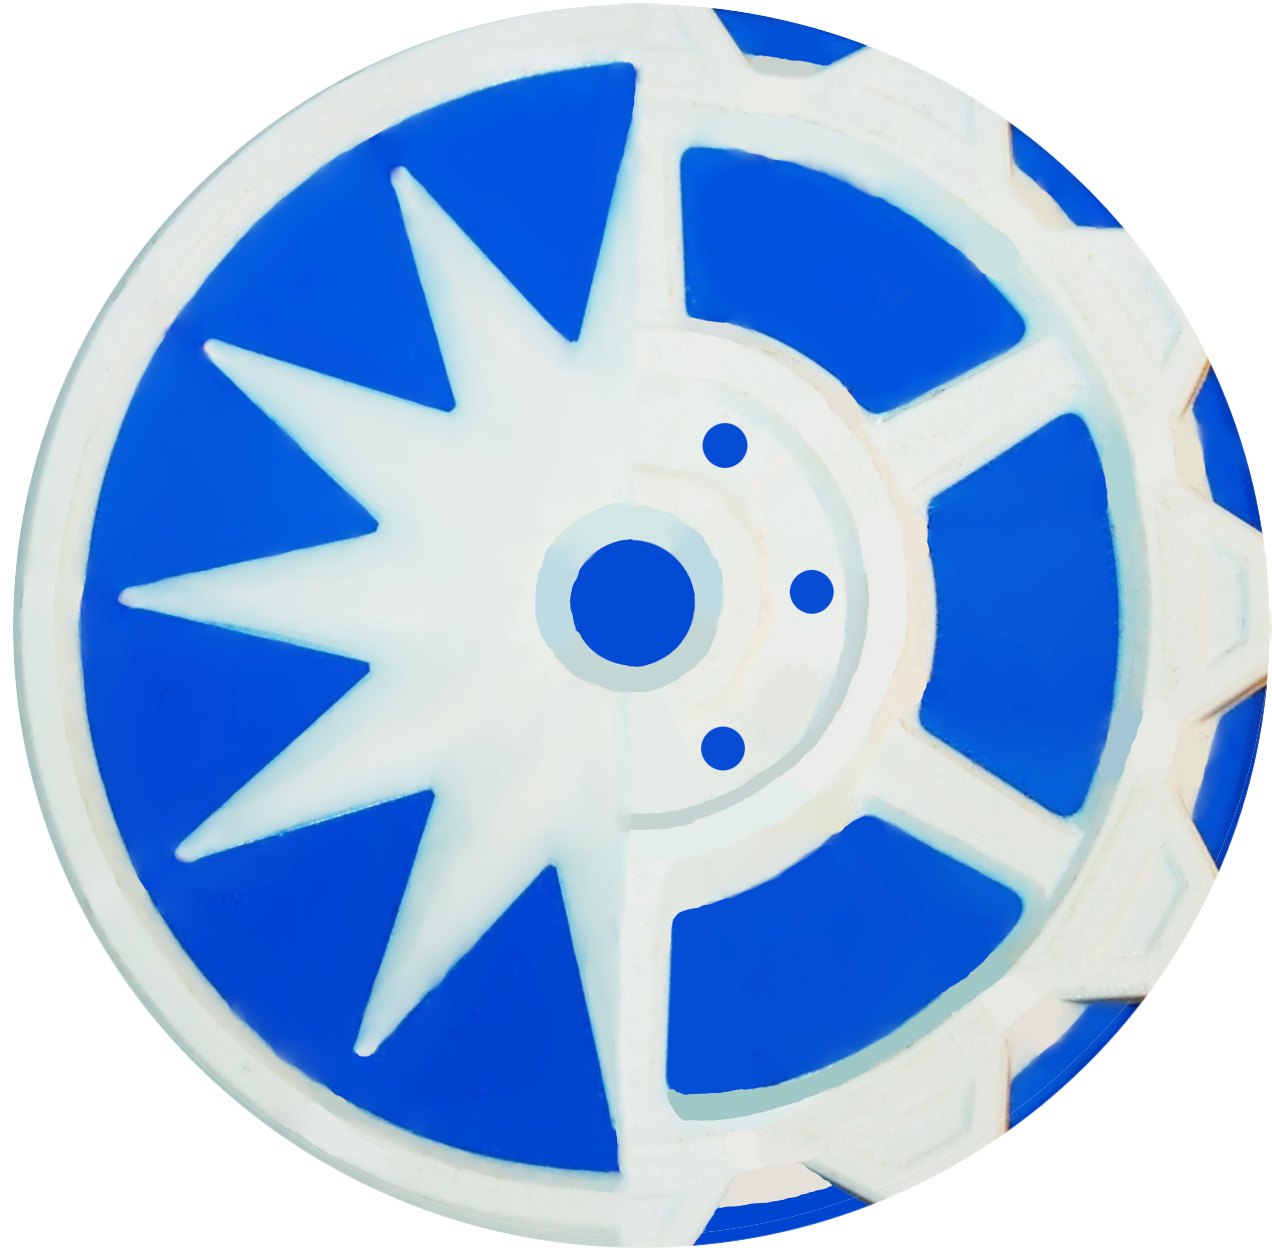
My original design of an 8 leaf (double layer) iris box. This design was originally uploaded to Thingiverse in 2017, and I have uploaded it here now. It uses a Hoberman linkage mechanism, similar to those expanding sphere toys, which allows it to open to a large diameter. The mechanism utilises printed ridged pins and holes which clip together.
I have 14 other Iris boxes designs and I have an instructable describing them and how to print them.
I have designed some improved versions of this box: Octo-Box V2 and Octo-Iris Box.
The box is 80mm overall in diameter, while the container opening is around 62mm. It is opened by pushing the notches in the top of the box in an anti-clockwise direction.
No supports are required for any of the parts.
Printing Guide
The hinges of the mechanism use ridged pins and holes that clip together. The ridges alternate with 0.1mm layer heights, for this reason the parts must be printed with 0.1mm layer heights at the hinge and pin sections. Using adjustable layer heights in your slicer will allow you to print the majority of the parts at a thicker layer height for speed. I recommend at least 3 perimeters with an 0.4mm nozzle.
The effectiveness however of these hinges may depend on your specific printer and print settings, they shouldn't be either too tight or too loose. You could use contour xy compensation or alter your flow rate to adjust the fit for the hinges. The tolerance on the hinges is 0.15mm.
'top door 1' is a plain iris leaf for the top of the box while 'top door 2' is an iris leaf with a notch cut out of it for opening the box. I recommend you print at least two of 'top door 2' and arrange them on opposite sides of the box to allow ease of opening. You may add more if you wish e.g. four as in the first printed example or eight in the second.
Part testing
I would recommend printing one upper and lower door with the settings you expect to print the whole model to test them. The hinges on the points of the doors are slightly smaller than the others so don't mix them up when testing them. Some of the hinge sections are quite thin as I focused on compactness, but are suitably strong on my models, using good quality PLA.
Parts Printing
To make one box you will need to print:
- 8x ‘top door’
- 8x ‘lower door’
- 8x ‘link’
- 1x ‘container’
Assembly
You will probably need some pliers or similar to clip the hinges together.
Step 1

Firstly begin by assembling the iris mechanism. It's ideal if the iris is assembled in the partly open position, otherwise it can be very hard to close if assembled in the fully open position and the hinges are still stiff.
Step 2
Then push the link pins into the container (this may require a large amount of force depending on tolerances).
Step 3
Finally clip the links to the bottom iris doors.

Your Octo-Box should now be fully functional! Let me know if you have any questions or difficulties with the design.