Você está no 3DFinder
Buscamos em Thingiverse, MakerWorld e Printables ao mesmo tempo para te dar o melhor de cada uma.
Descrição
The 3D-Marble-Maze
You know what's better than a ball maze? A ball-in-a-ball-maze. That's what I created in the style of a childhood toy. Only this time you can change the maze any way you want. You can extend it or even rebuild it. The possibilities are endless. And doesn't it look beautiful on it's little stand?
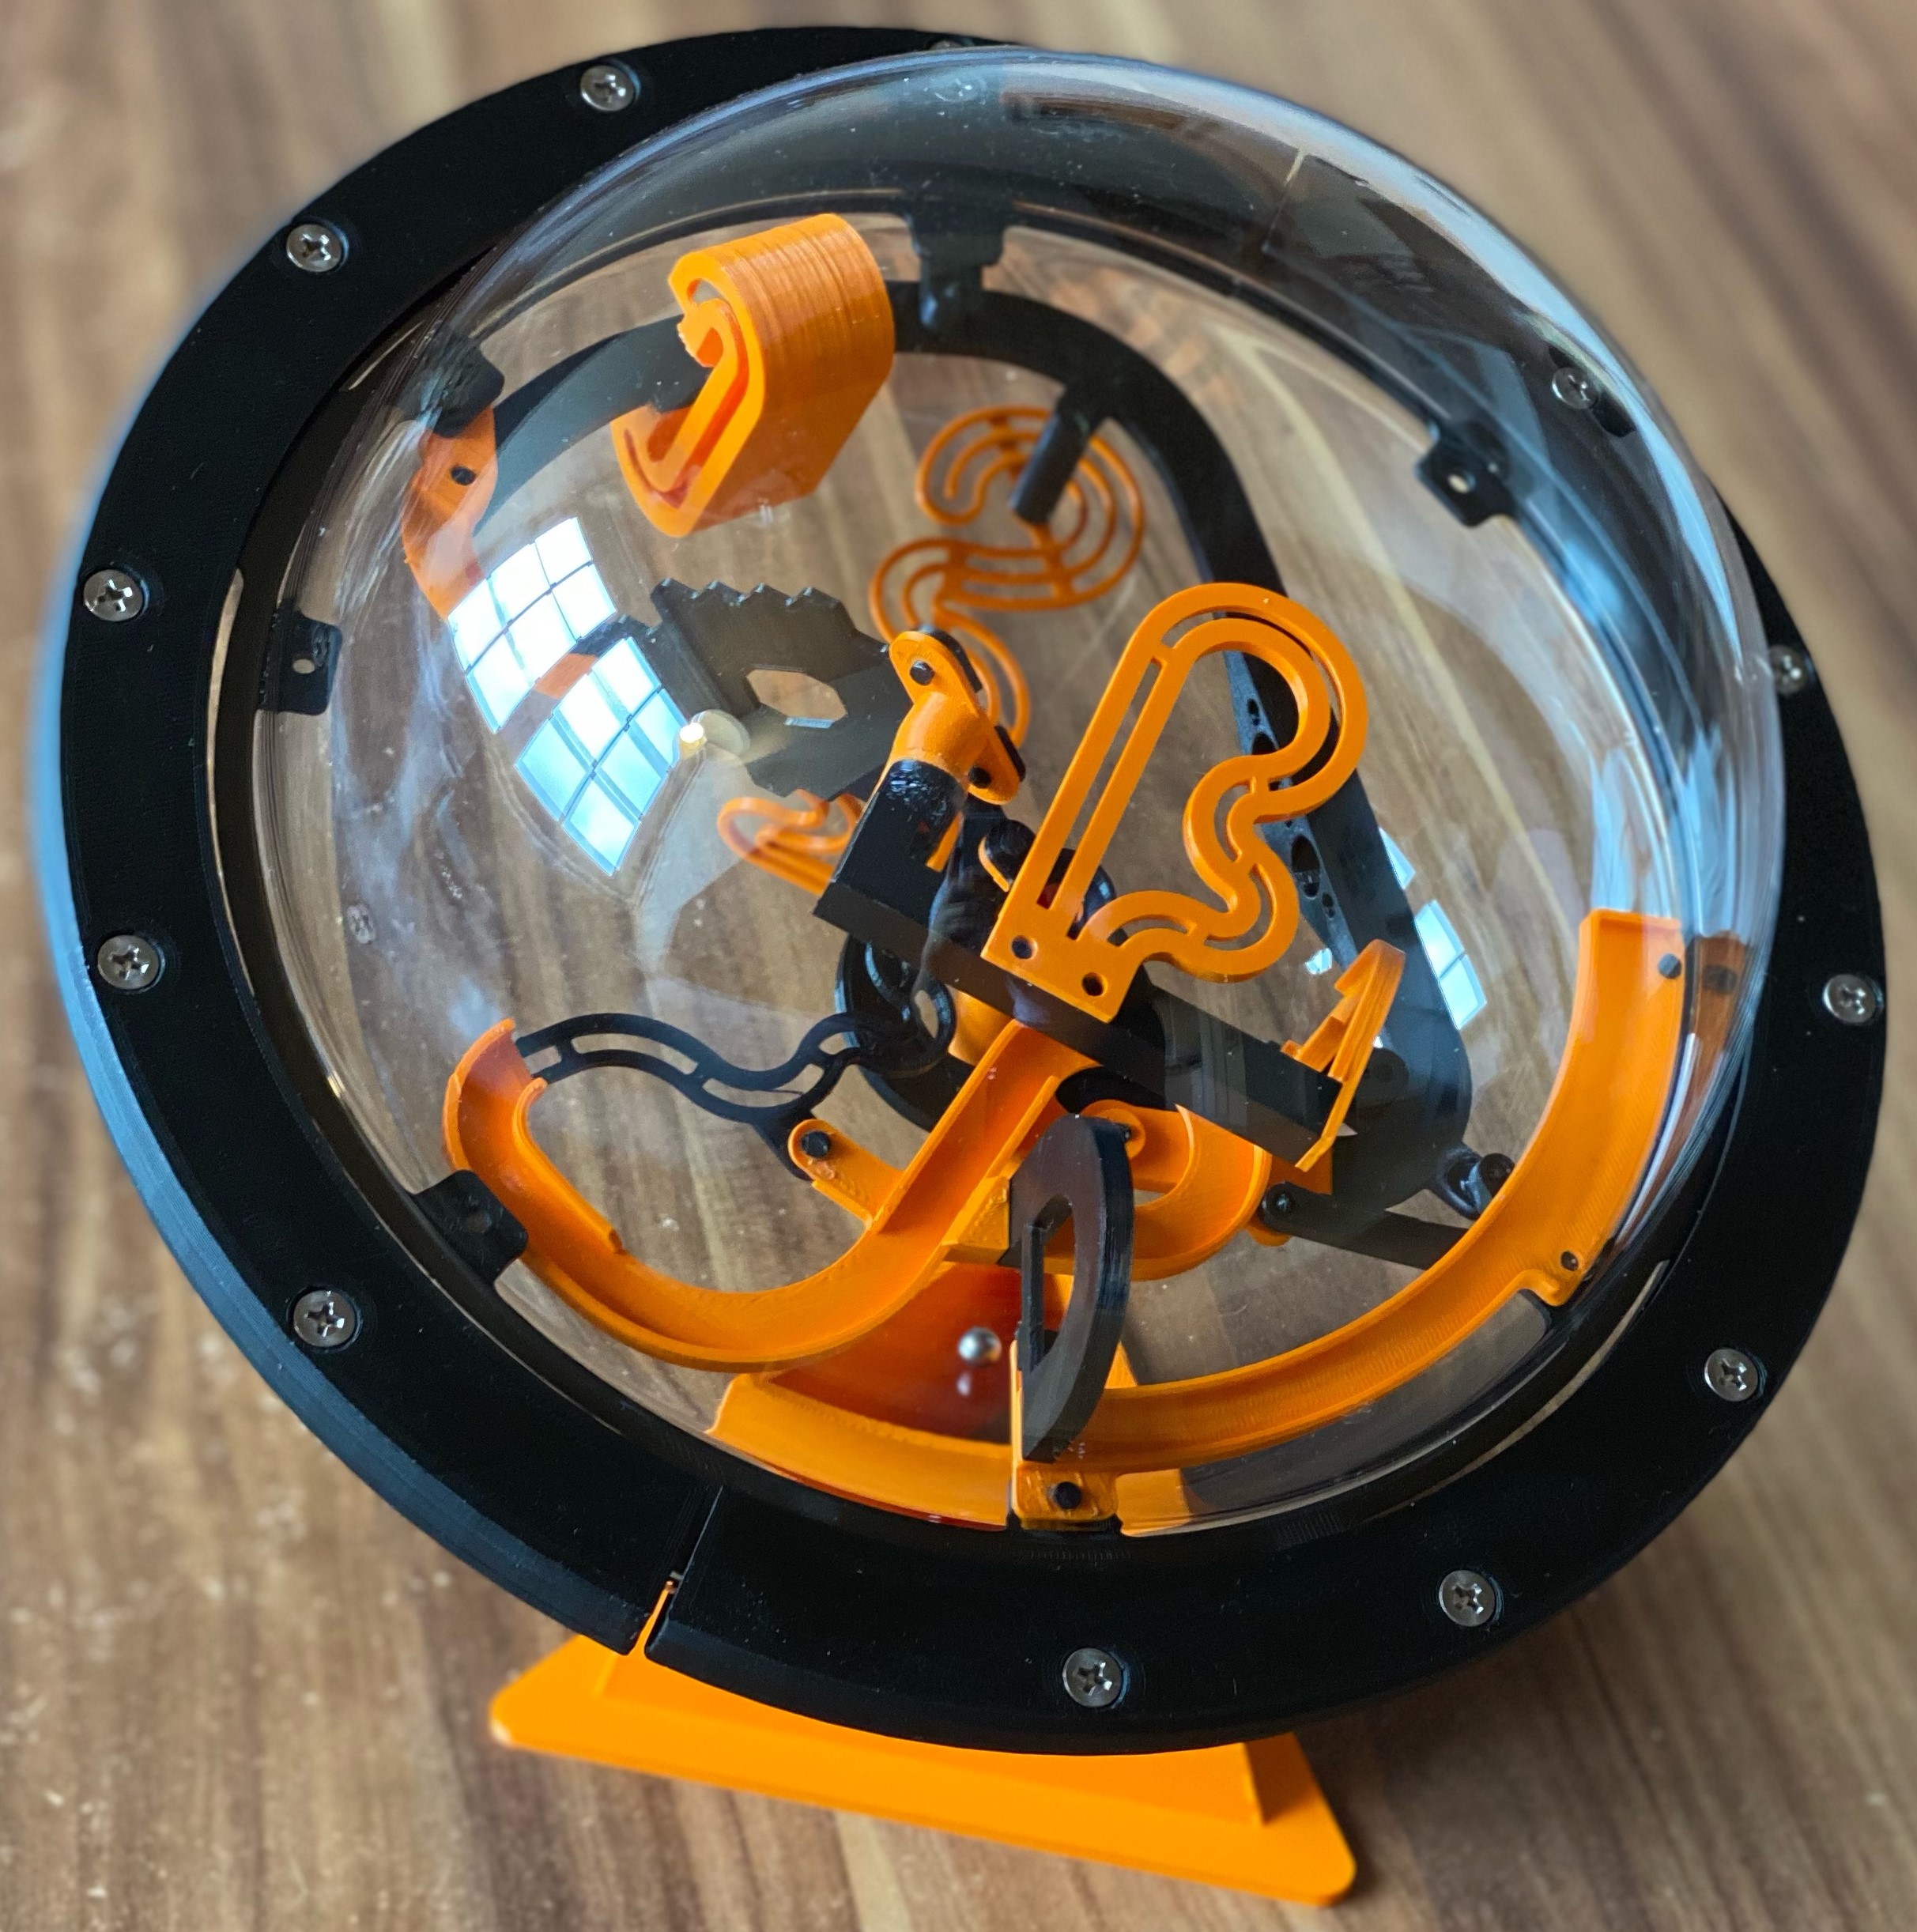
Are you up for the challenge? Then continue on and print the model, assemble your maze and guide your marble through the maze. Everything you need and a detailed instruction are ahead. The maze itself has some very tricky elements. So be warned: you'll need some time to figure out the maze. Good Luck!
Do you want to design your own maze? Don't worry! Continue reading and there will be all the information and files you'll need.
What you need:
Hardware:
- 2 x Acrylic Halfdomes (Dome-OD: Ø200 mm, Skirt: Ø230 mm, Wall thickness about 3 mm,) like this one
- 12 x countersunk head screws M4x16
- 12 x M4 Nuts
- 1 x Ball (Ø6 mm)
- Optional: Superglue
Tooling:
- A Pair of Pliers
- A Screwdriver matching your screws
- A 3 mm drill bit (in a pinch you can also use something sharp and pointy, like a knife. Be careful don't hurt yourself)
- A 3D-Printer (duuhh..)
How to Print:
All parts are pre-oriented for the best print quality. In the following tables the printing instructions for each part are listed with the required quantities. You can use your Base settings for 0.2mm layer-height. Everything that needs to be changed will be highlighted.
All Parts can be printed in PLA. If you want to replicated the base color with an accent color you can refer to the mentioned colors in the table.
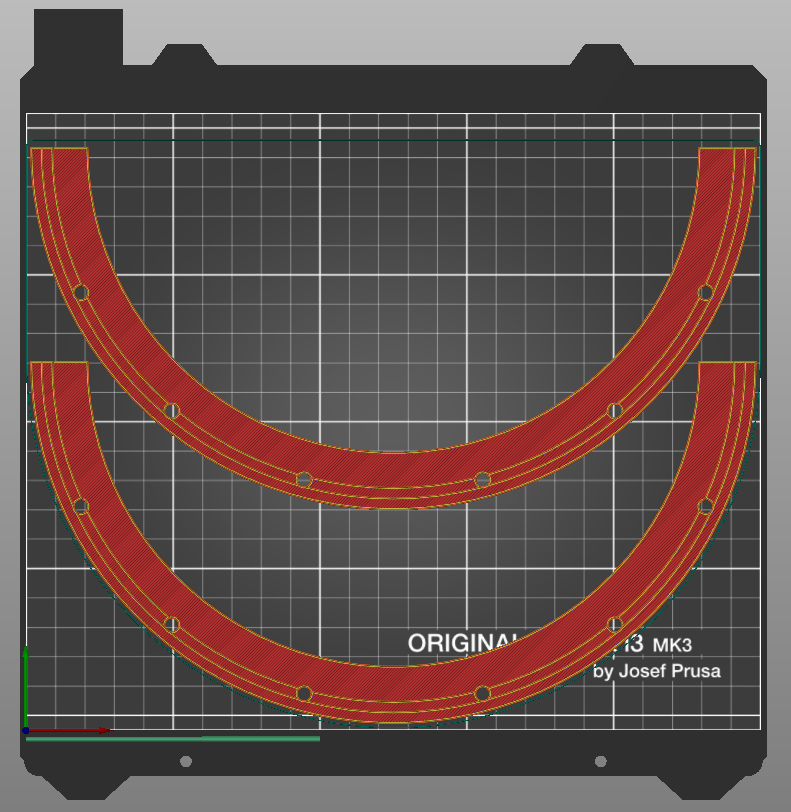
I also included pre-sliced files for all base color parts, all accent color parts, the pins and the base ring. Simply print all files. You can also just use the base ring files and design the interior maze yourself. All files are sliced in Prusa Slicer (V 2.5 with Arachne) for a Prusa i3 Mk3s (0.4 Nozzle) and for PLA.
Base Ring:
| Part | Instructions | QTY |
|---|---|---|
Top Ring  | Layer-Height: 0.2 mm If you are using a Prusa i3: | 2 |
Center Ring 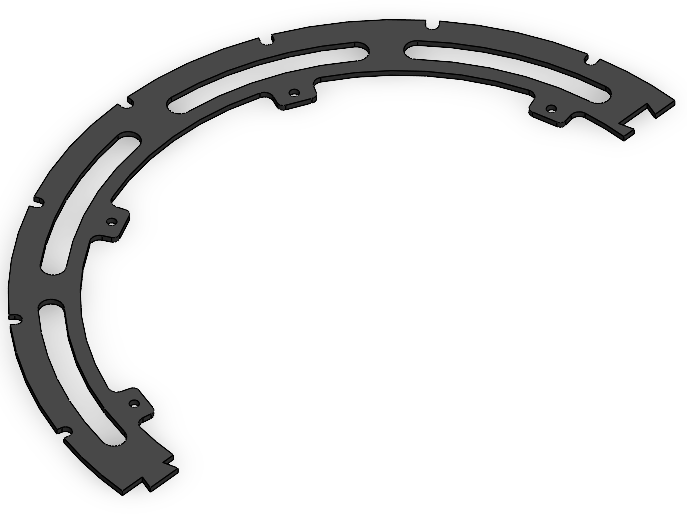 | Layer-Height: 0.3 mm (just for speed) If you are using a Prusa i3: | 2 |
Bottom Ring  | Layer-Height: 0.2 mm If you are using a Prusa i3: | 2 |
Maze:
| Part | Instructions | QTY |
|---|---|---|
Start  | Layer-Height: 0.2 mm Infill: 15% Supports: No Color: Accent color | 1 |
Obstacle 1  | Layer-Height: 0.2 mm Infill: 15% Supports: No Color: Base color | 1 |
Obstacle 2  | Layer-Height: 0.2 mm Infill: 15% Supports: Yes (on build plate only) Color: Accent color | 1 |
Obstacle 3  | Layer-Height: 0.2 mm Infill: 15% Supports: No Color: Base color | 1 |
Obstacle 4 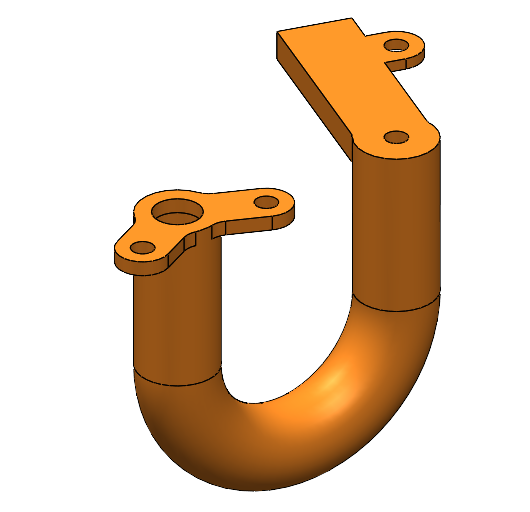 | Layer-Height: 0.2 mm Infill: 15% Supports: No (if your printer does not handle bridging well, consider adding supports in the center of the arch) Color: Accent color | 1 |
Obstacle 5  | Layer-Height: 0.2 mm Infill: 15% Supports: No Color: Base color | 1 |
Obstacle 6  | Layer-Height: 0.2 mm Infill: 15% Supports: Yes (on build plate only): Only needed for the big 180°-turn. If your slicer adds more supports force him with support blocker Color: Accent color | 1 |
Obstacle 7  | Layer-Height: 0.2 mm Infill: 15% Supports: Yes (on build plate only) Color: Accent color | 1 |
Obstacle 8 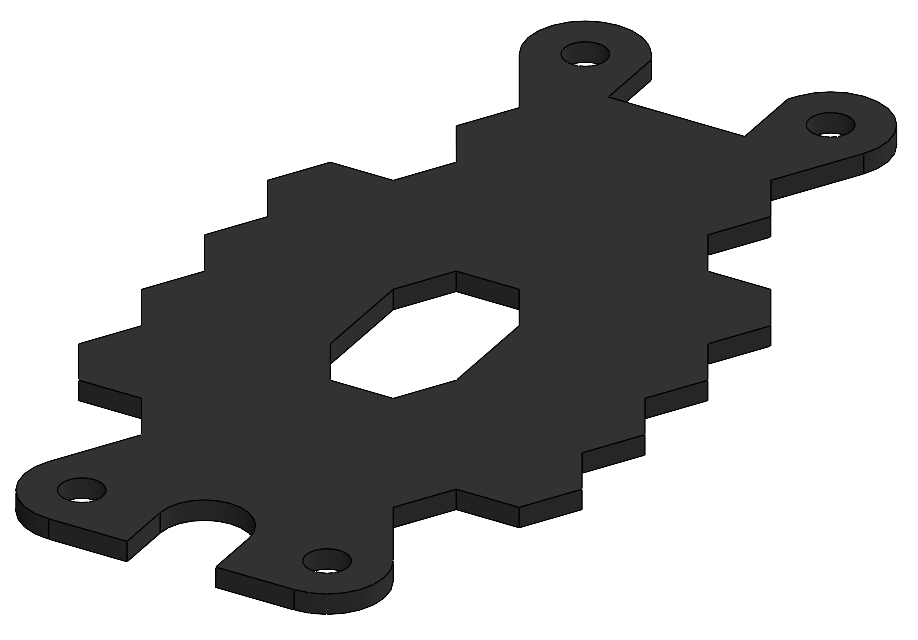 | Layer-Height: 0.2 mm Infill: 15% Supports: No Color: Base color | 1 |
Obstacle 9  | Layer-Height: 0.2 mm Infill: 15% Supports: Yes (everywhere) Color: Accent color | 1 |
Obstacle 10  | Layer-Height: 0.2 mm Infill: 15% Supports: Yes (everywhere). Add a Support Blocker to avoid generated supports in the horizontal holes Color: Base color | 1 |
Obstacle 11  | Layer-Height: 0.2 mm Infill: 15% Supports: No Color: Accent color | 1 |
Obstacle 12  | Layer-Height: 0.2 mm Infill: 15% Supports: No Color: Accent color | 1 |
Obstacle 13 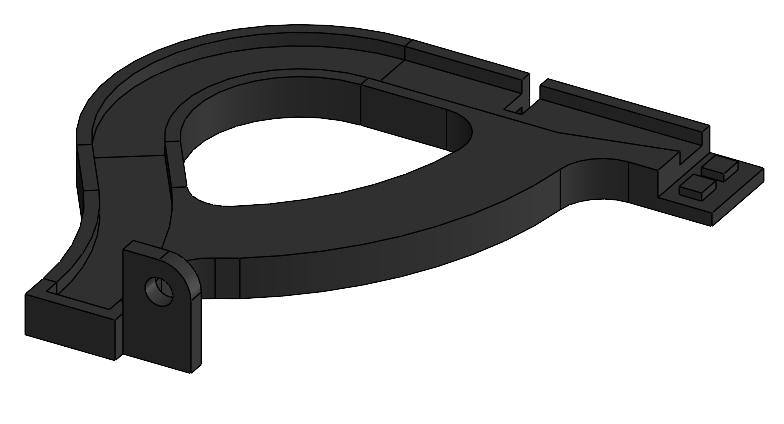 | Layer-Height: 0.2 mm Infill: 15% Supports: Yes (on build plate only). If your printer is great at bridging you might get away with no supports Color: Base color | 1 |
Obstacle 14 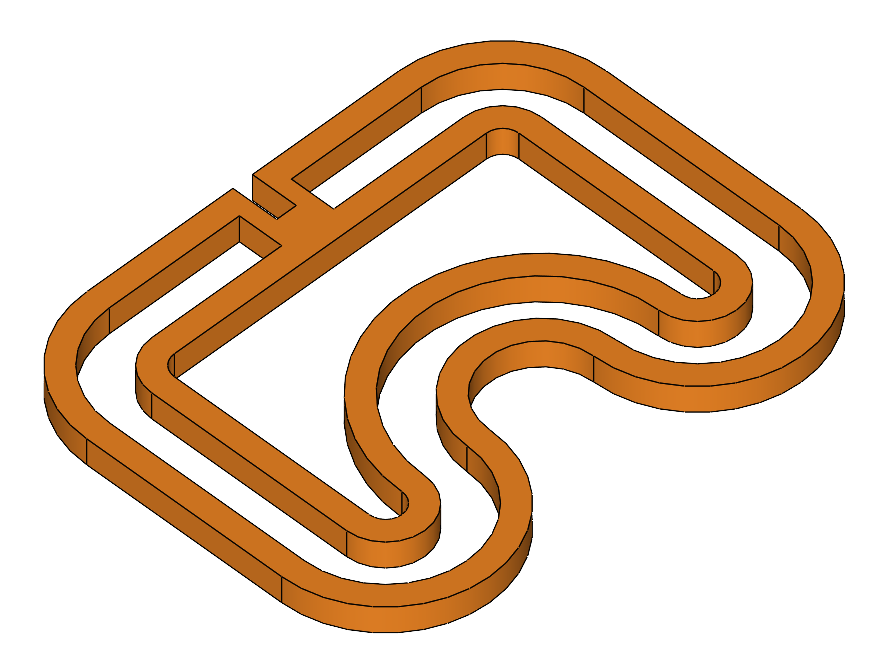 | Layer-Height: 0.2 mm Infill: 15% Supports: No Color: Accent color | 1 |
Obstacle 15 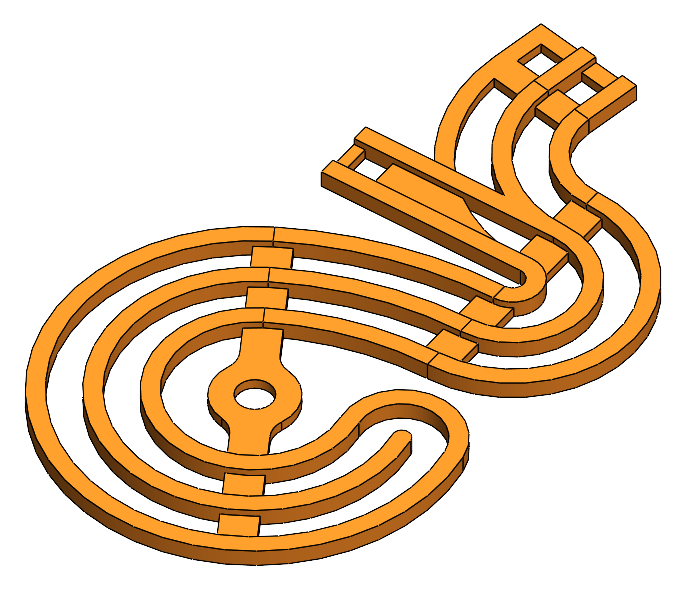 | Layer-Height: 0.2 mm Infill: 15% Supports: No Color: Accent color | 1 |
Miscellaneous:
| Part | Instructions | QTY |
|---|---|---|
Connector 1  | Layer-Height: 0.2 mm Infill: 15% Supports: No Color: Base color | 1 |
Connector 2 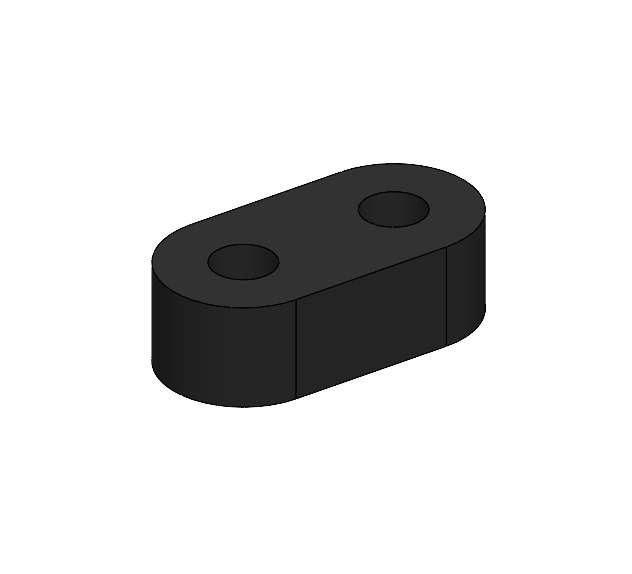 | Layer-Height: 0.2 mm Infill: 15% Supports: No Color: Base color | 1 |
Connector 3  | Layer-Height: 0.2 mm Infill: 15% Supports: No Color: Base color | 1 |
Connector 4 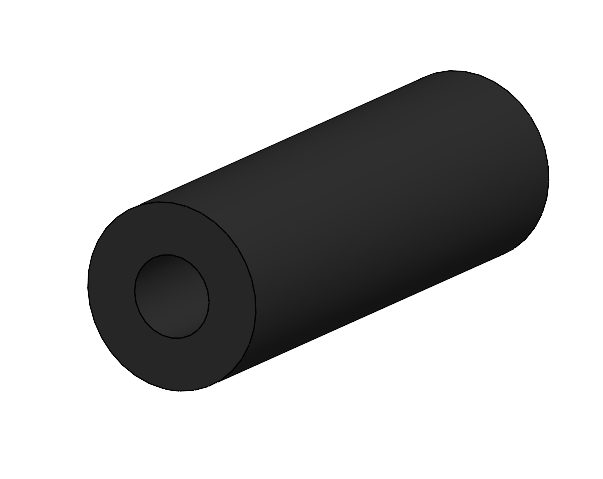 | Layer-Height: 0.2 mm Infill: 15% Supports: No Color: Base color | 1 |
Stand  | Layer-Height: 0.2 mm
| 1 |
Pin Small  | Layer-Height: 0.15 mm An elephants foot on the pins is very helpful. Consider turning your prevention methods off. If your printer is not very accurate, print a test pin and an test obstacle to check the fitting. It should be a tight press fit. Adjust the scaling accordingly. | ~35 |
Pin Large  | Layer-Height: 0.15 mm An elephants foot on the pins is very helpful. Consider turning your prevention methods off. If your printer is not very accurate, print a test pin and a test obstacle to check the fitting. It should be a tight press fit. Adjust the scaling accordingly. | ~35 |
Post processing:
Remove the support from all parts.
Open up the holes on both bottom rings. Use the drill bit or a knife.
If you have stringing on your pins hit them with a short burst of hot air from a hairdryer. With that method you should get rid of most of the strings. Don't burn yourself. Hold the pins with your pair of pliers.
After opening the holes press the 12 M4 nuts into the cutouts.
Assembly:
Assembling the Maze consist of 3 major steps:
- Assembling the Maze.
- Adding the Maze to the center rings.
- Joining the acrylic half domes as well as the top and bottom rings.
Assembling the Maze:
Now here comes the tricky part. I though long and hard how to best describe the assembly process. In the end I think the best way is to simply open up the 3D-model of the whole maze and just put obstacles together one by one. Therefore I Added a few different files (STEP, STL, 3D-PDF (How To 3D pdf) and a few JPEGs) which you can use to open the maze on your digital device.
To combine two parts just align the holes with each other. Then press in one of the pins (choose the length according to the thickness of the connection). Use your pair of pliers to increase your force. If you want you can add some superglue on the matching surfaces. When i assembled my Maze i didn't need super glue. The connections are strong enaugh. Also consider that changes later on, or expanding the maze, isn't possible with glued connections.
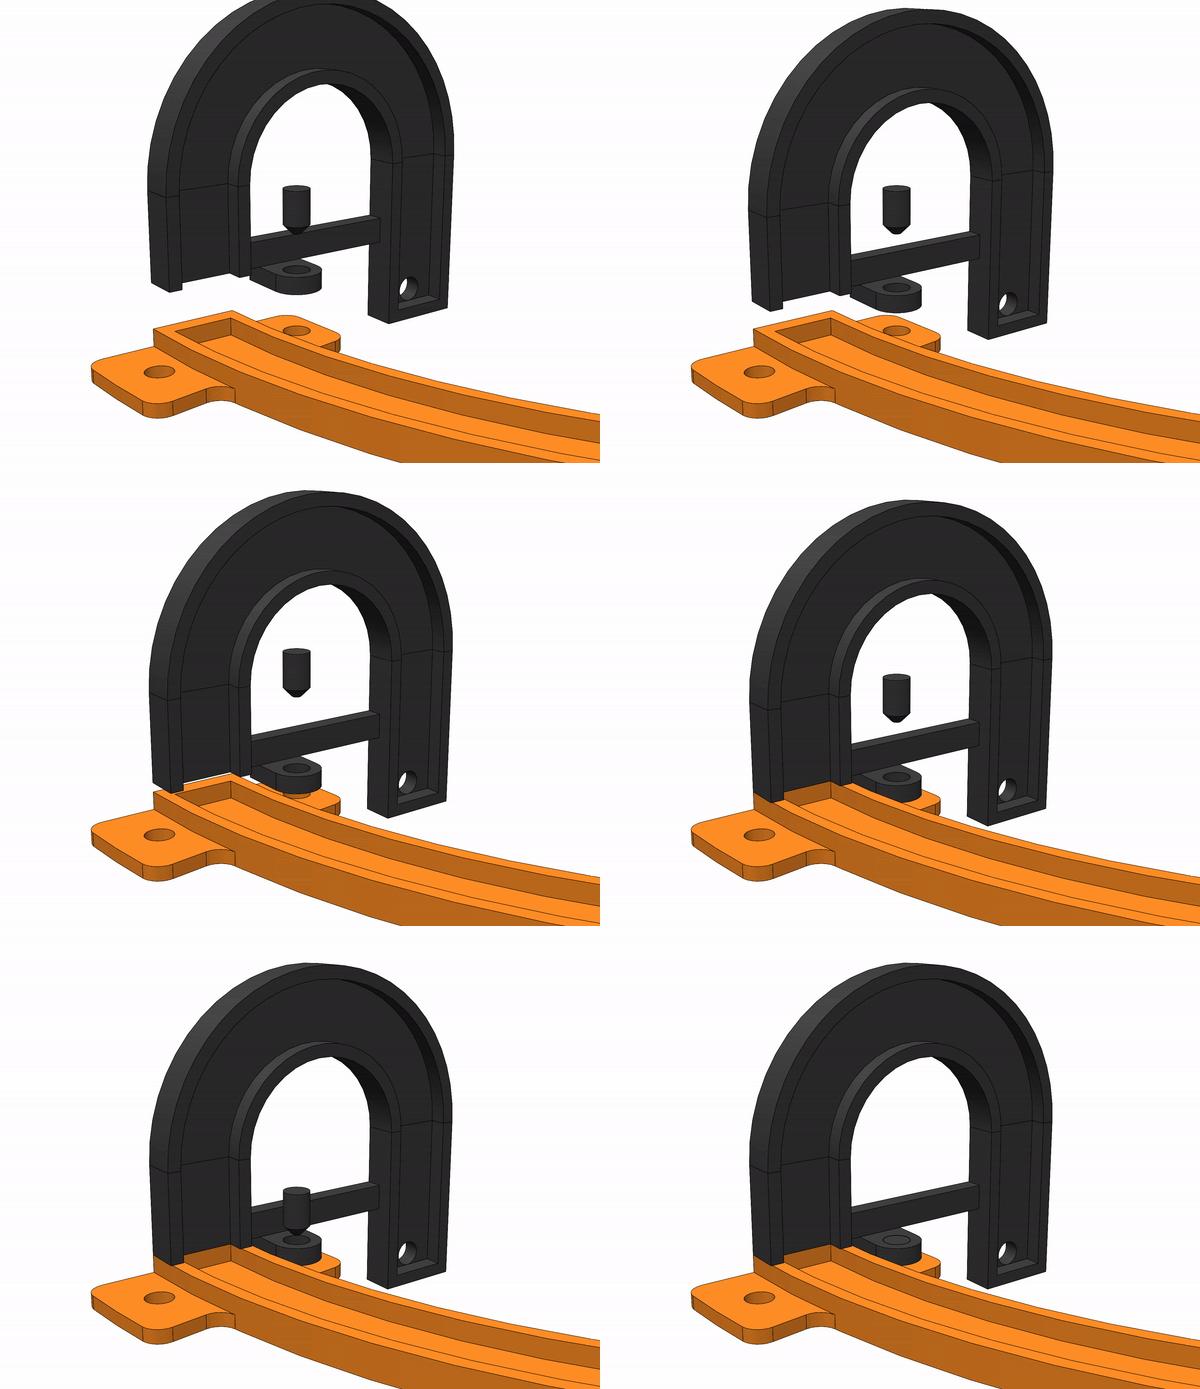
There isn't a particular order for the assembly. There is only one very important step: Obstacle 13 is a closed loop and slips over Obstacle 4. Be Sure to slip Obstacle 13 over Obstacle 4 before it's to late (meaning you closed the loop). The correct orientation is important. See the picture below for reference.

Adding the Maze to the Center Ring:
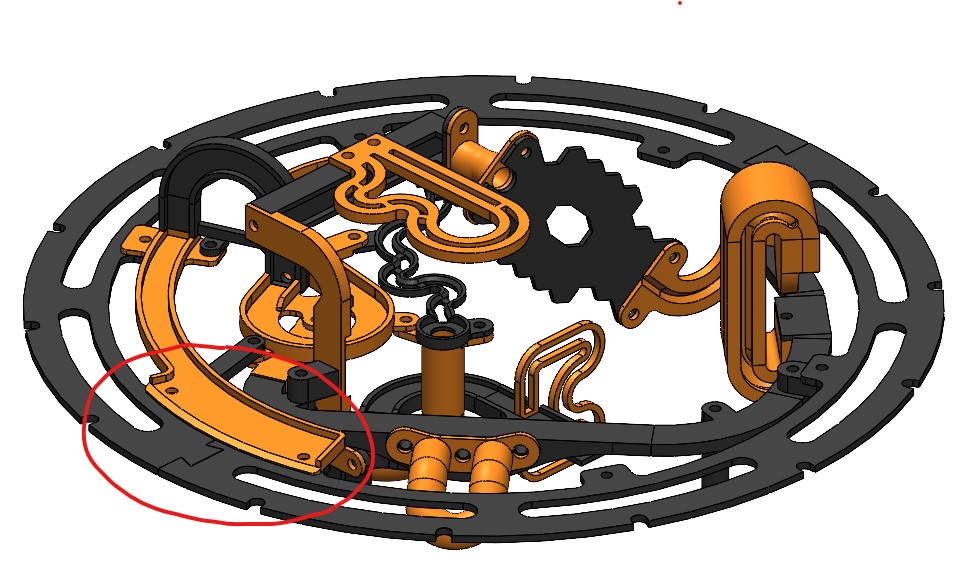
Proceed the same way as before. The holes on the ring aren't equally spaced. Connect the Start where the two Center Rings meet. See the picture (lower left) as reference.
The Final Step:
You're almost there. Let's finish up this maze. Two important tips:
- If your domes have a protective film on them, remove it.
- Don't forget to add the ball. I managed to forget it… TWICE….
Start with one half. Create a sandwich between the Top Ring, one halfdome, the Center Ring, the second halfdome and the Bottom Ring. The connection of the halfring is offset by 90° in regard to the Center Ring's meeting surface. If your assembly seems to slip away, just use a bunch of fabric and lay the lower half on it for stabilization.
 |  |

Put in the screws. Don't fully tighten them yet. Open the chamber a bit and toss in your ball Repeat the whole Process for the second half. Then tighten all screws.
Final Thoughts
Right now the goal is to drop off after Obstacle 15. This way its possible to extend the maze. If you guys are interested I will extend the maze. I got a lot of ideas. Like a seesaw, a jump or something like the tracks on a pinball machine. Or simply create your own obstacles. As already mentioned, you can only print the Base Ring parts and design the rest yourself. I'll add a step file of an empty chamber for you.
Lemme see those remixes!
I hope you are happy with your new toy. Let me see your makes! If you need help or assistance don't hesitate to ask. Happy printing!

Gostou deste modelo? Crie uma conta grátis para salvar seus favoritos e voltar a eles depois.
Criar conta