You're on 3DFinder
We search Thingiverse, MakerWorld, and Printables at once so you get the best of each.
Description
This is a Cryptex similar to the one shown in De Vinci Code by Dan Brown. The Main shaft holds all the letters gears in place. The letter gears can be changed around to produce a different combination. There are almost 12 million different combinations. Once the key shaft is sealed into the main shaft, there is only one way to access any part of the Cryptex, that would be by solving it. (IMPORTANT) You will need to print 5 letter gears and 5 letters.
Basic Cryptex Assembly Video
Assembling the Cryptex
Step 1
You will need
- Large/small letter roll
- Letter gear
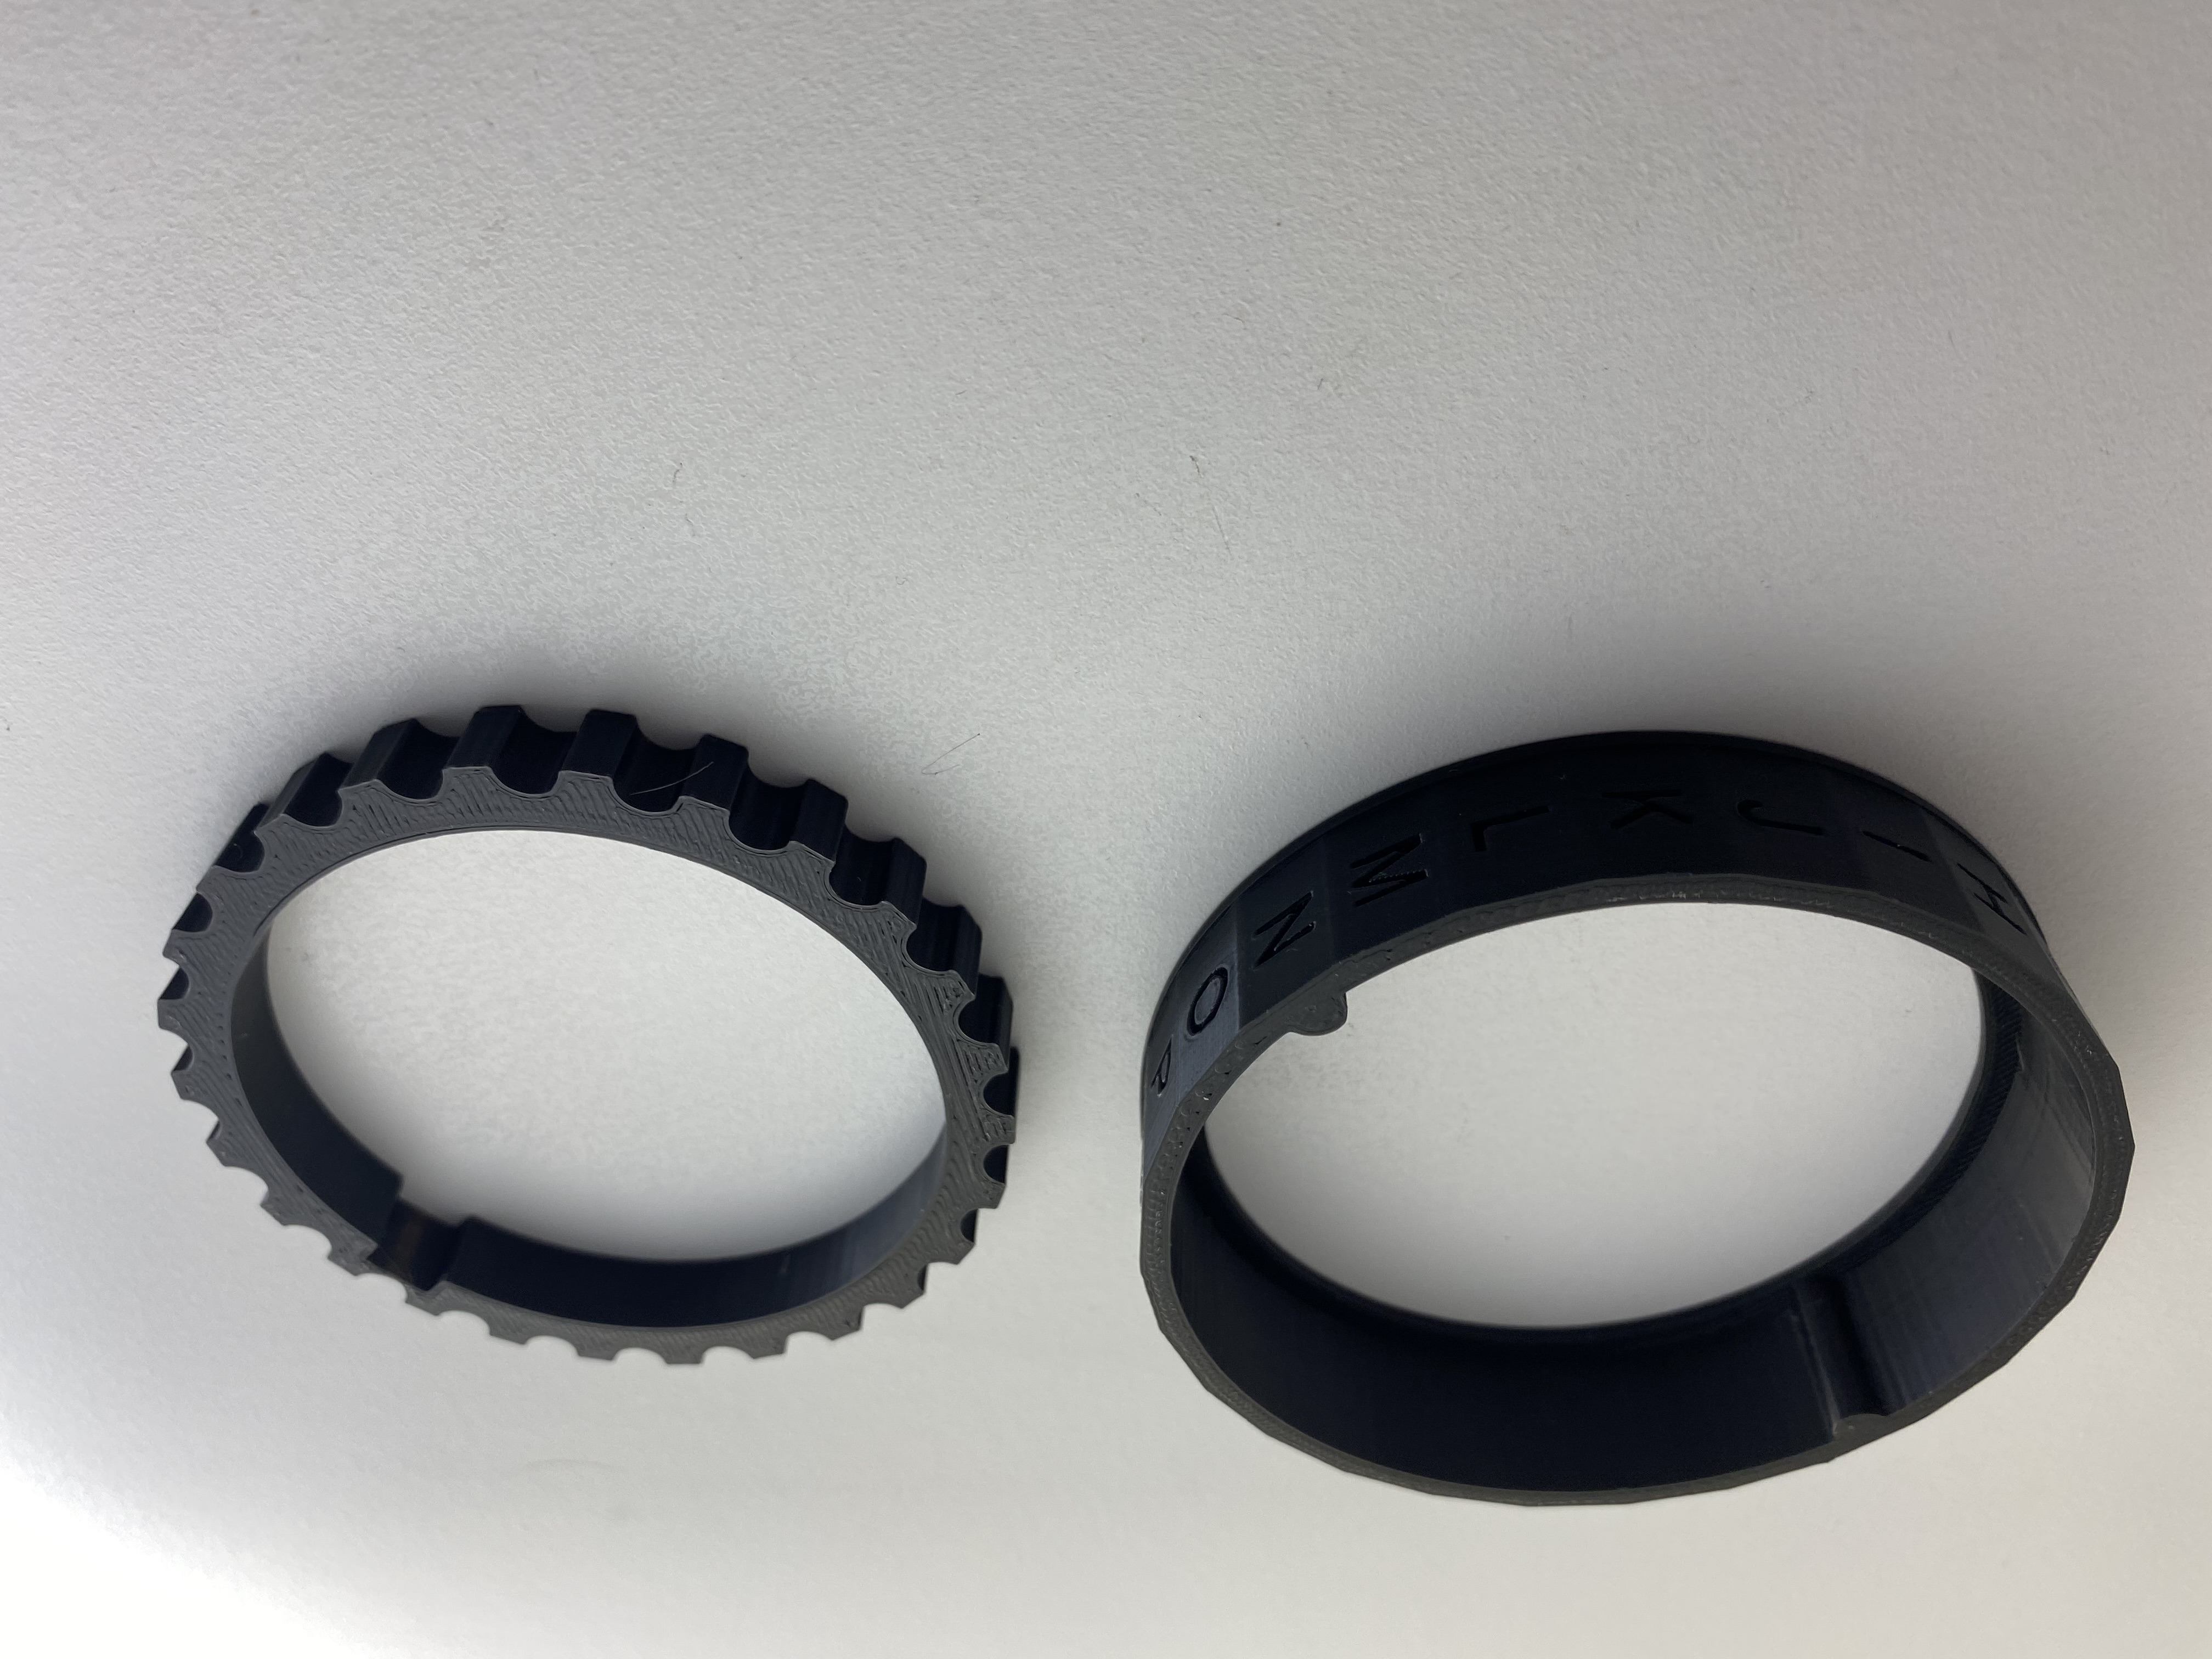
Step 2
The gear has a notch in it.
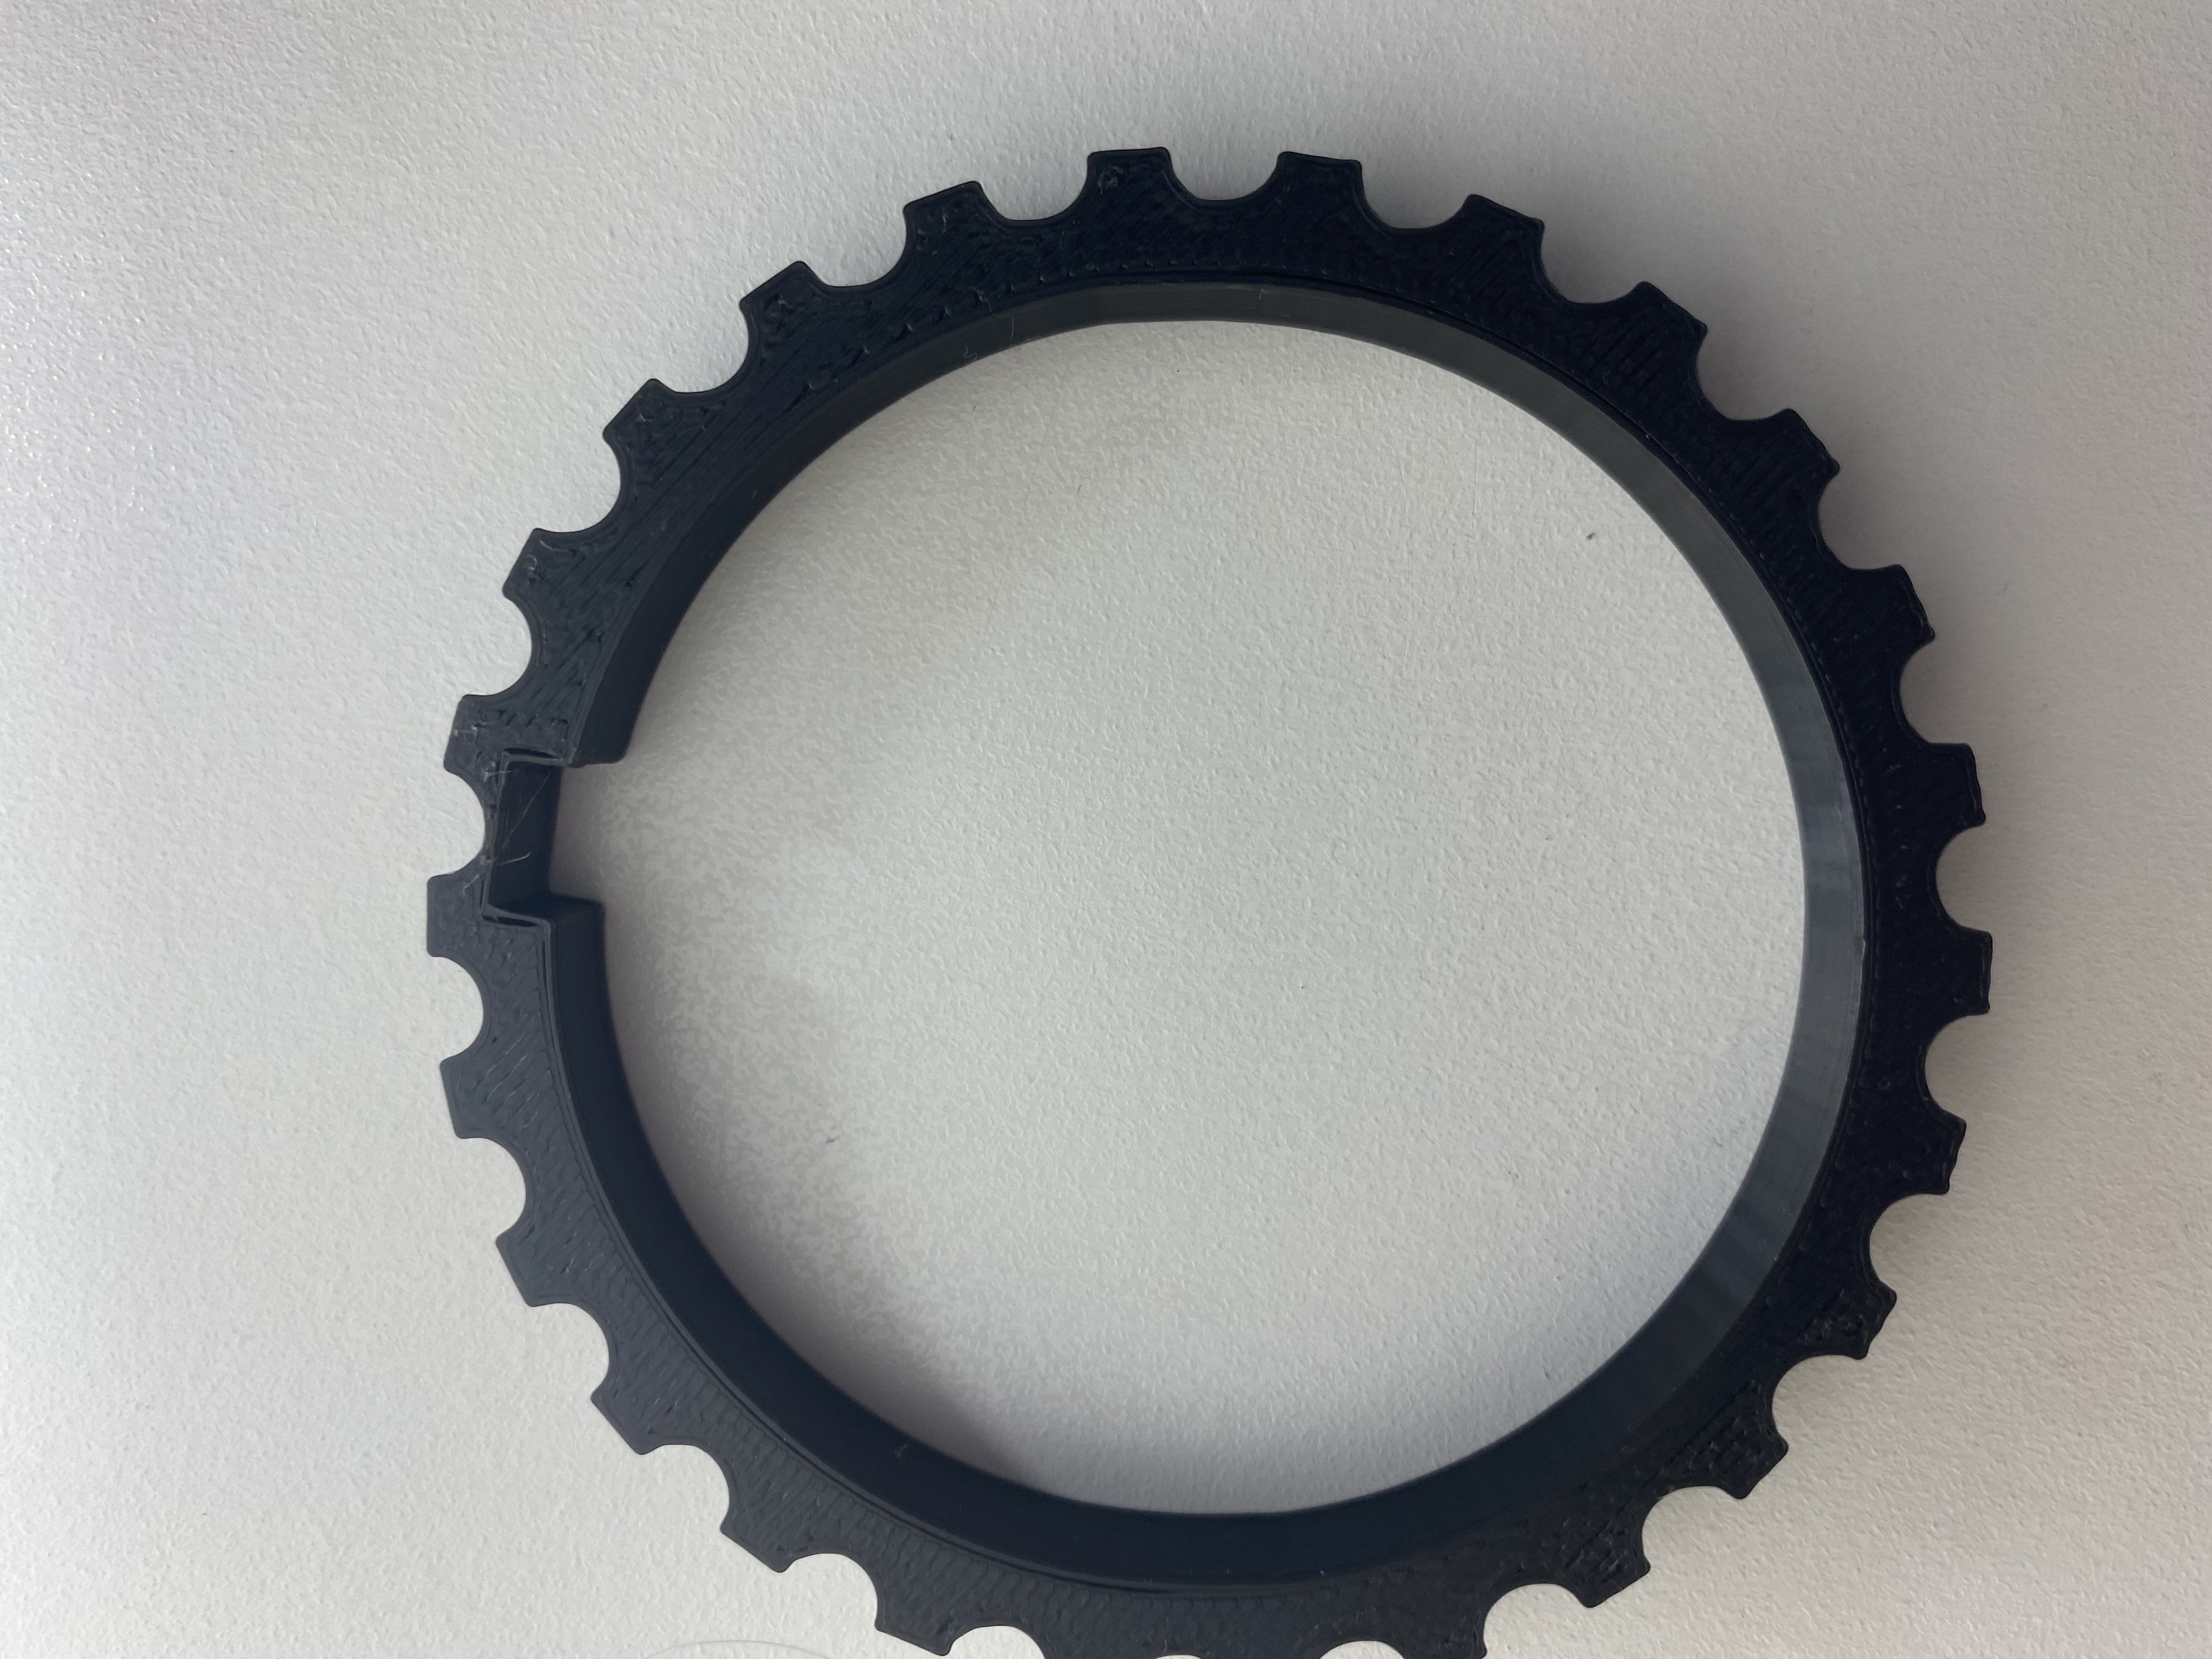
Align this gear notch with one of the letters you want in your five letter combination. Example: “Q”
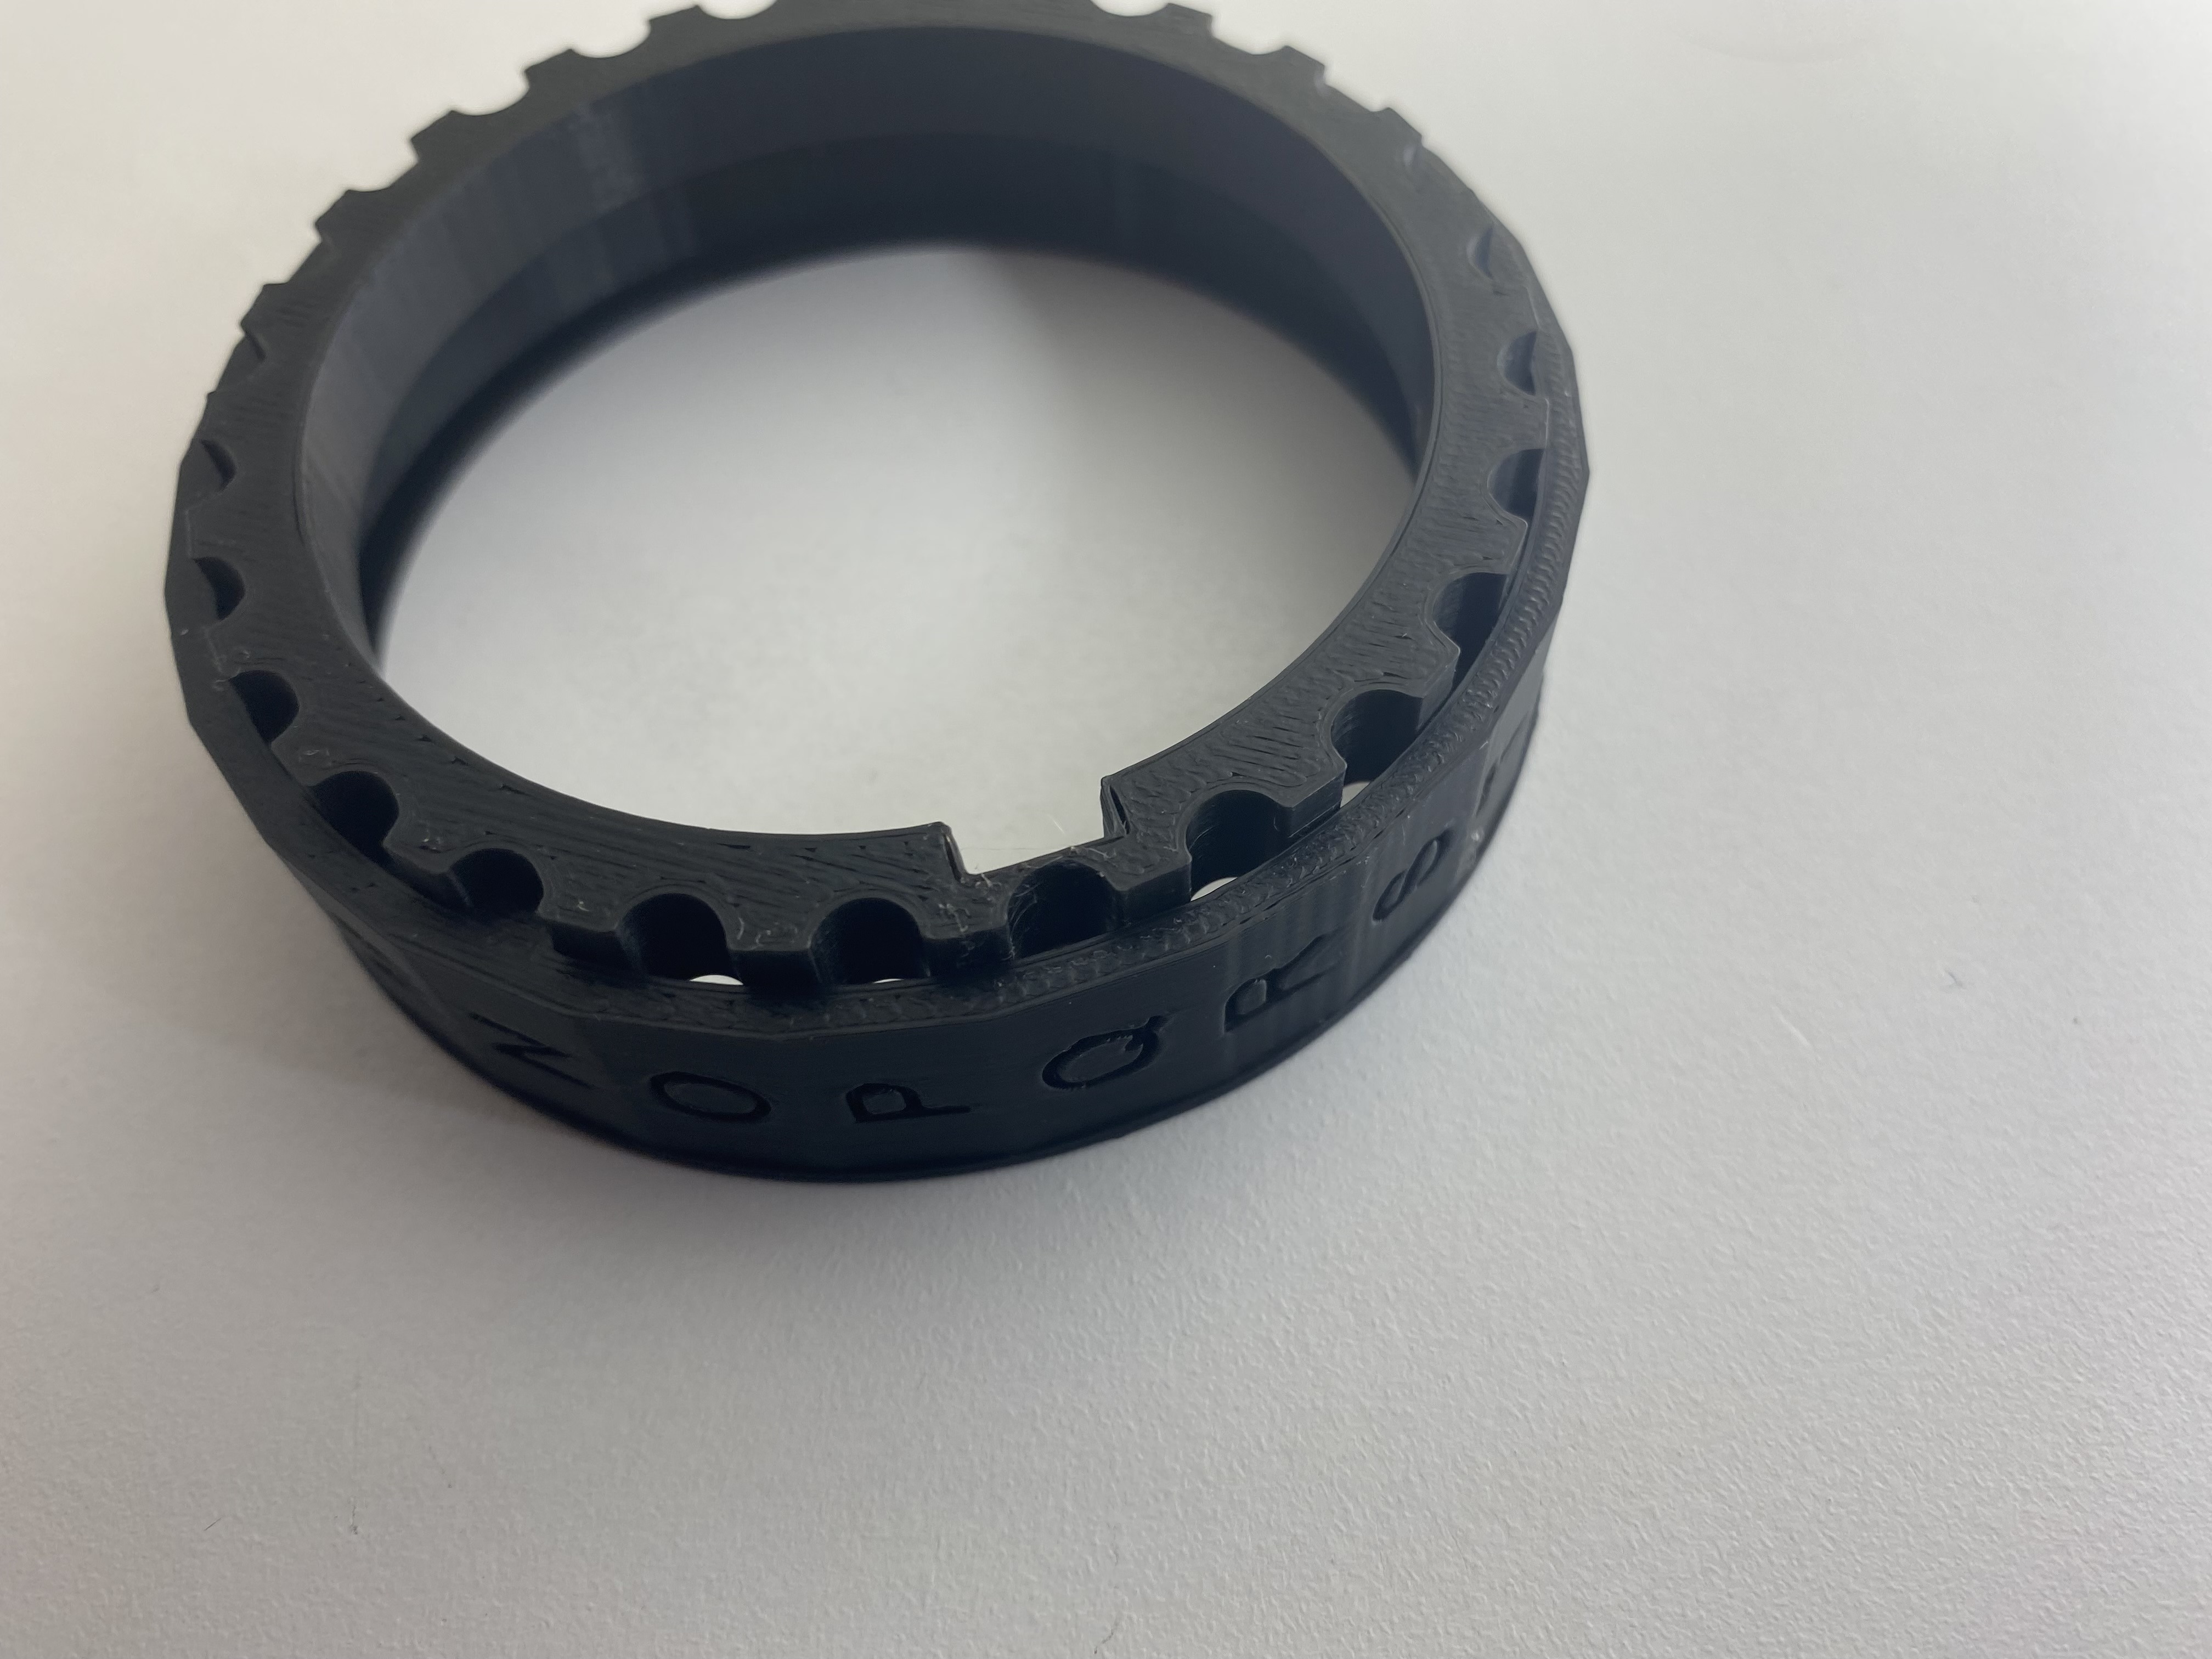
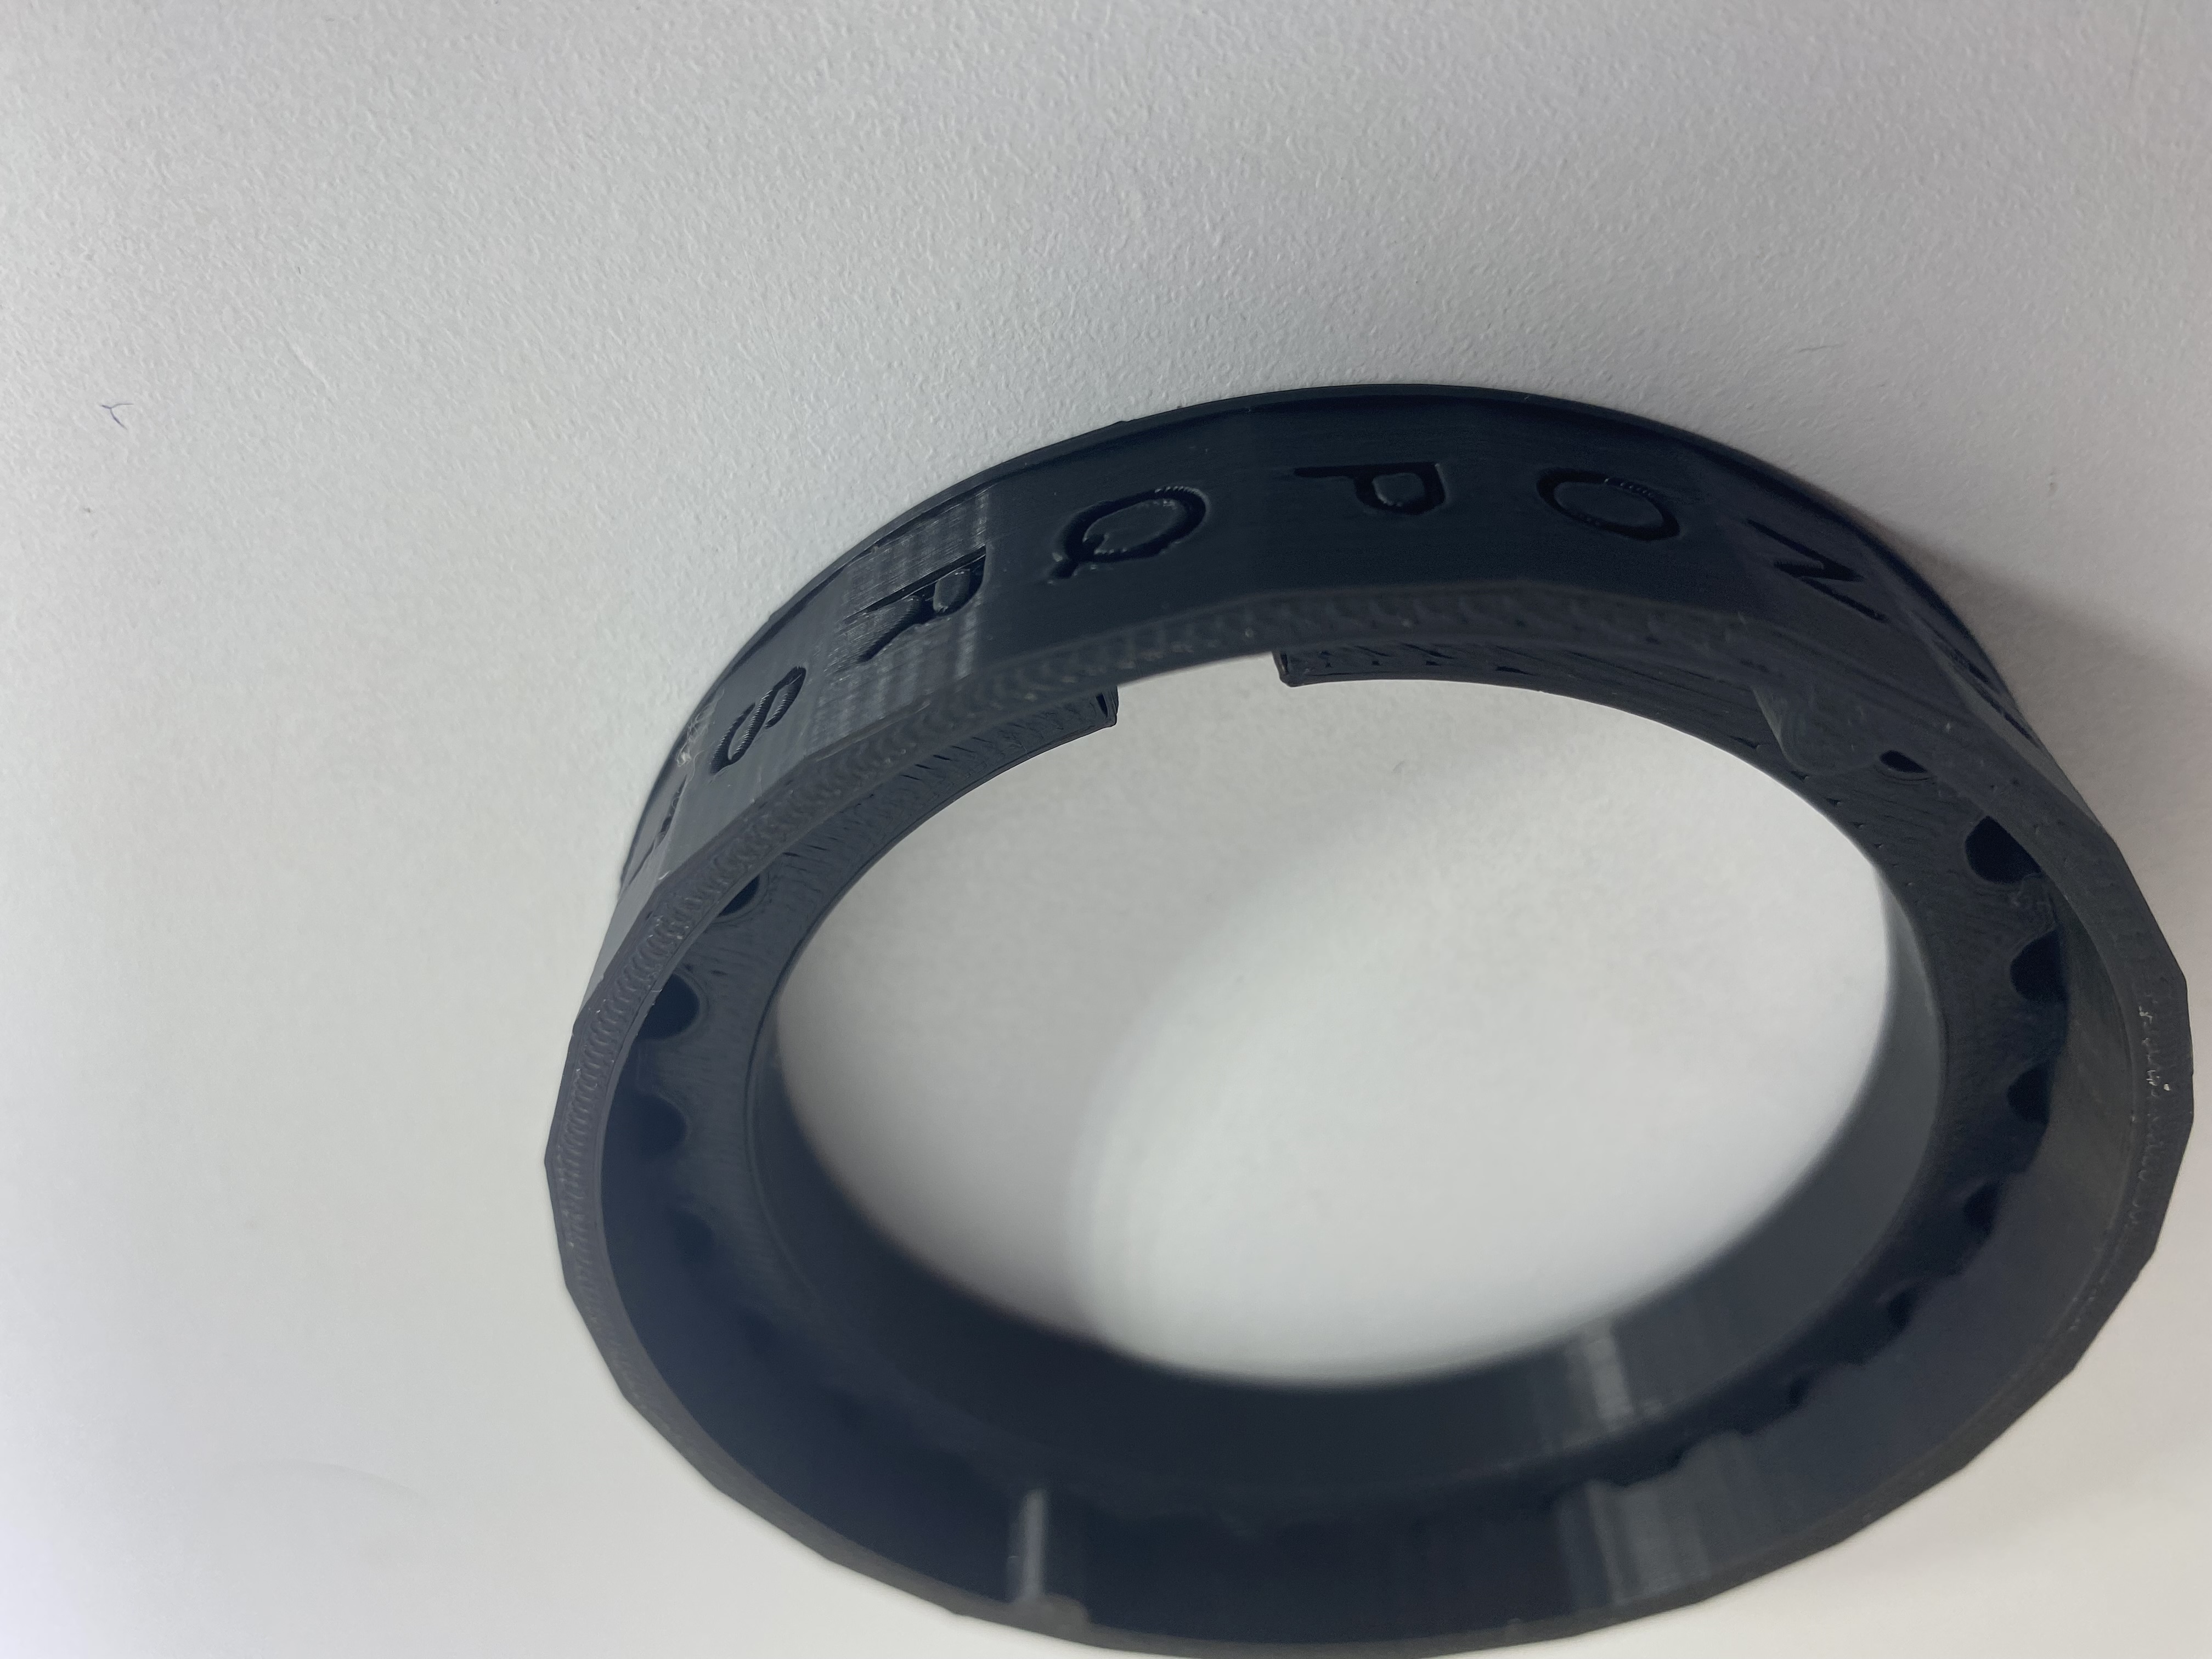
When aligned properly gently press evenly around the gear to push it into the letter roll. This will take a decent amount of force. There is a lip on the bottom of the roll that the gear will stop on. Repeat this step 4 other times with your letter and gear rolls to create your code.
Step 3
Slide each letter roll onto the main shaft in order from left to right. Look at picture for orientation (the word is “PRUSA”).
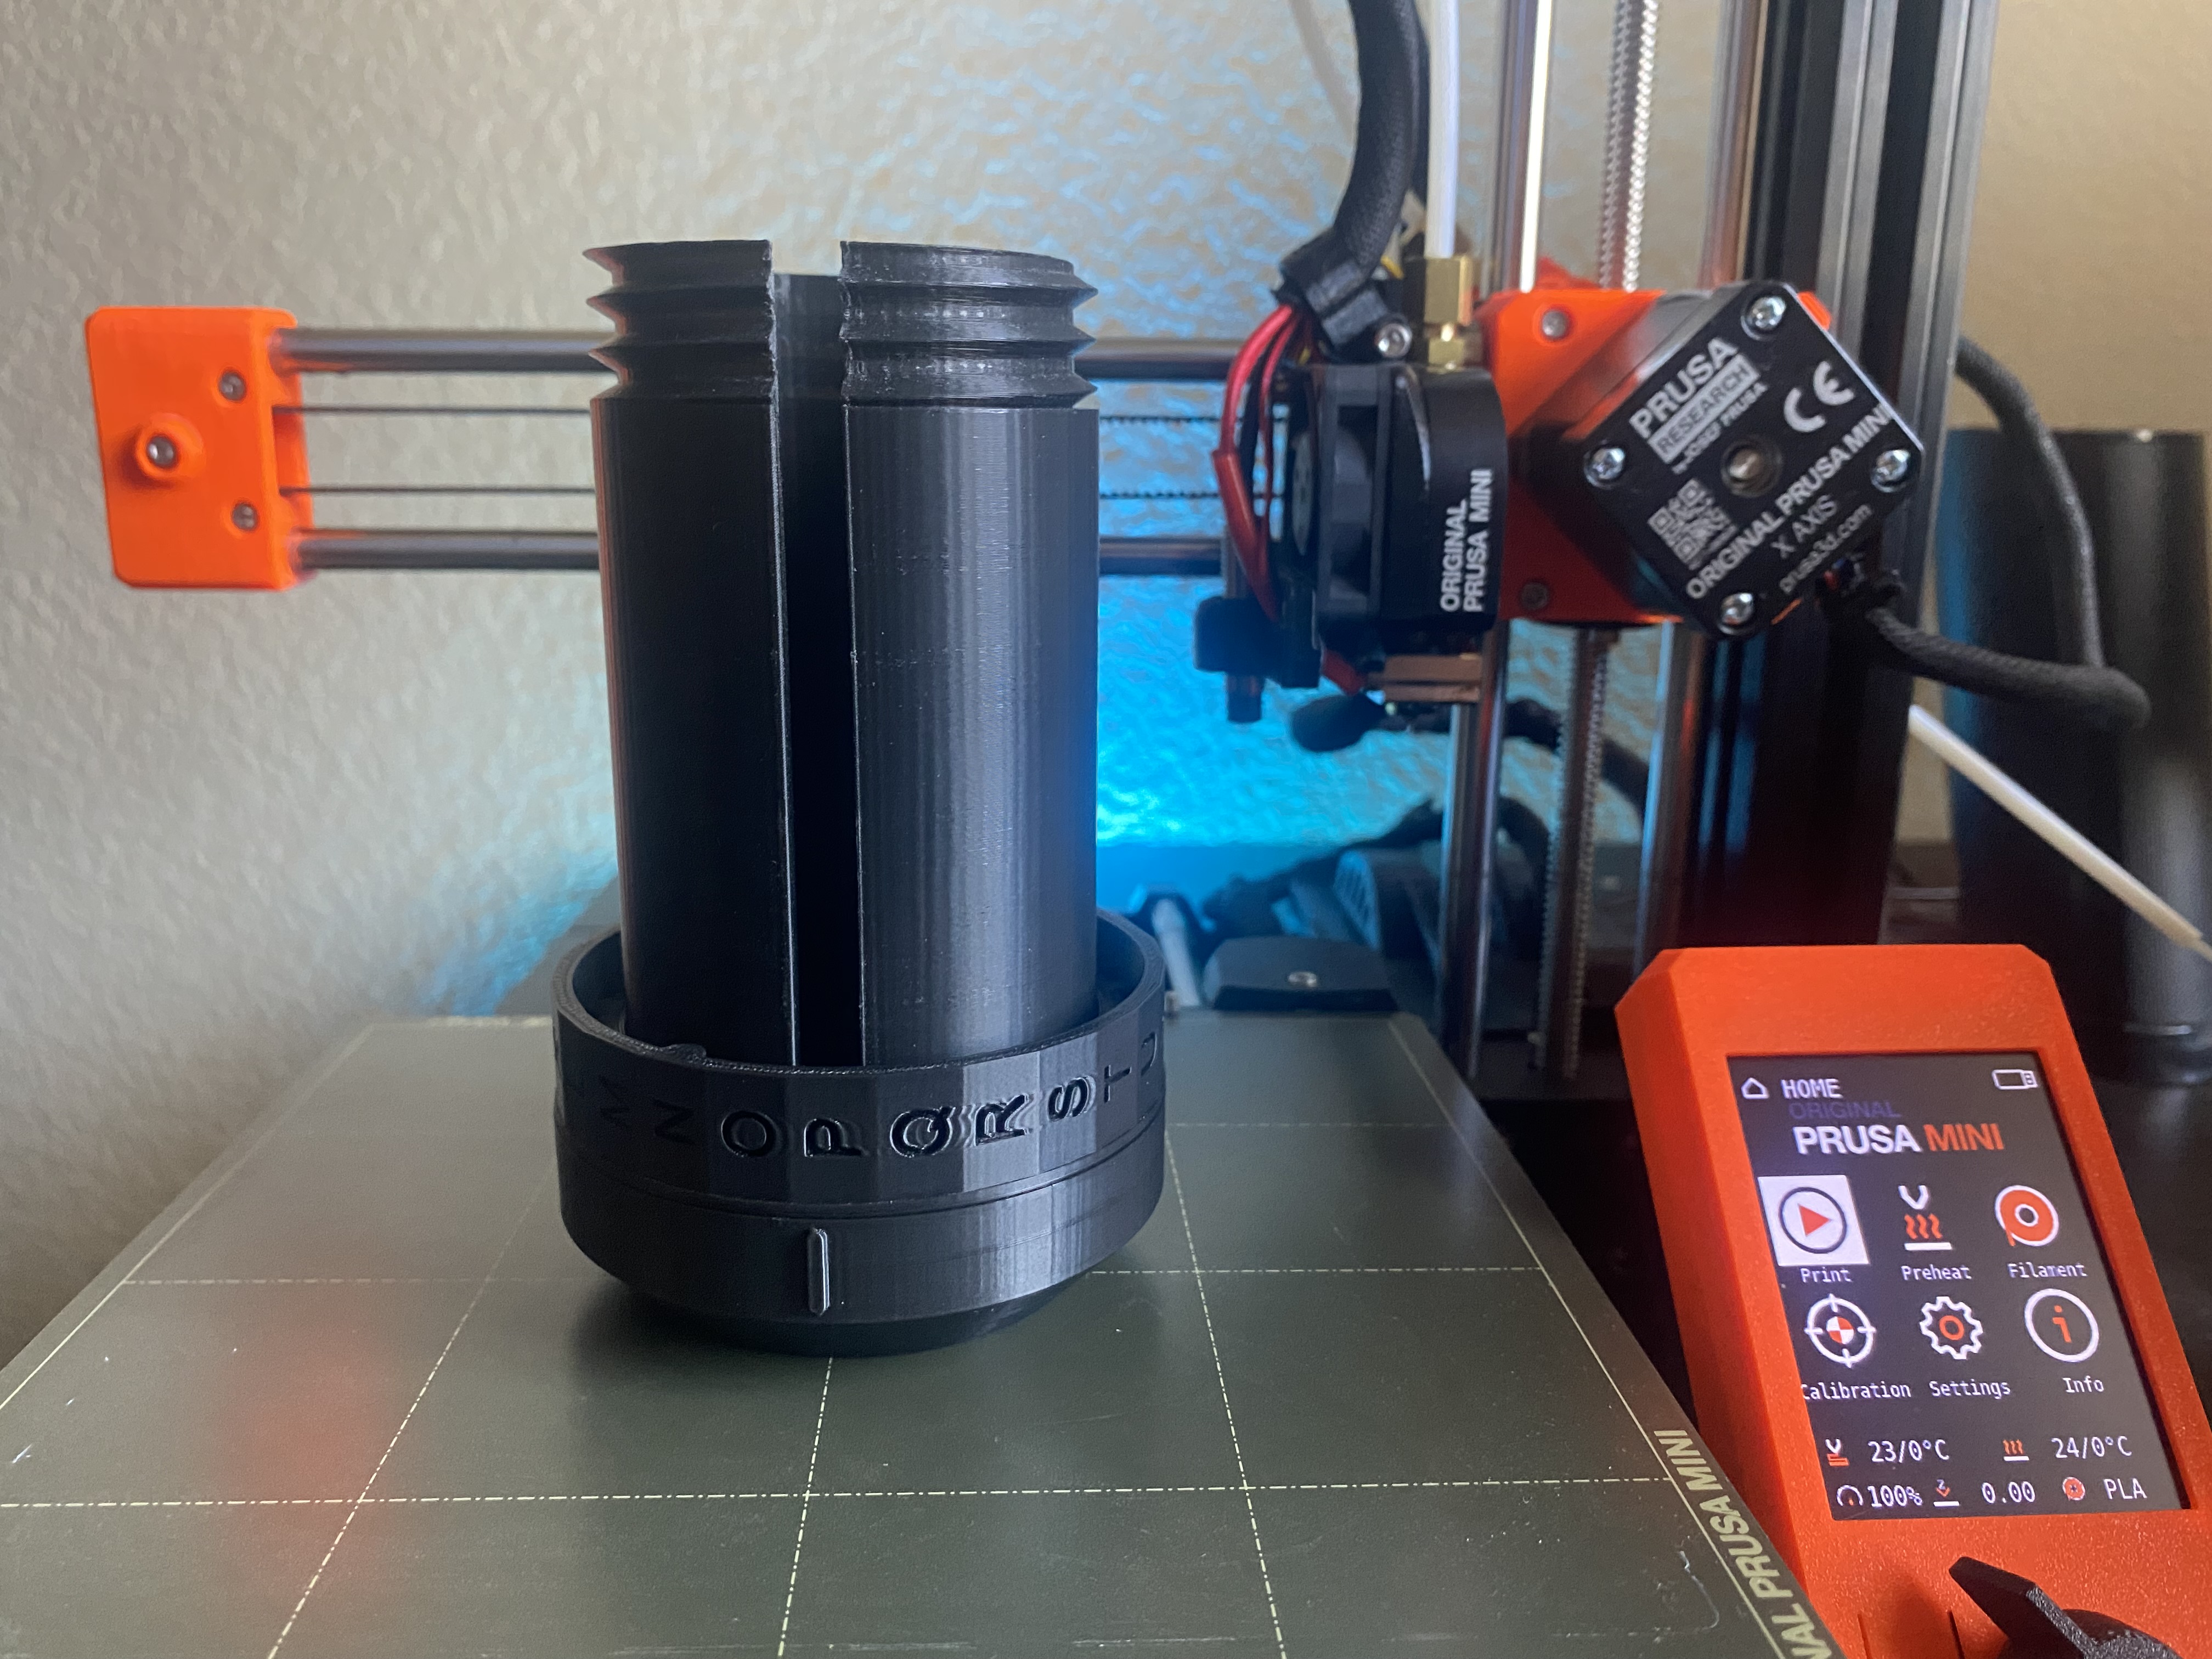
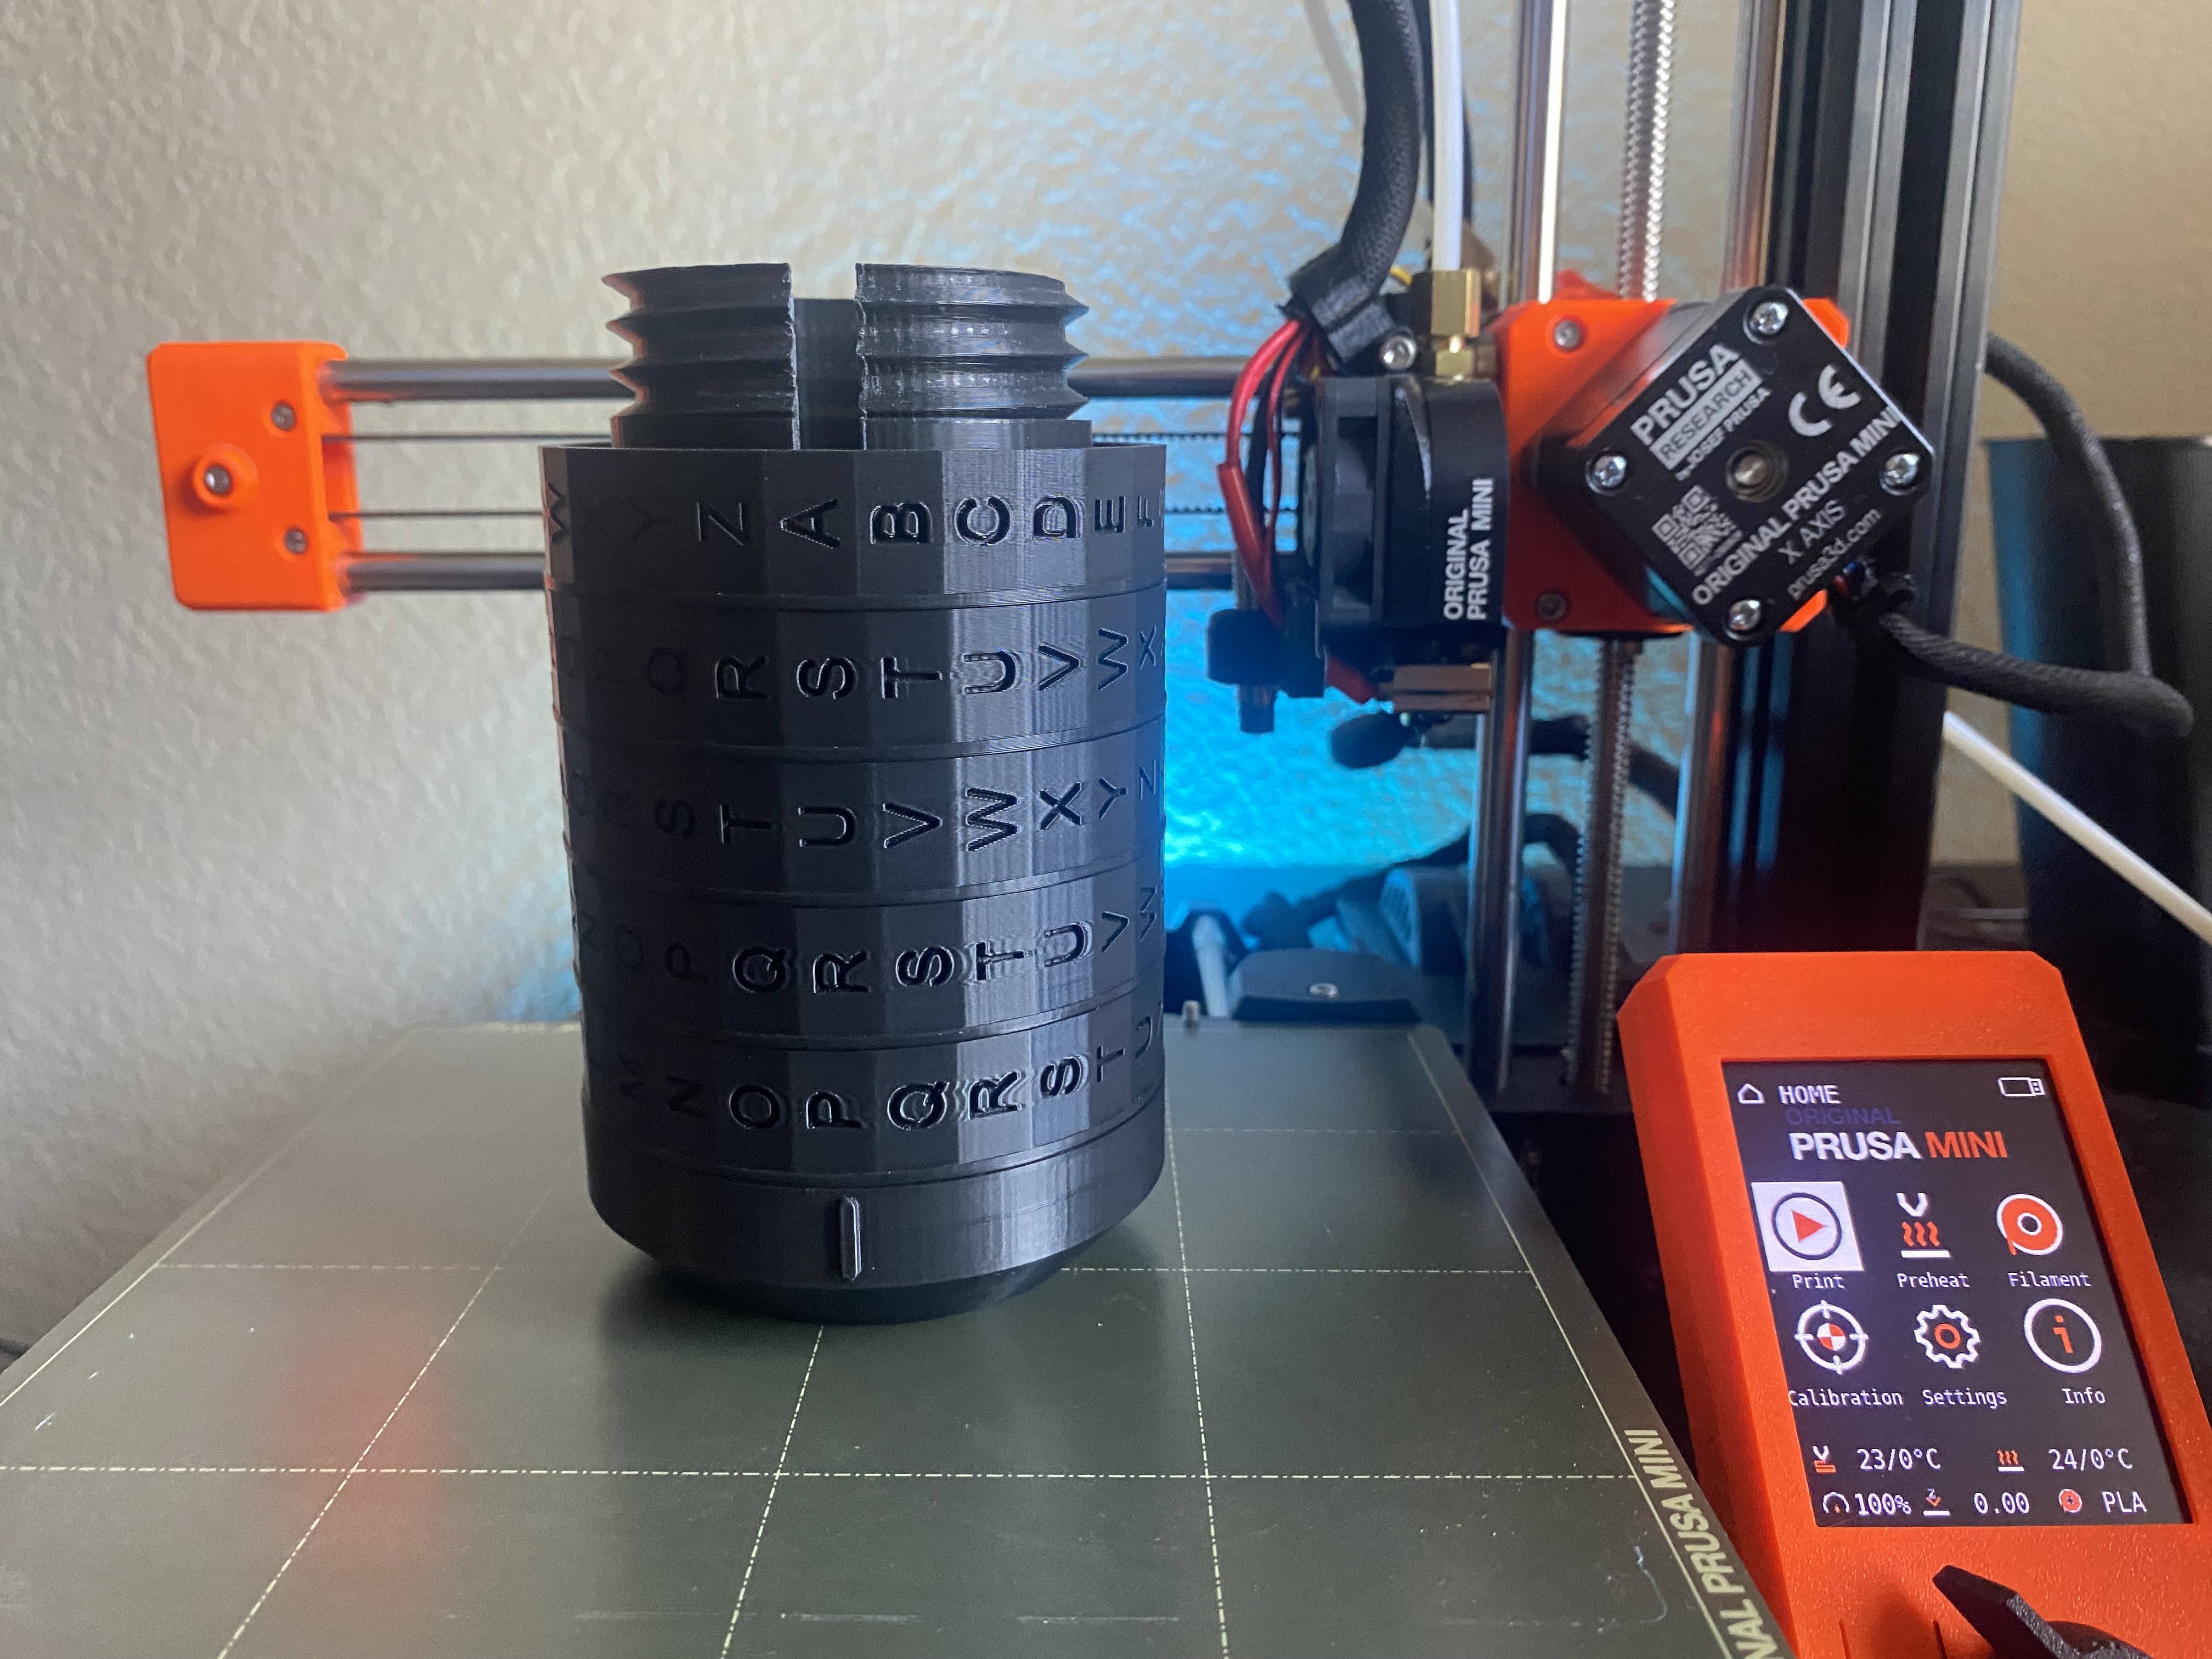
Each letter should be able to move freely. If the letters don't move freely, move them by hand gently around the shaft to wear away and obstructions (support material, etc).
Step 4
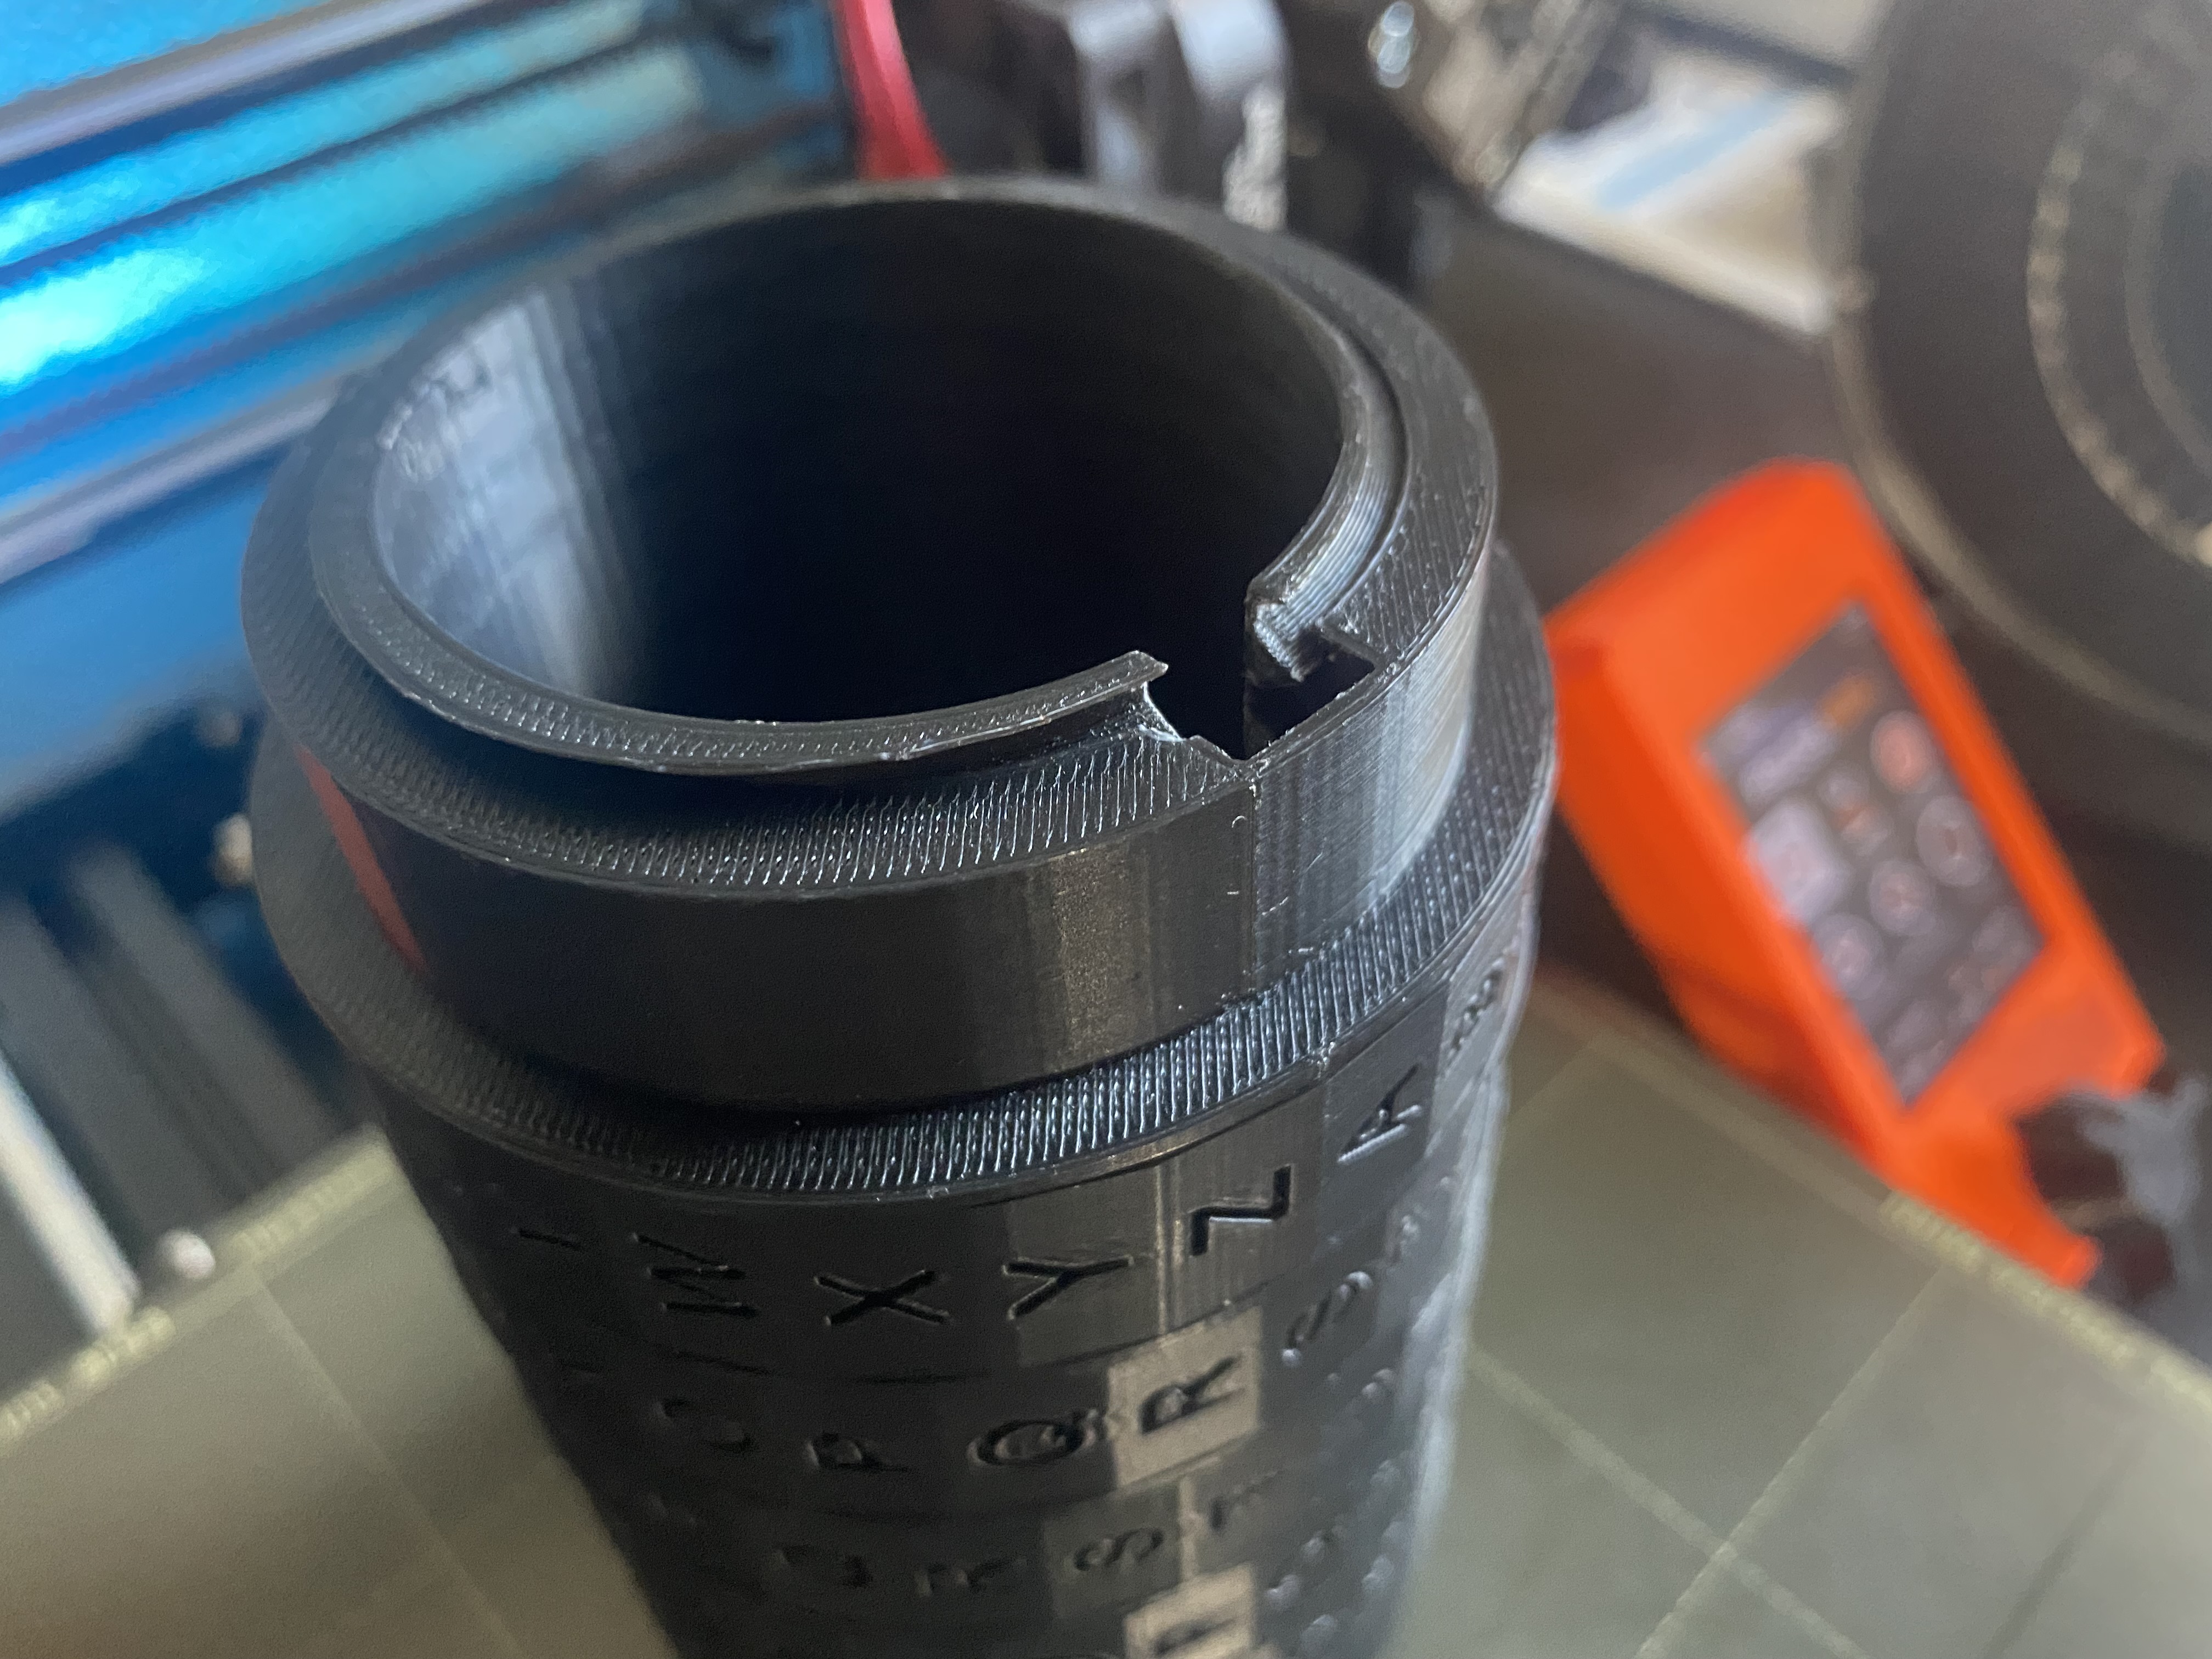
Gently twist on the internal lid until the notch on the lid aligns with the notch on the main shaft. Check to make sure each letter roll can still move freely when fully tightened down.
Step 5
Align your combination to where the key is be able to slide into (if key does not slide in, take the letter rolls off and slide the key up and down through out the main shaft until the key slides smoothly.) the main shaft.
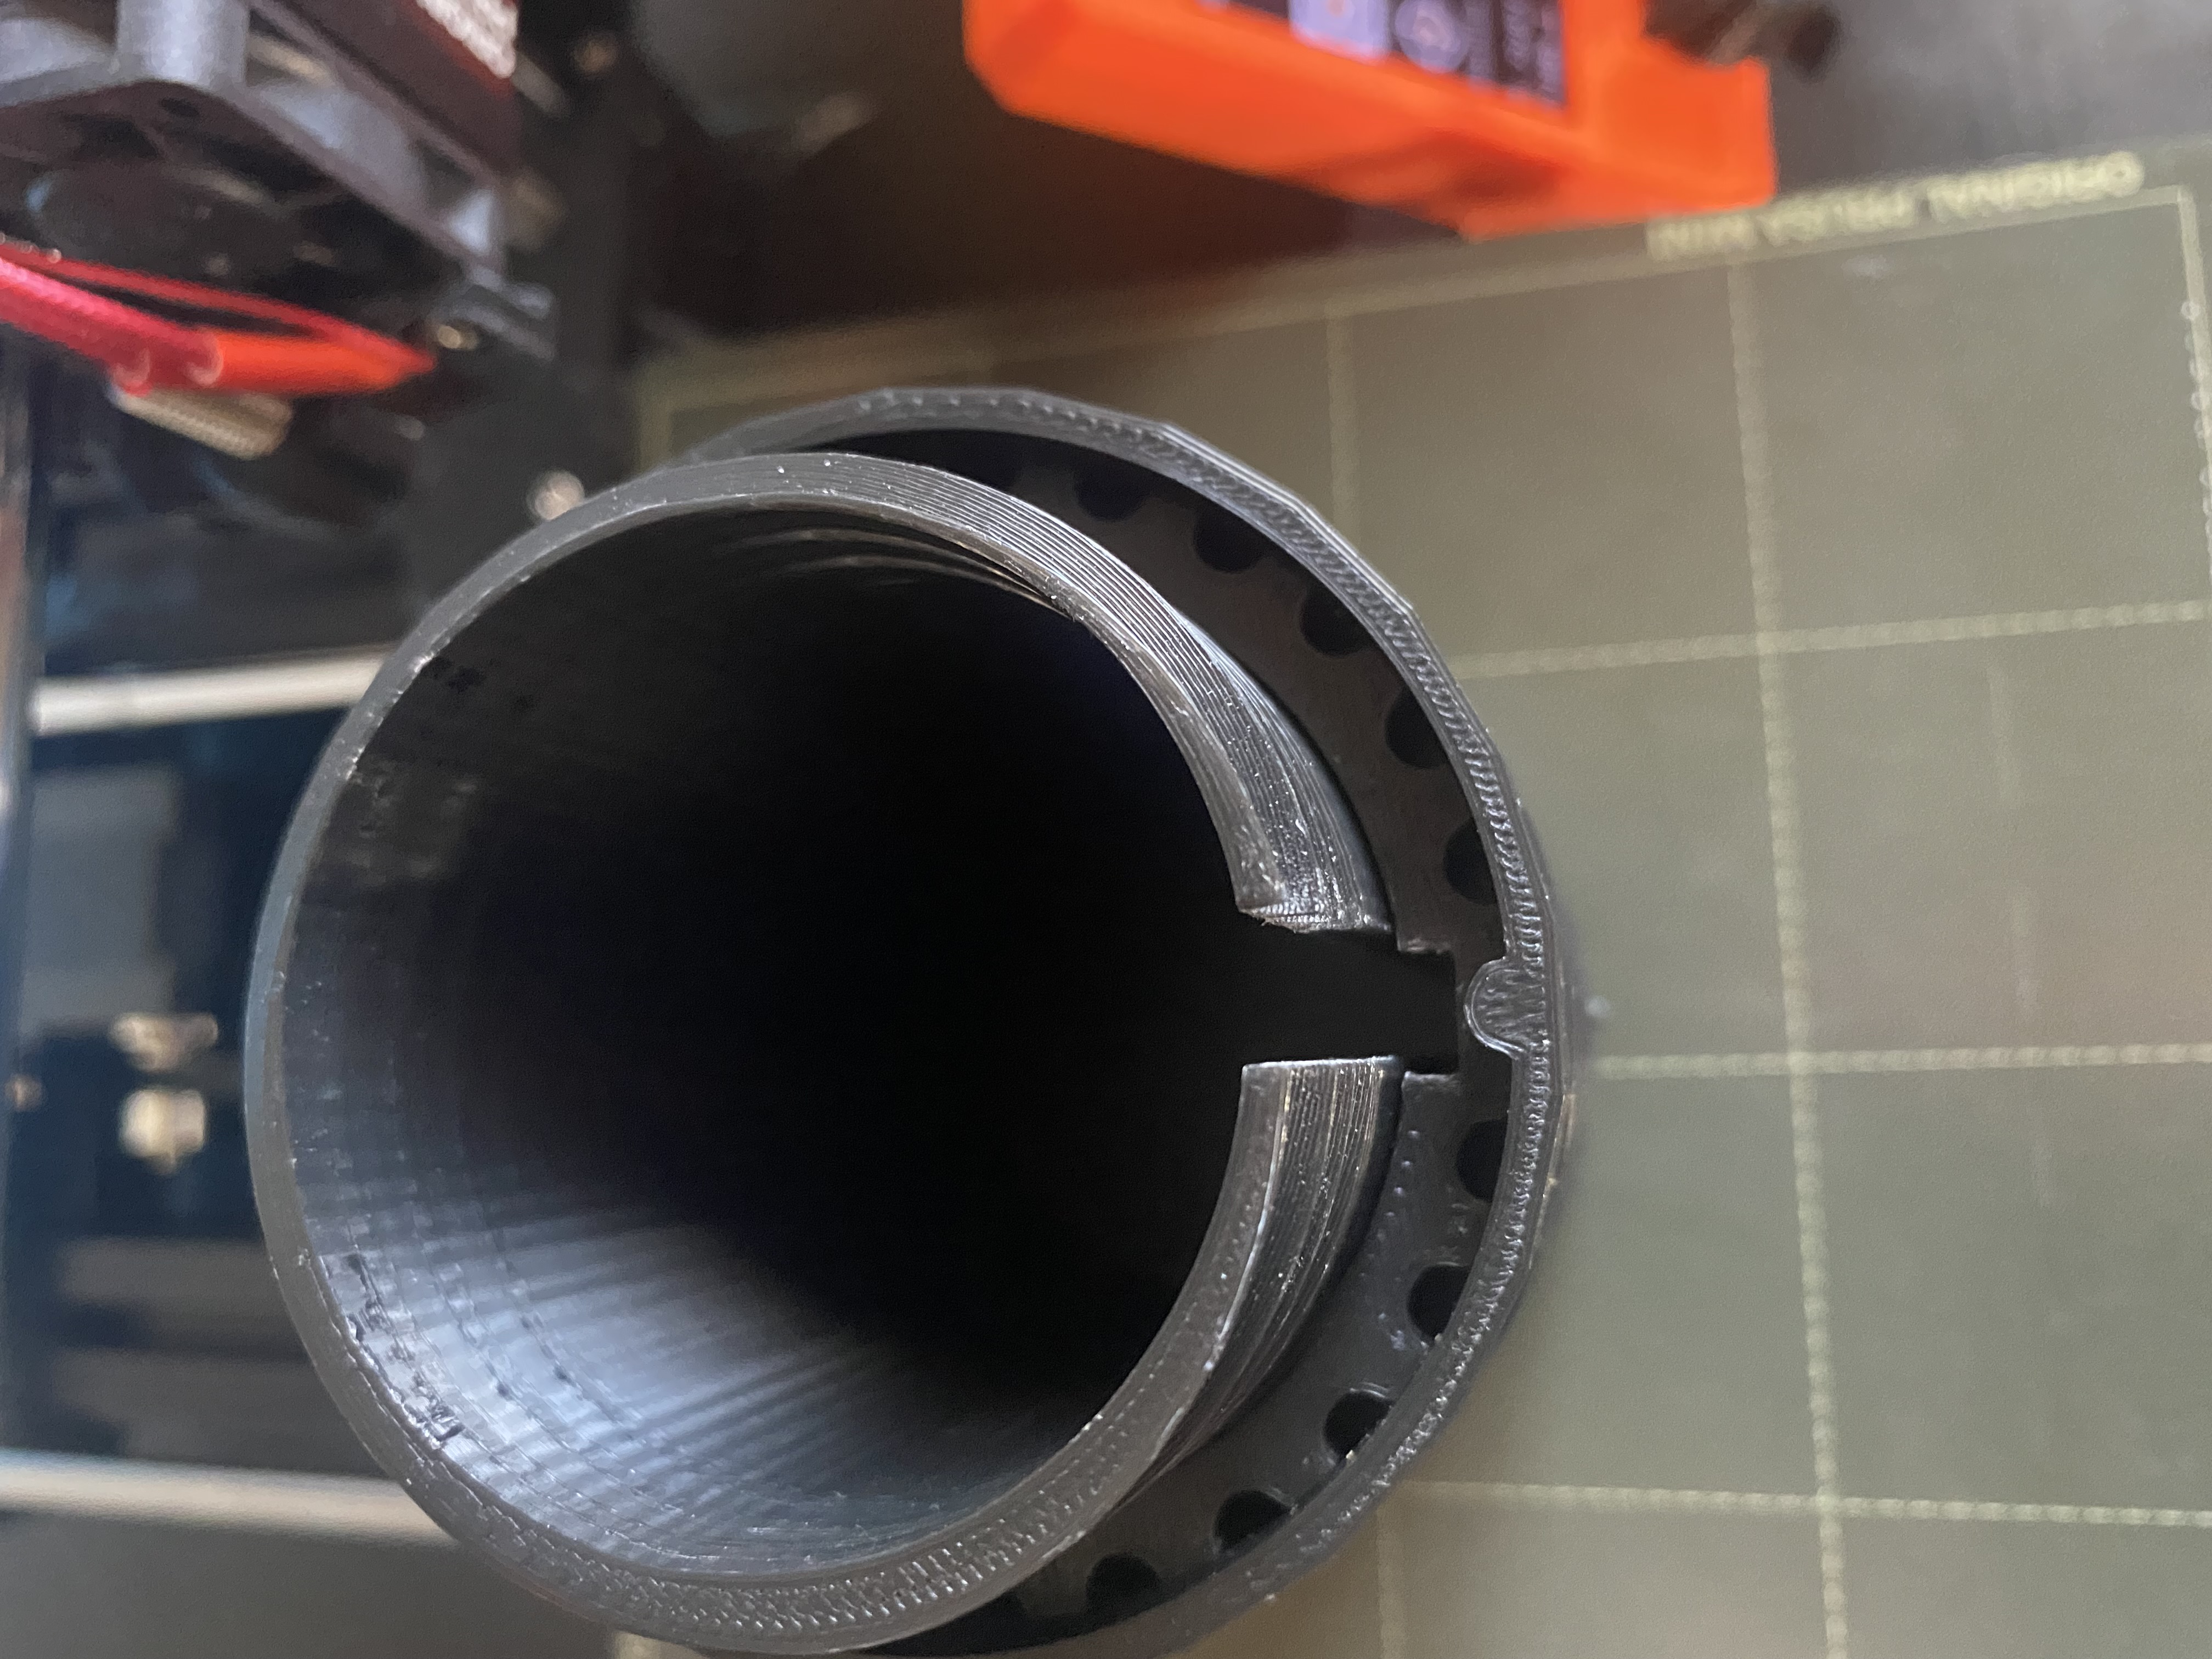
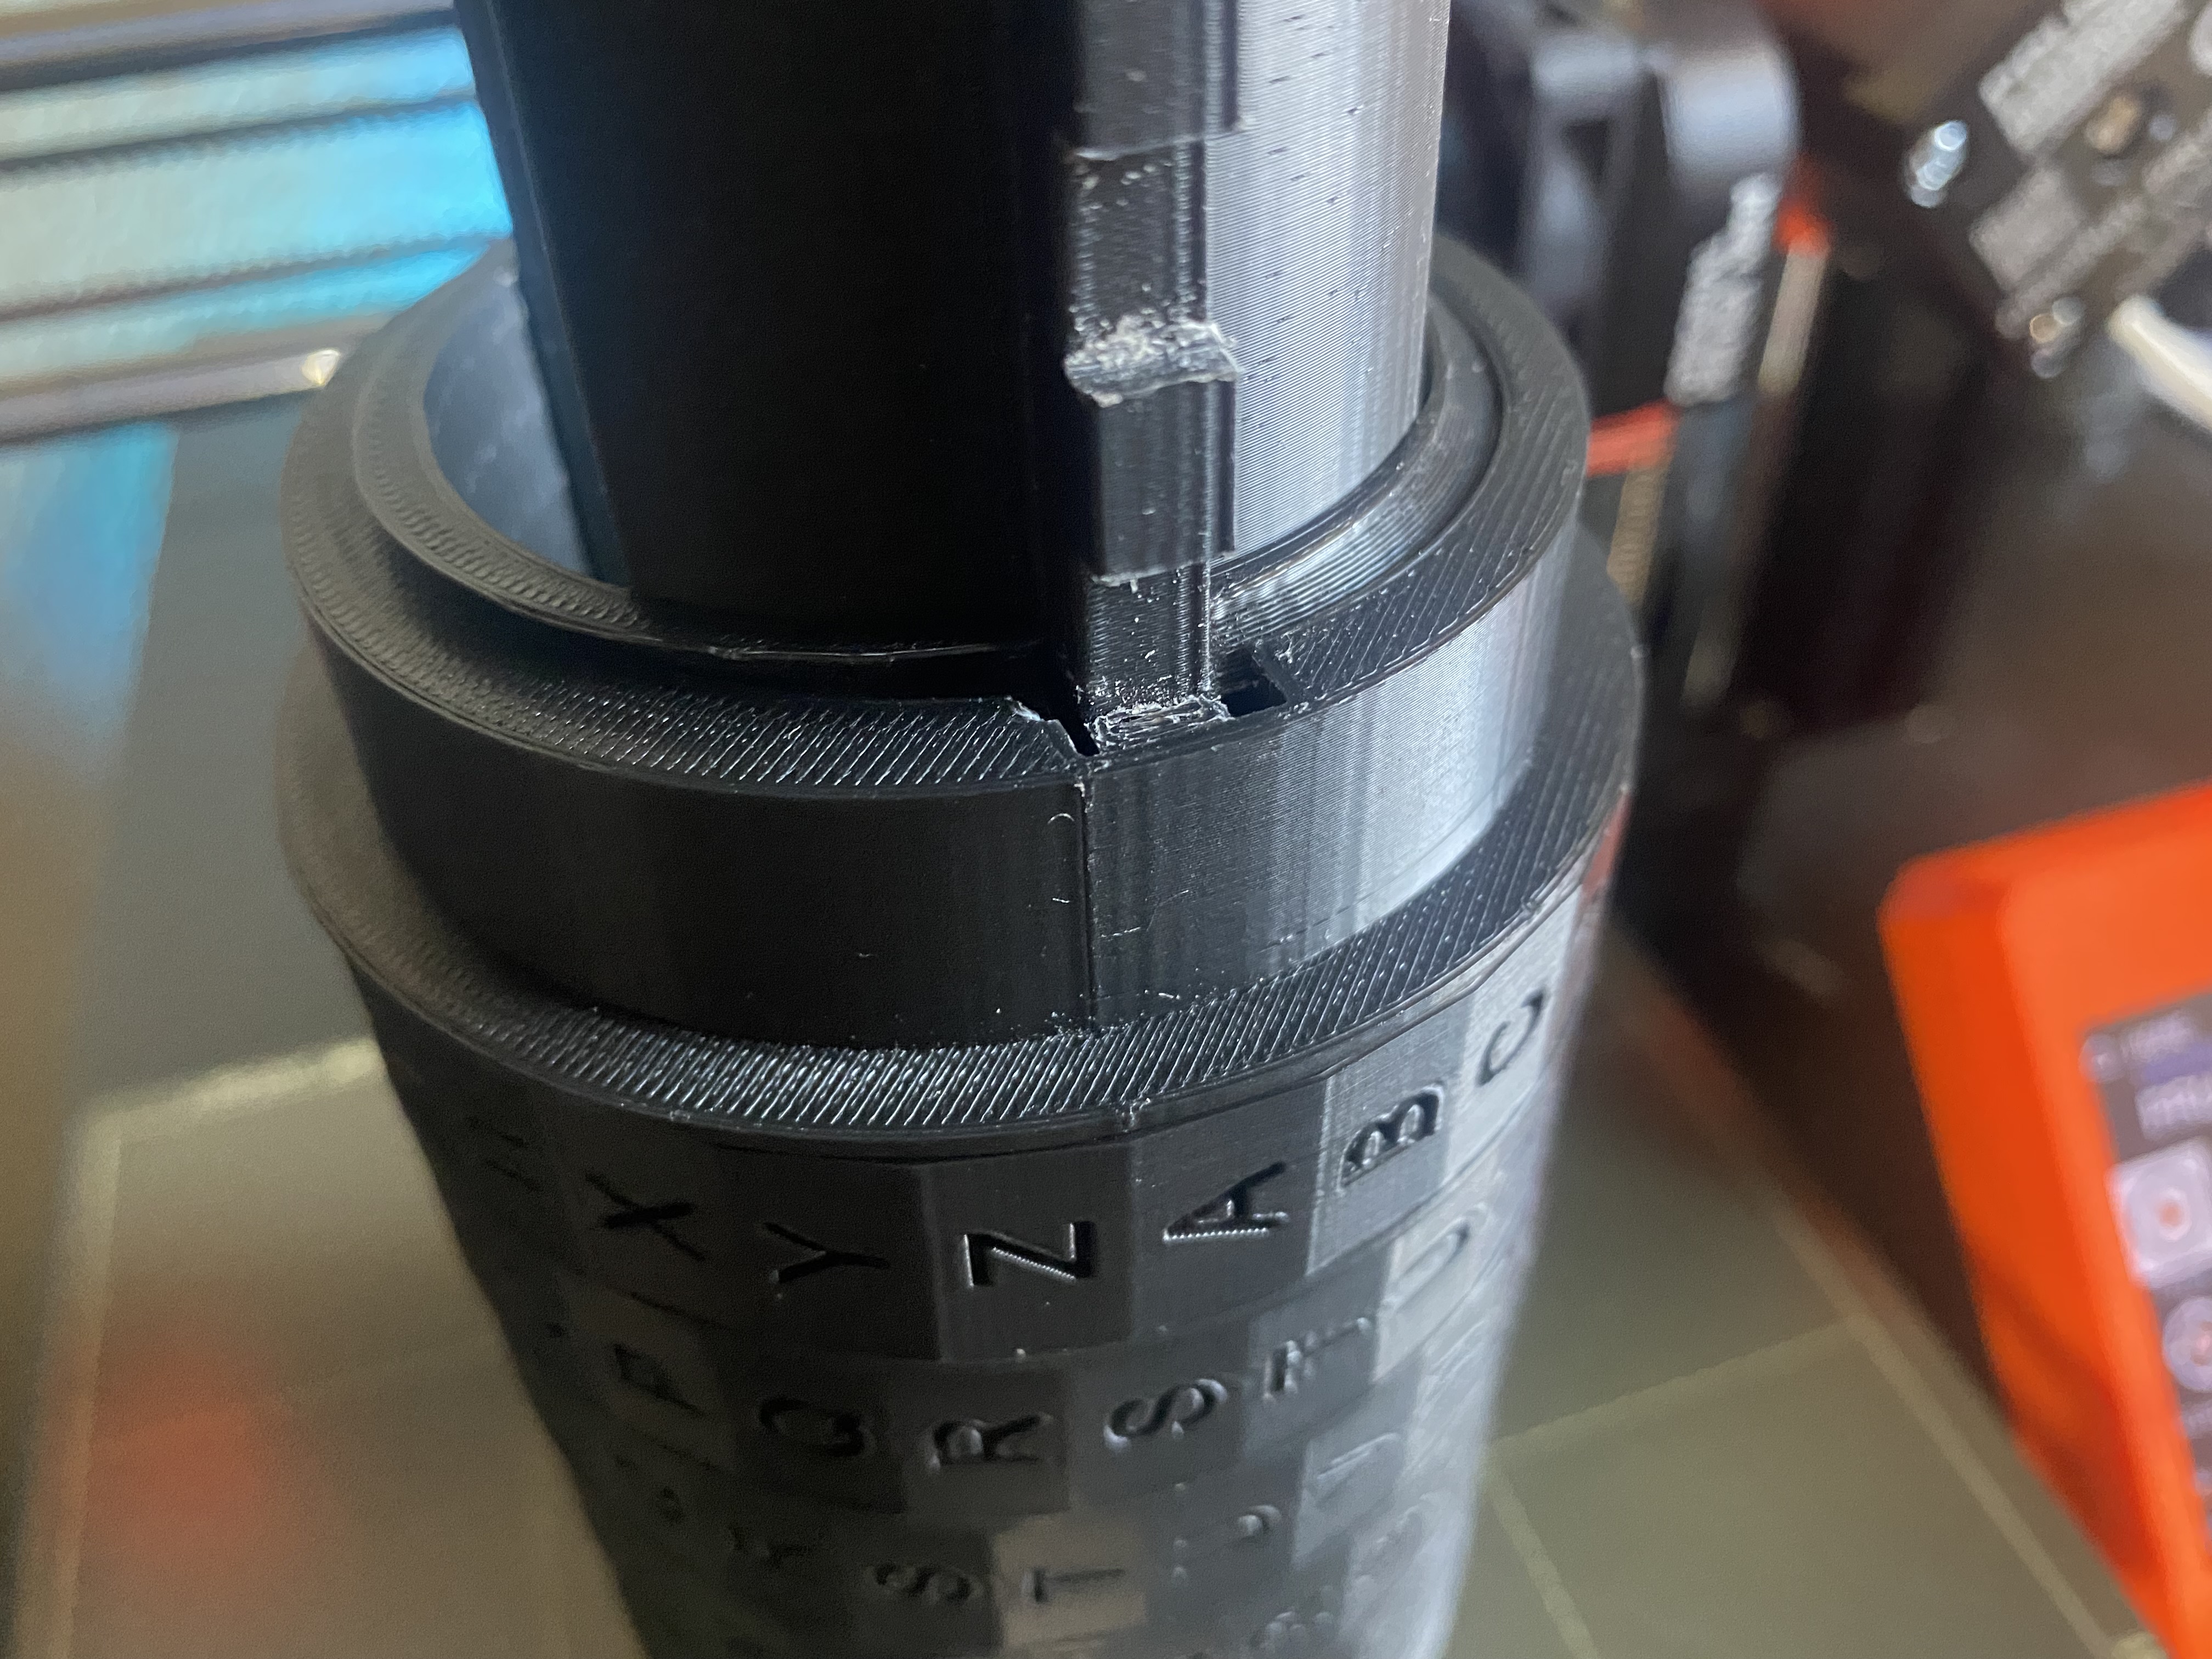
When done correctly, the key shaft should slide all the way down until all you see is the top part of the shaft.
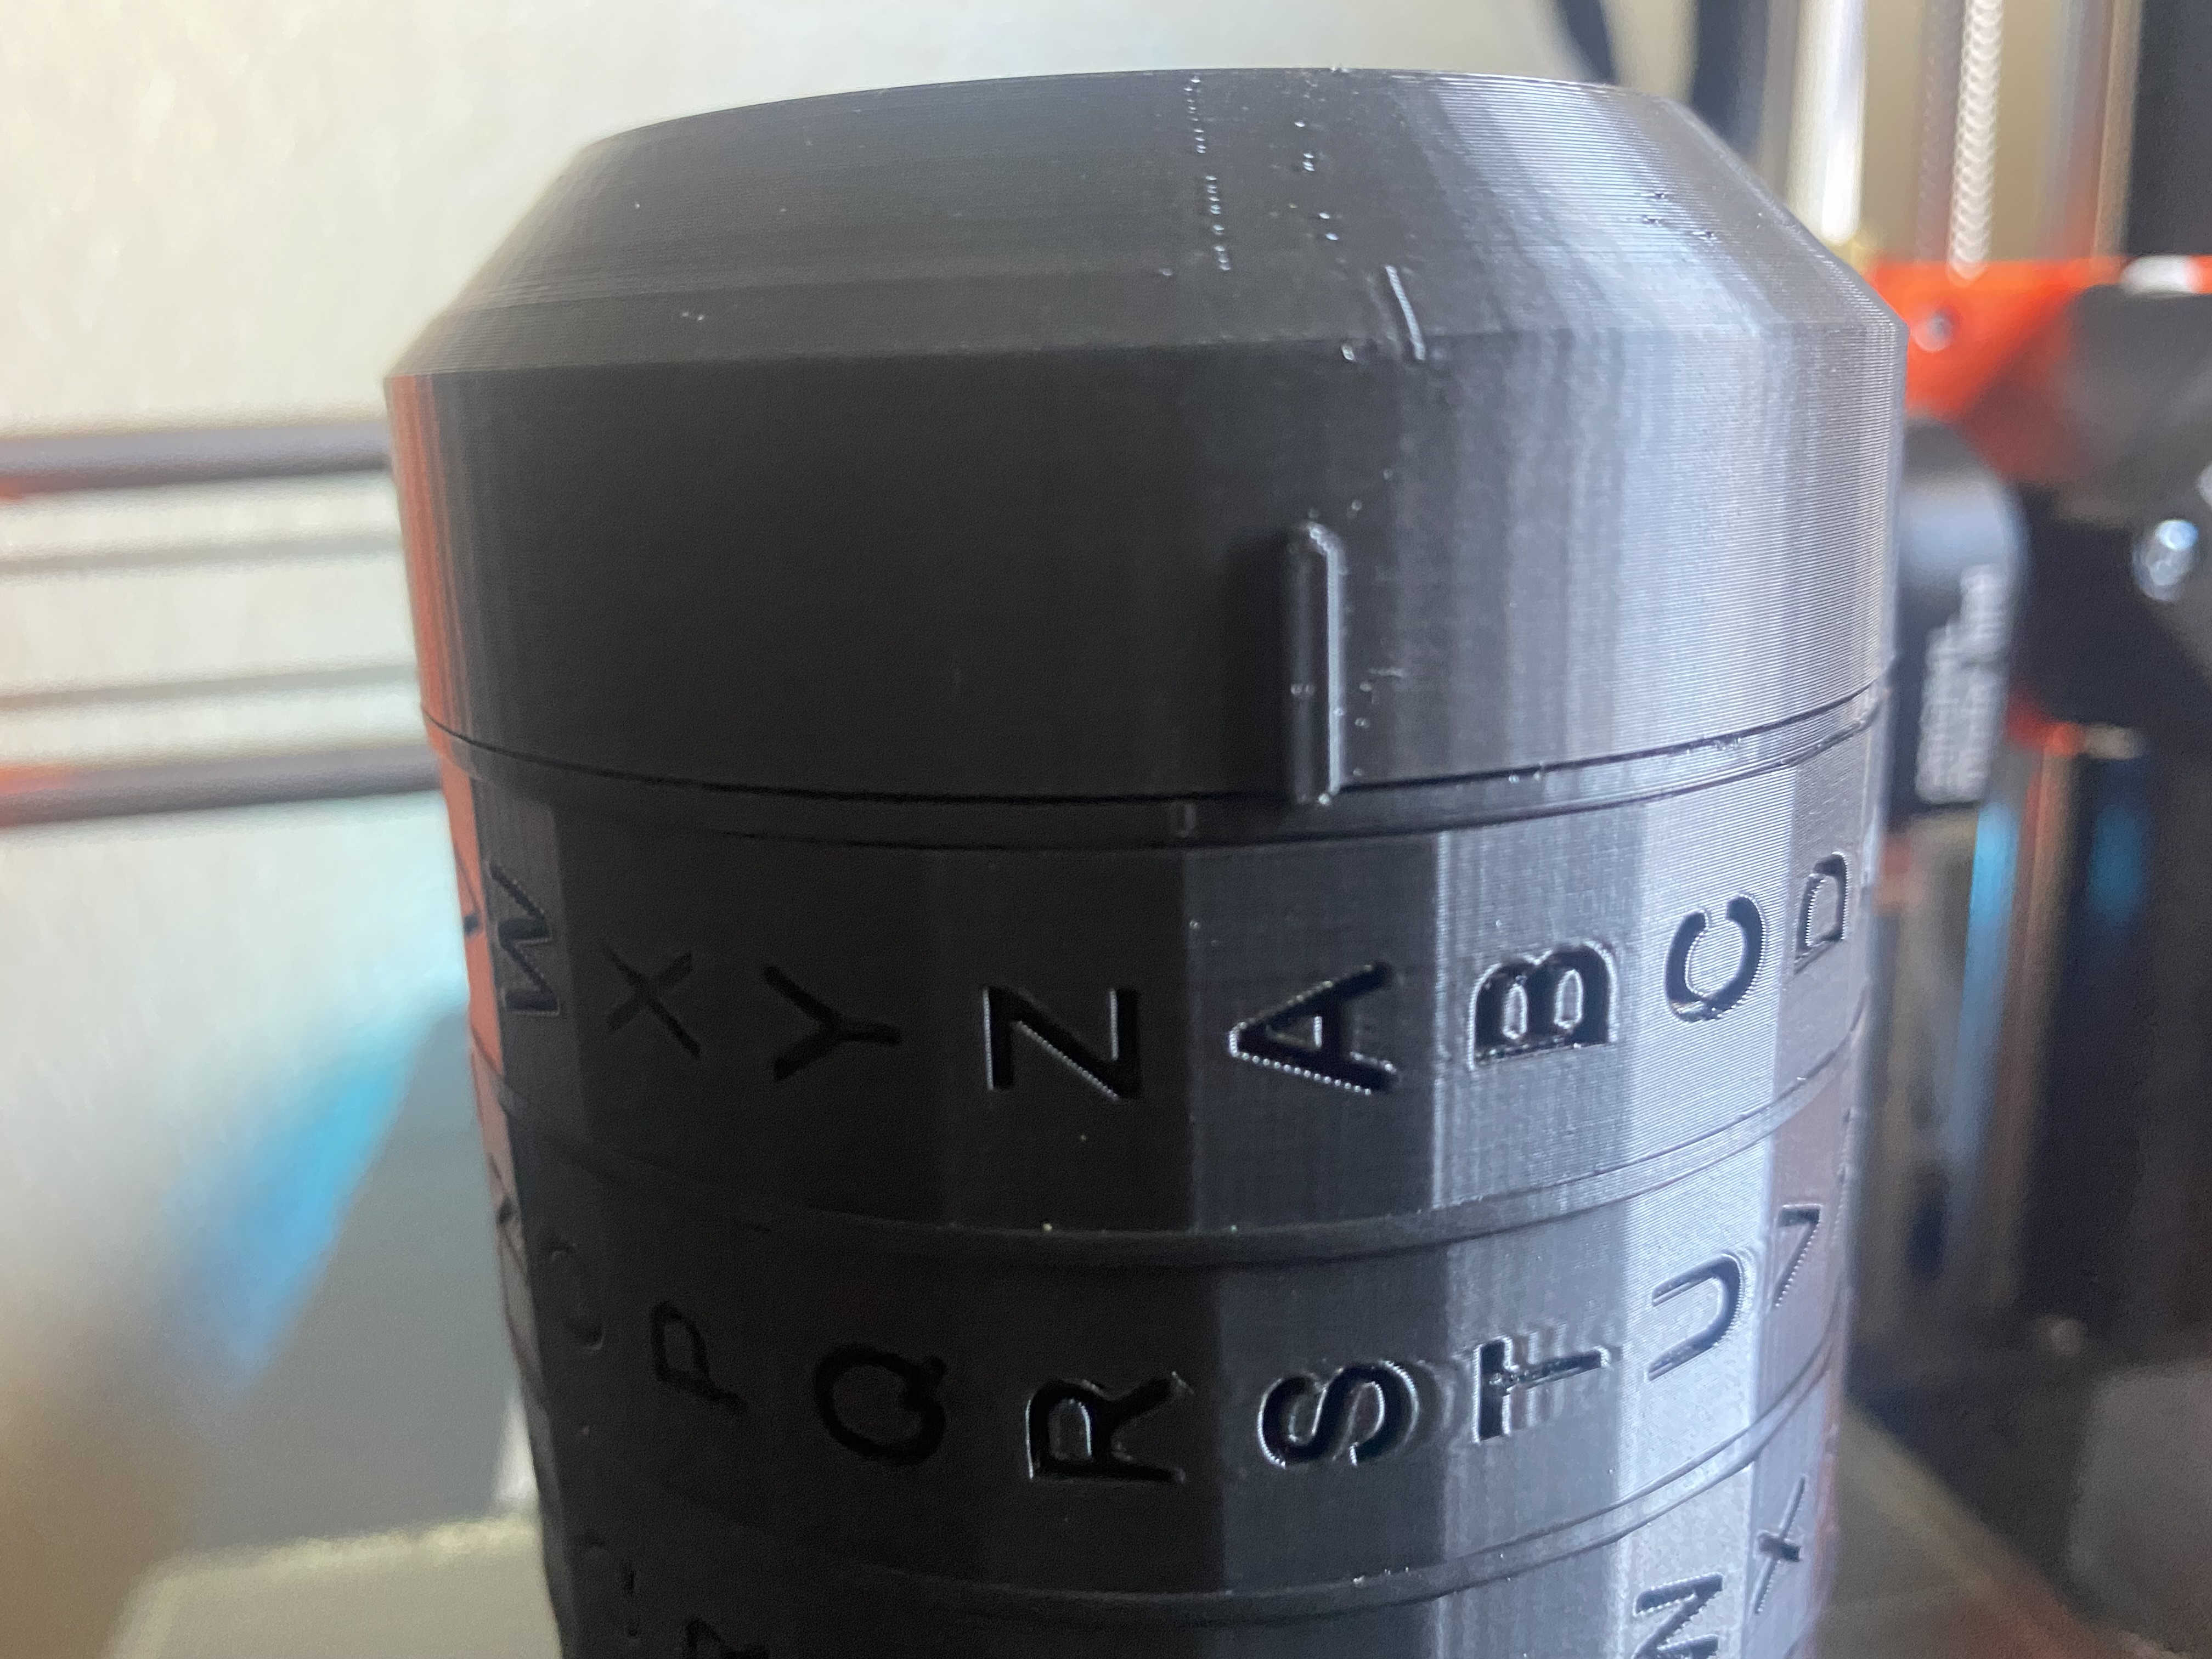
Step 6
The next step is tricky and will differ for every print. The letters on your cryptex may or may not move. In my case, only a couple letter moved. You have to take off the key shaft and unscrew the internal lid. Take off all the letters. From there, place the first letter onto your main shaft and align it so the key shaft can be fully placed to the bottom.

The letter probably won't move. Readjust the letter roll until that gear roll slides into the key groove. This may take a little force and will differ for every letter.
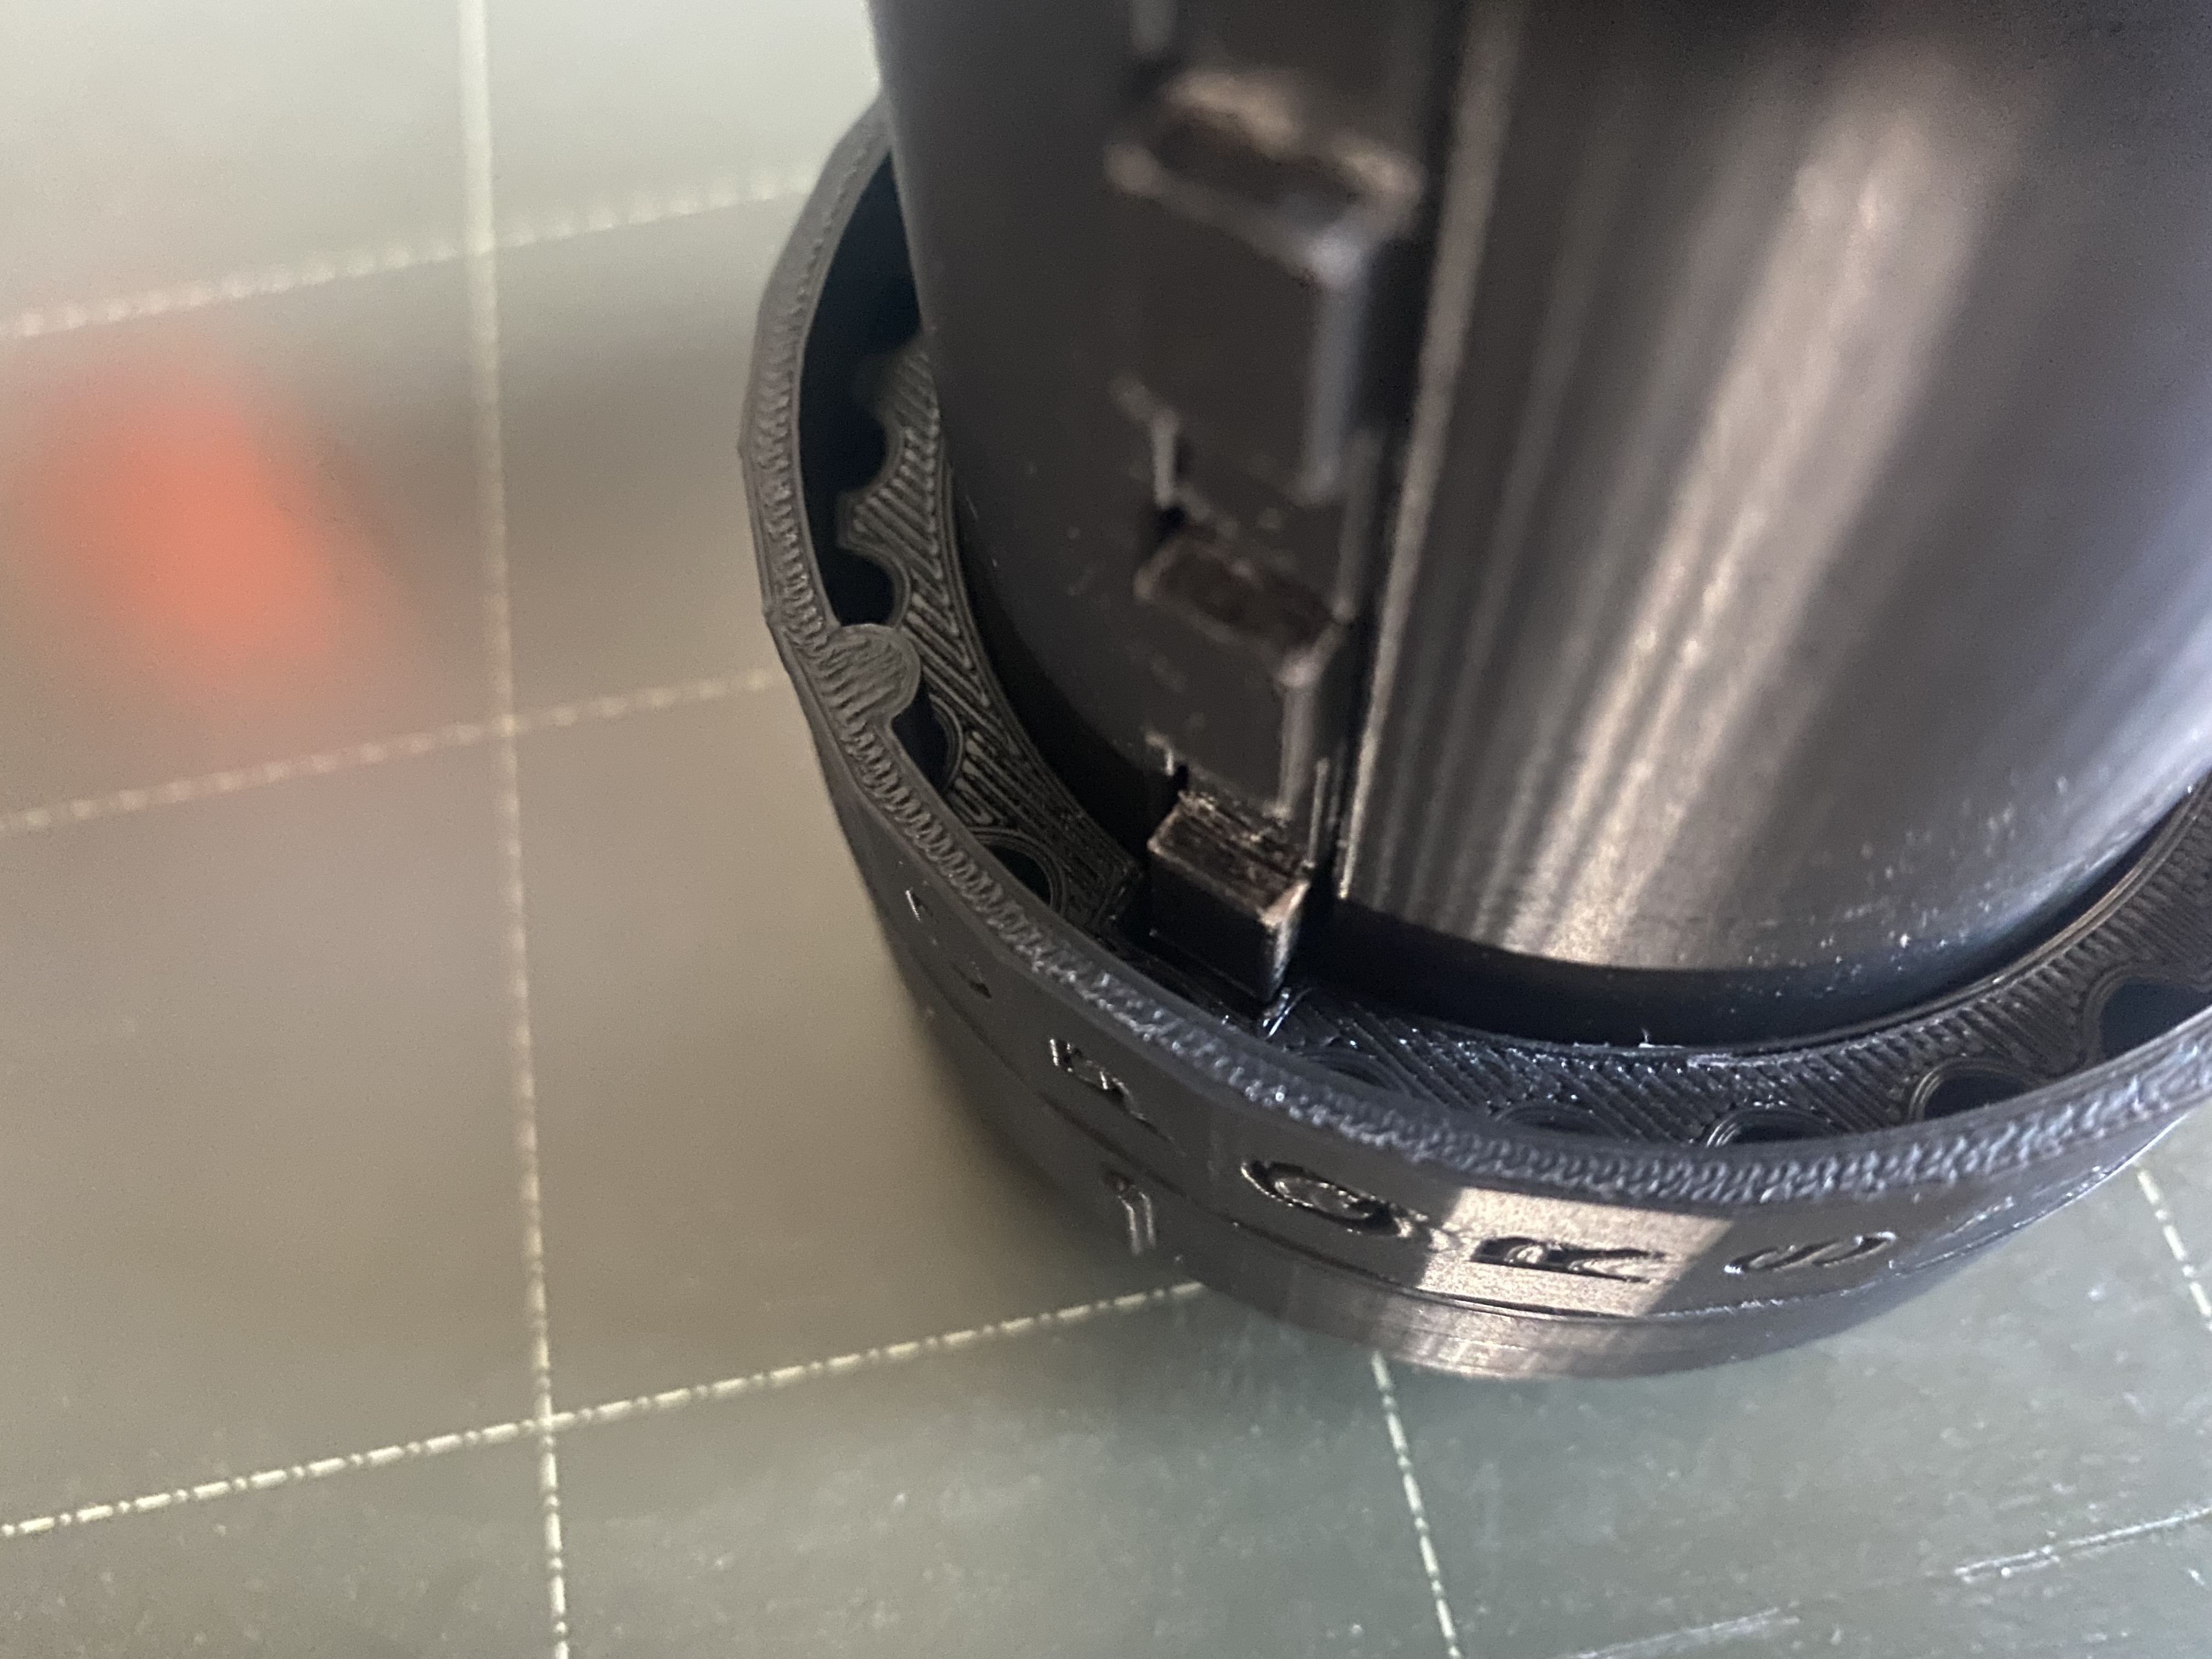
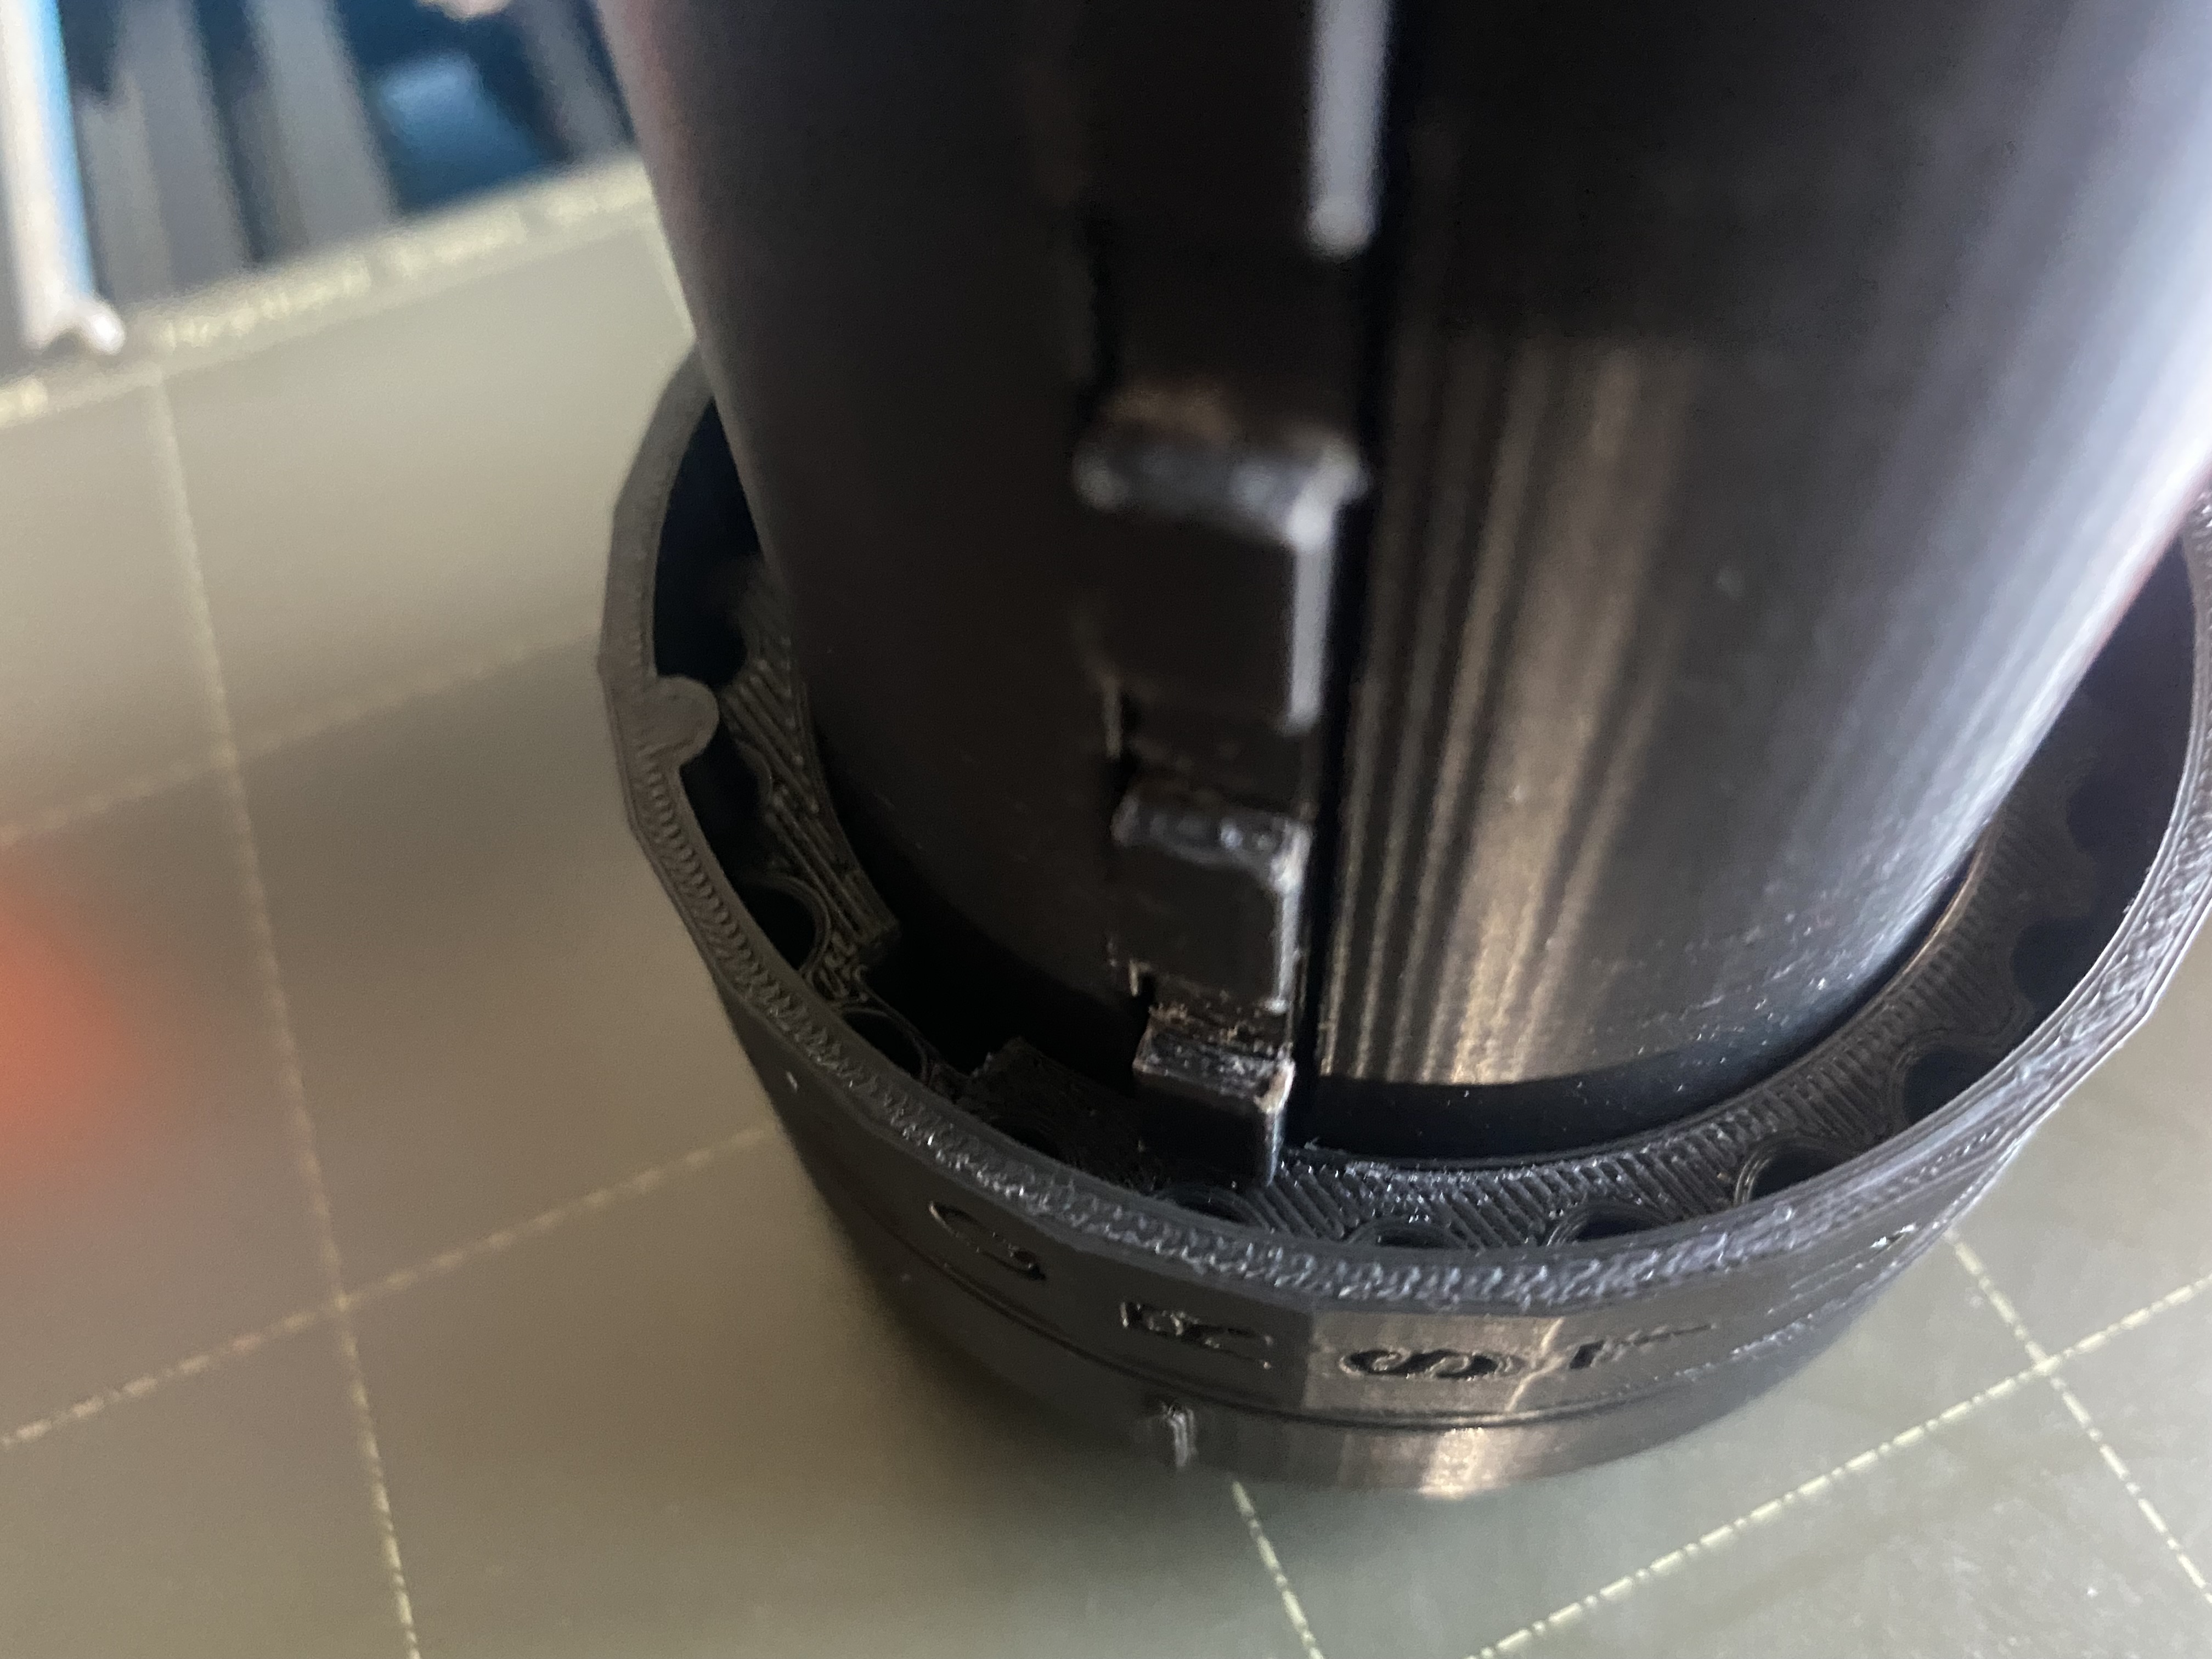
Once in the groove, move the letter roll quickly around the cryptex so that is wears away at the key groove and creates a smooth moving letter roll. This might take some time, the roll is acting like sand paper. Do this exact same thing for the rest of the rolls and the rest of the key grooves. When done, twist the inner lid back into place and aligns the letter rolls so you can place the key shaft back in place. Once the key shaft is in, the letter roll should be able to move freely.
You have built your Basic Cryptex

Like this model? Create a free account to save your favorites and come back to them later.
Create account