Você está no 3DFinder
Buscamos em Thingiverse, MakerWorld e Printables ao mesmo tempo para te dar o melhor de cada uma.
Descrição
Inspired by other mouse build, I wanted something that would mimic my daily driver vertical mouse. This time I'm using Polar Filament's Retro Platinum PETG for better flexibility on the folds.
The guts of this wireless mouse come from the MH002 3D Printed Wireless Mouse kit that can be found from a variety of online vendors, but to make it work as a vertical mouse we have to cut the stock circuit board in half.
#4-20 thread forming screws (any length from 5/16" up to ½" long will work fine)
[https://www.amazon.com/gp/product/B00GDYDMMU](https://www.amazon.com/gp/product/B00GDYDMMU)
Palm Front:
This part gave me the most trouble to print as it's corners kept peeling up. This is why the model has 'feet' on each corner that you'll need to swipe off with a razor when you're done. Next carefully break loose the left and right print-in-place button movements. Then fold the top together along the thin seam and use two screws to hold it in place. This gives your mouse it's distinctive angle.

Base:
This part is the only one that needs support material. Ensure that the steeply angled
Modifying the Scroll Wheel:
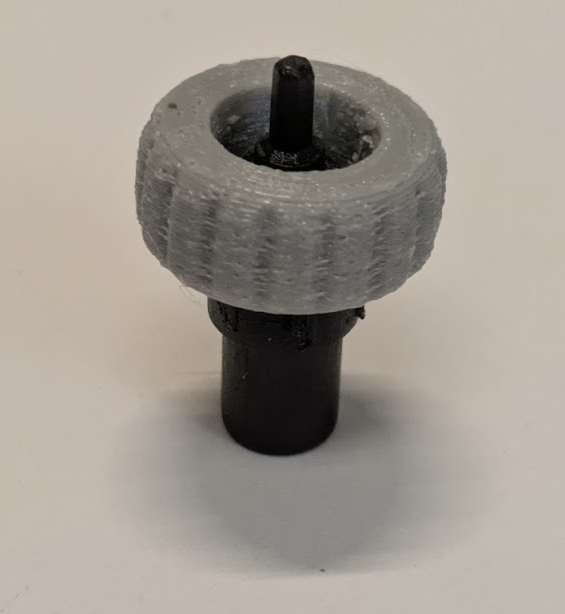
The sock scroll wheel is too large so we'll have to trim it down. I did this with a pair of side cuts to trim the bulk of it away and a razor blade to smooth down the remaining edges. It does not have to be perfect.

Next we press our new scroll wheel onto the trimmed down shaft. You may want to experiment with filament types to get the scroll feel you want. The one pictured here is grey PETG which is not as grippy as I'd like.
Cutting the PCB:
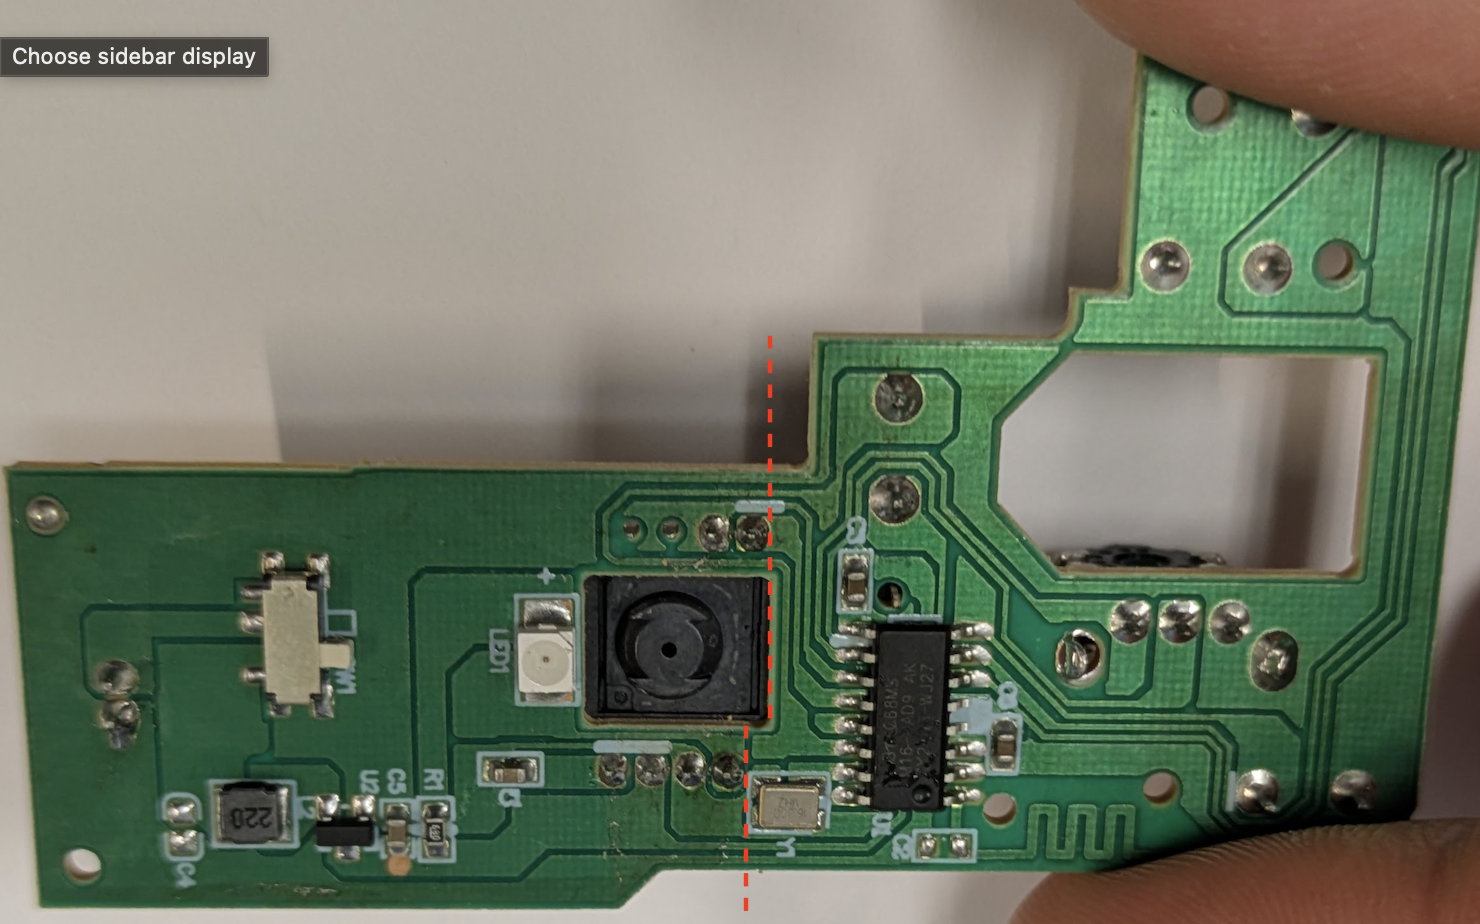
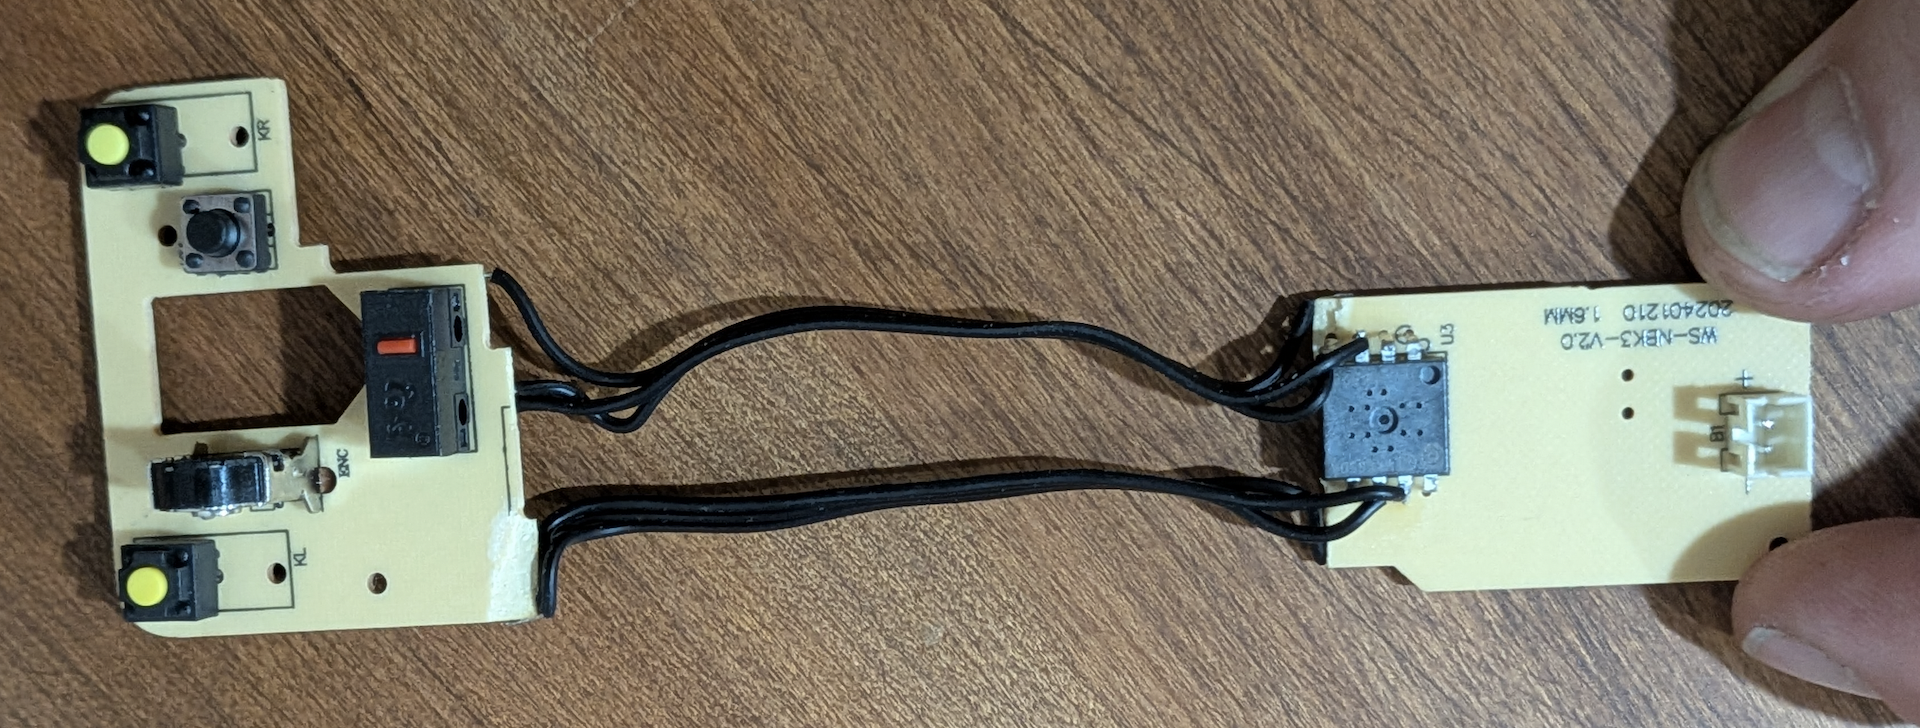
This is the hardest part of making this mouse. The optical components and switch need to be in the lower half of the mouse body while the buttons and scroll wheel need to be in the upper half. Fortunately the PCB is a single sided one so we can see all the traces of the board easily. I cut the board along the dotted line then soldered six 3" long wires bridging the two halves. I also added two jumper wires to the button half. To do this I carefully used a razor blade to scrape off the green resist layer to expose the copper, tinned that copper with solder, and attached the wire. A few of the optical-side connections I made through the top-side of the receiver chip.

Assembly:
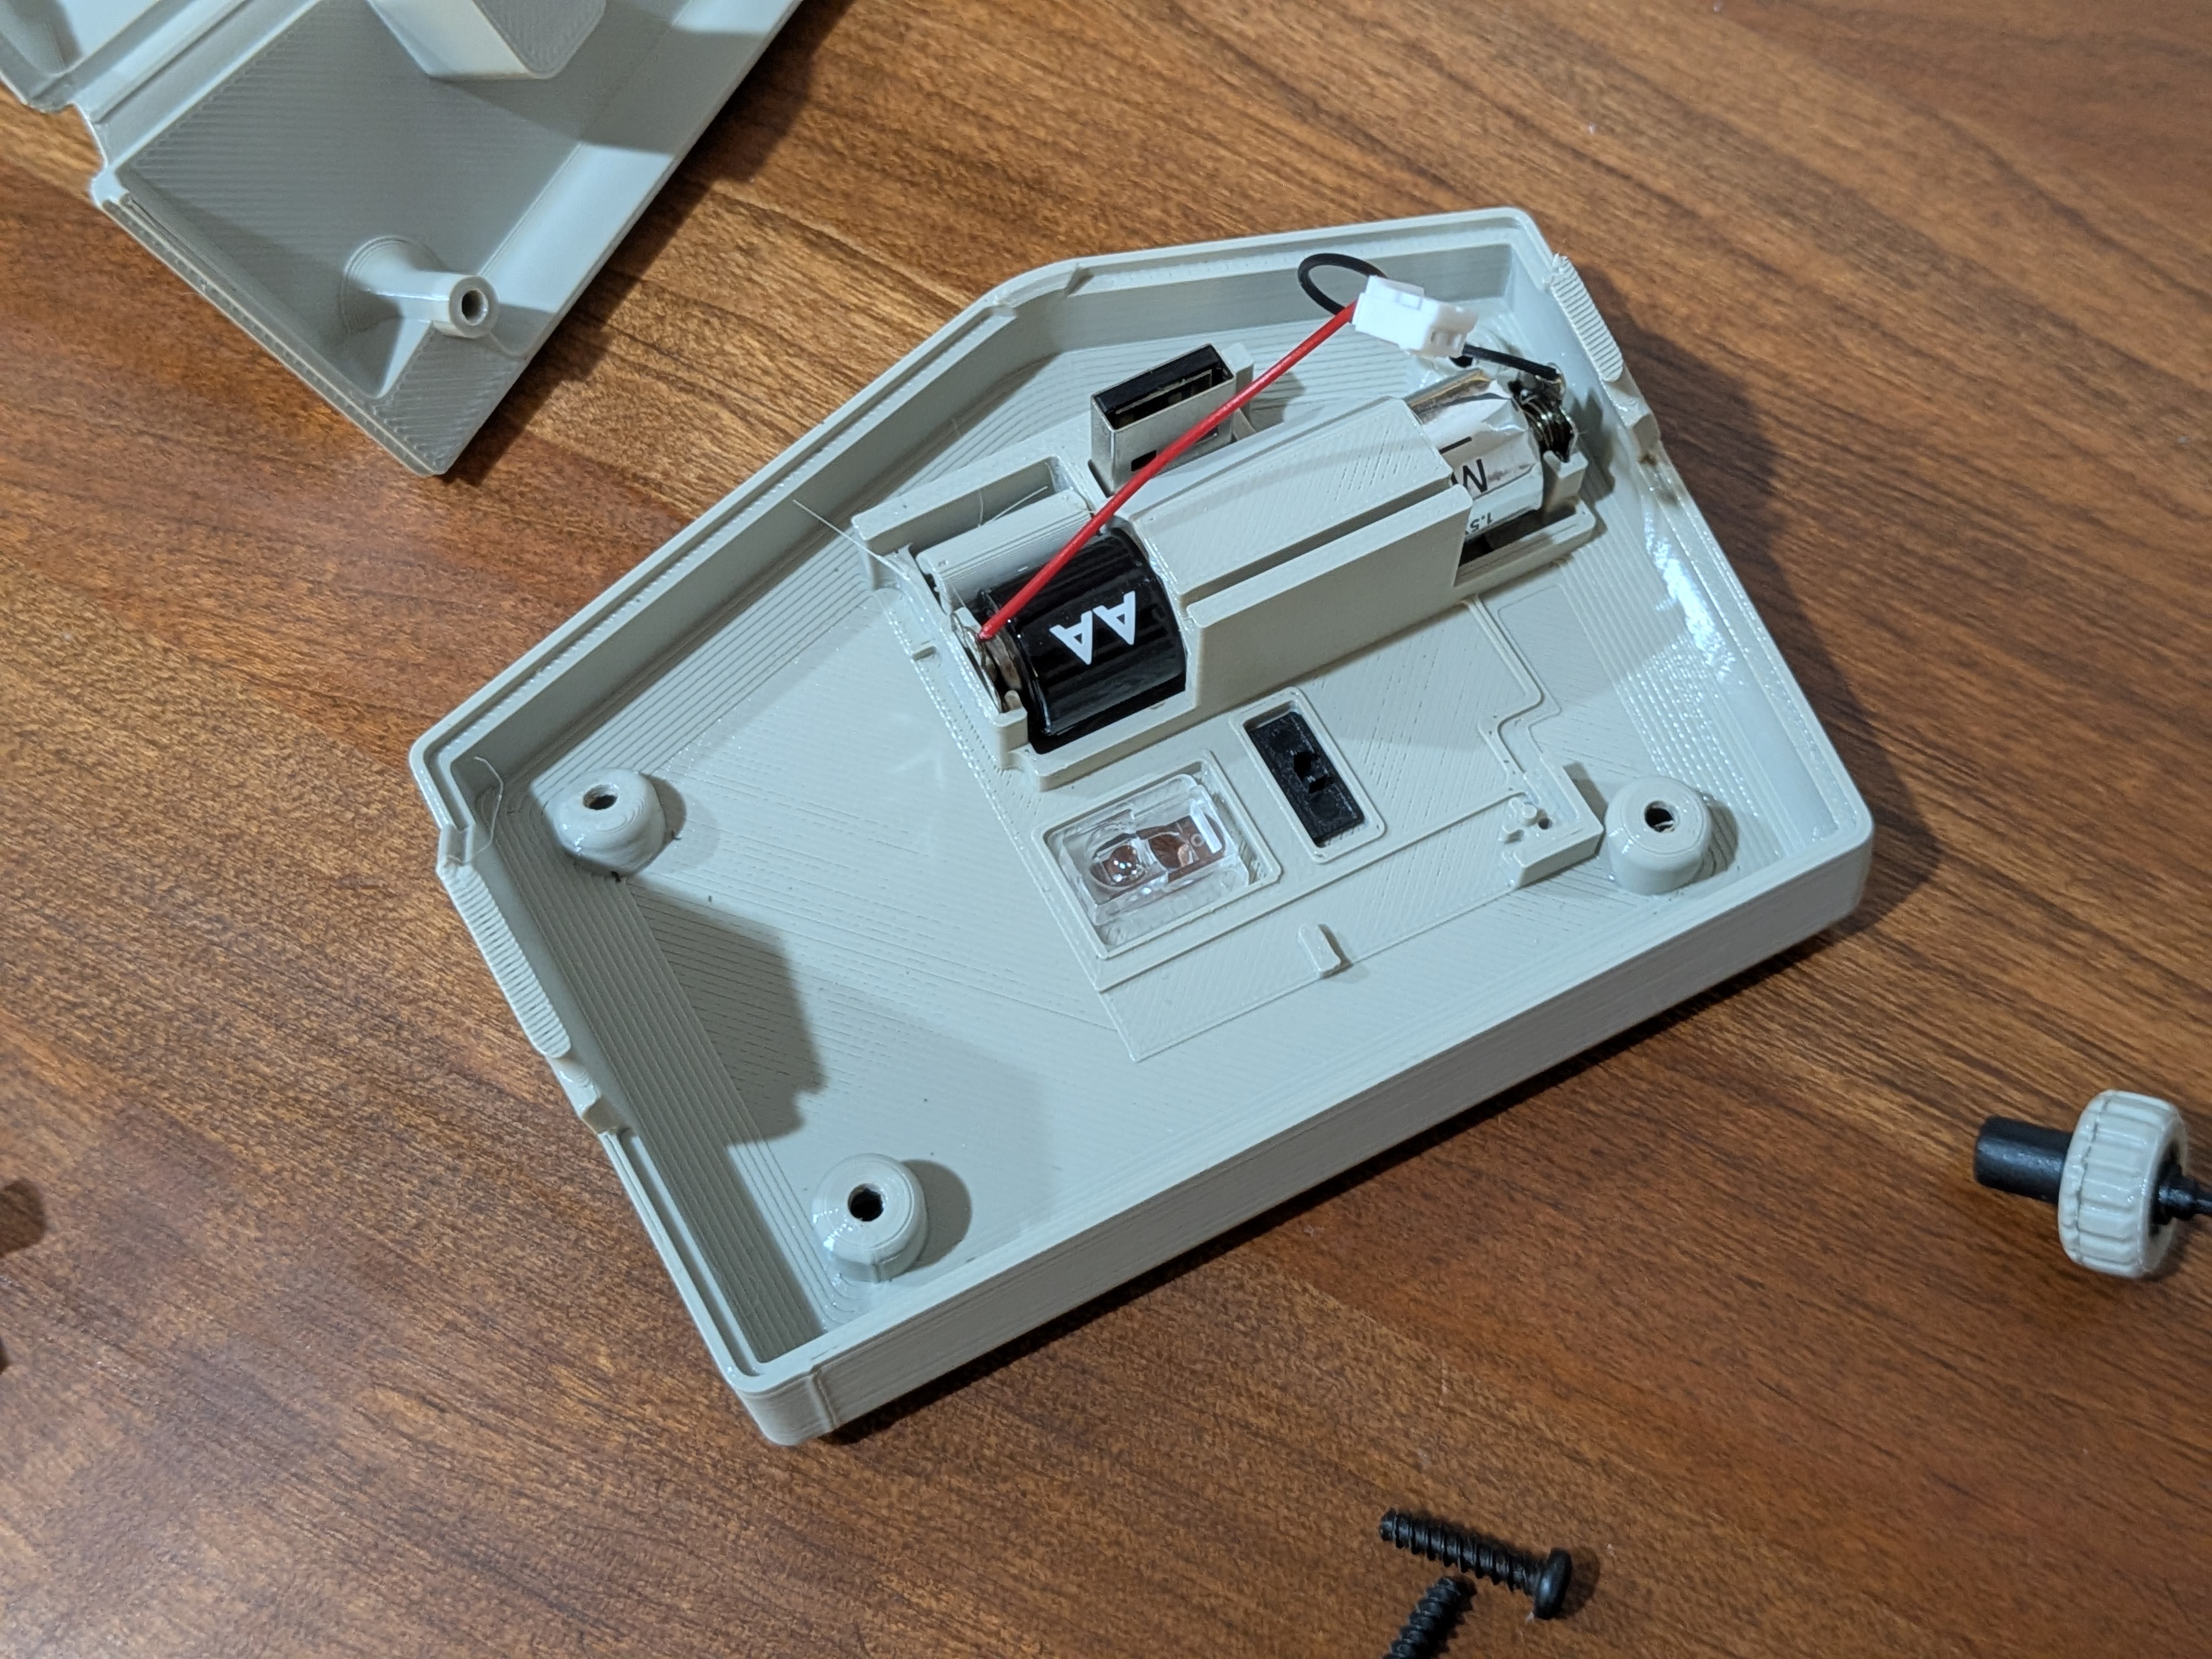
Insert the battery contacts into their slots and place the optical-side board in so that it sits flush. It can be tricky to make sure the switch and lens are interfaced correctly. Plug in the battery and test that the PCB powers on now before you continue assembly.
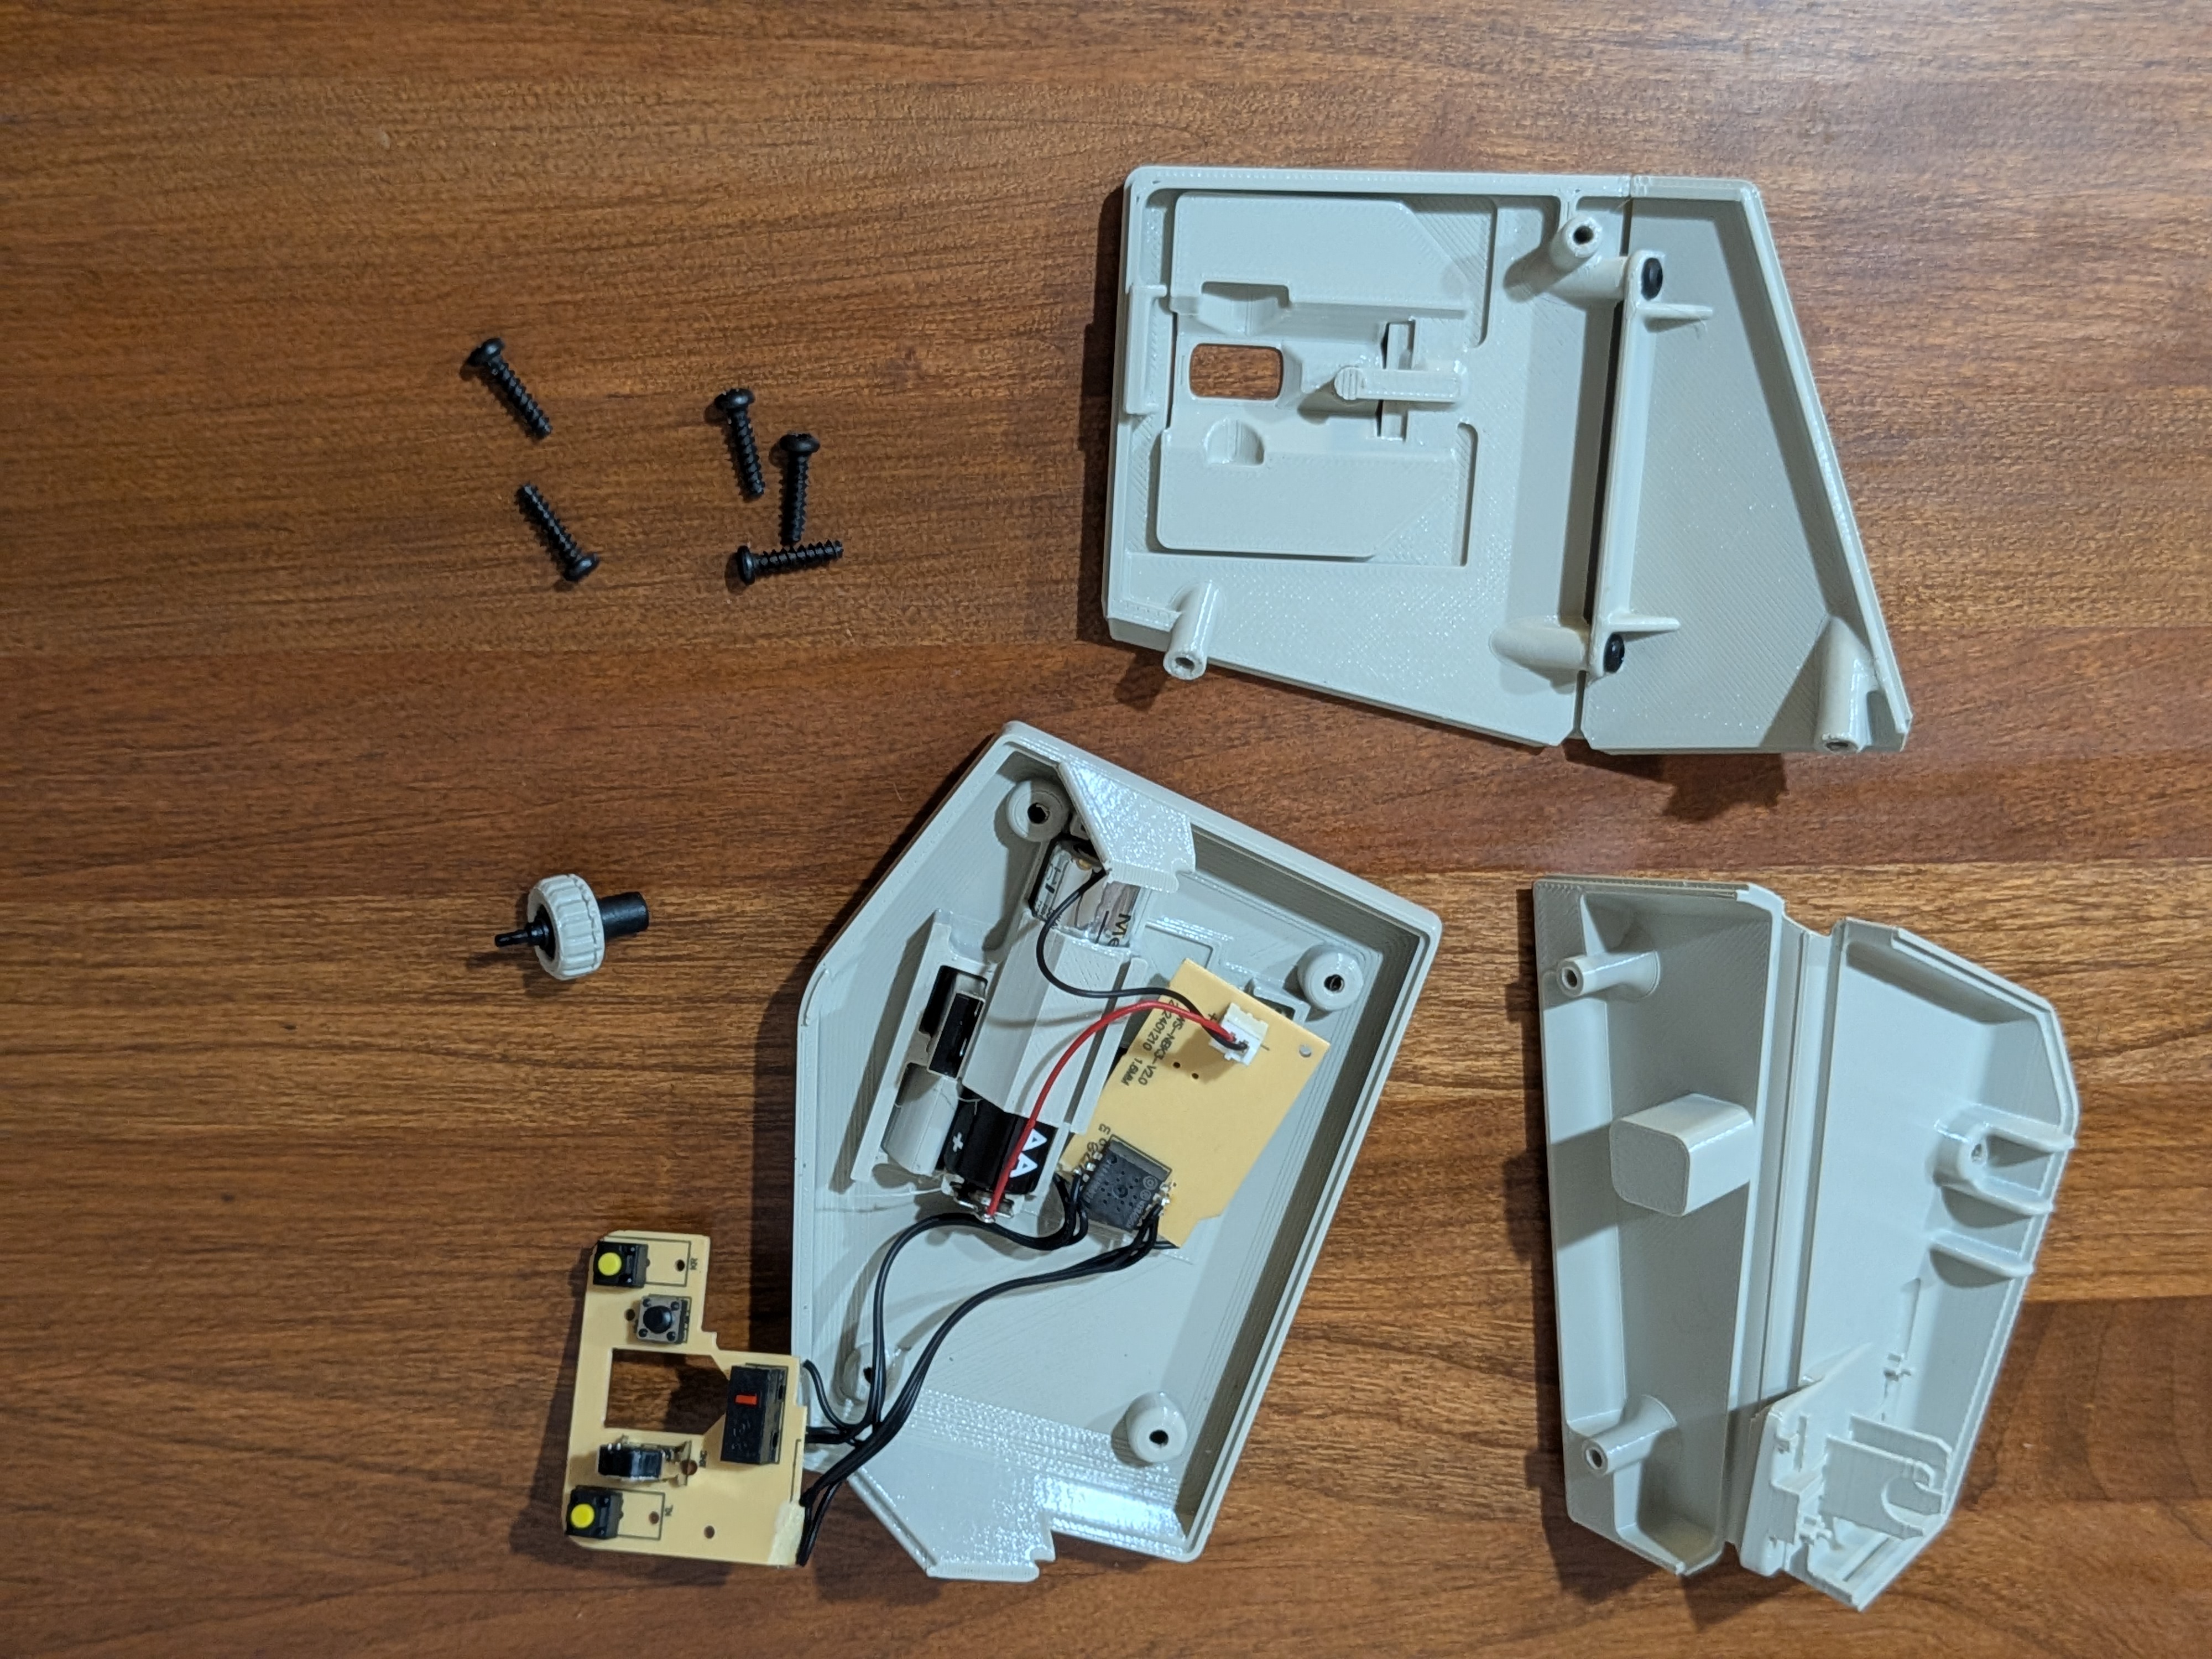
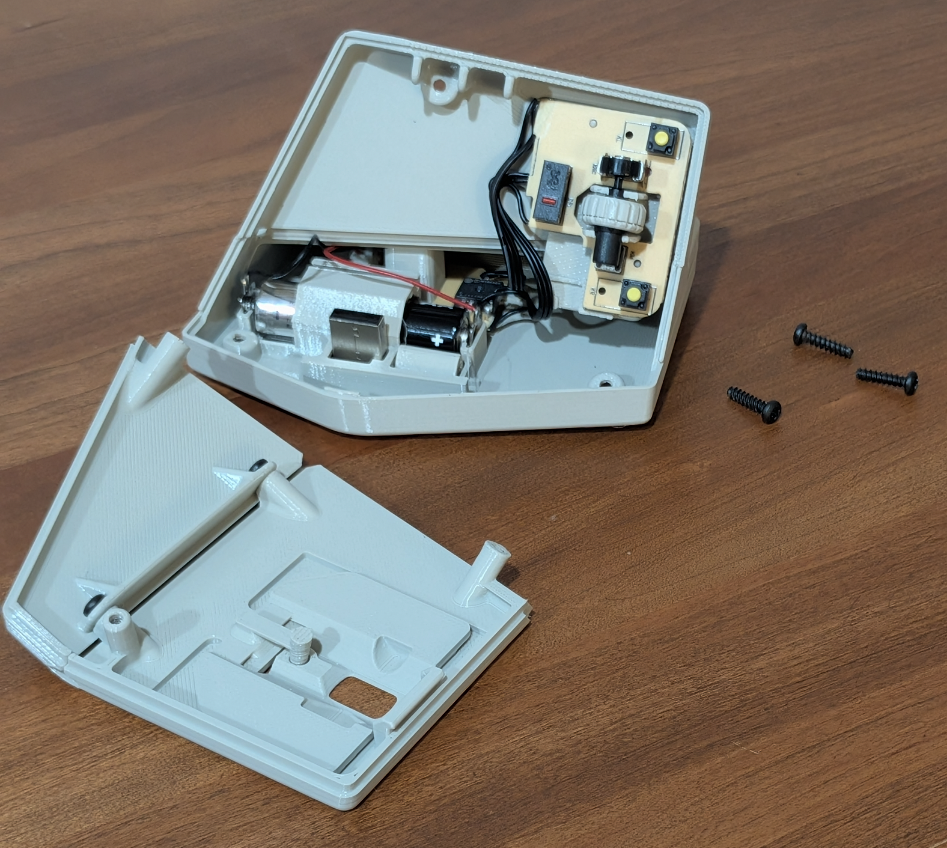
Fold the Palm-Rear part to give it a good crease. PETG makes forming this part easier than when I tried with PLA. Use two screws to attach the Palm-Rear to the Base and set the button-side PCB with scroll wheel in place.

Use three more screws to attach the Palm-Front to the mouse. Each of the seams should sit almost flush with only a small even gap.
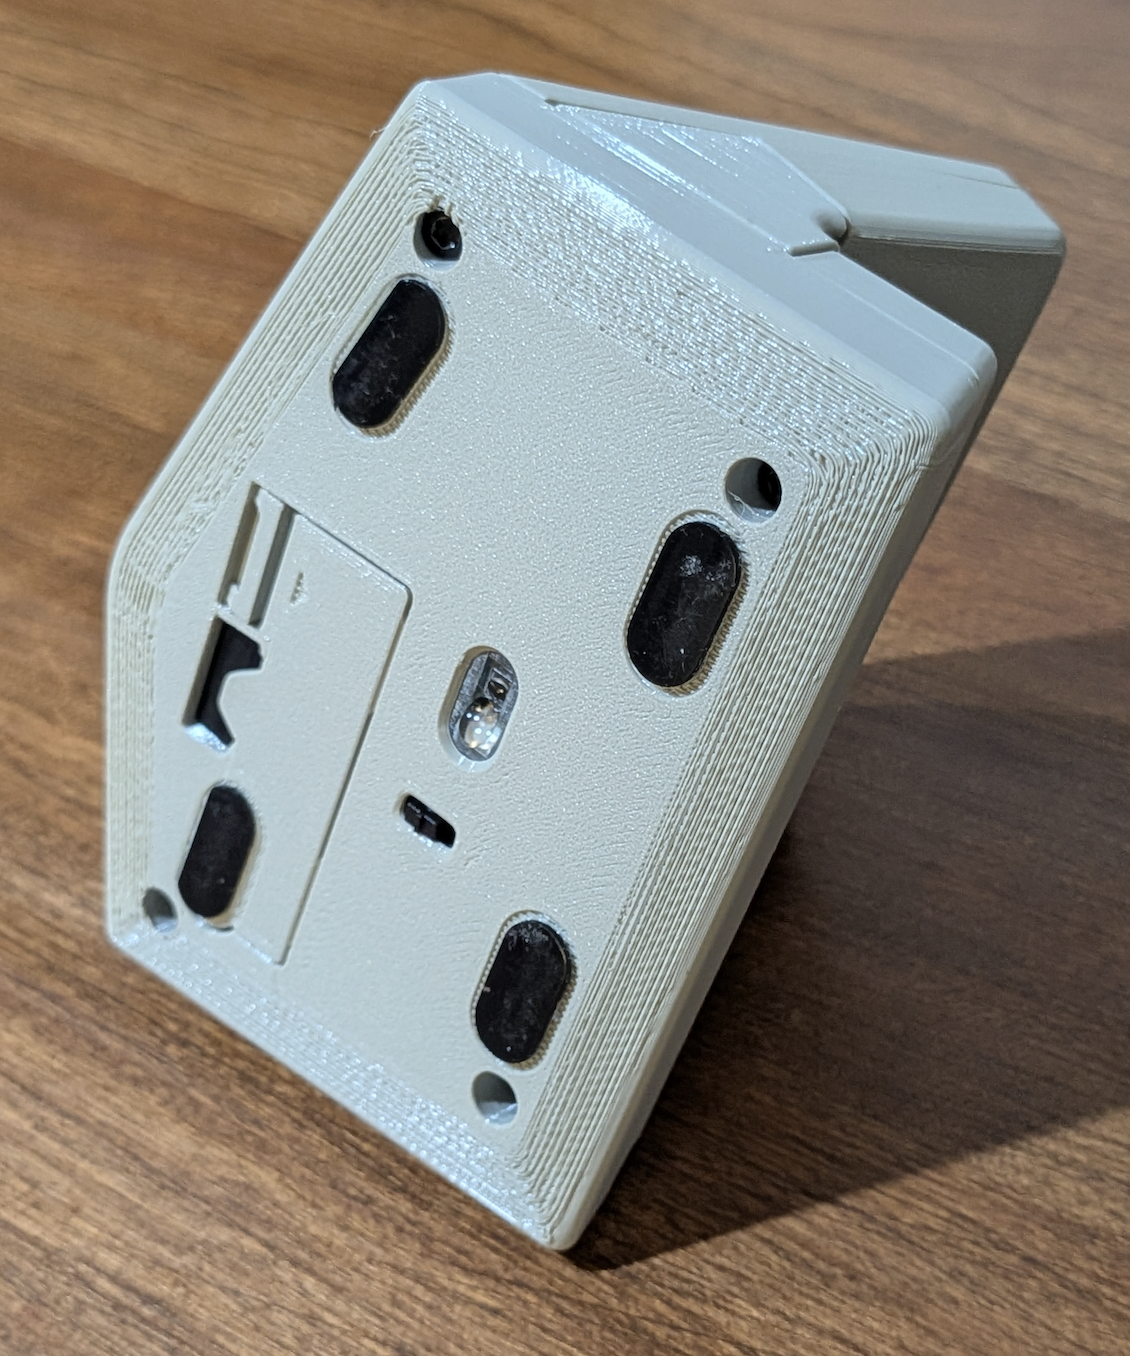
You can stick on for non-slip feet now or at the end.
Congratulations, you're all done!
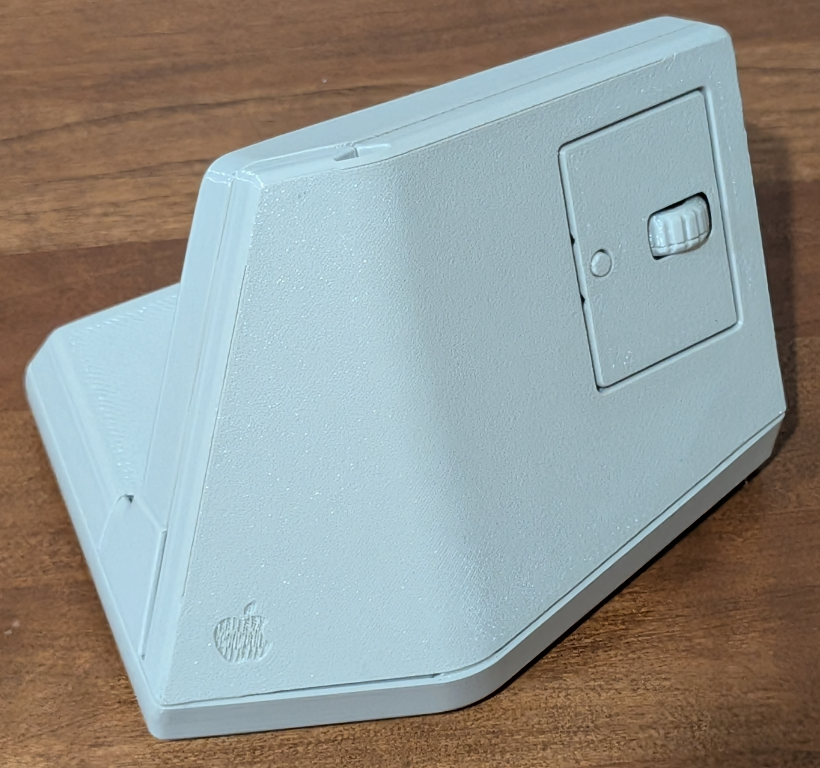
Vertical Retro Wireless Computer Mouse

Publicado em 7 de jul de 2026
Gostou deste modelo? Crie uma conta grátis para salvar seus favoritos e voltar a eles depois.
Criar conta