Você está no 3DFinder
Buscamos em Thingiverse, MakerWorld e Printables ao mesmo tempo para te dar o melhor de cada uma.
Descrição
If you've done the toolhead light mod, (which can be found here [https://docs.opencentauri.cc/mods/light_mods/](https://docs.opencentauri.cc/mods/light_mods/)) you know that it is quite bright, especially if you swapped the resistor. Now I won't say it's too bright, it just has nowhere to go. Which results in a terrible spotlight effect and shadow on your buildplate, in my opinion this is probably why they did not add the LED in the first place. I went through many iterations to try and find what worked best in my opinion, and all of the settings that I ended up sticking with are at the bottom.
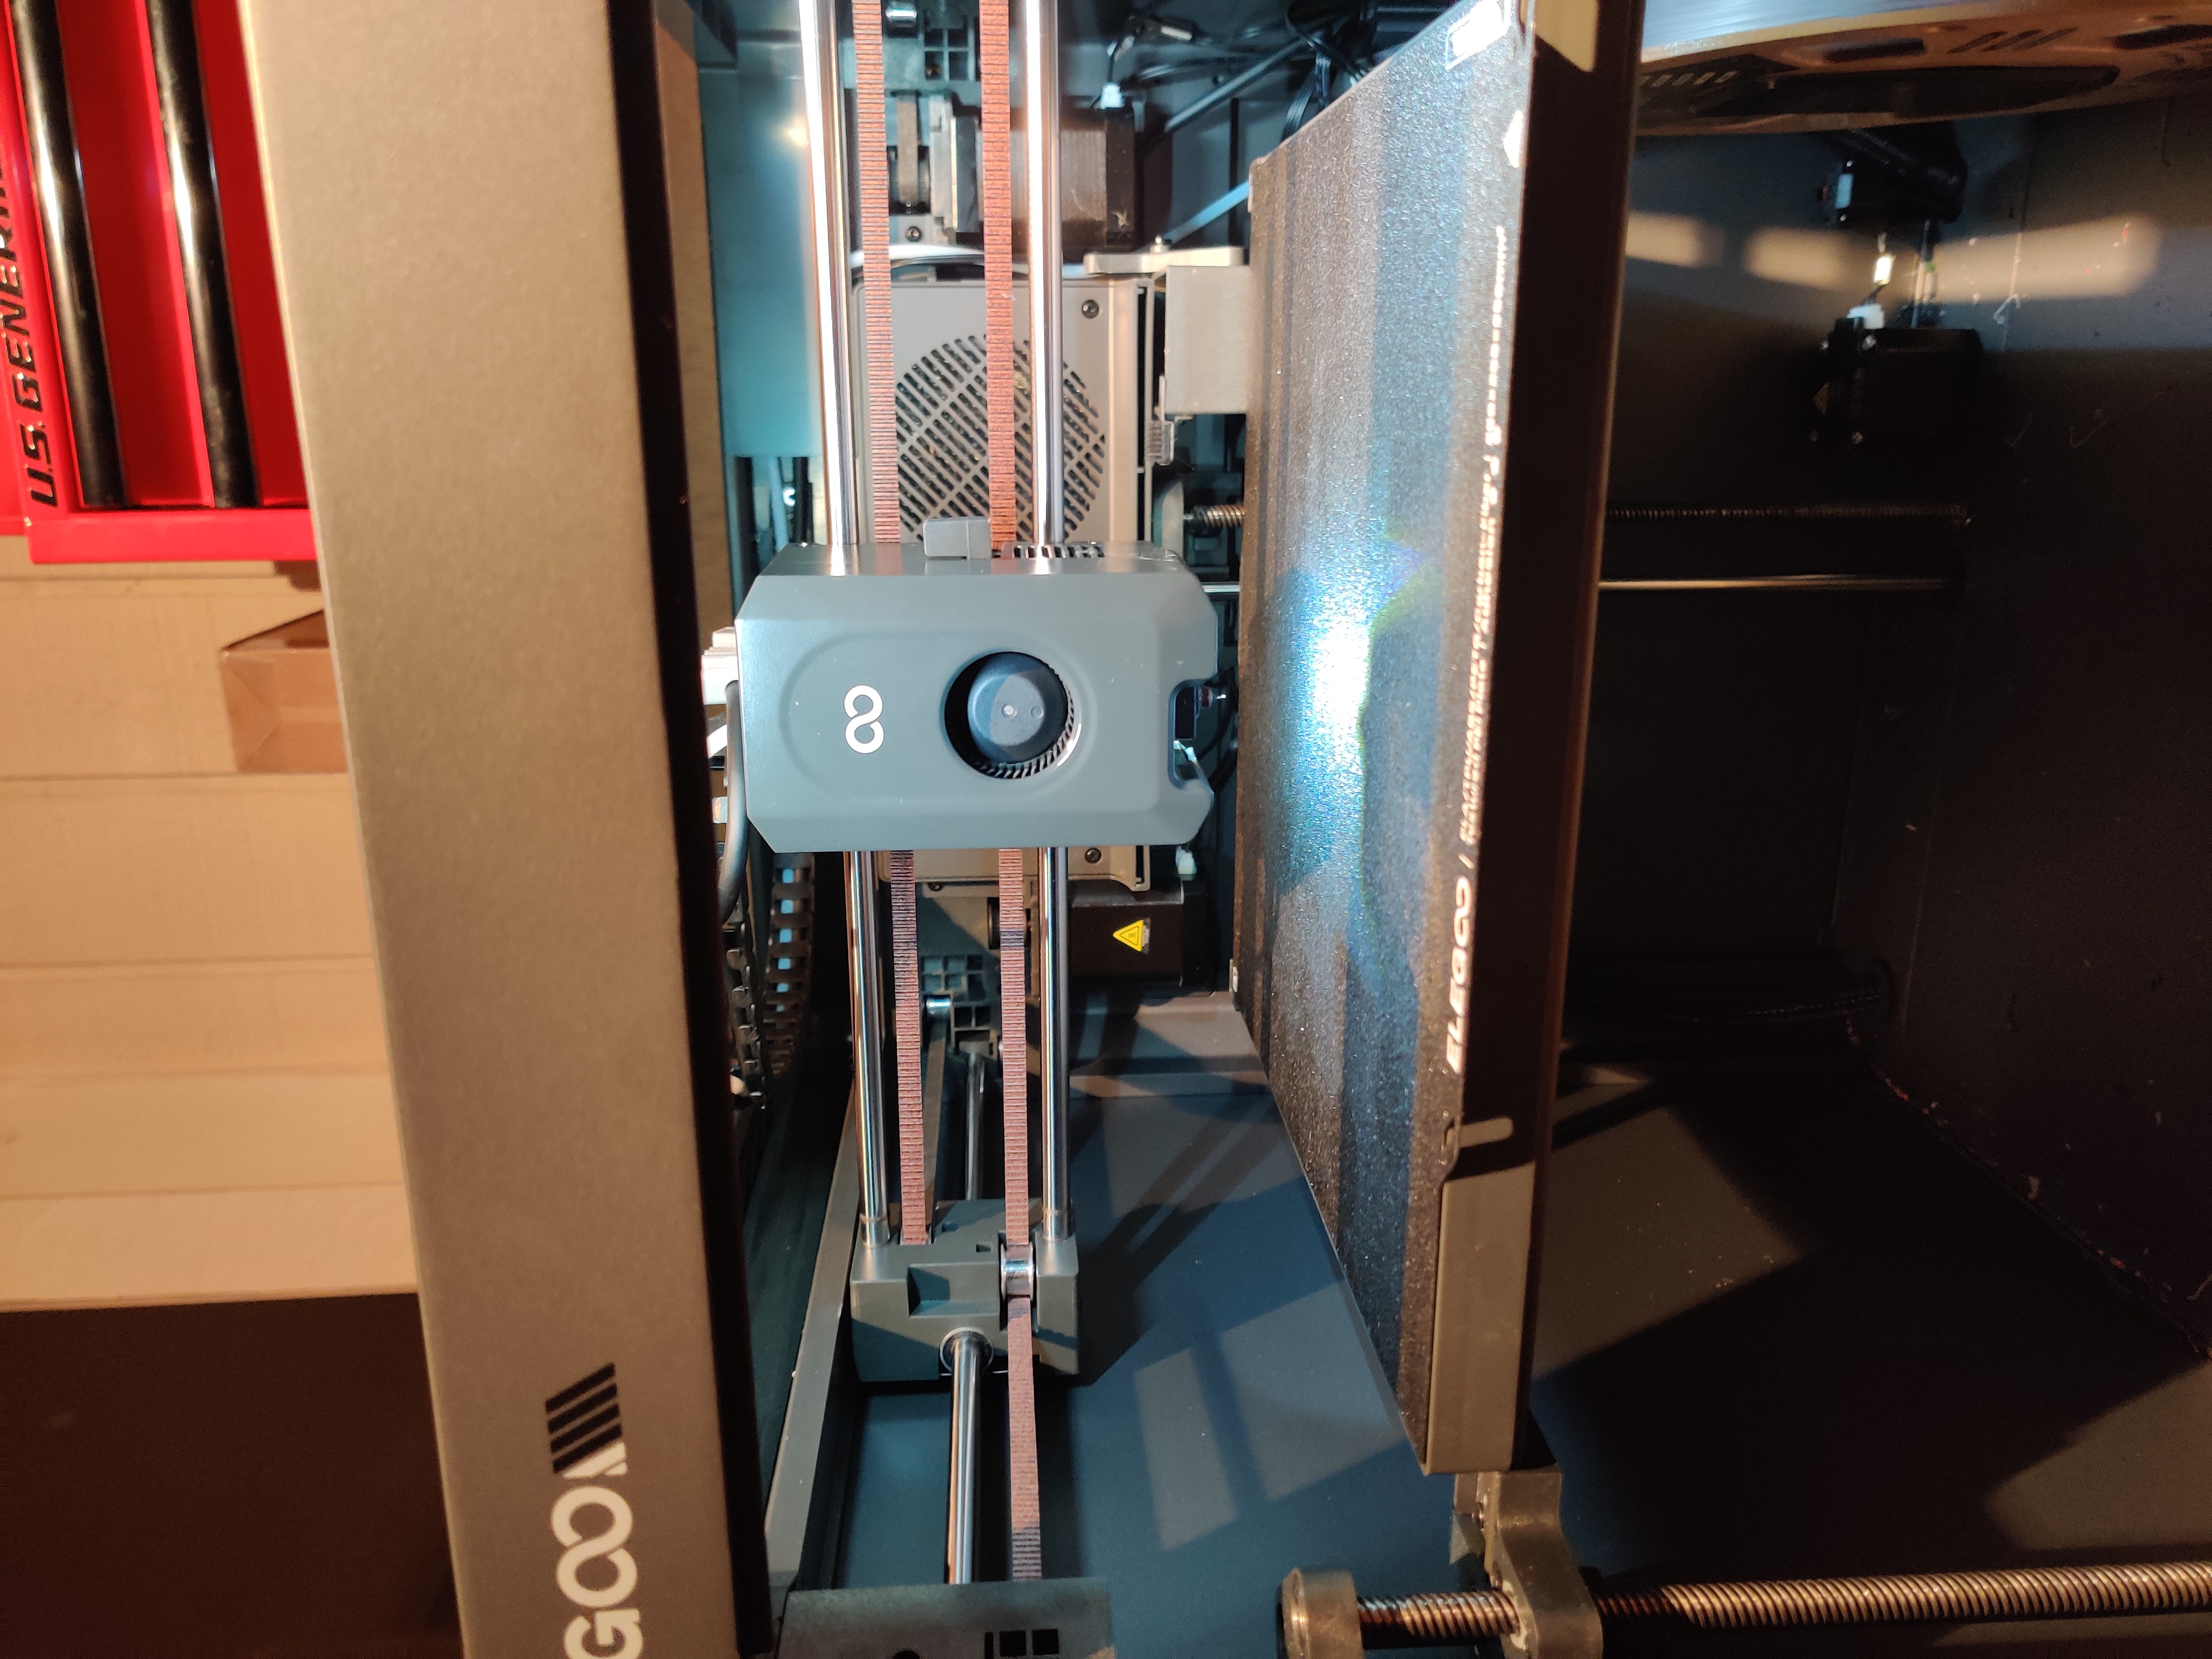
Here we can see the before, the shadows really are horrendous.
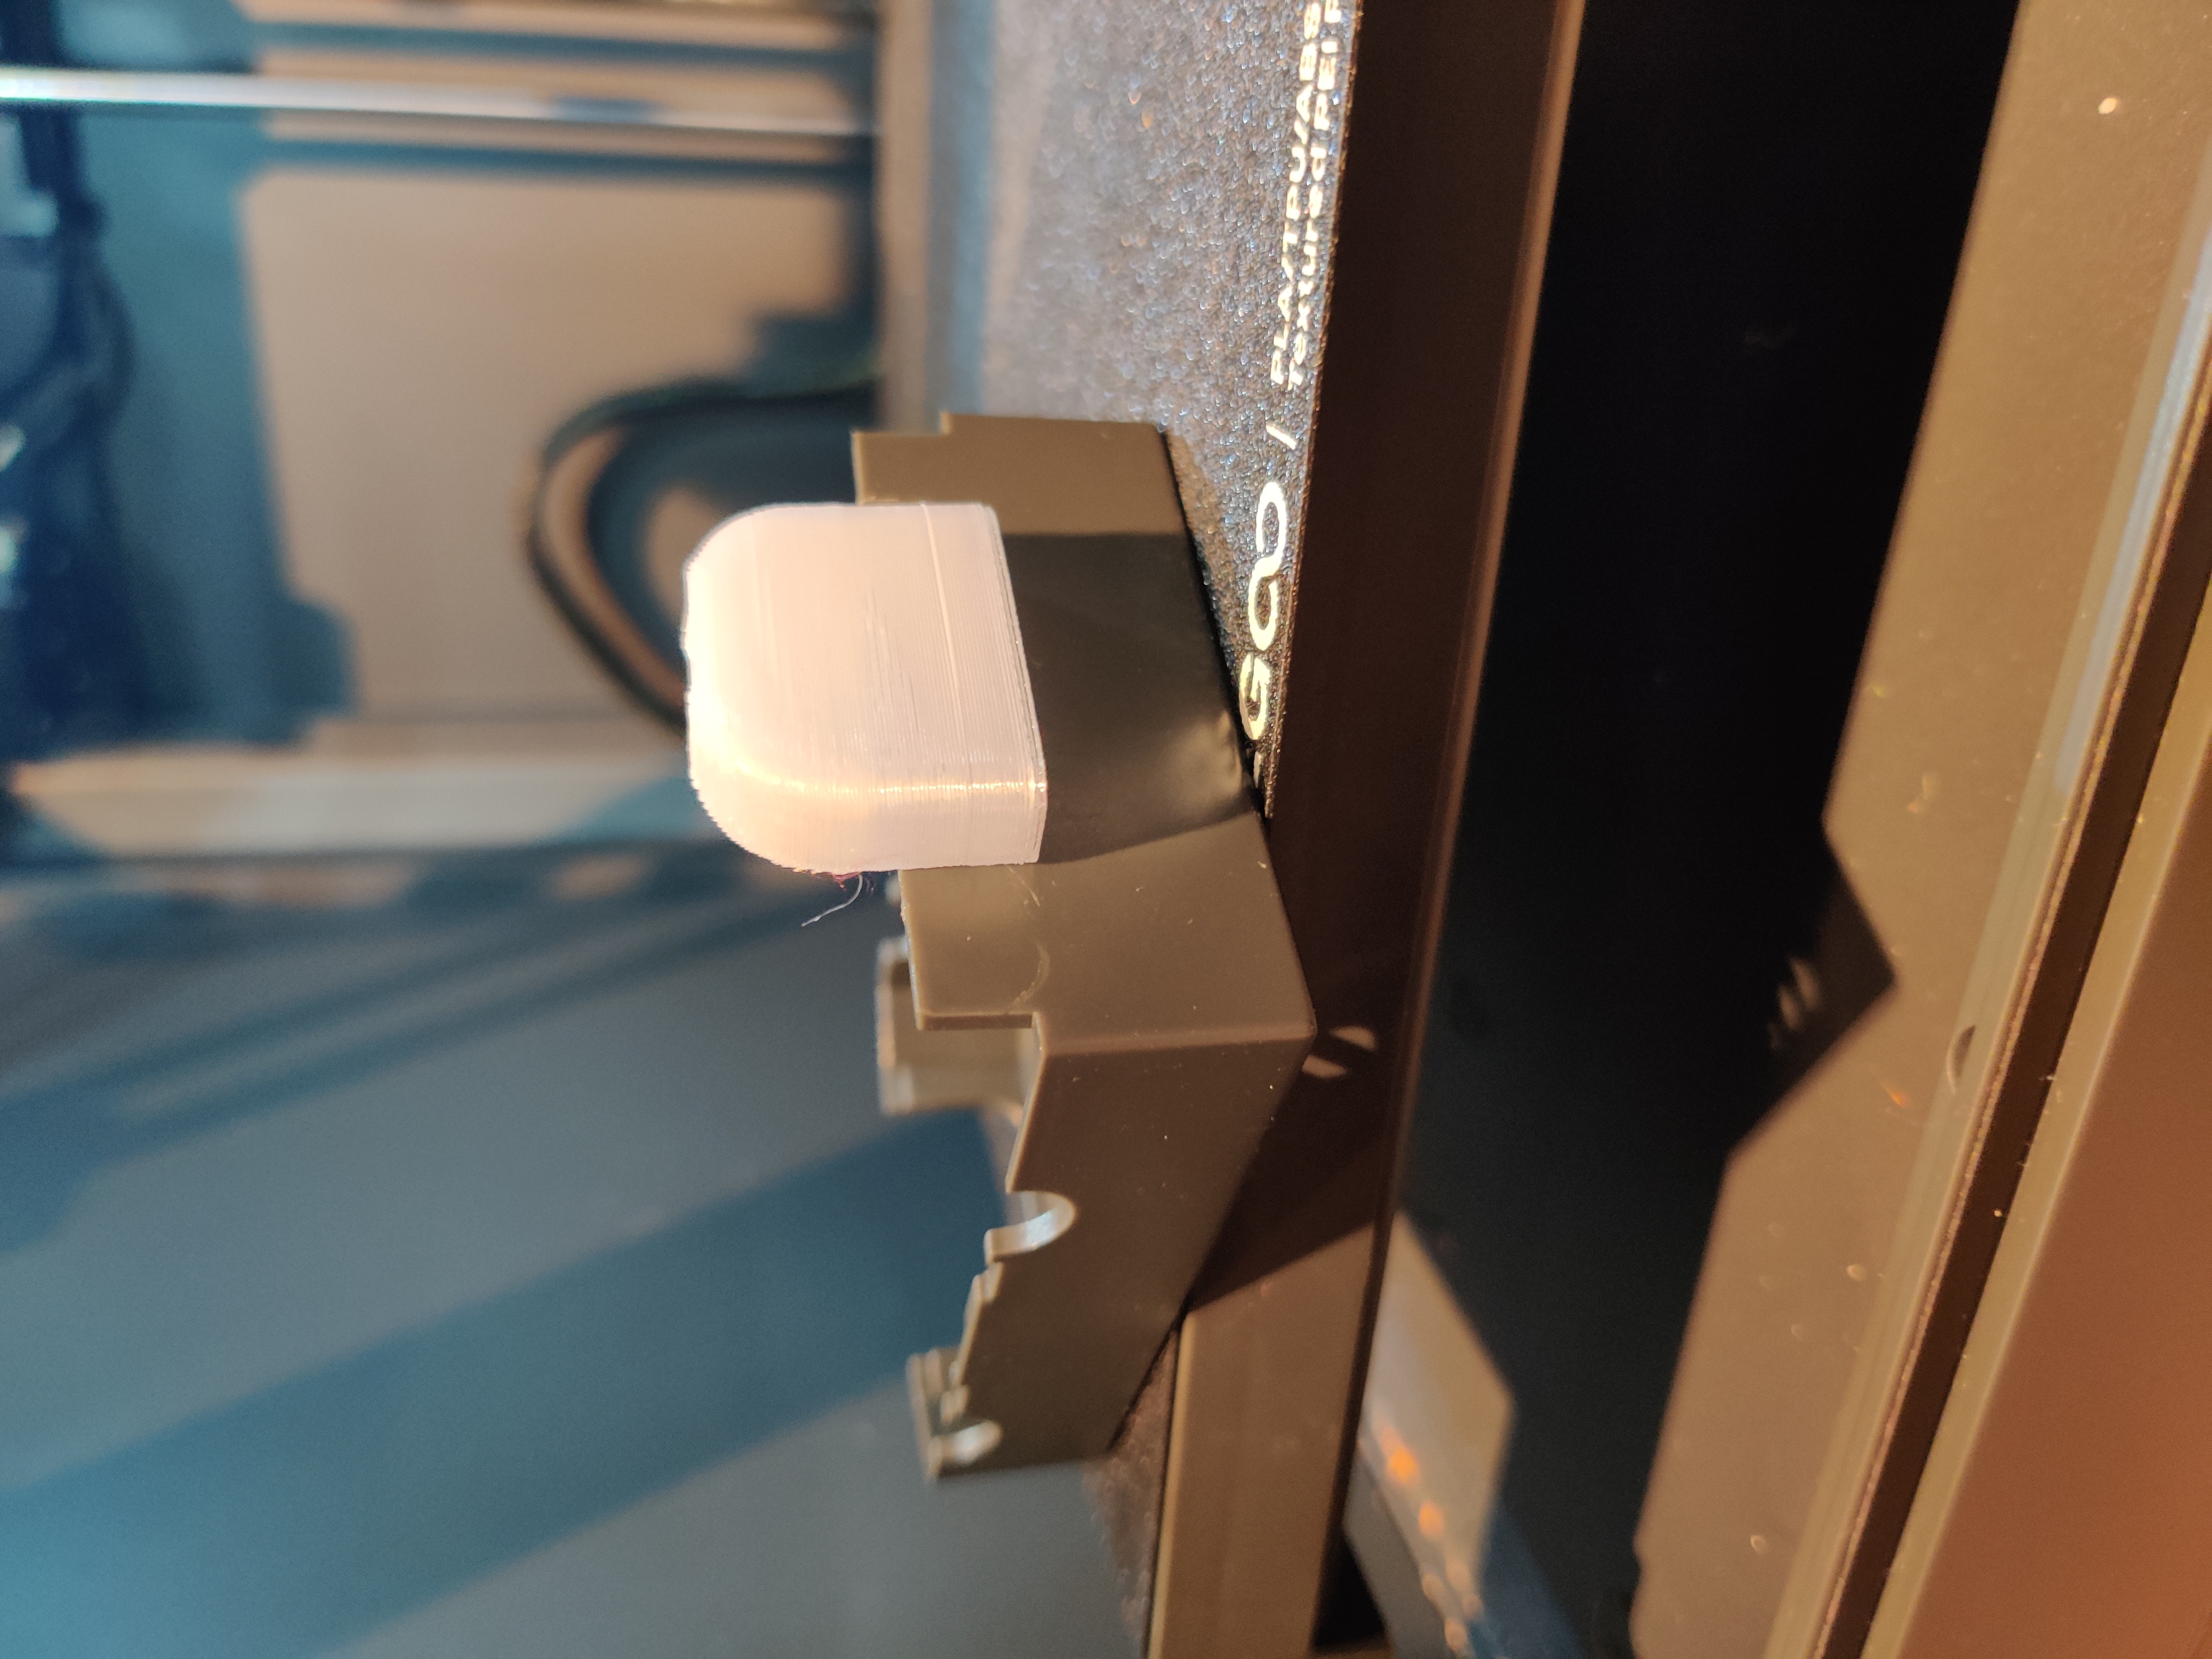
This cover will help diffuse the light and make your toolhead light work as you probably hoped it would have. It will disperse the light across the bed and let you get a clear look at those important first layers instead of being blinded by the reflection that I personally tend to get off the buildplate.
Here we can see the after, nice dispersed light, without the terrible shadow. There is no fuzzy skin applied here, that was added later and it spreads the light out even more.

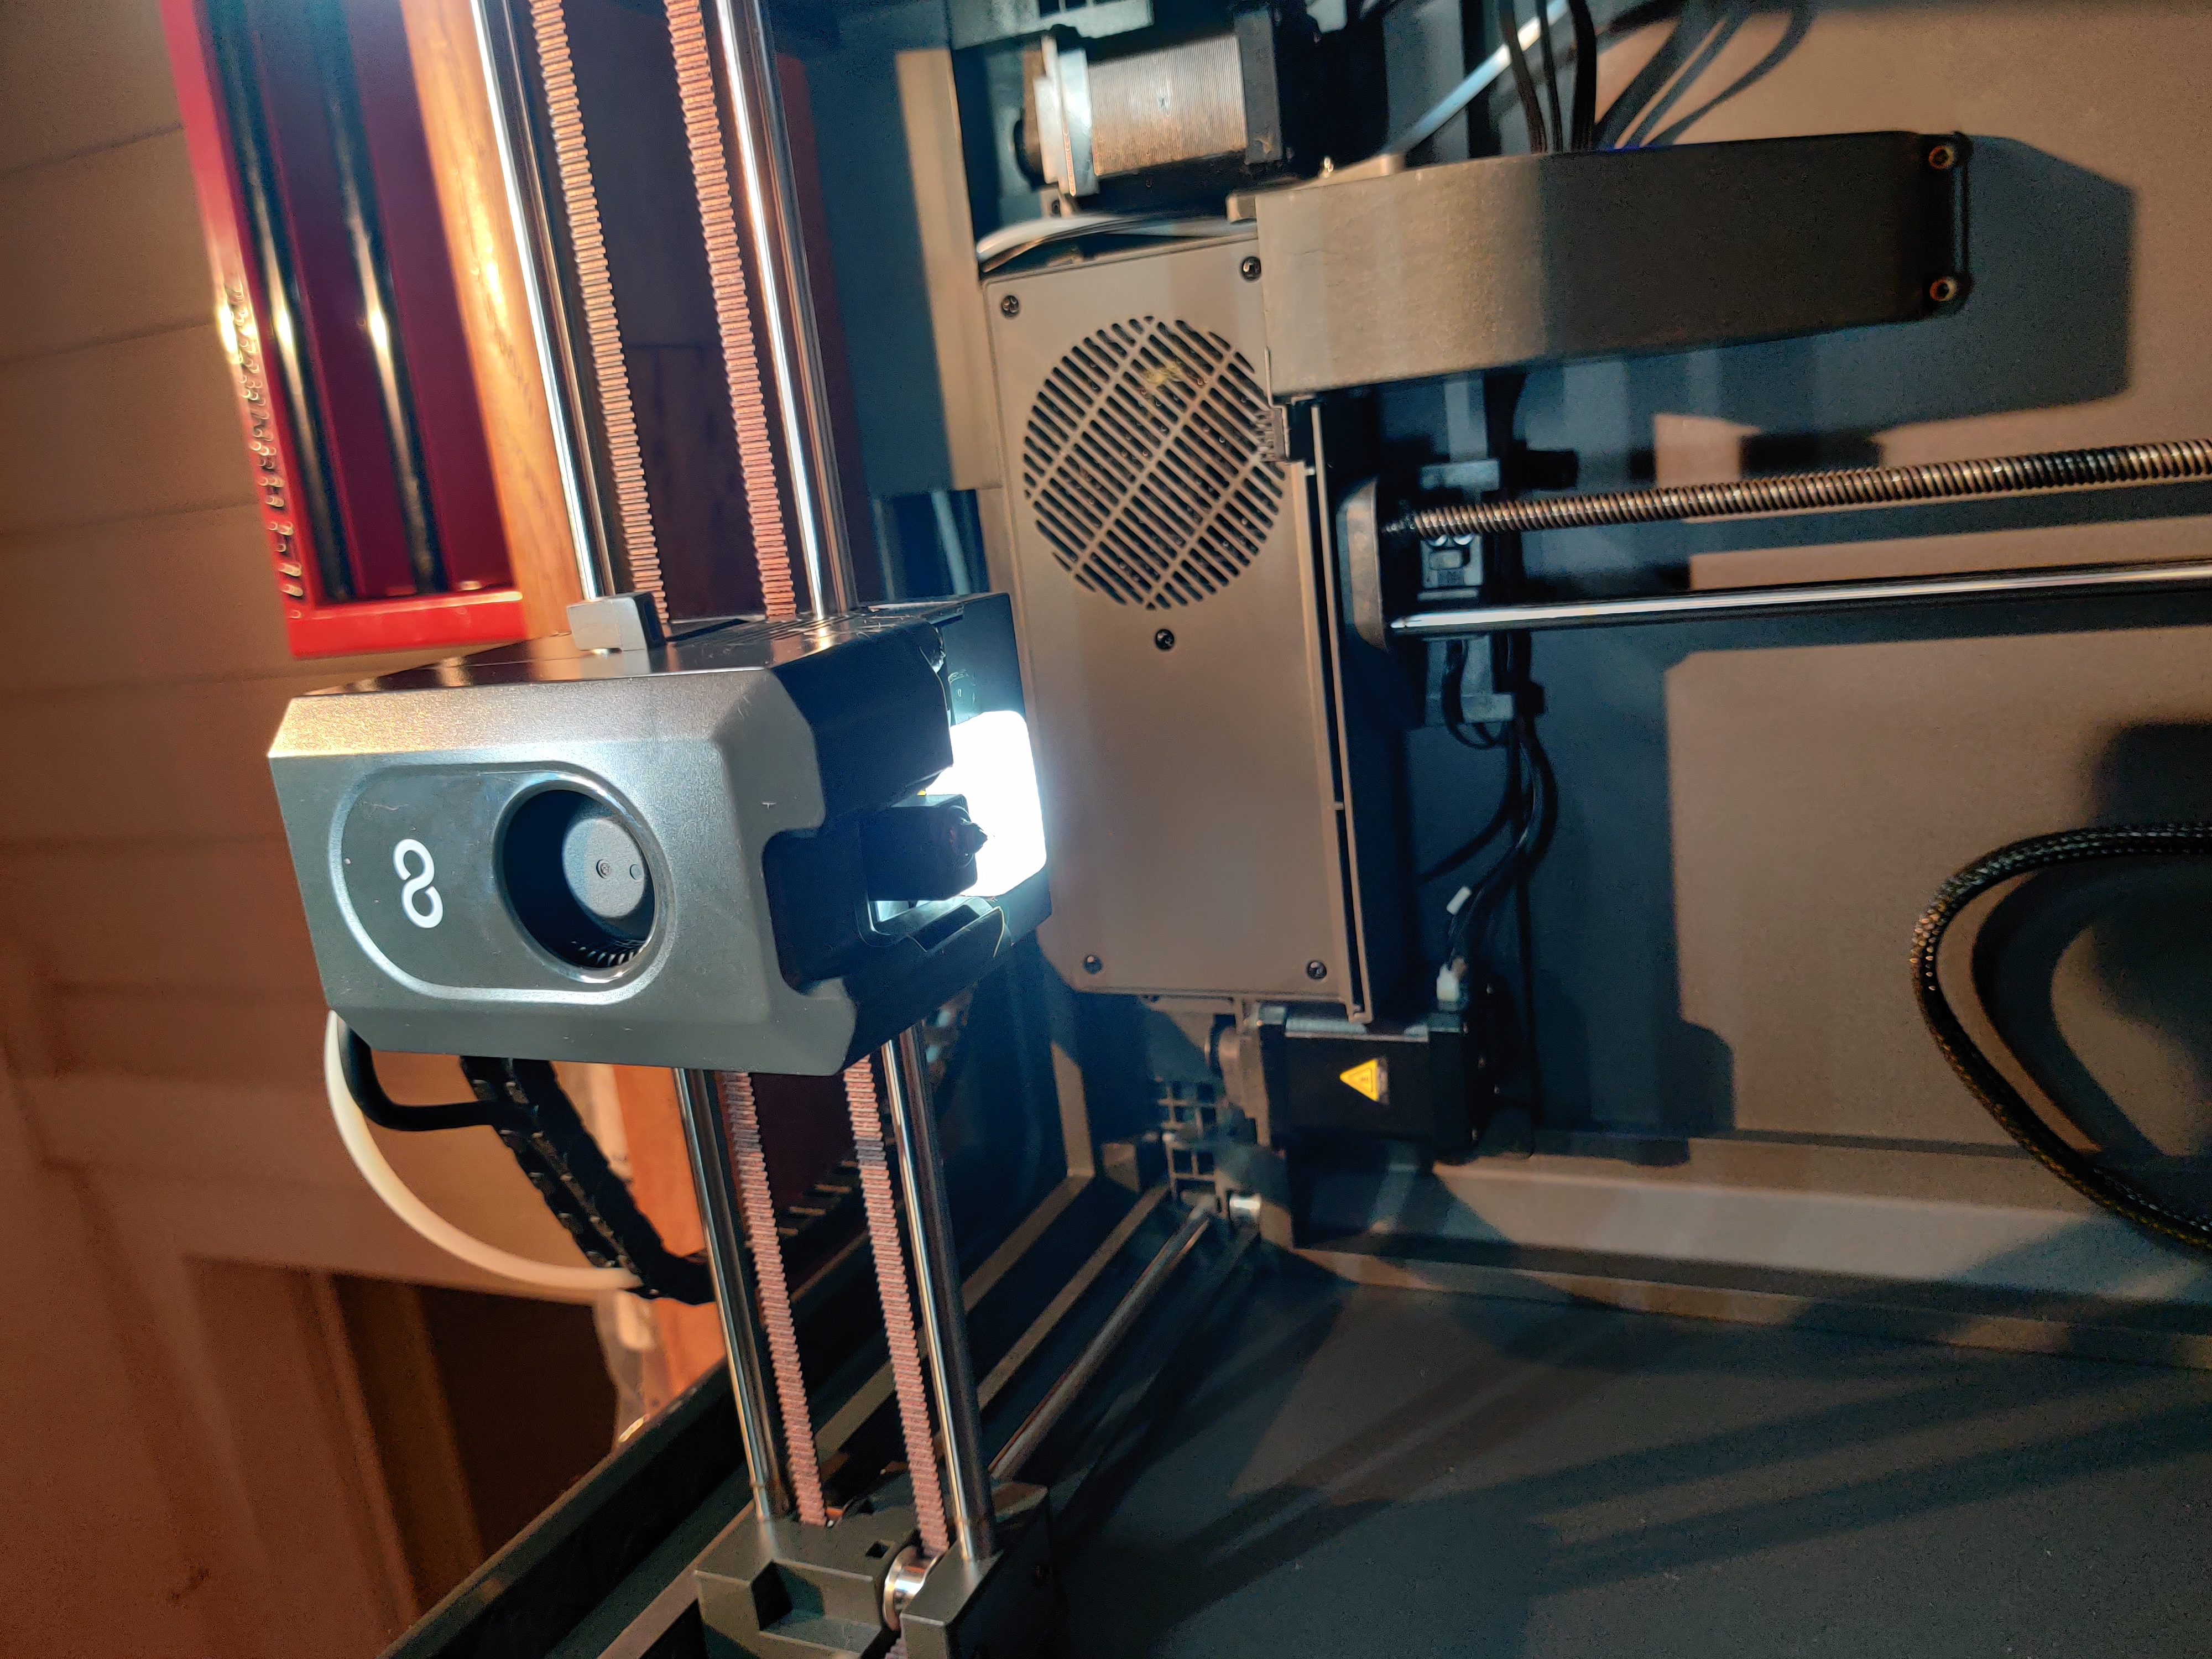
You will remove the back cover of the toolhead with the 3 screws attaching it, slip on the cover, and viola, but that's the easy part. Ultimately it will be up to you to get the clarity and light dispersion that you like and works best for you, luckily this is a sub-5 gram print, so you can make many attempts without using up too much filament.
Here's a look at it attached, off of the head assembly. Just slip it on, no fasteners required.

STOP, I know what some of you are thinking. "If I did the light mod, don't you think I would be the type of person to tinker further and print the light weight tool head as well? This won't even fit that, how inconsiderate, I say!!" It's okay, don't worry, I predicted the future and that is actually right here -------> ([https://www.printables.com/model/1581663-toolhead-light-diffuser-for-the-demogorgen](https://www.printables.com/model/1581663-toolhead-light-diffuser-for-the-demogorgen))
But can you really, (like reallllllly) get a good look at that first layer? Oh, I would say absolutely. Let's take a look at it with the Light Weight toolhead, I forgot to take a picture with the OG, sue me -whoops!-
Before - (barf)
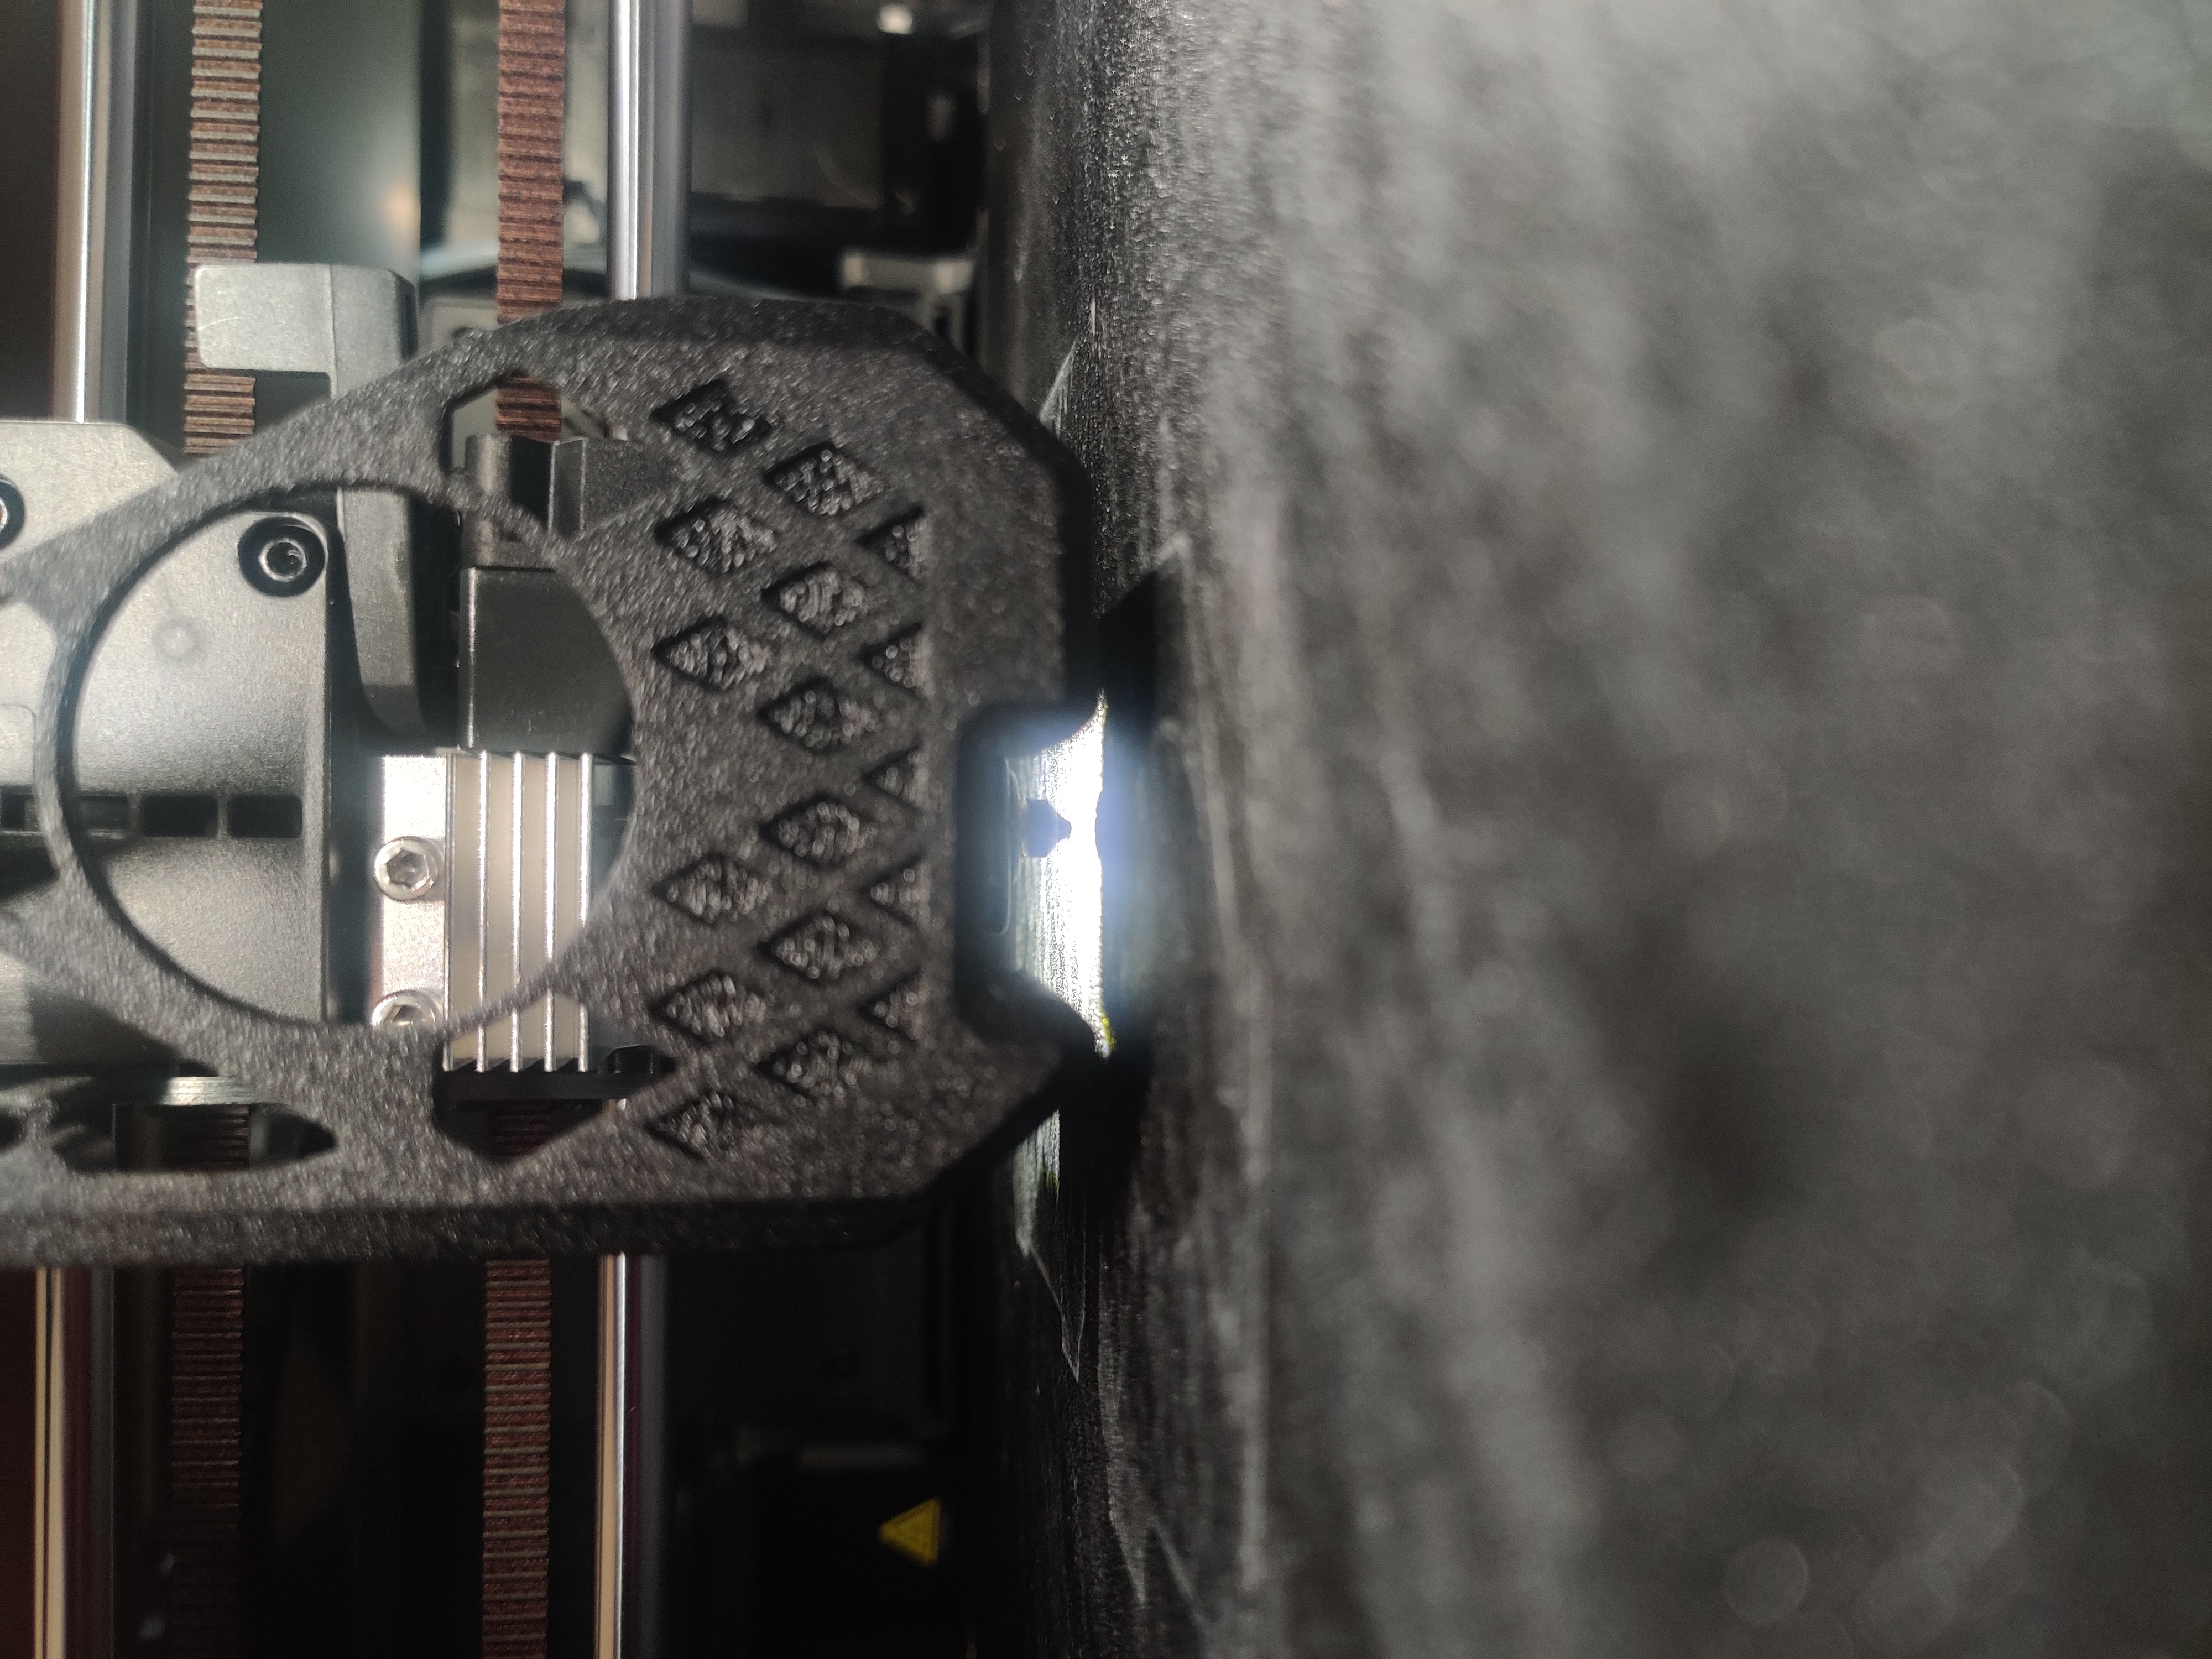
After!! Not barf? I'd say indeed, not barf.
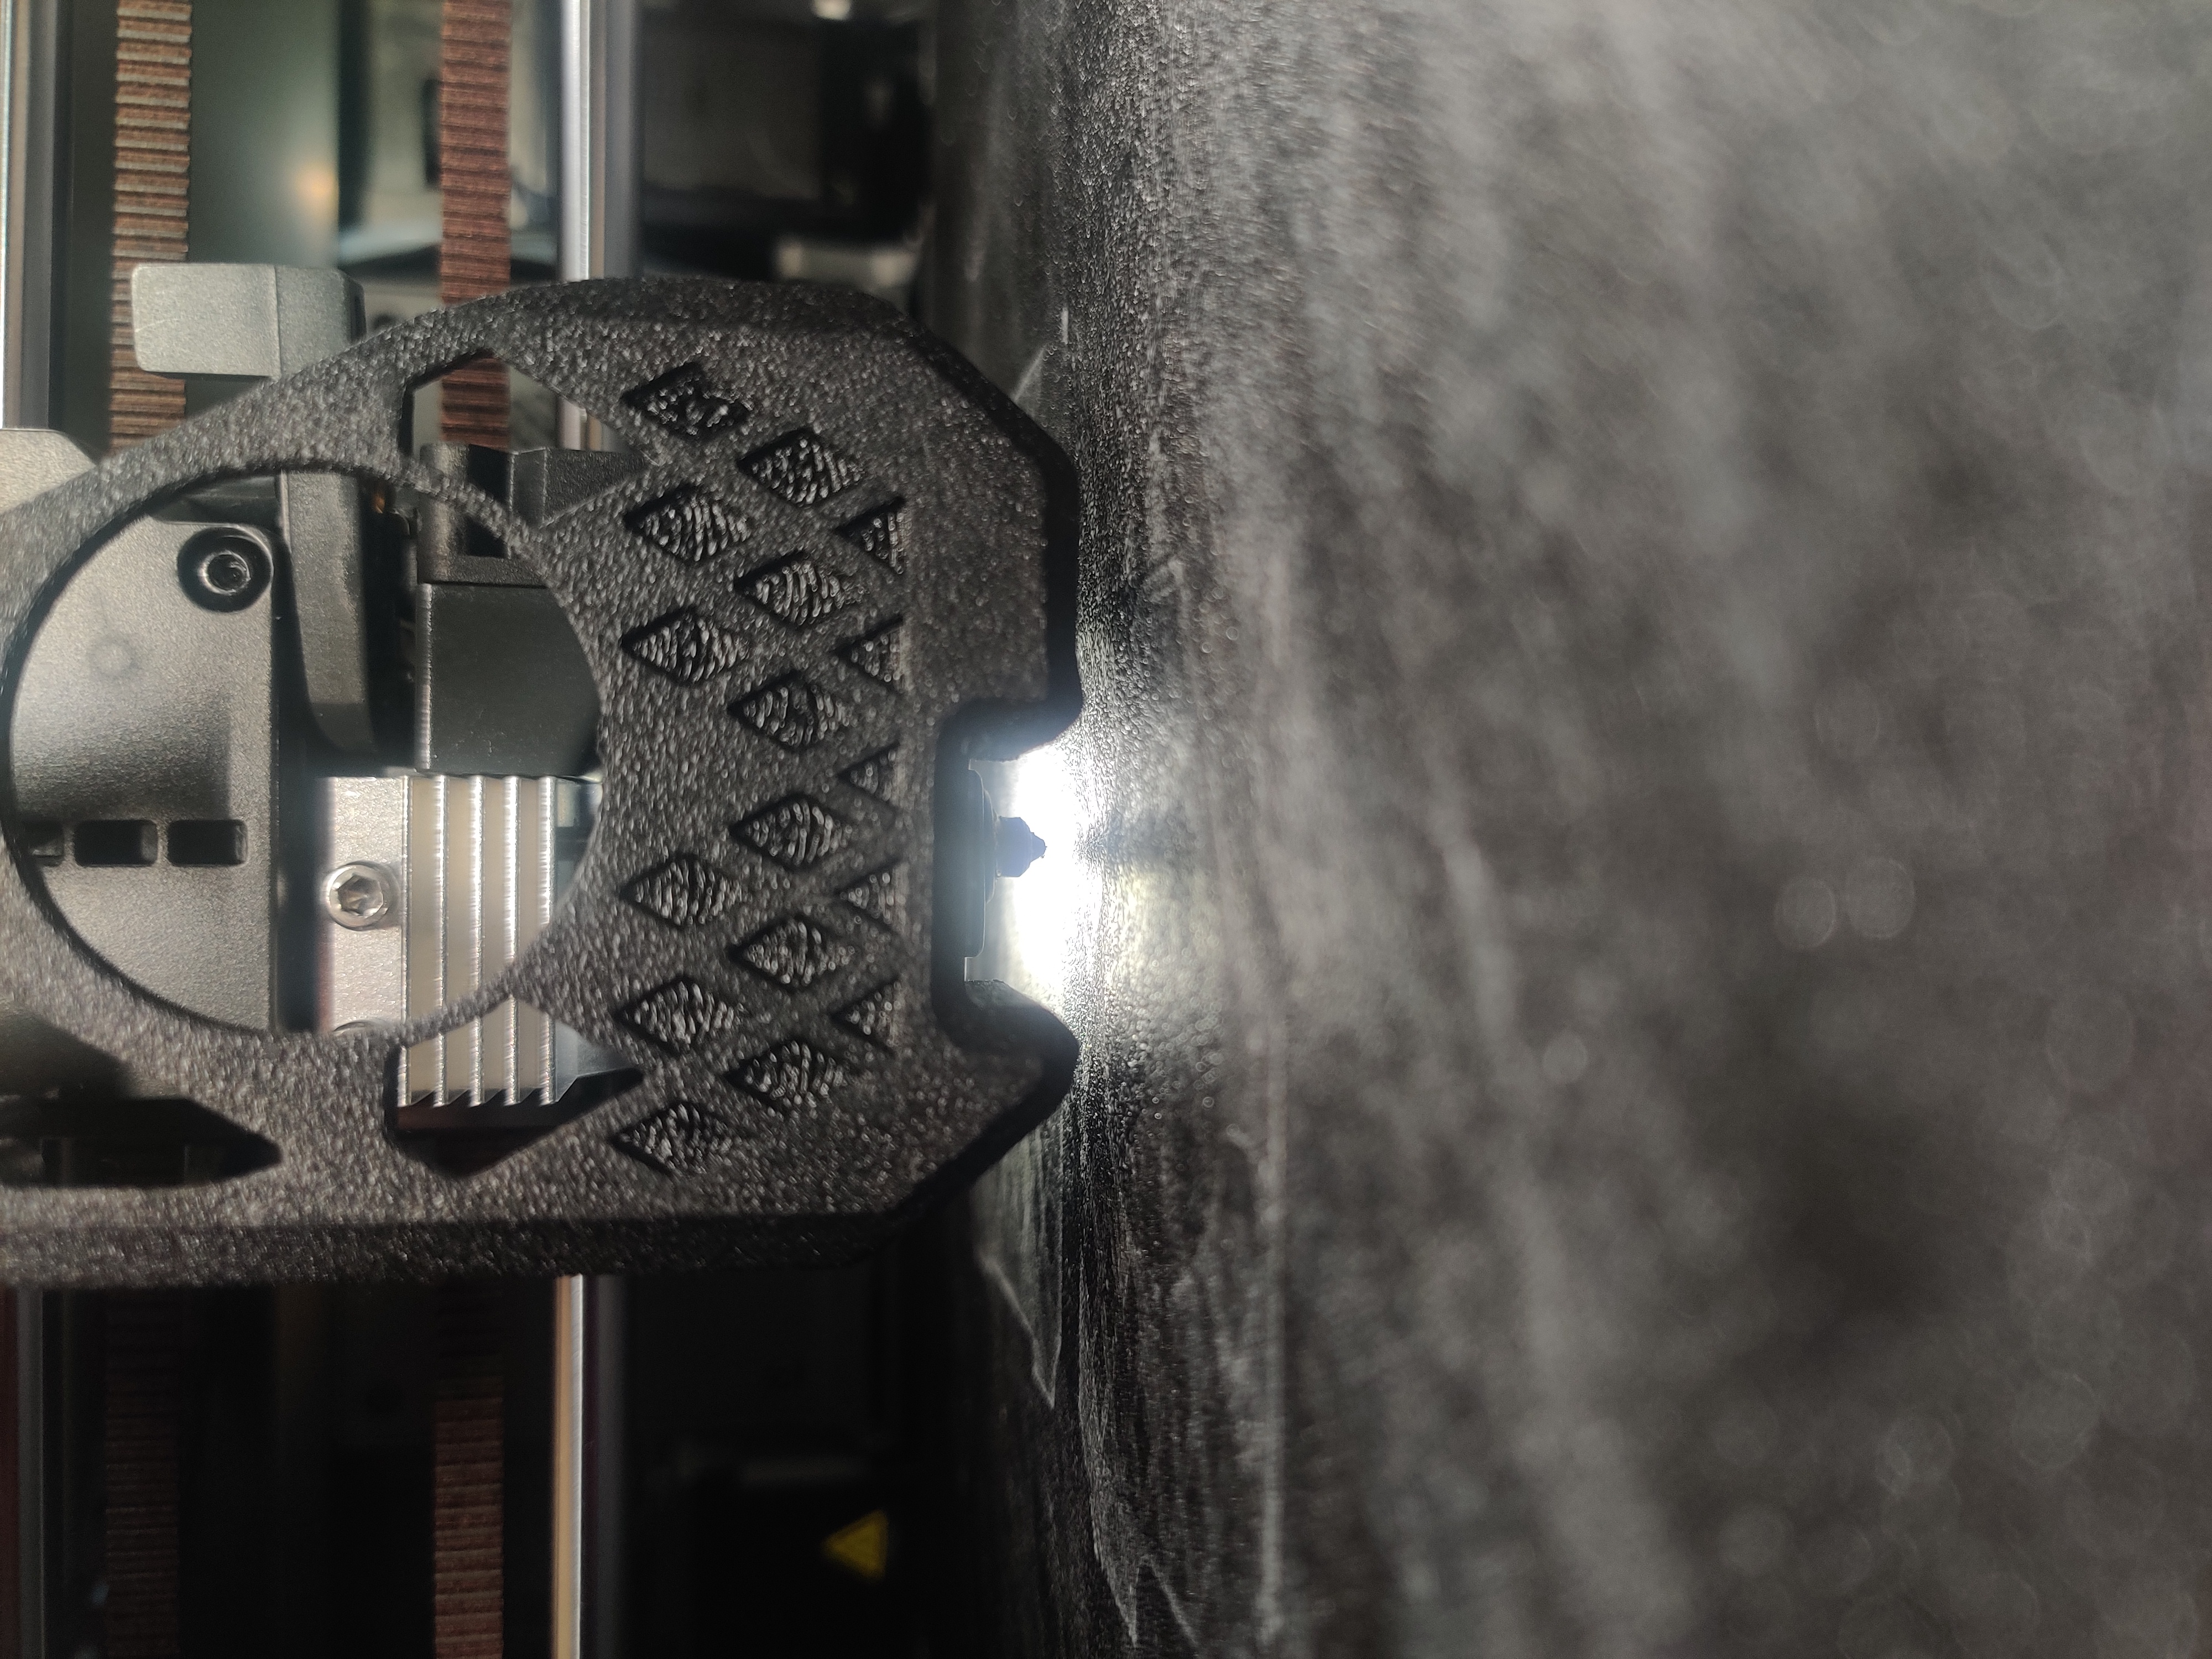
I used Overture Clear PETG for this, and while it's great, it did not survive printing the light weight tool head in PAHT-CF, it did survive many standard PLA and PETG prints. So for that reason, I recommend a higher temperature filament such as PC for this mod (which for me is on the way in the mail).
While I can't get it to print exactly just right for you, I can however share what I did. Of course your mileage may very. To get you up to speed with my level of knowledge and filament clarity, speed and cooling cloud the print, while going slow with little to no fan clear it up. I used a mixture of that knowledge and surface texturing to get my desired outcome. With that said, let's get to the details.
If you don't see a setting it was likely left as default or it's possible I missed it here, if you have any questions feel free to ask.
Overture Clear PETG 0.4 Standard Nozzle
I oriented the model on the flat face on the back of the model.
Filament Settings
Flow Ratio - 0.95
Nozzle Temp - 265C
Bed Temp - 70C
Max Volumetric Speed - 1.5
Fan Speed - 70%
Fan Always On
Uncheck "Slow Printing Down for Better Layer Cooling"
Print Settings
Quality
0.16 Layer Height
Default Line Width 0.32
First Layer LW 0.32
Outer Wall LW 0.32
Inner Wall LW 0.32
Top Surface LW 0.32
Sparse Infill LW 0.32
Internal Infill LW 0.32
Supports are not used for this model
Wall Generator Classic
Uncheck Print Infill First, if it is checked
Strength
Top Shell Layers 5
Top Surface Pattern Hilbert Curve
Bottom Shell Layers 3
Bottom Surface Pattern Hilbert Curve
There is hardly any sparse infill, I left that as default.
Internal Solid Infill Pattern Hilbert Curve
External Bridge Infill Direction 45 degrees
Internal Bridge Infill Direction 45 degrees
Ensure Vertical Shell Thickness None
Speed - Most of this will be throttled by the Max Volumetric Speed
First Layer 250mm/s
First Layer Infill 250mm/s
Outer Wall 40mm/s
Inner Wall 40mm/s
Sparse Infill 250mm/s
Internal Solid infill 250mm/s
Top Surface 250mm/s
Gap Infill 250mm/s
Other
Brim - No Brim
Fuzzy Skin Point Distance 0.3
Fuzzy Skin Thickness 0.2
Paint the Fuzzy Skin to the Outside of the Model, avoid the tracks towards the top of the model.
Elegoo Centauri Carbon Toolhead Light Diffuser

Publicado em 11 de fev de 2026
Gostou deste modelo? Crie uma conta grátis para salvar seus favoritos e voltar a eles depois.
Criar conta