Você está no 3DFinder
Buscamos em Thingiverse, MakerWorld e Printables ao mesmo tempo para te dar o melhor de cada uma.
Descrição
A compact and fully printable mechanical counter designed for tabletop and board games. Ideal for tracking scores, turns, resources or other in-game values.
Updates
05-05-2026
The locking mechanism has been updated for easier assembly.
Features
Fully printable, no additional hardware needed
Large numbers for easy readability
Tactile feedback on rotation for easy alignment and preventing accidental rotation
Automatic carry to the second digit
Fits within 2x2 squares on a standard 1" tabletop game grid.
Highly customizable with first layer inlays.
Manual filament swap friendly (provided inlays and numbers can be printed with just 2 filament swaps).
Before printing
Due to the compact size, the mechanism has some tight (0.1mm) clearances.
Please use a tolerance test (like the one included in Orca and derivatives) and make sure the peg fits in the 0.1mm hole (ideally with little or no force required).
Filament type
Most materials should work great for this model.
Avoid any abrasive filaments (like matte, glow in the dark or fibre/metal filled) as these will wear down the counter unreasonably fast.
Printing instructions
Using the included 3MF files is recommended. These have been made with OrcaSlicer and should be compatible with all OrcaSlicer forks like ElegooSlicer.
When using the multicolour version, please make sure you have multiple filaments added in your filament selection.
These files include the model and the recommended print settings. No printer/filament profiles are included so your own calibrated settings will be used.
All parts should be printed in the provided orientation
Supports: none
Brim: none
Layer height: 0.2mm (0.1mm is also supported, other layer heights including adaptive are not)
Line width: 0.4mm (0.2mm is also supported)
Wall order: Outer-Inner (note: do not use Inner-Outer-Inner as that will have the wrong wall order on the outer number wheel)
Only one wall on top surfaces: disabled
(optional) Top surface flow ratio: 0.97-1.00 (No top surfaces will be visible once assembled, slight under extrusion is preferred over slight over extrusion)
Optional modifiers
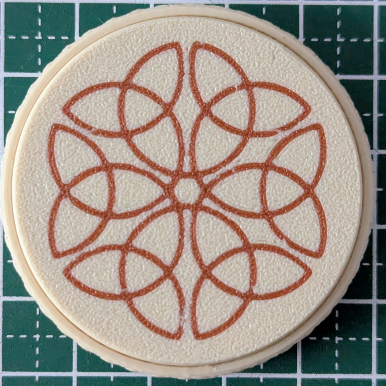
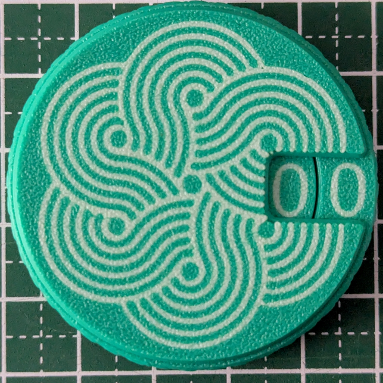
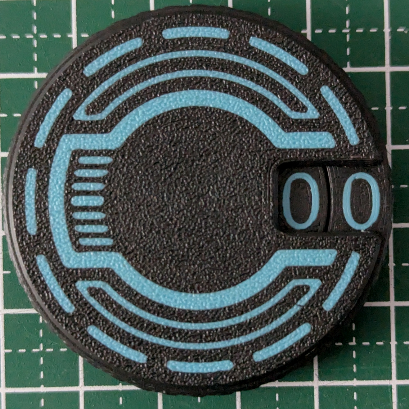
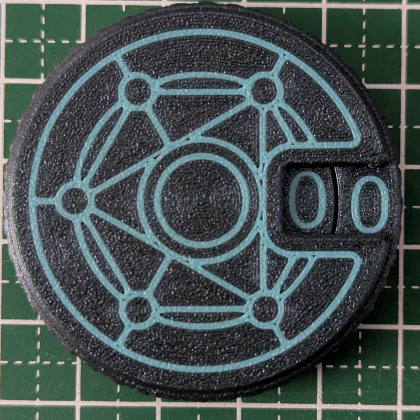
I have included various modifiers for decorative patterns. You can add these as a modifier in your slicer to the front and back pieces (as indicated in the filename) and change the filament on them. These do not affect the functionality in any way.
CelticKnot:

CirclesPattern:

Futuristic:

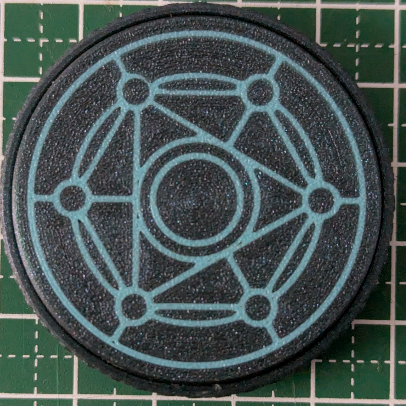
MagicCircle:
WaveCircles:
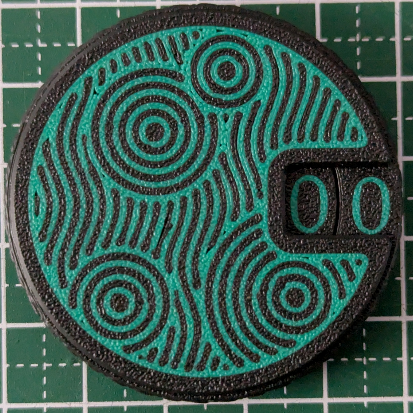
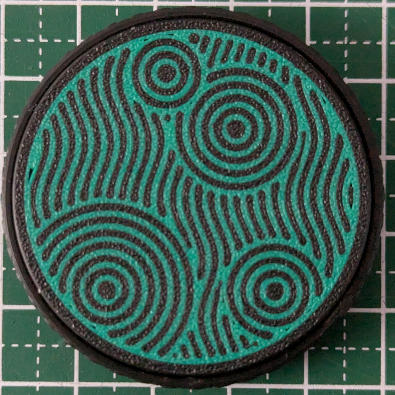
You can also add your own SVG files or custom infill patterns right in the slicer to customize your counters even further.
Post-processing and assembly
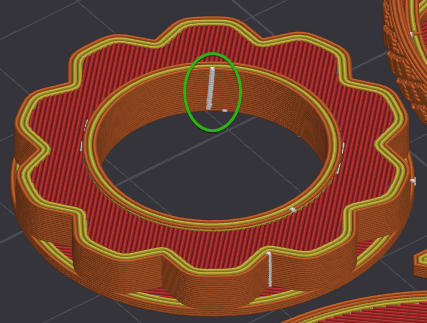
Make sure that these seams on the back and inner number wheel are relatively smooth. If there is a bump, use a small file to smoothen it out. Other seams in the model should not need any post-processing.

Put the thicker of the two small slider pieces in the slot on the back piece

Add the inner number wheel

Push the small slider inwards

Put the thinner of the two small slider pieces in the slot on the outer number wheel
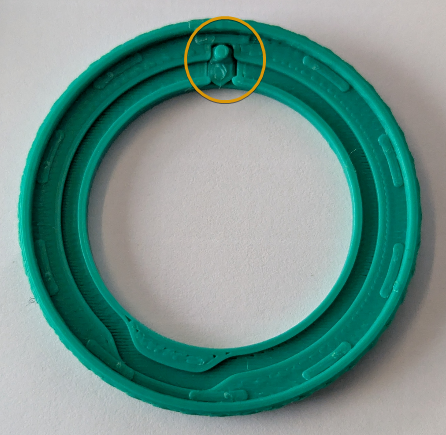
Add the outer number wheel to the back piece and take note of the notch on the back piece
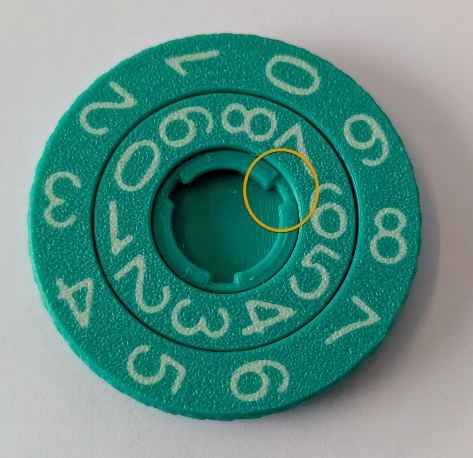
Add the front piece, the opening should align with the notch in the back piece (indicated in the previous step)

Rotate the front piece clockwise to lock it in place. This is easiest by holding the counter between your palms
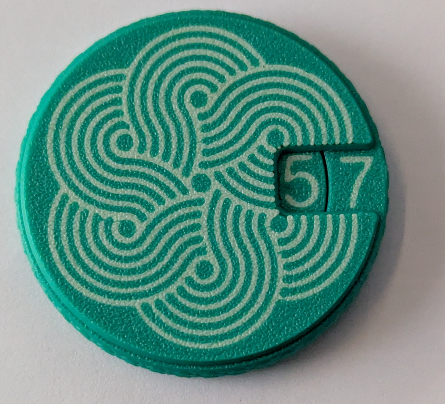
The counter is now fully assembled and should be functional.
Note that movement will probably feel rough at first, but it should wear in relatively quickly for a smooth motion and snappy tactile feedback.
If the counter starts feeling gummy or hard to turn, open the counter and wipe off any plastic dust from the back piece and outer number wheel. This should only happen during the wear in period.

Gostou deste modelo? Crie uma conta grátis para salvar seus favoritos e voltar a eles depois.
Criar conta