Você está no 3DFinder
Buscamos em Thingiverse, MakerWorld e Printables ao mesmo tempo para te dar o melhor de cada uma.
Descrição
If you like my work and enjoy my models please consider leaving me a tip/donation, It helps me to continue creating awesome models for you for free.
[https://paypal.me/muddymaker](https://paypal.me/muddymaker)
You will need;
3---M3x25mm socket head cap screw (SHCS) fasteners for the container.
3---M3x10mm socket head cap screw (SHCS) fasteners to attach the handle to the lid.
3---0.5mmx5mmx25mm helical compression springs for the latches.
3---2mmx25mm stainless steel dowel pins to attach the latches to the lid.
3---2mmx14mm stainless steel dowel pins to attach the push rods to the latches.
Dimensions of the container are:
External-H230mmxØ165mm
Internal-H180mmxØ129mm
If you are having a hard time sourcing the required bits in your country all of the hardware can be obtained at BambuLab's website under the maker's supply section.

INSTRUCTIONS:
STEP 1.
Once all of the parts are printed you will need to clean out the dowel pin holes in the lid with a 2mm drill bit but do not oversize the hole, you just want it large enough to press fit the dowels in. I would not recommend you use a power tool for this step, use a hand held drill bit with holder for more control.
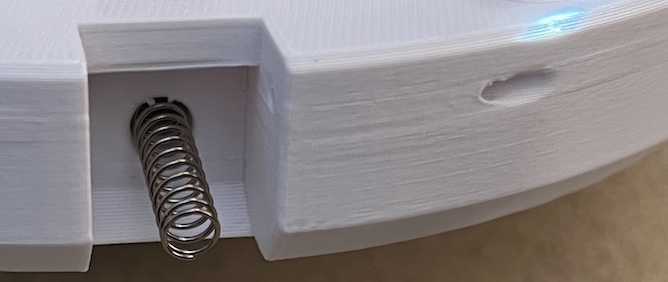
STEP 2.
Attach the handle to the lid with the 3 M3x10mm SHCS. The fasteners screw into the plastic so do not over tighten them.
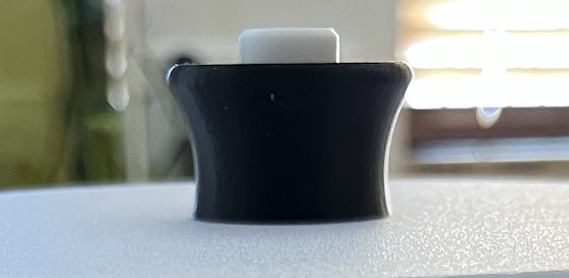
STEP 3.
Insert the button into the lid and handle assembly, it can only go in one way.
STEP 4.
Attach the push rods to the latches using the 2mmx14mm dowel pins (Make sure the push rods are orientated correctly, when the lid is facing up the chamfers on the push rods need to be facing down and towards the centre while the cutouts on the latches need to be facing up. Make sure you use the upper holes in the latches that are the furthest from the spring seat. The holes closest to the spring seat are used to attach the latches to the lid in a later step.

STEP 5.
Apply a very thin lubricant (not oil) to the contacting surfaces of where the button and the push rod surfaces mate together. I used silicone grease.

STEP 6.
Slide the push rod and latch assembly into the captive slot on the lid making sure the chamfer is in the correct orientation and push the assembly onto the spring making sure it has seated correctly into the latch and while holding it in place with one hand push in the 25mm dowel pin with the other hand to secure it (you may have to do the jiggle method to align the hole). To insert the pins all the way use a 1.5mm hex driver with a handle.
Do this for all three sub assemblies.
NB: Make sure that you have only pushed the dowel pins in far enough to secure the latch. Use the 1.5mm as a depth indicator by checking both sides of the latch to give you an indication that the pin is roughly an even depth on both sides.

STEP 7.
Attach the 3 M3x25mm SHCS in the slots provided in the container, they screw into the plastic so there is no need to over tighten them.
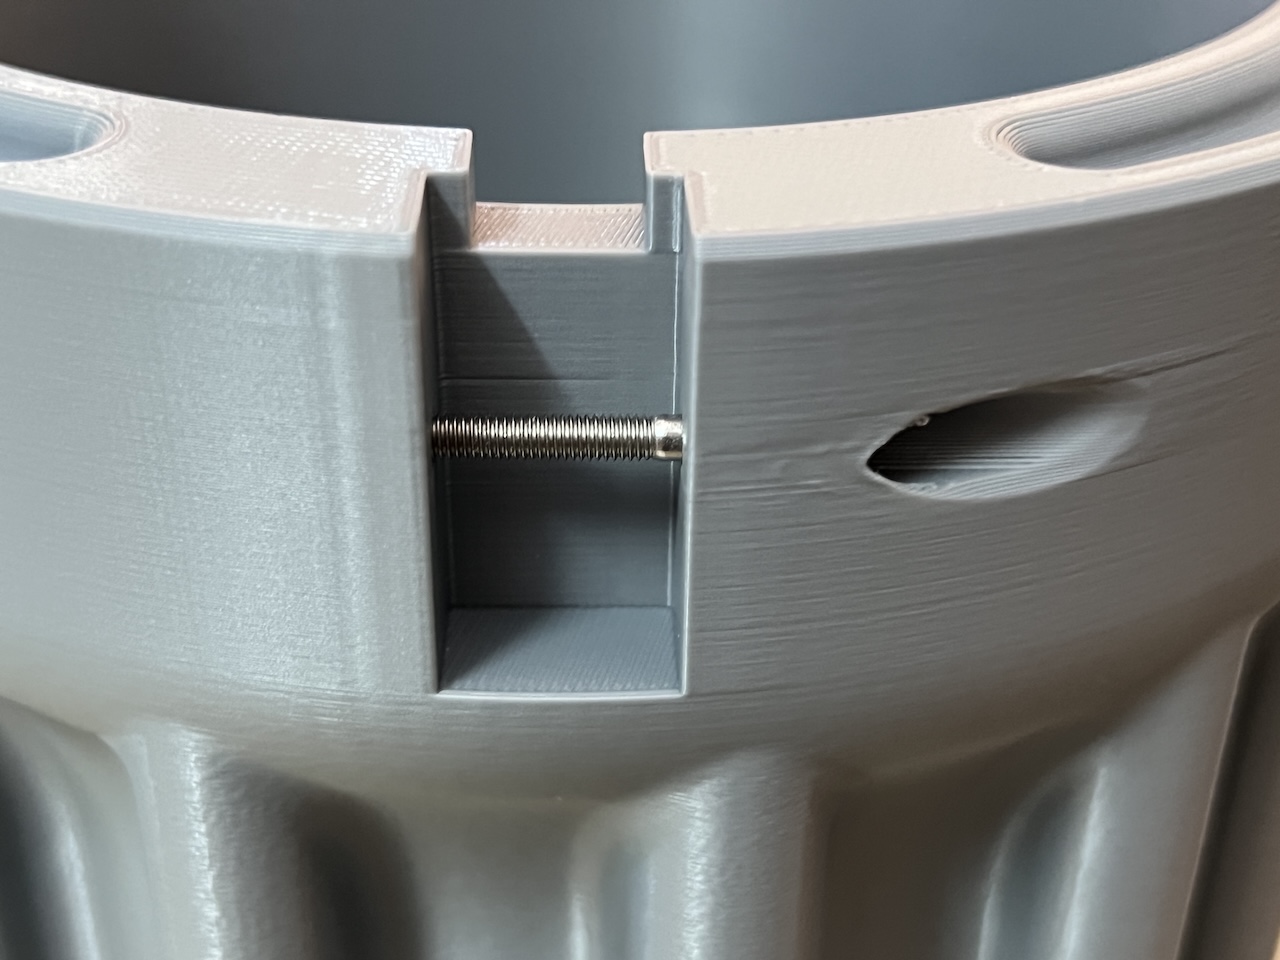
STEP 8.
Work the button a few times to make sure everything moves freely and that you have assembled it correctly.
Congratulations you have successfully built your own working locking container lid. Place the lid on the container and you're all done.
No supports are required.
Happy printing.
Kitchen Storage Container With Push Button Locking Lid

Publicado em 12 de out de 2025
Gostou deste modelo? Crie uma conta grátis para salvar seus favoritos e voltar a eles depois.
Criar conta