Você está no 3DFinder
Buscamos em Thingiverse, MakerWorld e Printables ao mesmo tempo para te dar o melhor de cada uma.
Descrição
If anyone would like to support me and my work, please feel free to donate/tip me on Ko-Fi: [https://ko-fi.com/nexgen3d](https://ko-fi.com/nexgen3d)
24/10/2025
I have had a few requests for a tray to suit a Raspberry Pi, the below image is what I have been working on, single Keystone for RJ45, 2.9" E-Ink Waveshare display for system stats display and dual 3010 Axial cooling fans.

Looking at using this Github project for the E-Ink display: [https://github.com/zales/ZlsNasDisplay](https://github.com/zales/ZlsNasDisplay)
22/10/2025
Just uploaded a new cradle for the Lenovo M720Q/M920Q, thanks to the user [https://www.printables.com/@nlmaca_2448768](https://www.printables.com/@nlmaca_2448768) for the measurements and testing, this one is 179mm wide, 183mm deep and 34mm high, this one may fit others as well, best to check measurements before printing.

Also added a Gridfinty tray, max height is a 5U, so 39.4mm overall.

17/09/2025:
I just uploaded new versions of the cradles, I made some slight adjustments for better fit inside the rack as clearances were a little close, these should slide in and out more easily, was around 0.2mm removed in a couple of places.
Added a blank label cover in Step format for those that would like to create their own label.
Added thread to both the single and double racks for the cable covers, for those are not able to fit heat inserts, recommend using any M3 bolt from 20mm to 30mm.
Next cradle coming will be for the Raspberry Pi's, I don't have any spare sitting around as mine are currently all deployed and in use, so I will need some feedback from someone once I upload it.
15/09/2025:
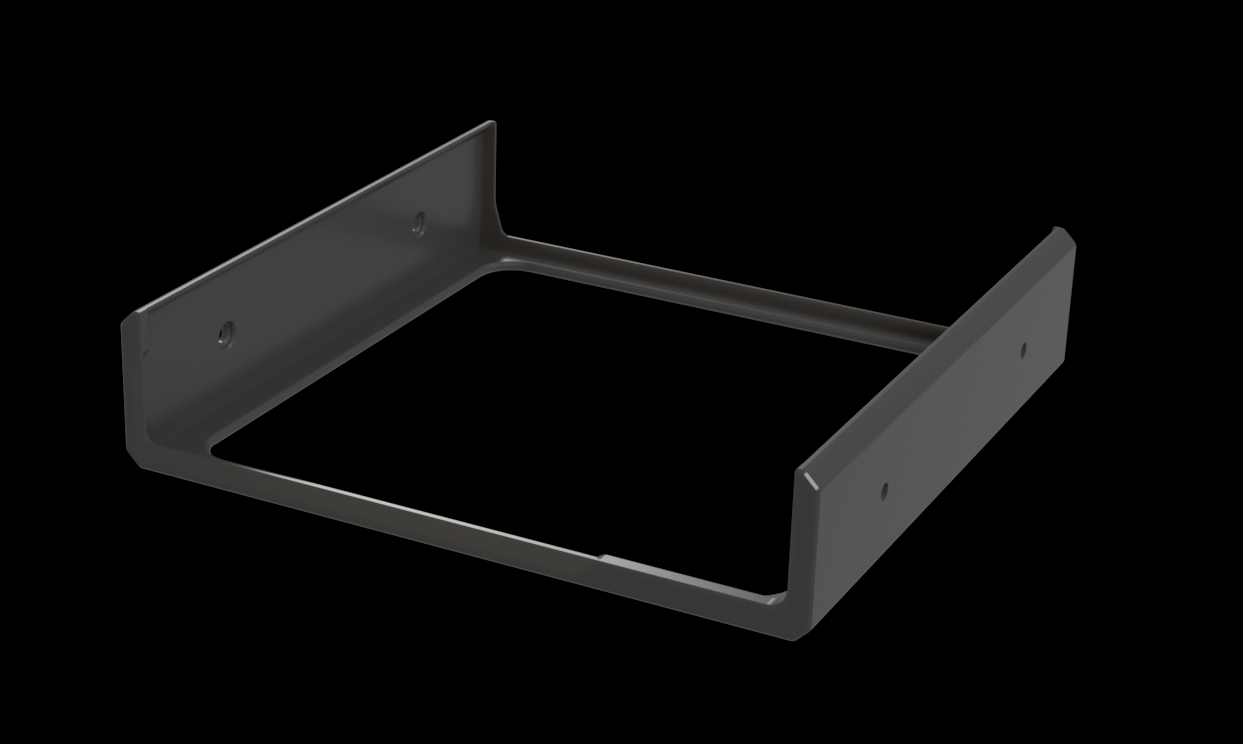
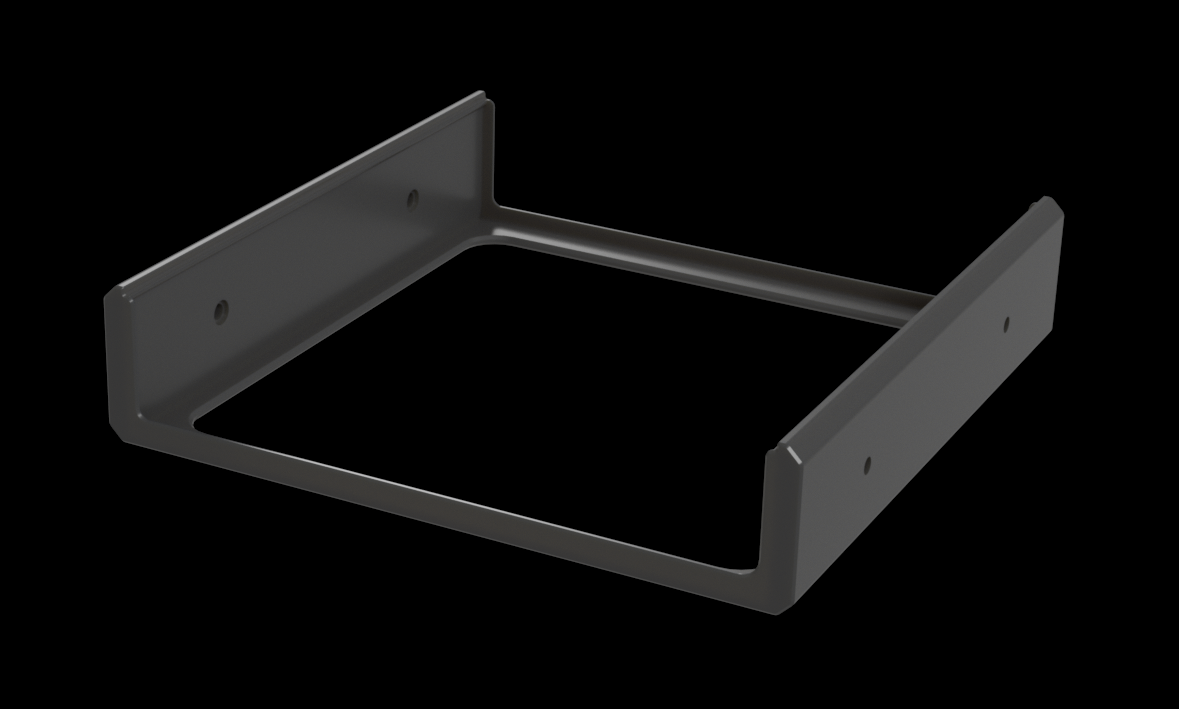
I've now uploaded new versions of the cradle, one for the Dell/HP Micro's and the other for the Lenovo Micro, please check dimensions first before attempting to print anything, if yours is larger than dimensions mentioned, please contact me and I will see if I can alter it to suit your unit:
Lenovo Cradle Dimensions: Width = 176mm - Depth = 184mm - Height = 36mm
Dell/HP Cradle: Width = 183mm - Depth = 177mm - Height = 36mm
Both now allow for the rubber feet to be left in place, the Lenovo cradle will protrude out the rear around 4mm into the cable cover due to it being slightly deeper.
11/09/2025:
Thank you to user Georgee3000, we can confiorm that the HP Prodesk 600 G1 DM also fits, the nice cover plates I made wont unfortunately, but everything else should be good, link to image.
Please use my links as guides, you dont have to buy from these stores, I dont recieve anything in return, and you may find these parts cheaper as well:
Pico Power Supply Mounting Board Completed
Link to powersupply: PICO PSU
Link to the wall wart I'm using: 12v 3A Power Supply
Recommended fans: Artic 80mm Fans
Simple Fan Controller: Noctua Varible Fan Speed Controller
Sata Splitter Cables: Sata Splitter Straight Type


Installation of the following has been completed, linked to the products I used:


The following images shows, you need to strip the motherboard out and cut some of the steel chassis away so you can run the SFF-8087 to Sata cable out the rear of the Optiplex, I used an angle grinder, but a Dremel would probably do it, this part you need to cut is just the Kensington lock, so its redundant, and there is a small tab on the inside of the lid, just bend that out of the way:


Below is some images to show the drives all detect properly, I'm just using some old crap spinning rust drives to test everything as I'm currently waiting on some 2.5" SSD's to arrive, please ignore the stupid Pool arrangments, its just for demostration resons:


A couple of things to note if your doing this on a 7040 or 7060 Optiplex:
In order for TrueNAS to boot from the internal Sata drive port, Legacy BIOS mode must be enabled:
For the Network card and the NVME SAS Storage controller to be recognised, all three drive boxs must be selected in the BIOS, as these dispite the names, enable/disable the actual M.2 sockets
Below is how the system looks currently, I found some excellent CAT6A 100mm long low profile cables, these really set the system off, and look fantastic.
Short Etthernet Cables: CAT6A Short Ethernet Cables

28/08/2025:
Hard drive cage completed, below is a couple of larger SAS drives I had sitting around, I would only install 4 of these per tray, as they are larger and get hotter, but standard consumer SATA SSD's like the Samsung EVO and QVO will be perfectly fine jamming in 8.

Precision clearence, 1mm gap :) your printer will need to be dialed in.

Finished printing the utility draw, and it turned out perfect, the entire setup looks really clean, just have some super short white patch cables cominh to clean it up more.

Ive added a cable combe, just scale it up in your slicer to fit your cables:

2.5" Drive cage done, you can fit 8 x 10mm thick drives per cage, so a total of 16 drives will cram into one utility draw, along with 2 x 8025 Axial Fans.

Re-uploaded all files, Ive now stripped out the metadata so they have no print settings embeded, these will just import to the centre of your build plate and thats it, all files have also been correctly orientaed for optimal printing.
Below are the dimensions for the utility draw:


27/08/2025:
Mini-Rack in its new home, just waiting for the utility rack to finish printing.
Uploaded 3 new labels, TrueNAS, Proxmox and Home Assistant.

Utility draw is complete, I will upload these parts once I have finished printing and testing.
The first two mounting brackets I will design for this draw is a Pico Power Supply mount and a bracket to mount 2.5" Sata/SAS Drives, I will try to fit in 8 per bracket, but I may not have enough room, maybe 8 standard 2.5" drives and 4 SAS drives as these are usually thicker, and thery need more ventilation.


26/08/2025:
Handles:

TPU Foot can also be used as a finishing trim on the top:

Angle mounting bracket, can be used to mount a single or many units under a desk or shelf:


25/08/2025:
I'm currently working on the dual utility draw and a Raspberry Pi tray.
Finished building the main mini-rack:

Power-Supply is awesome, you can plug in and unplug and it does not reset the other ports, so power stays constant, has a nice little display to show power to all ports, probably one of the best USB-C power supplies I have ever purchased.
Also impressed with the power consumption of these Intel i5 CPU's, 5 to 6w consumption while running TrueNAS Scale, not really that much more than a Raspberry Pi 5 to be honest, and I would take an x86 full fat hyperthreading hexacore CPU over an Arm quad core any day, even if the power consumption was double, the Pi's are no match for these little machines.


Cable management at its best!

23/08/2025: Beta v4
Added a tray for 8 x RJ45 Keystone's this will handle 4 Optiplex's with dual nics.
After I have finished printing these additional parts, I will upload them.

22/08/2025: Beta v3
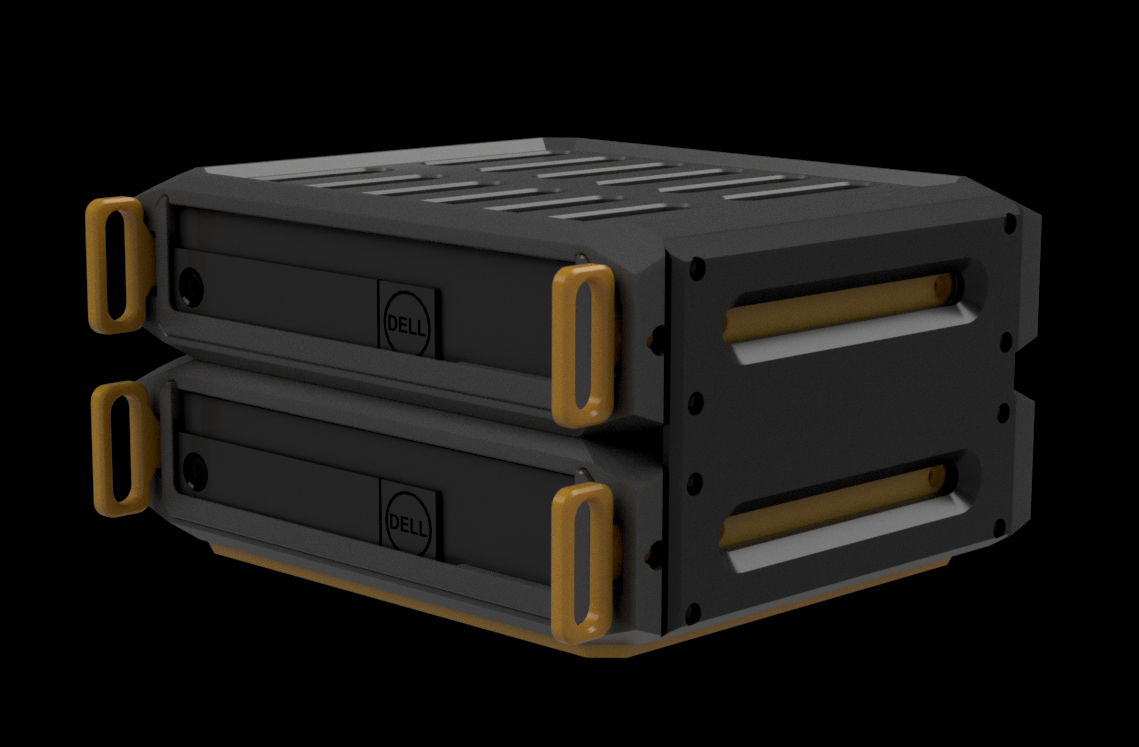
Added a tray for a 10G/2.5G Switch, Model No. LG-SG4T2 these are really cheap, unmanaged, but perform really well, has 2 x 10G SFP ports and 4 x 2.5G Ethernet Ports.
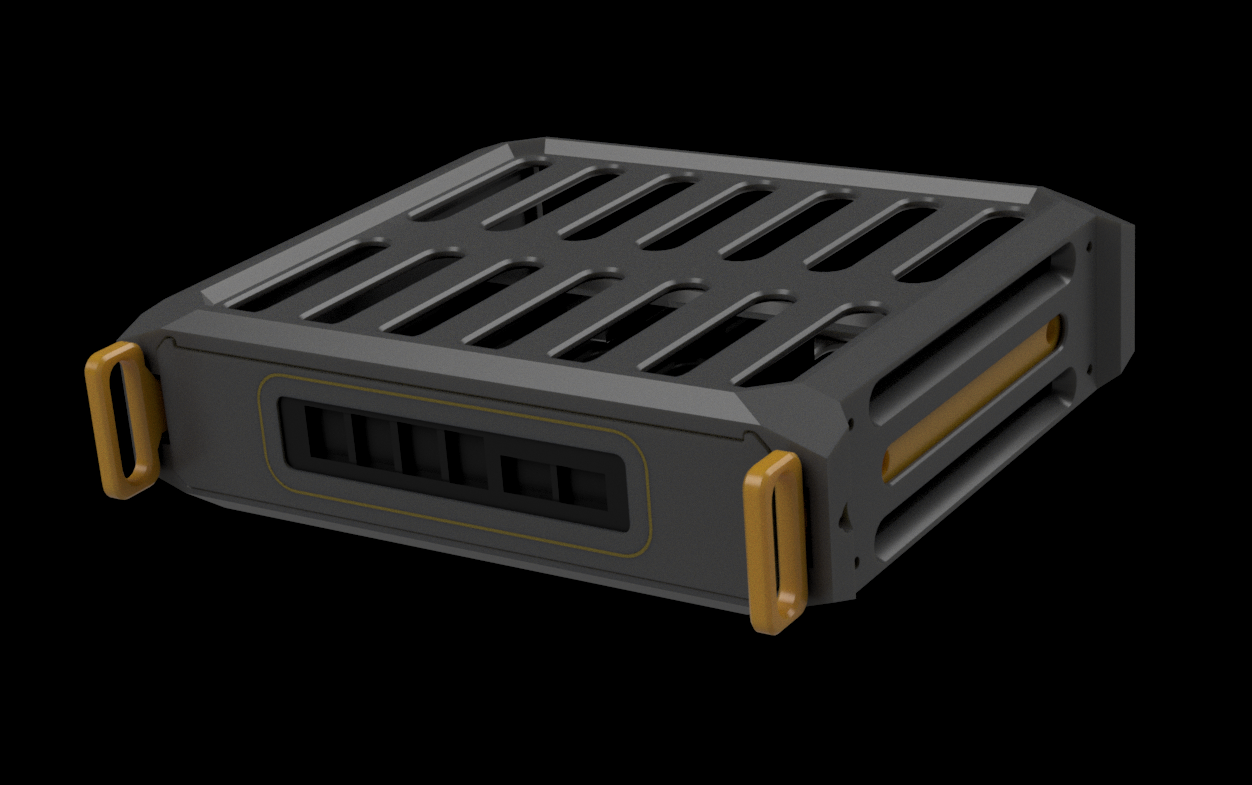
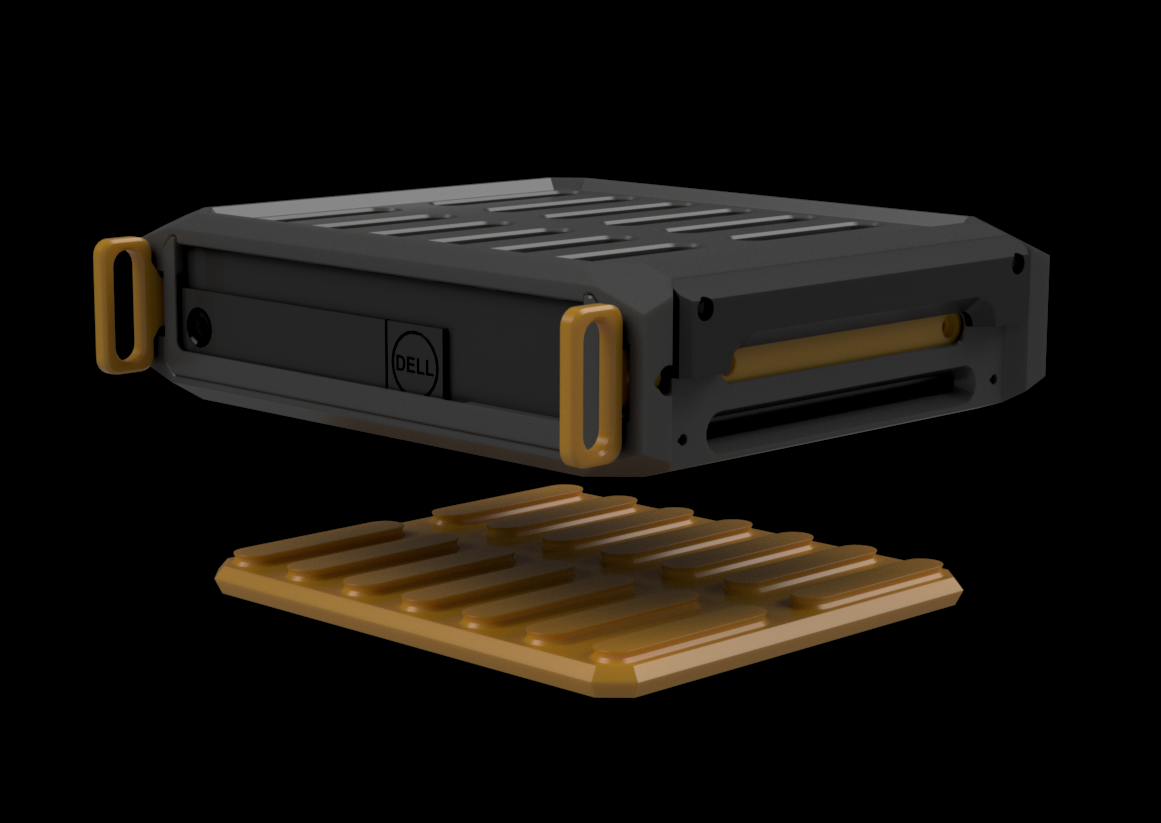
Added a flush finished end for a more compact finish, this can be used at the top or the bottom.
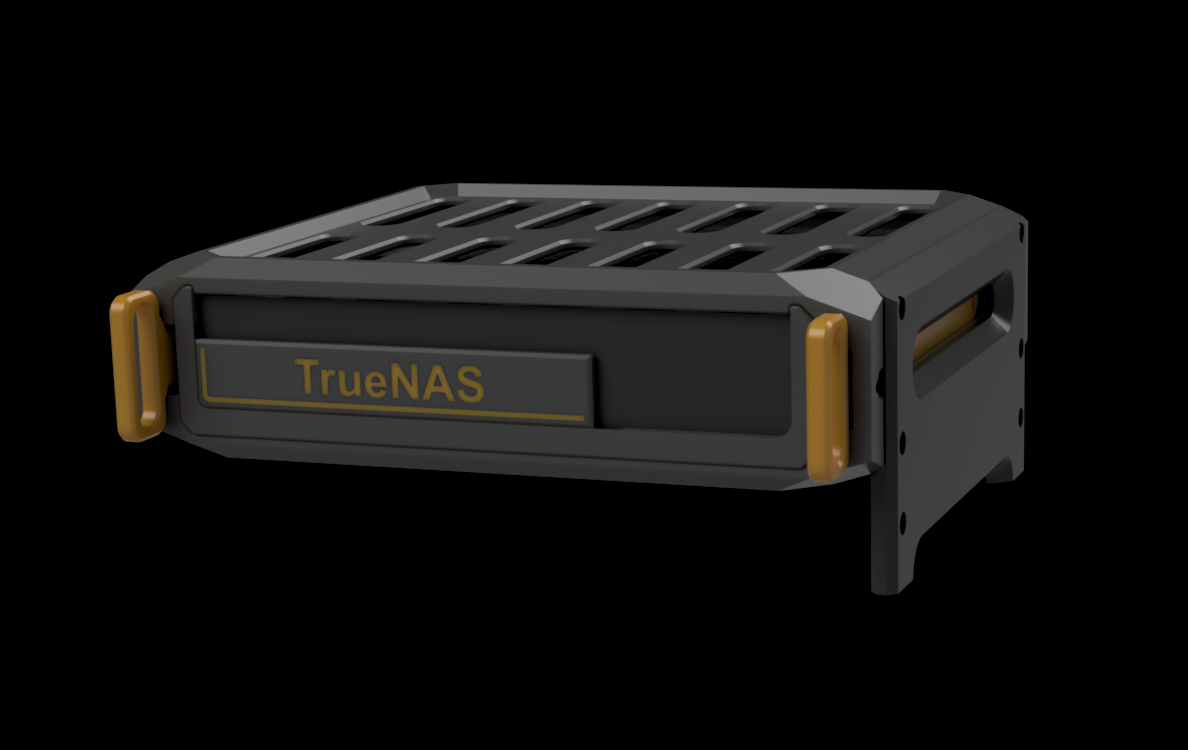
Added an optional TPU Base for a more compact finish.
21/08/2025: Beta v2
Added an angle mount that can be used to either mount the entire rack under a desk, or used as foot so you can bolt it down to a shelf, this can be used to mount a single Optiplex under a desk as well.
Made a few adjustments to all parts making them easier to print.
Made adjustments to the cradle for easier fitment.
Stiffened up the latch to make it lock in better.
Added a clip on label system that also acts as an Led blocker for those that don't like annoying Led's flashing, I will add a few more soon, Proxmox, pFsense, Home Assistant etc..
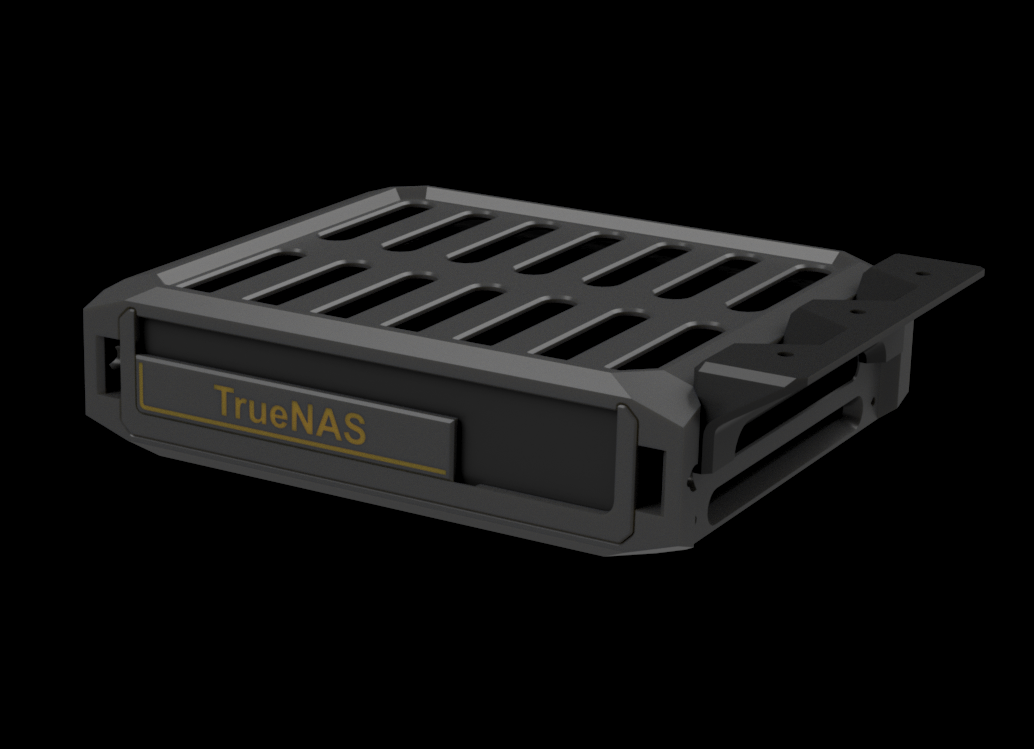
This is a project I have wanted to do for a while now, I have a stack of these Dell Optiplex 7040 and 7060 Micros sitting around, and they are extremely cheap due to businesses upgrading to newer machines, even more so now with the sunset of Windows 10.
The rack system is specific to the Optiplex Micros, I only have 7060's and 7040's, most of the Dell micro's are the same, so other models may fit, but I will upload the STEP file for the cradle so others can modify it to suit the Lenovo and HP Micros.
The rack can be used with just a 1MU (Micro Unit) or as many as your game to stack, its fully modular, the current setup has a 2MU utility draw with a grid of M3 thread holes for various projects expansions like RPI boards, USB drives, power supply or anything else you would want to jam in it, the draw also has provisions for 80x25mm fans, I highly recommend the 80mm Artic fans, you can buy 2 of these for half the price of a single Noctua, and they are 90% as good as the Noctua fan, and Arctic also do some server class 9000rpm fans in 80mm to, so you can make your micro rack sing like the real thing :)
I have a few more 1MU and 2MU designs to come, these will consist of a 2.5g switch and a patch panel, the rear of the rack has integrated, ventilated, removable cable management.
The rack has quick release slides to pull any cradle out, and in the event of a handle breaking, you can use a pen on the side to release the rack as a backup safety system, and as a third option, I have also designed it so you can access the bolts that retain the rails to the cradle.
The entire thing is assemble with M3x10 SHS and M3x12 SHS, along with these threaded inserts, these are a special size, only 3.5mm deep but have a pan head that's 6mm wide: M3x3.5x4.6x6
Only the threaded inserts for the rear cable cover need to be inserted with heat, all the others pull into place by using one of the M3 bolts, the parts have been designed for this.
I recommend printing the cradle and side rails from PETG or PETG-CF, the rest of the rack can be printed from ABS if you like, I wont say PLA, as I hate the stuff, but if you live somewhere that's cold enough to freeze the balls of a brass monkey, then go right ahead and use PLA+
Last thing is the power supply, I'm still waiting for it to arrive, but I will be using a 240watt GAN USB-C Power Supply and USB-C to Dell power cords:
NexGen3D: Micro Rack System - Micro Home Lab

Publicado em 13 de jan de 2026
Gostou deste modelo? Crie uma conta grátis para salvar seus favoritos e voltar a eles depois.
Criar conta