Você está no 3DFinder
Buscamos em Thingiverse, MakerWorld e Printables ao mesmo tempo para te dar o melhor de cada uma.
Descrição
What is a Mini-Rack?
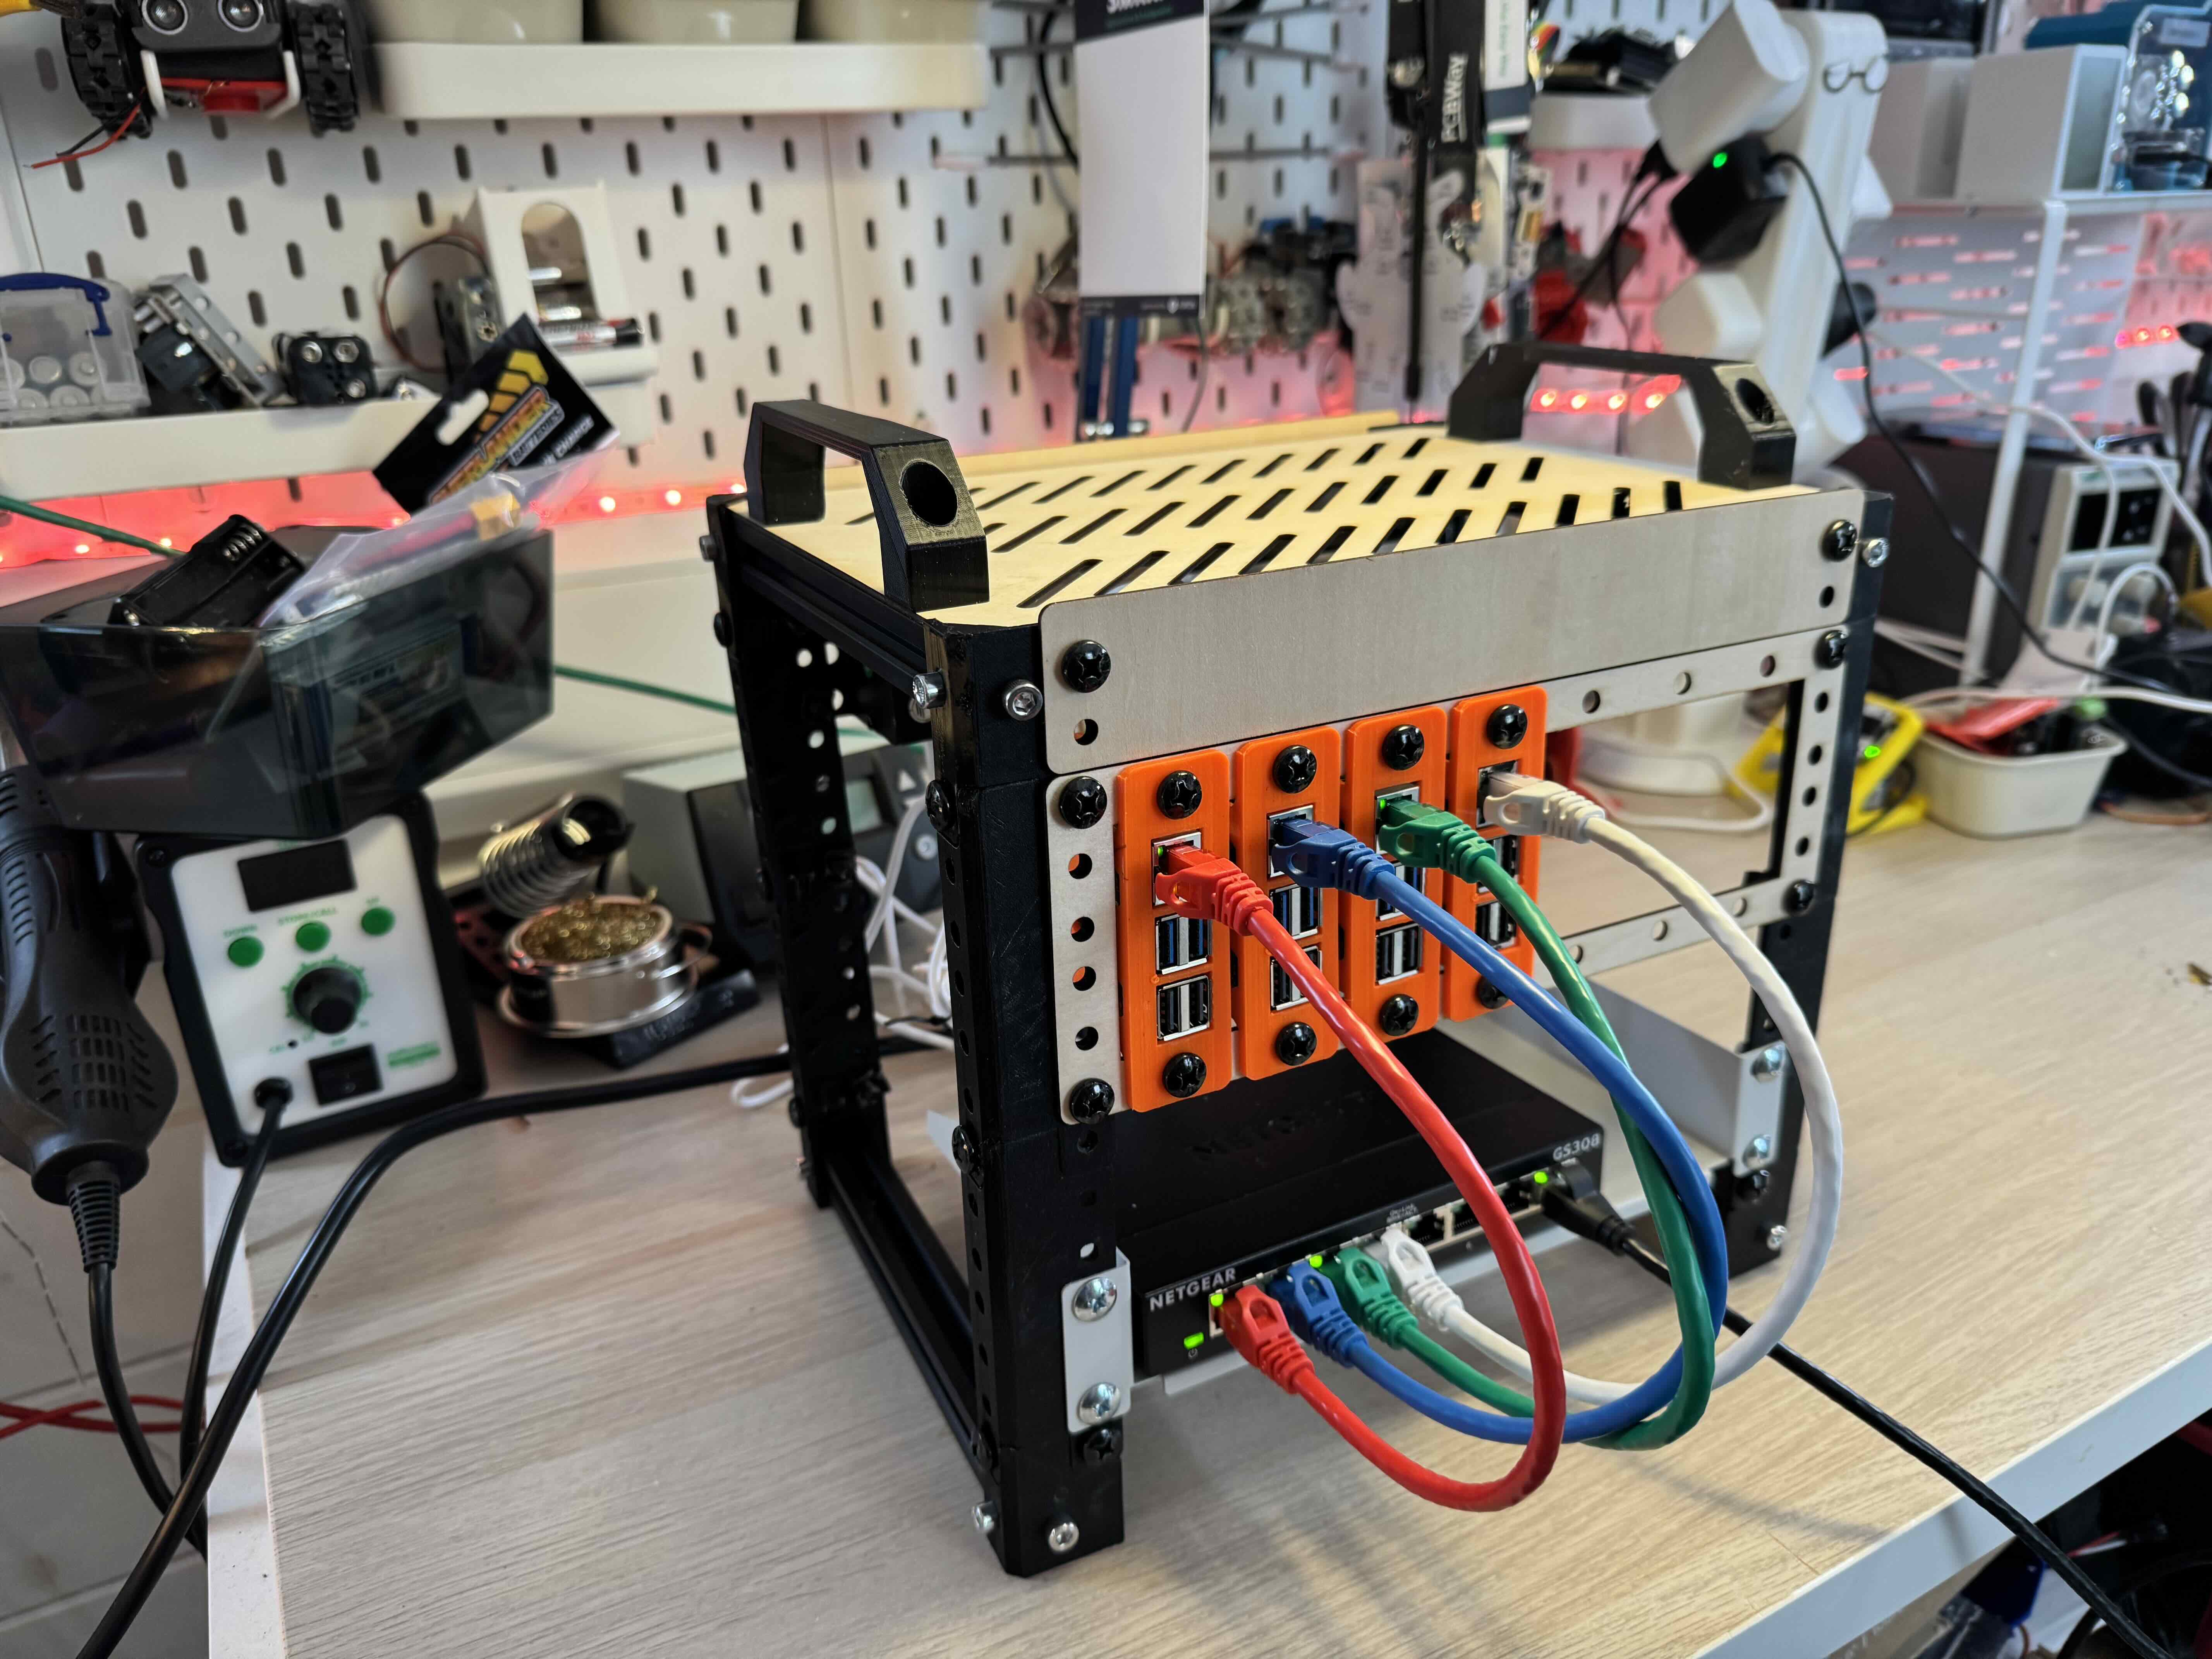
A Mini-Rack is a small, 10" rack that can hold network equipment, computers and other related equipment. A full size rack, one you typially find in a server room or data center are 19" wide. A mini-rack is 10" wide, and designed for smallers spaces, perfect for a home lab or small office.
Why a Mini-Rack?
A mini-rack is a great way to keep your equipment organized and easily accessible. It keeps cables tidy and everything neat and in its place. It also helps with cooling, as the equipment is mounted in a way that allows for better airflow.
10" racks are standardised, meaning its easy to get parts and accessories for your rack, including:
- Mountable Switches
- Power Distribution Units
- Cable Management
- Cooling Fans
- Tray Shelves
Mini-Racks can also be extended easily, by adding more shelves or by stacking racks on top of each other.
Building a Mini-Rack using a laser-cutter, 3D printer and 20x20mm aluminium extrusion
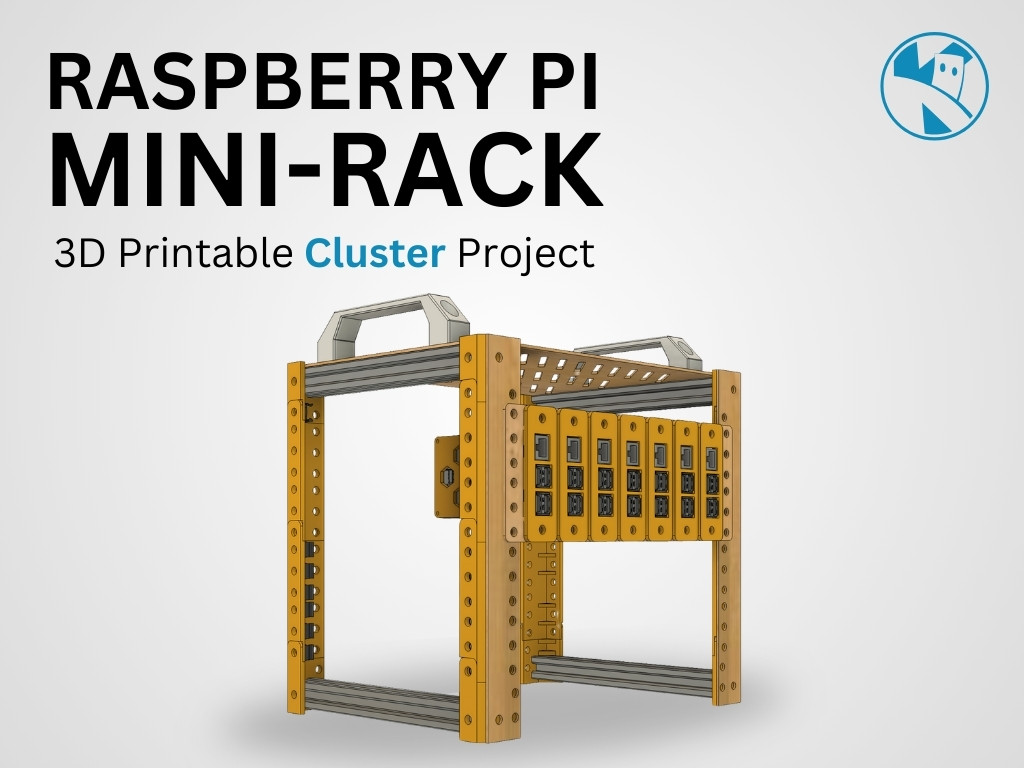
I built a mini-rack using a laser-cutter, 3D printer and 20x20mm aluminium extrusion. The rack is 10" wide, {% include explainer.html term='4U high' explainer="Racks use a standard unit of height, known as a 'U' where 1U = 44.45mm" %} . It has 4 shelves, each 10" wide and 200mm deep. The frame is made from 20x20mm aluminium extrusion, 3D printed parts for stability and finished with a basswood top and front facia. The rack is intended to be a free standing desktop rack.
My requirements for this rack project are:
- 10" Mini-Rack
- Made from parts I can easily source or make
- House at least 4 Raspberry Pi 5s
- House the networking equipment for the Raspberry Pi cluster
- 4 way power distribution
Stretch Goals
In addition to the requirements above, I would like to add the following features:
- Networking - preferably with [PoE](/resources/glossary.html#PoE) for power
- Able to restart each pi remotely (usually via the PoE switch)
- Second row of Raspberry Pi 5s for a total of 8 Pis
- UPS for power backup
- LED Lighting inside for added coolness
Bill of Materials
| Item | Description | Quantity | Cost | Total |
| 20x20mm Aluminium Extrusion | (I used a chop-saw to cut from 1 meter lengths) | 4 | £2.50 | £10.00 |
| Rack mount nuts | Black 6M Nuts and bolts (pack of 50) | 1 | £8.39 | £8.39 |
| Rack Shelf | 10" Rack Shelf | 1 | £15.99 | £15.99 |
| Power Strip | 10" Power Strip | 2 | £28.99 | £57.98 |
| 8 port PoE Switch | 8 port PoE Switch | 1 | £54.99 | £54.99 |
| T-Nuts | 6M T-Nuts (pack of 50) | 1 | £8.99 | £8.99 |
| Patch Cables | 0.3m Cat6 Patch Cables (pack of 5 ) | 2 | £6.99 | £15.98 |
| Total | £172.32 |
Add as many Raspberry Pi 5s as you need, I'm using 4 in my build (in the first iteration).
3D Printed Parts
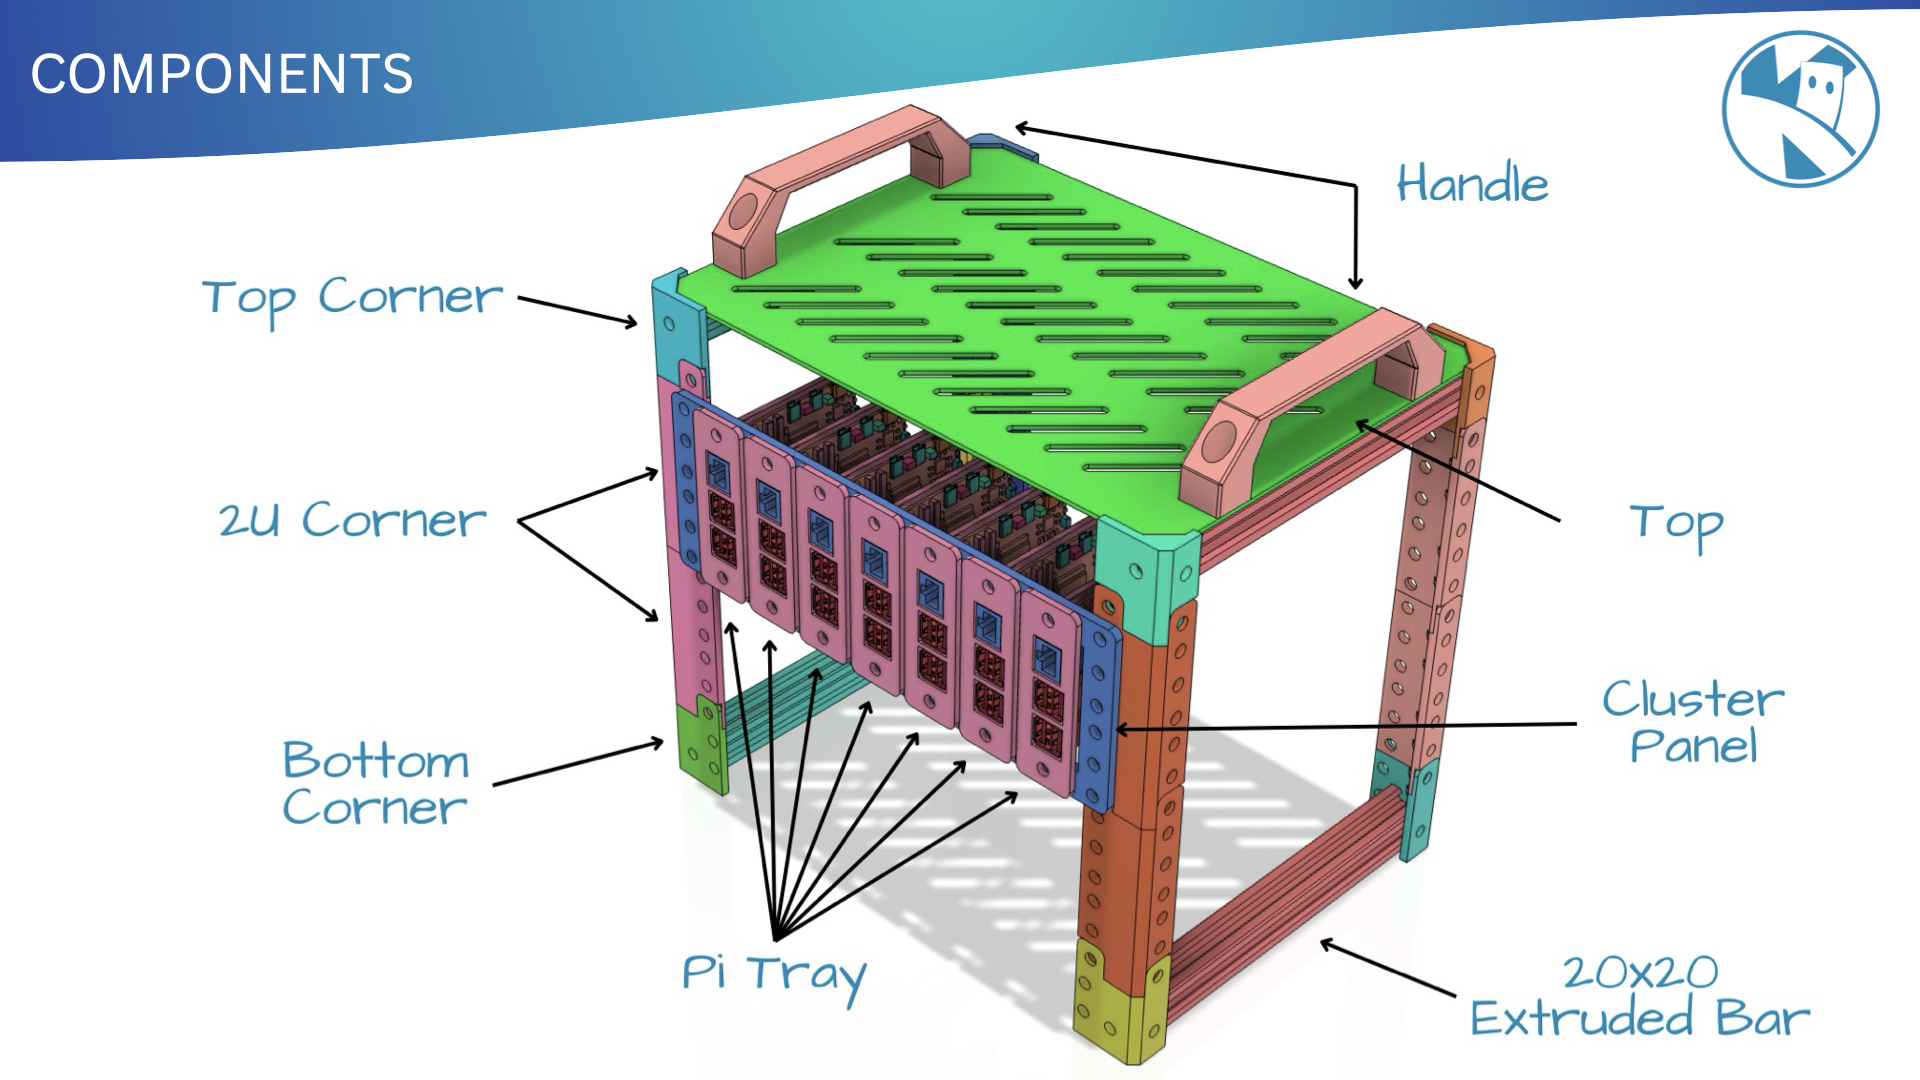
To make this project expandable and configurable, and also to make it easy to print on most 3D Printers I've designed a couple of key parts that you can print yourself:
- 2U corner
- 1U corner
- Top Corner
- Bottom Corner
- Handle
- Pi tray
Laser-cut parts
The top panel and front panels are made from basswood, and are laser-cut to size.
This is a list of laser-cut parts:
- Top Panel
- Front Panel
Assembly
Its best to print the 3D printed parts with 100% infill, as they will be supporting the weight of the rack and the equipment. The 20x20mm extrusion is cut to size, and the 3D printed parts are bolted to the extrusion using the rack mount nuts and bolts.
You may need to tap the ends of the 20x20 extrusion to allow the bolts to screw in easily. I used a 6M tap to do this.
The 2U, top and bottom sections slot into each other. The Handle is bolted to the 20x20 extrusion using some T-nuts
10" Mini-Rack for Raspberry Pi

Publicado em 11 de mar de 2025
Gostou deste modelo? Crie uma conta grátis para salvar seus favoritos e voltar a eles depois.
Criar conta