Você está no 3DFinder
Buscamos em Thingiverse, MakerWorld e Printables ao mesmo tempo para te dar o melhor de cada uma.
Descrição
Overview
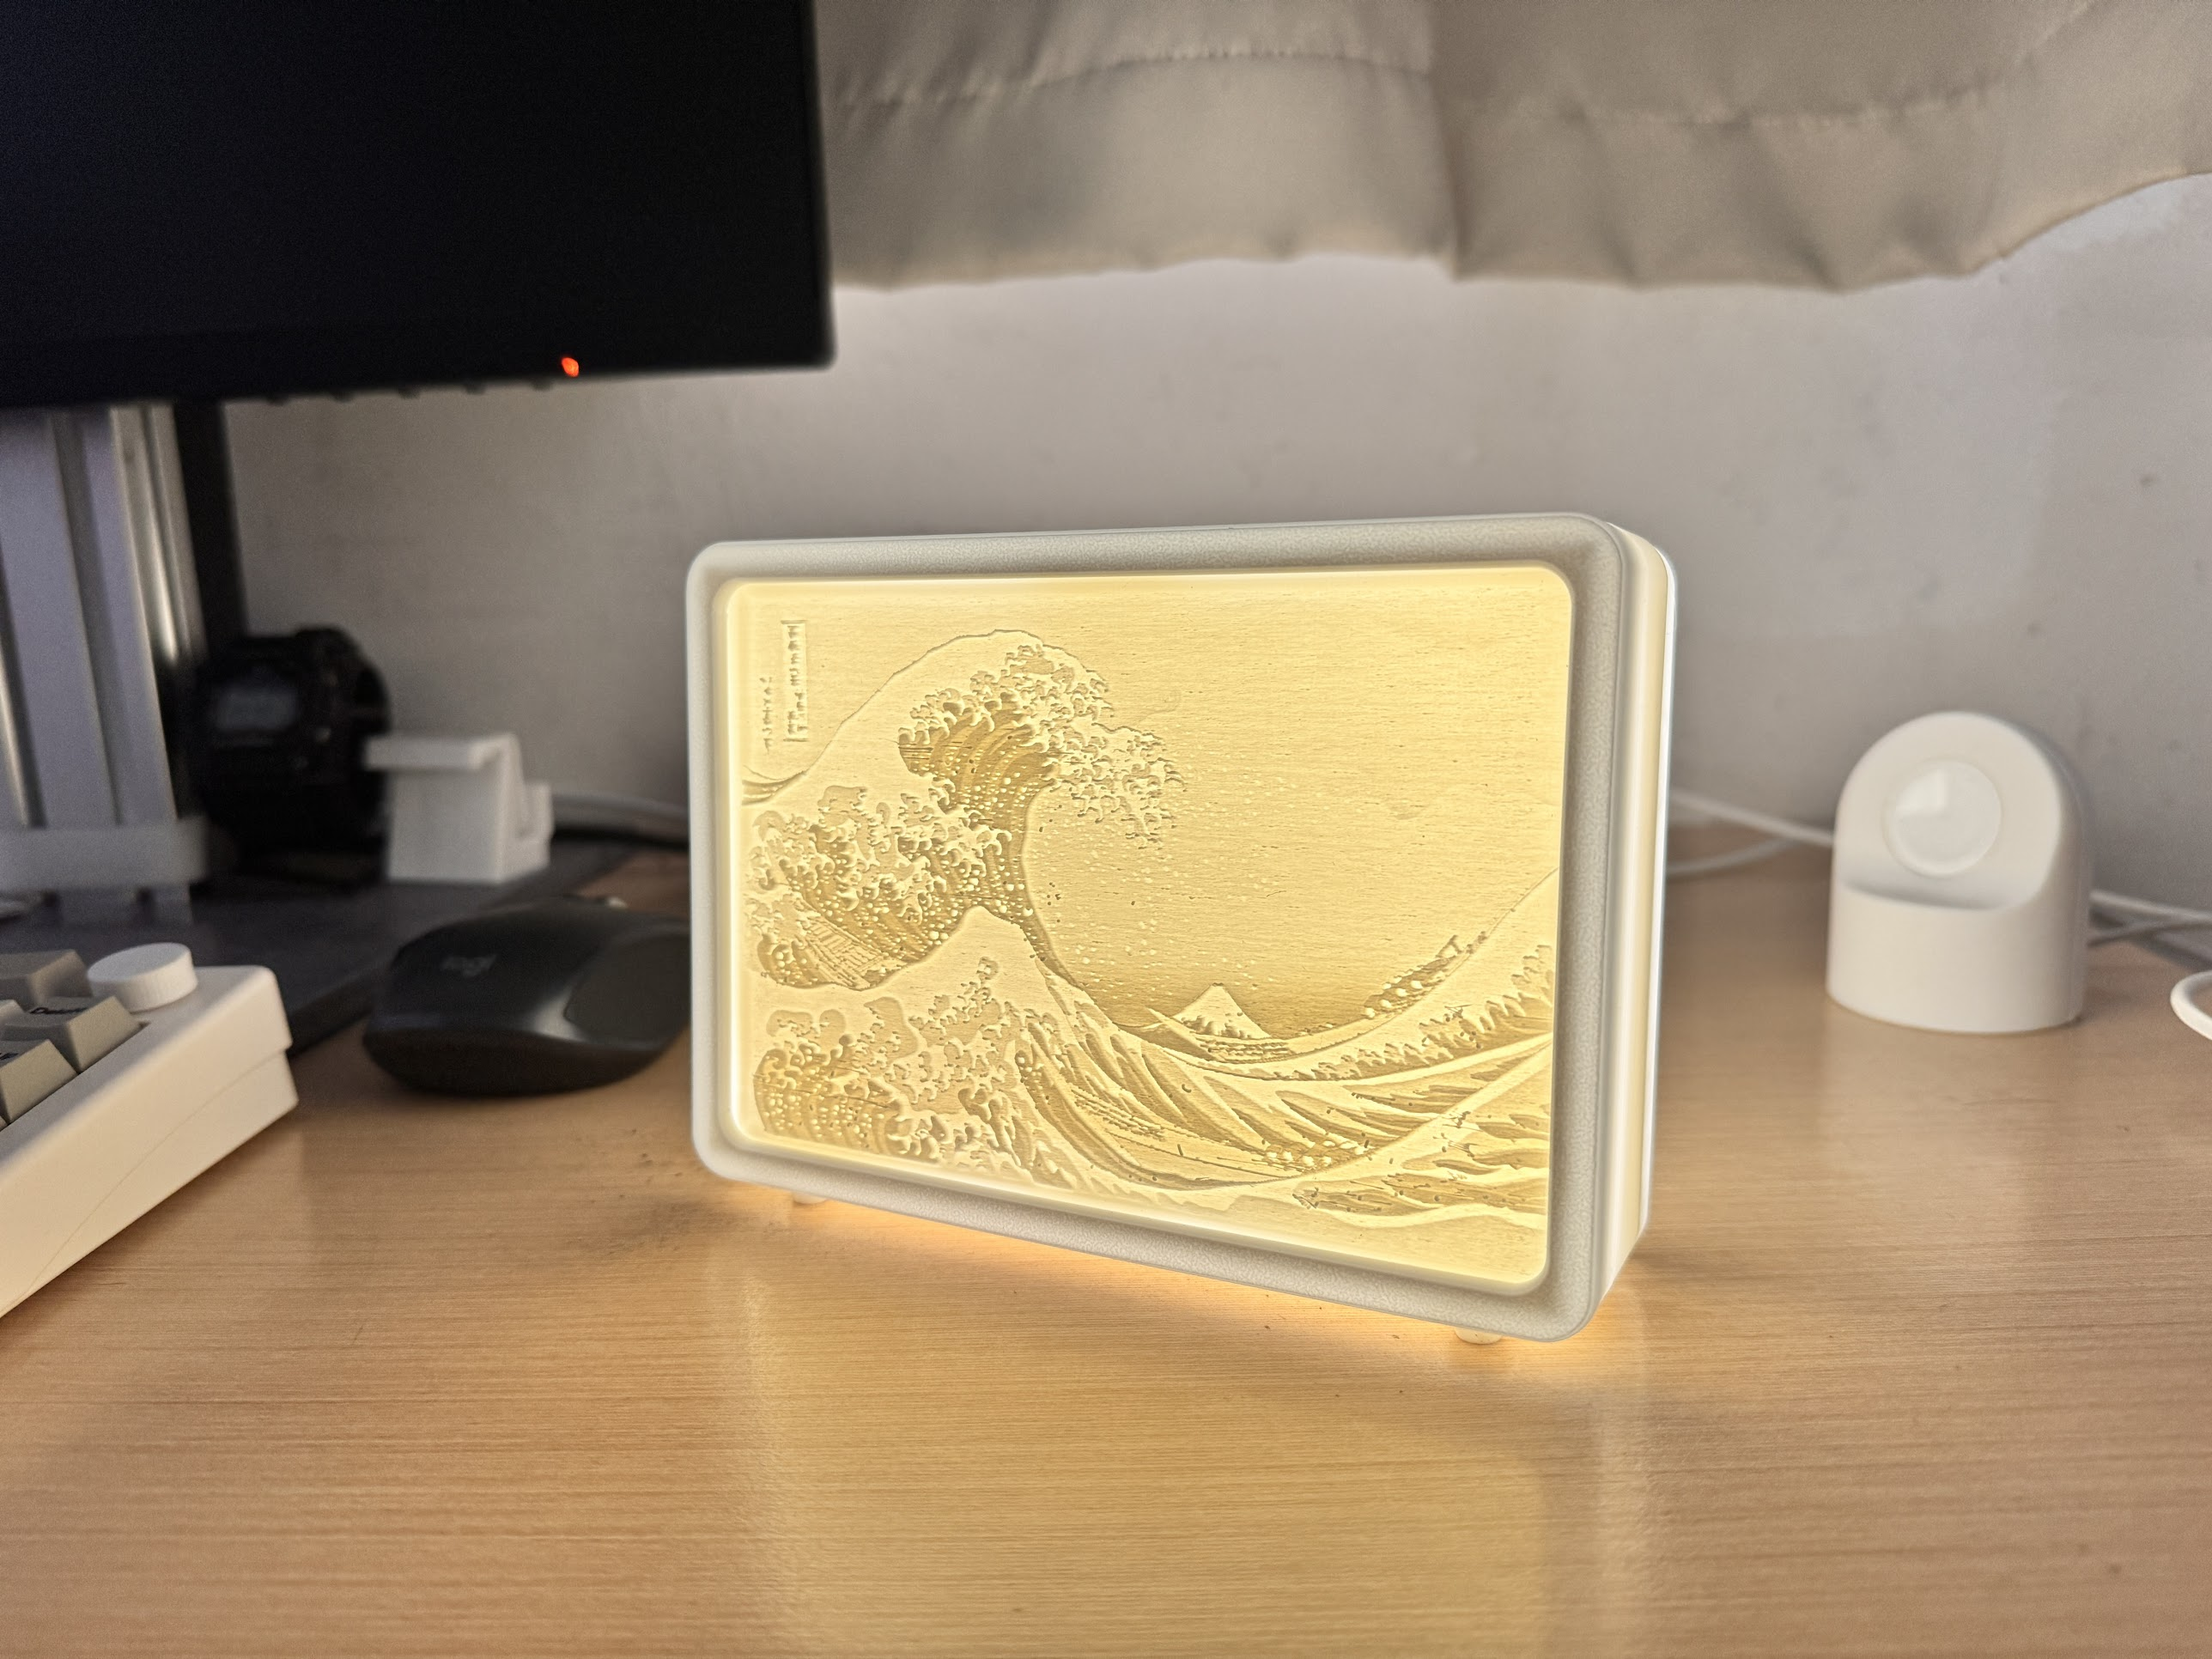
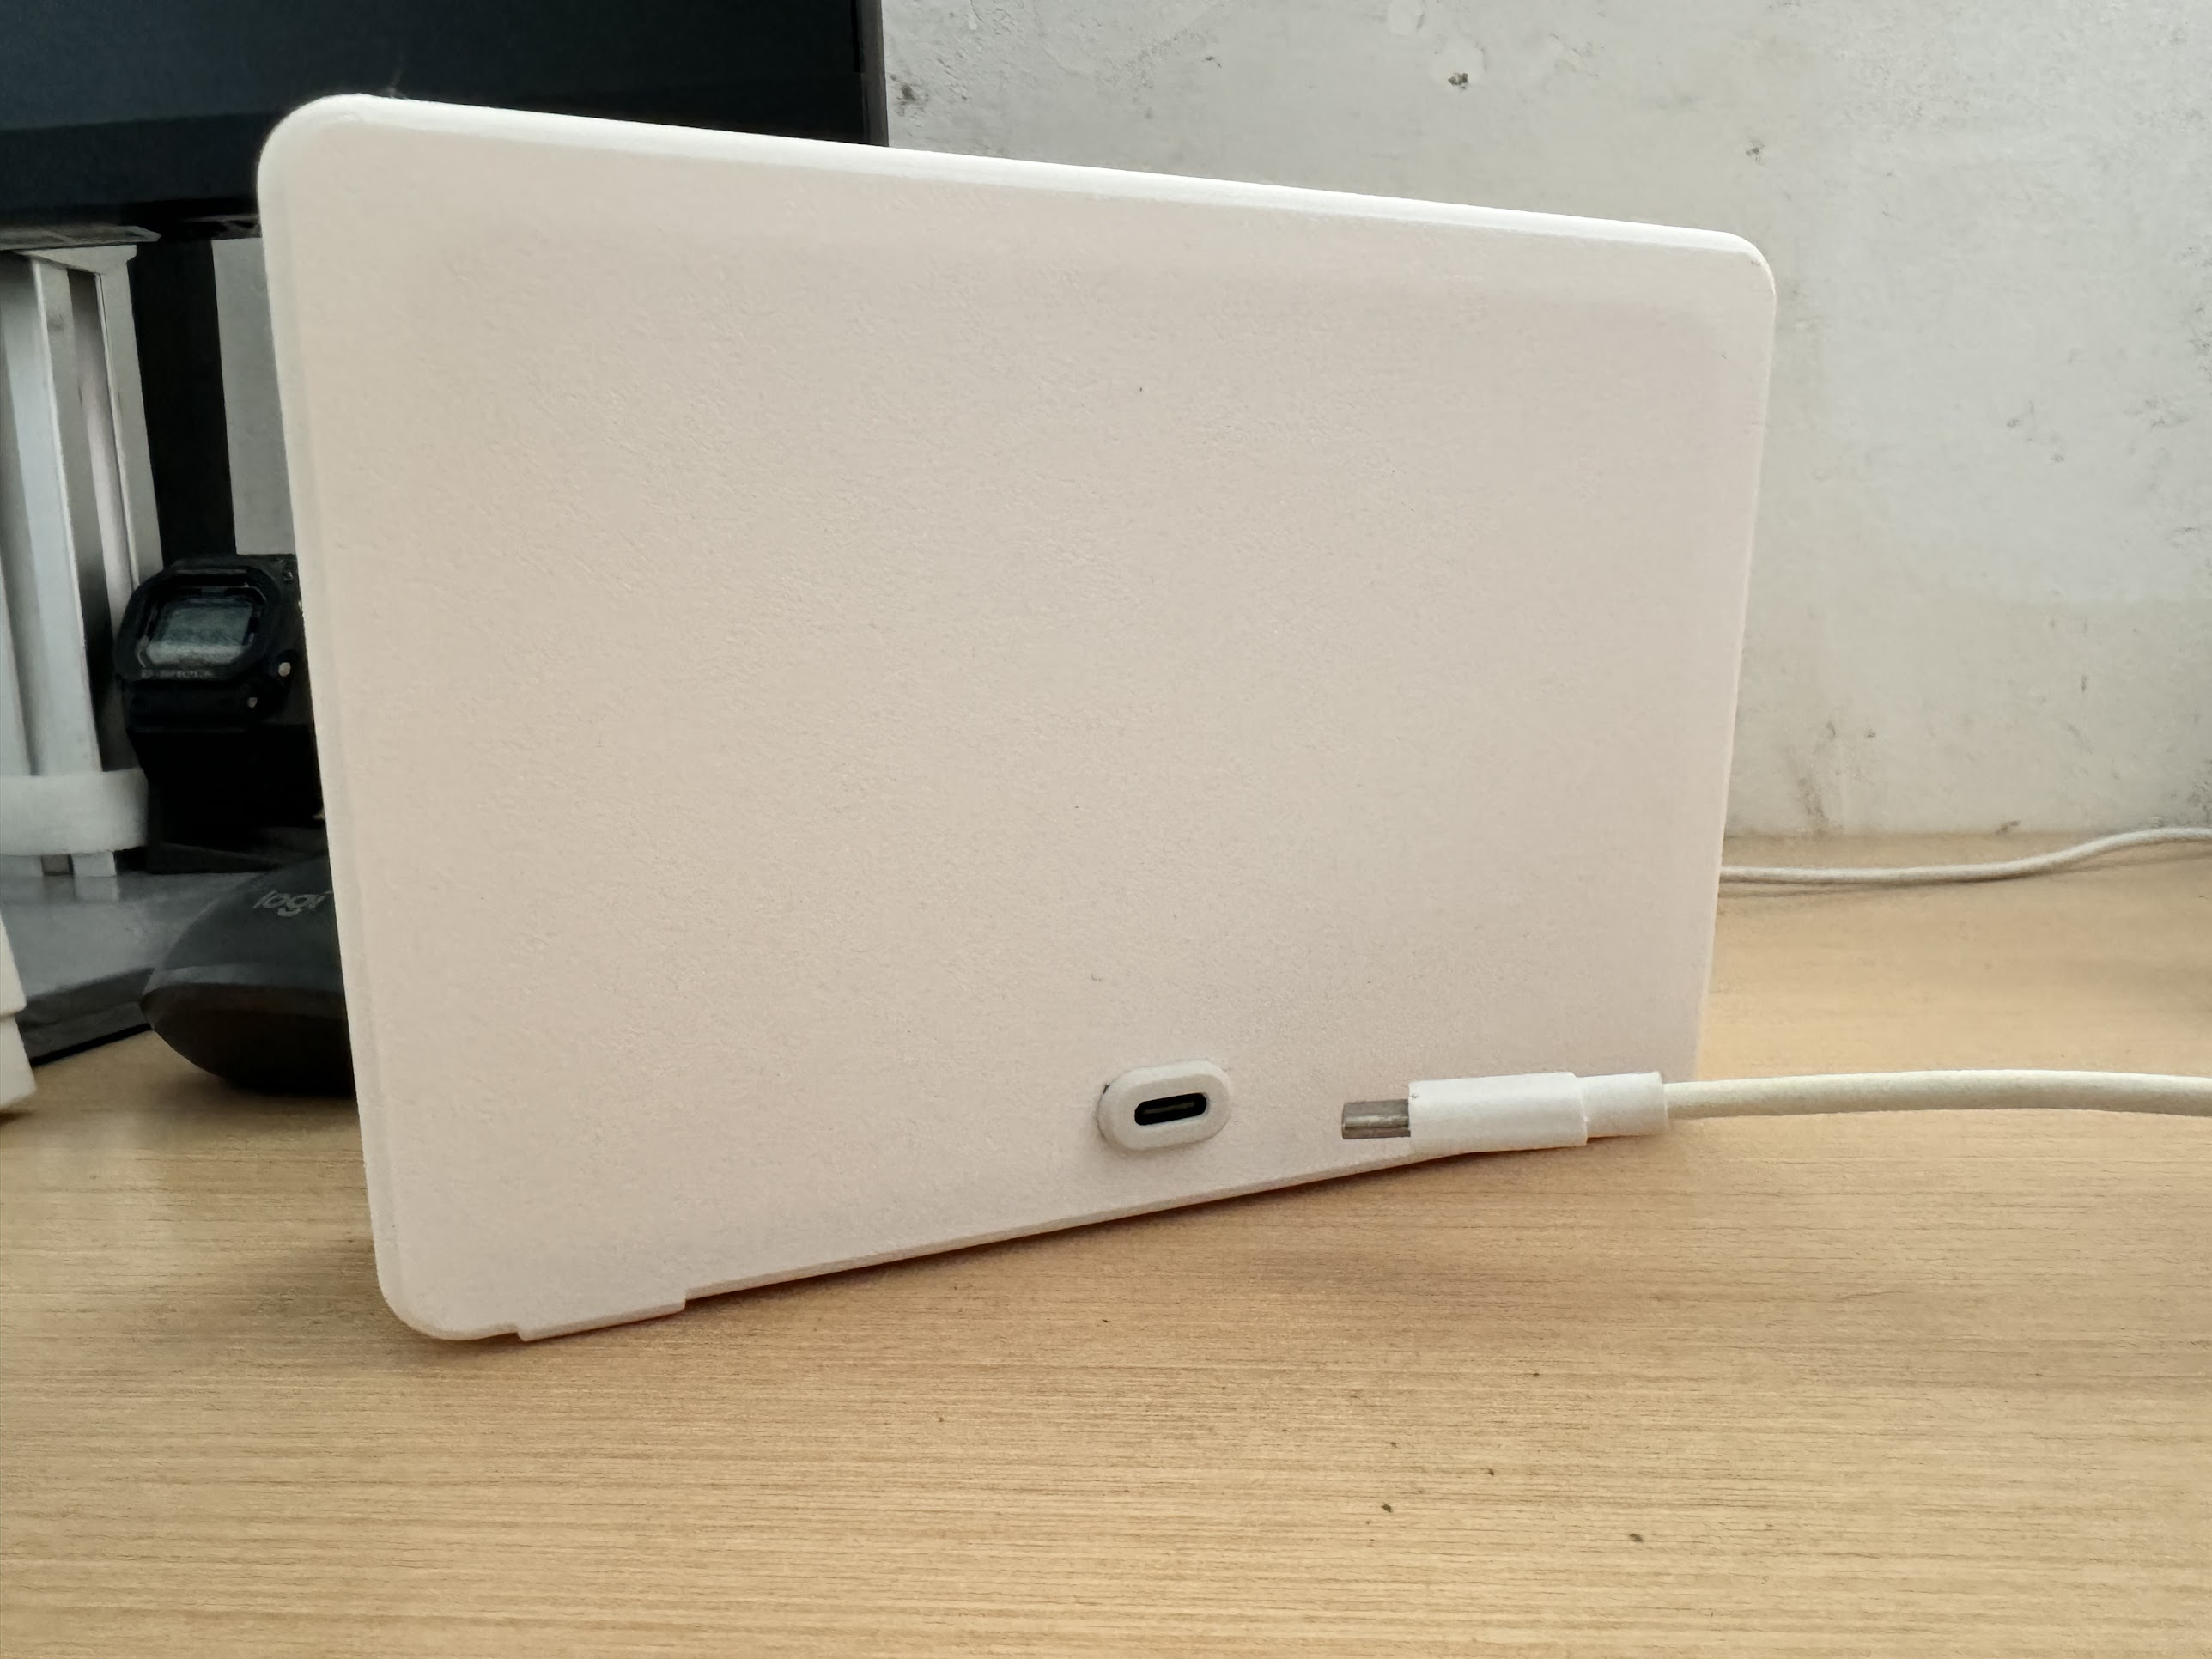
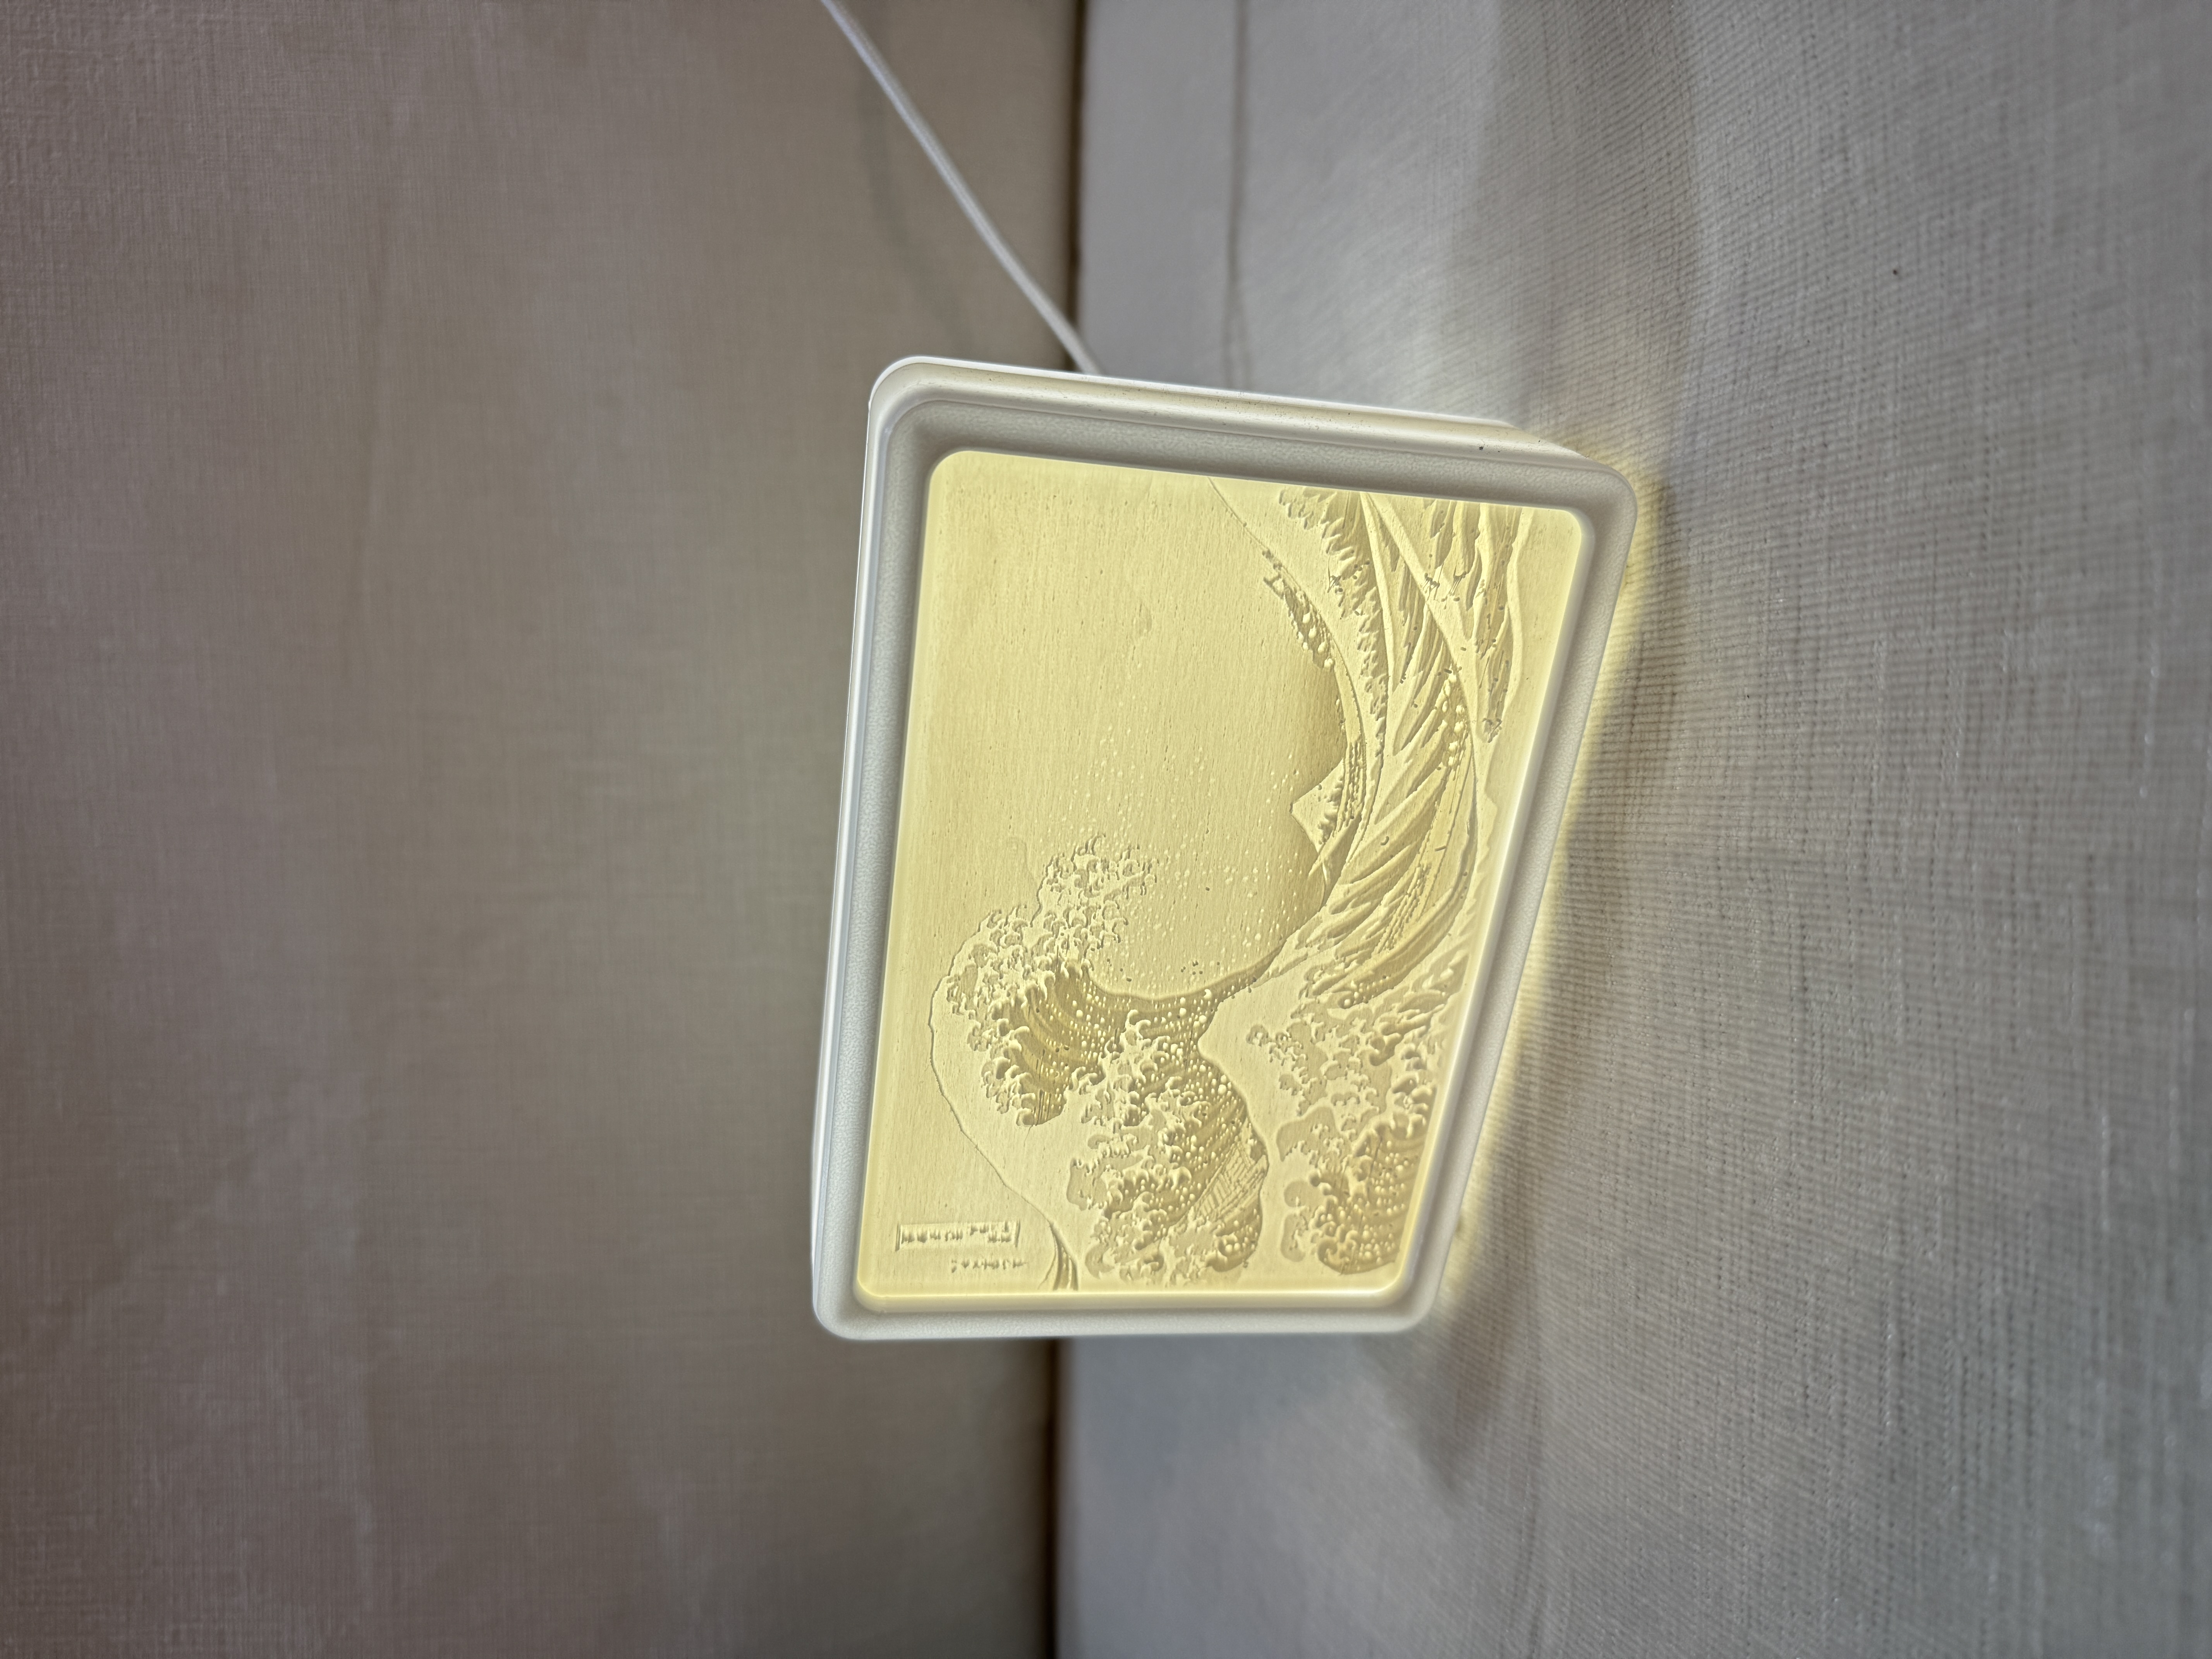
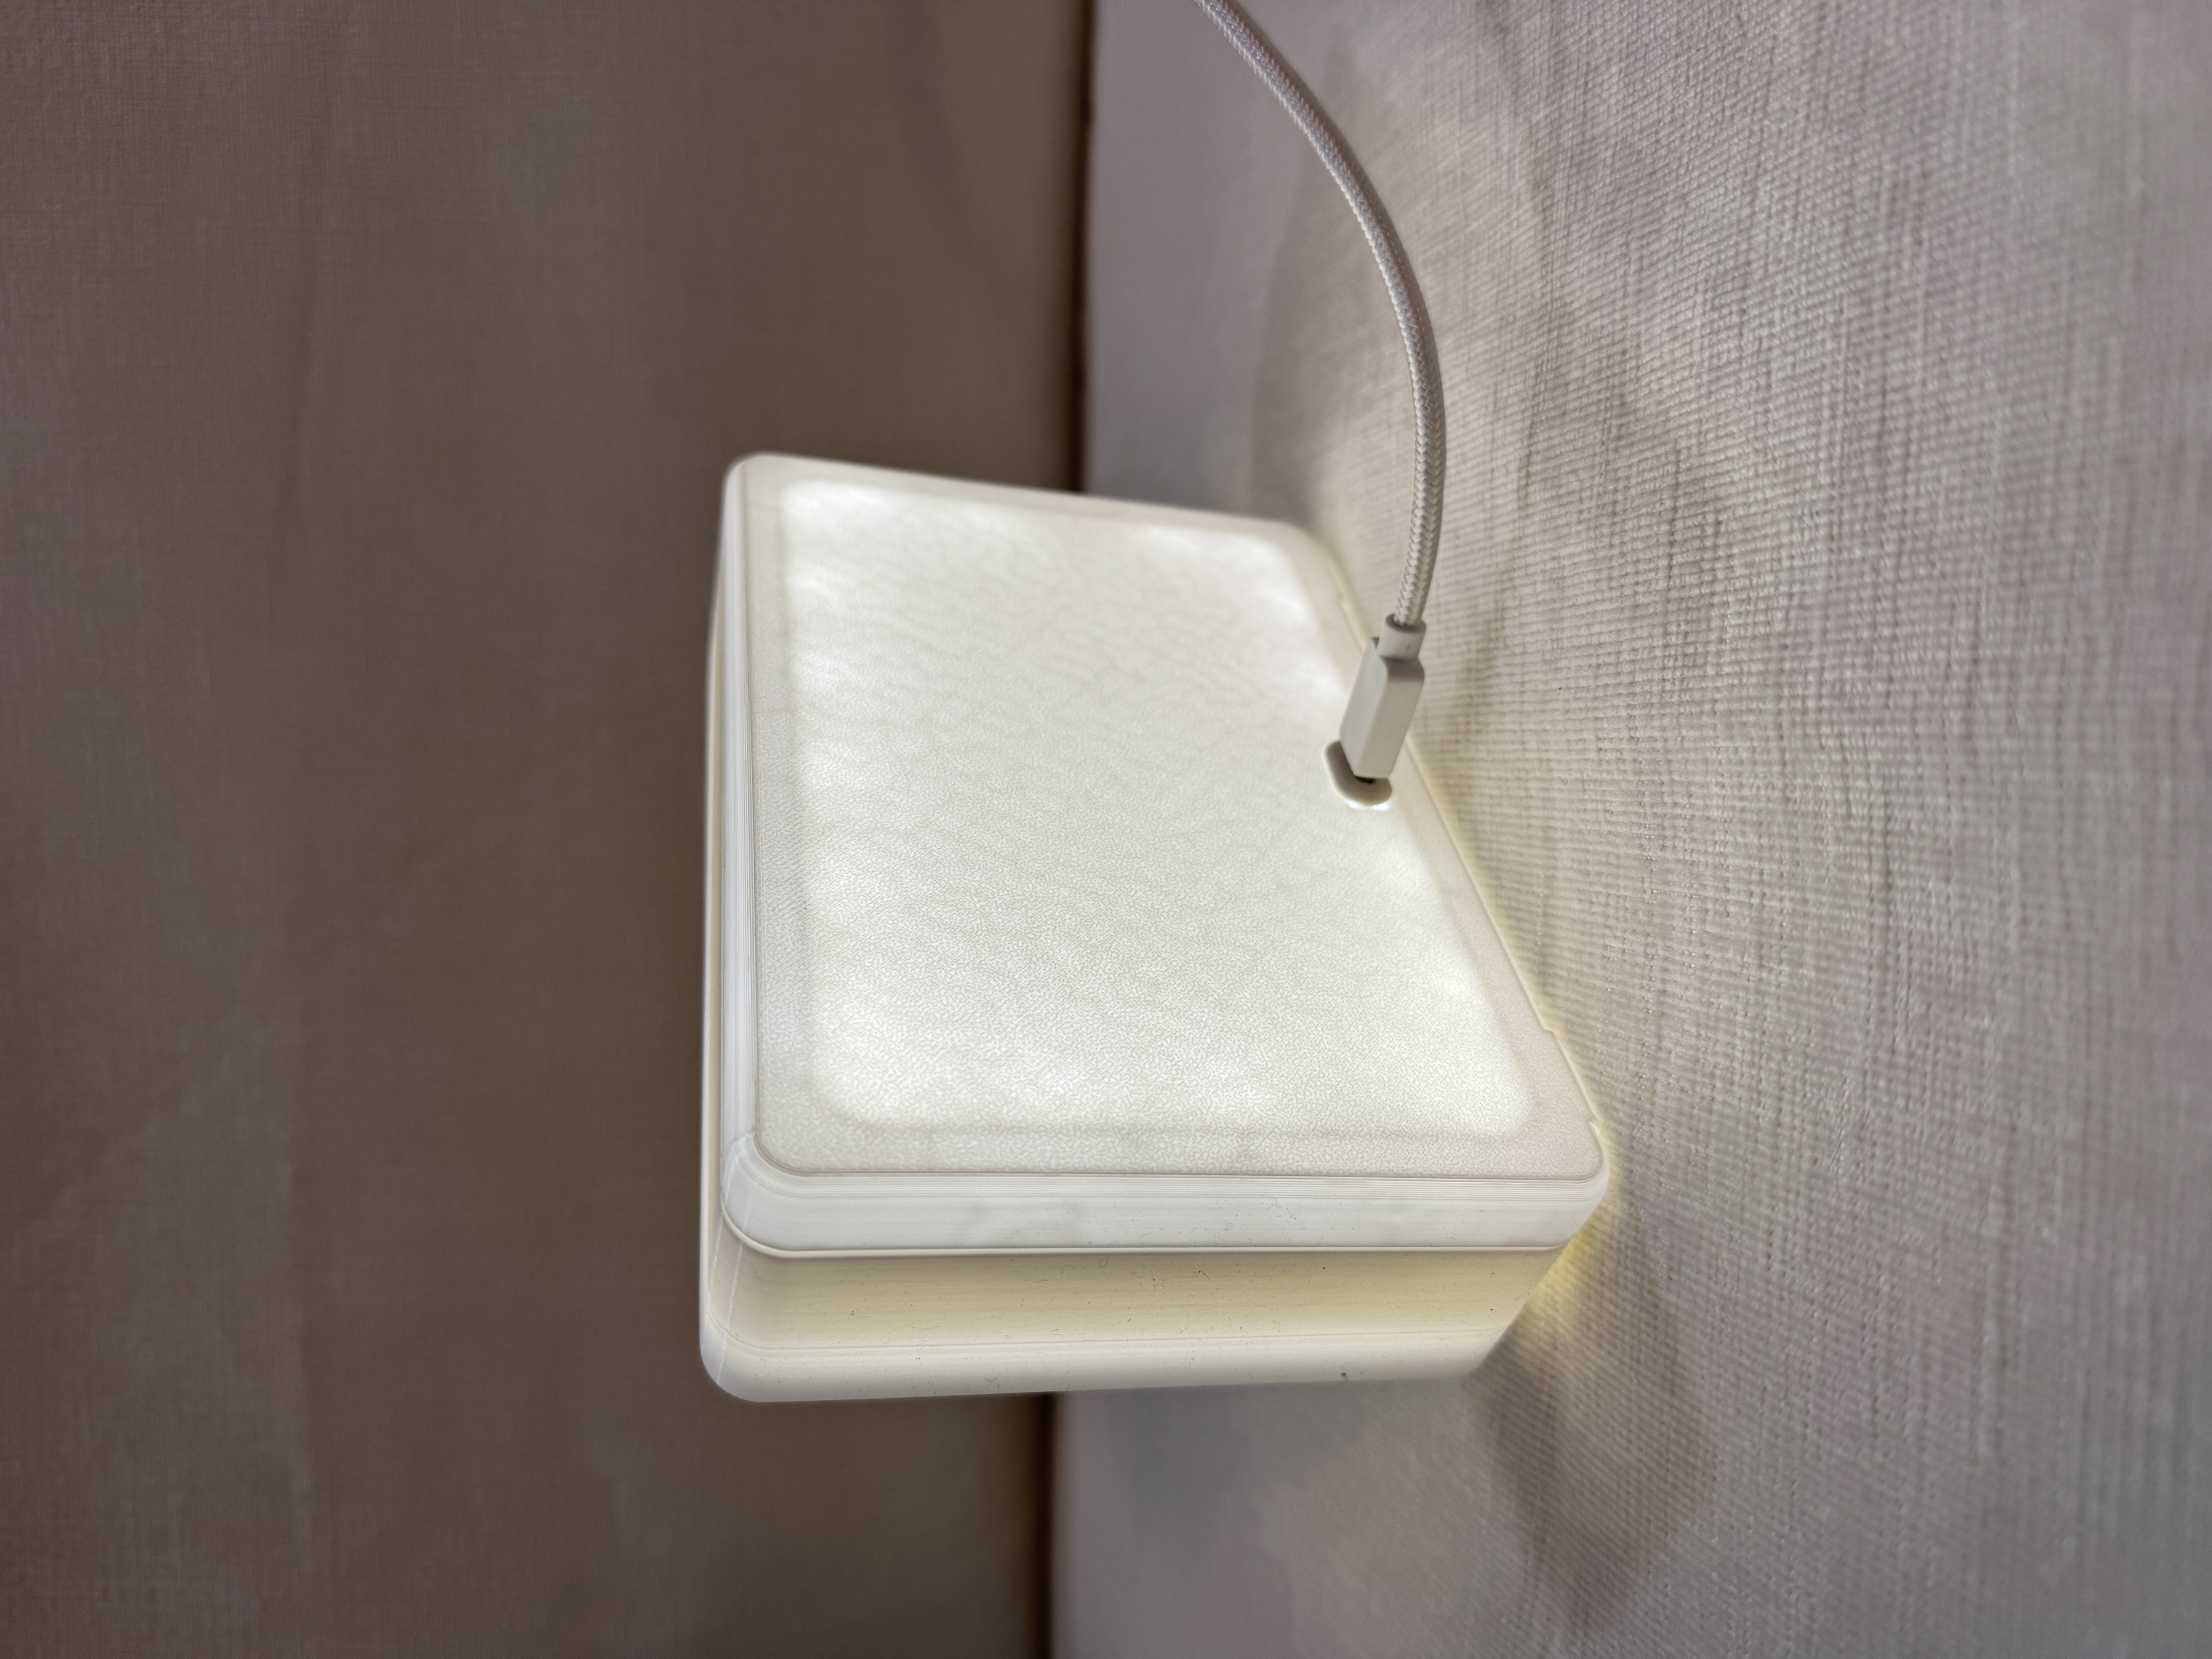
This is a lithophane light box that I have designed myself as a side project. To light up the lithophane from the back, an LED strip is attached at the back, with a USB-C connector to power the LED. Assembly instructions are written in the Usage section.
Usage
Bill of materials:
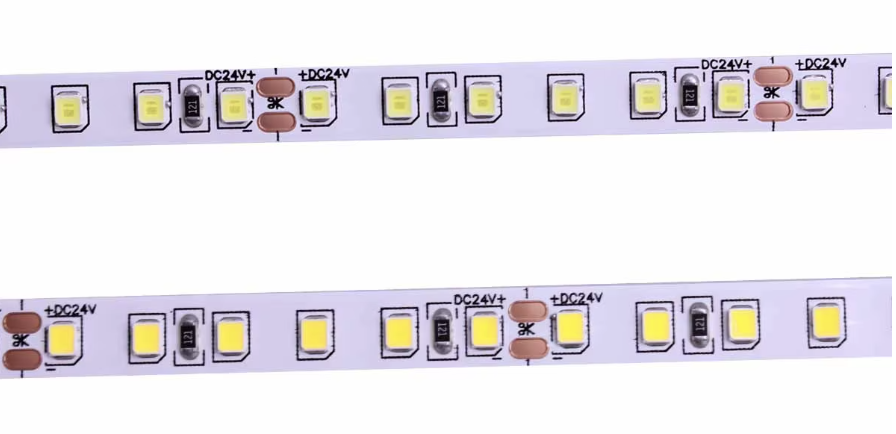
- 5V LED light strip 3528 (I got mine here)
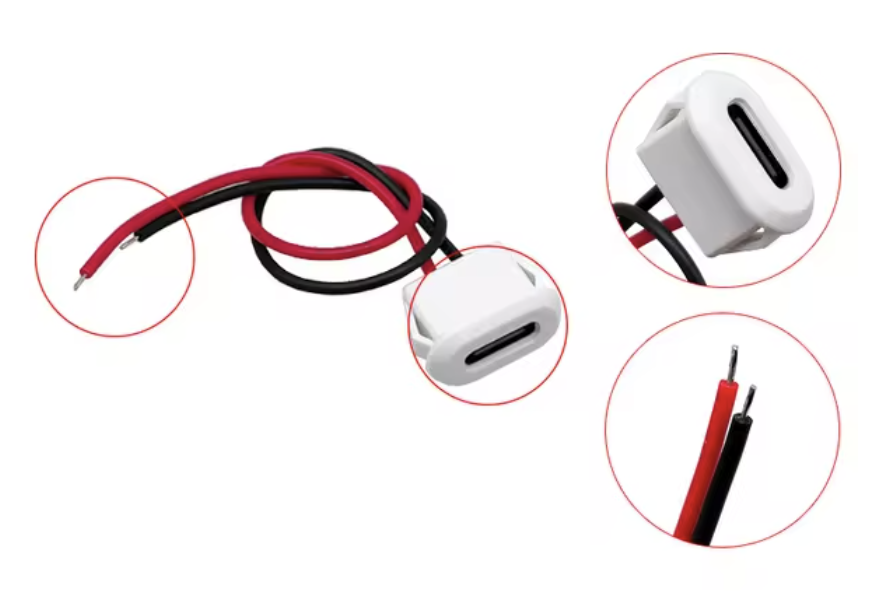
- USB-C female plug (I got mine here)
To be printed:
- 1x main body.stl
- 1x back panel.stl
- 1x lithophane (generate this for yourself, instructions below)
1. Generating a lithophane
Go to the ItsLitho website to generate a lithophane from an image. Ensure that your image is cropped to a 4:3 aspect ratio for compatibility with this Light Box. Upload your image on the site.
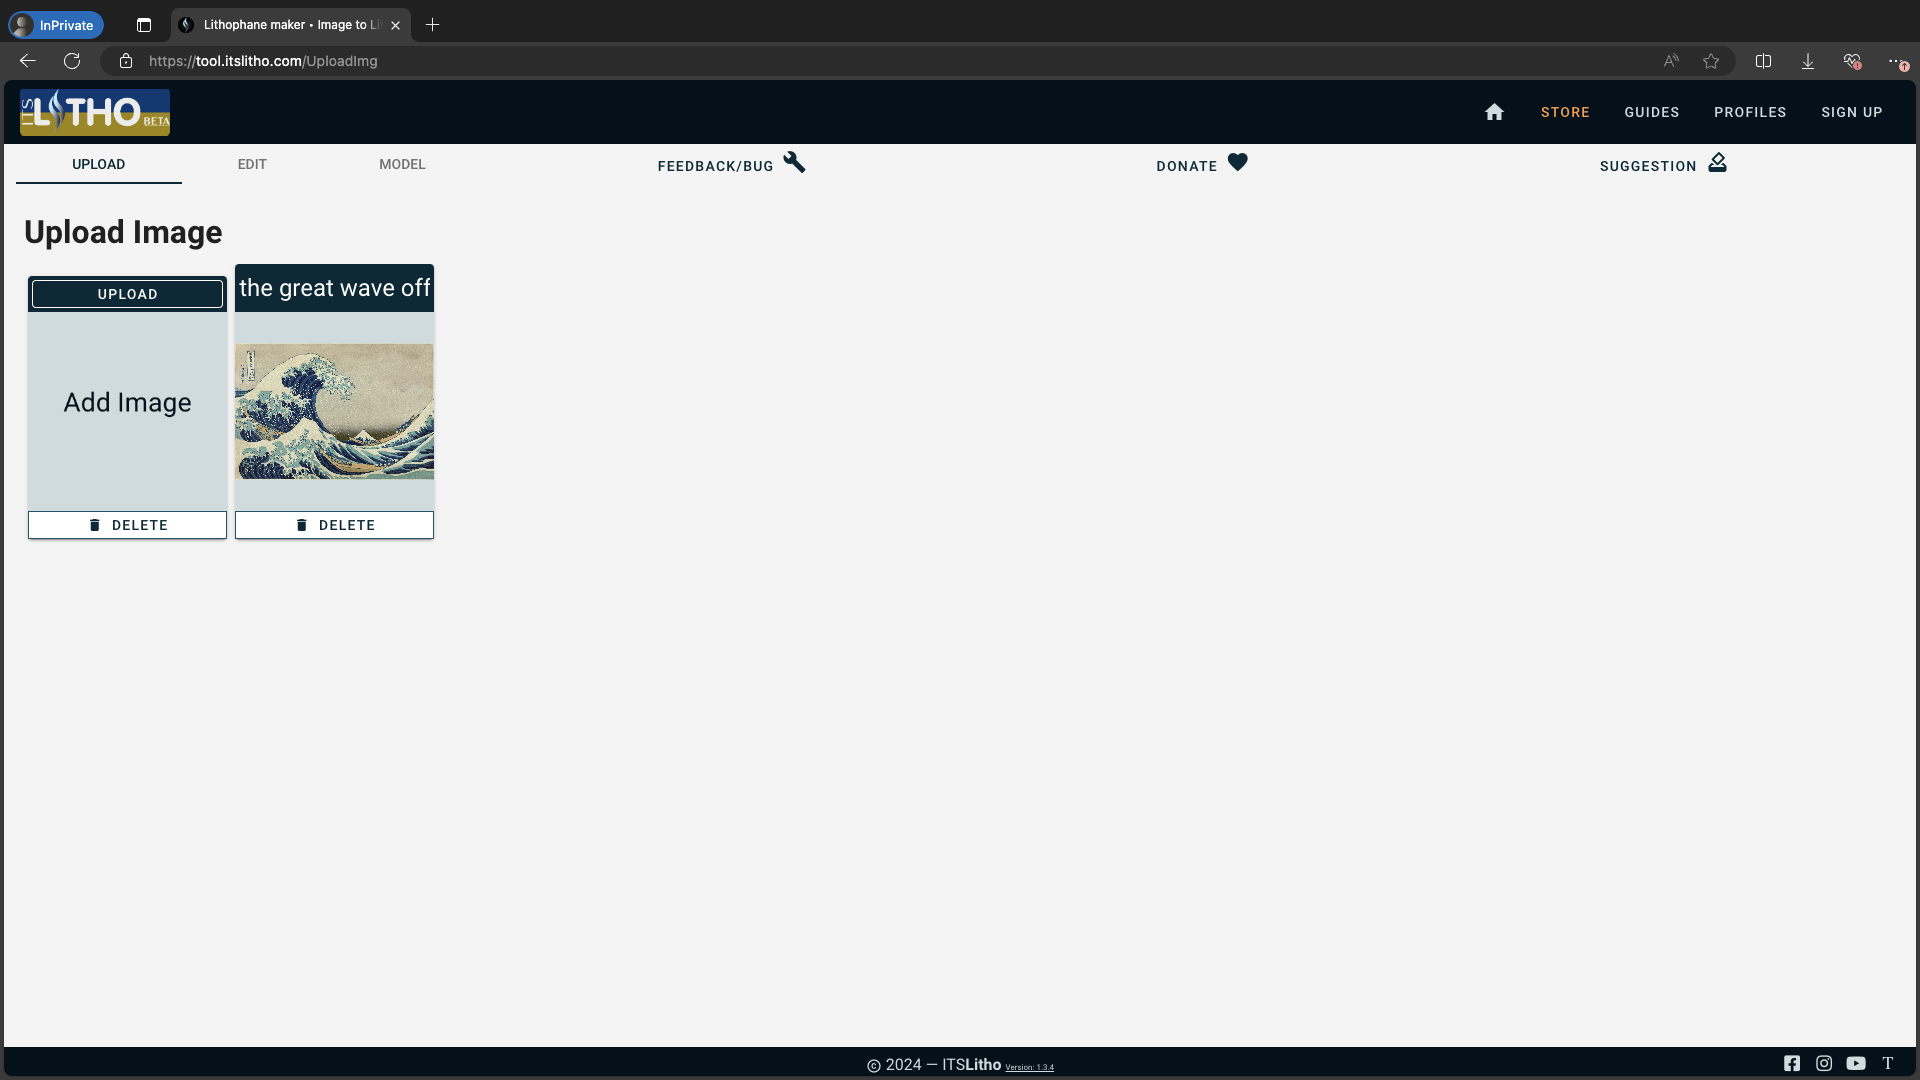
Click on the "model" tab to generate your lithophane.
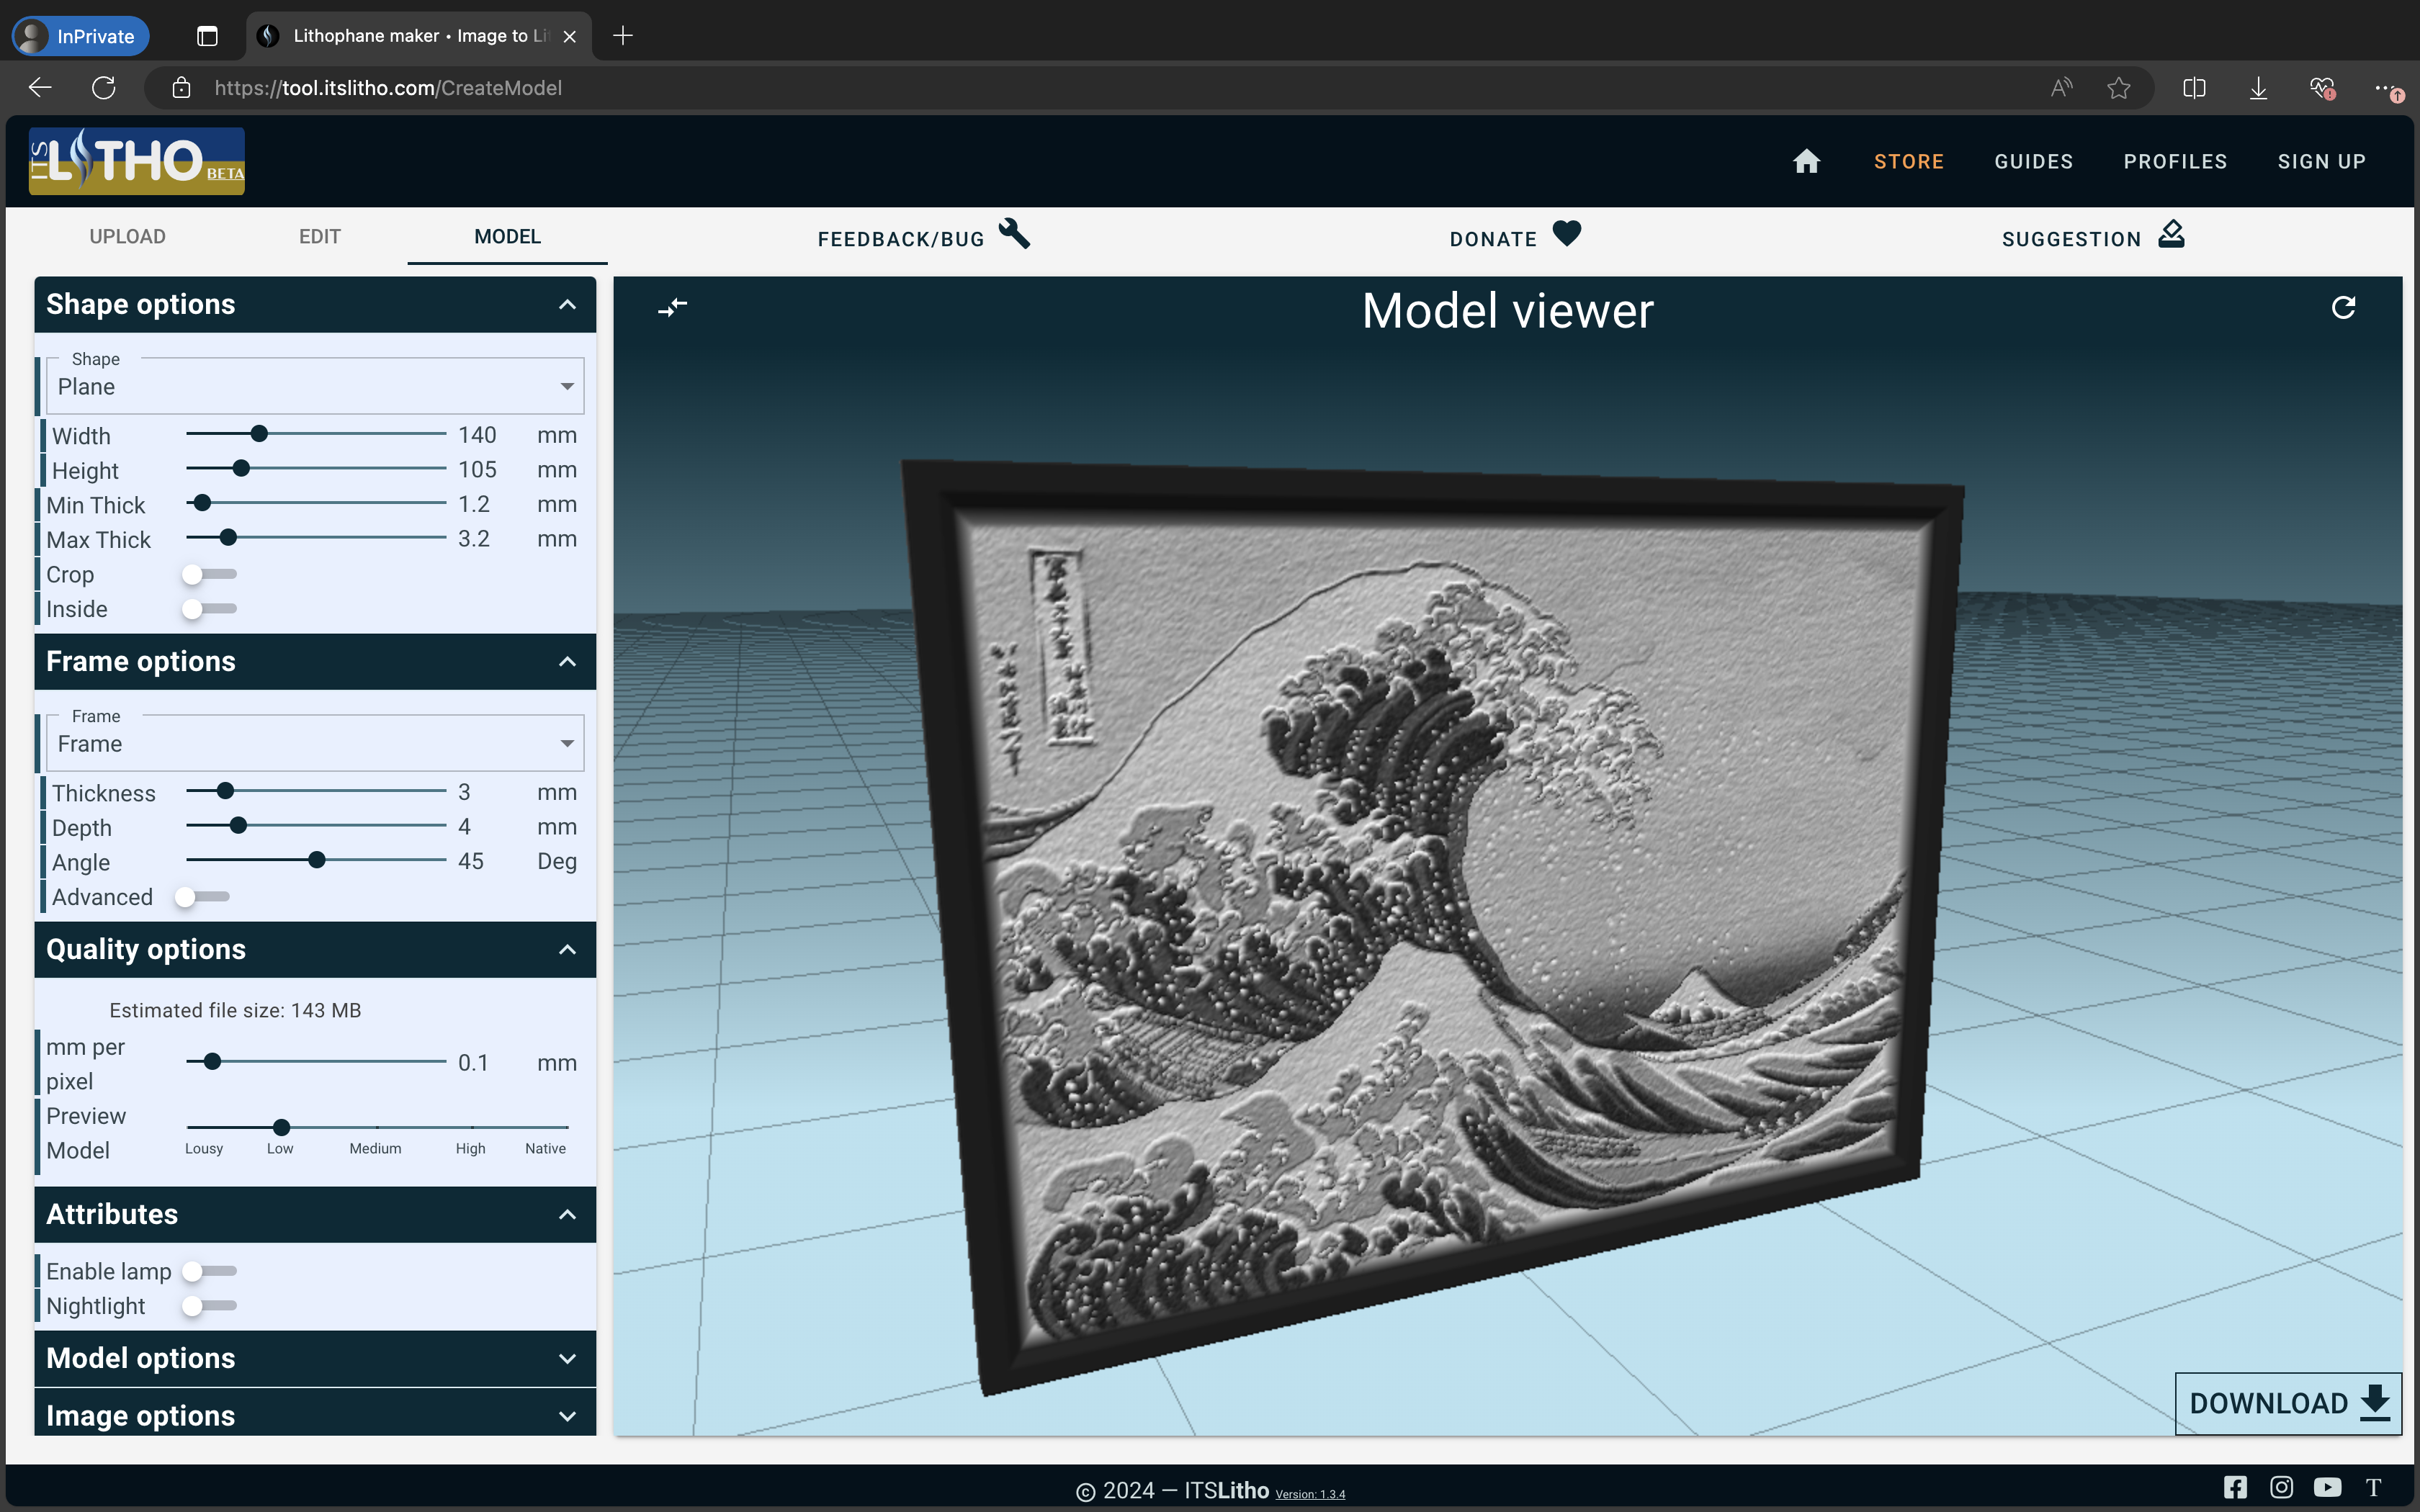
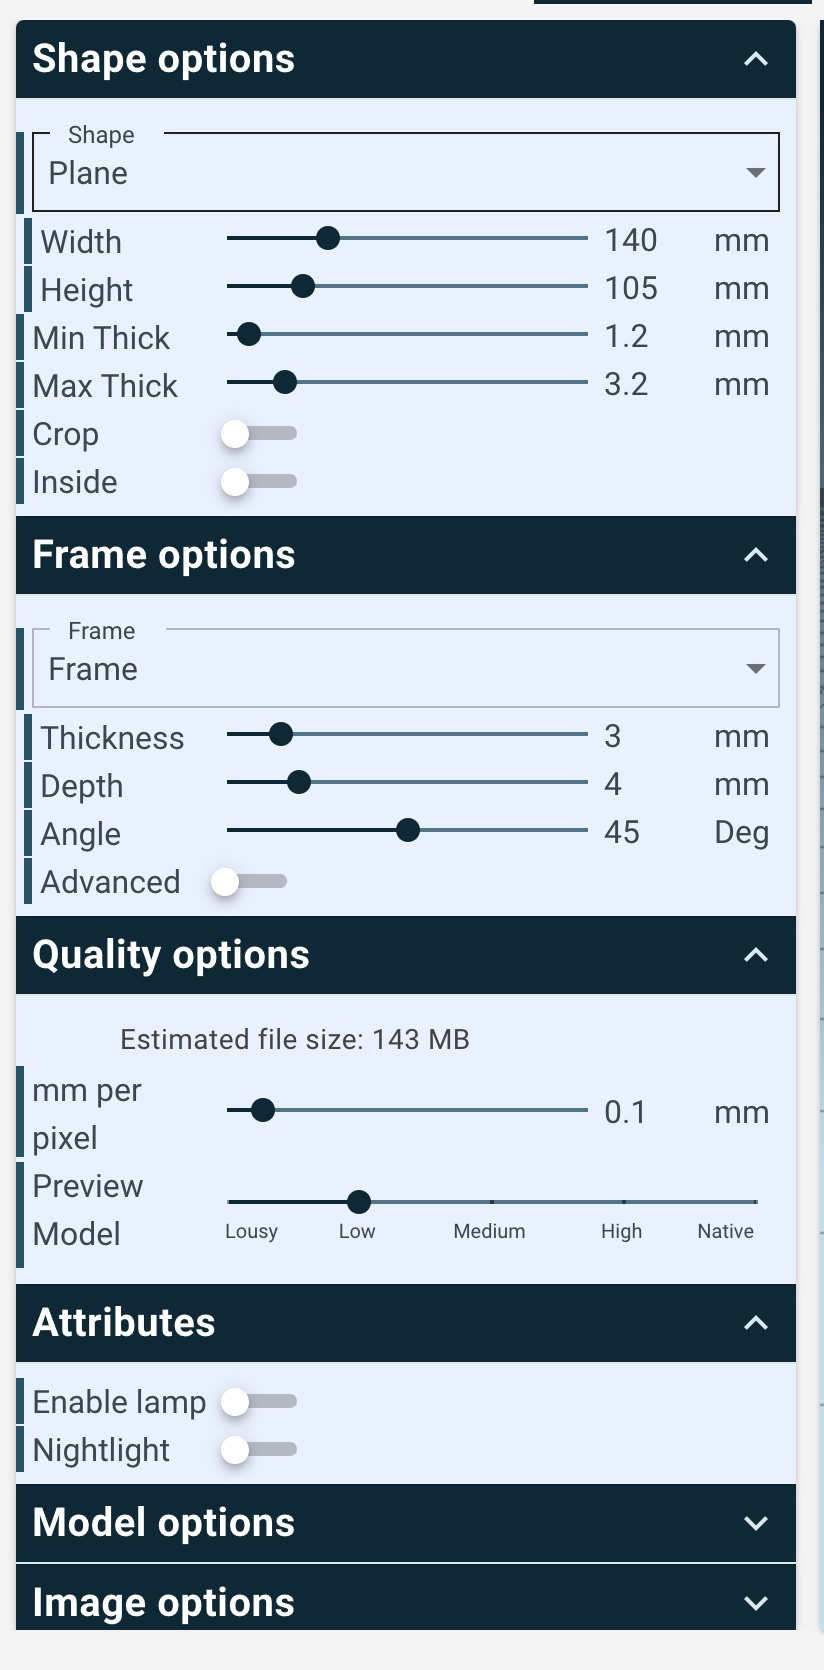
On the left panel, ensure the settings correspond accordingly:
- height x width = 105 x 140 mm
- min thick = 1.2mm
Download the model with the button on the bottom right.
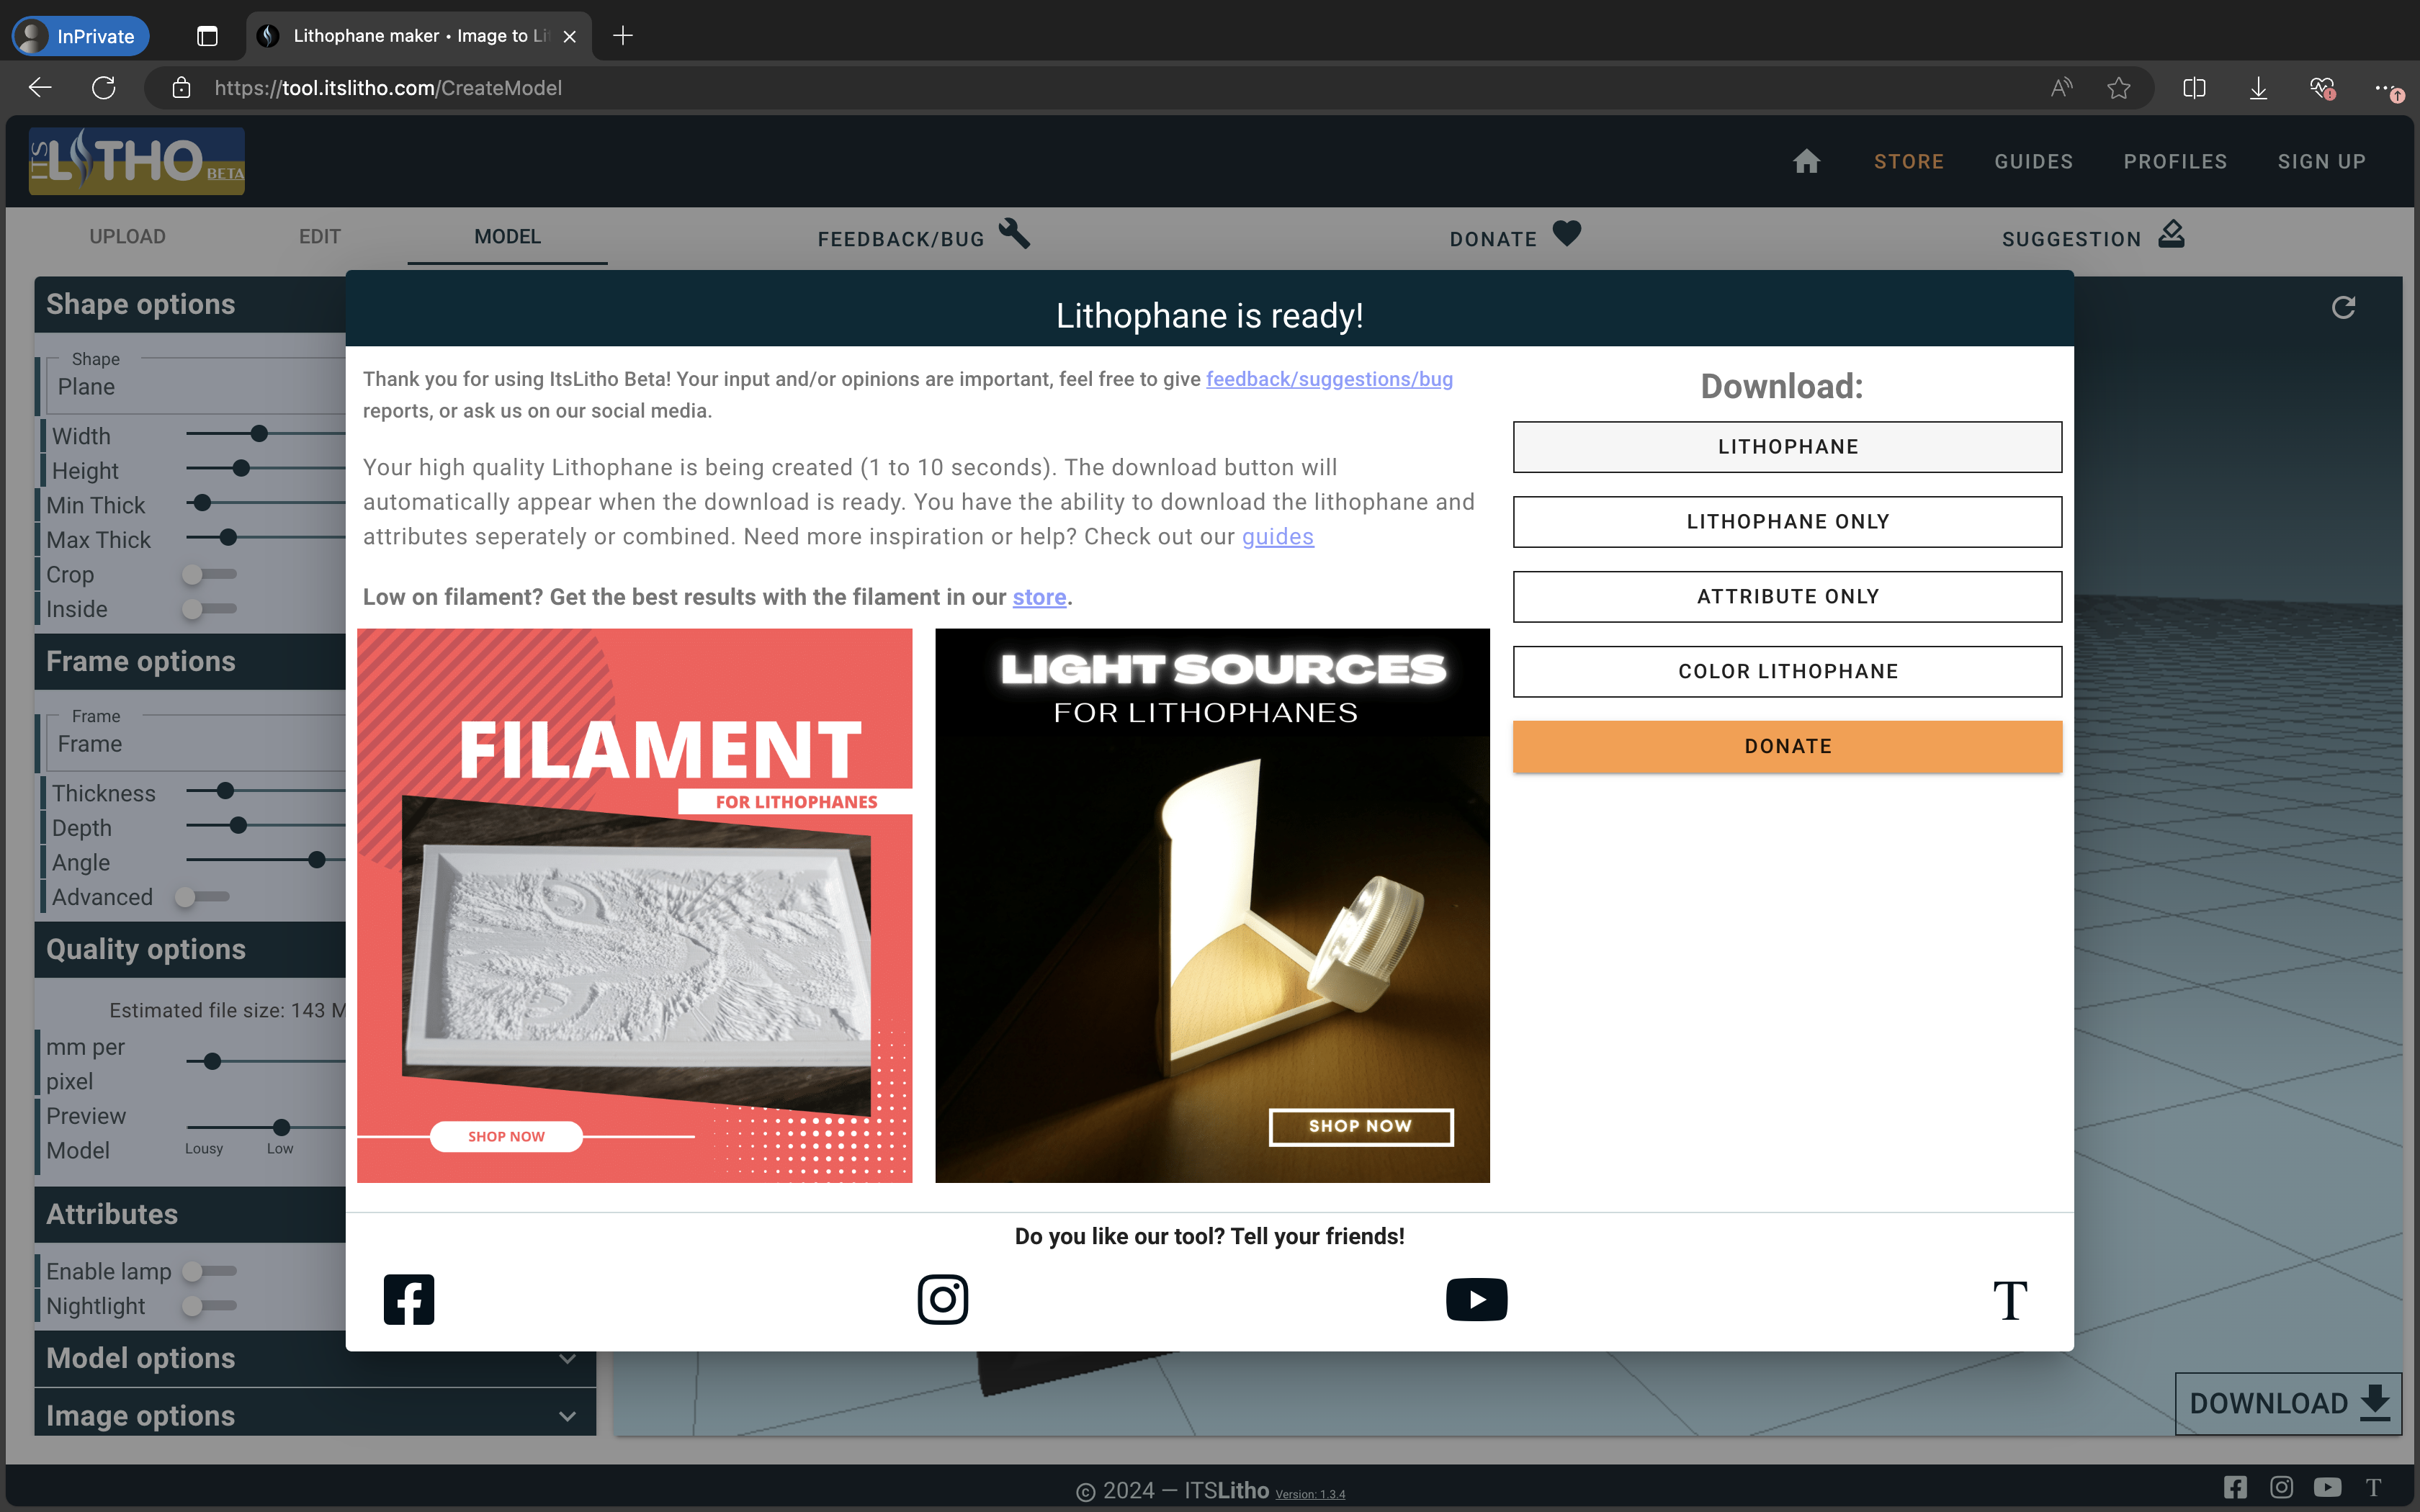
2. Printing the lithophanes
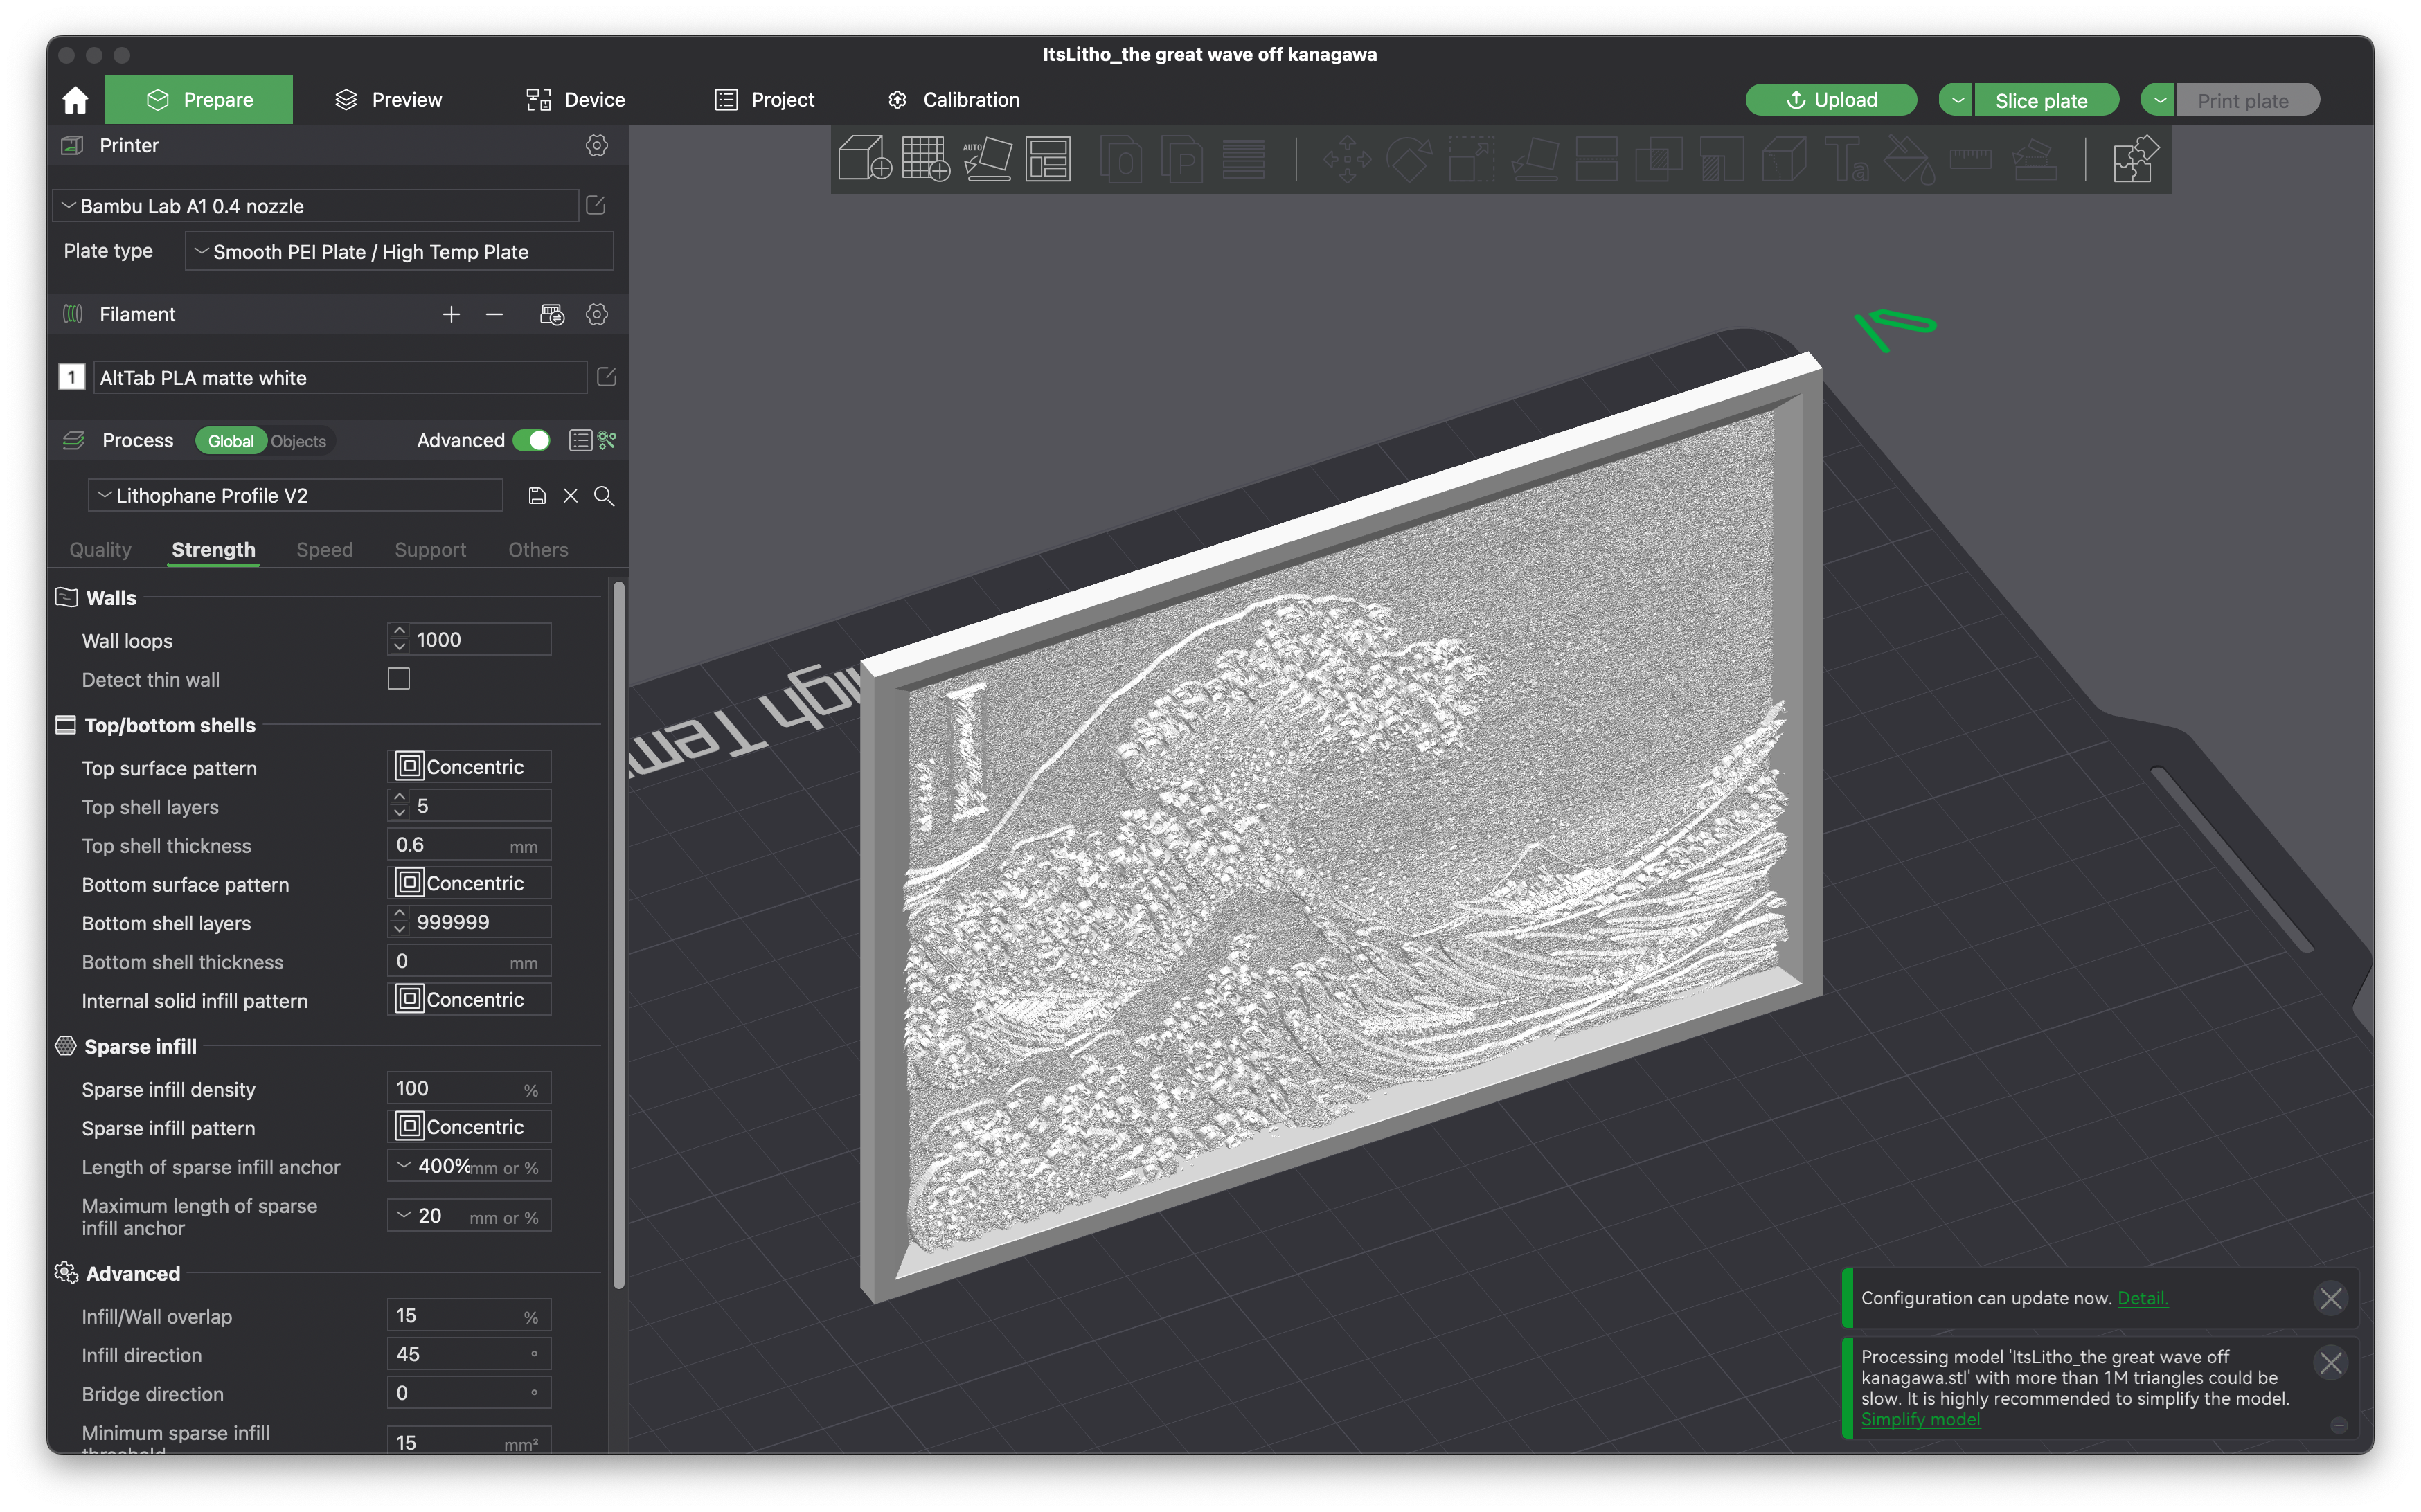
Load the generated stl into your slicer (I'm using Bambu Studio but you may use Cura, PrusaSlicer, OrcaSlicer or other slicers)
Material wise, I use a matte white PLA filament, but any white filament should work. Avoid using white filaments advertised as warm / cool. Surprisingly, I find cheaper filaments work better as they're less opaque. Slicer settings for lithophanes:
- Layer height: 1.2mm
- Brim type: Outer brims only (basically enable brims)
- Wall loops: 99999999
- Top surface pattern: Concentric
- Bottom surface pattern: Concentric
- Infill: 100% Concentric
- Speed: to your liking, preferably slower
For the light box itself, use the following print settings:
- Layer height: 2.0mm
- Brim type: None
- Wall loops: 2
- Infill: 15% Lightning (avoid using gyroid, the infill might look gross when the light shines from the inside)
3. Assembly
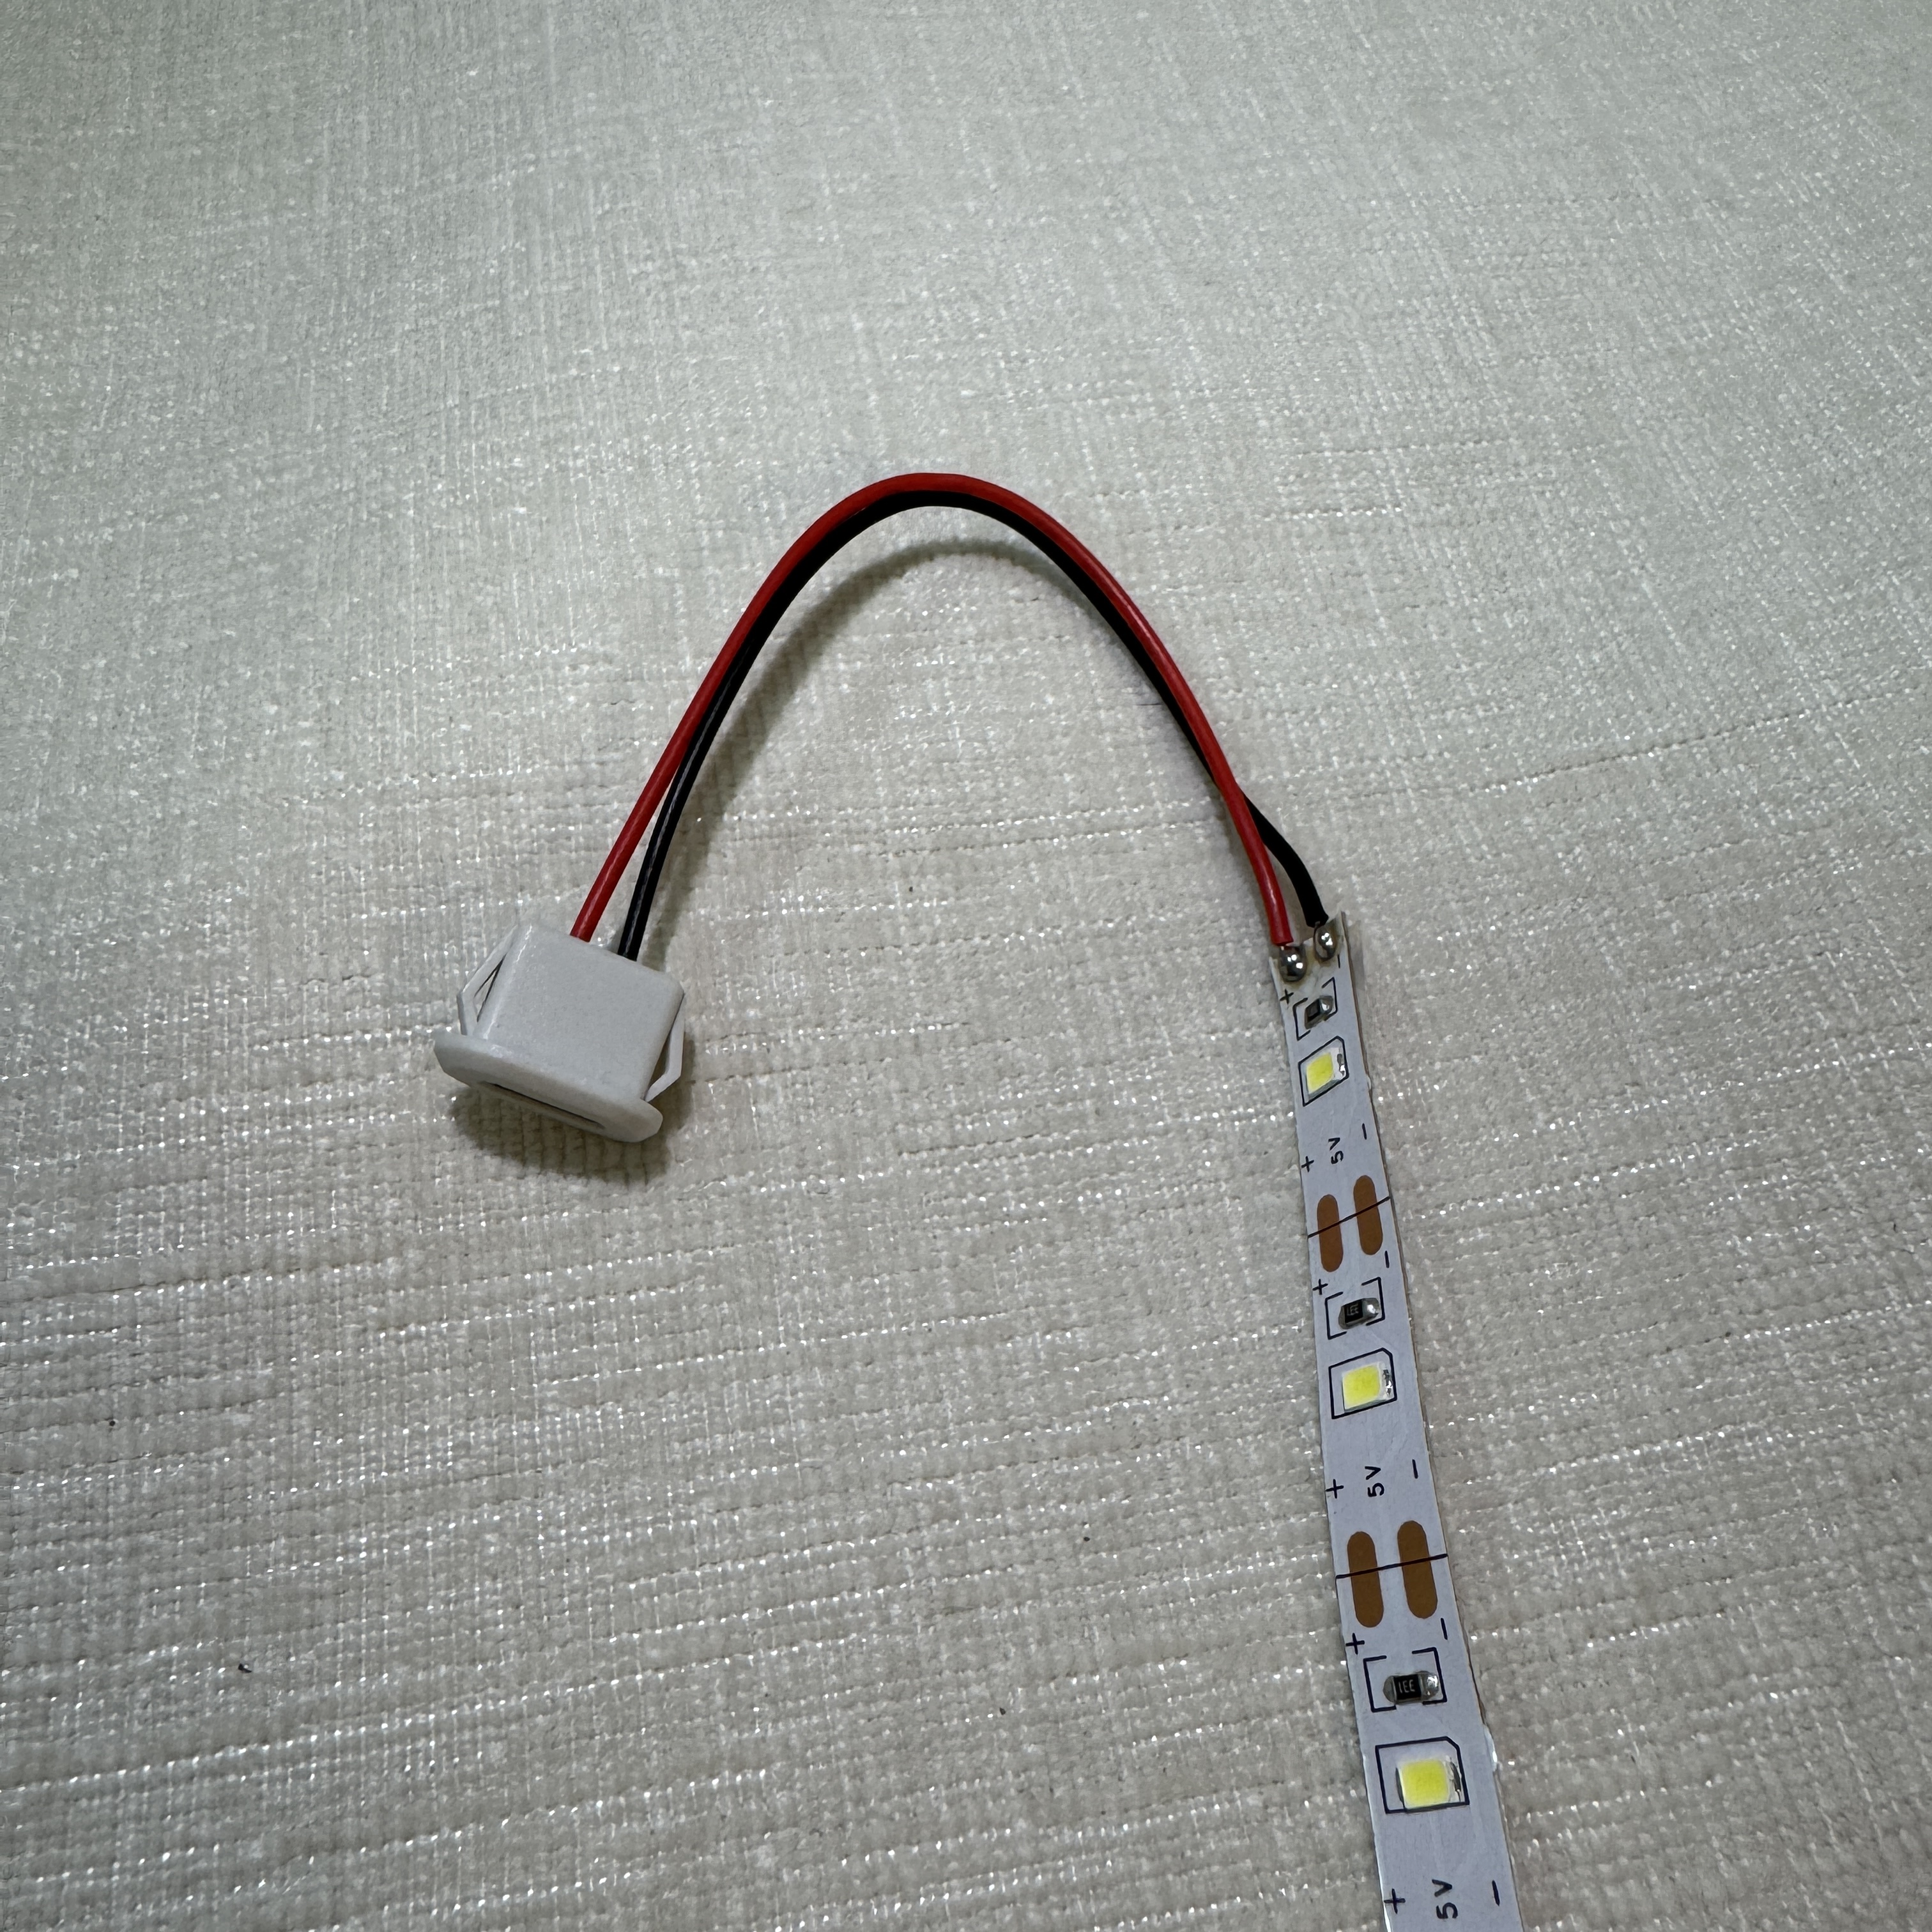
Solder the USB-C connector to the 5V LED strip and test that it works
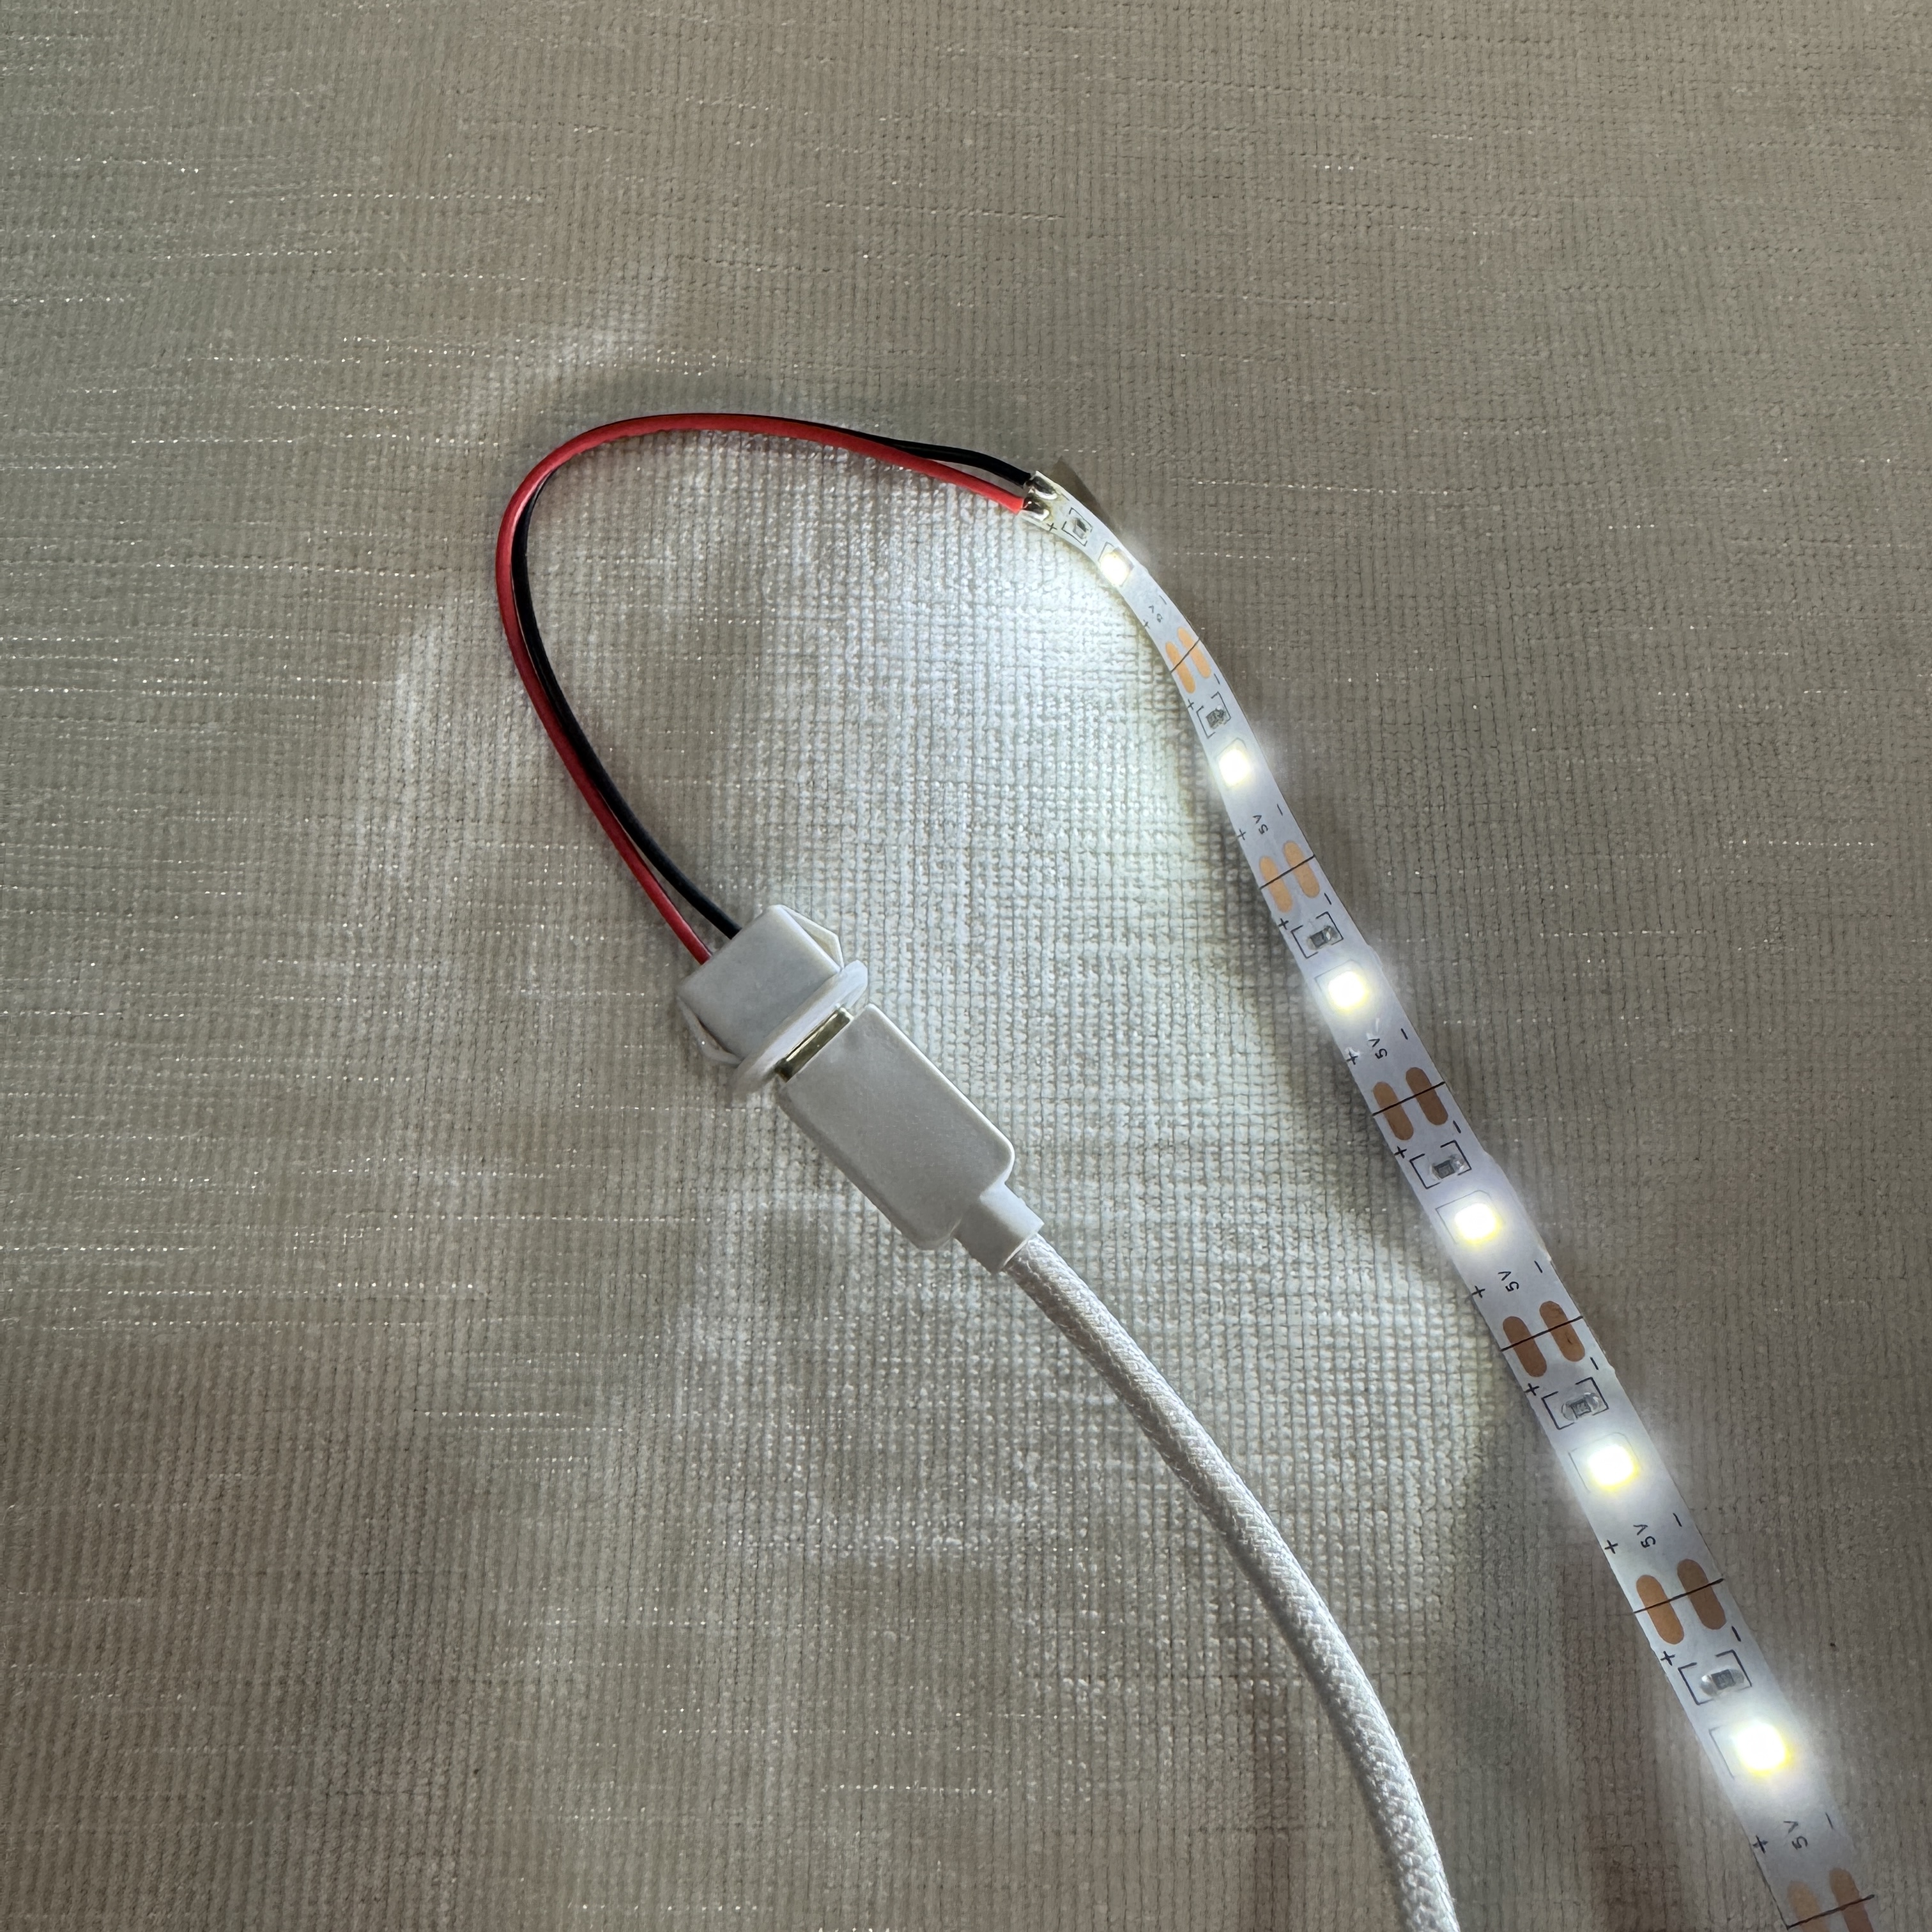
Slot in the USB-C connector and LED strip through the hole of the back panel and snap the USB-C plug into place
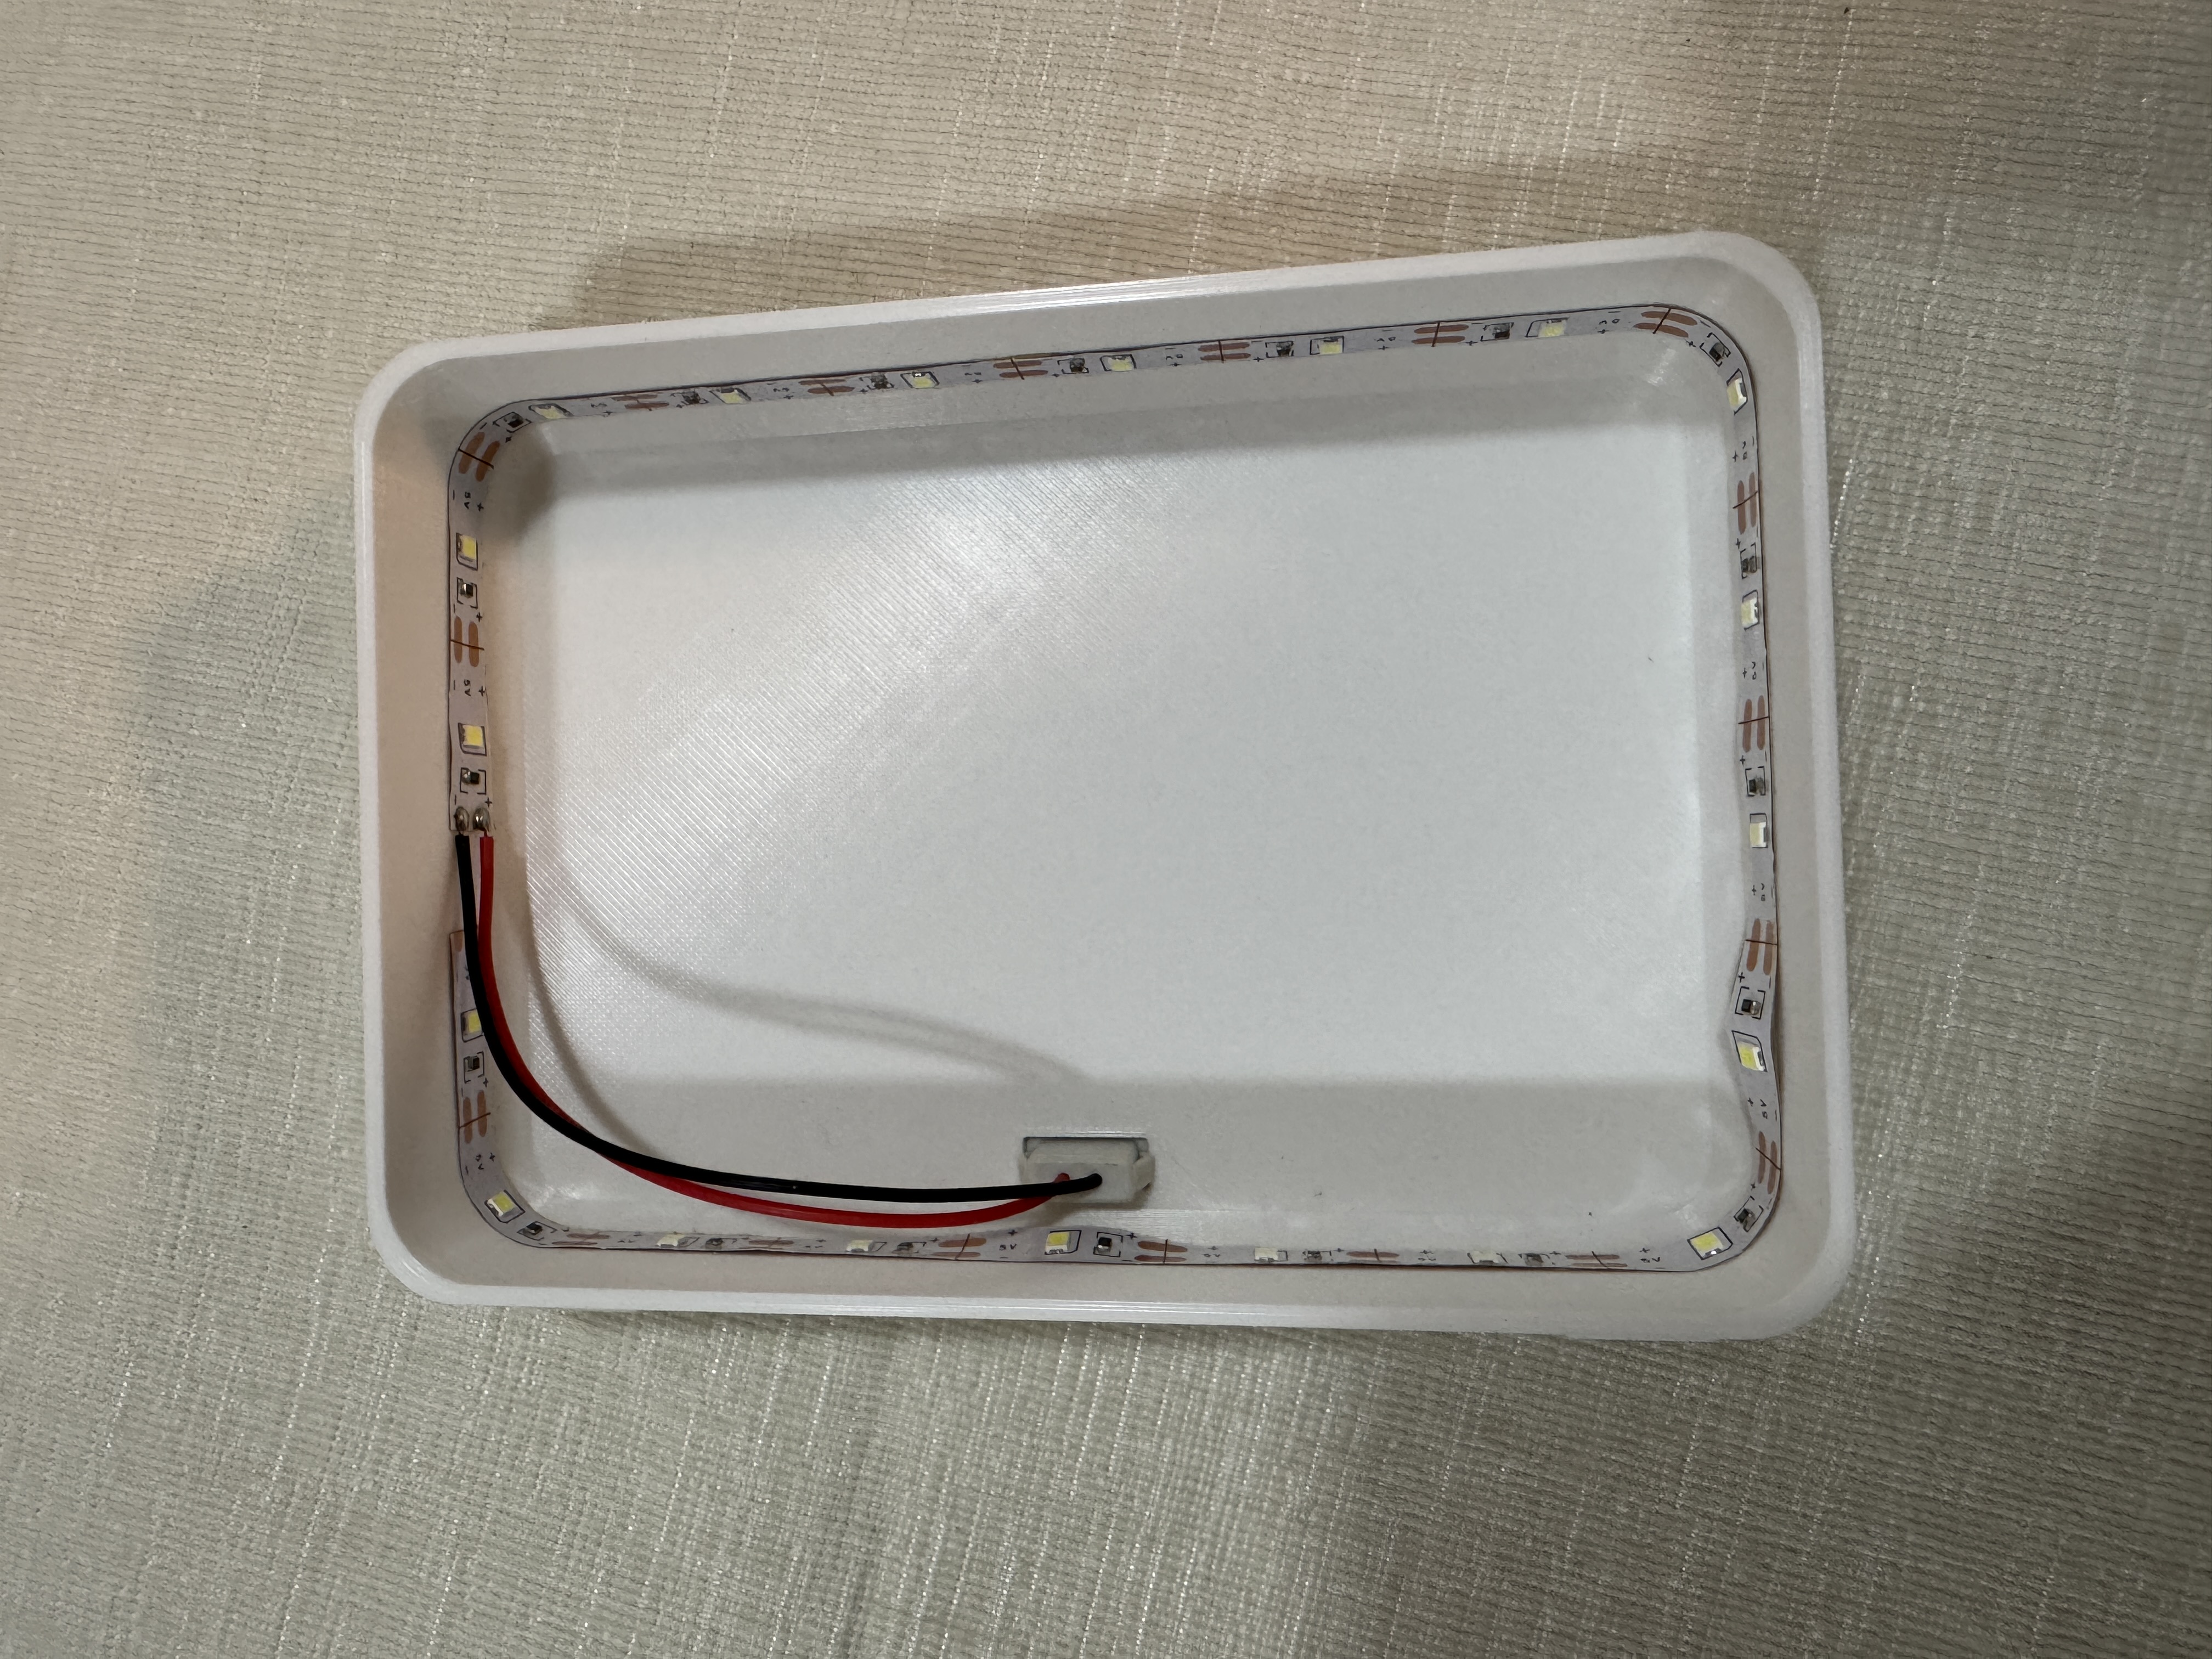
Stick the LED strip around the sides of back panel
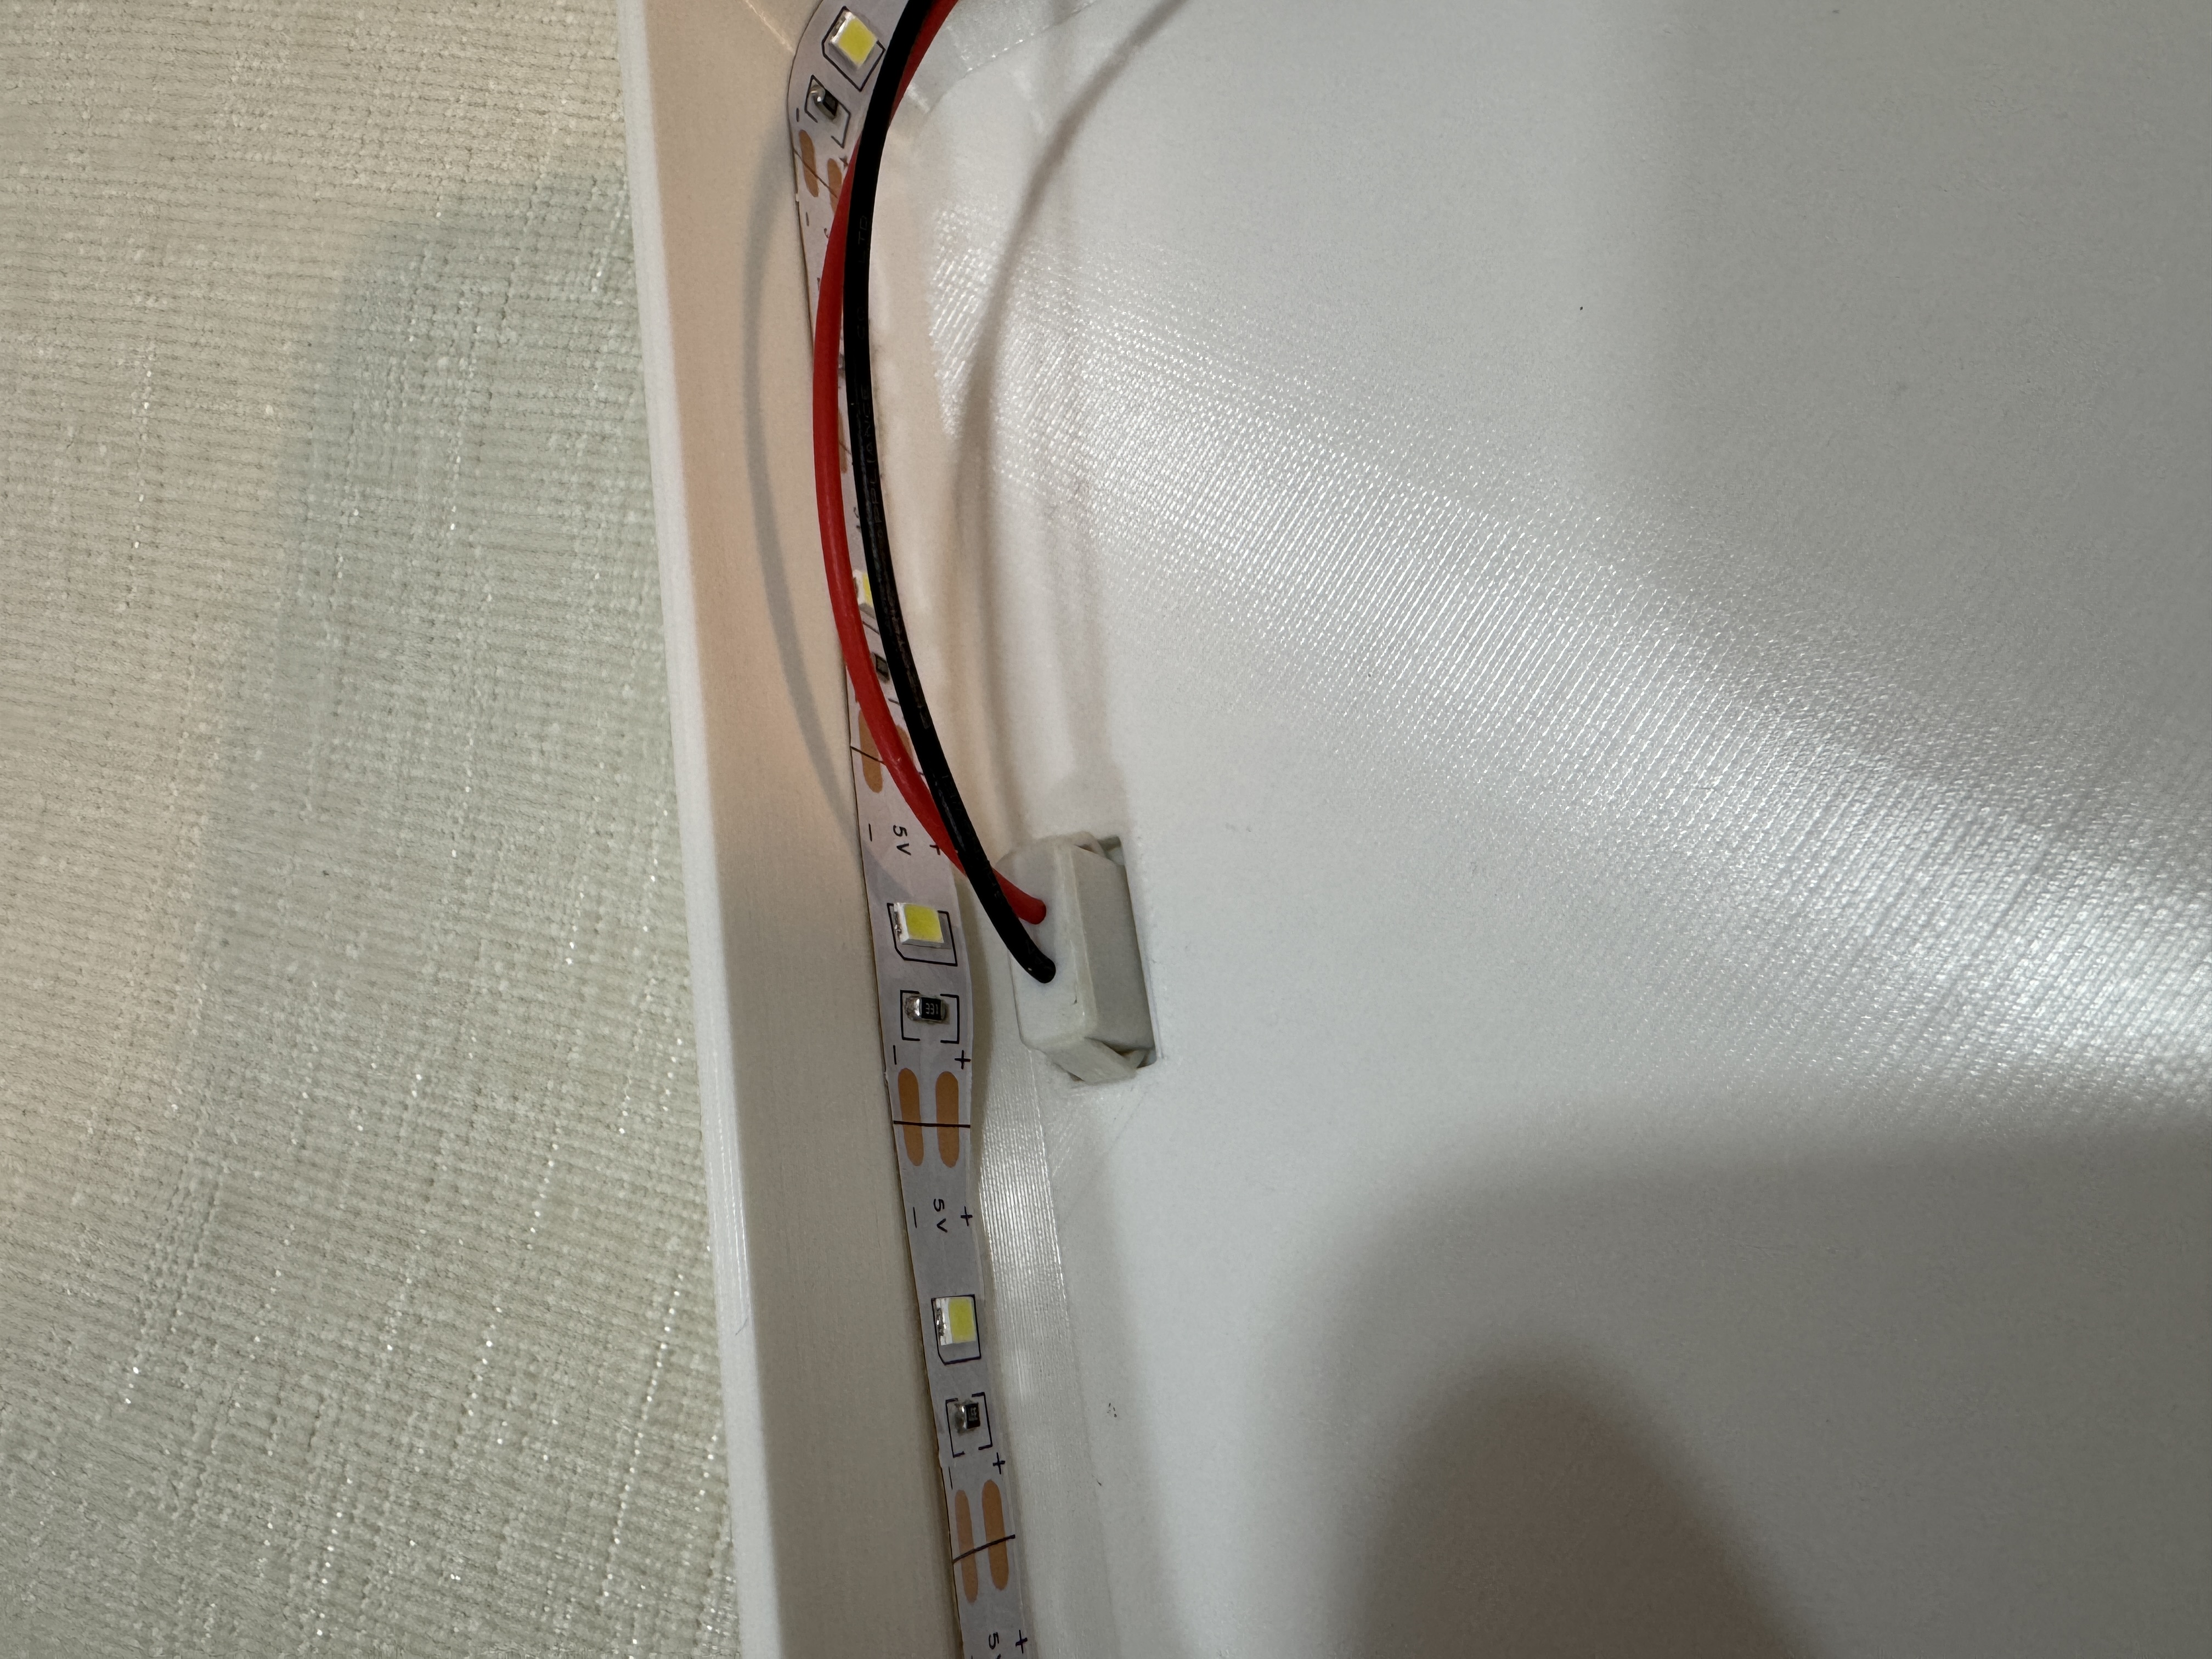
Insert the lithophane into the main body
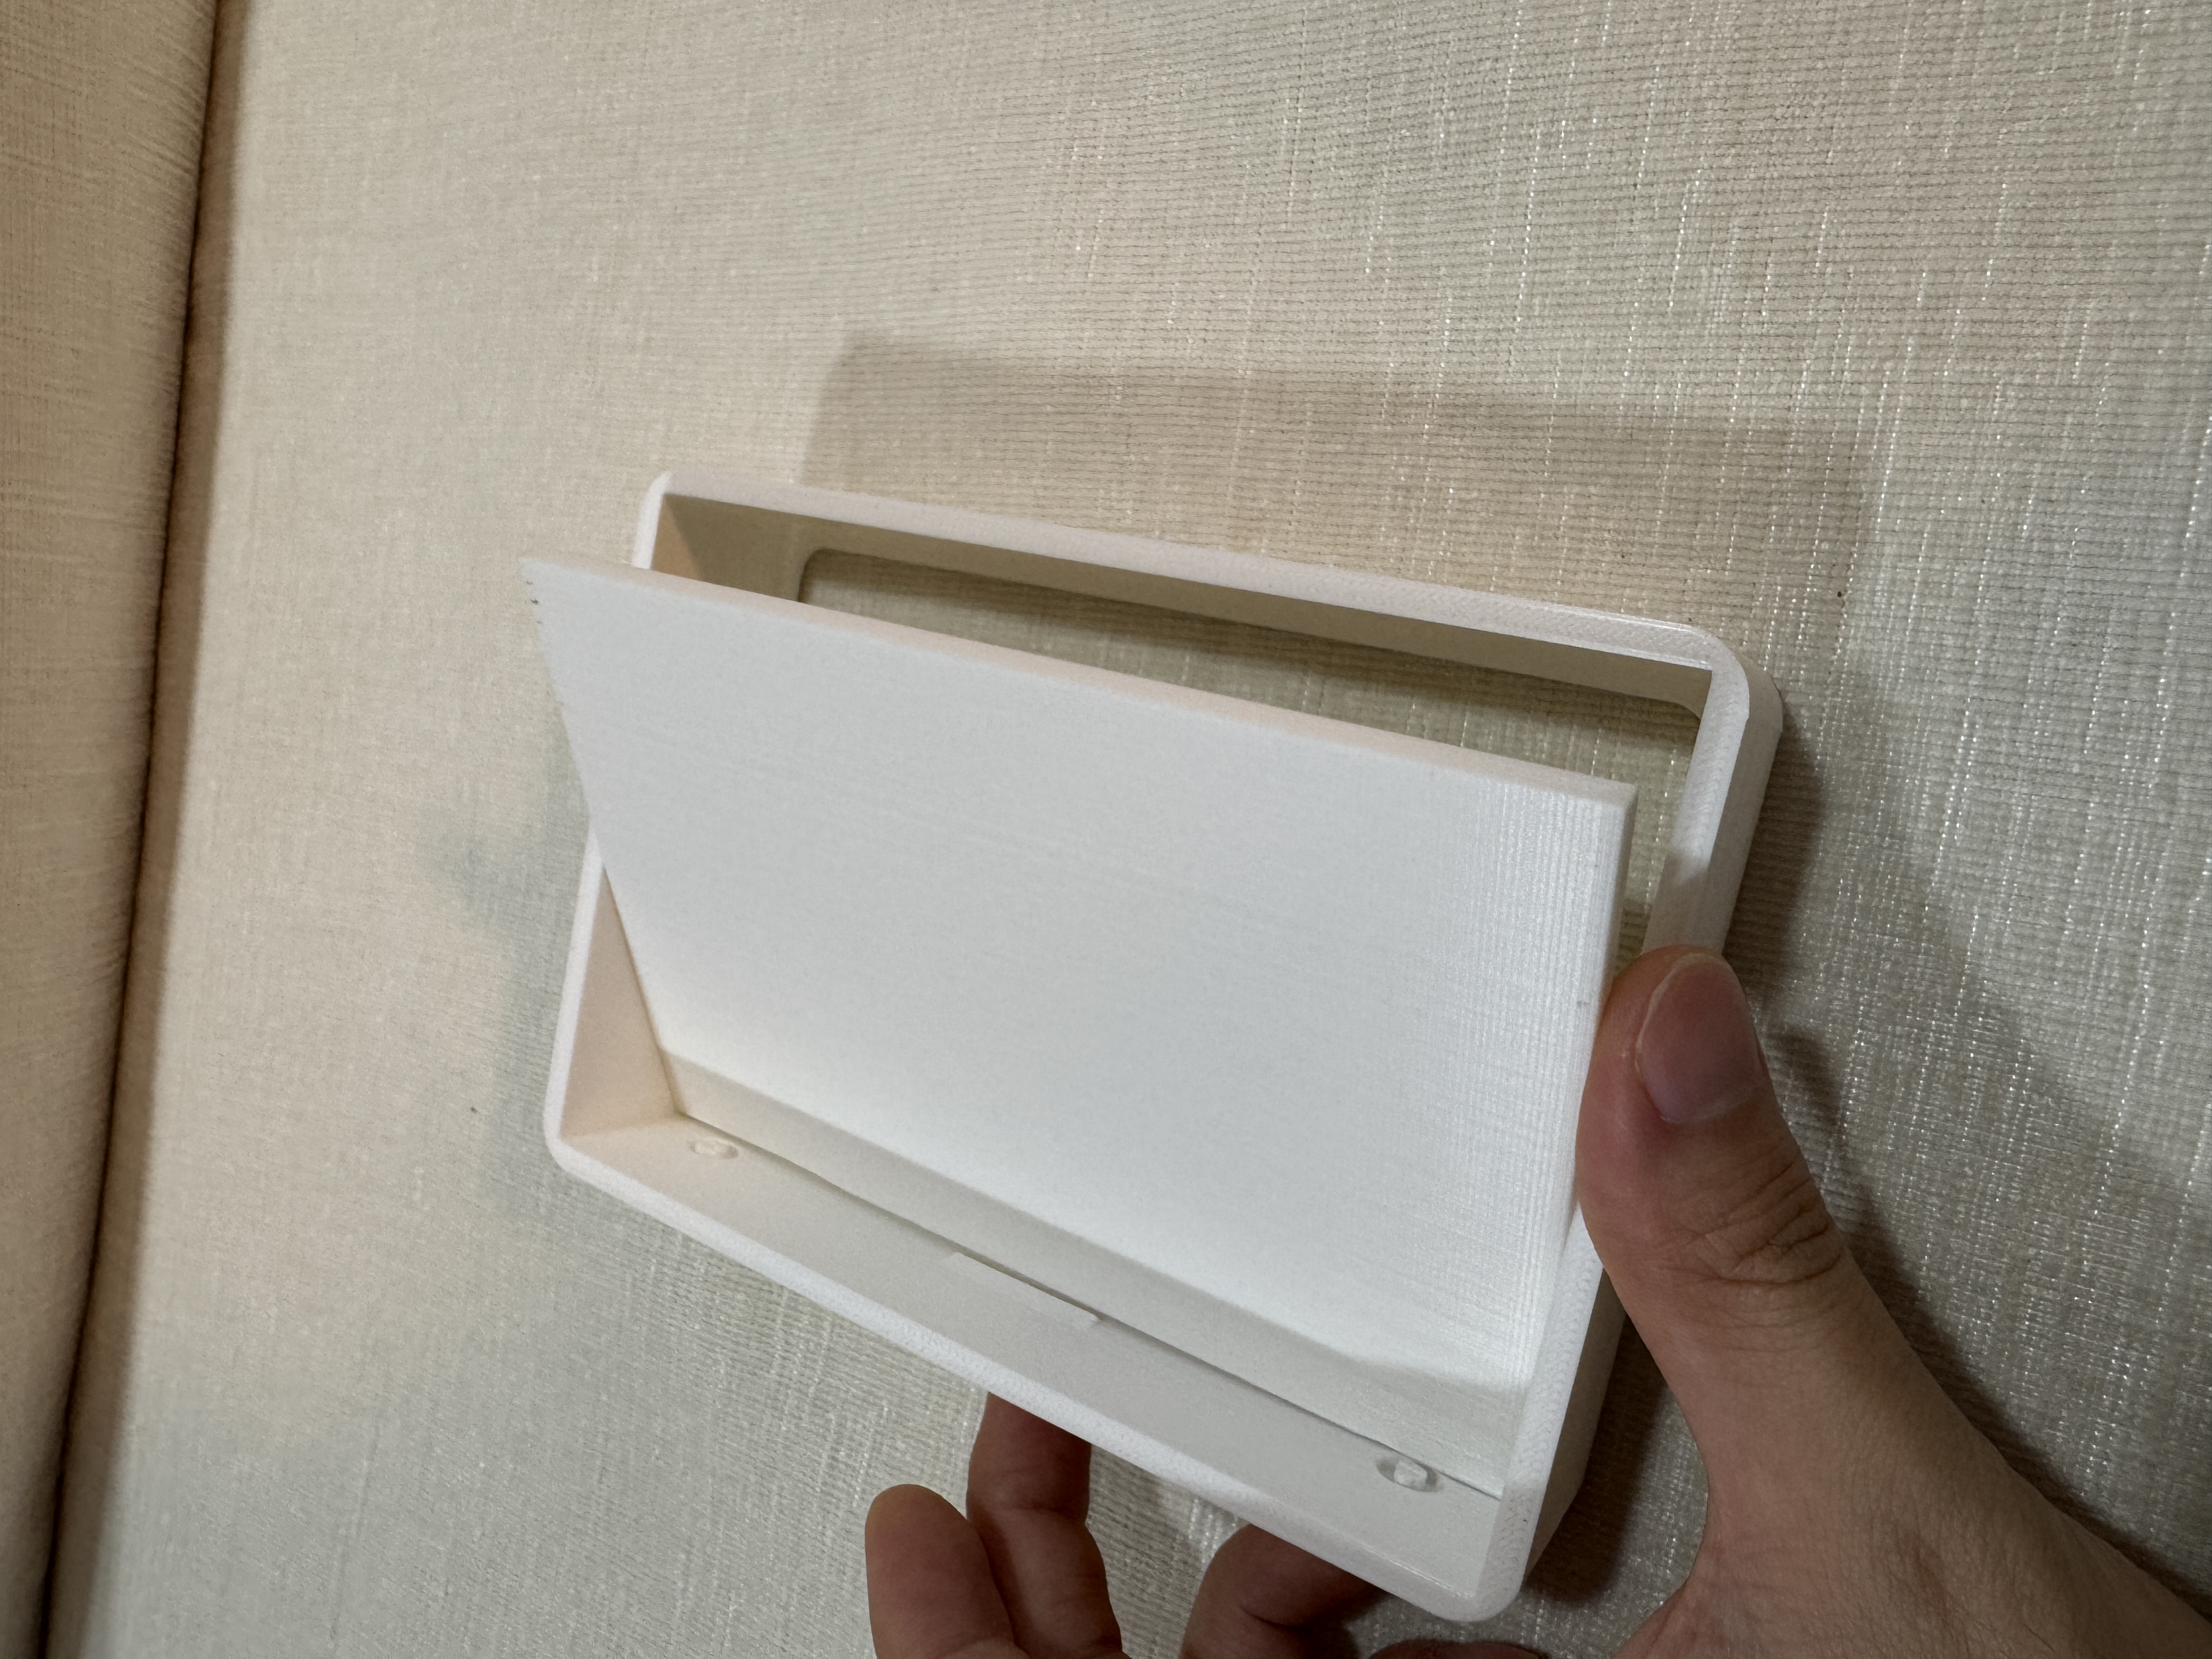
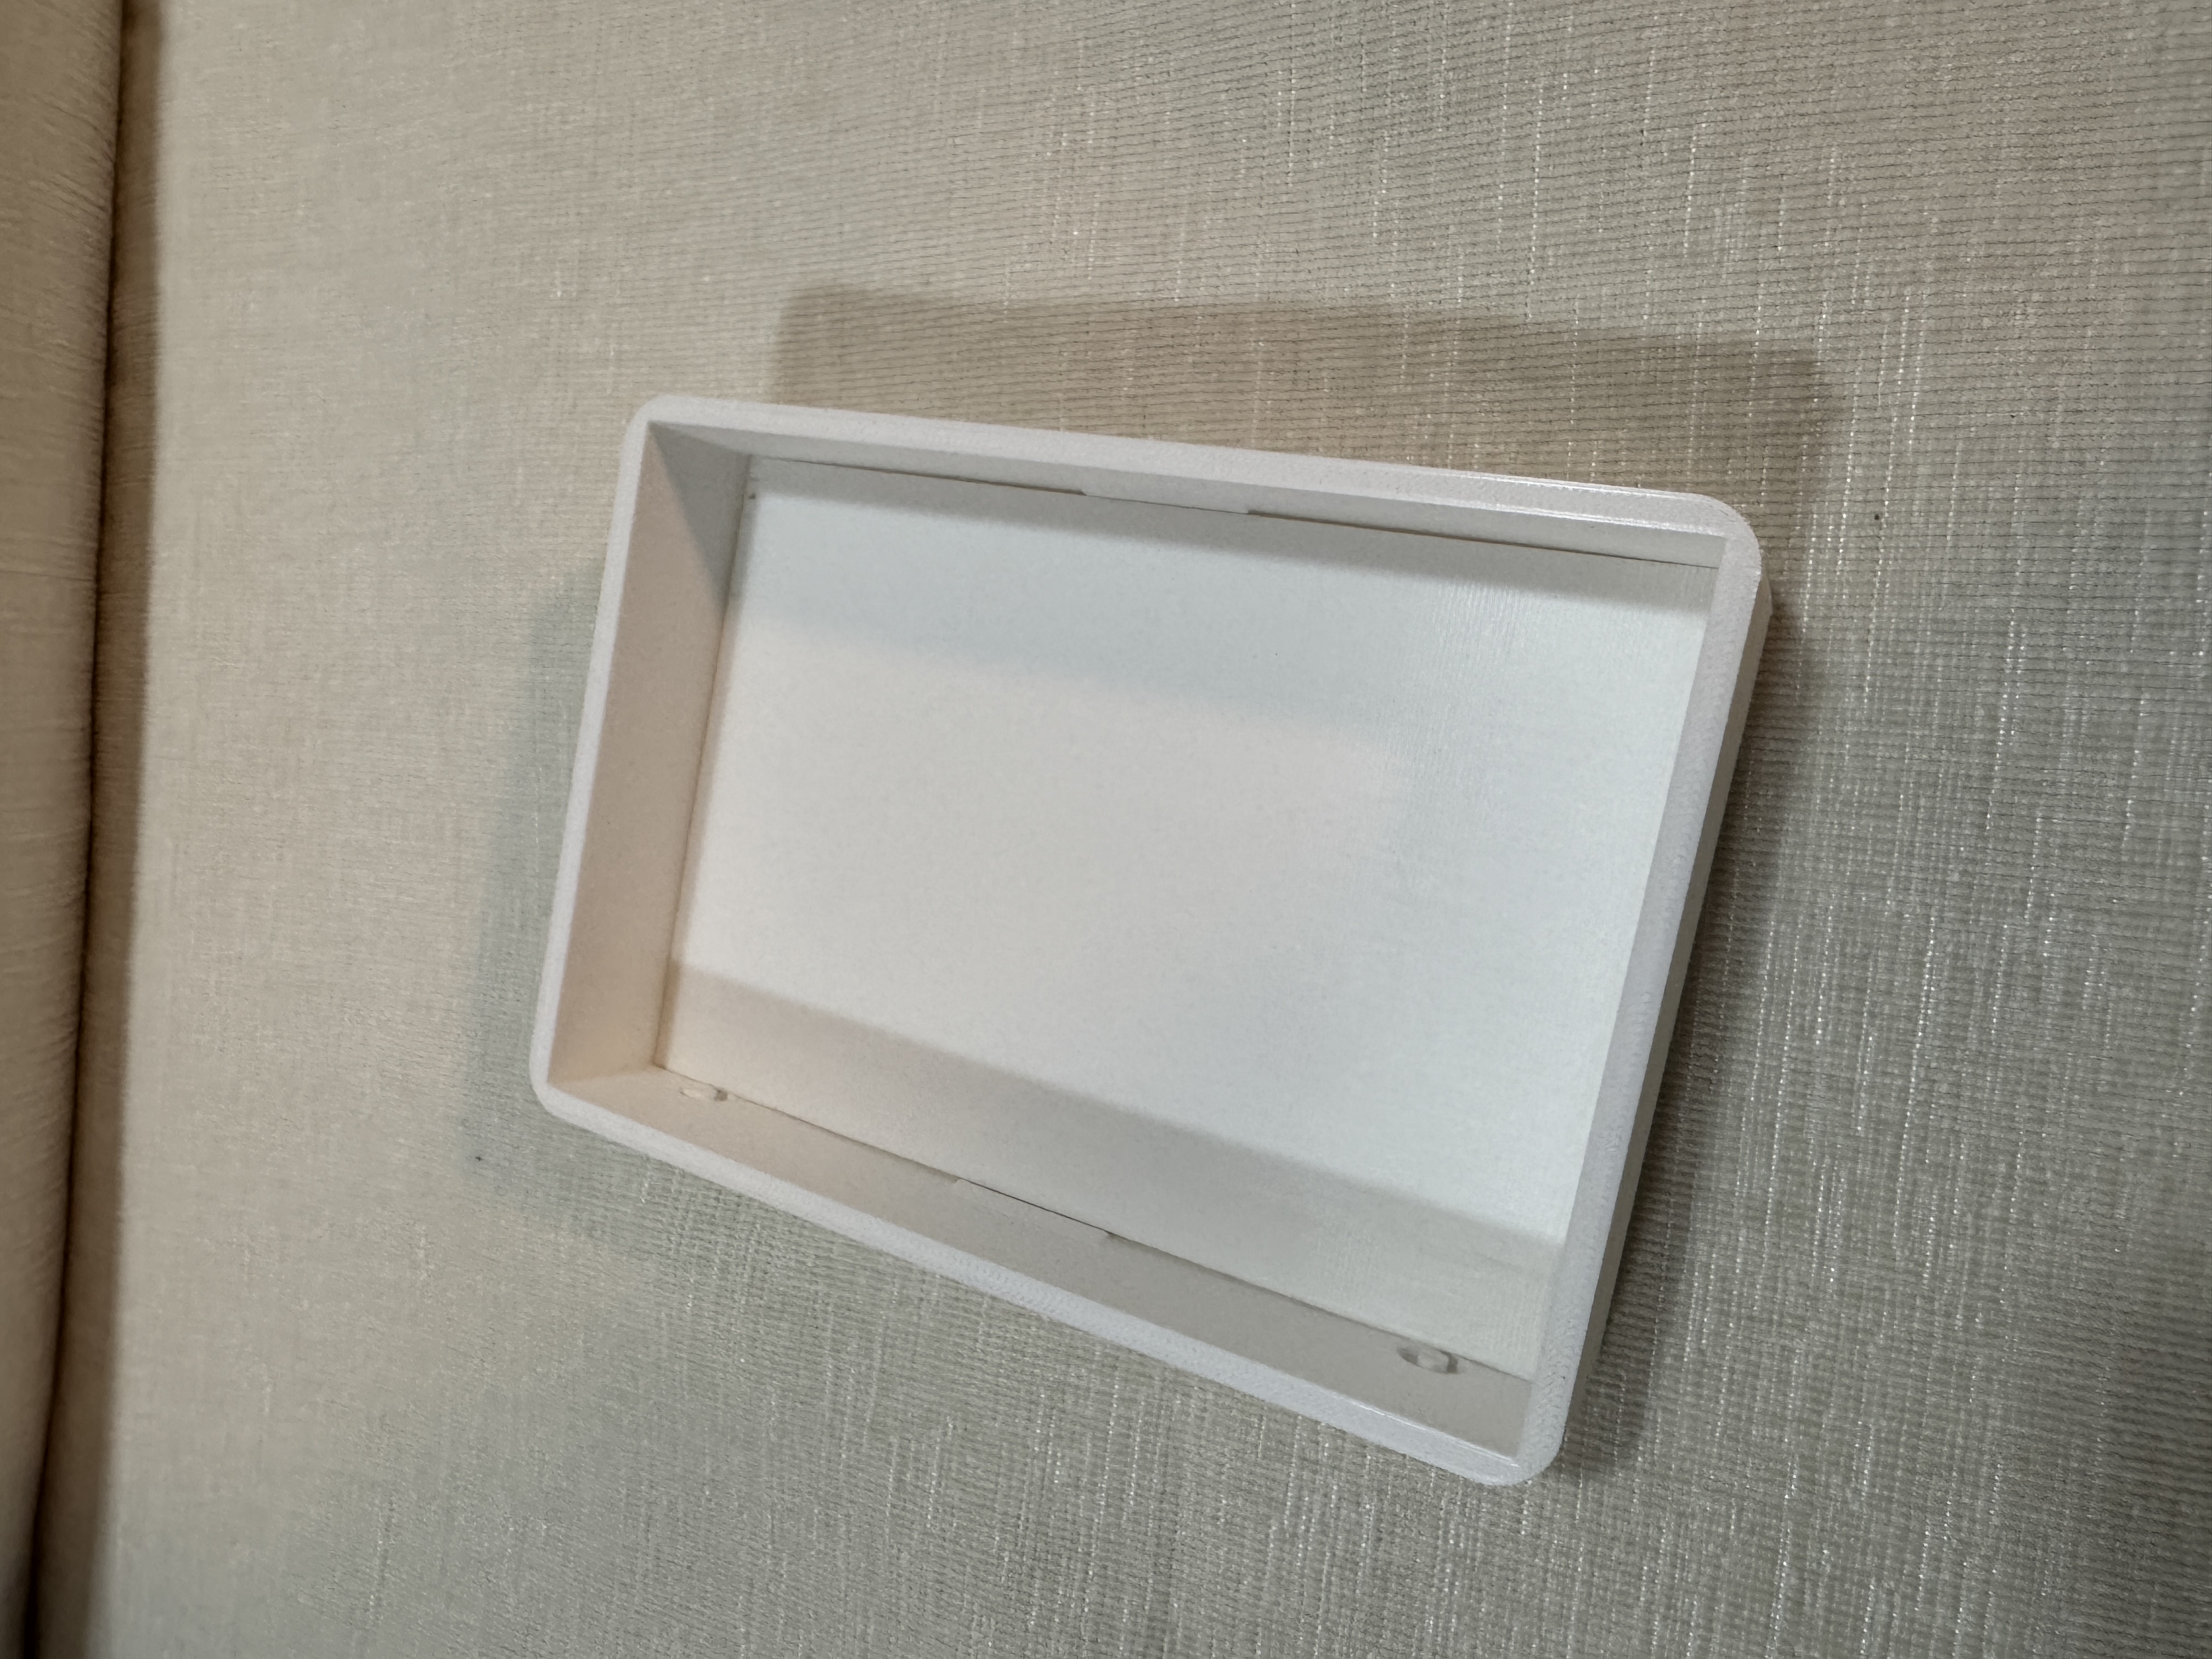
Fit the back panel and main body together
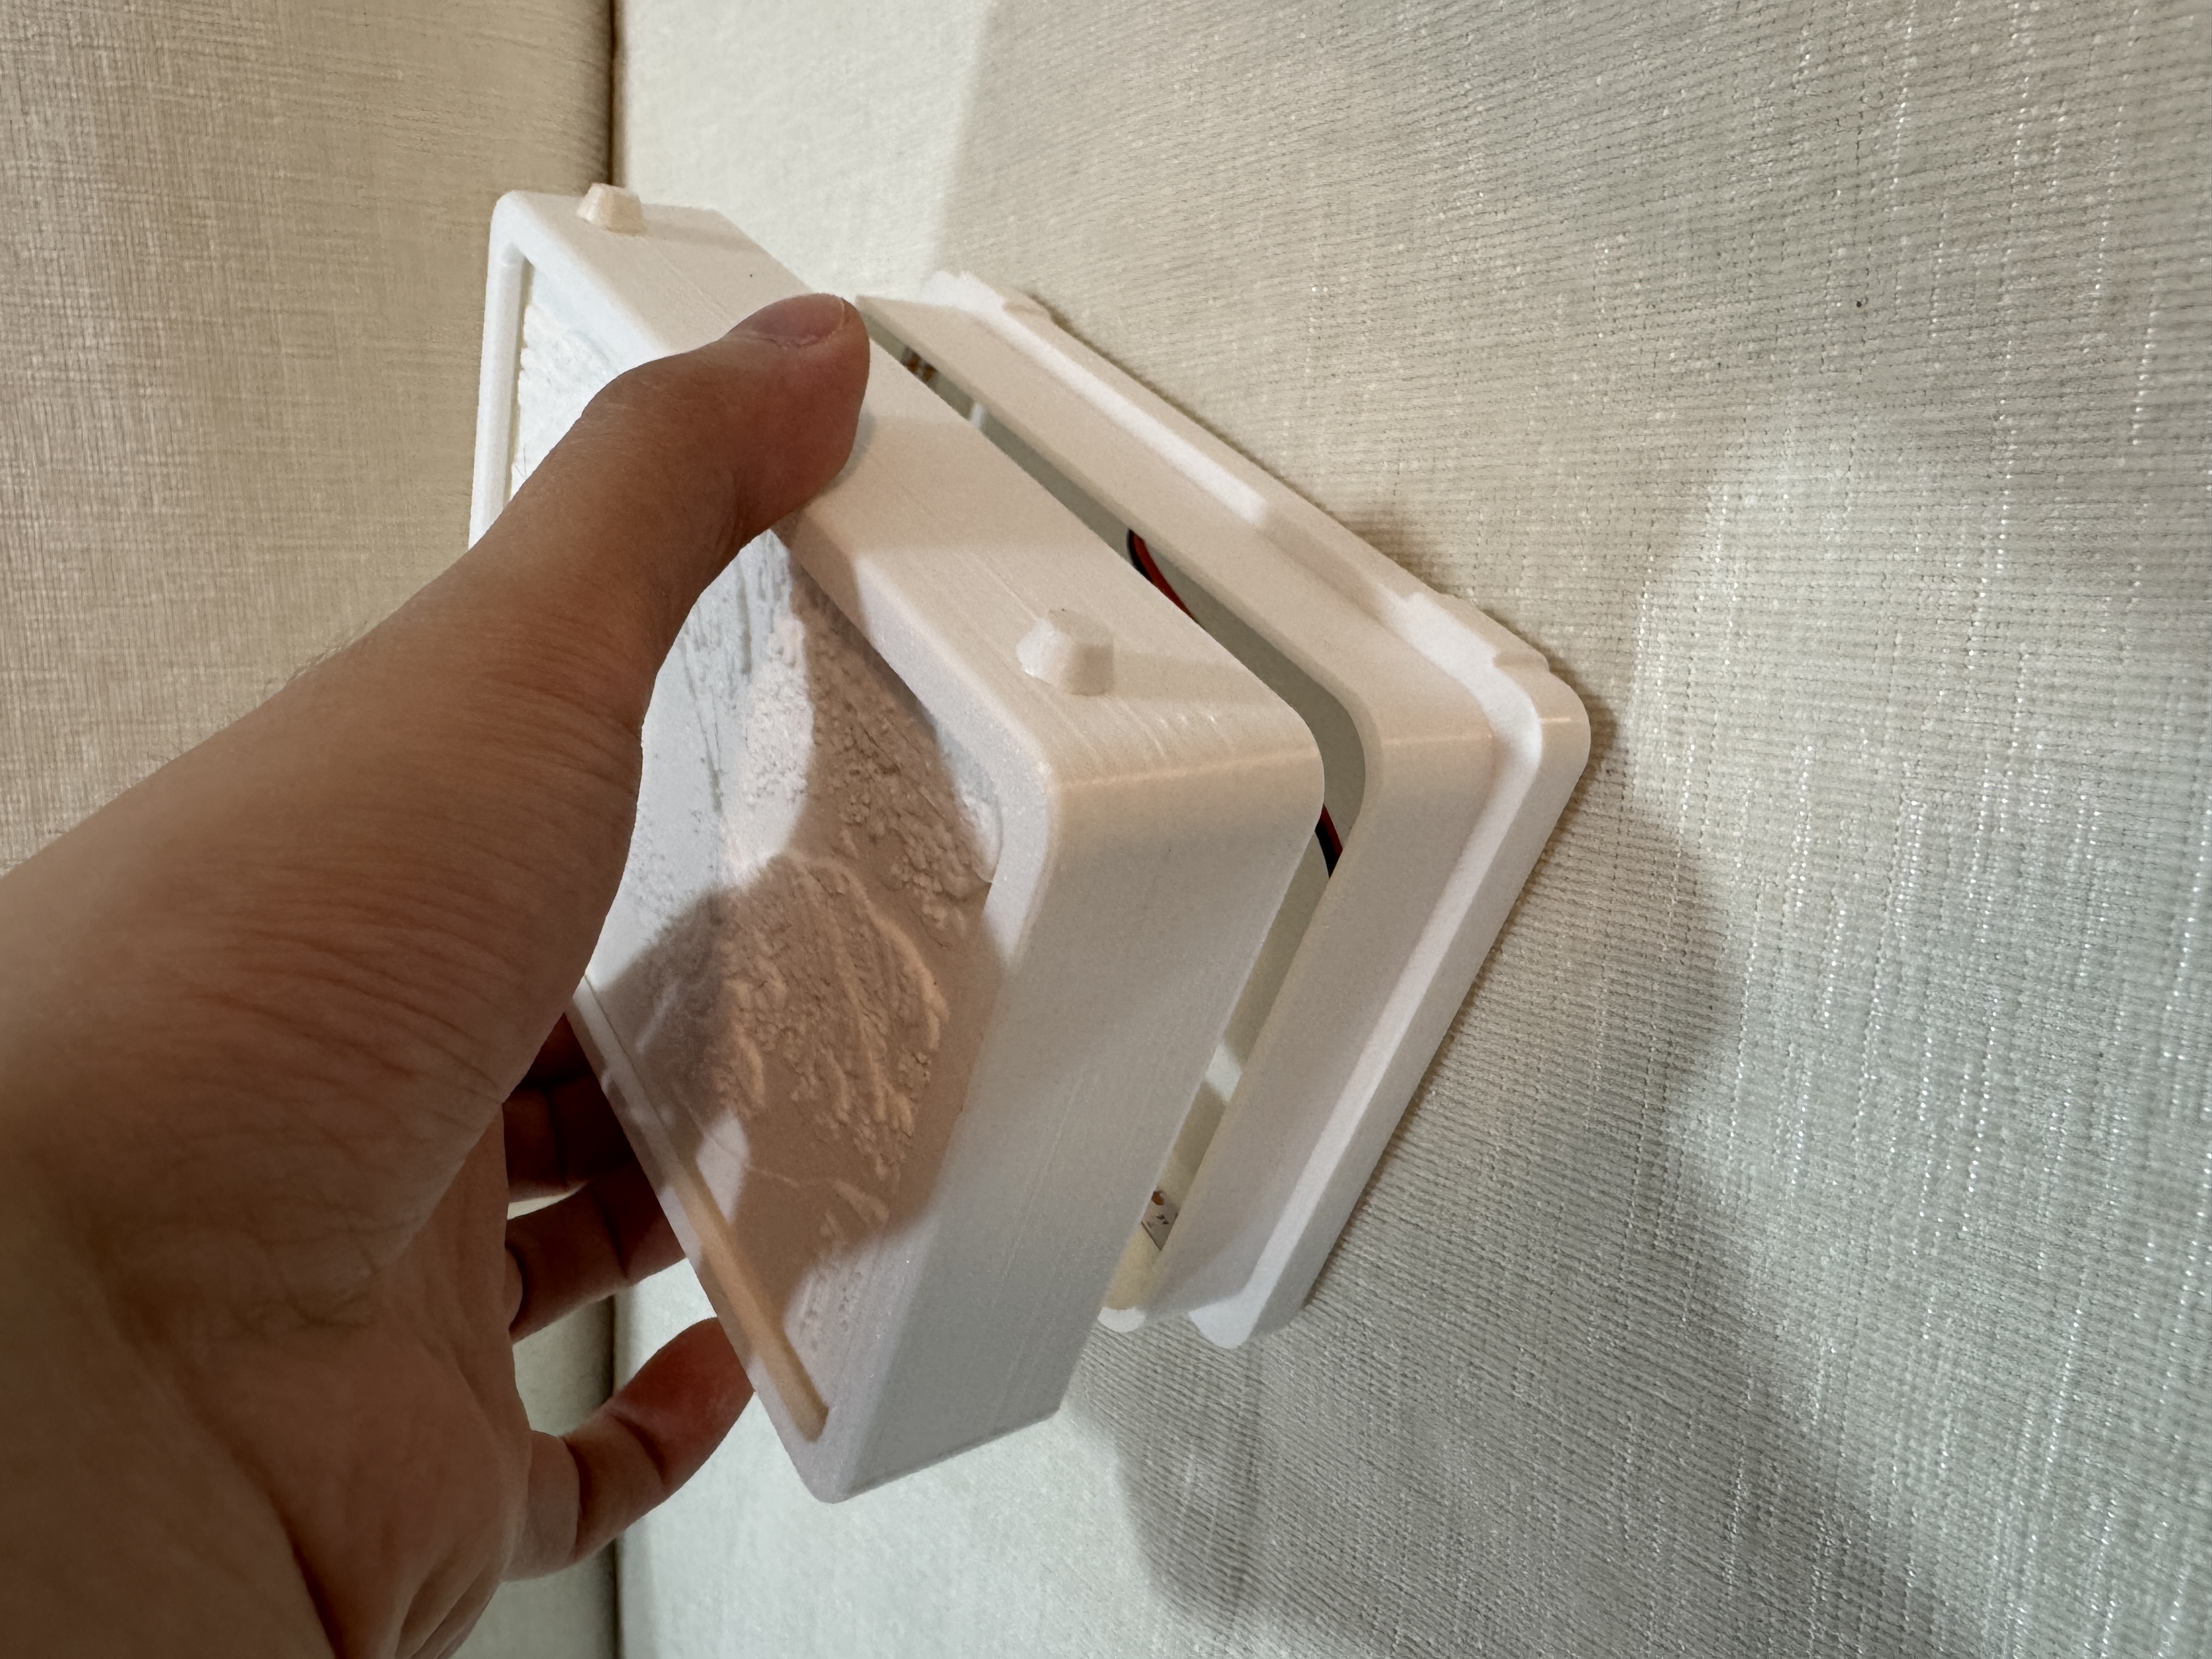
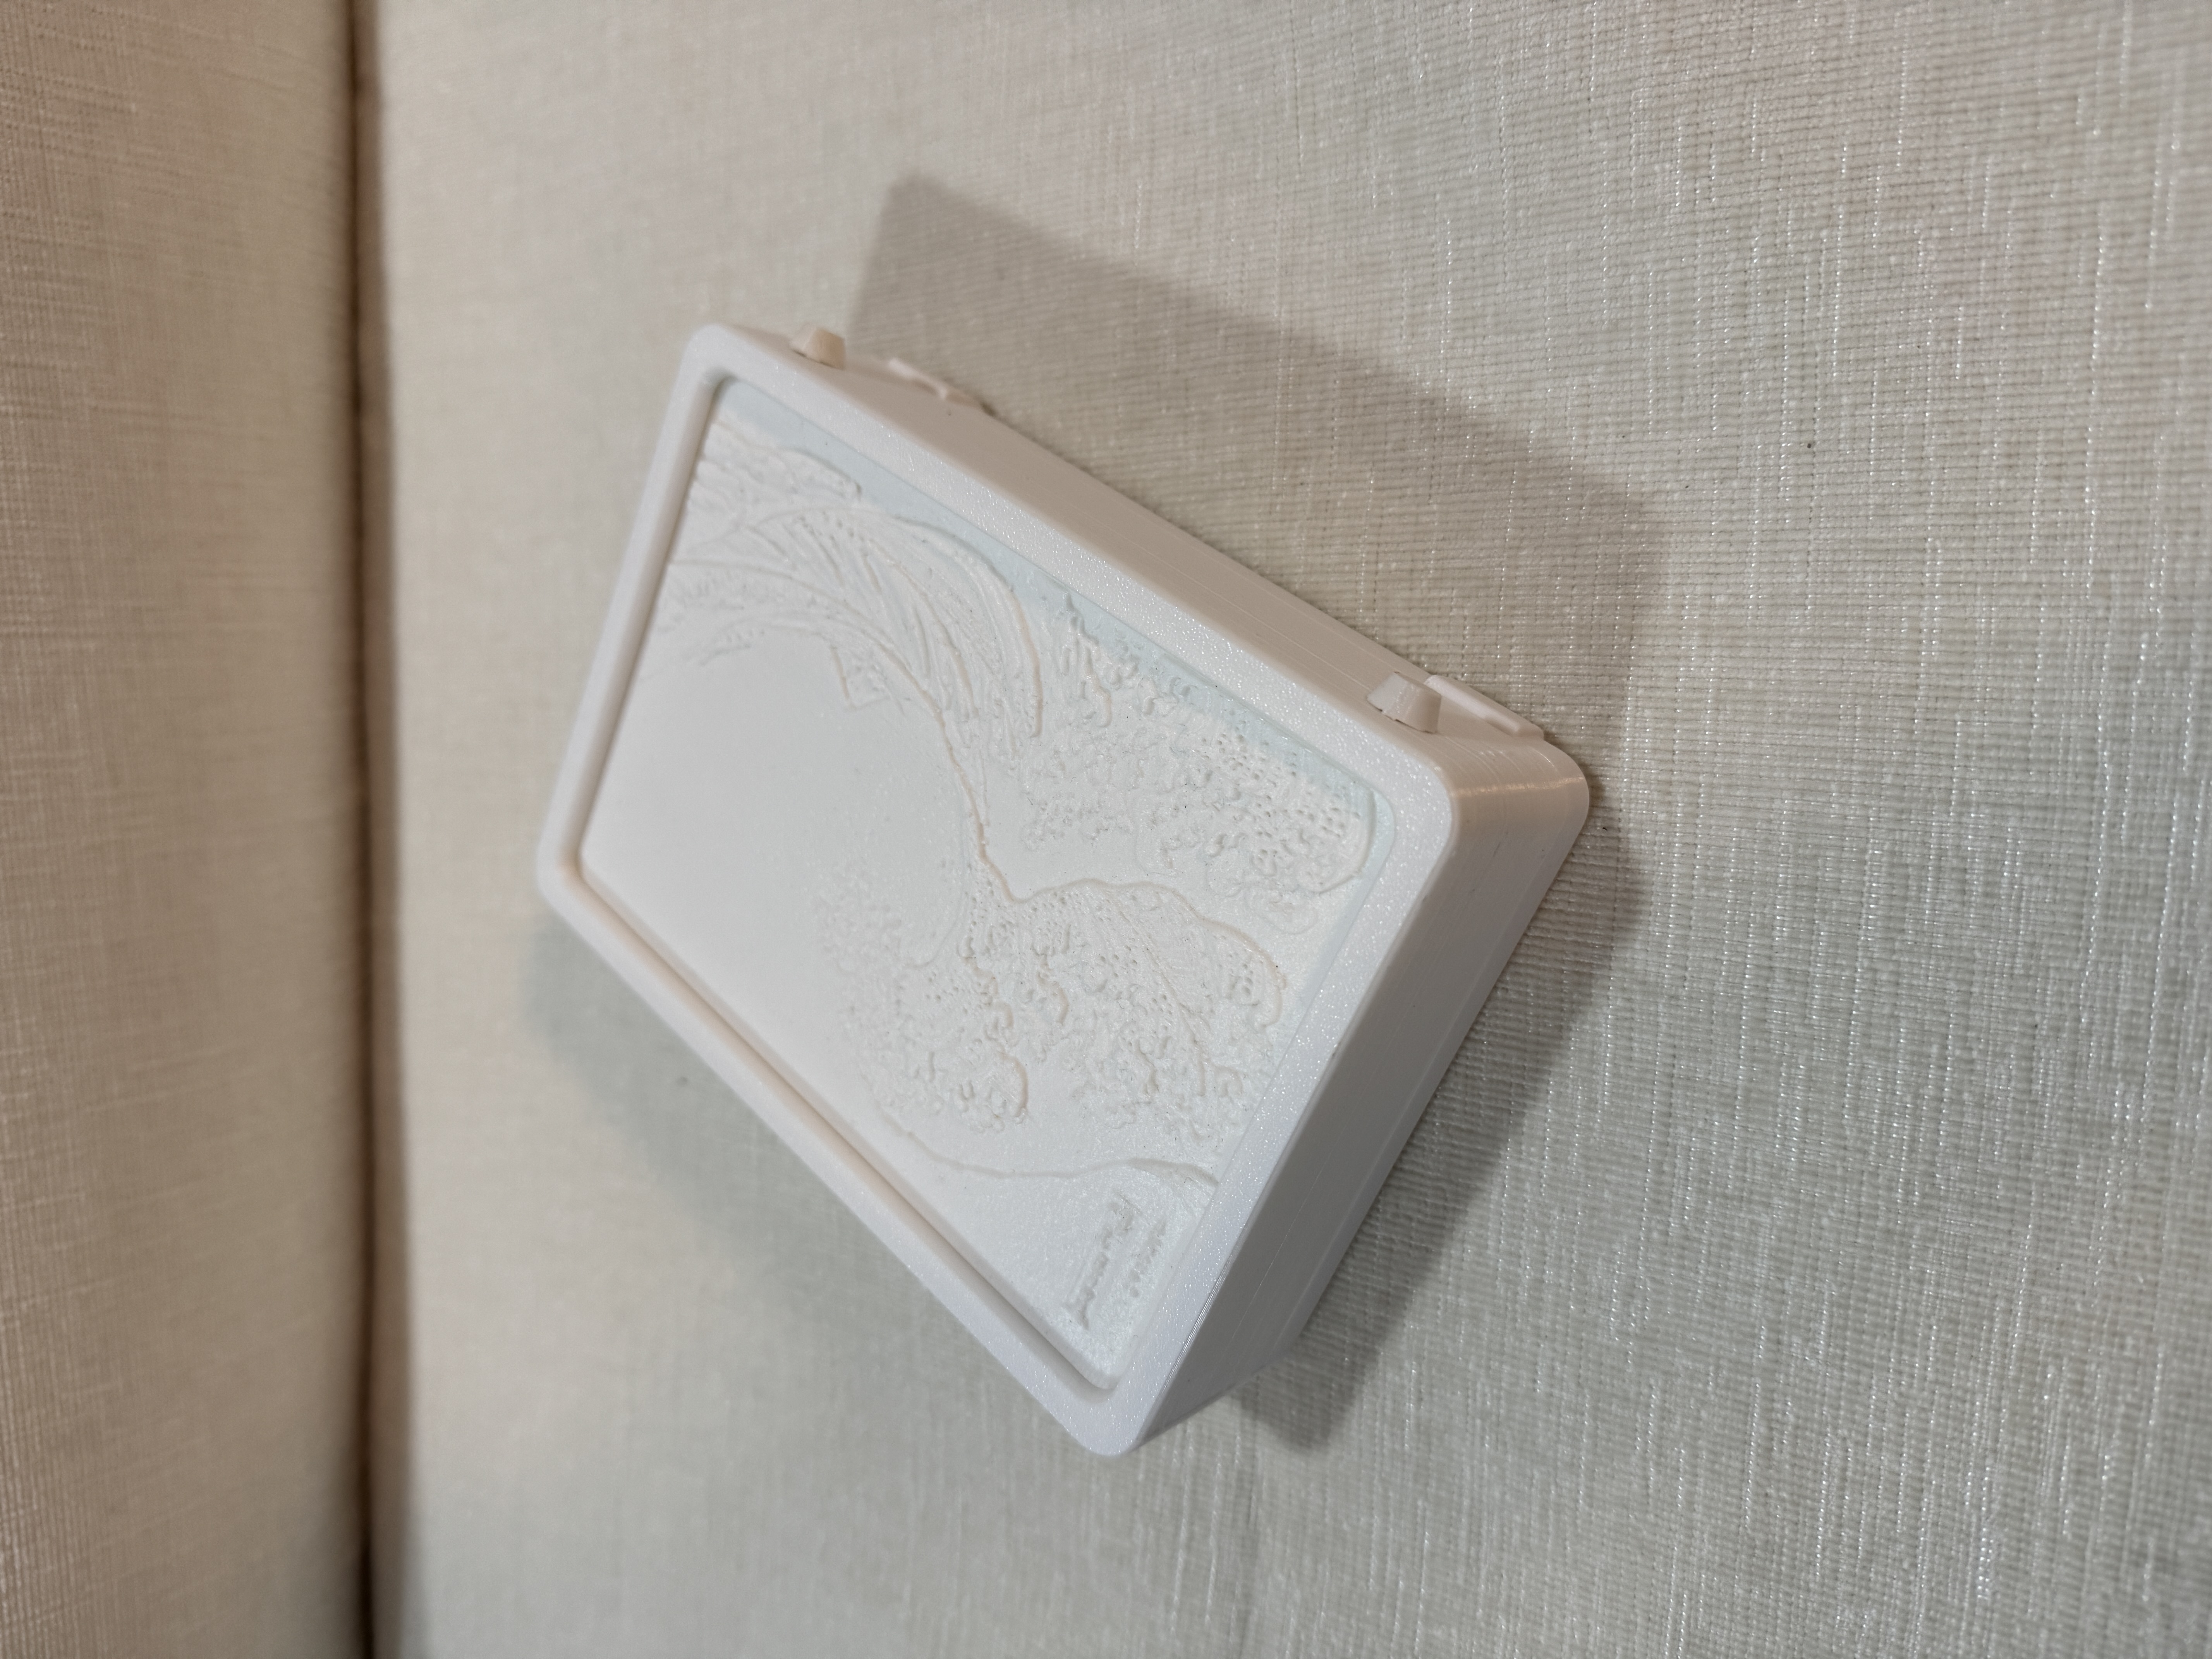
Light up the light box with a USB-C charging cable (for some reason apple chargers don't work. try using a power bank)
Future Ideas
- Create a battery-powered version instead
More
- Printables: [https://printables.com/@SiahYeeLong_2539073](https://printables.com/@SiahYeeLong_2539073)
- Thingiverse: [https://thingiverse.com/syeelong/](https://thingiverse.com/syeelong/)
- Makerworld: [https://makerworld.com/en/@yeelong](https://makerworld.com/en/@yeelong)
- GitHub: [https://github.com/siahyeelong/3D-Printing-Projects](https://github.com/siahyeelong/3D-Printing-Projects)
- LinkedIn: [https://linkedin.com/in/siahyeelong/](https://linkedin.com/in/siahyeelong/)

Gostou deste modelo? Crie uma conta grátis para salvar seus favoritos e voltar a eles depois.
Criar conta