Você está no 3DFinder
Buscamos em Thingiverse, MakerWorld e Printables ao mesmo tempo para te dar o melhor de cada uma.
Descrição
Description
I’ve never designed a vault before, but for some reason, the idea of incorporating the wordplay from ‘pole vault’ stuck in my head when I saw this contest. The Pole Vault is an innovative and interactive storage system that blends functionality with creativity. Featuring a unique puzzle-based unlocking mechanism, along with a design that takes full advantage of the X1C & AMS capabilities.
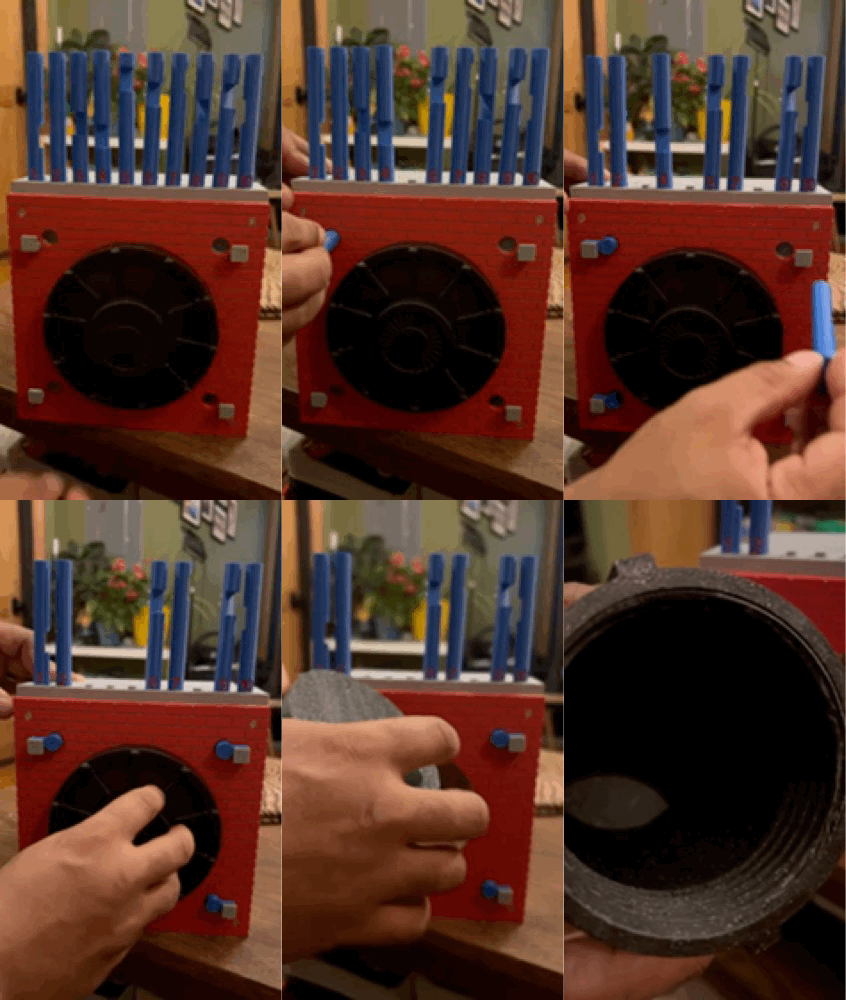
This system features:
• Hidden Storage Compartment: A spacious, concealed container attached to the vault door, ideal for storing money, jewelry, trinkets, or other small valuables.
• Puzzle Unlocking Mechanism: The vault is secured by a system of 10 poles on a “brick” facade. Only 4 specific poles need to be correctly selected and inserted to unlock the vault, challenging users to solve the puzzle while keeping your items secure.
• Aesthetic Design: The “brick” facade adds a rustic and industrial touch.
• Comes with a preset code but you have the ability to create a custom code as well.
Additional Items Required:
• 4 springs for the pole locking mechanism.
• 8 M4x14 screws and 8 M4 hex nuts for assembly.
• E6000 glue and a glue gun for securing components.
Profiles
Everything can be printed with one filament. Included the option to use the AMS for the front (which I did) as it produces an awesome looking facade.
Also used a little fuzzy skin on the walls to give a concrete feel and add come contrast when compared to the facade.
Filaments used
Polymaker Army Red (for the facade)
Polylite Gray
Bambu Basic Blue (For the poles)
Polymaker Panchorama Galaxy (for the vault)
Instructions
Step 1- Glue Components.
I suggest printing the following items first since they will need to be secured using e6000 Glue.
Items Needed
- Container
- Vault Door
- Brick Front
- Box
- Key Rest (x4)
- M4 Nuts (x8)
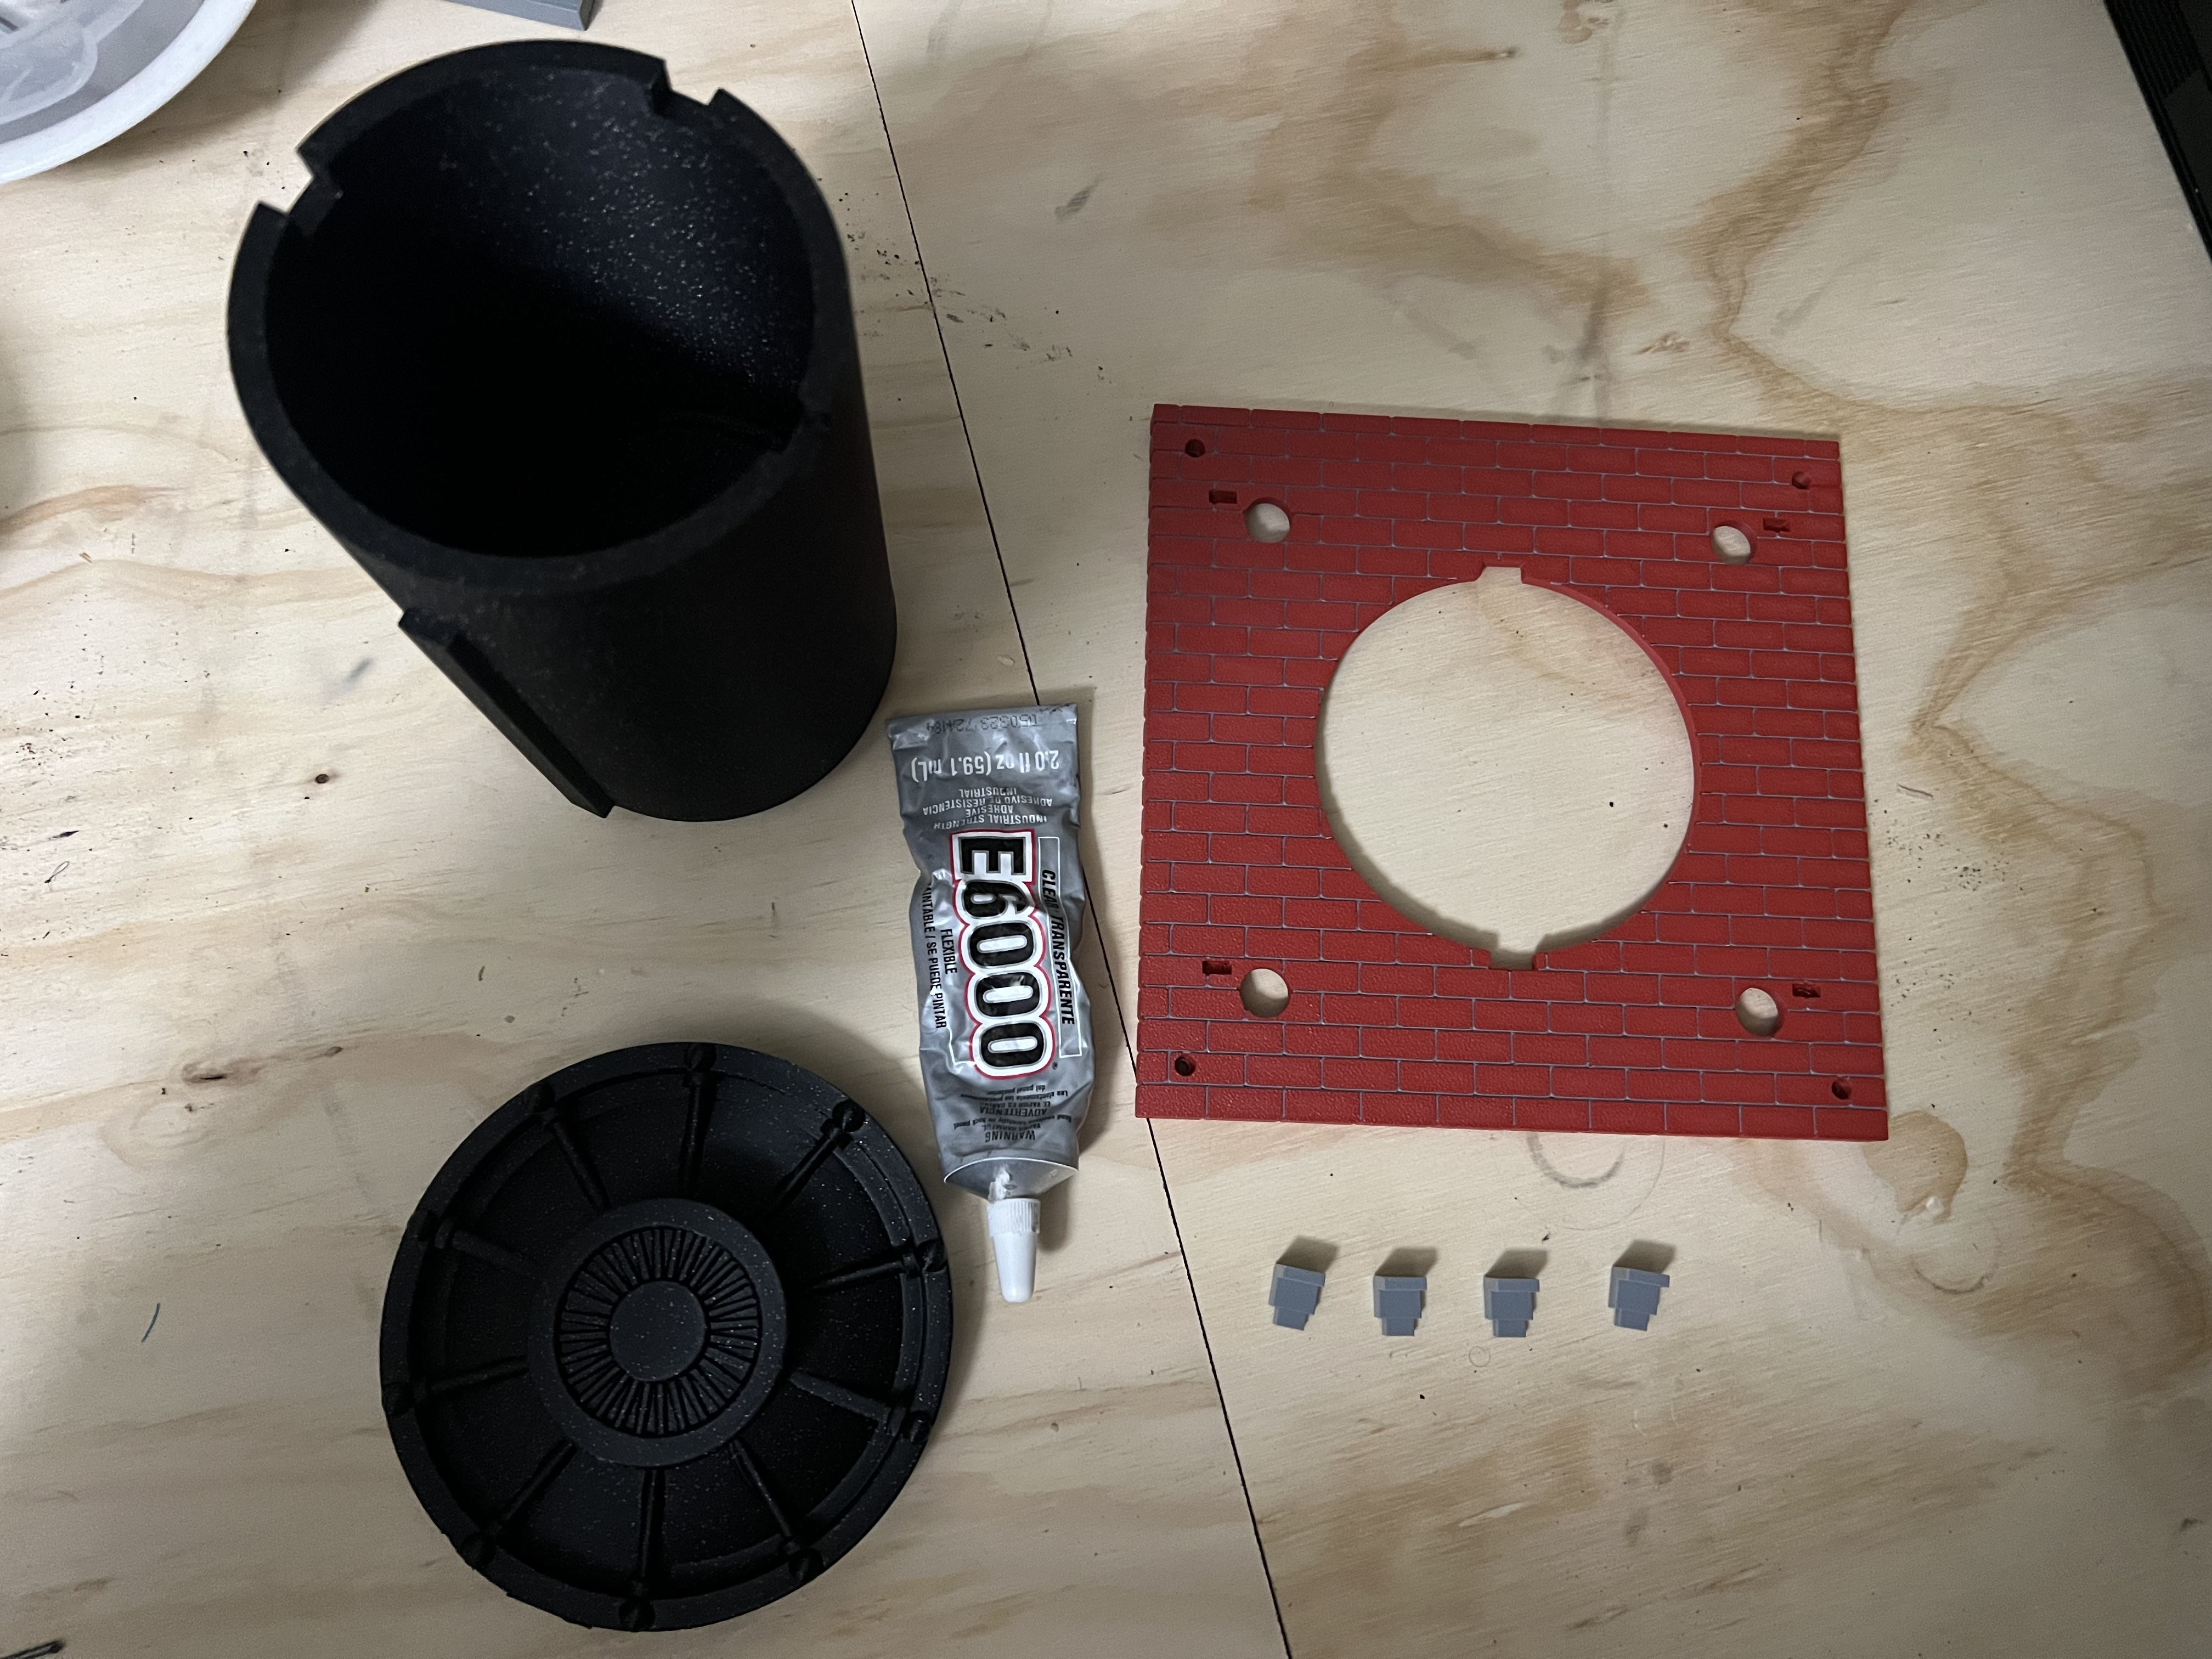
First, glue the Vault Door to the container. You should be able to line up the pieces with the appropriate cutouts.
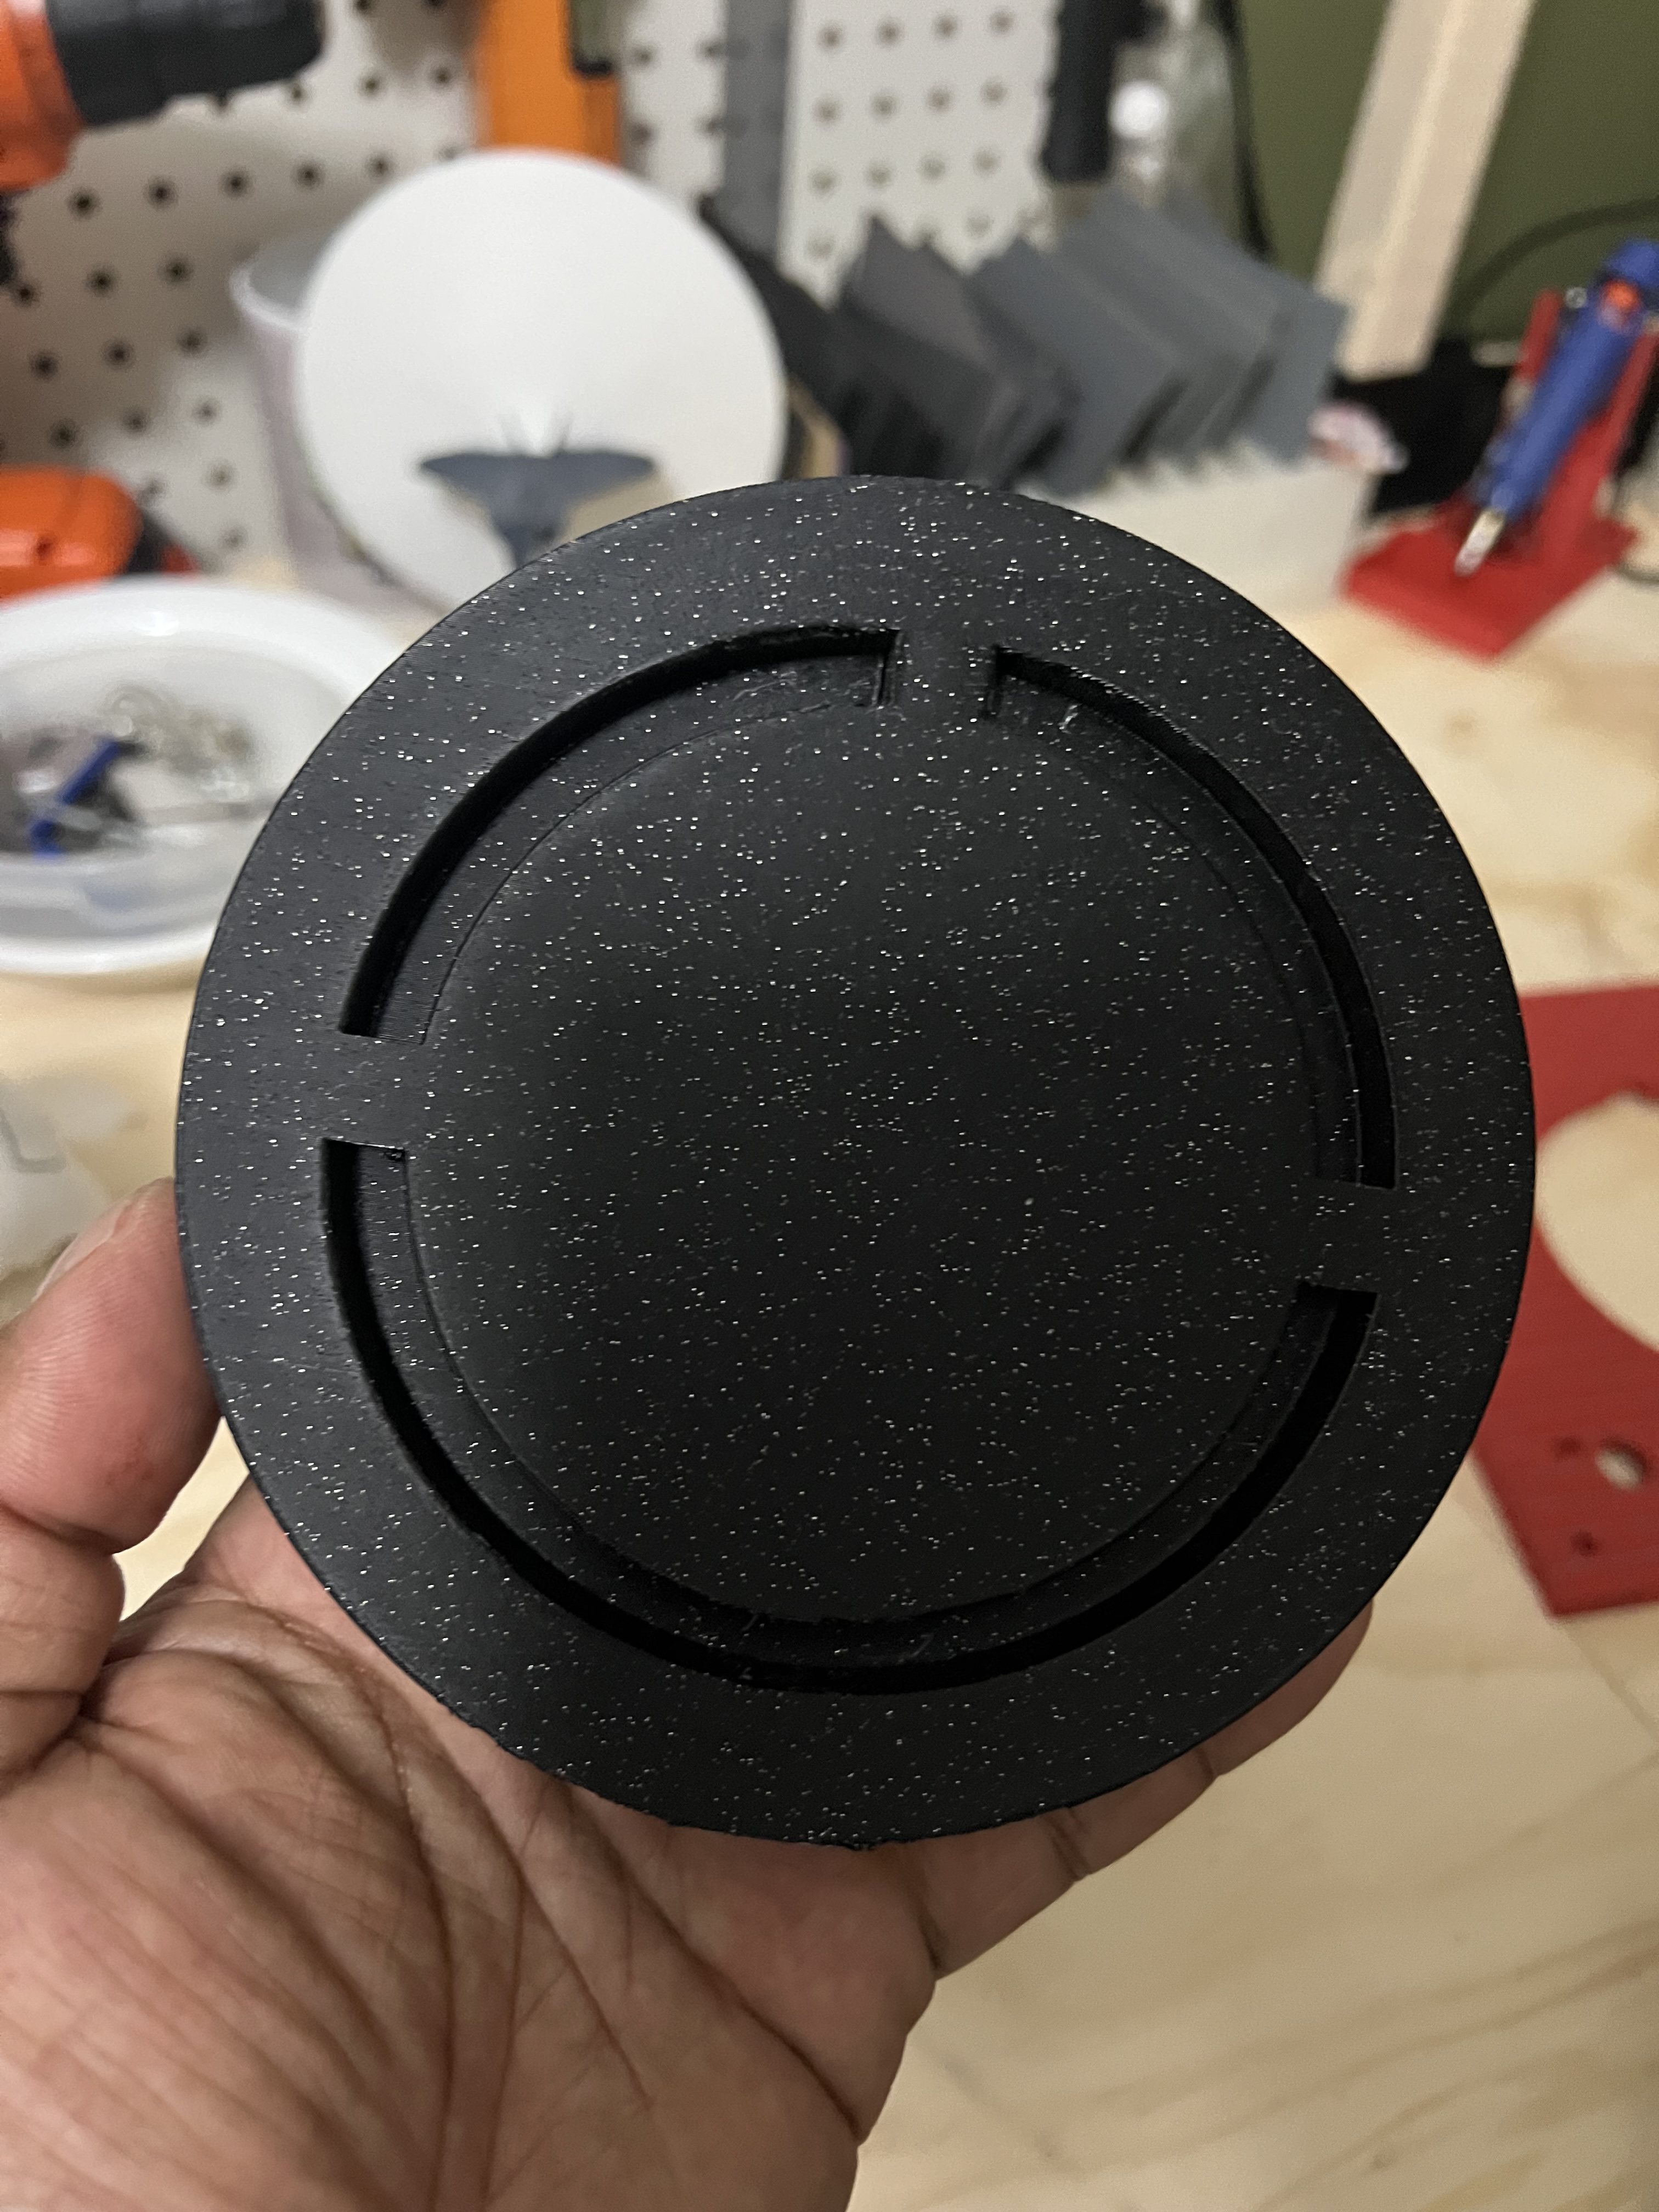
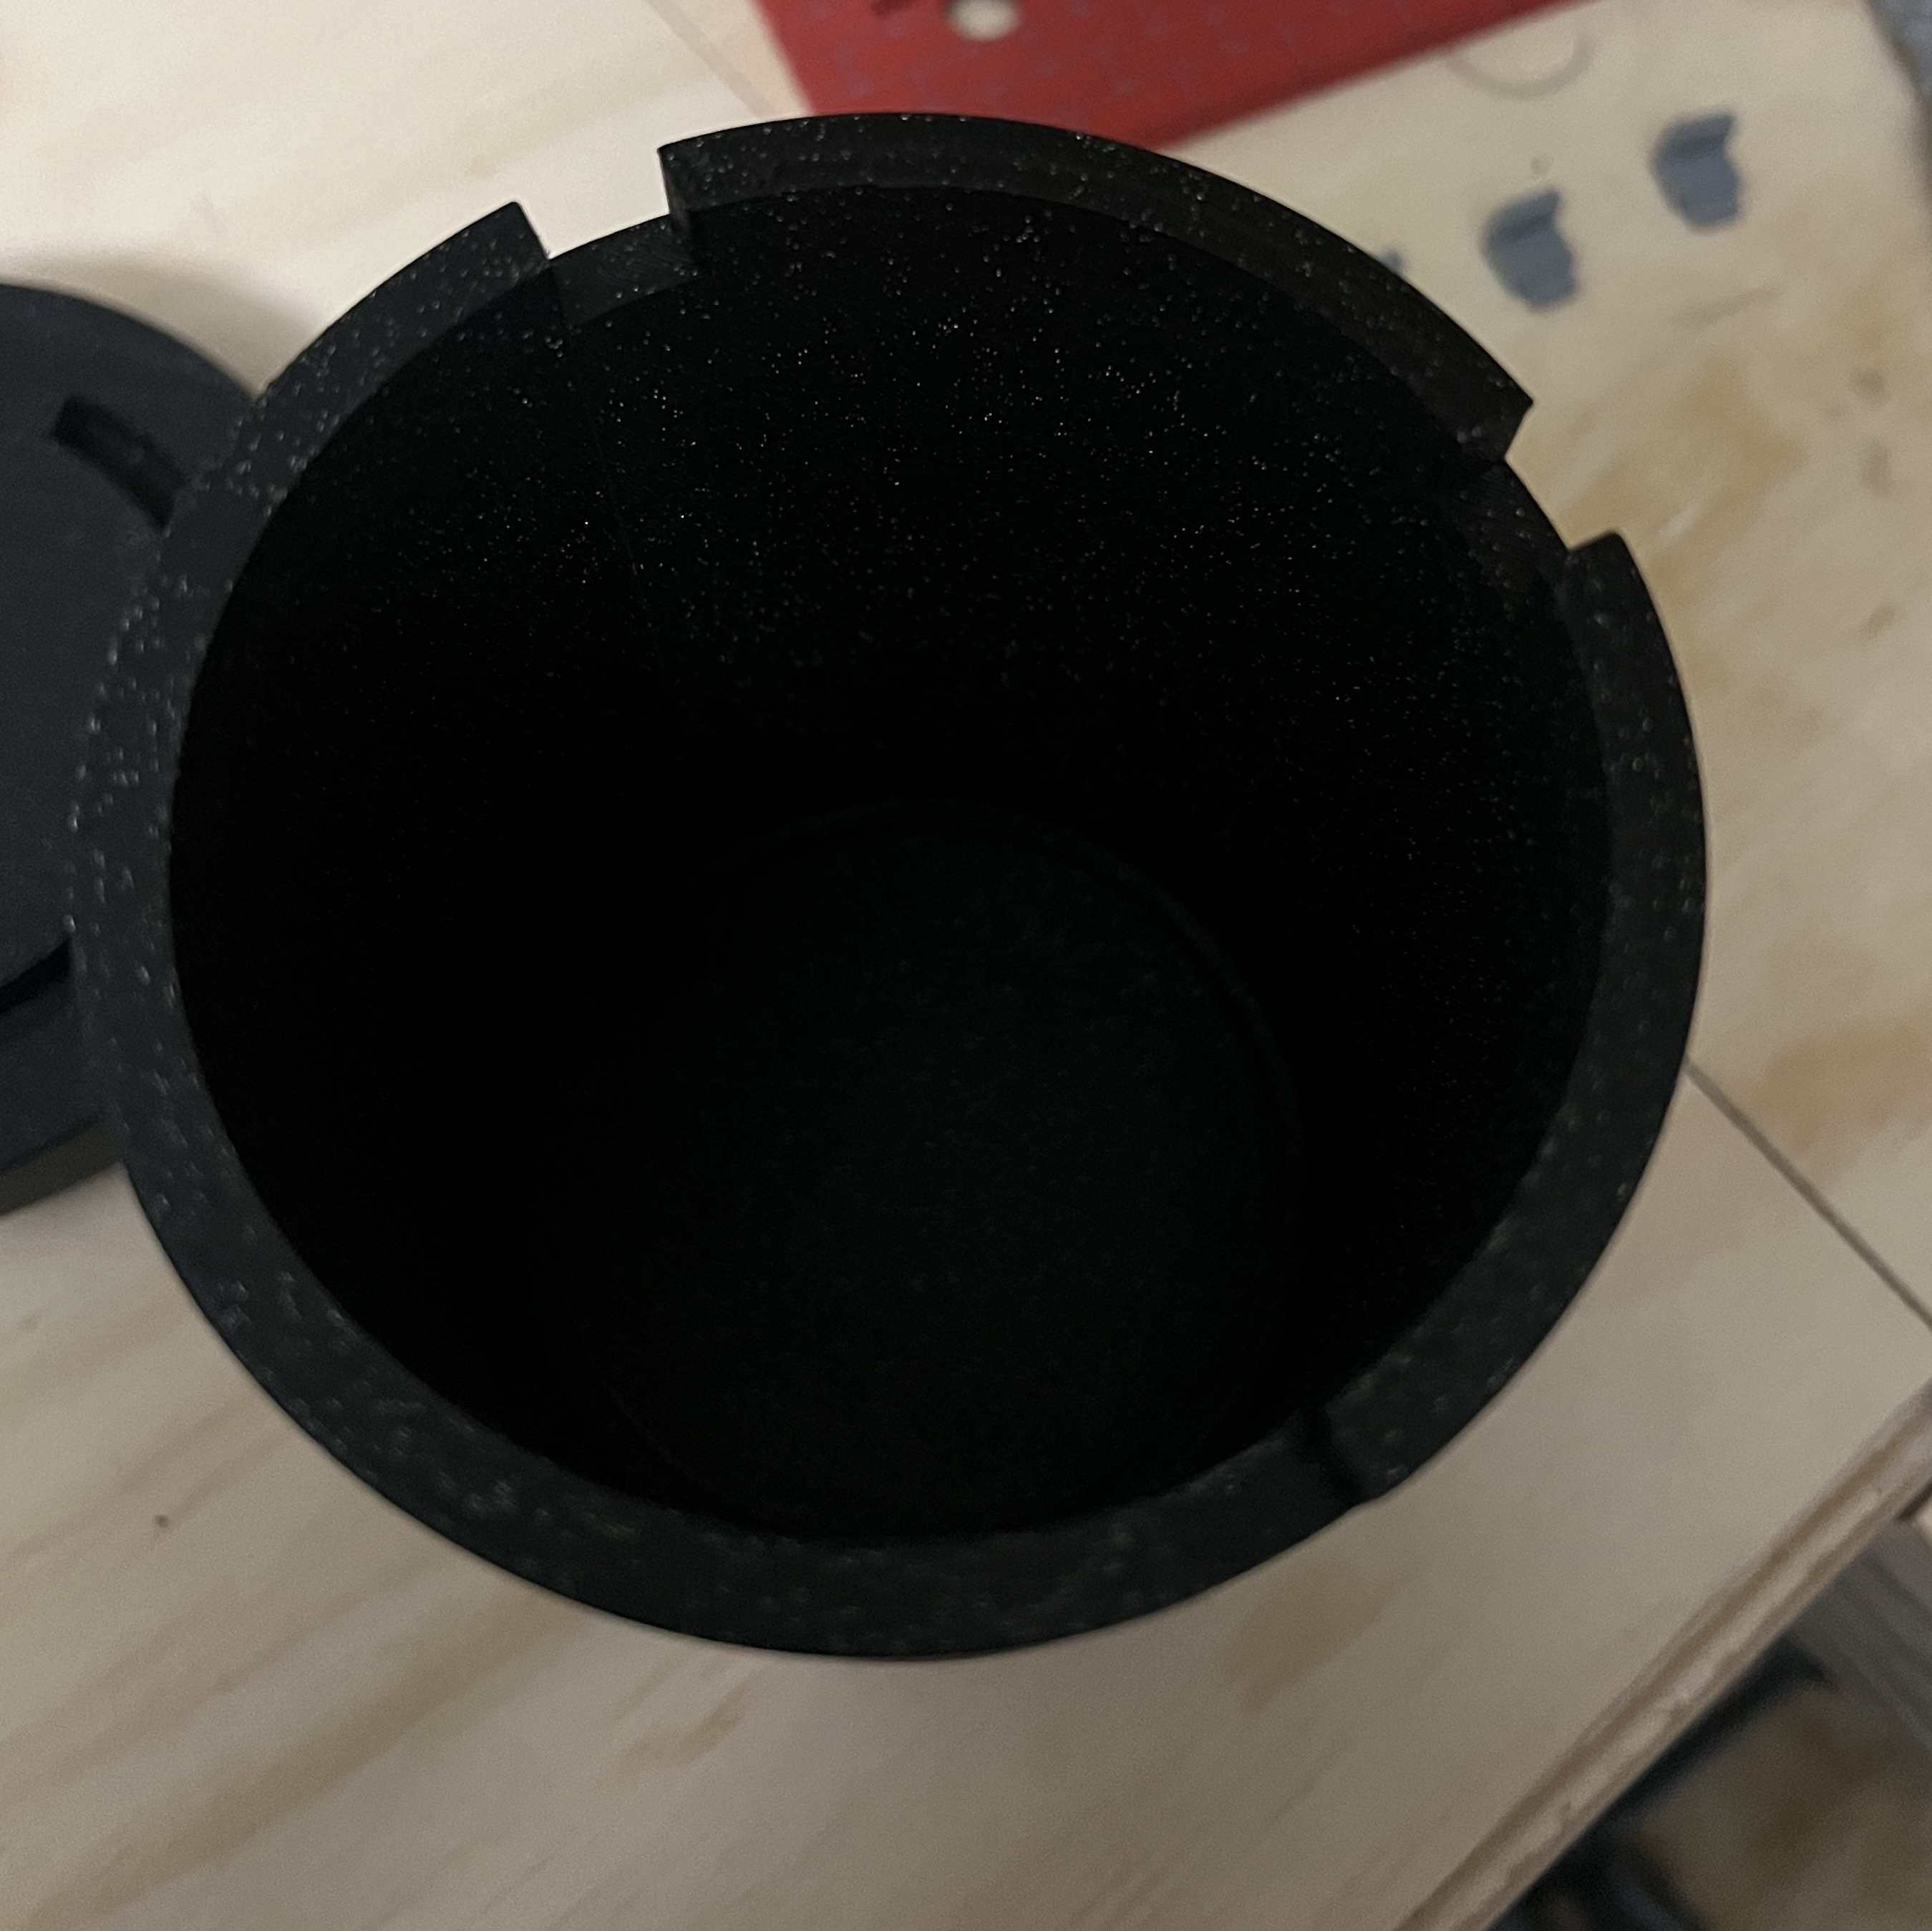
Make sure that you DO NOT glue the door to the side with the threads.
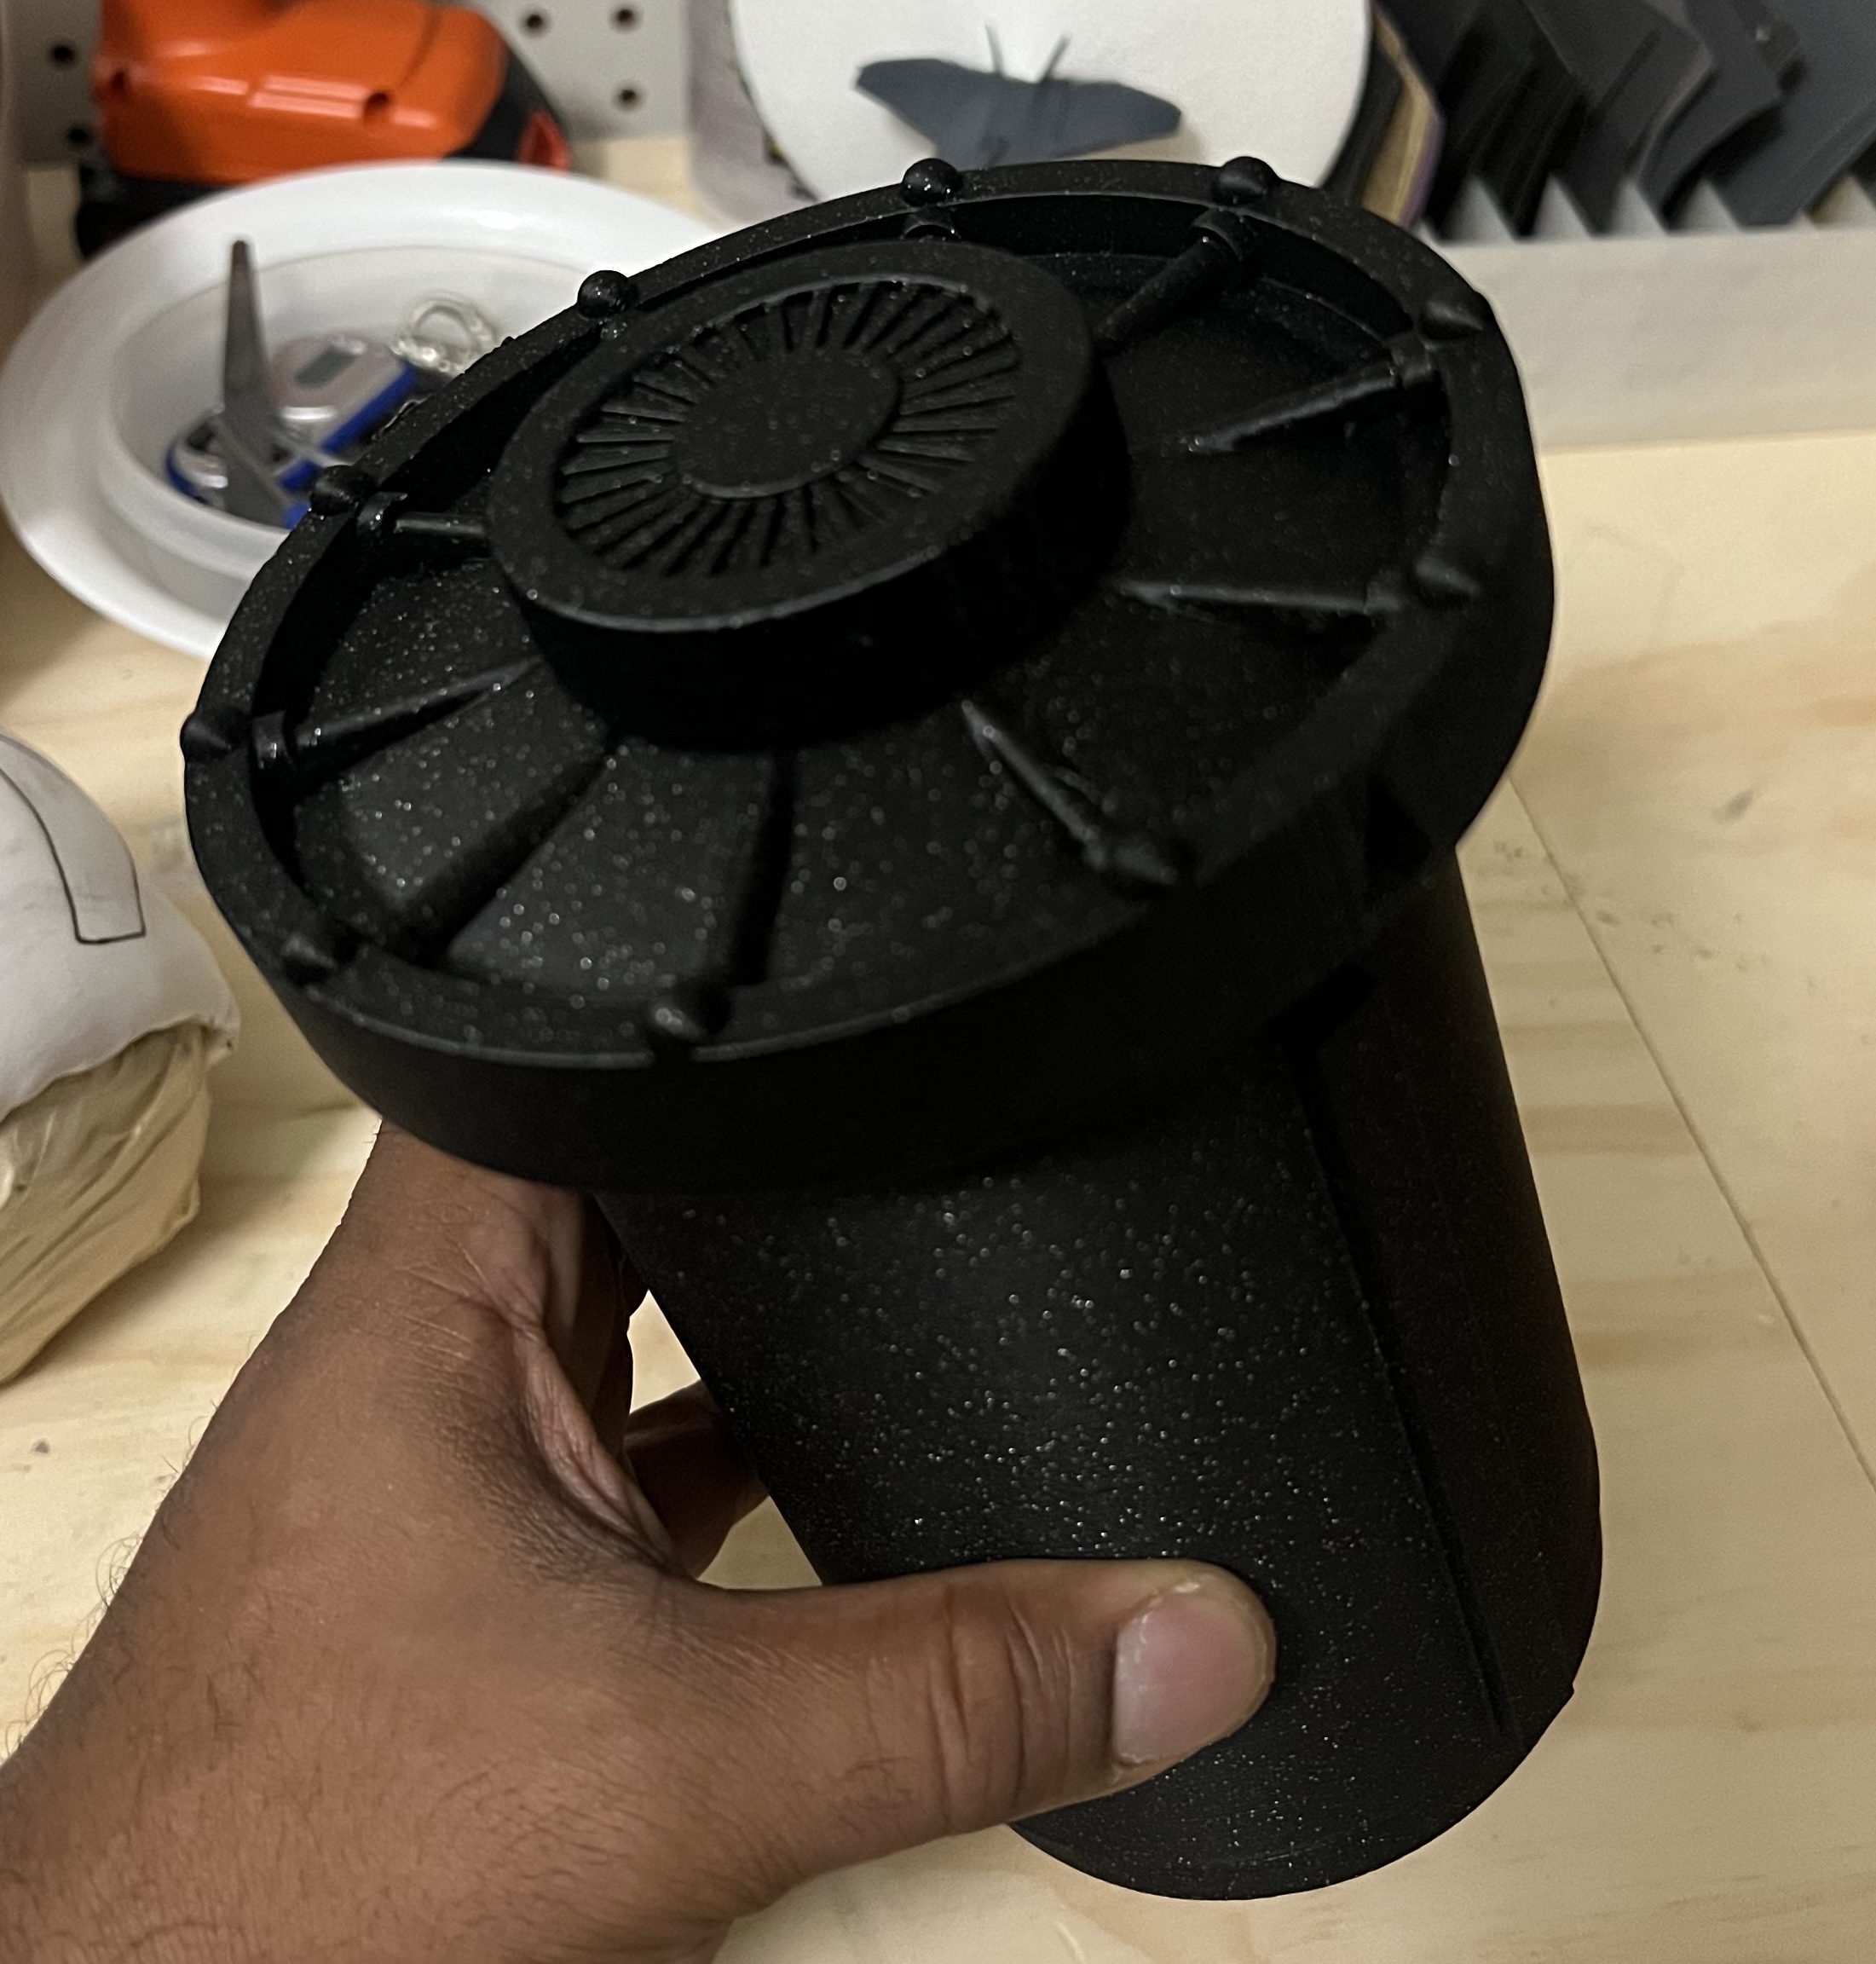
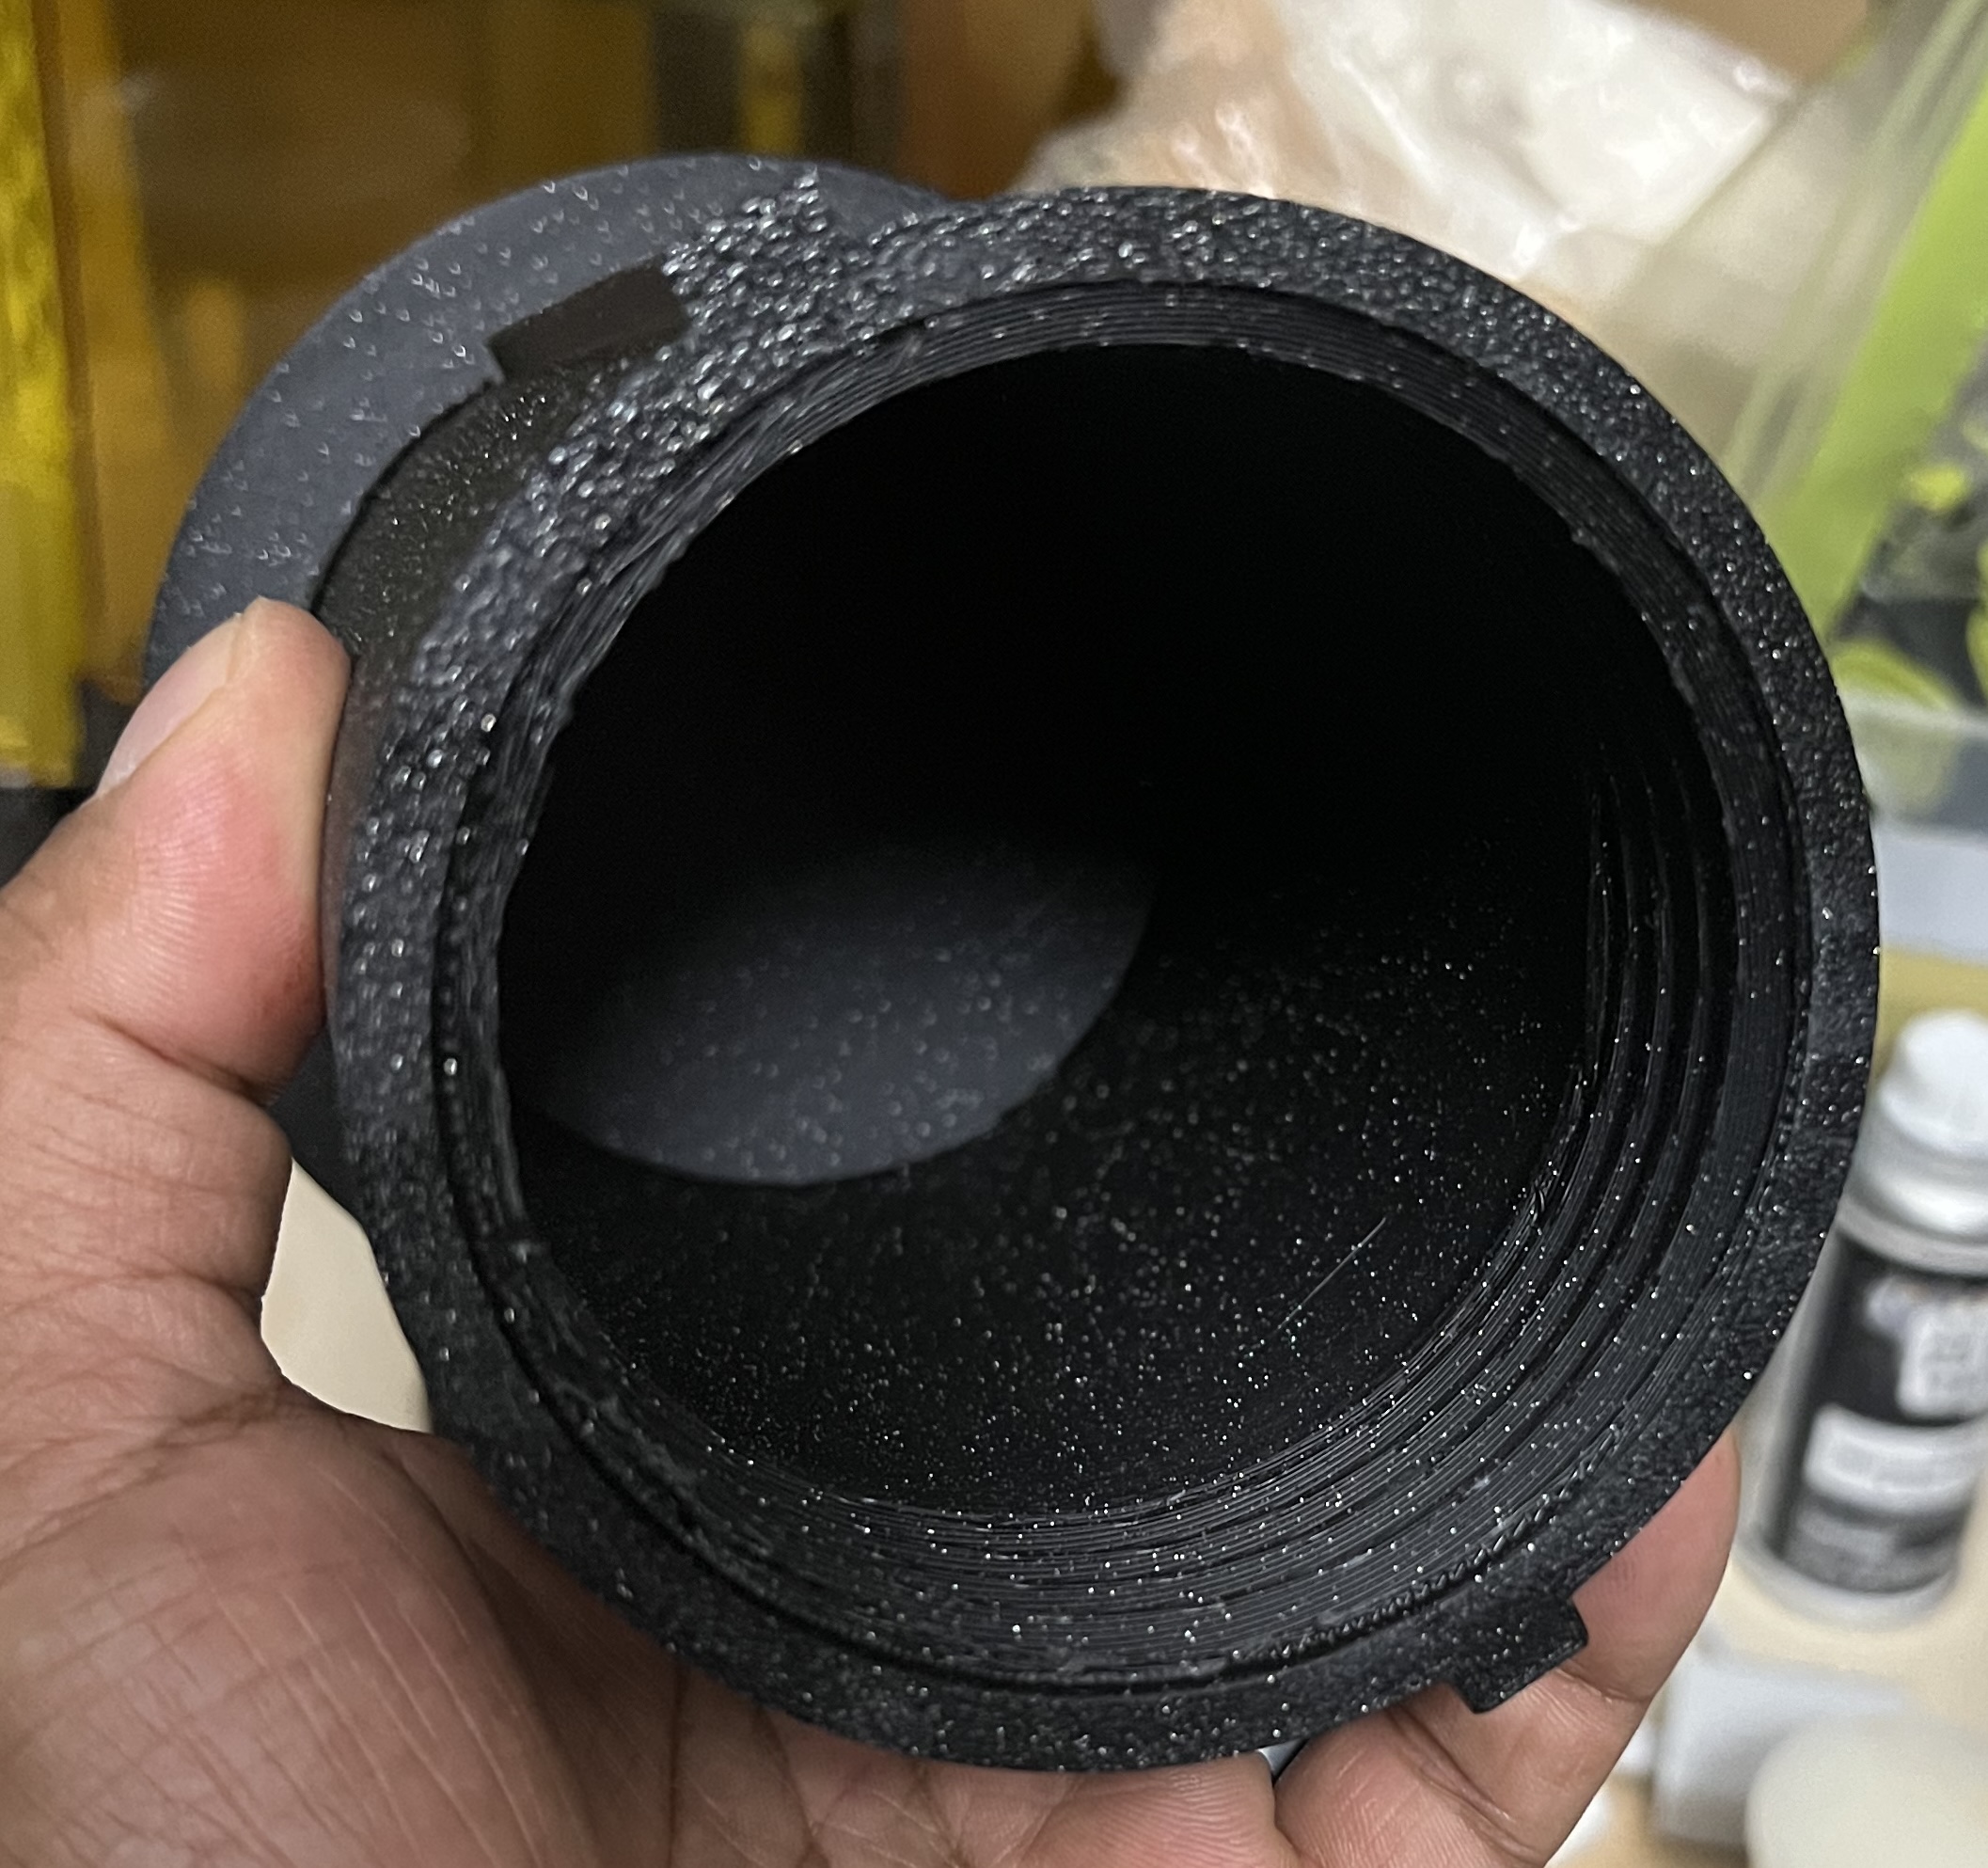
Second, glue the four key rests to the Brick Front. Ensure that they are in the proper orientation (as seen in the photo). They should all be pointing in the same direction, up.
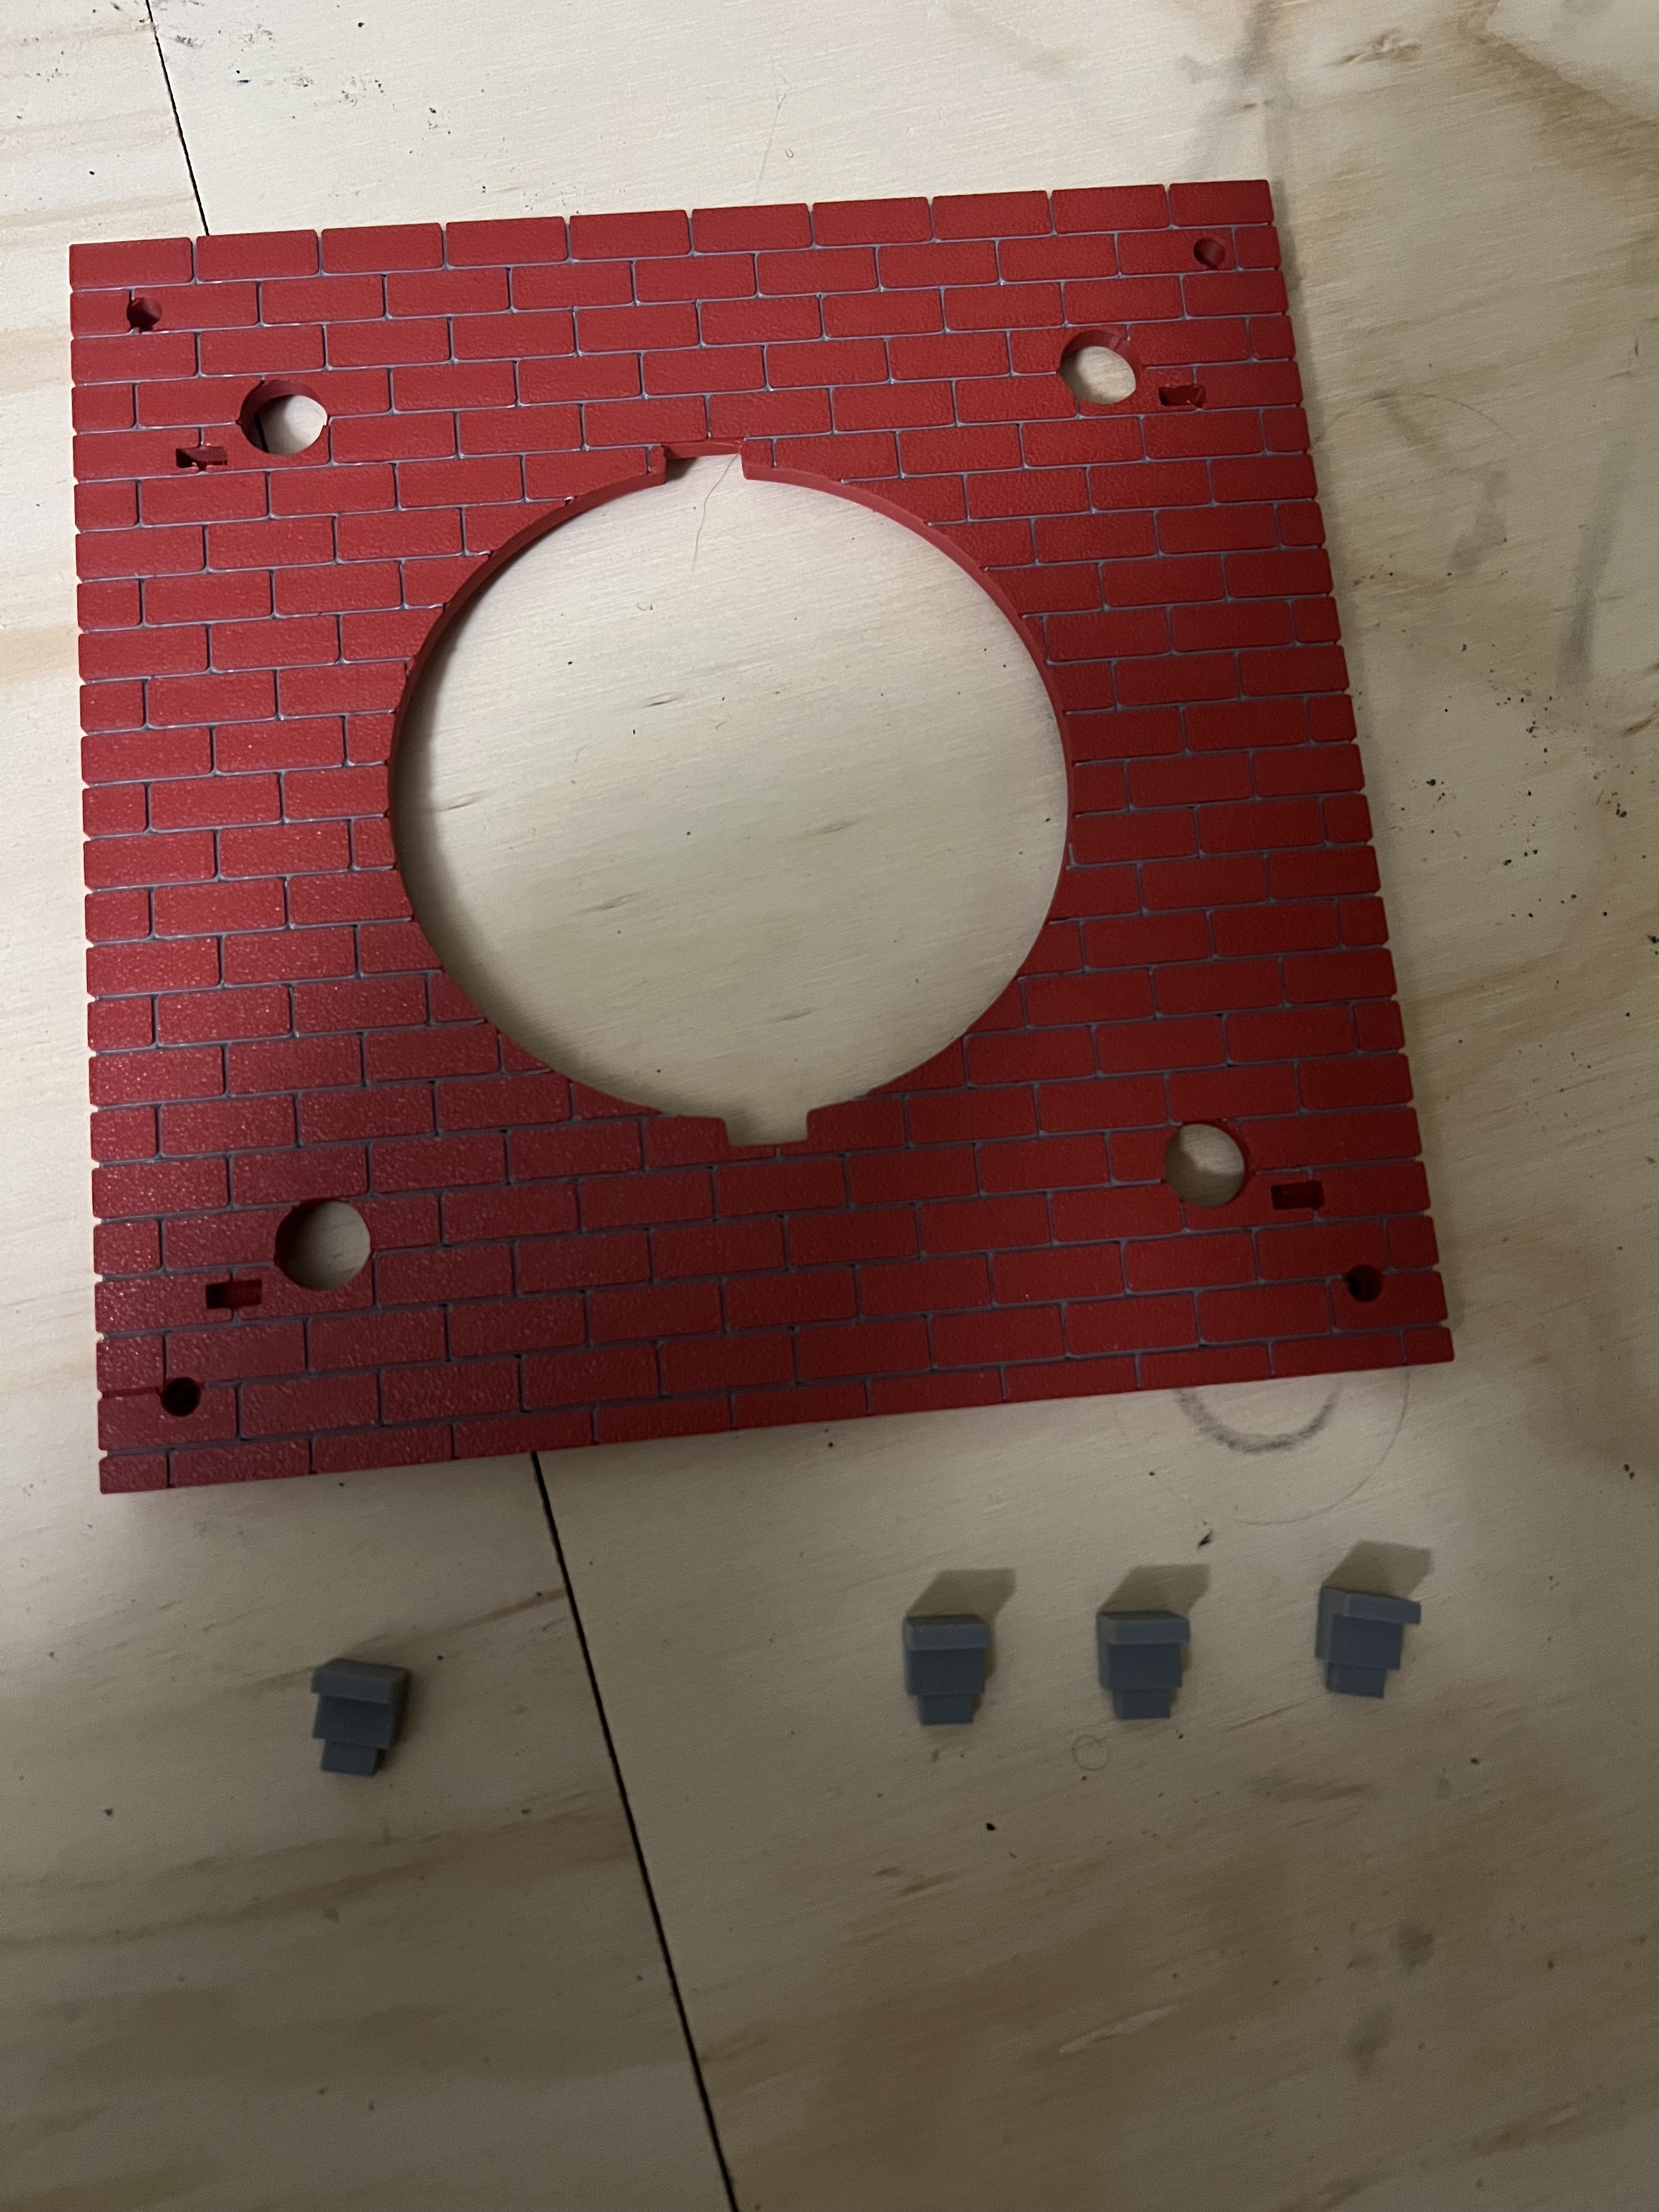
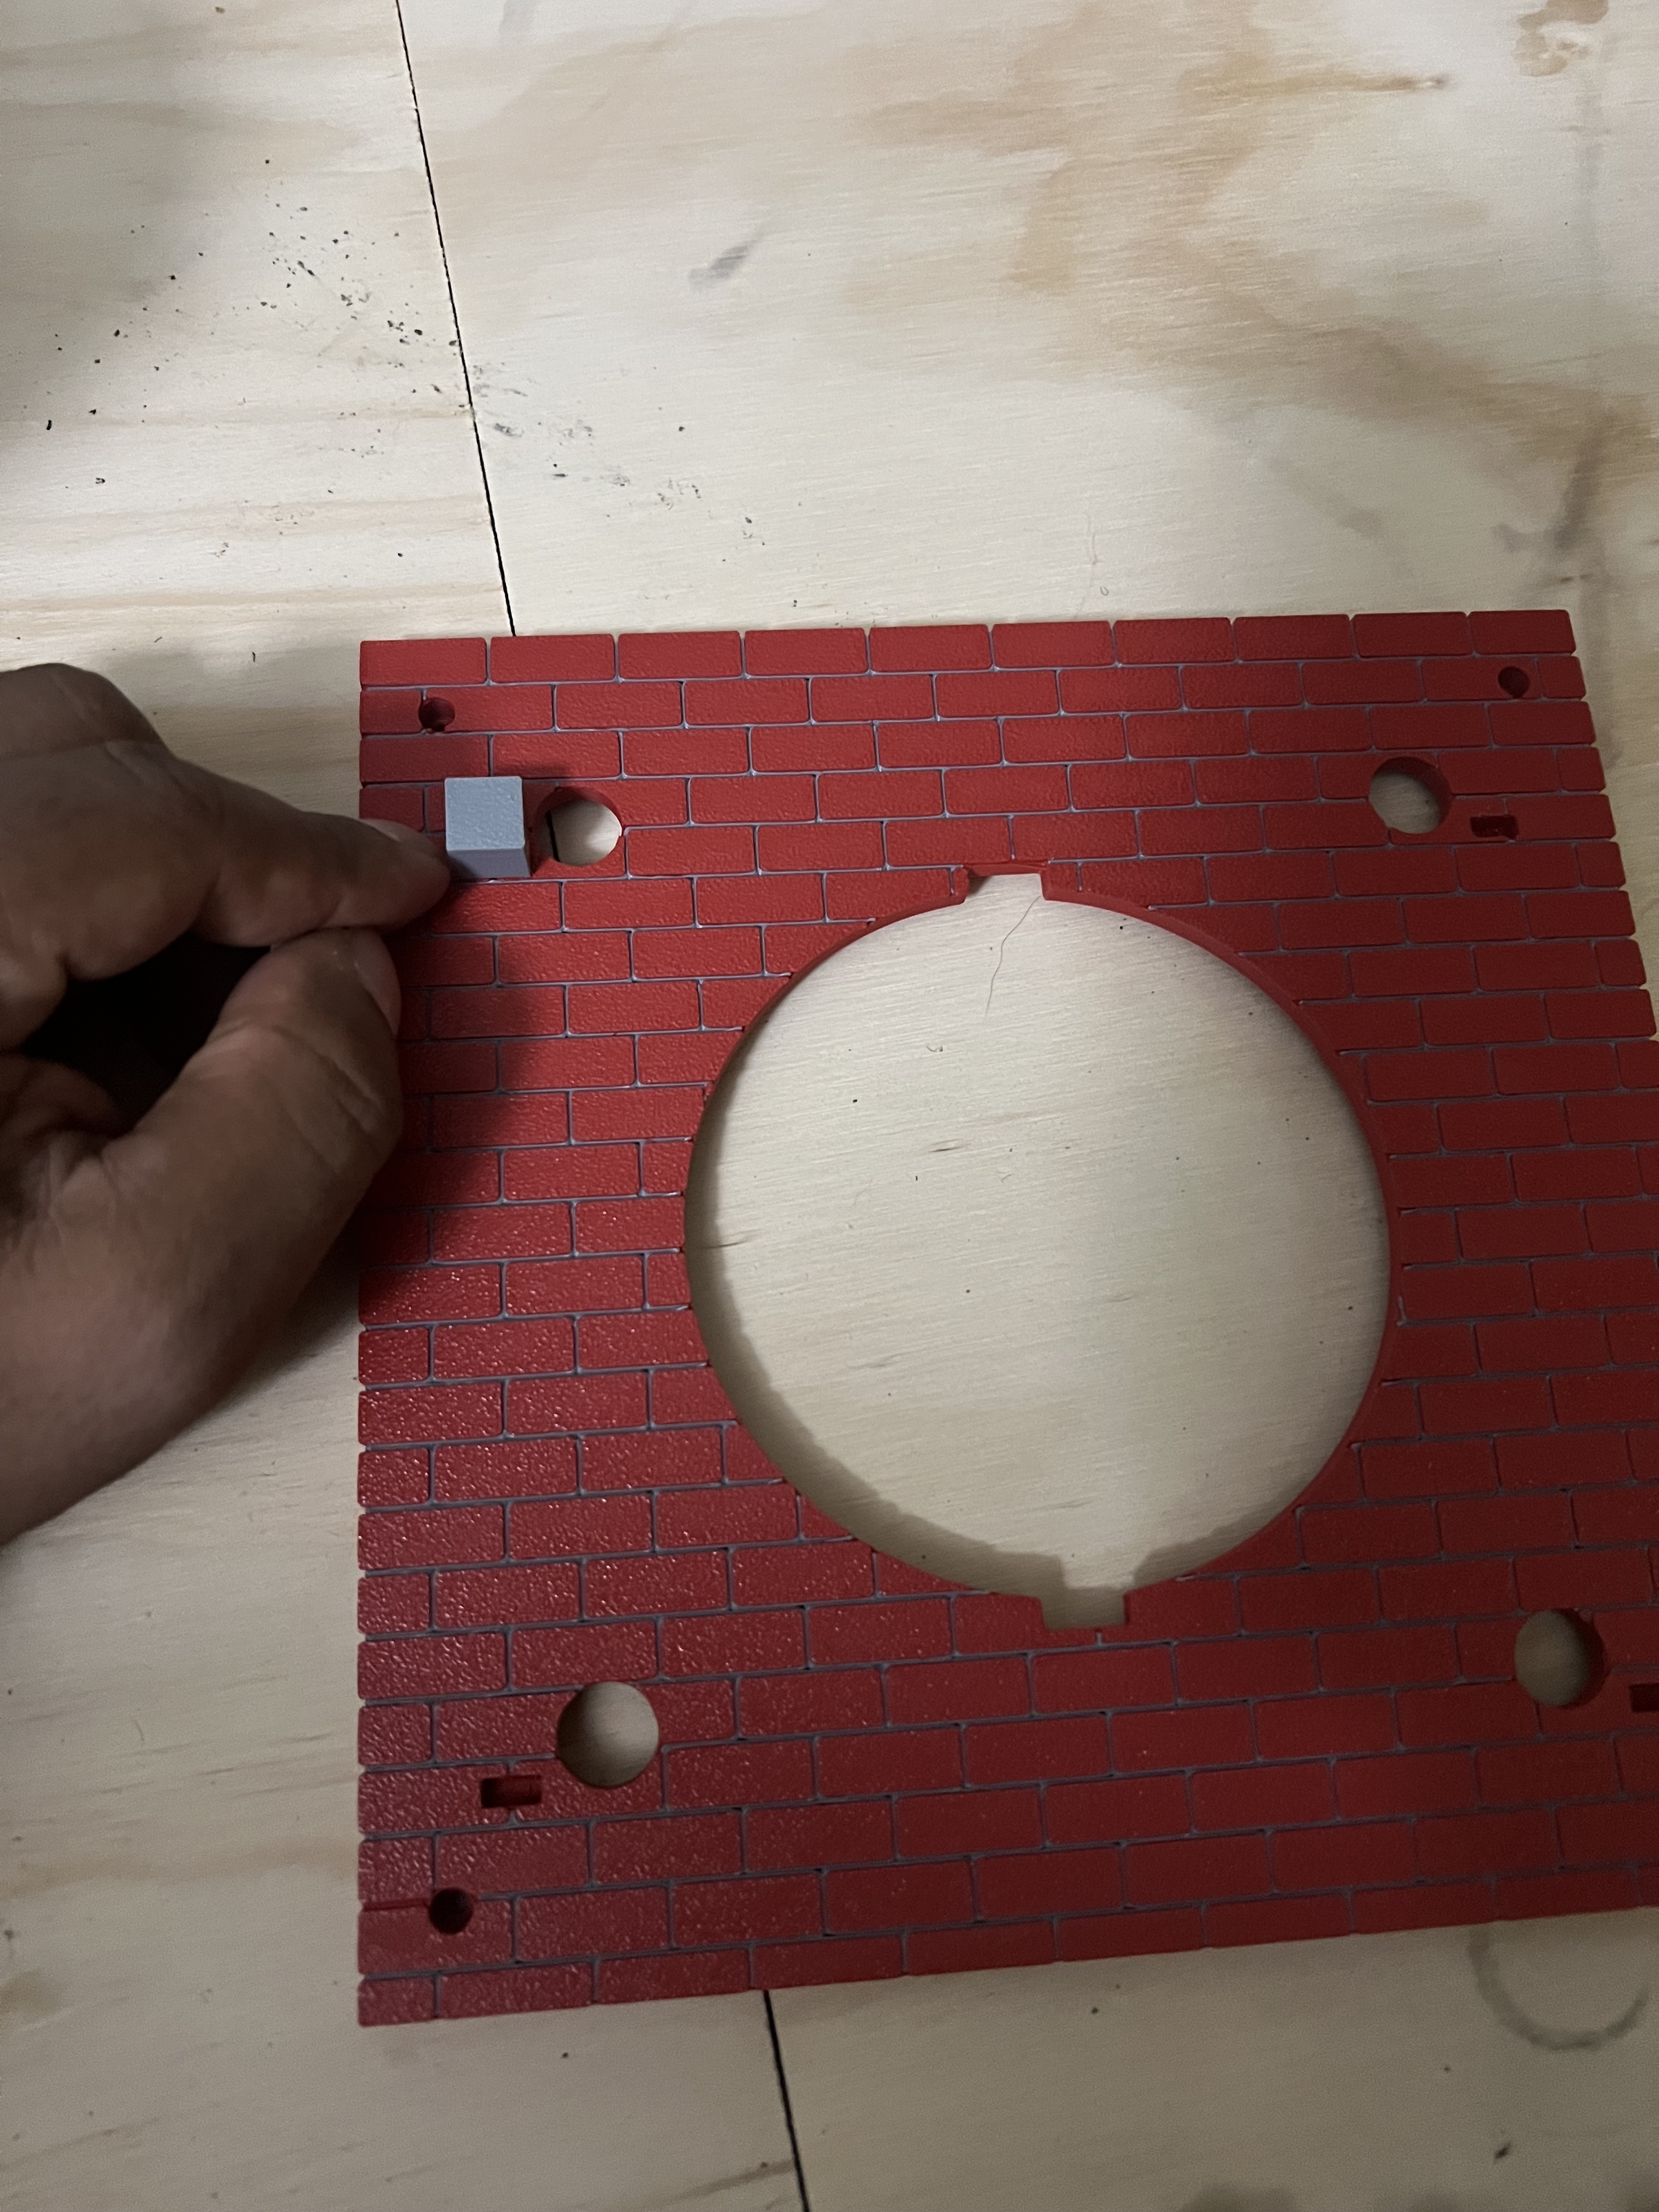
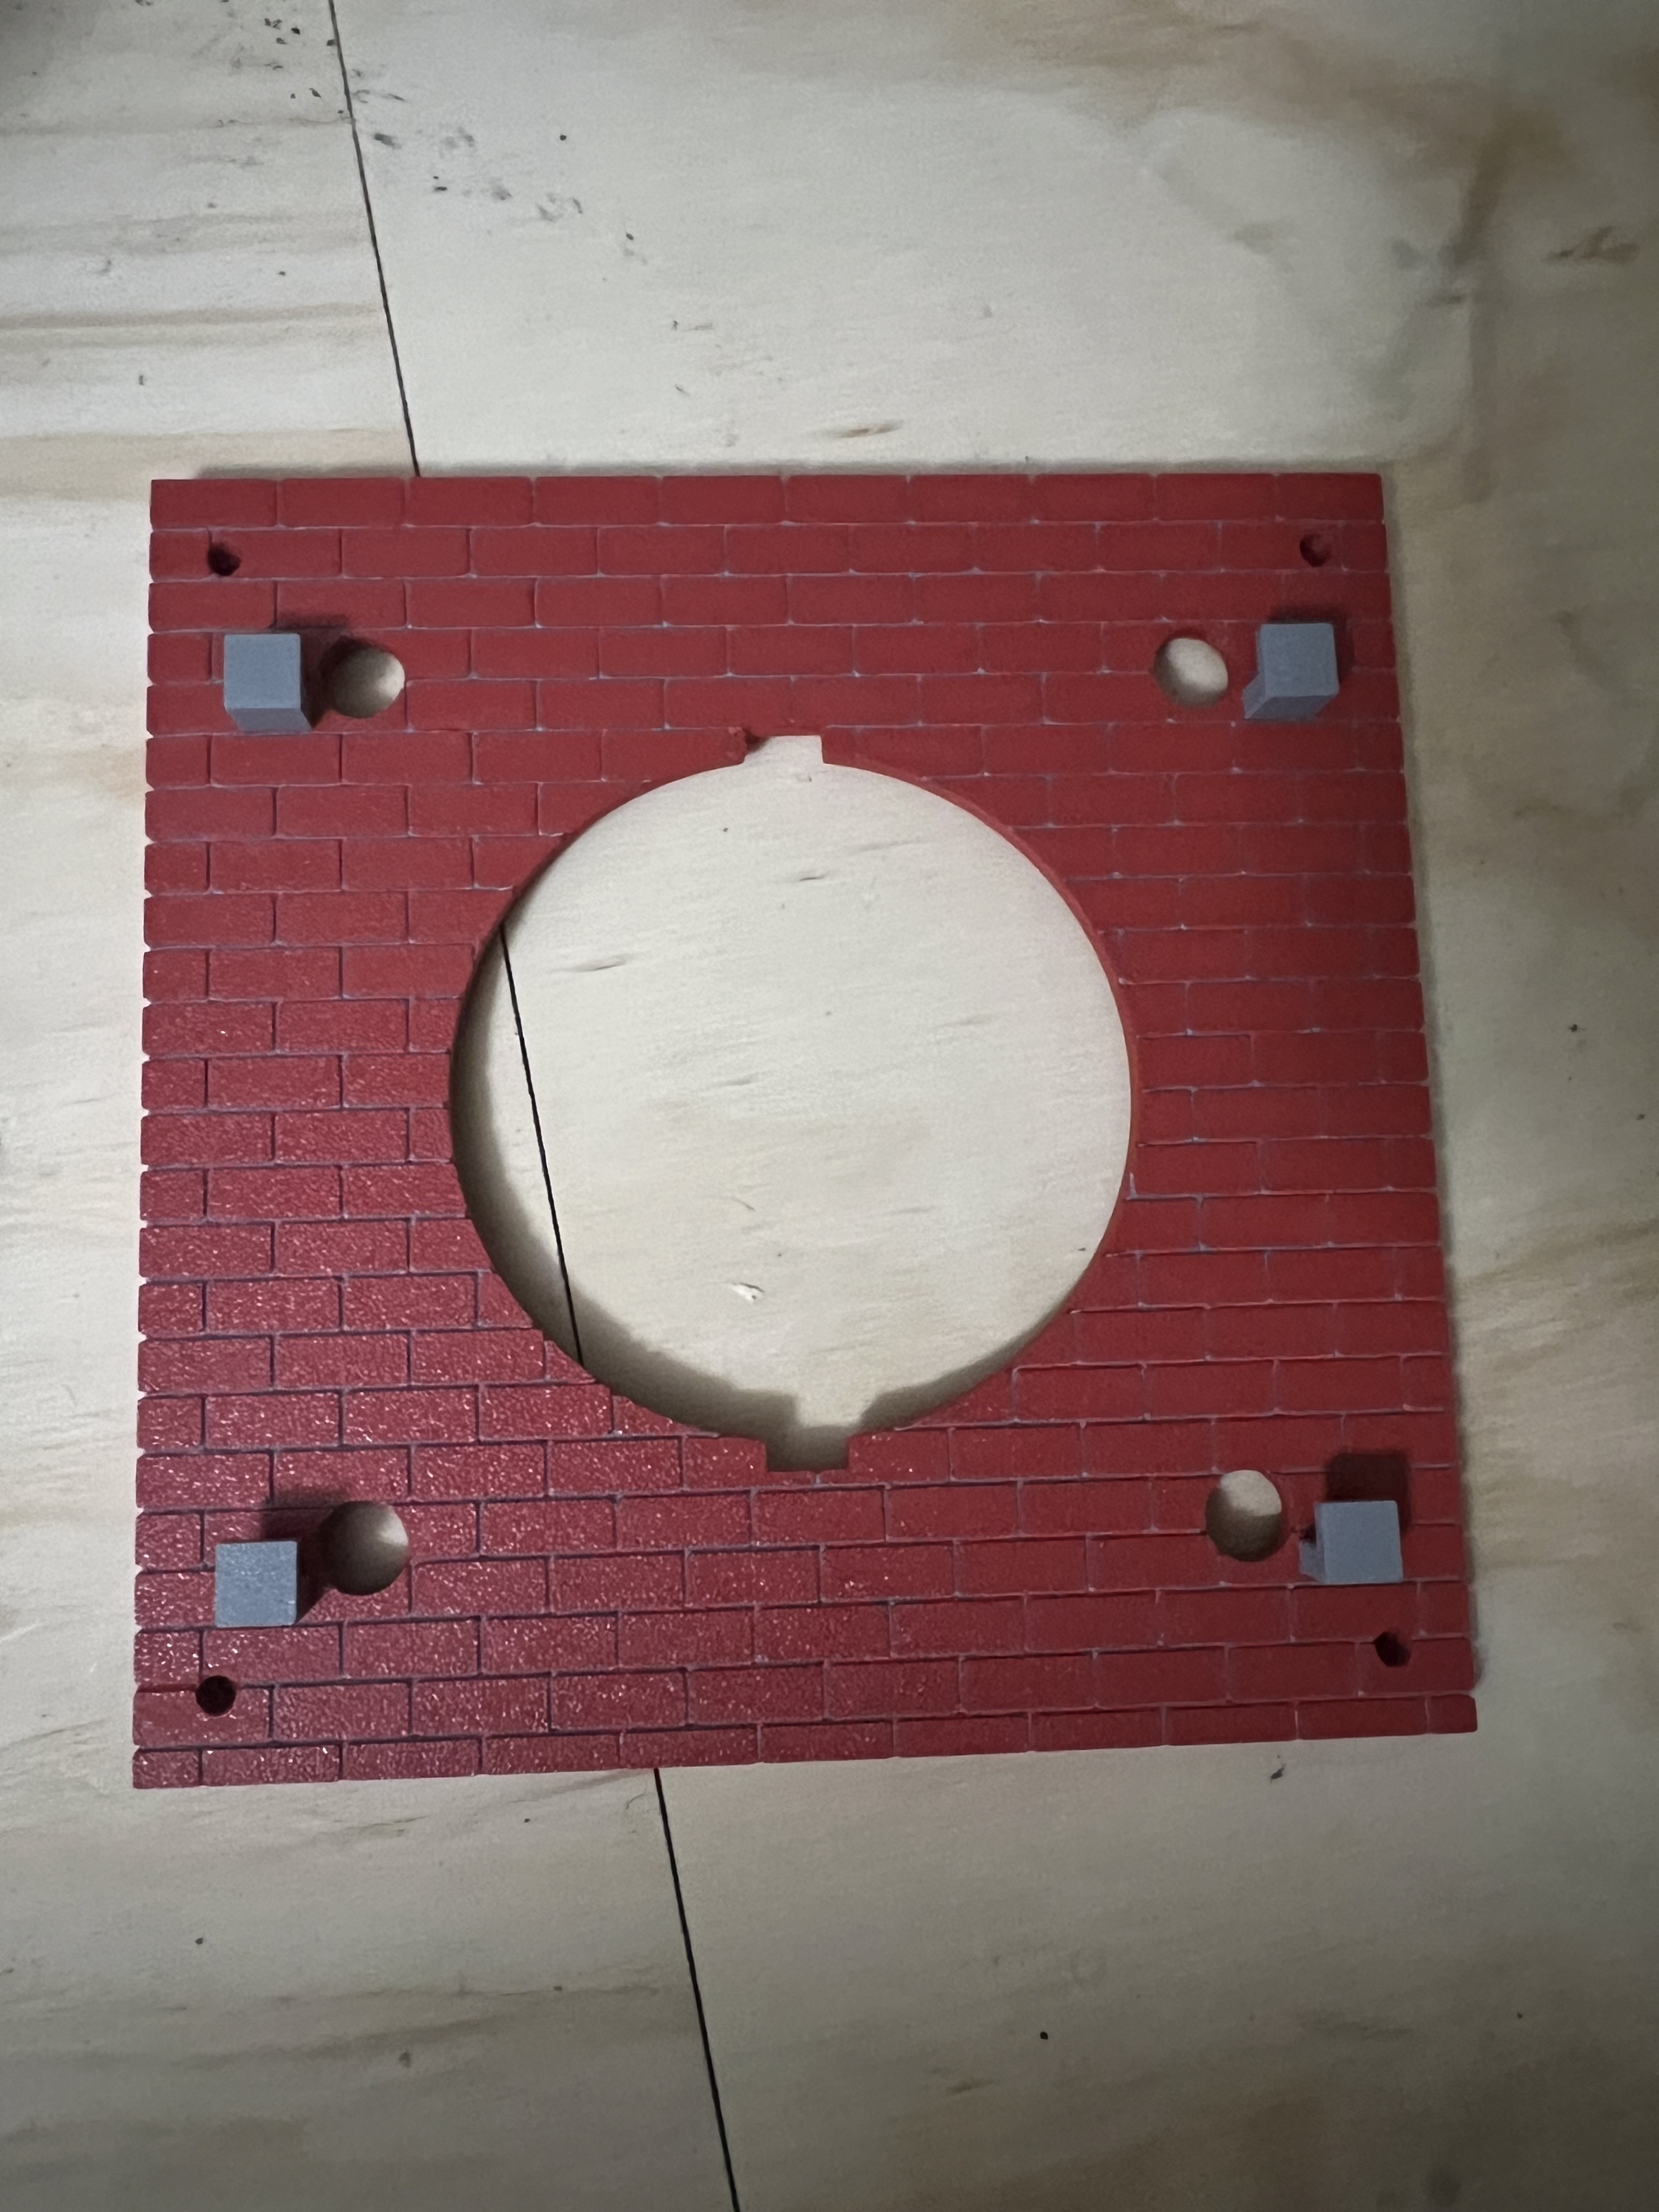
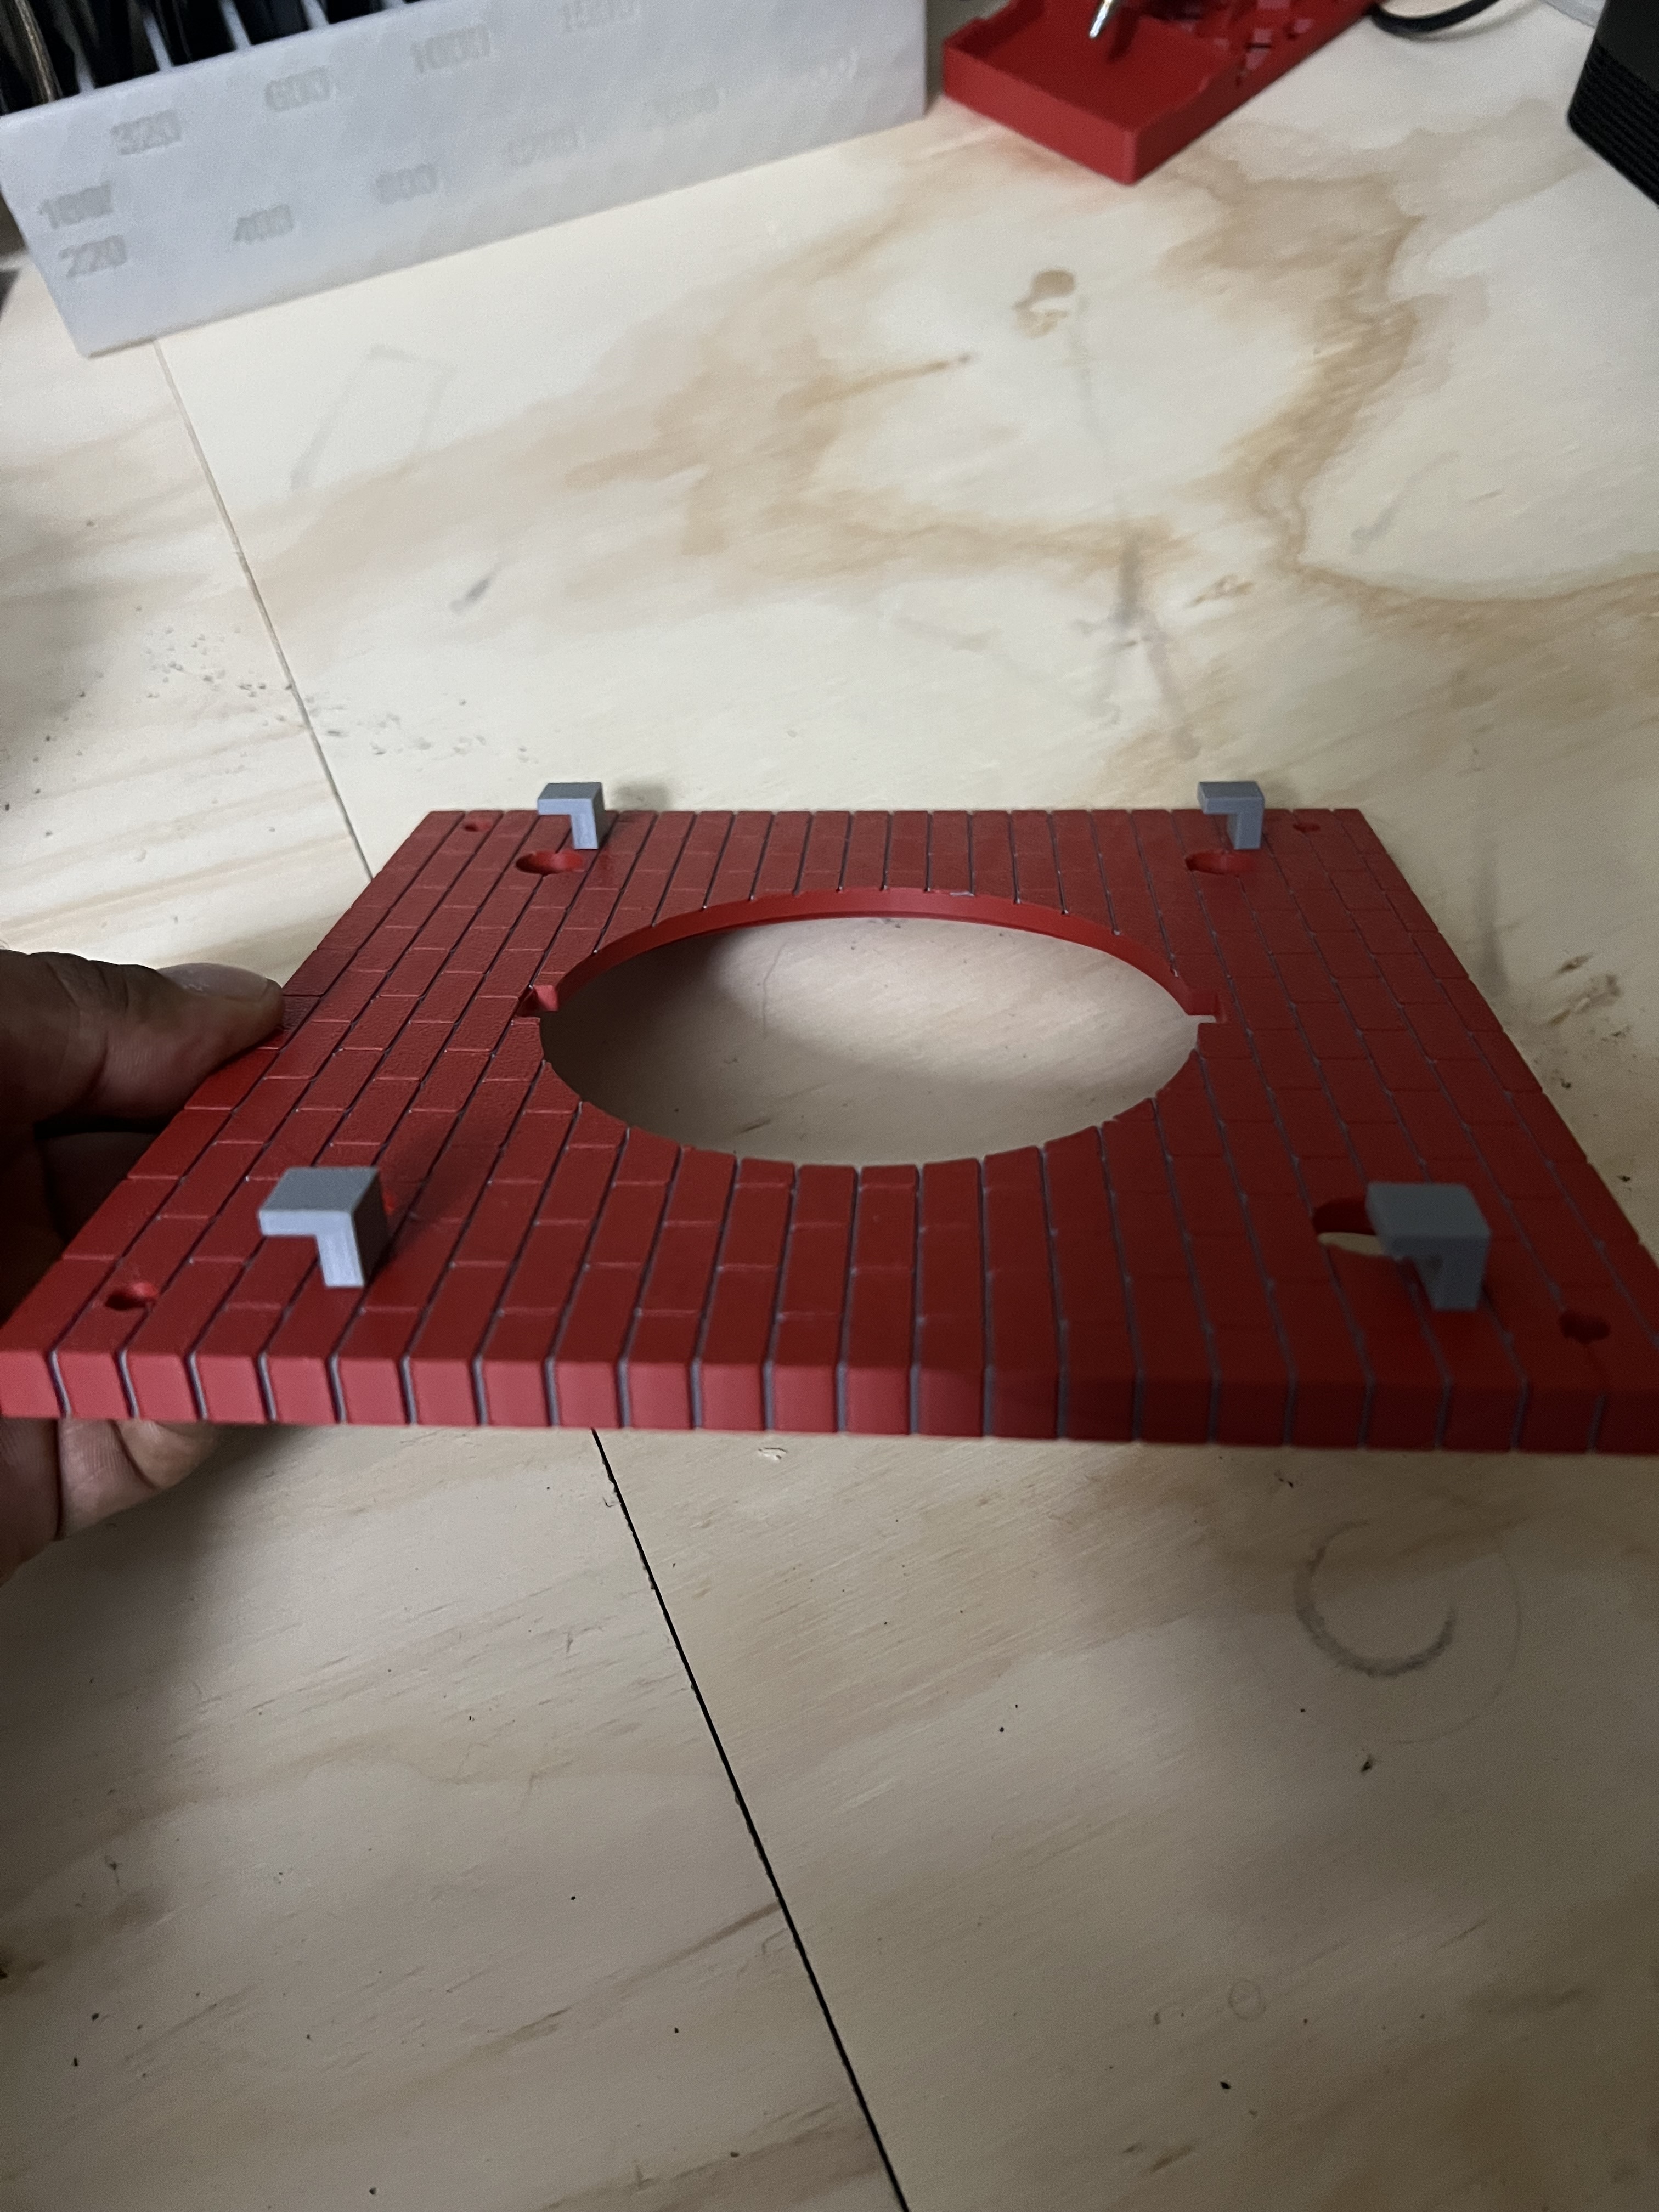
Once these are glued, let them cure for 24 hours.
Step 2- Setting up the springs.
Items needed
- Springs (x4)
- Tube Insert (x4)
Spring Cap (x4)
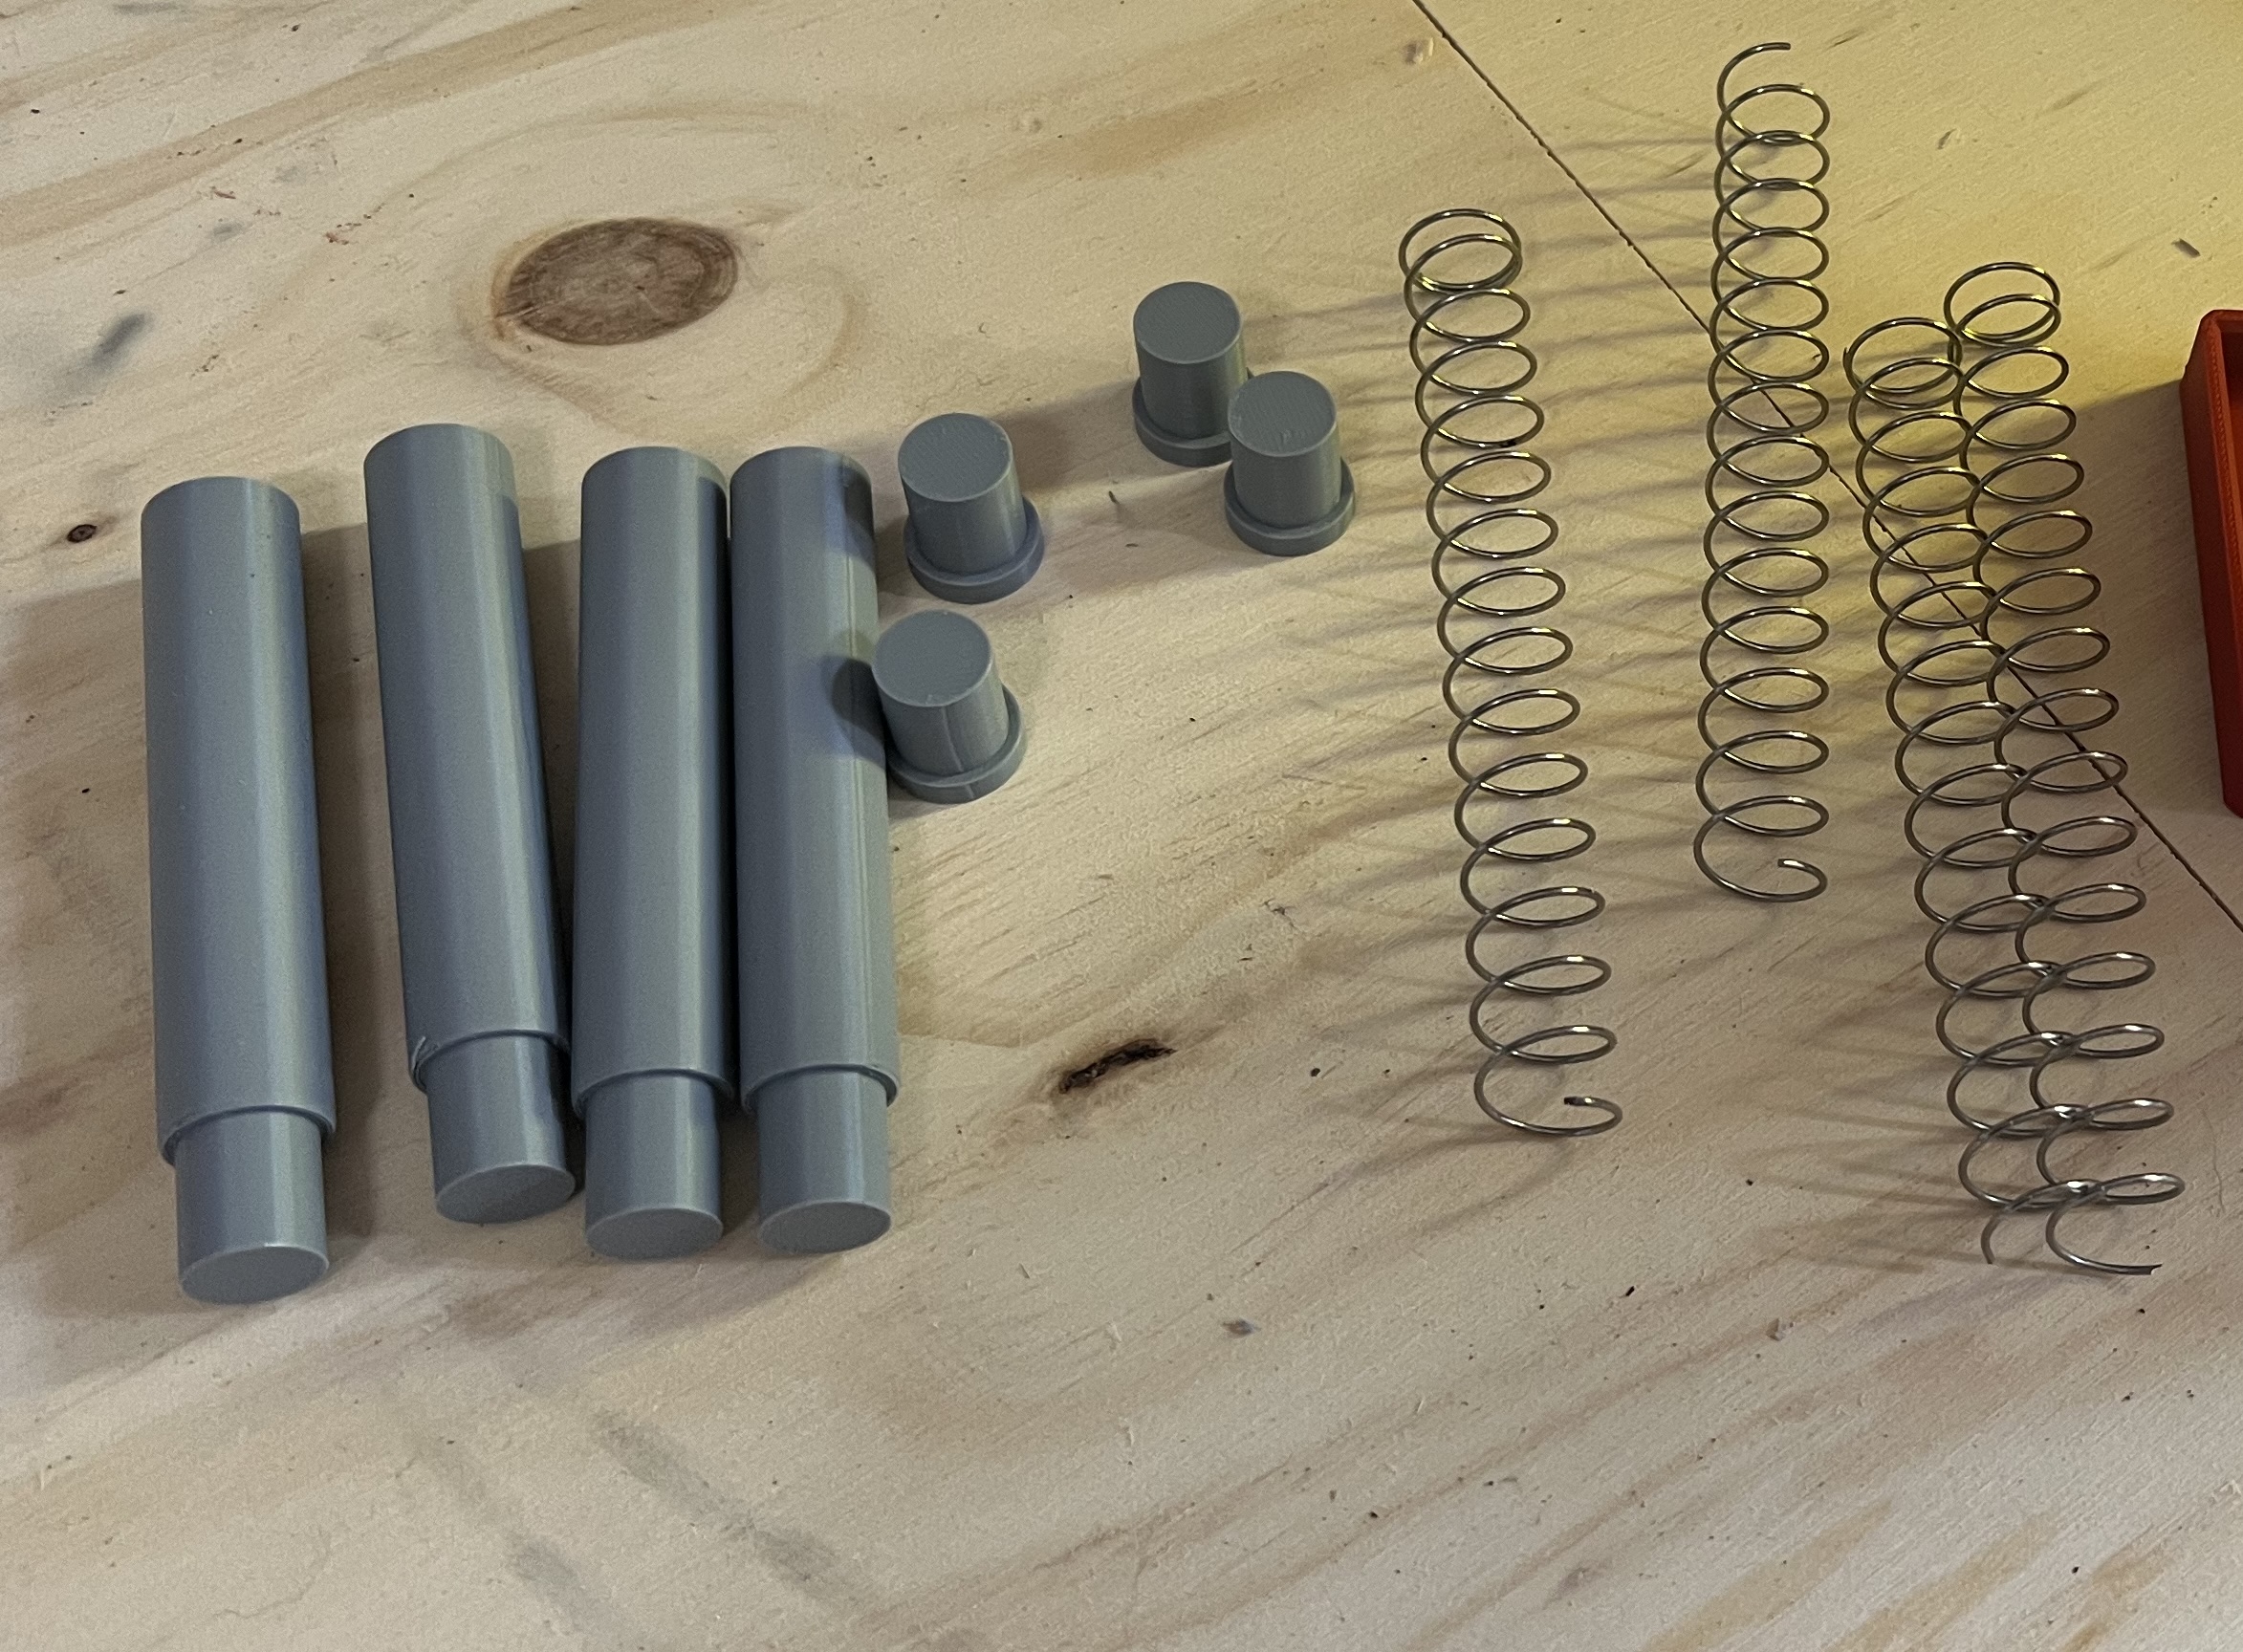
For the springs, I recommend a compression spring that is 1mmx16mm. I cut mine to 110mm.
First carefully use hot glue to clue the spring to the Spring cap. There is very little clearance so you may need to bend the spring a bit to ensure a good fit.
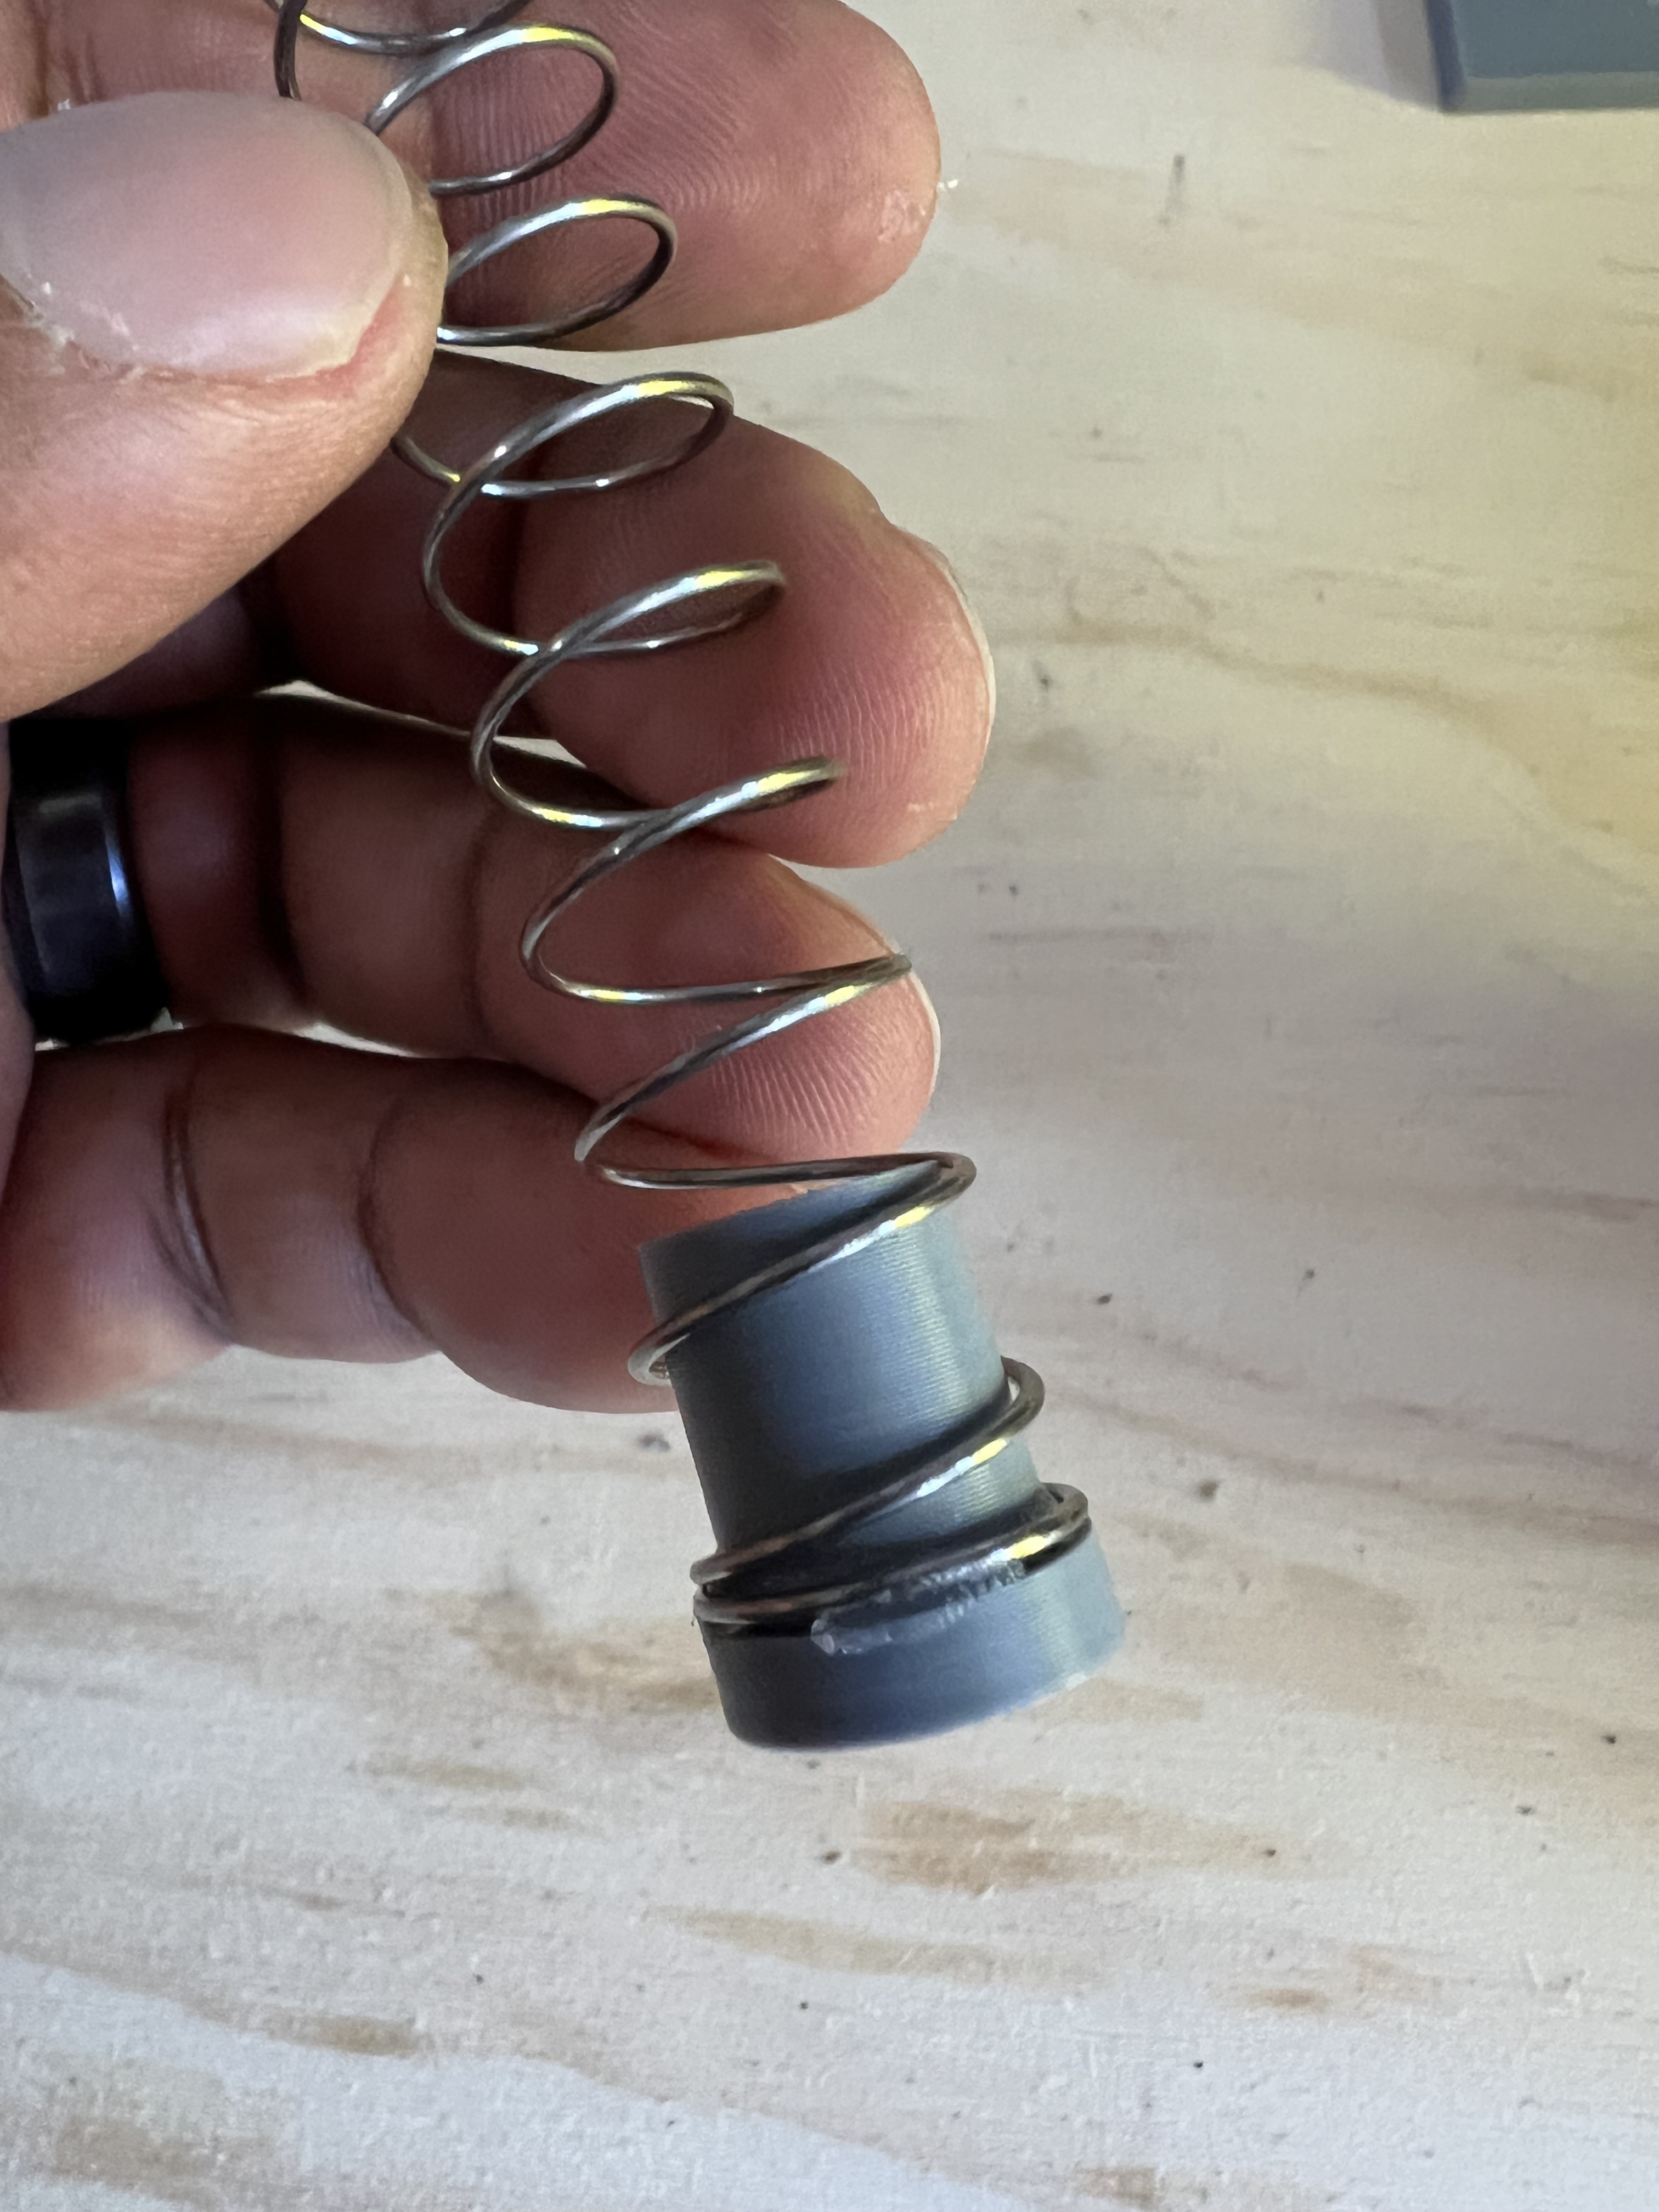
Next you will glue the other end of the spring to the Tube Insert.
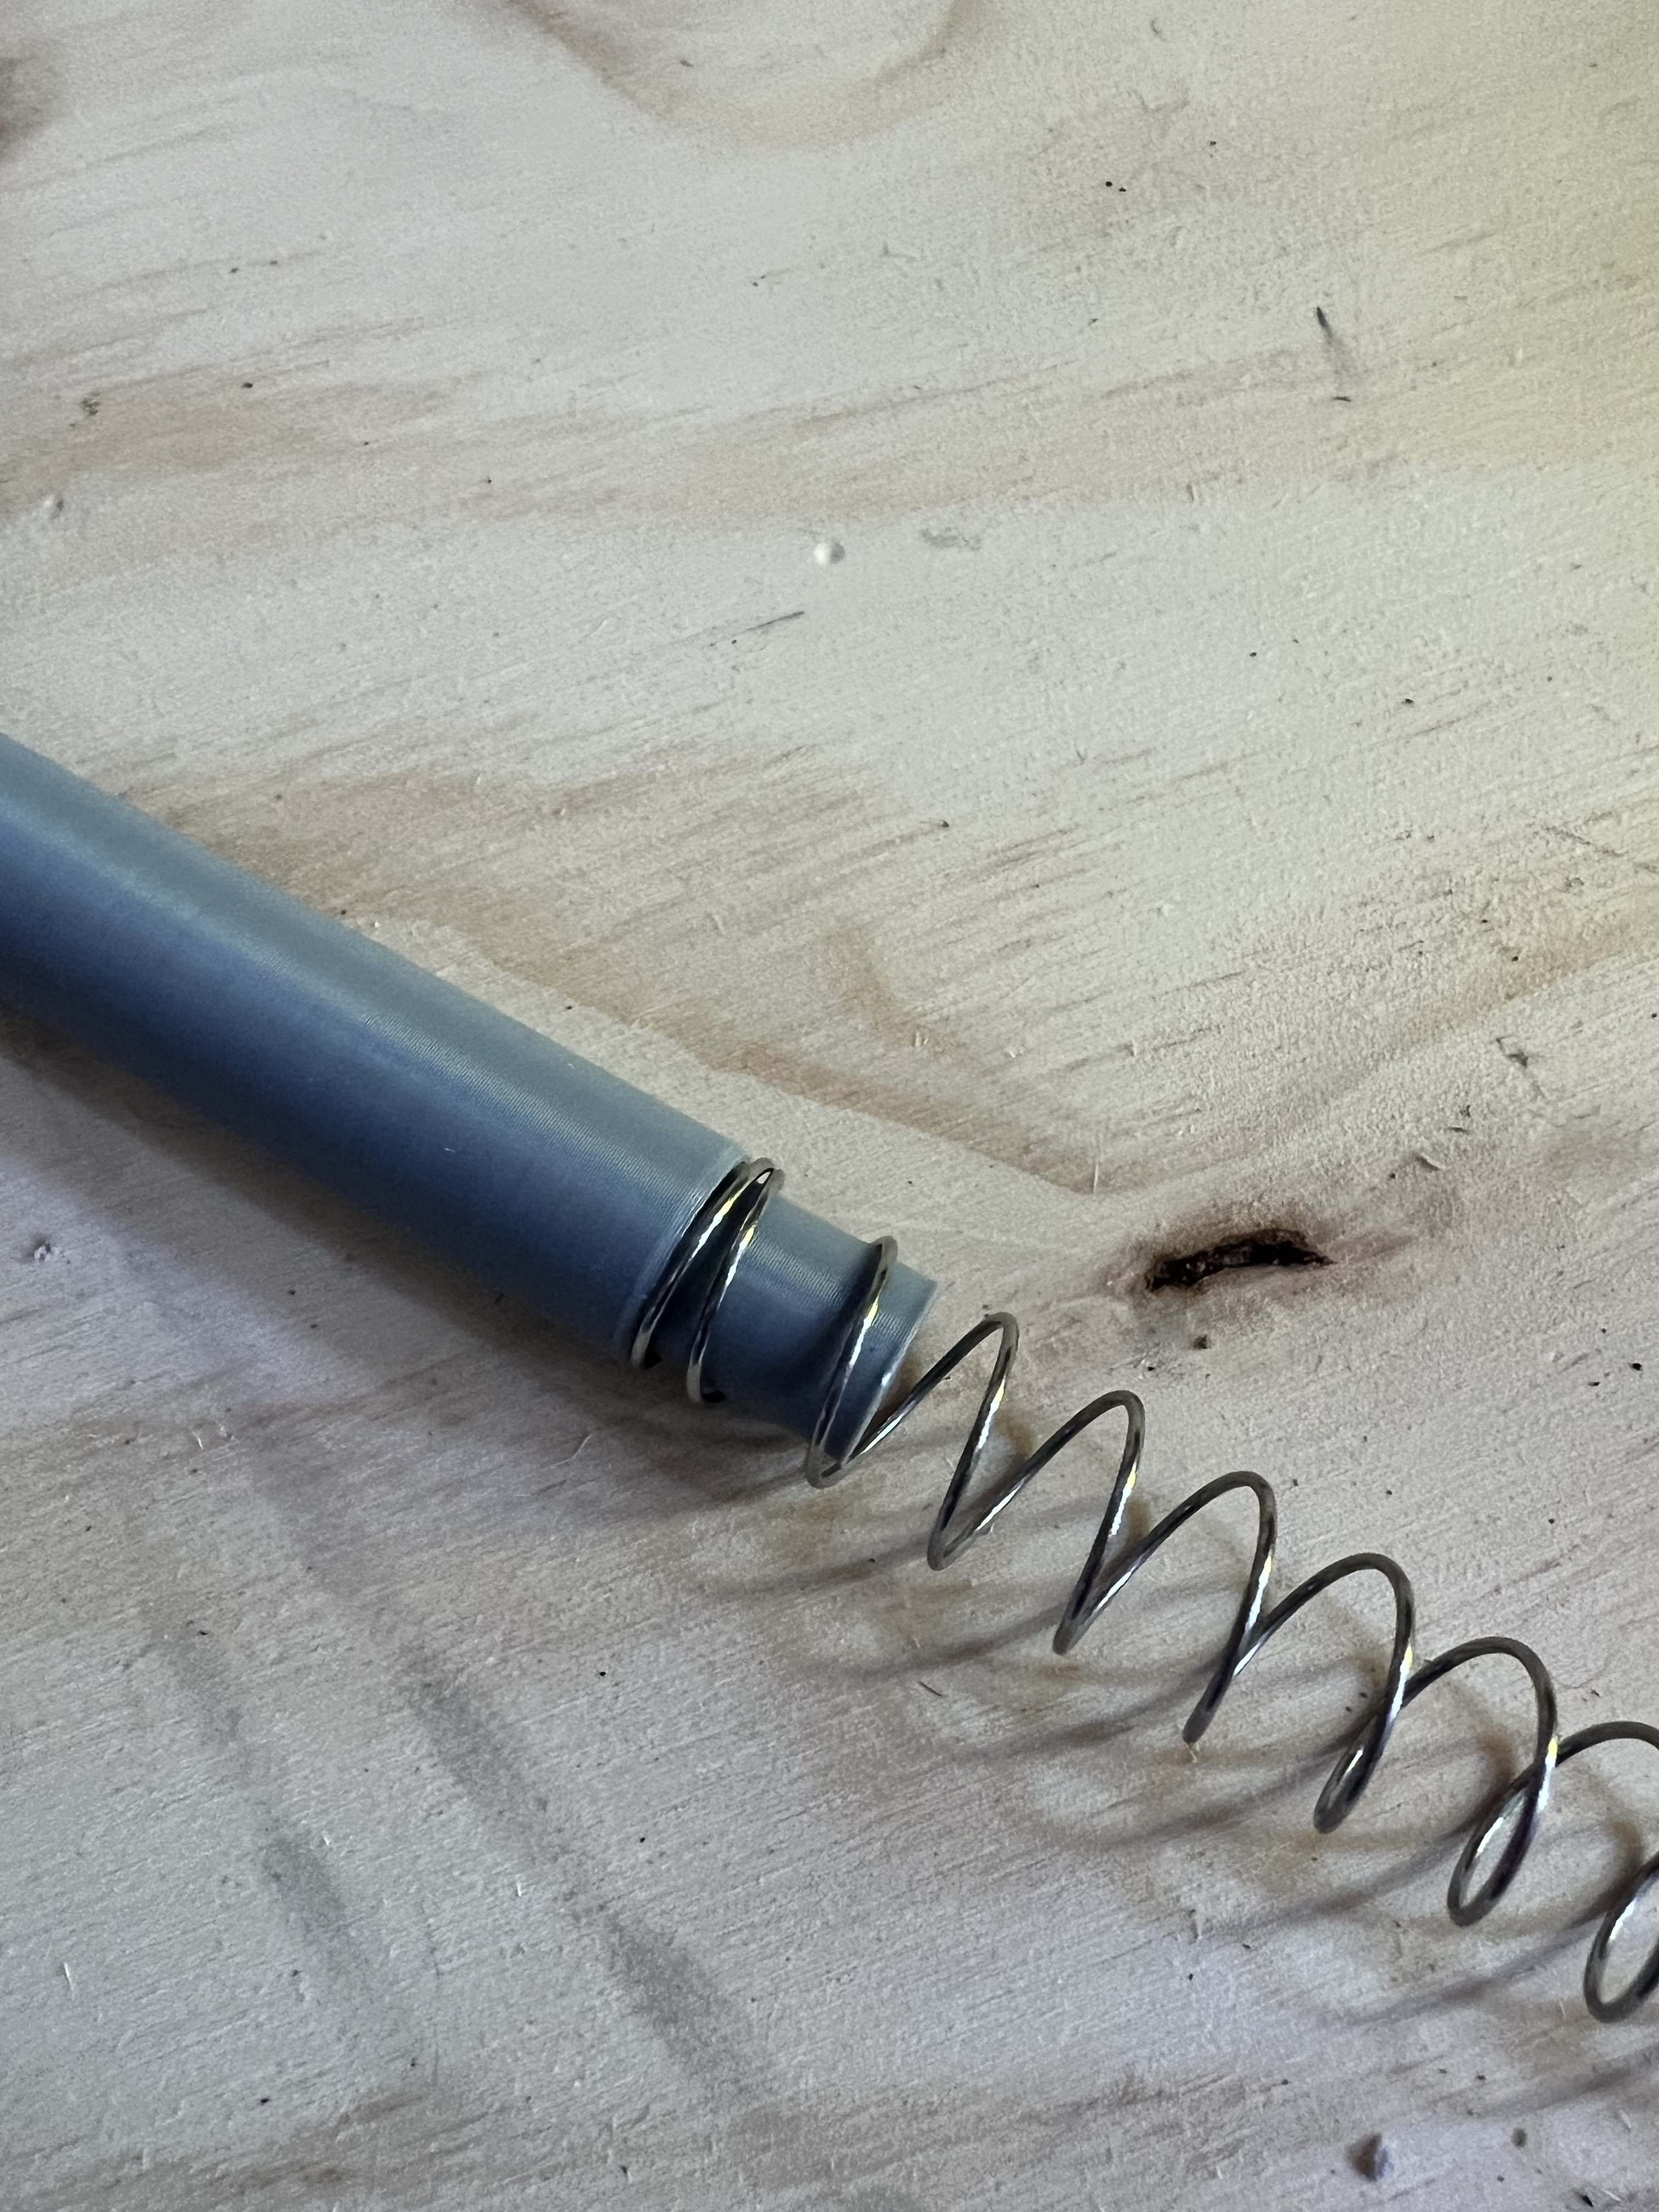
You should complete this process 4 times.
From here, carefully place the spring assembly into the tubes on the back. Insert the spring cap first. Be careful on this step. If anything gets stuck, it will be difficult to get out.
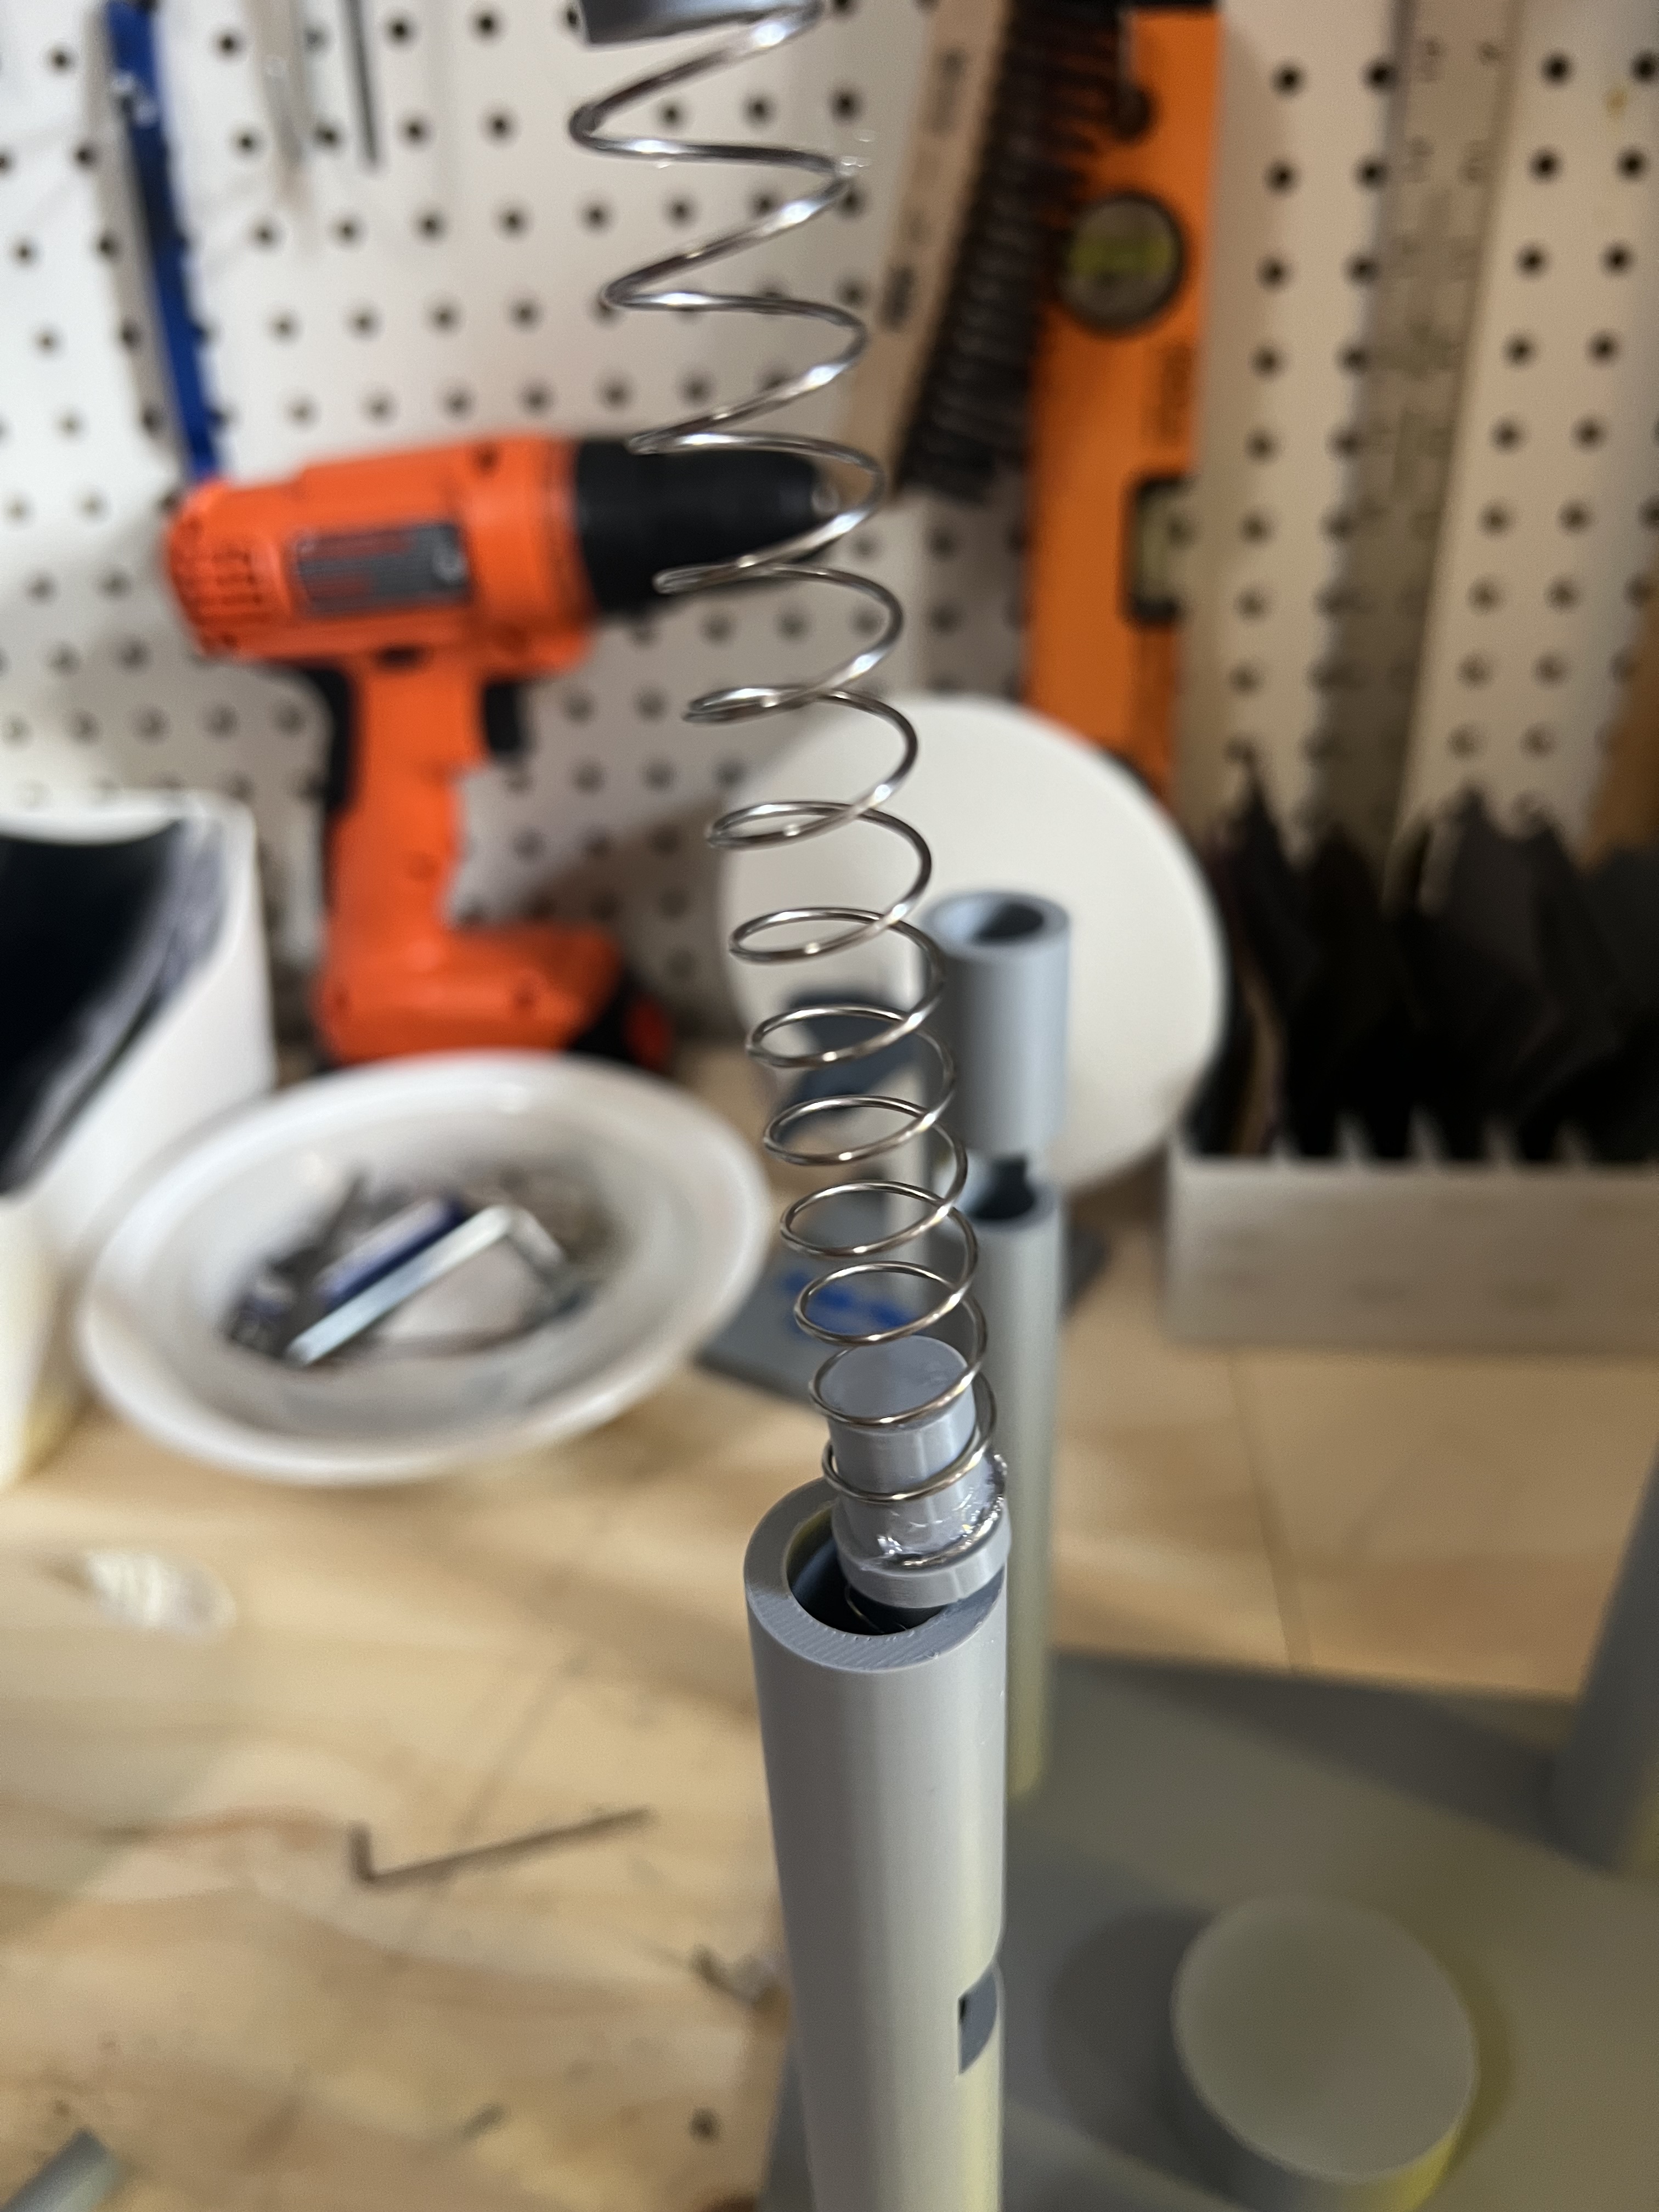
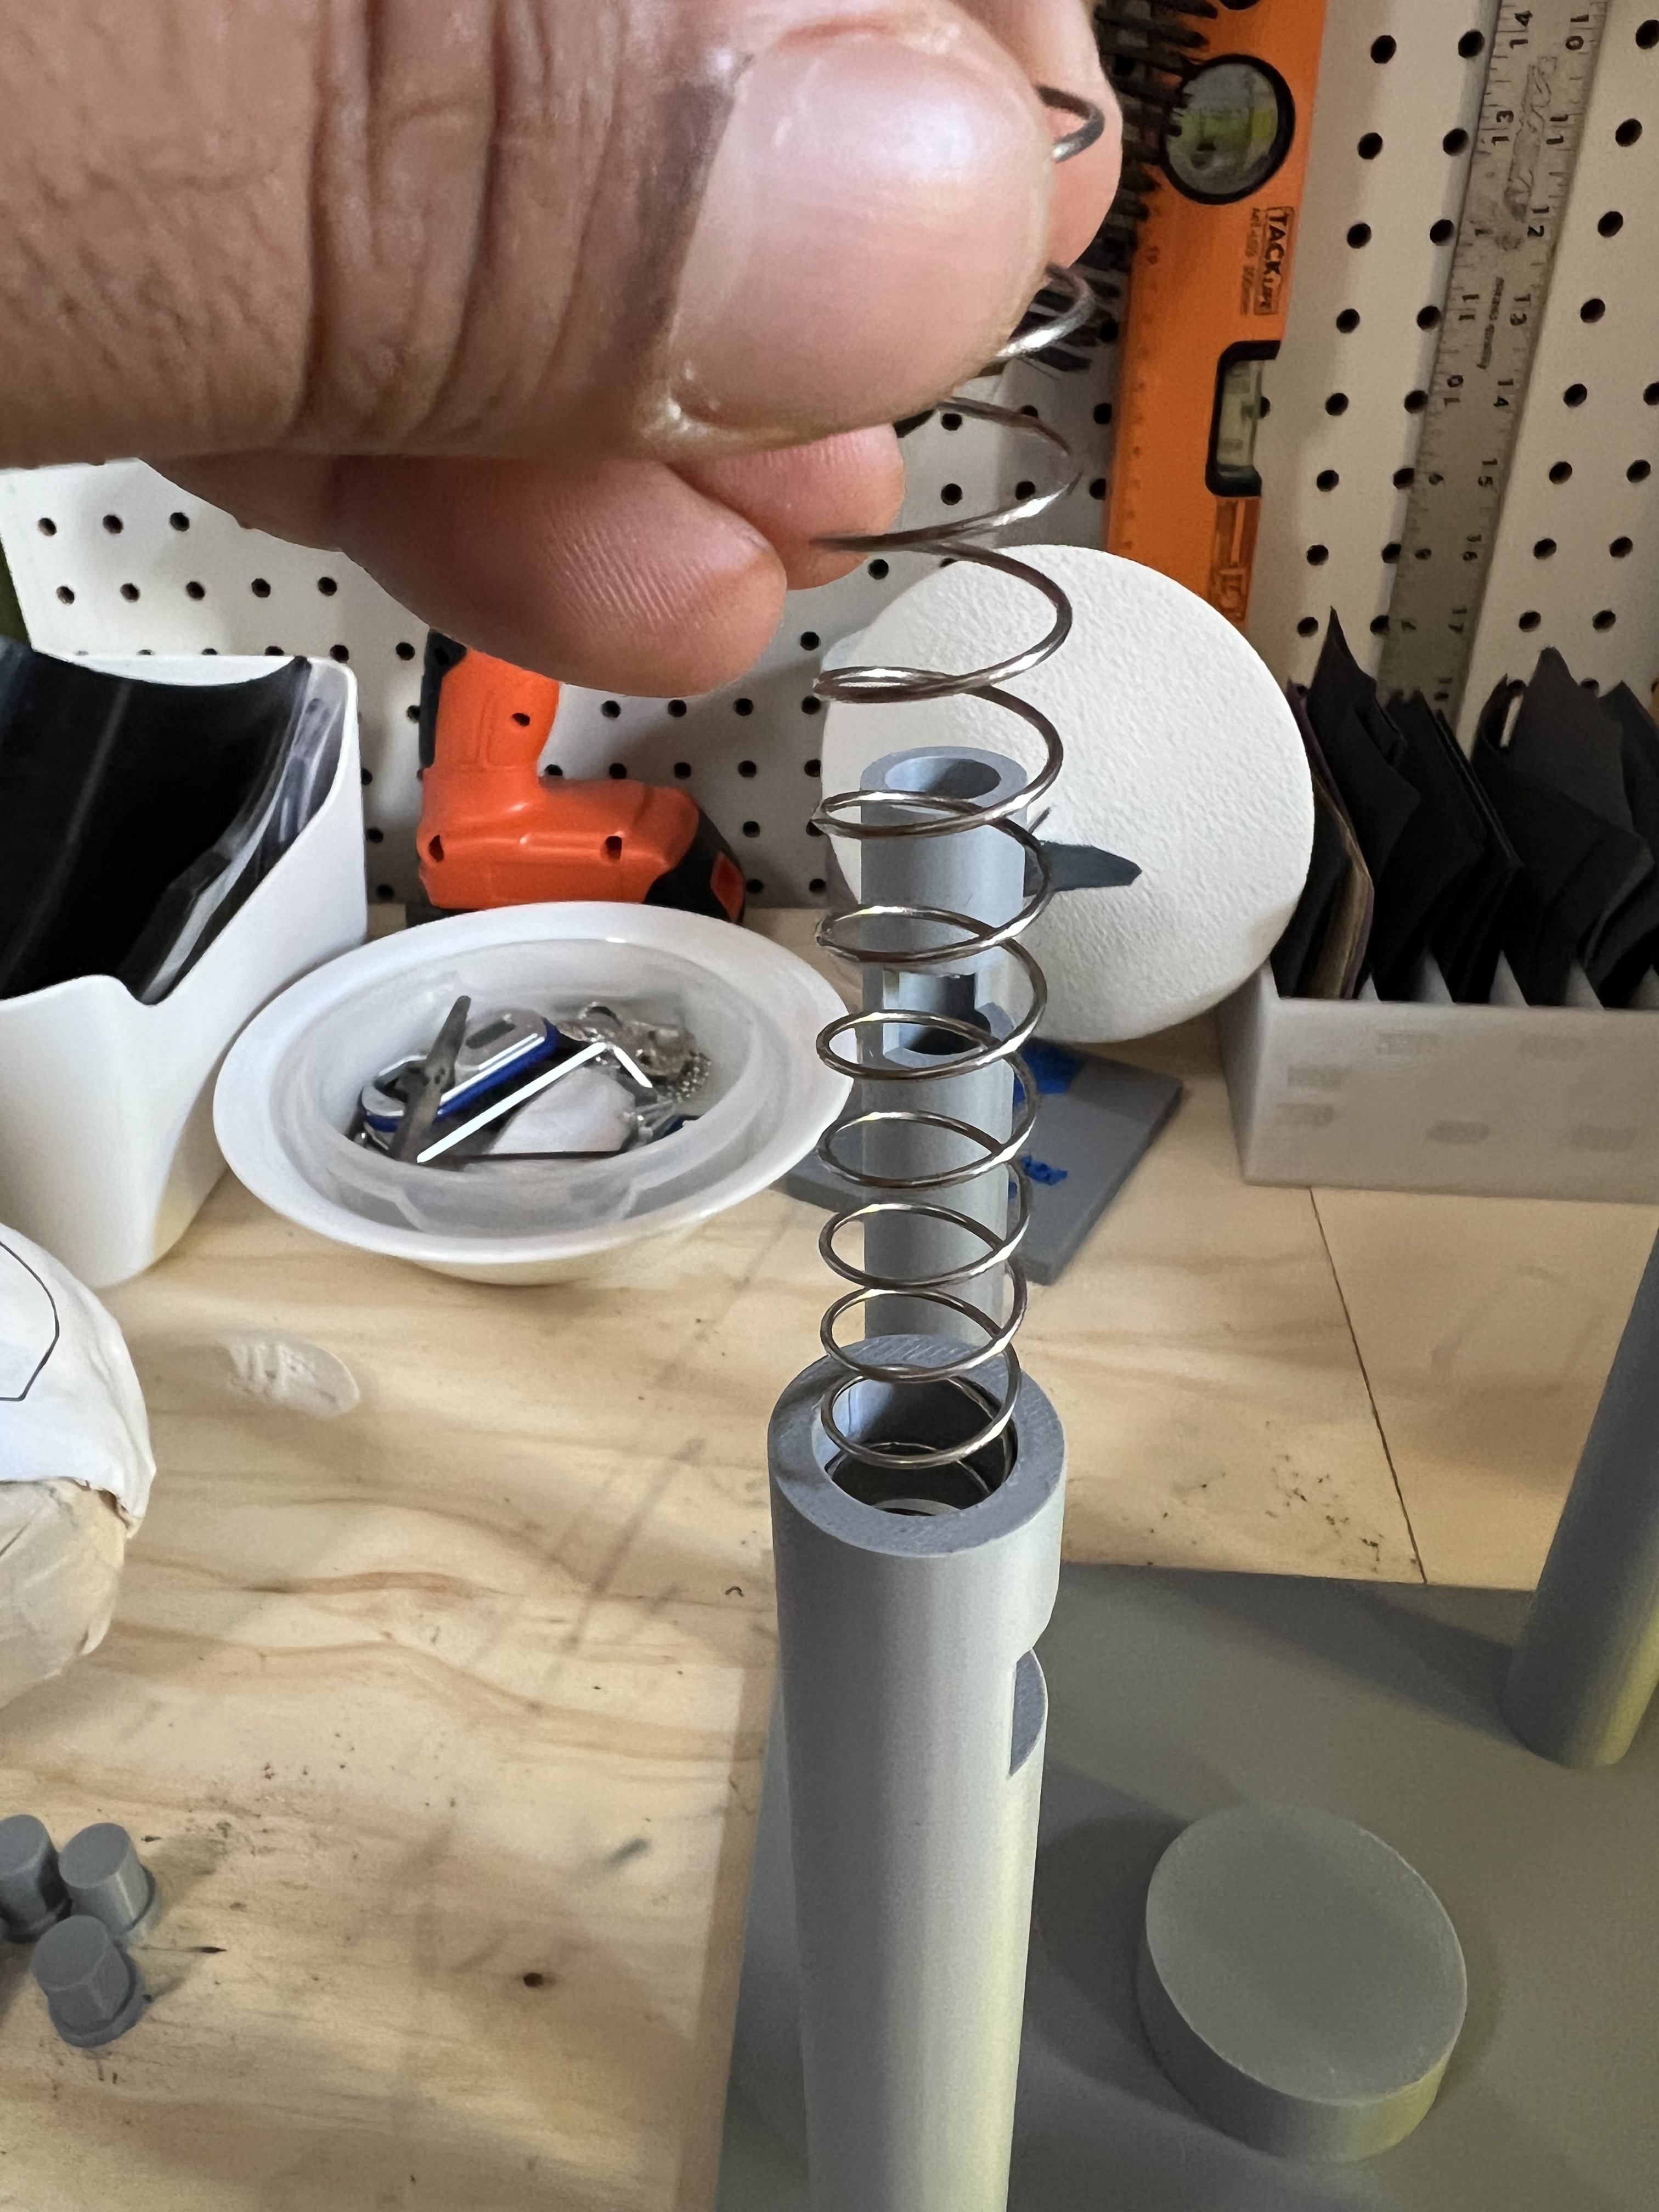
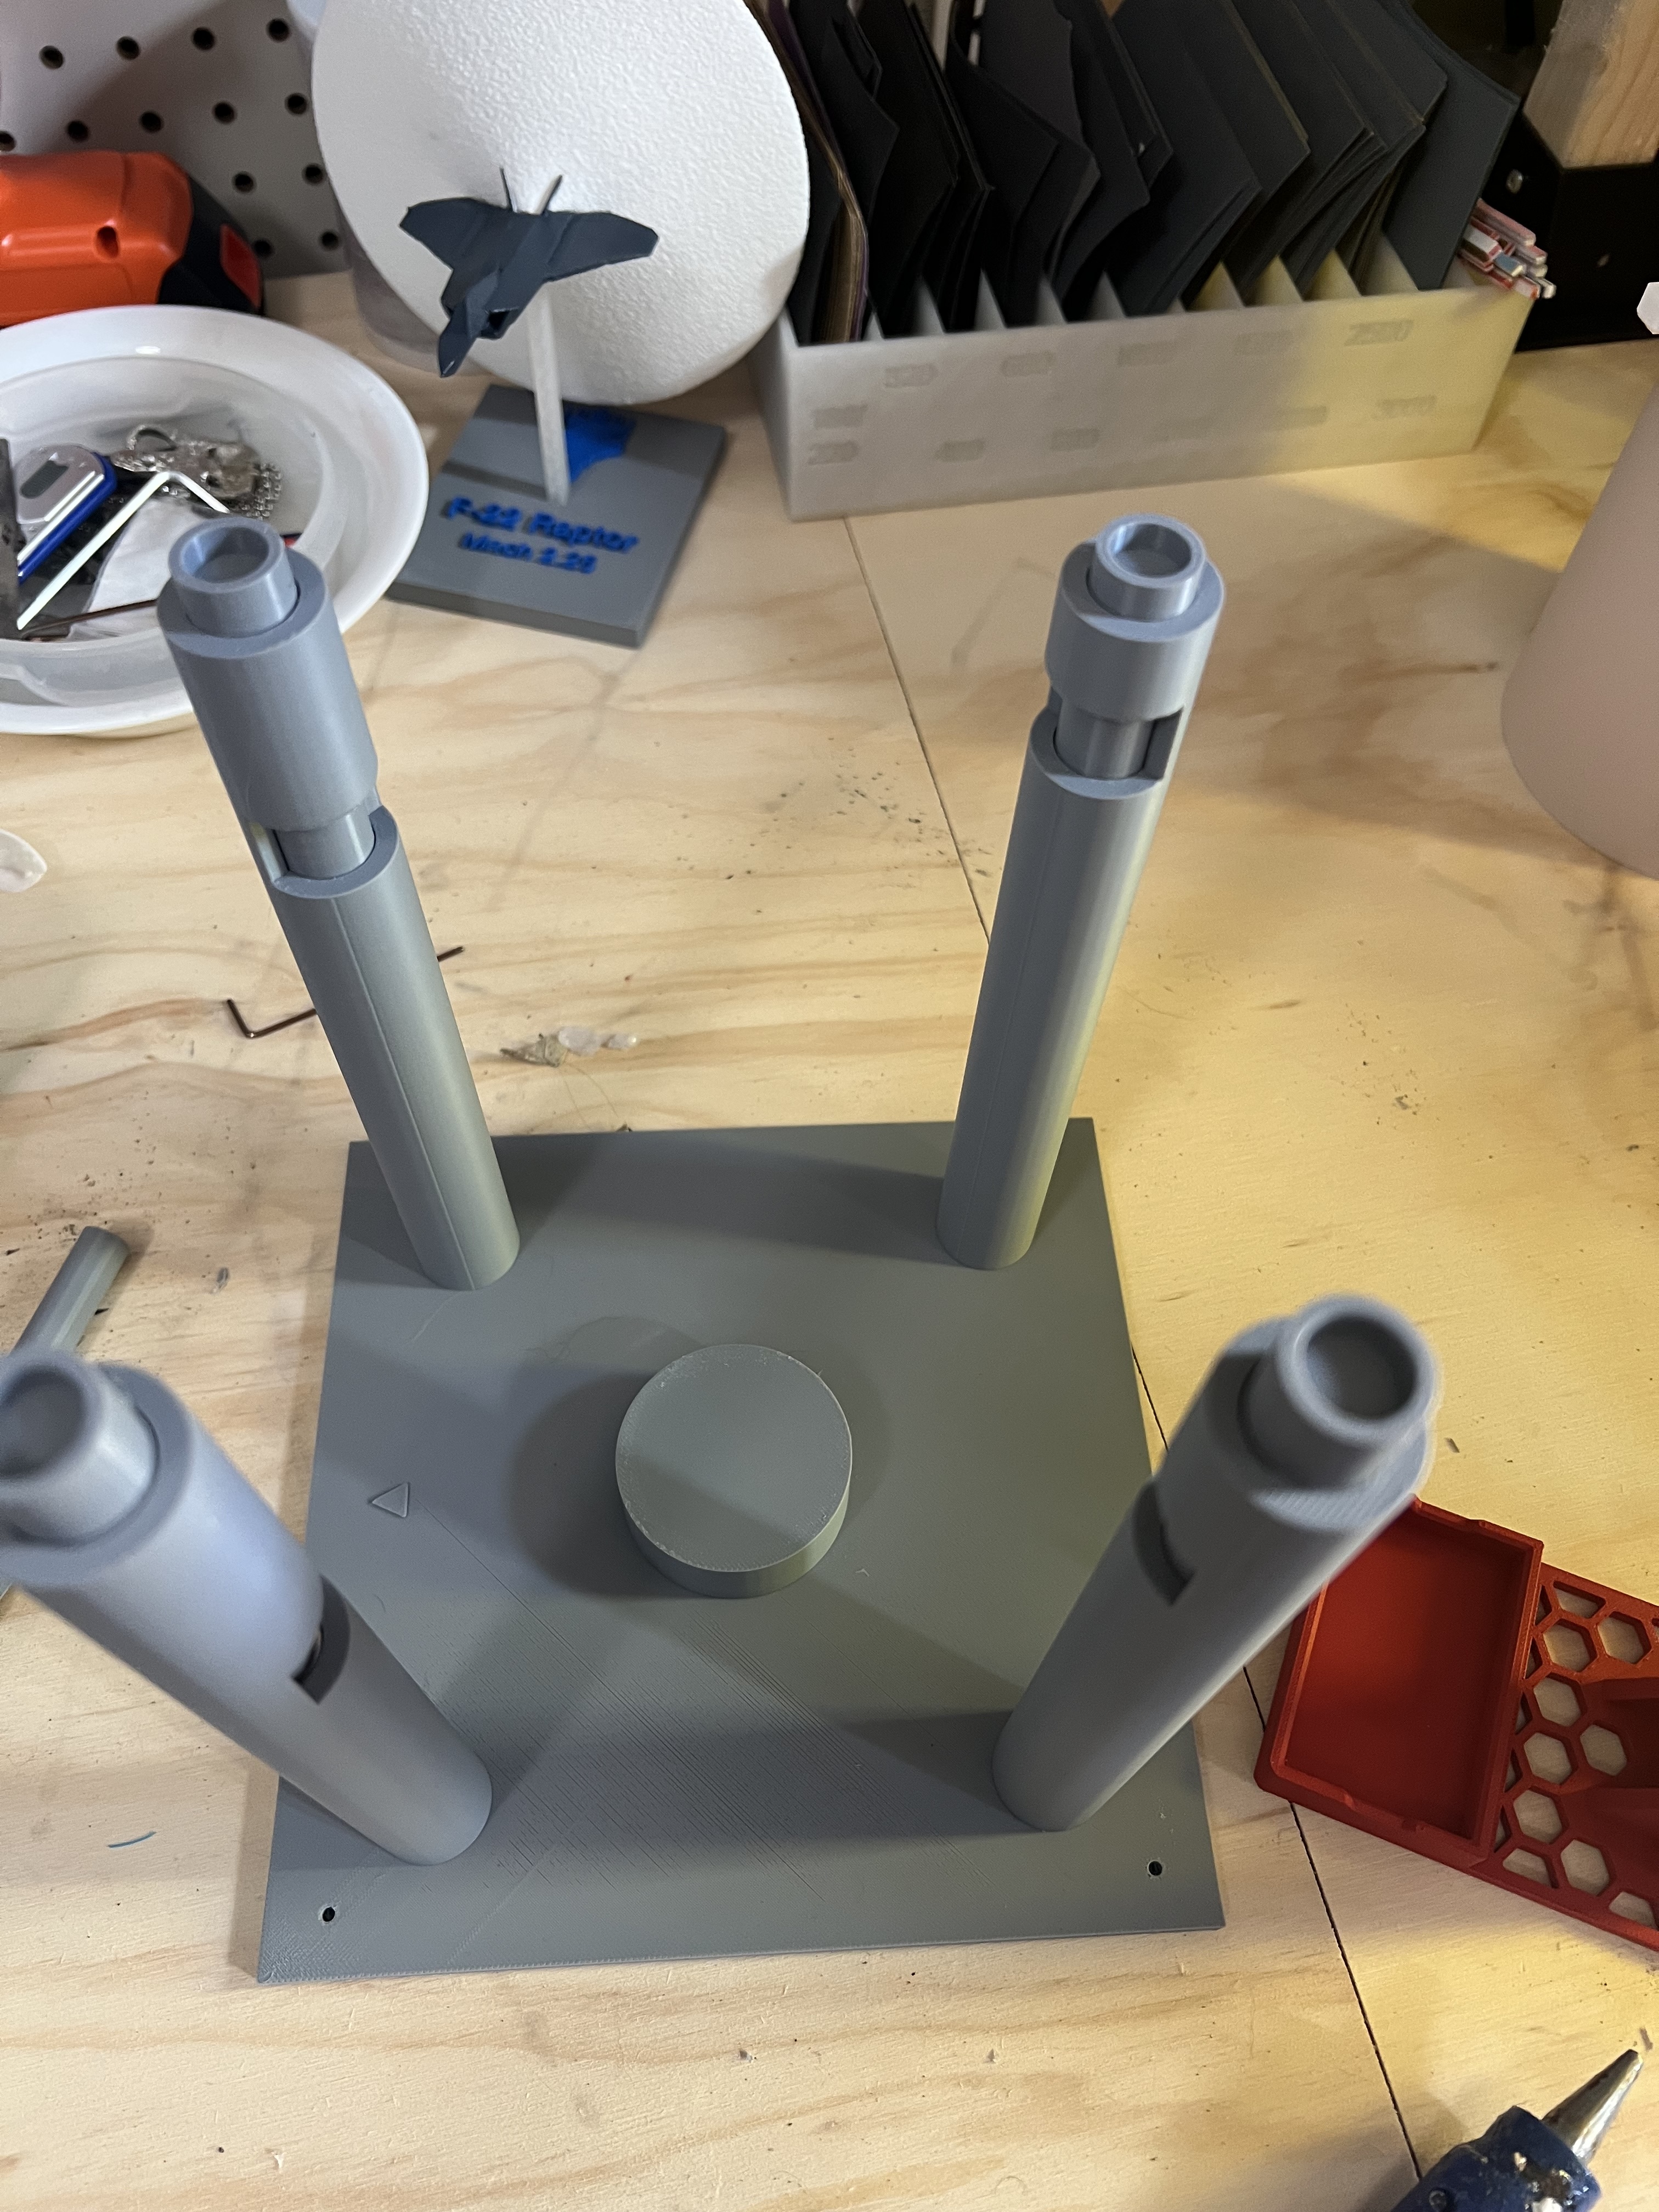
Step 3- Assemble
Items needed
- Back Piece
- Box
- Front
- Inner Shell
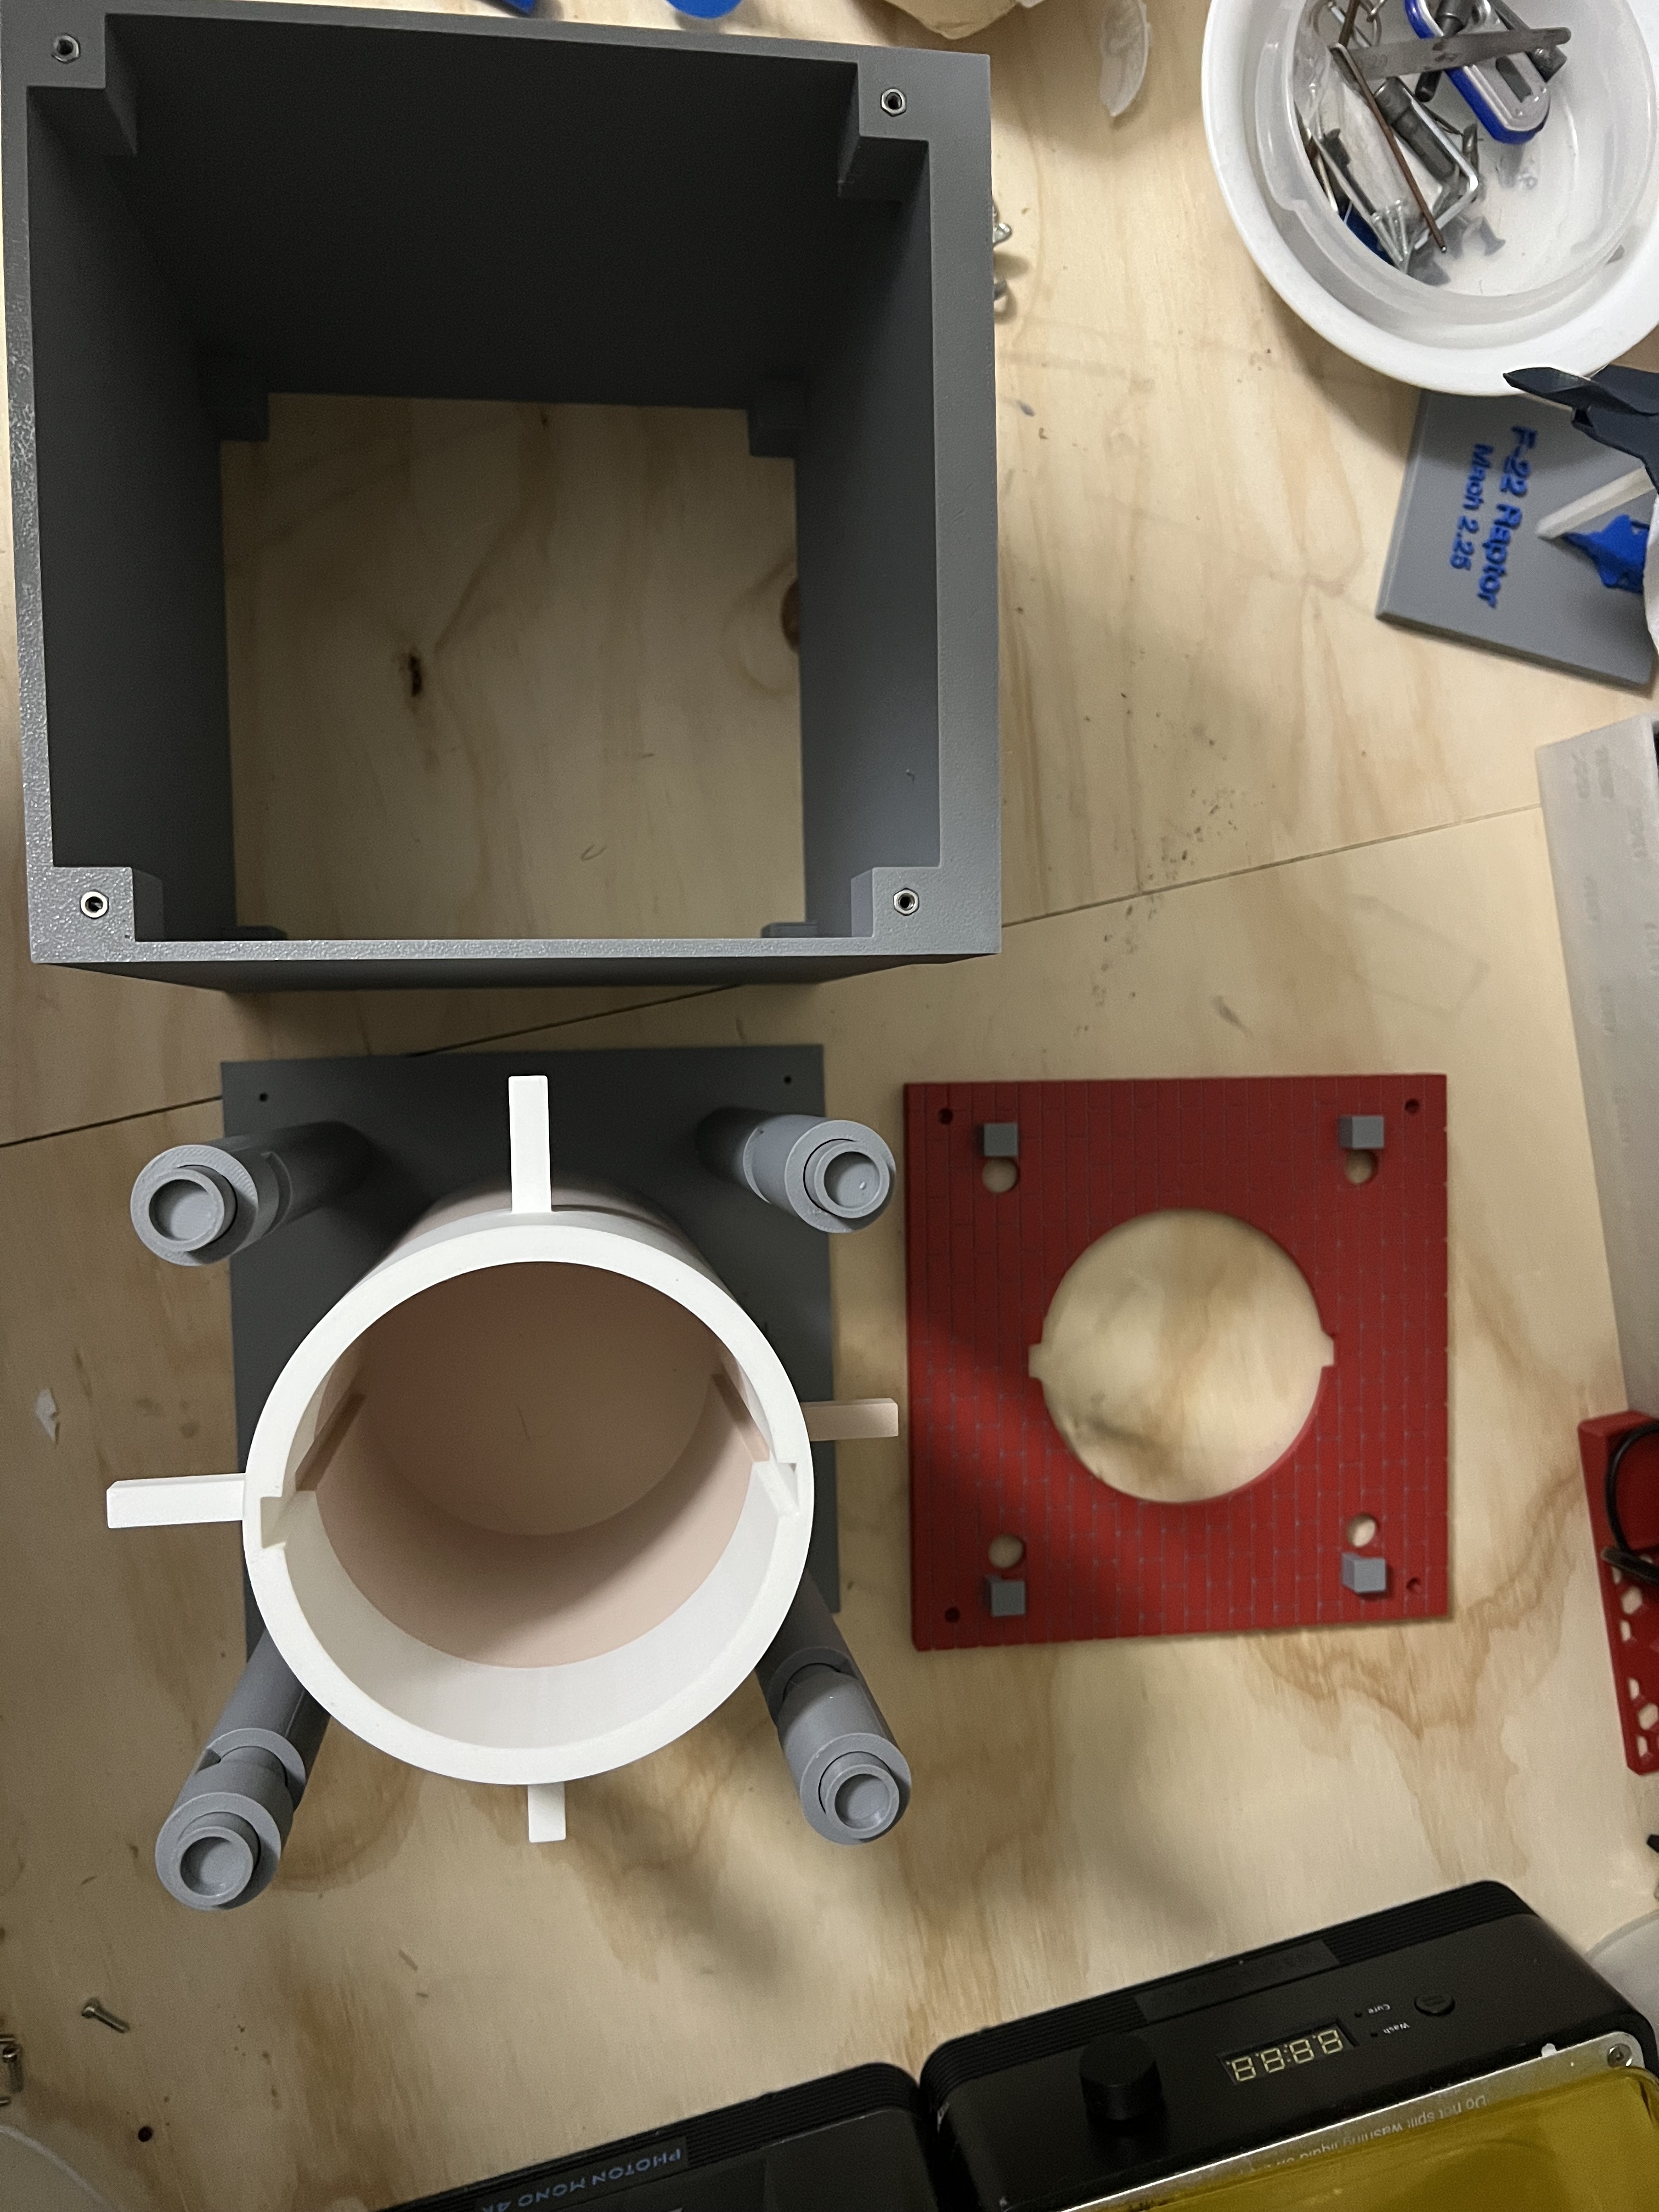
First place the m4 hex nuts into the space on the box (both sides). It's a tight fit. Optionally, you can add a bit of super glue.
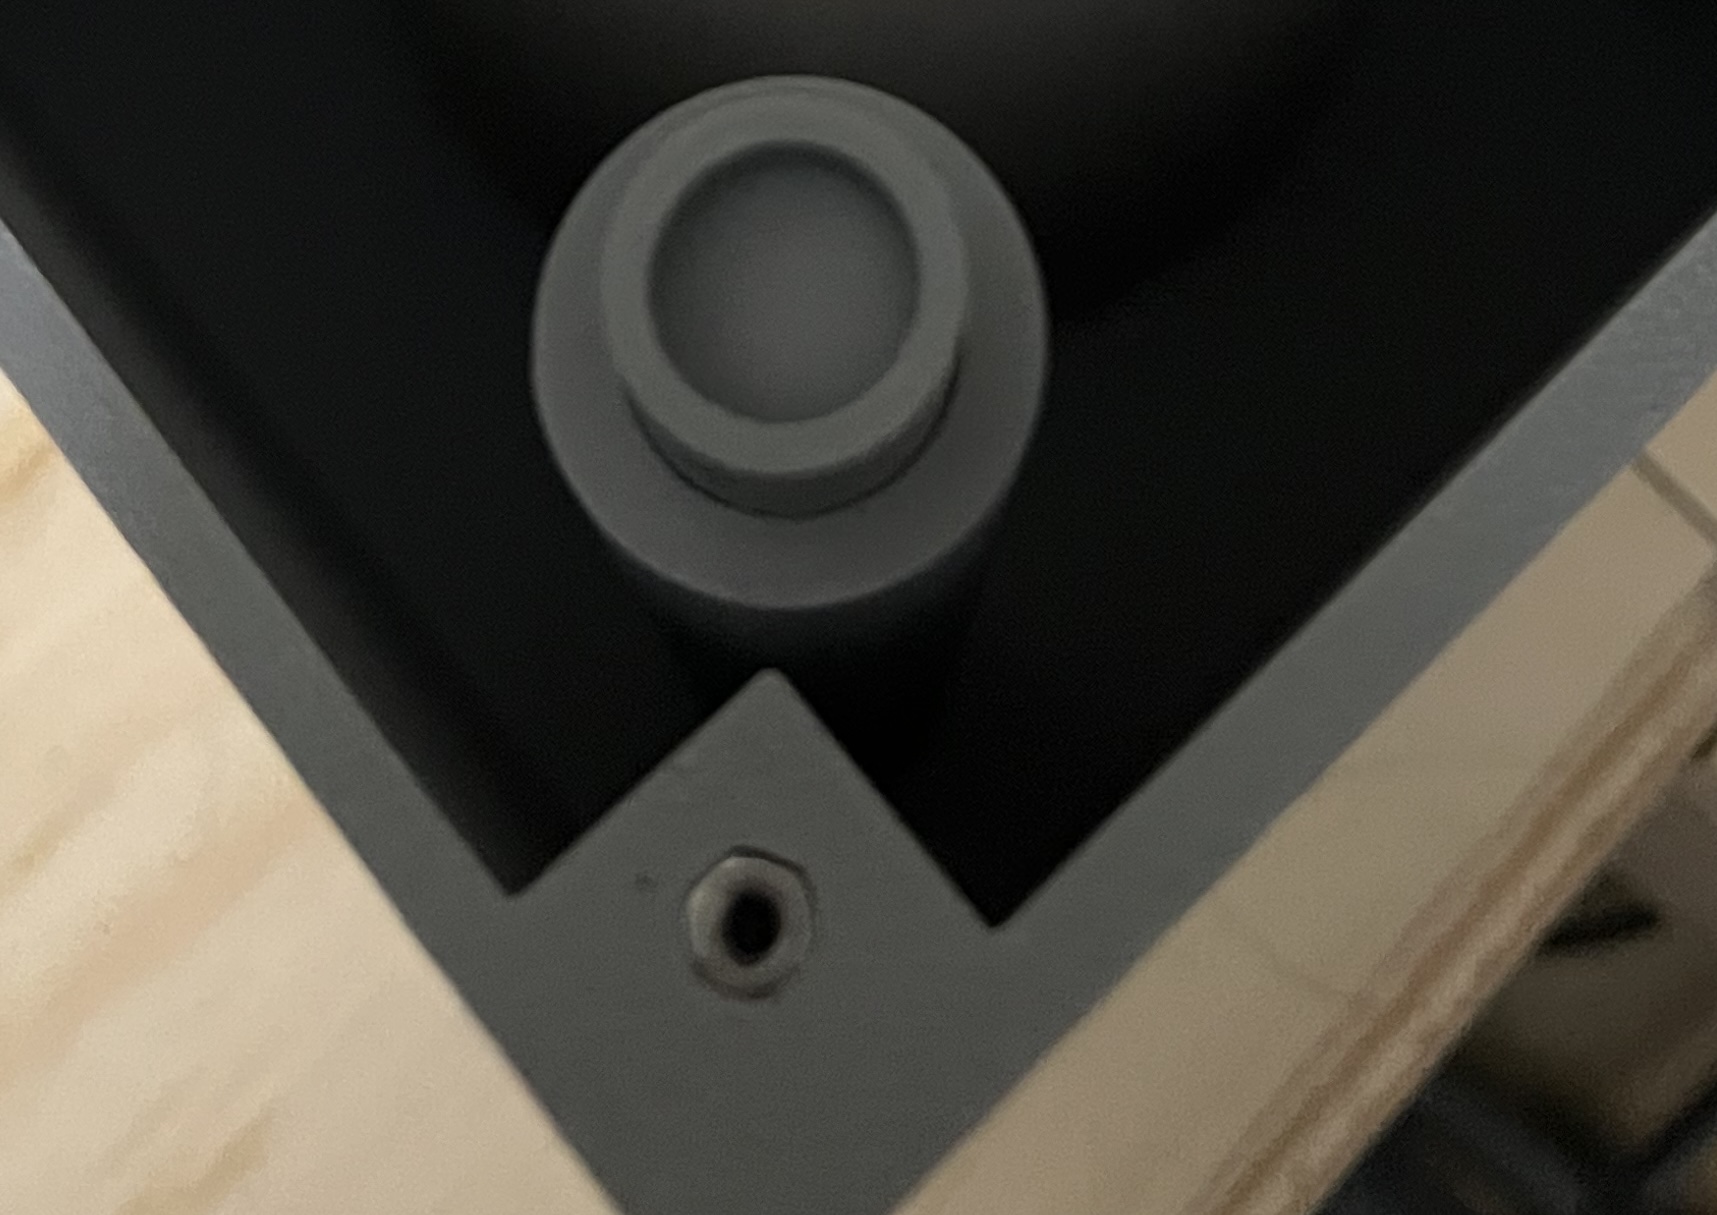
Connect the box to the back piece using the 4 M4 Screws.
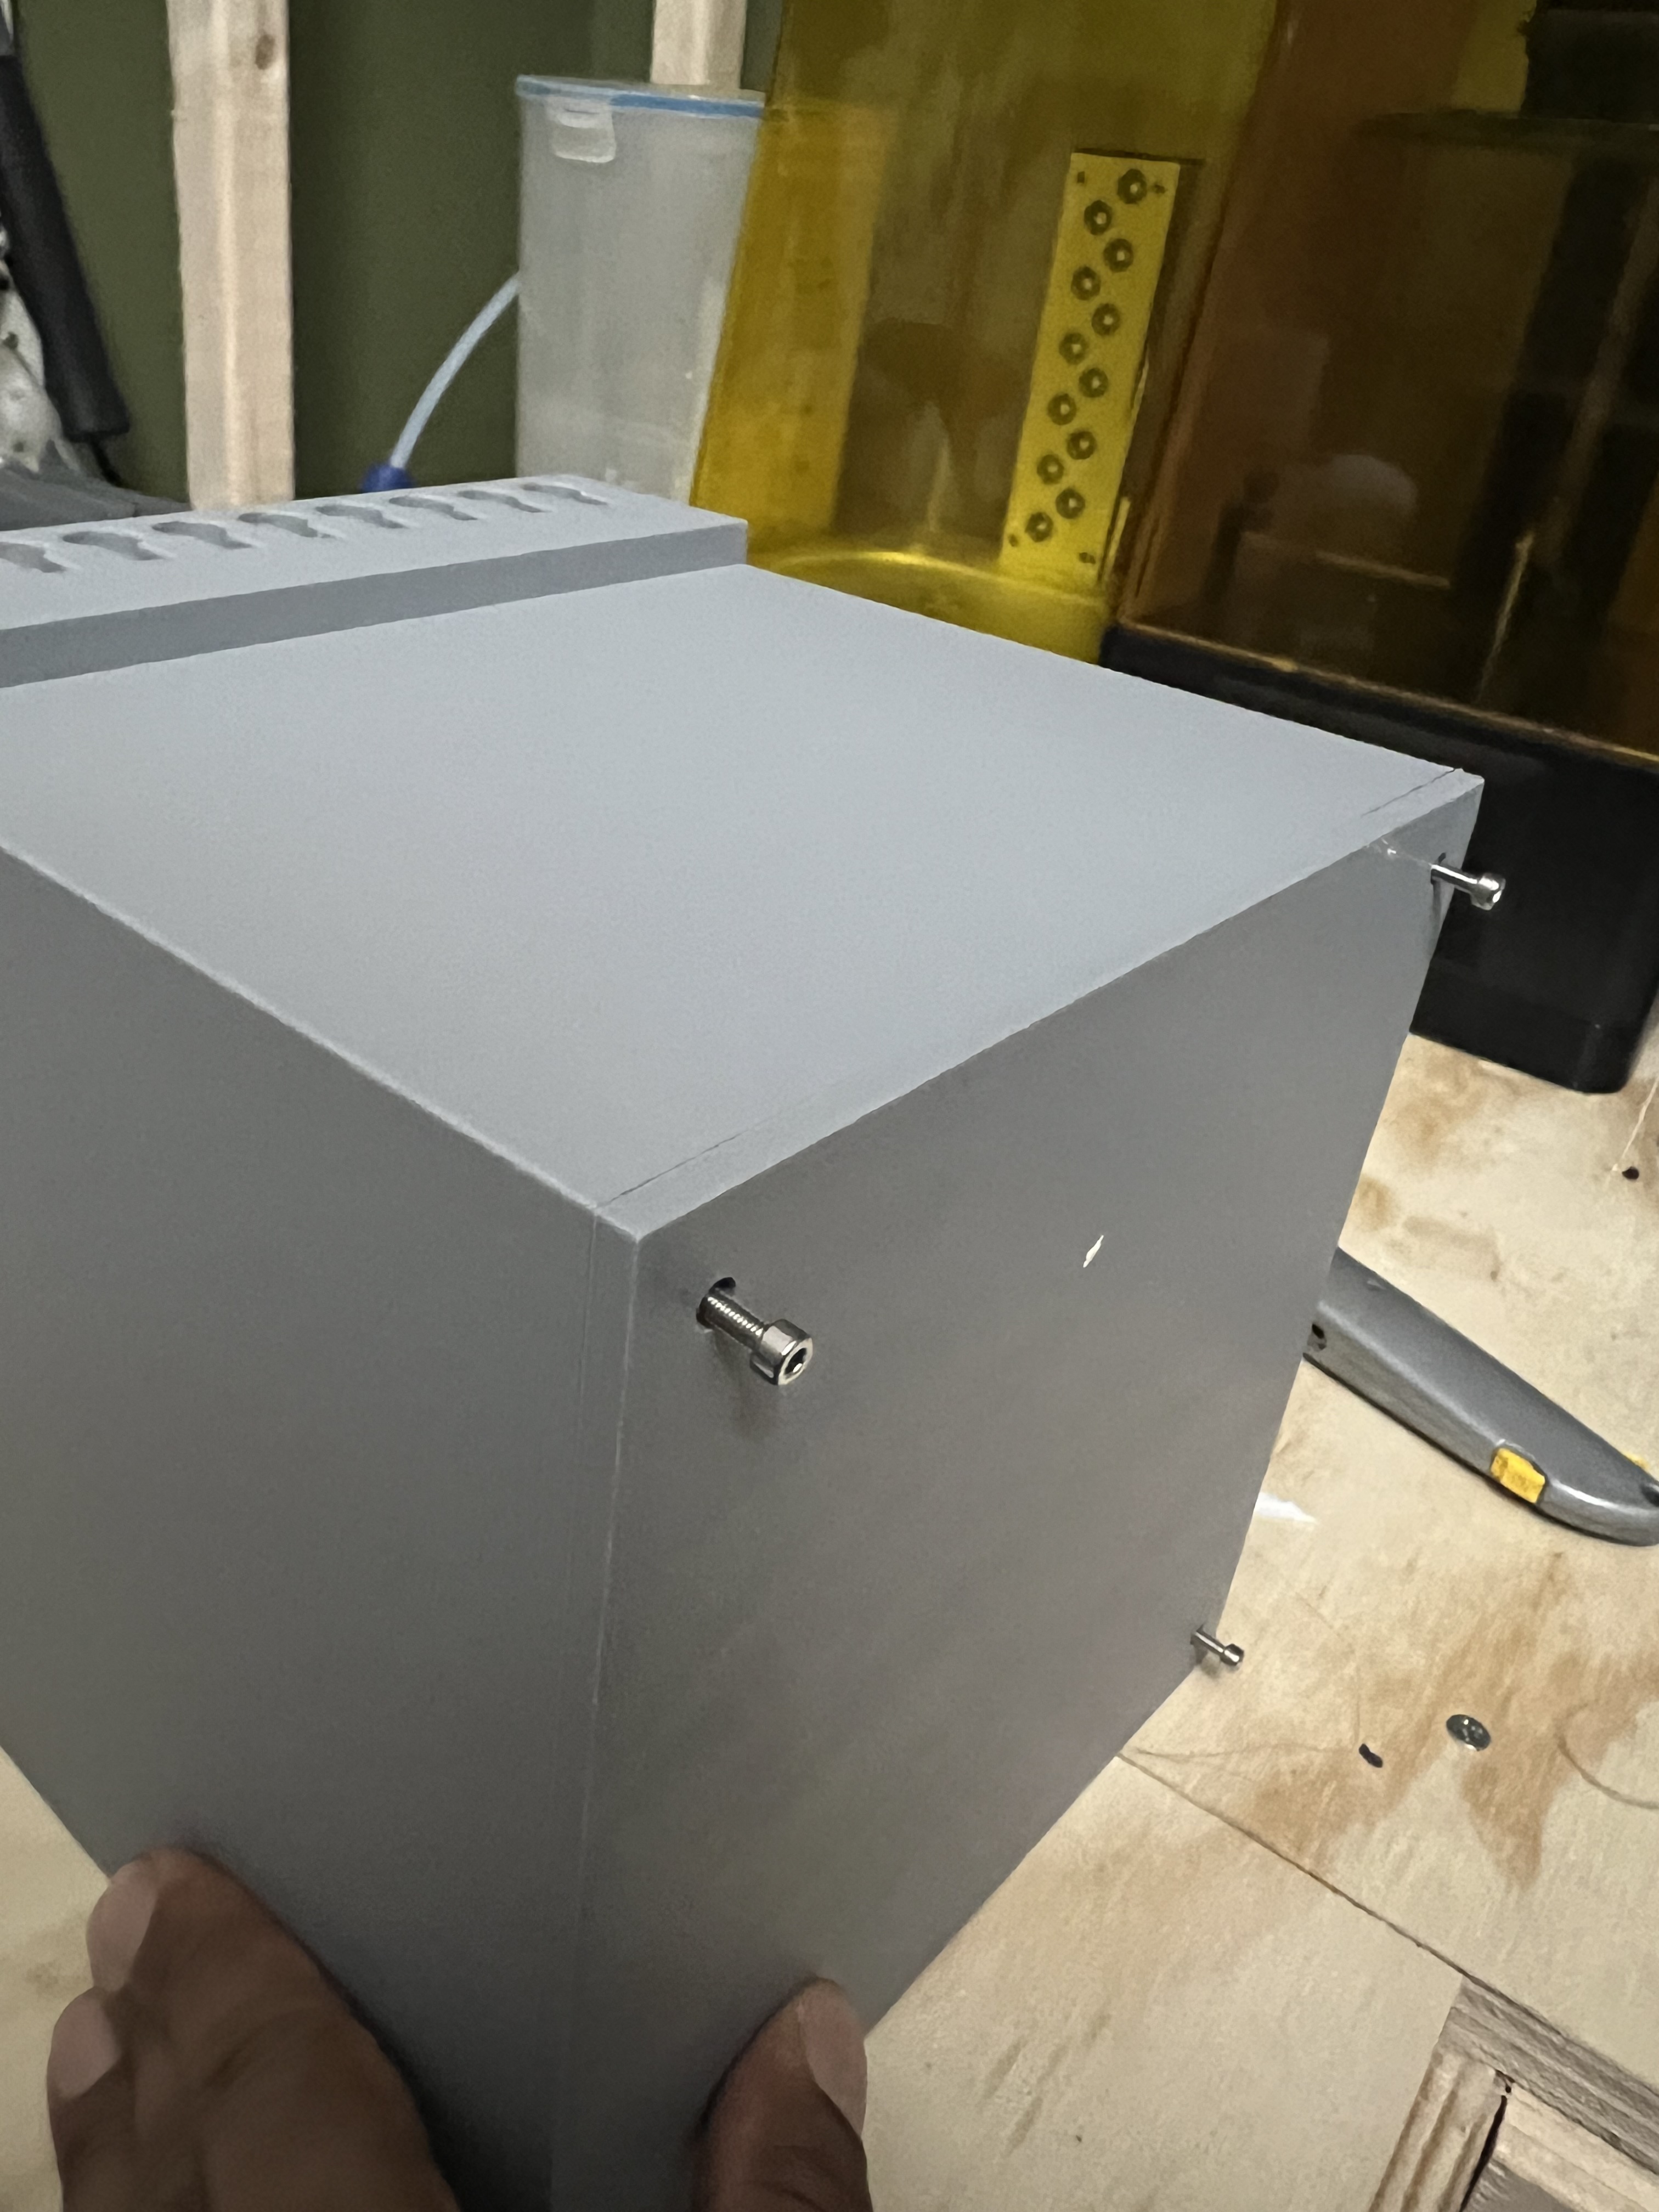
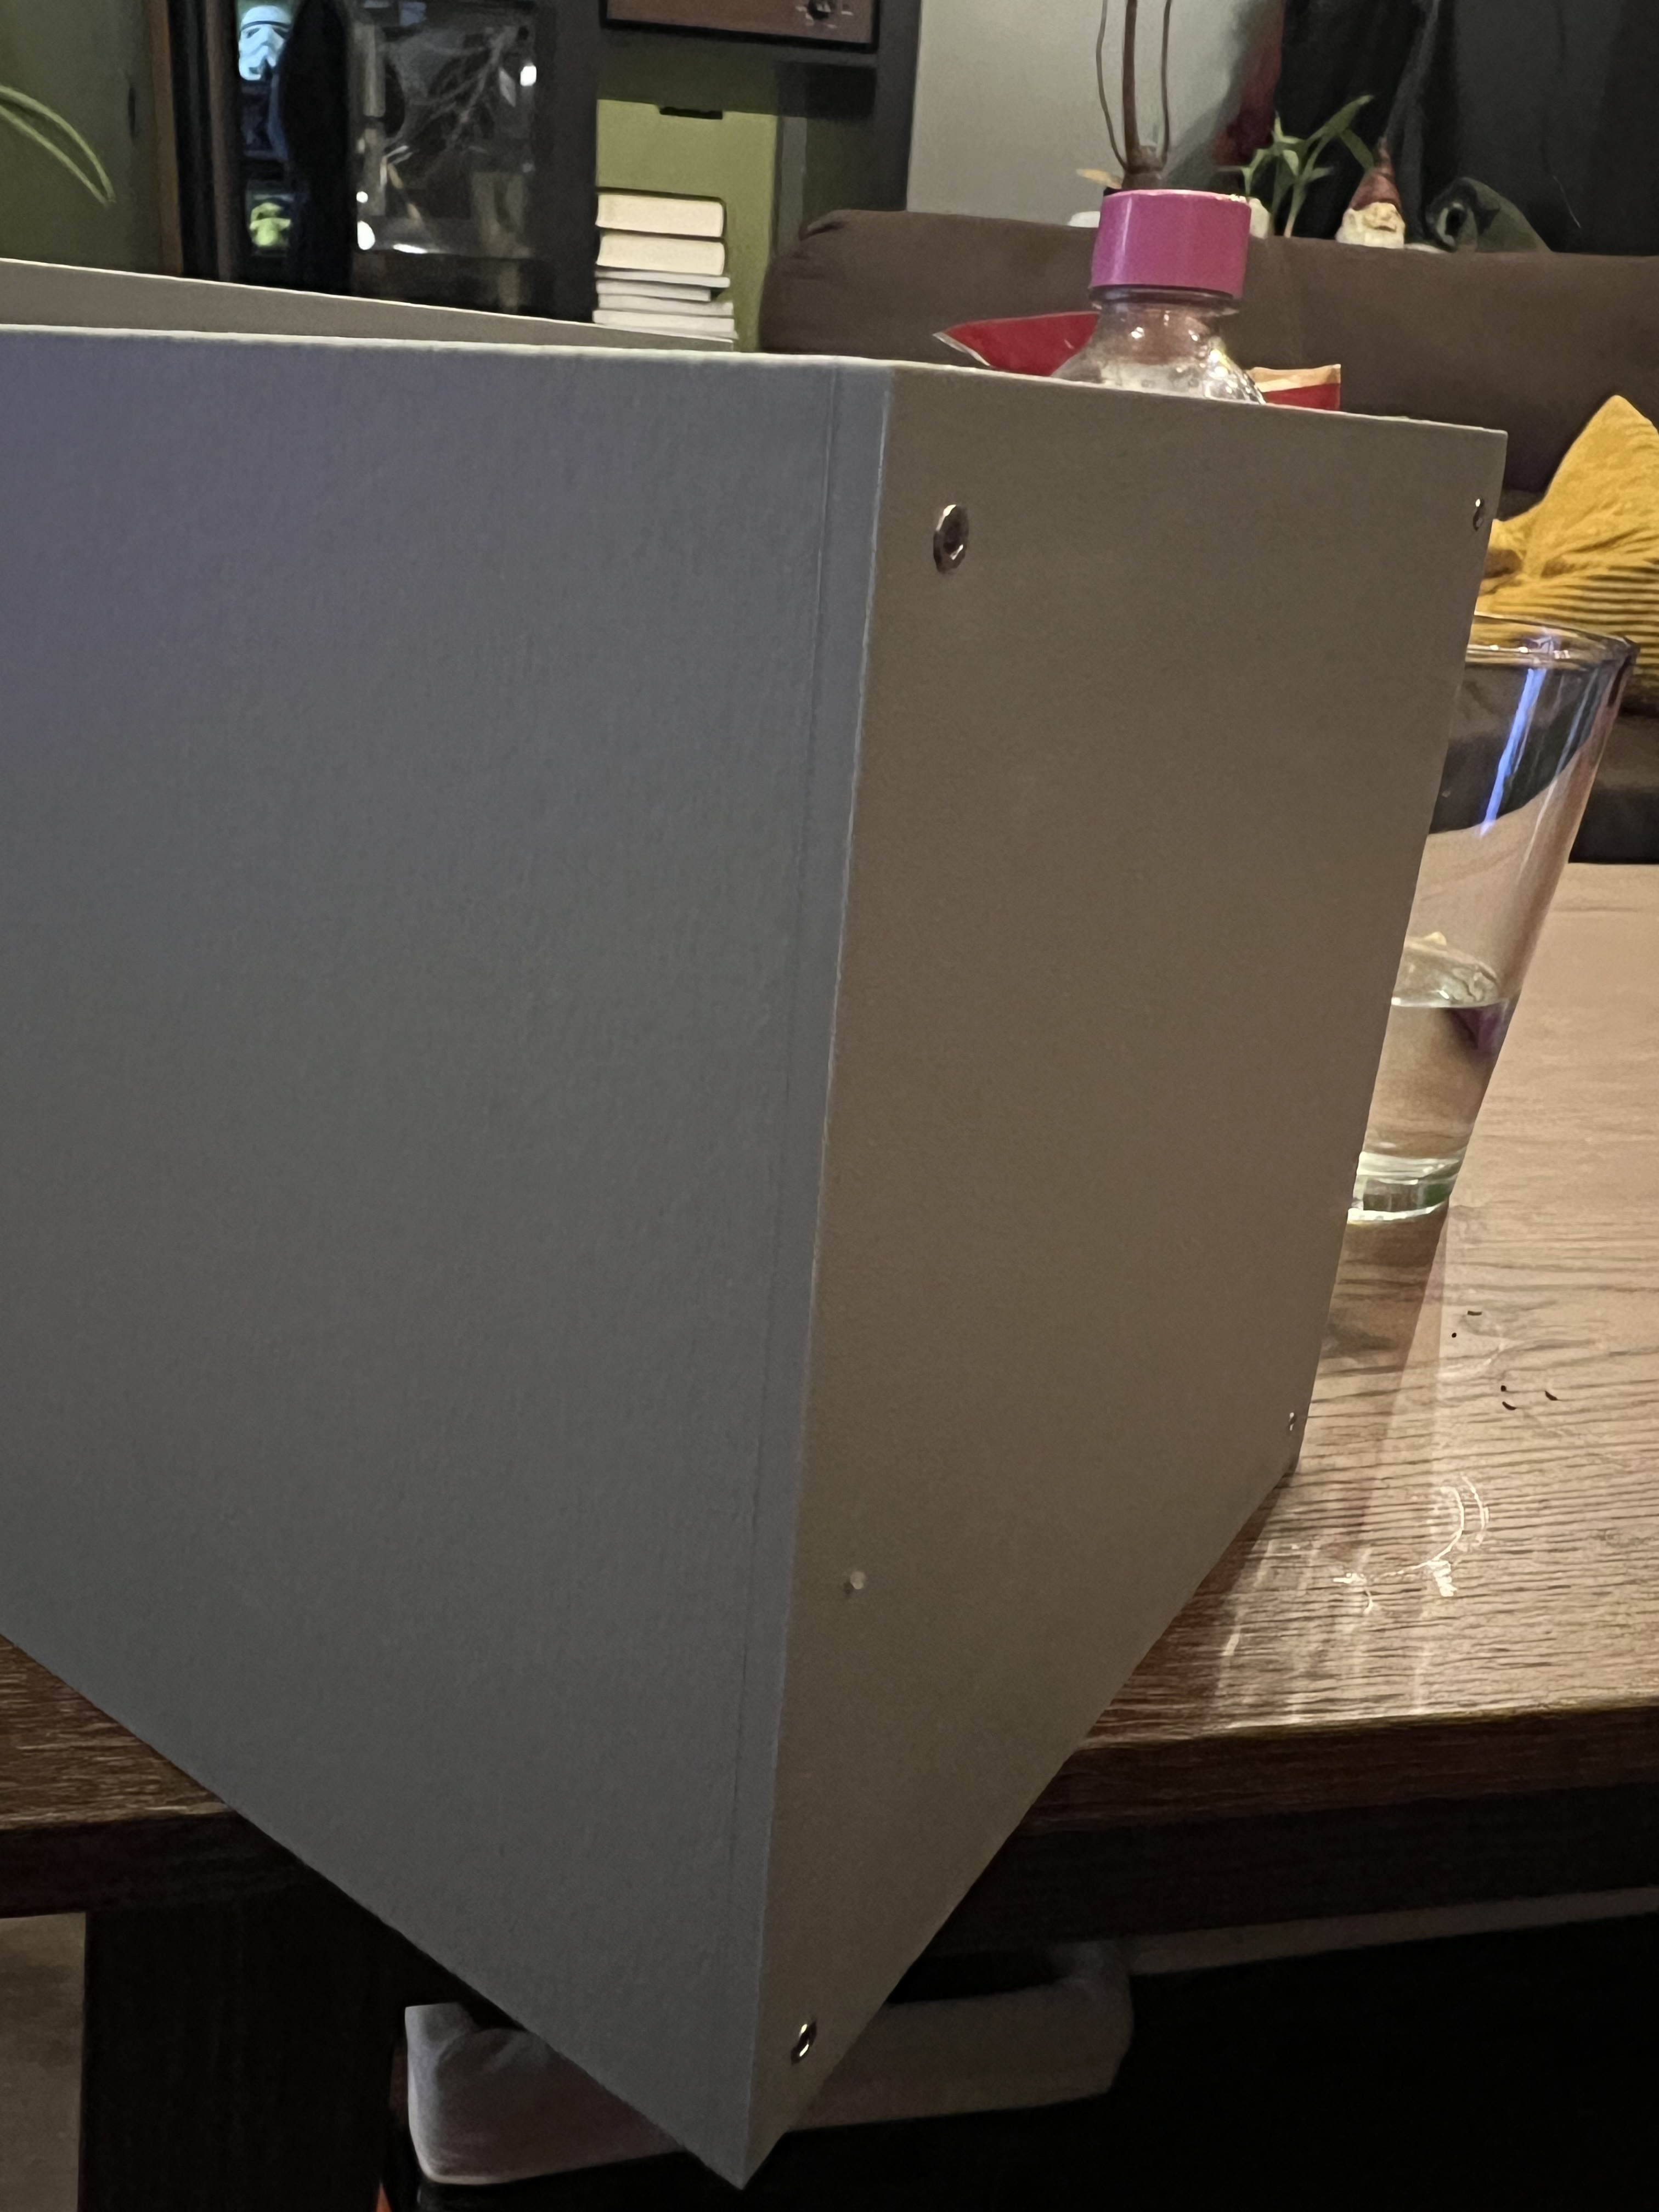
Place the Inner shell into the box. Make sure that the arrows are lined up.
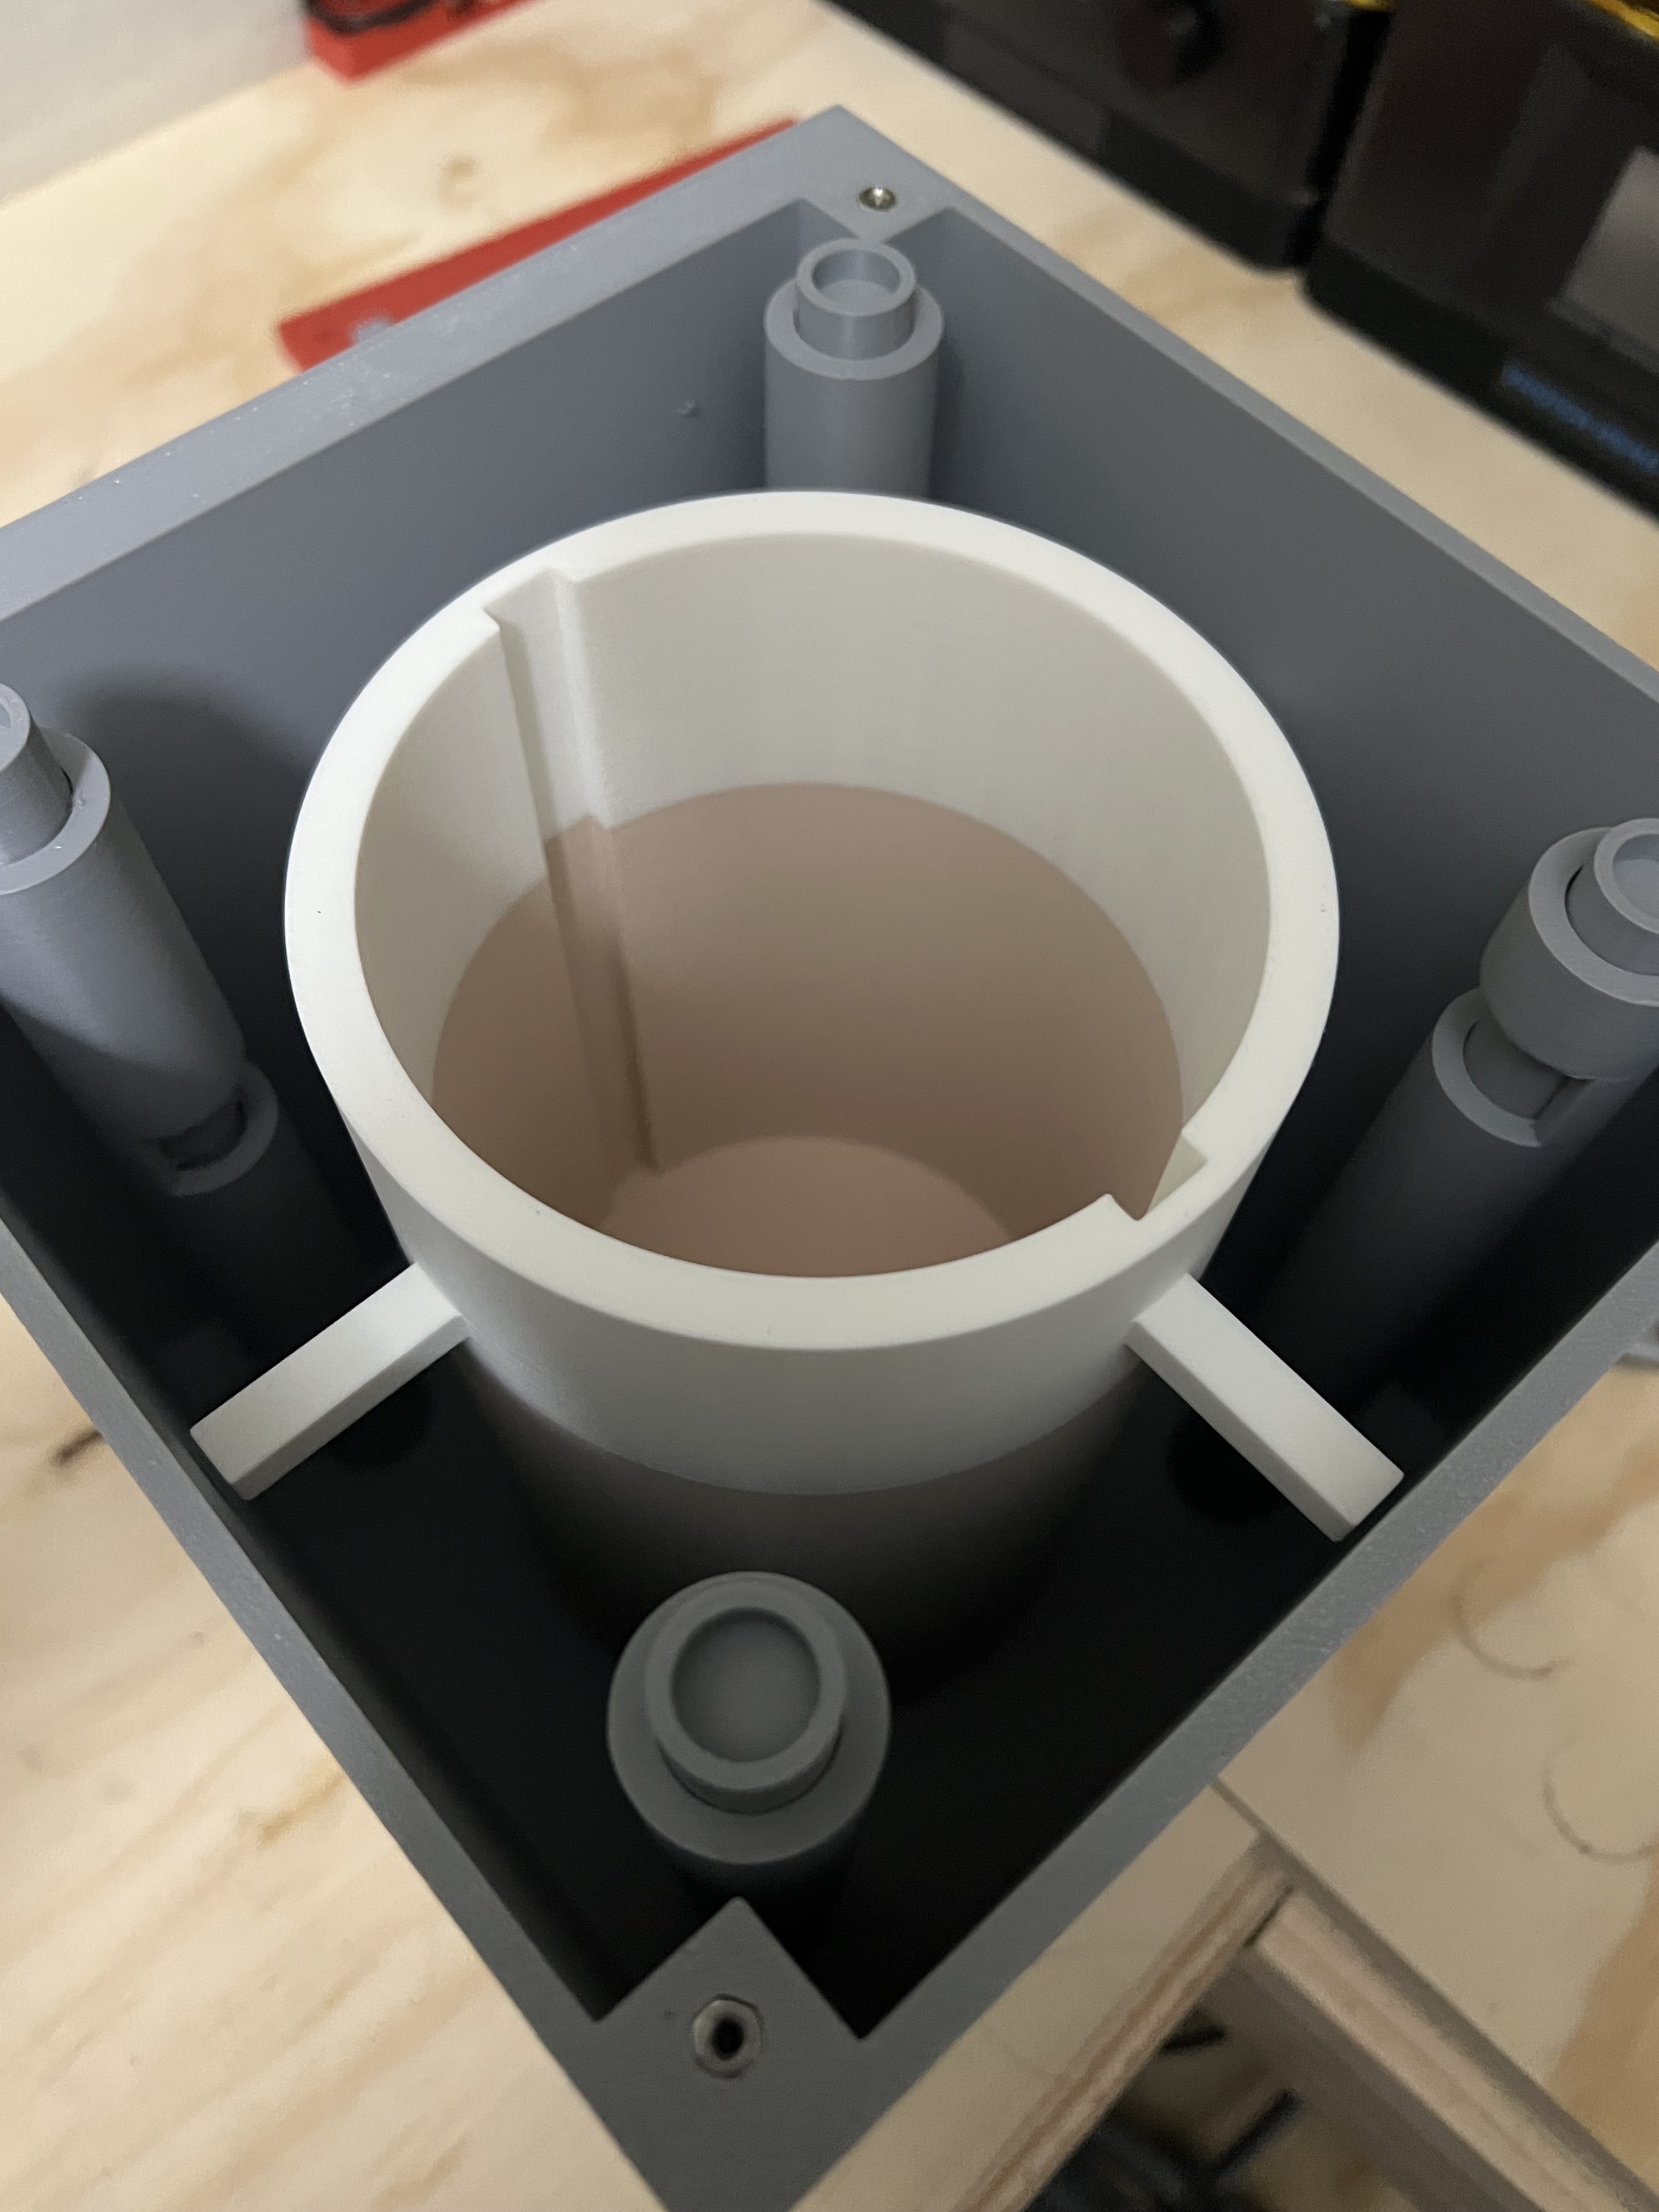
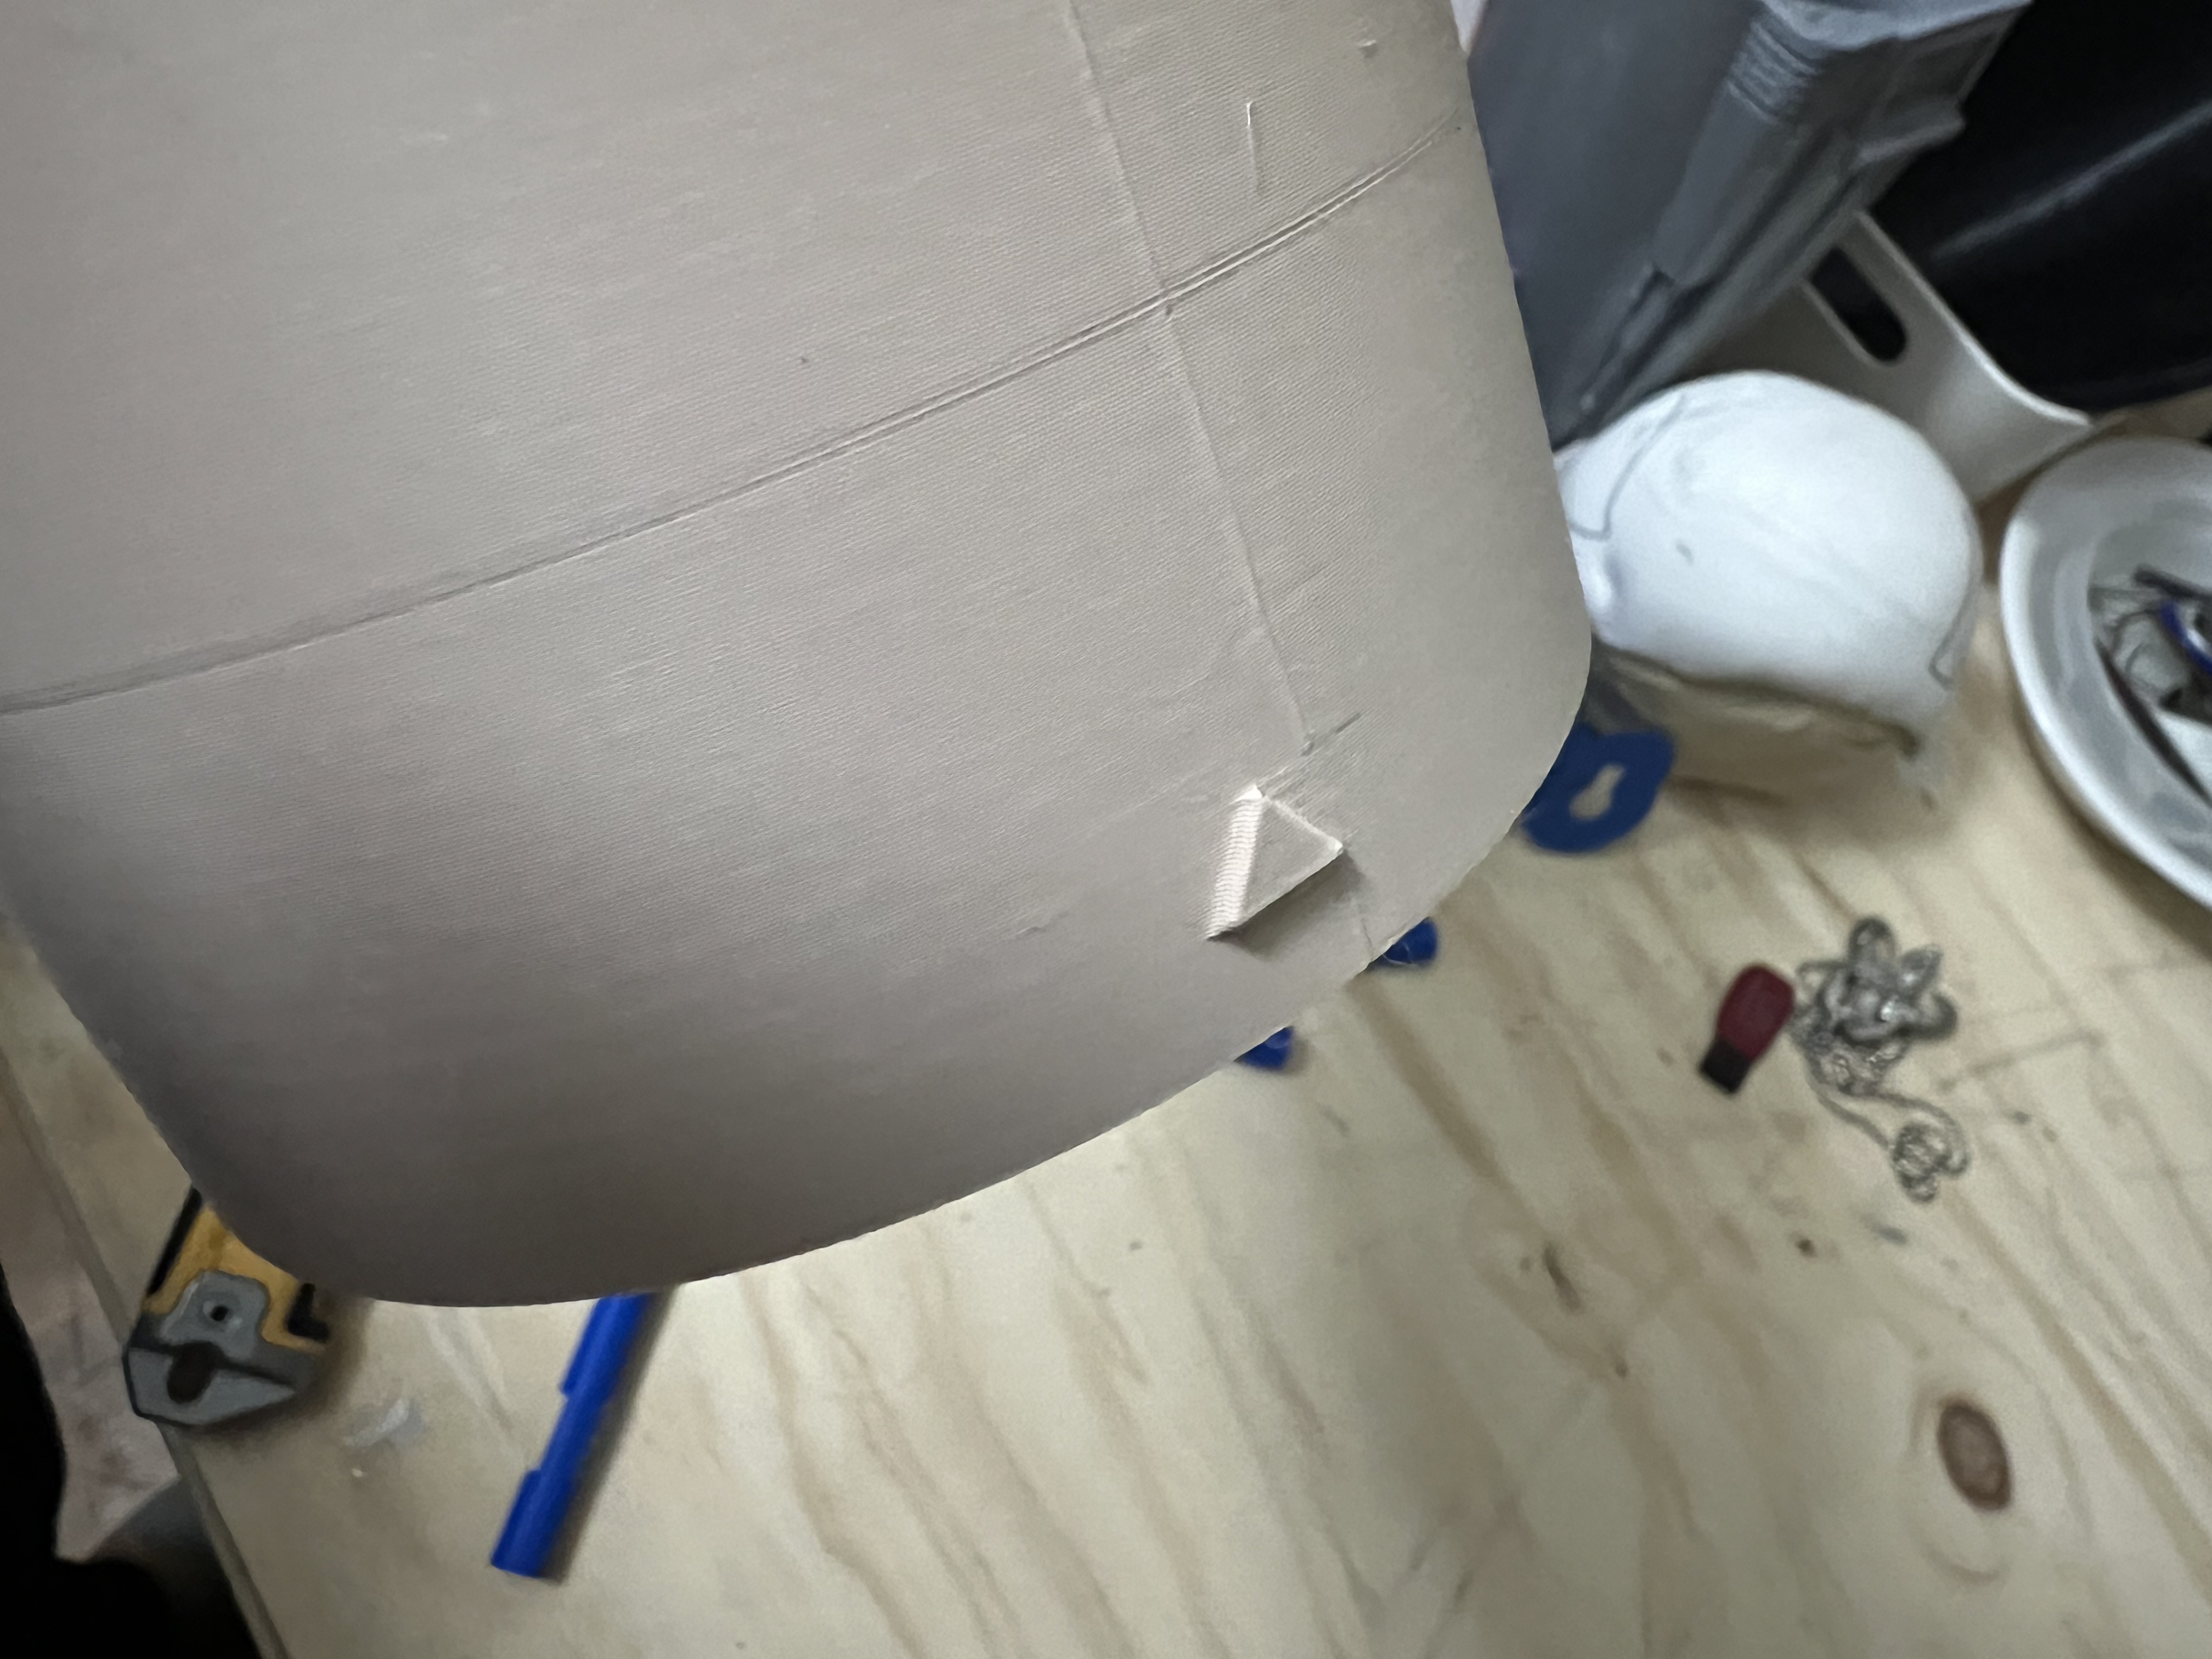
Finally, attach the front to the box using 4 M4 screws.
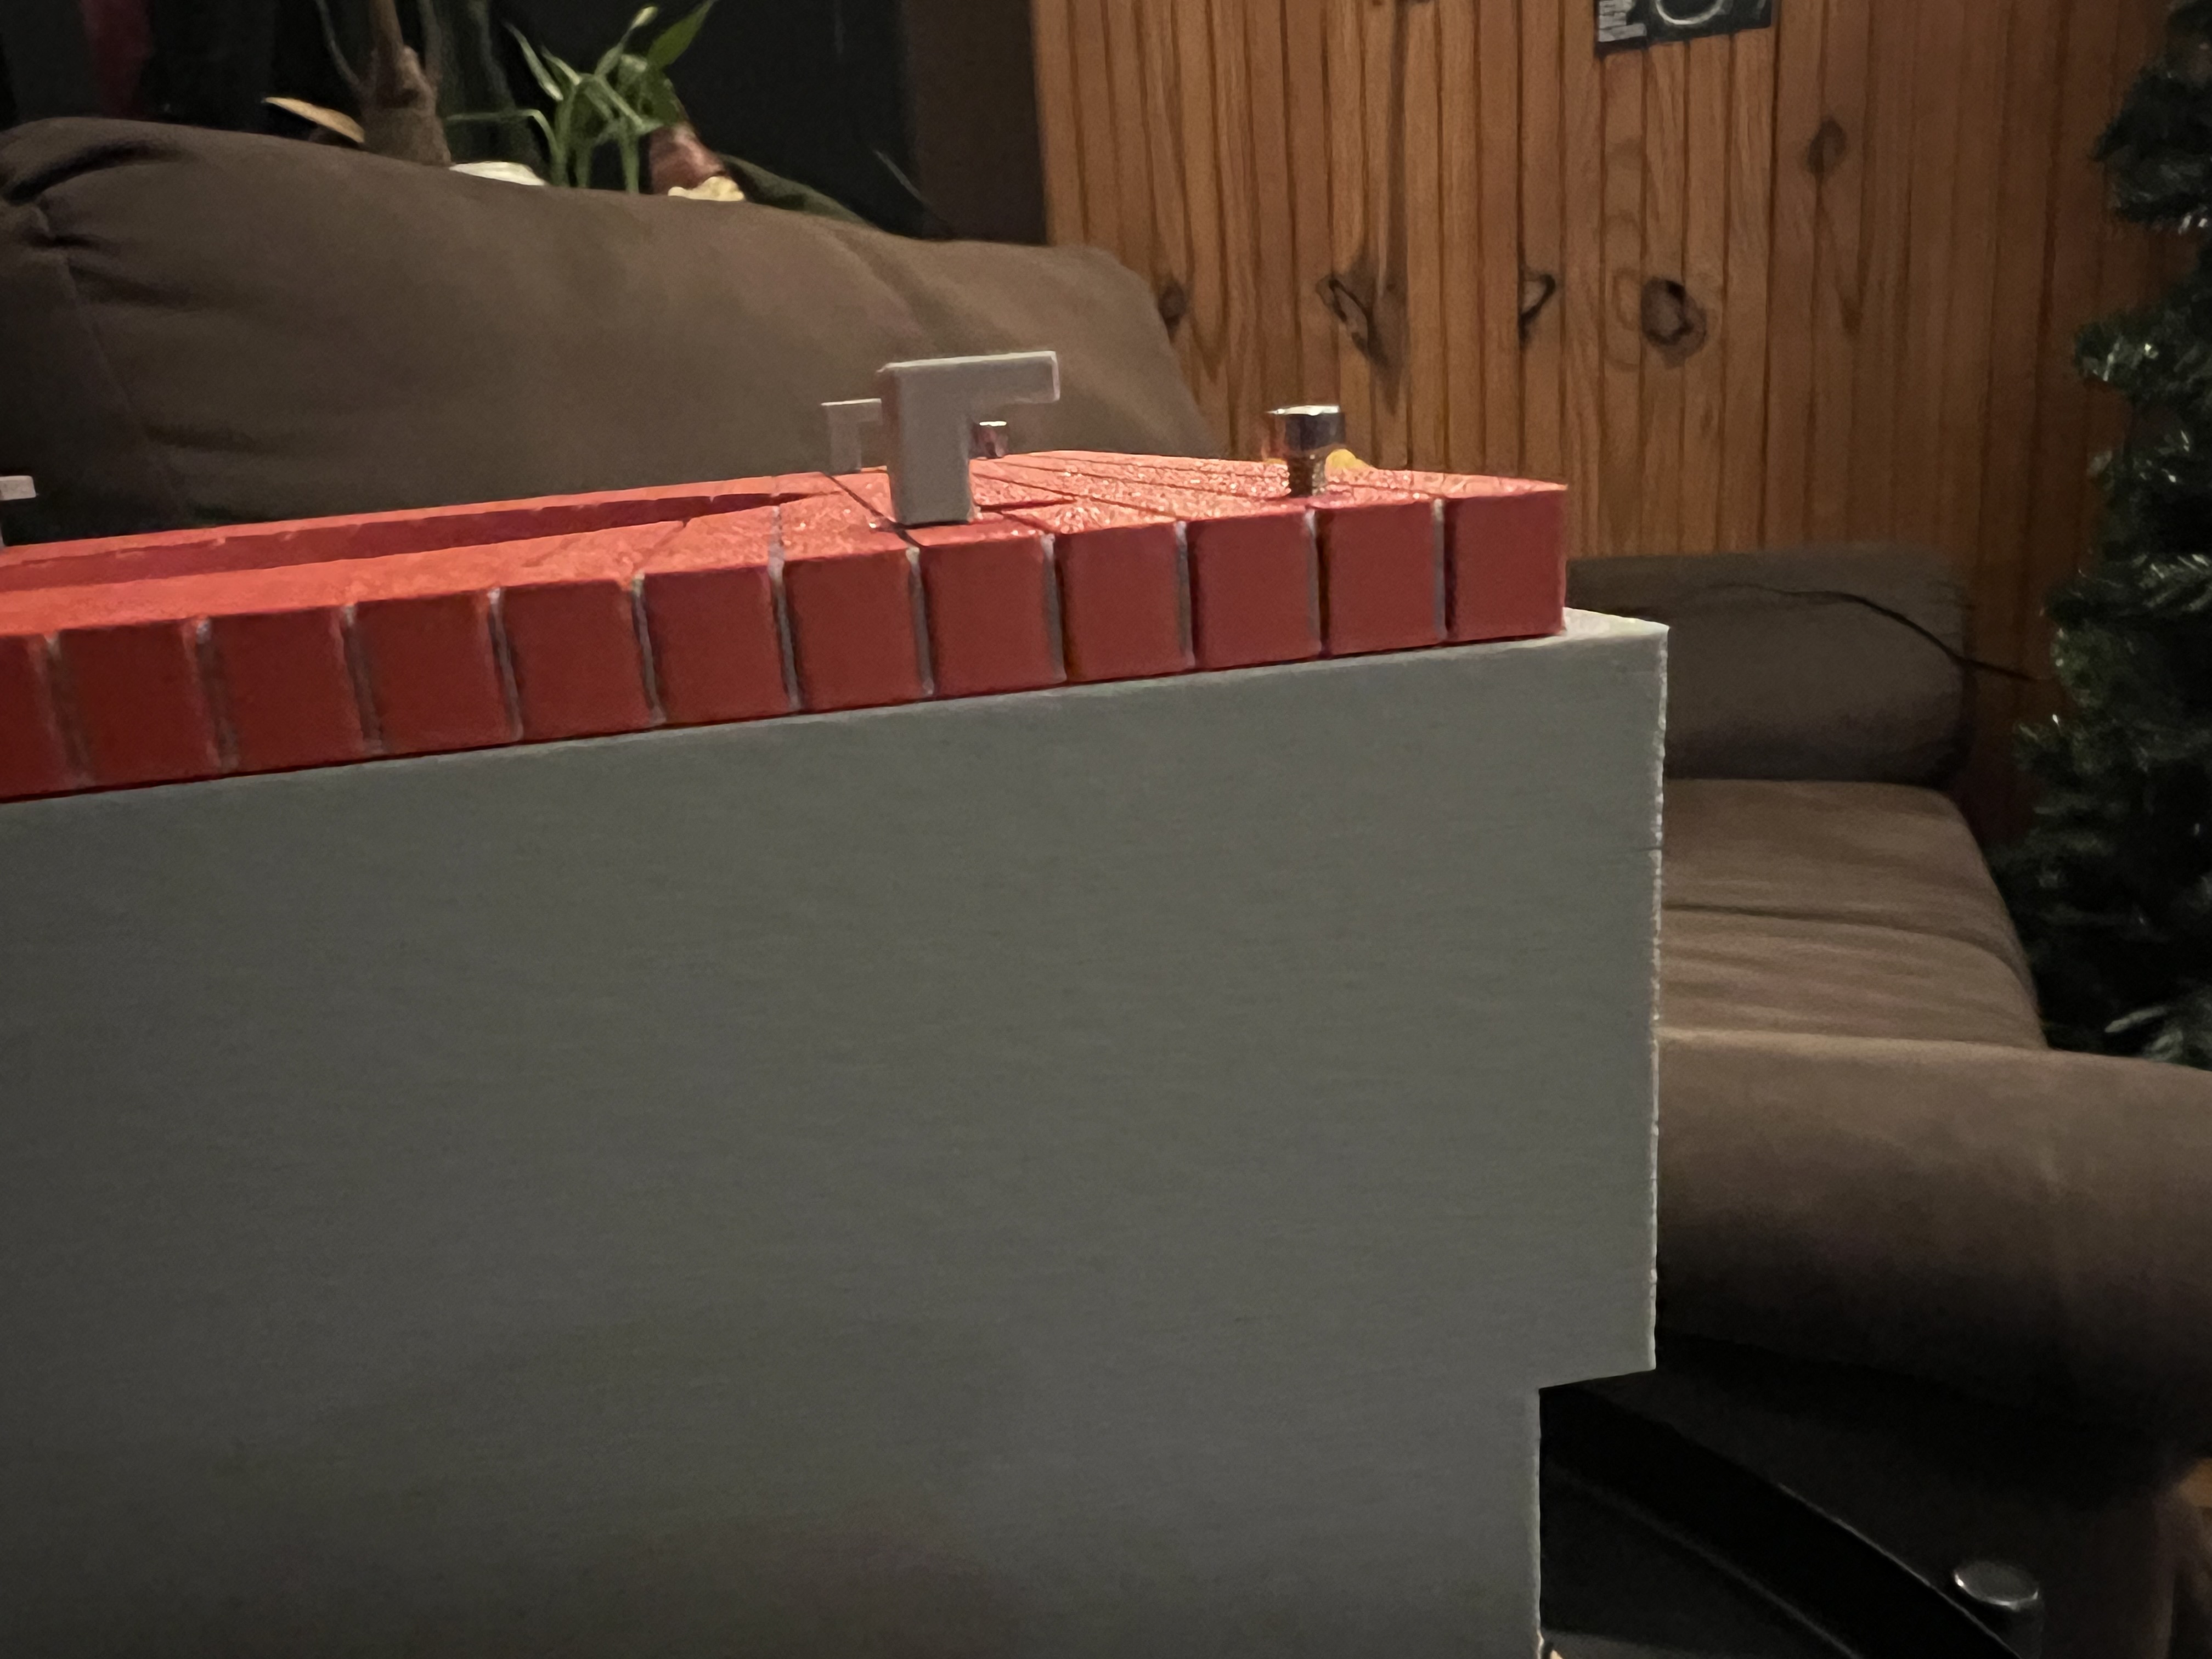
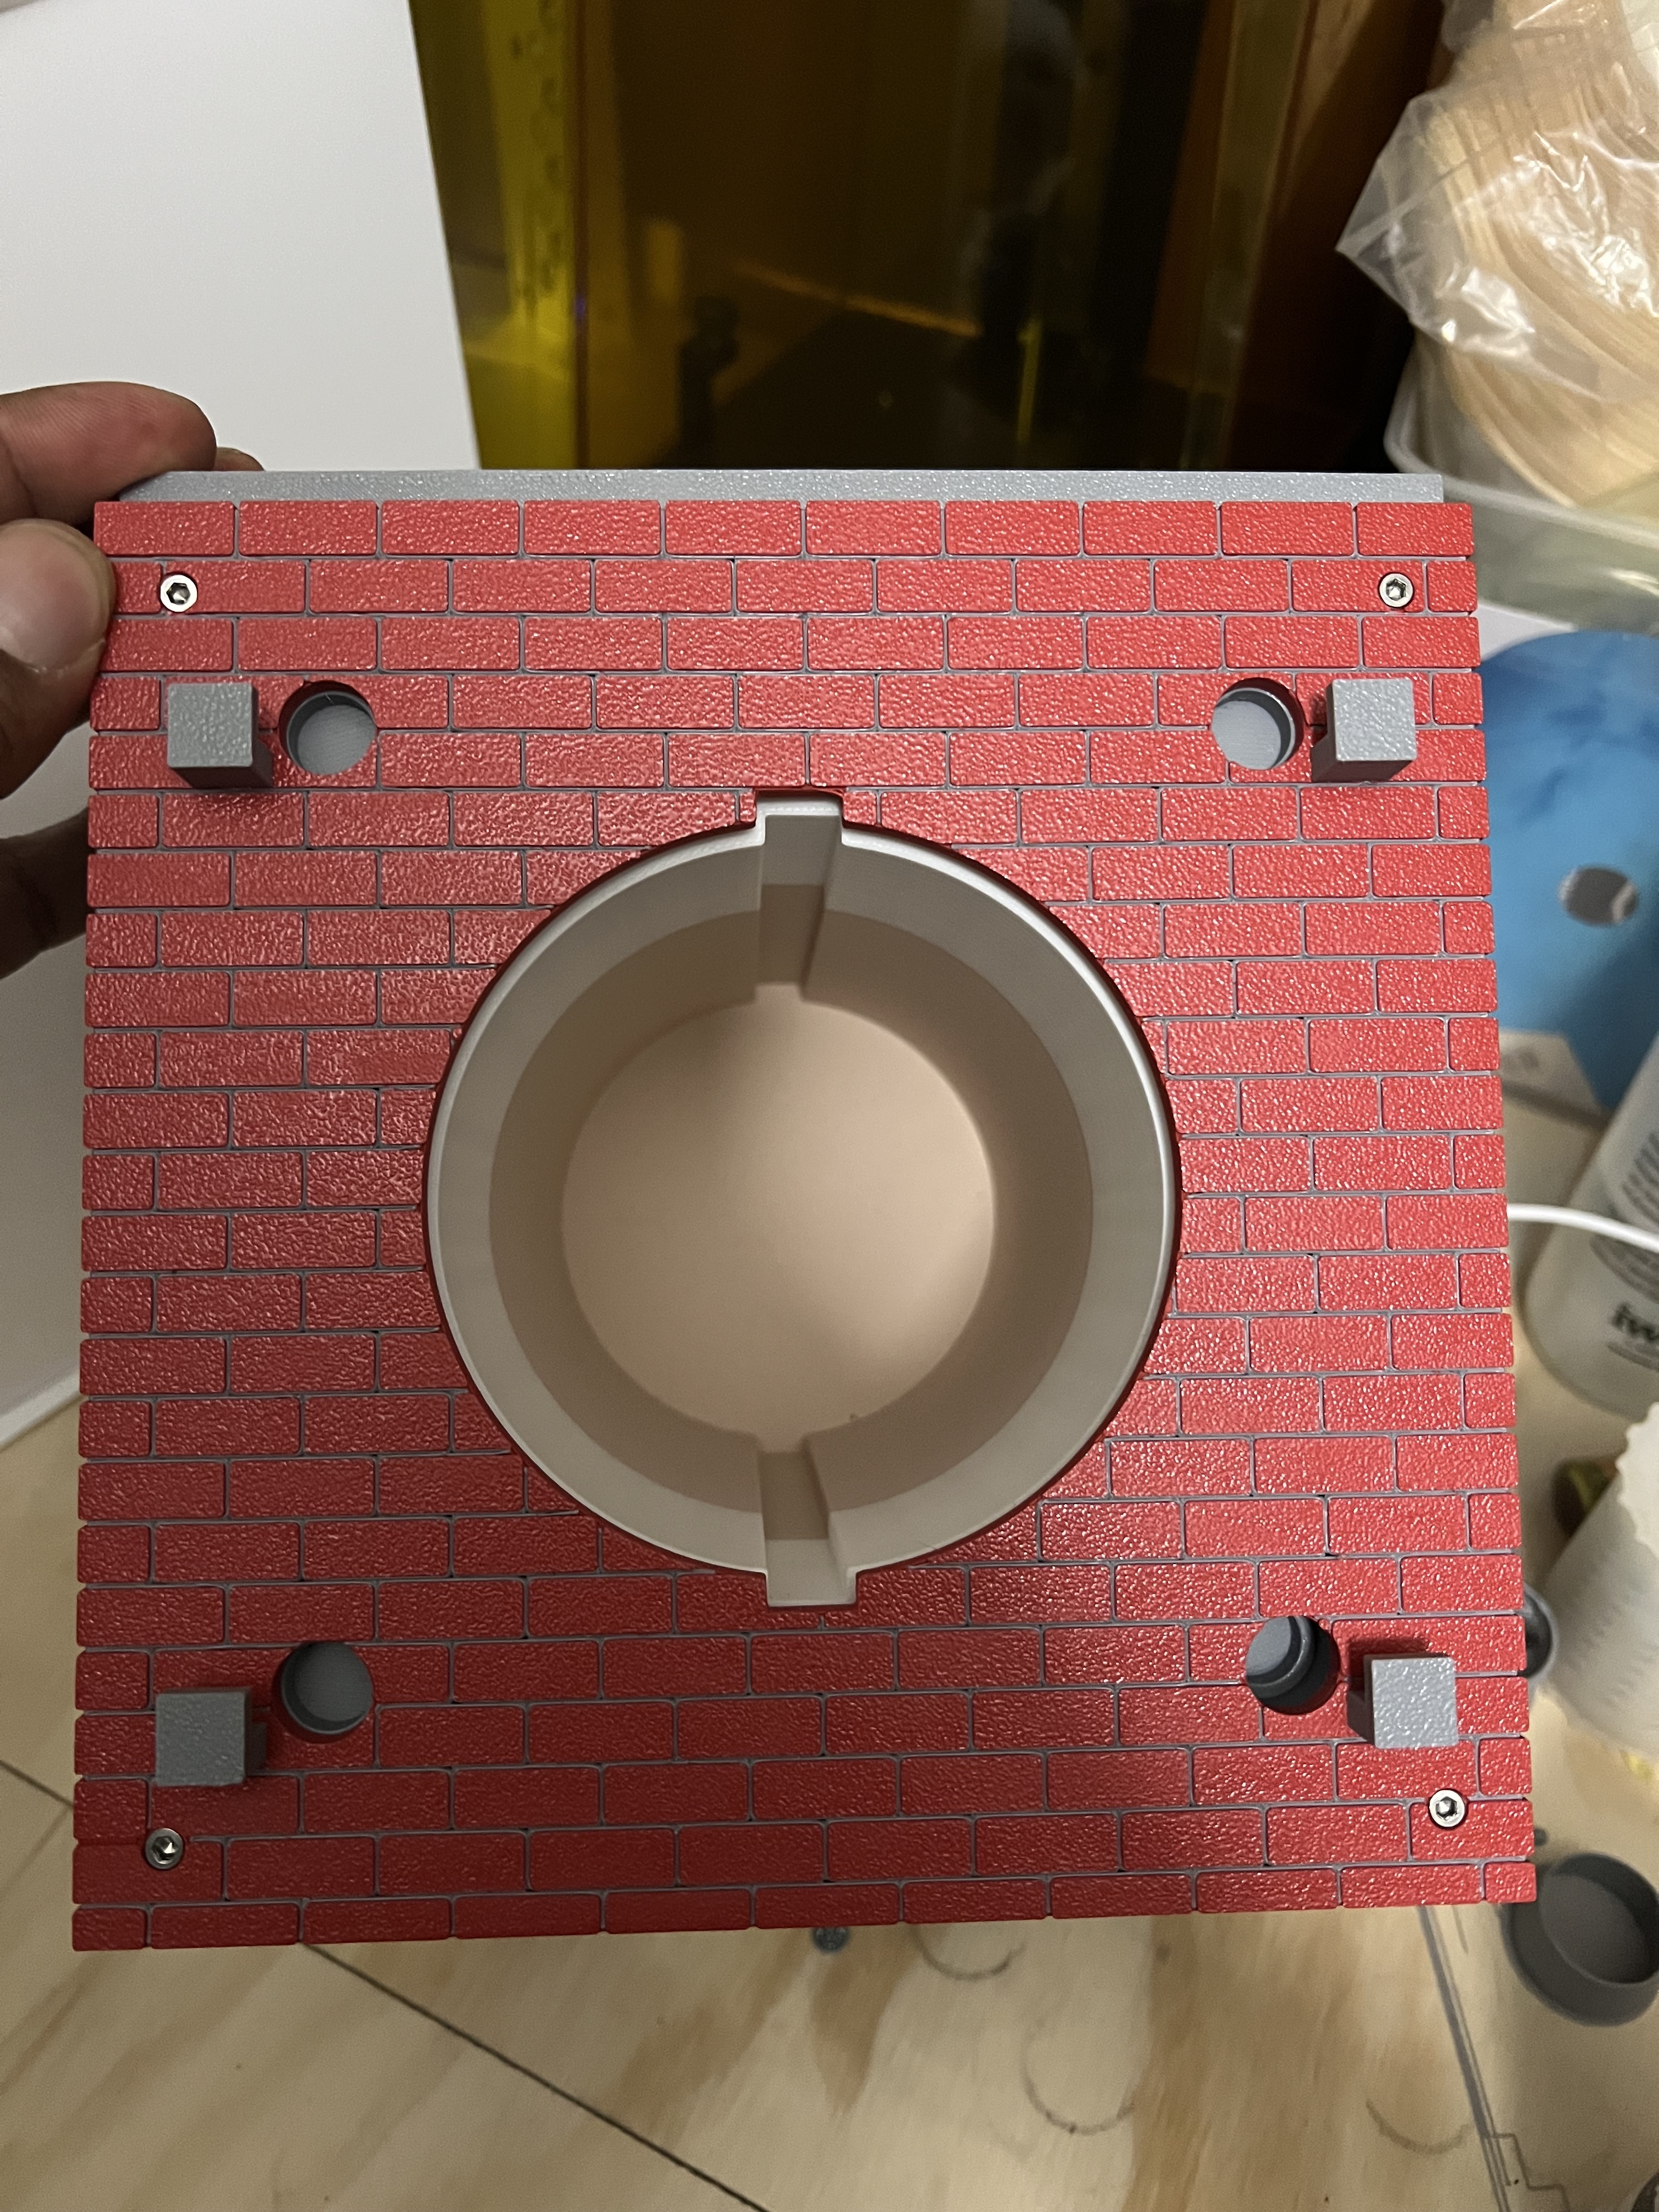
Finally, slide the container into place (with the arrow up) and you're all set.
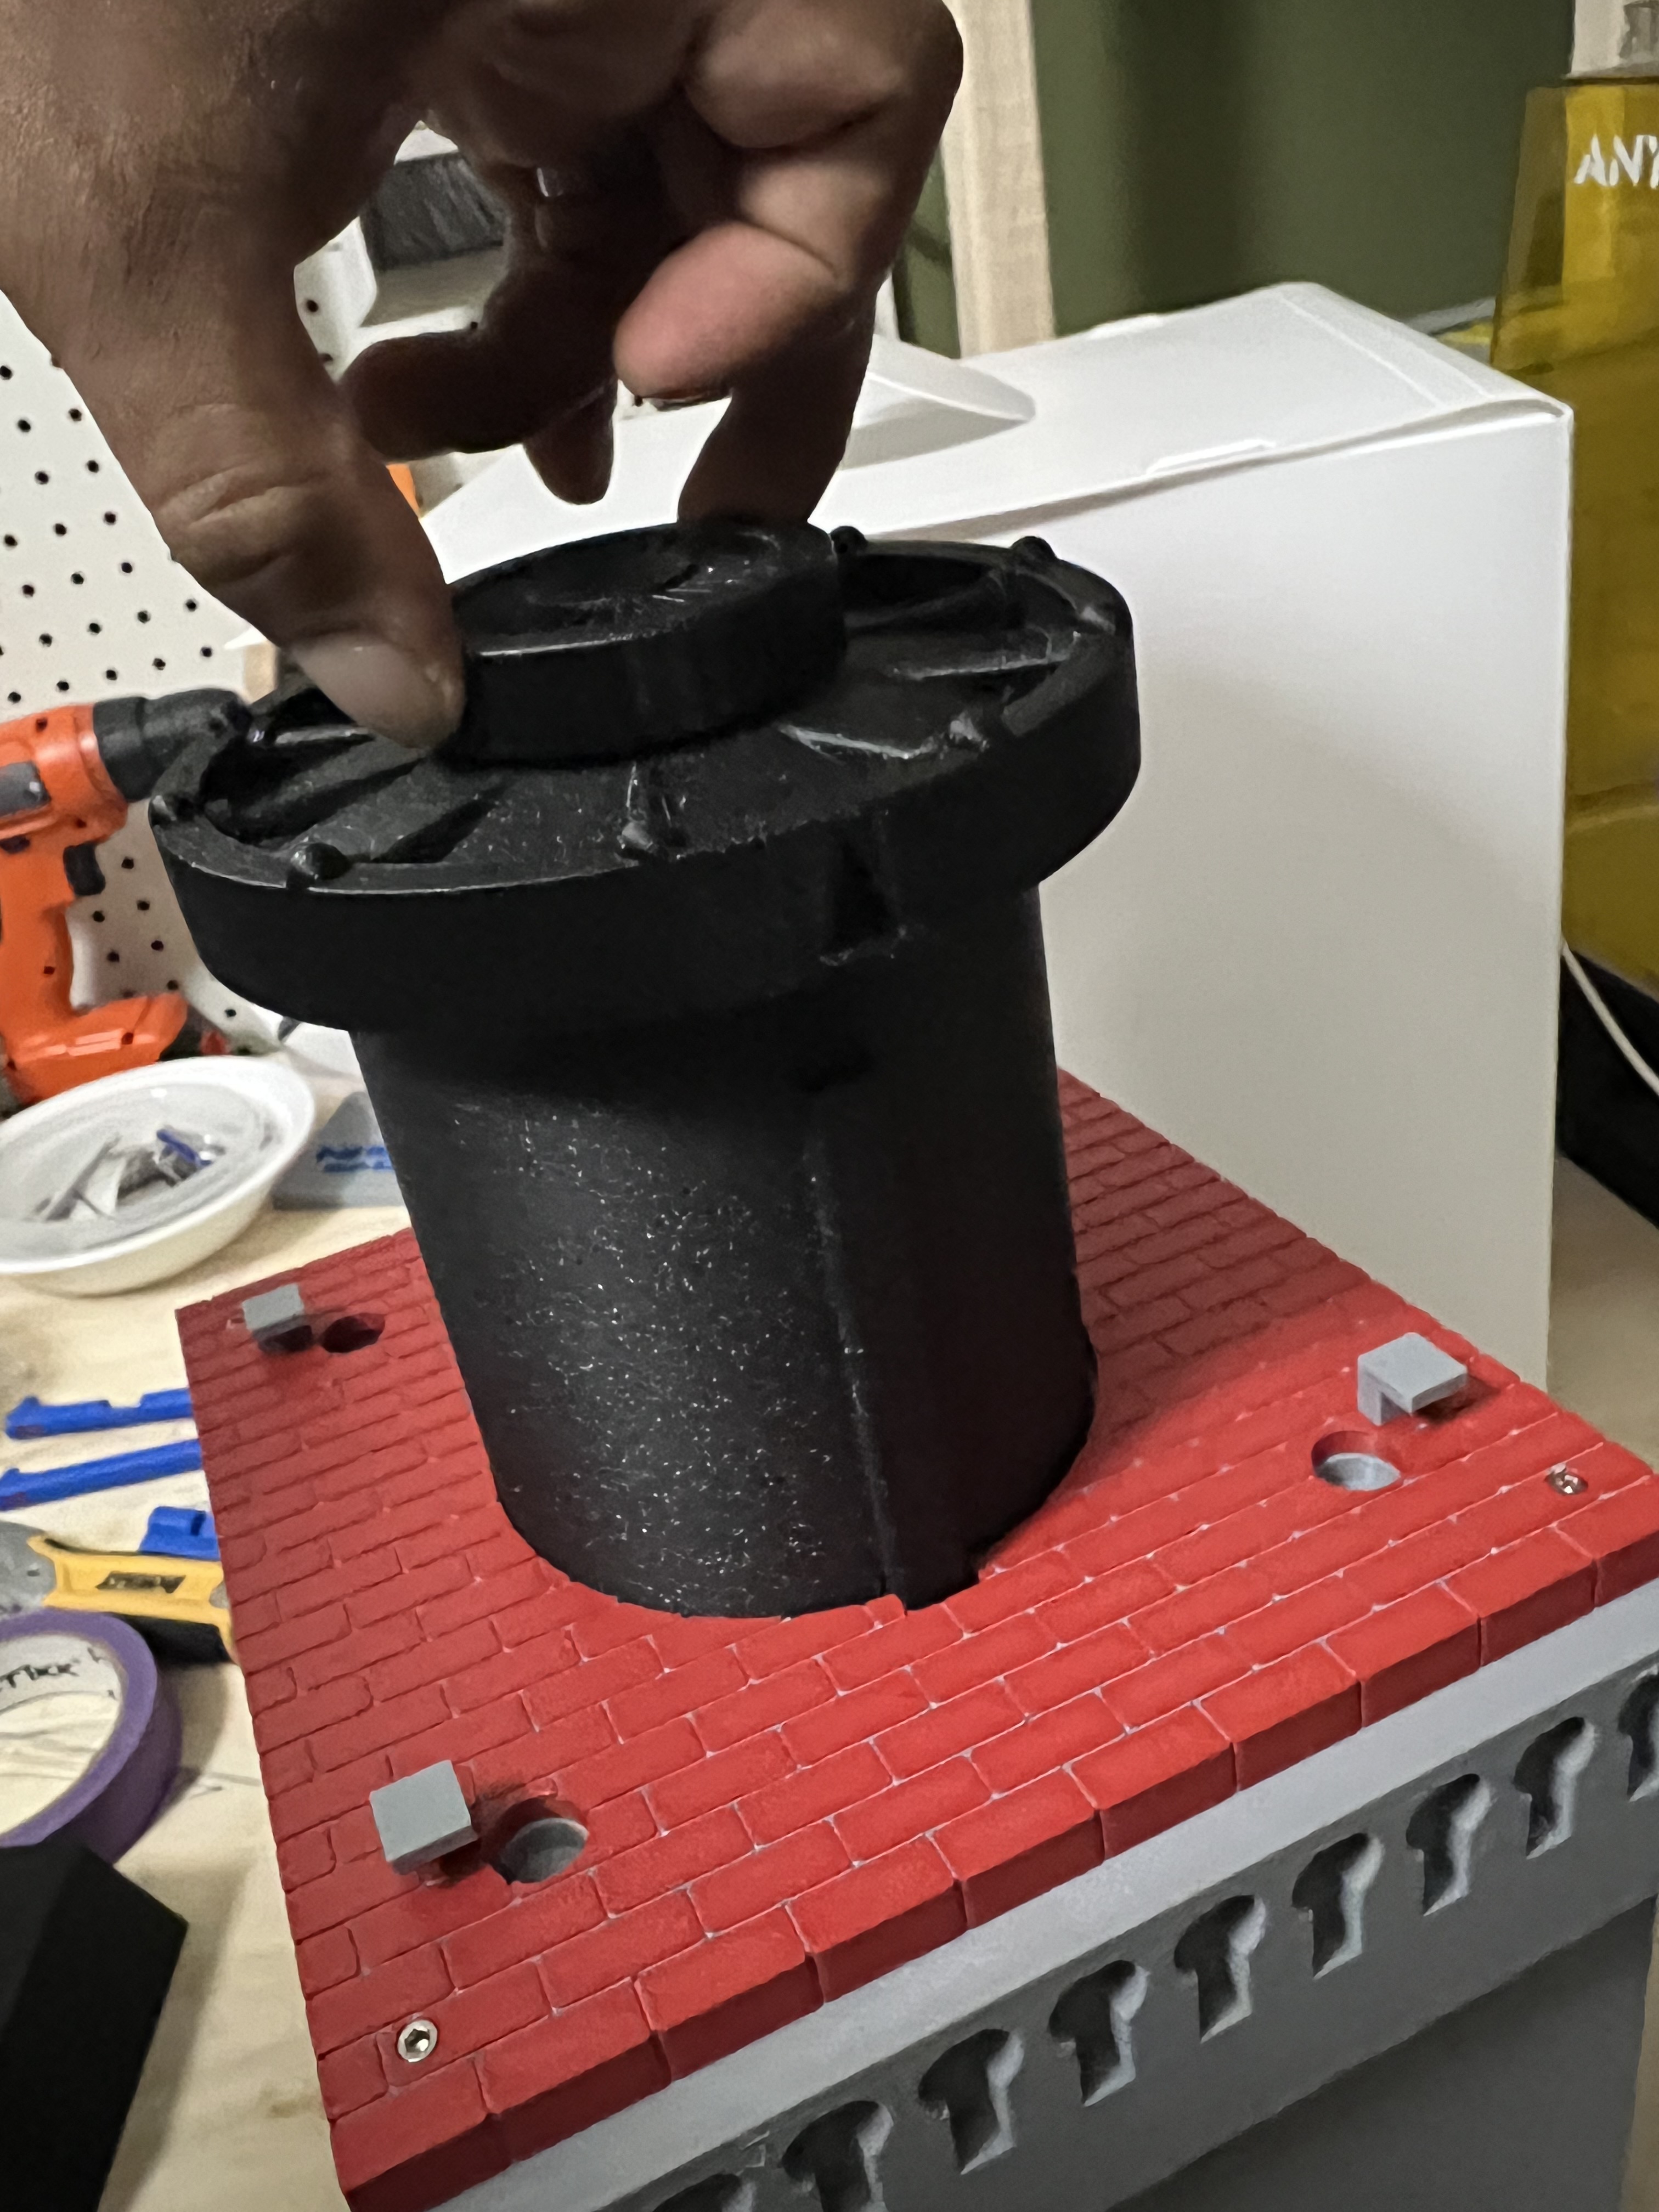
Step 4- Using the Vault
After completing step 3, you will need to lock the vault. You can do so by pushing the appropriate poles into their places. Turn them into the key rest. Turn the vault 90 degrees counter clockwise to lock.
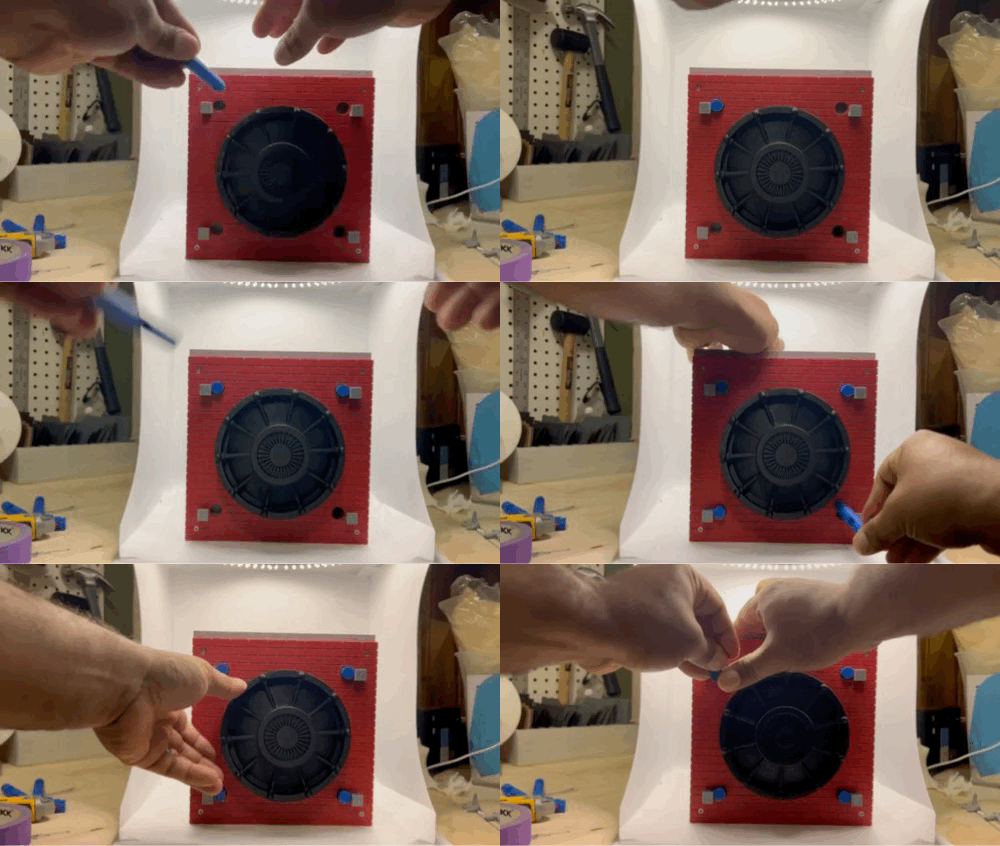
To unlock, place the poles in and turn clockwise.
This comes with blank Poles if you would like to set your own combination.

Gostou deste modelo? Crie uma conta grátis para salvar seus favoritos e voltar a eles depois.
Criar conta