Você está no 3DFinder
Buscamos em Thingiverse, MakerWorld e Printables ao mesmo tempo para te dar o melhor de cada uma.
Descrição
Simple tractor and tipper trailer perfect for toy farms and construction sight. the model is very simple to assemble and I will include instructions in this the description.
GLUE is required for the assembly of the model.
I Have Made Pins that can be printed if you don't want to use any hardware but the model will be a lot easier to break so use at your own risk. There is a diagram on the print Profile for the Pins.
Hardware Required For Tractor
M3 5mm (Front Wheels) x2
M3 8mm (Rear Hitch) x2
M3 12mm (Front hubs) x3
M3 Nut (Front Hubs) x2
M3 20mm (Front Axle) x1
M4 20mm (Rear Wheels) x2
Hardware Required For Trailer
M3 16mm (Tipper to Frame) x2
M4 20mm (Trailer Wheels) x2
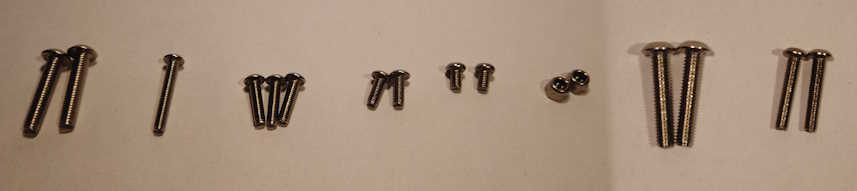
Tractor assembly Instructions
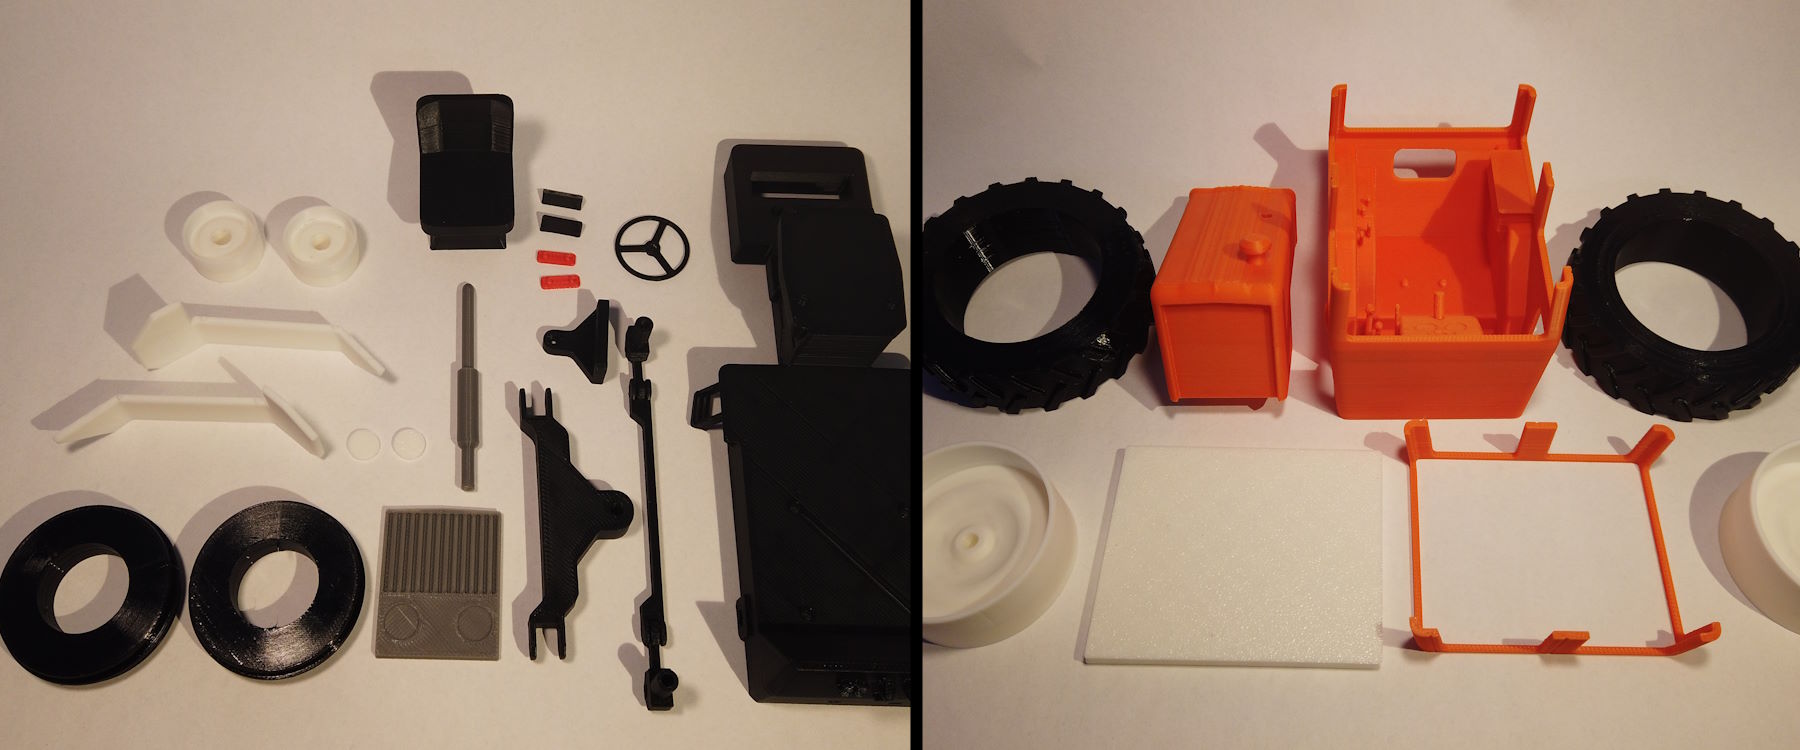
Step 1
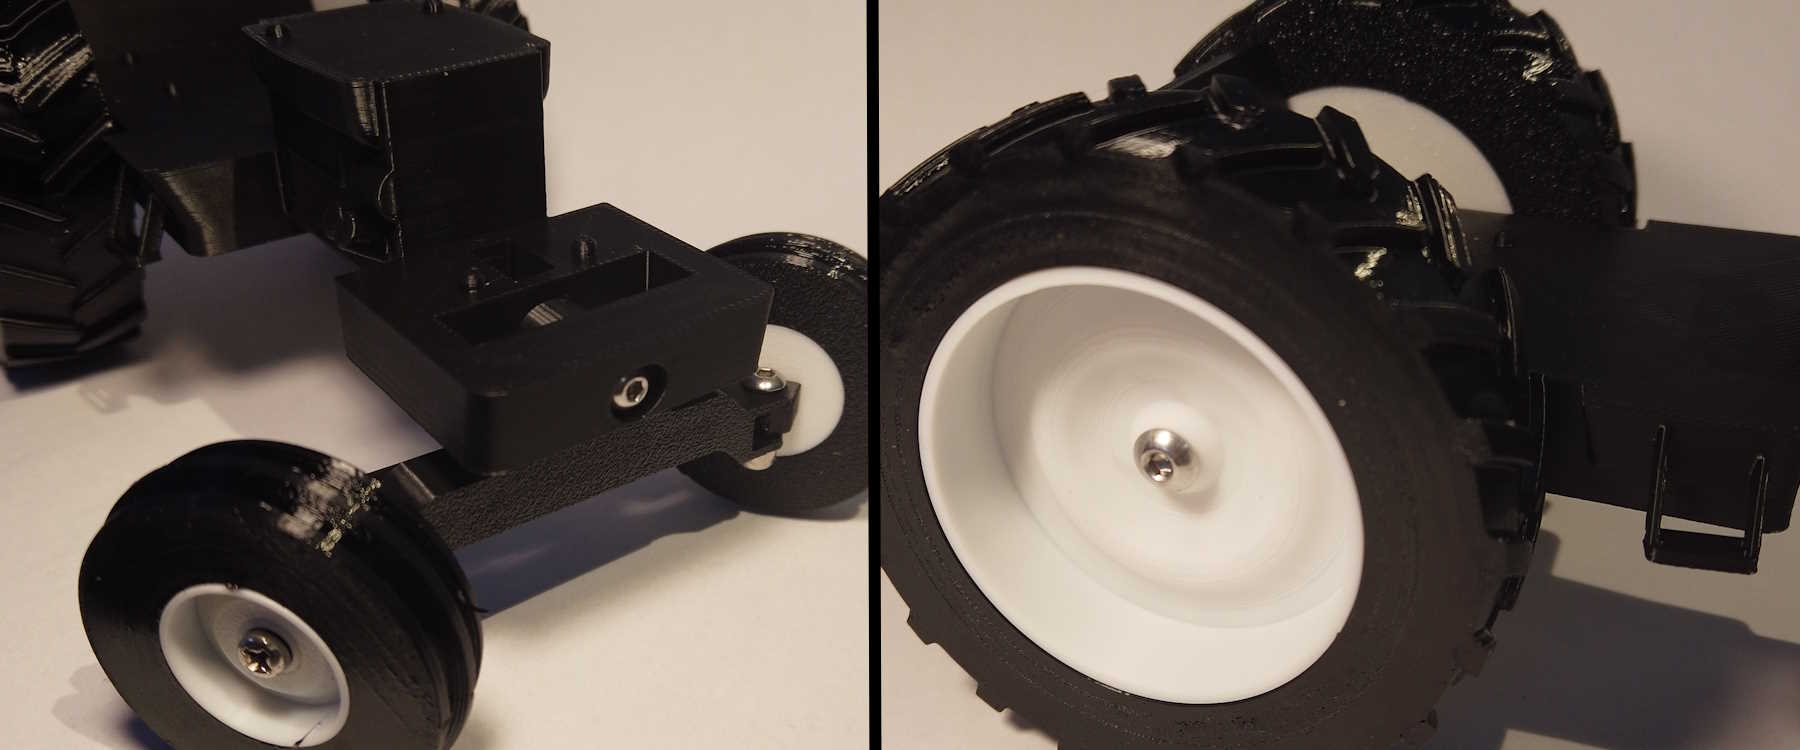
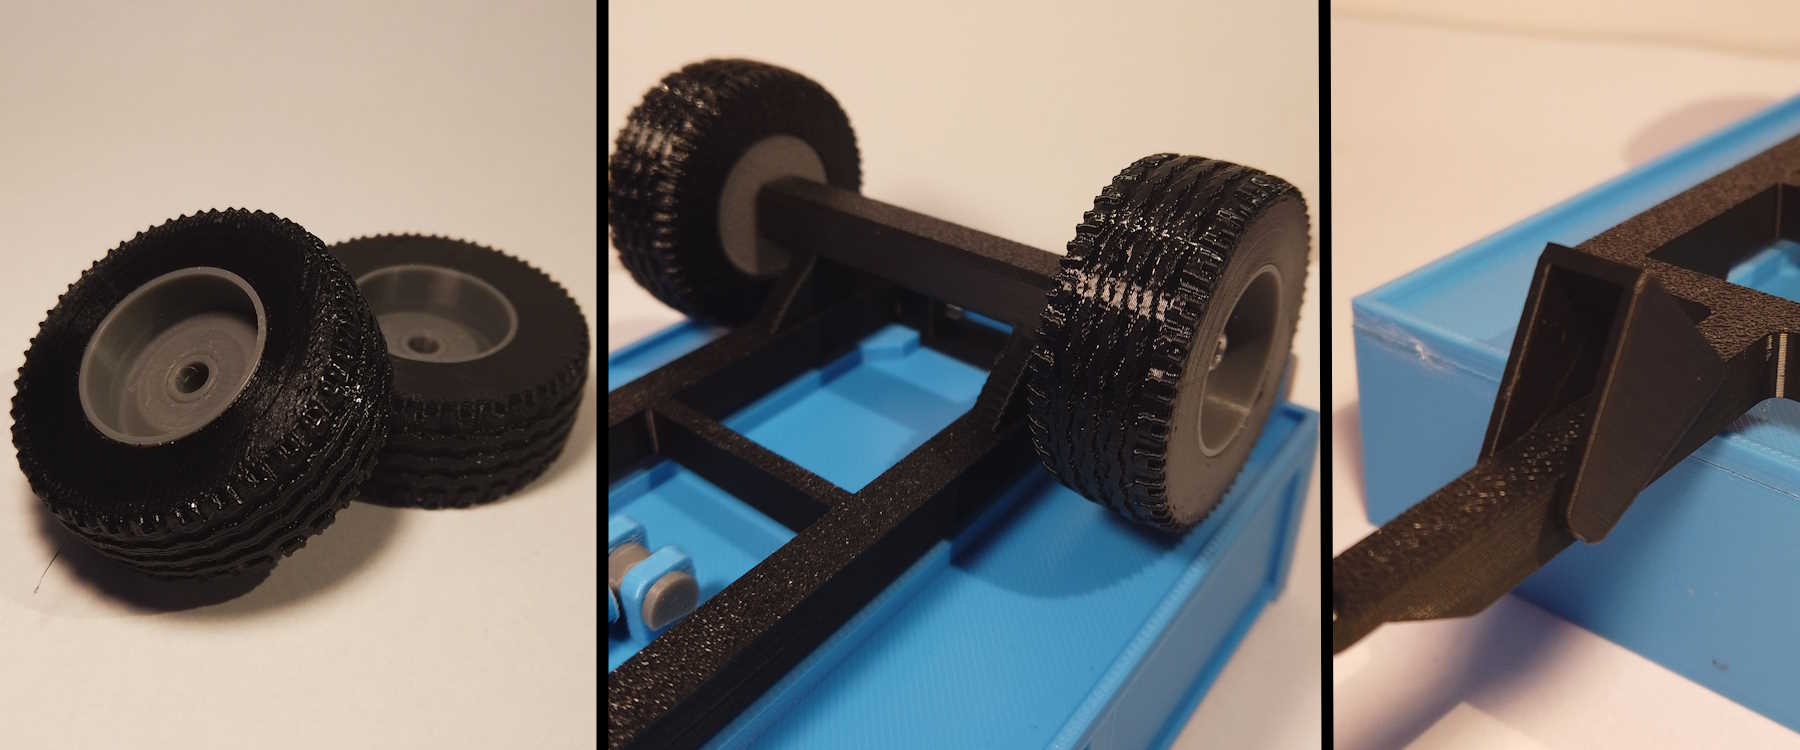
Glue the Tires and Rims together and make sure the keep the textures side of the tire to the back
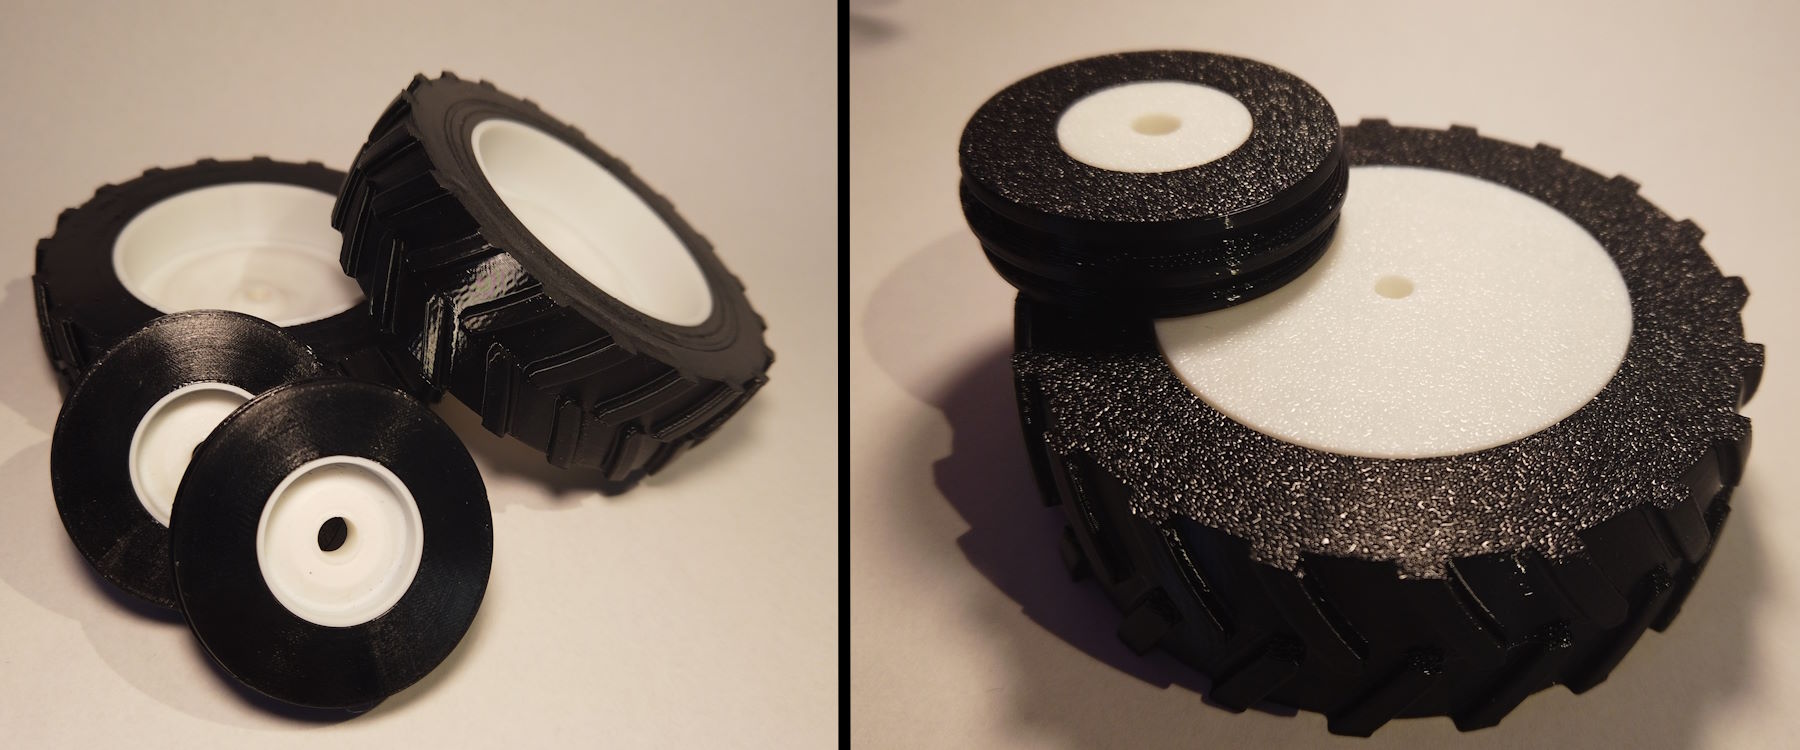
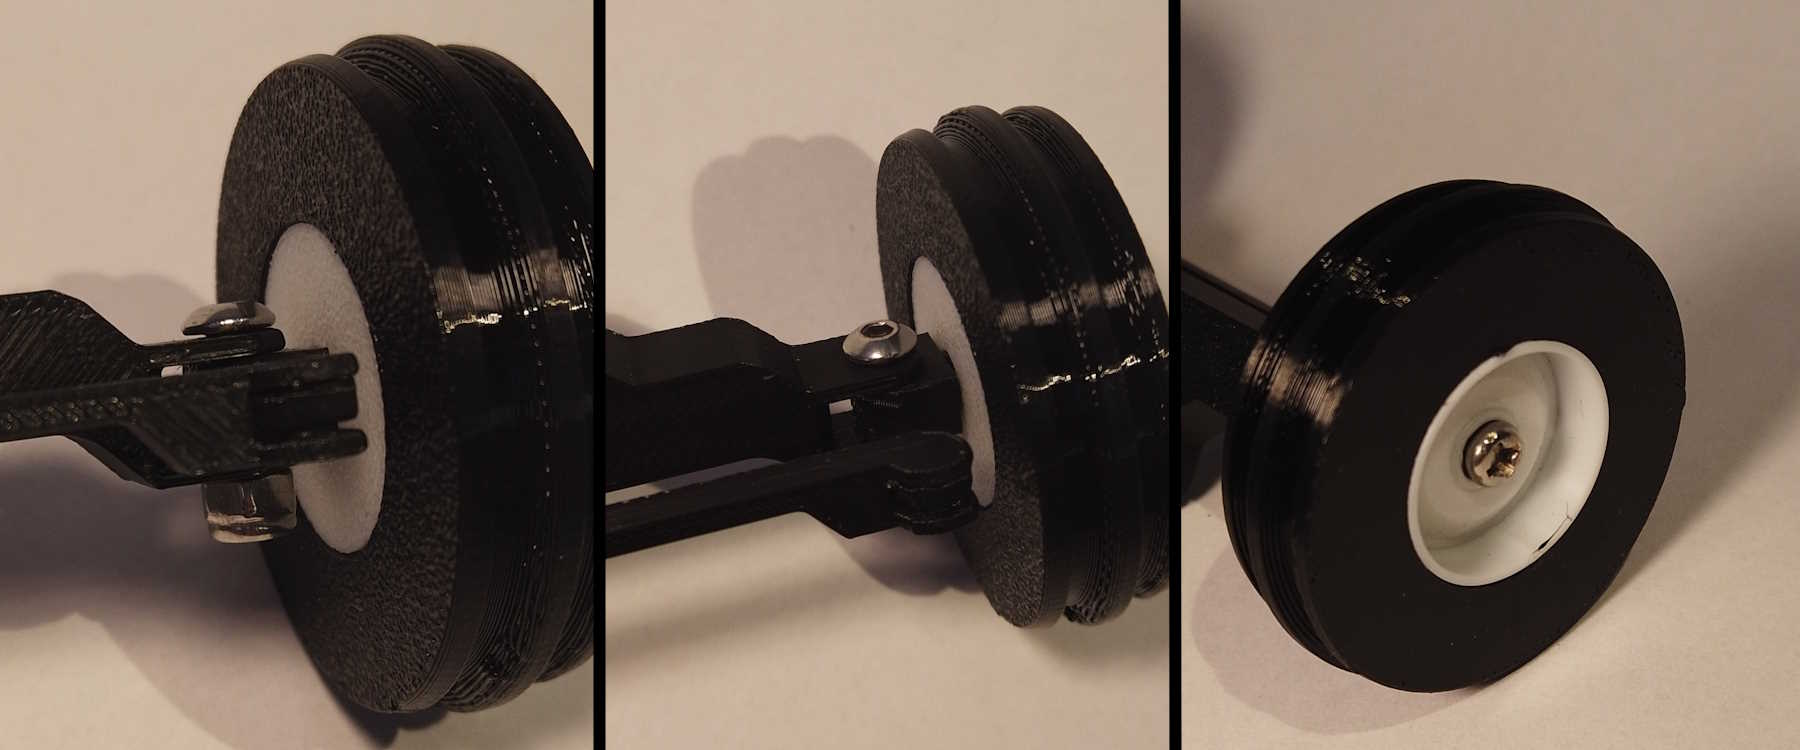
Step 2
Assembly the front axle, use the M3 12mm and M3 nut the attach the steering bar and hubs to the axle like in the photo and attach the wheels with the M3 5mm (If using 3d printed pins use the diagram on the print profile and glue the hub and front wheel pins in where the m3 bolt would go)
Step 3
Attach the front axle the the main frame of the tractor using a M3 20mm and attach the rear wheels with a M4 20mm (Same as the last step if you are using pins use the front axle pin and rear wheel pin instead of the bolts)
Step 4
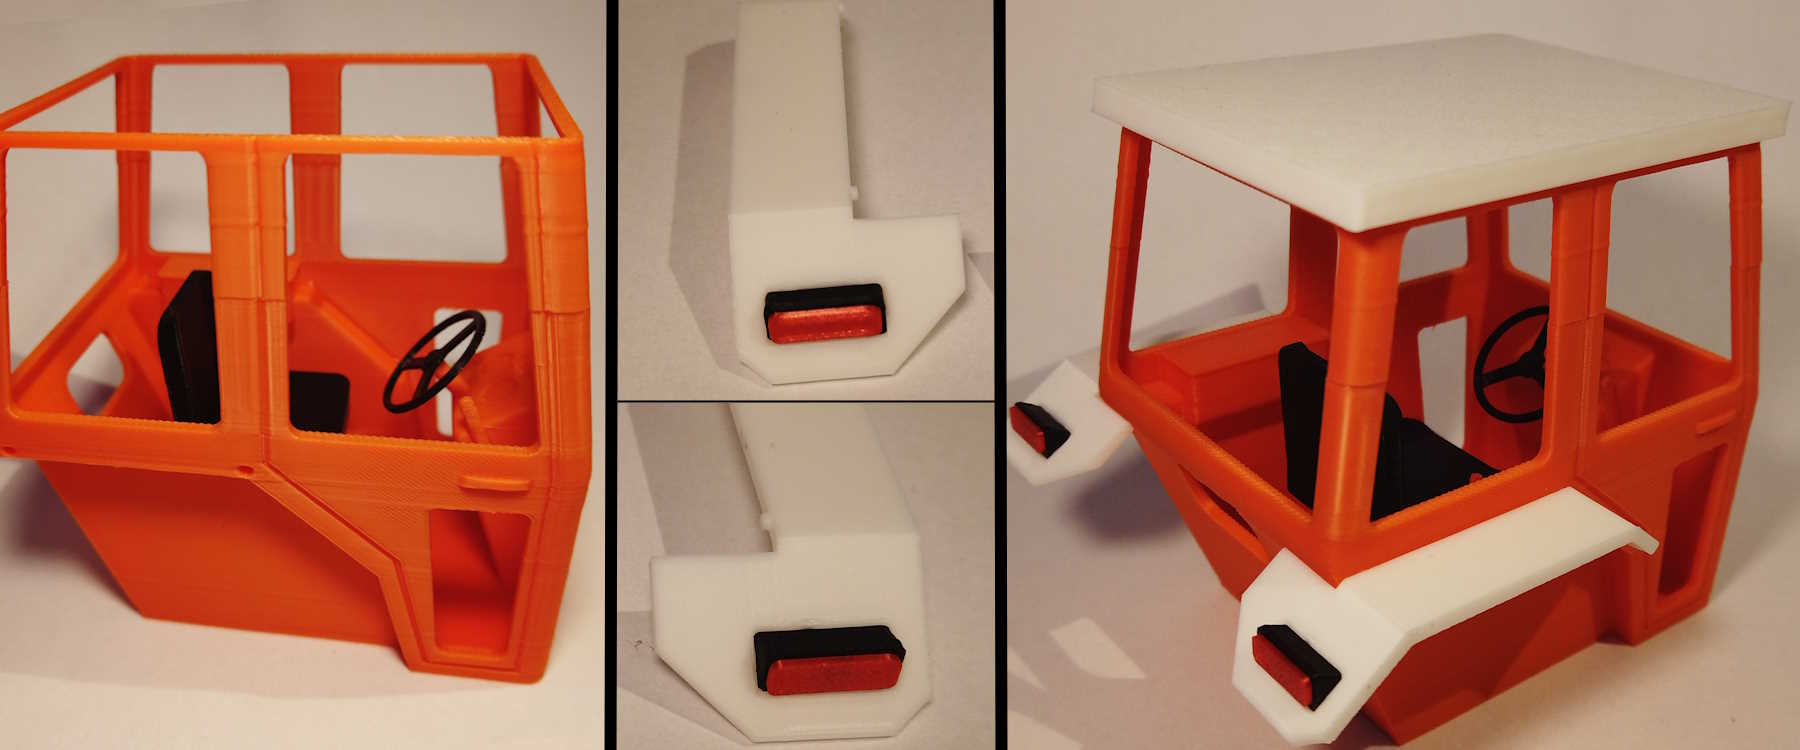
Glue the seat and steering wheel into the cab then glue the top part of the cab on, then assemble and glue the rear light on the mudguards and glue the mudguard and roof to the cab as shown in the photo below
Step 5 Finale
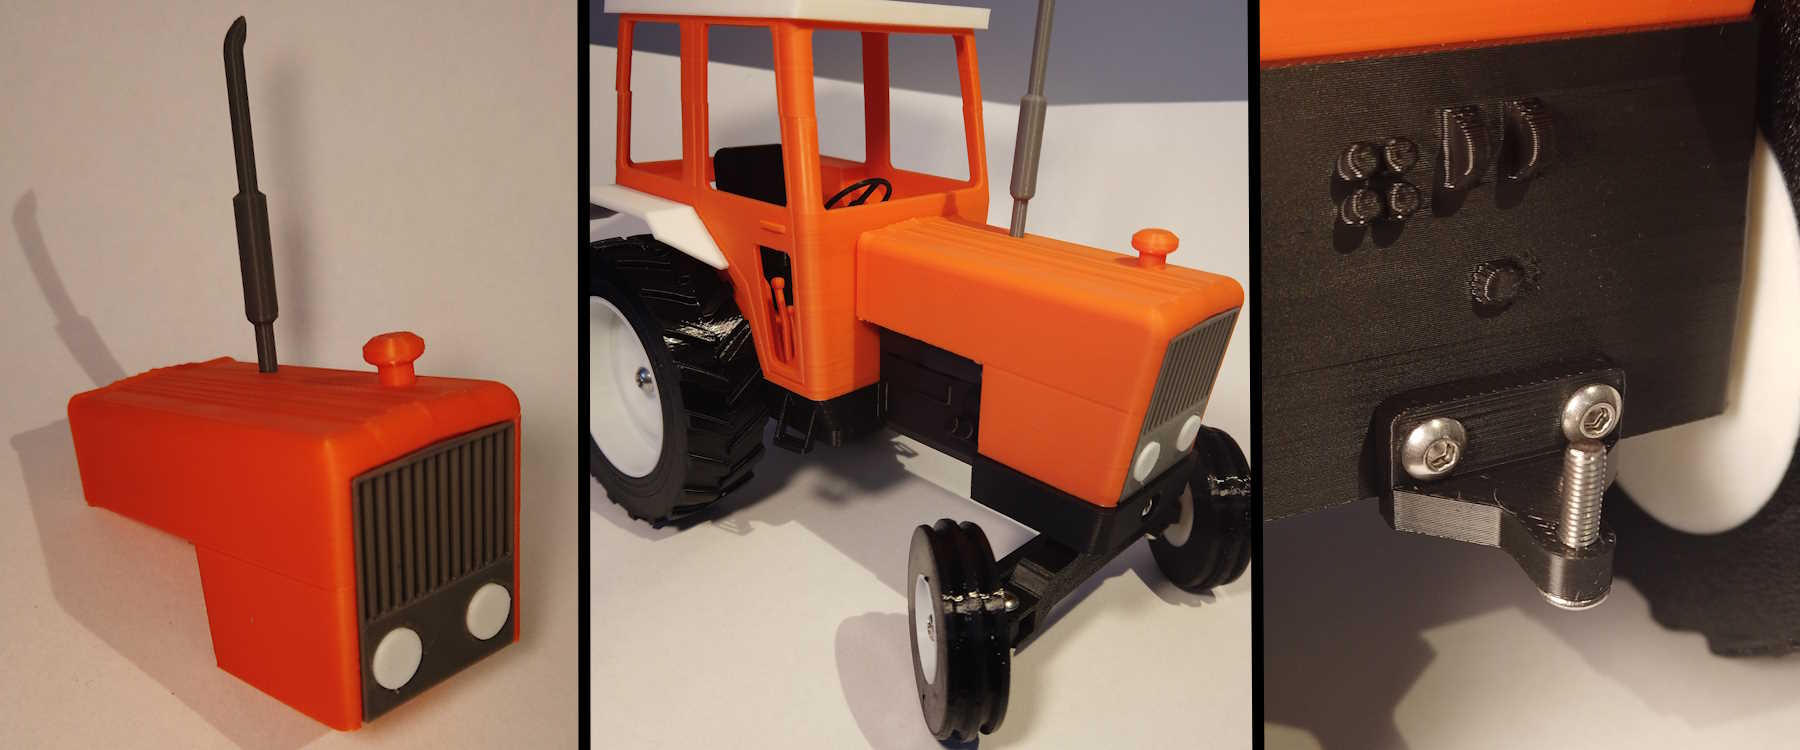
Glue the lights into the front grill and glue the front grill into the bonnet and glue the exhaust in, now glue the cab and the bonnet to the frame and use two M3 8mm to attach the hitch to the frame and use a M3 12mm as the tow tar, you can add a nut to this to stop the trailer coming off ( if using the 3d printed pins there is a separate tow bar that just needs to be glued on to the frame)
Trailer assembly Instructions
Step 1
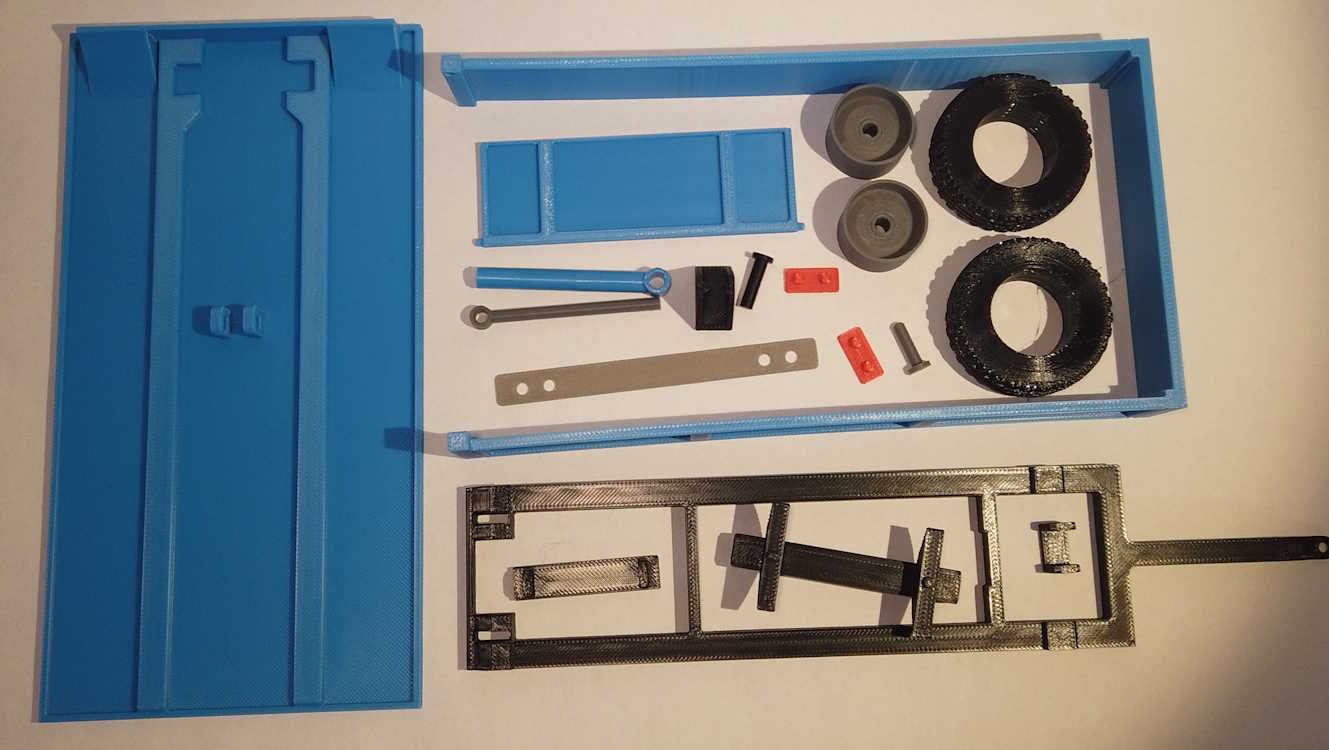
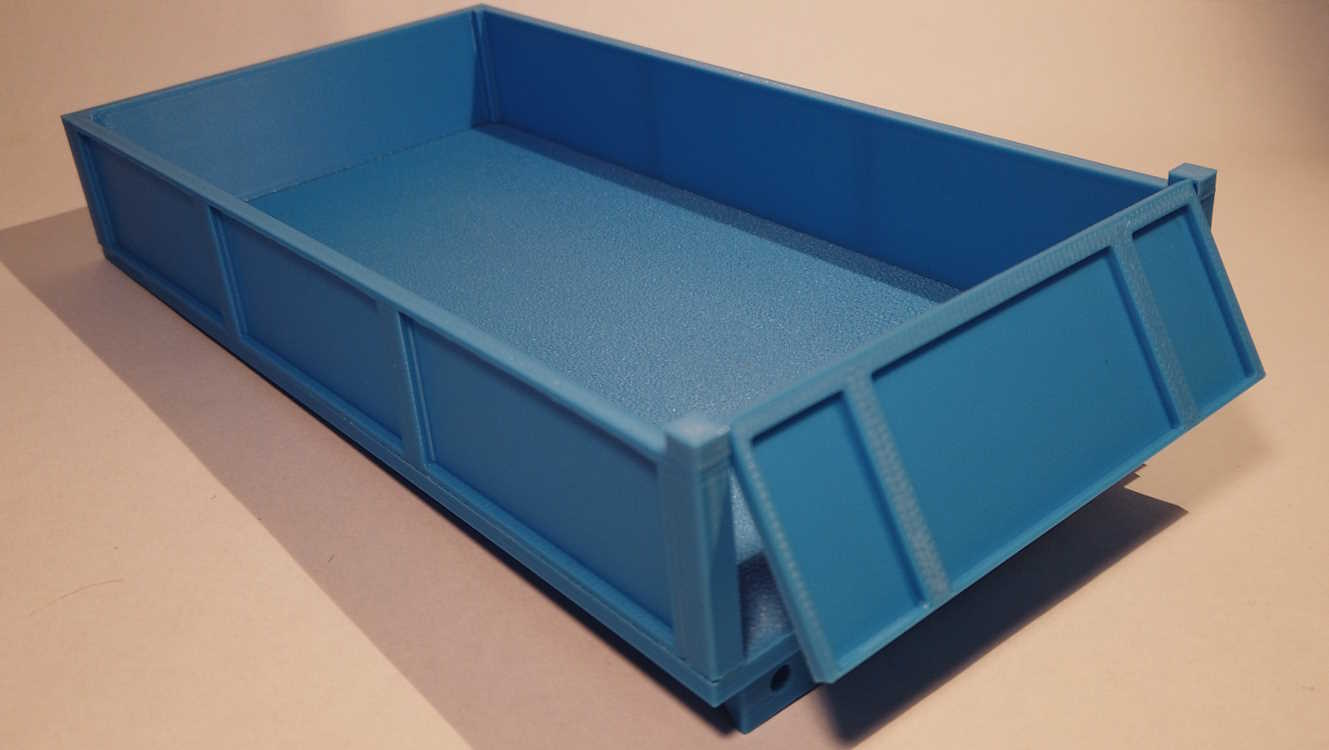
Put the back door onto the side of the trailer and glue the side to the tipper floor like in the photo
Step 2
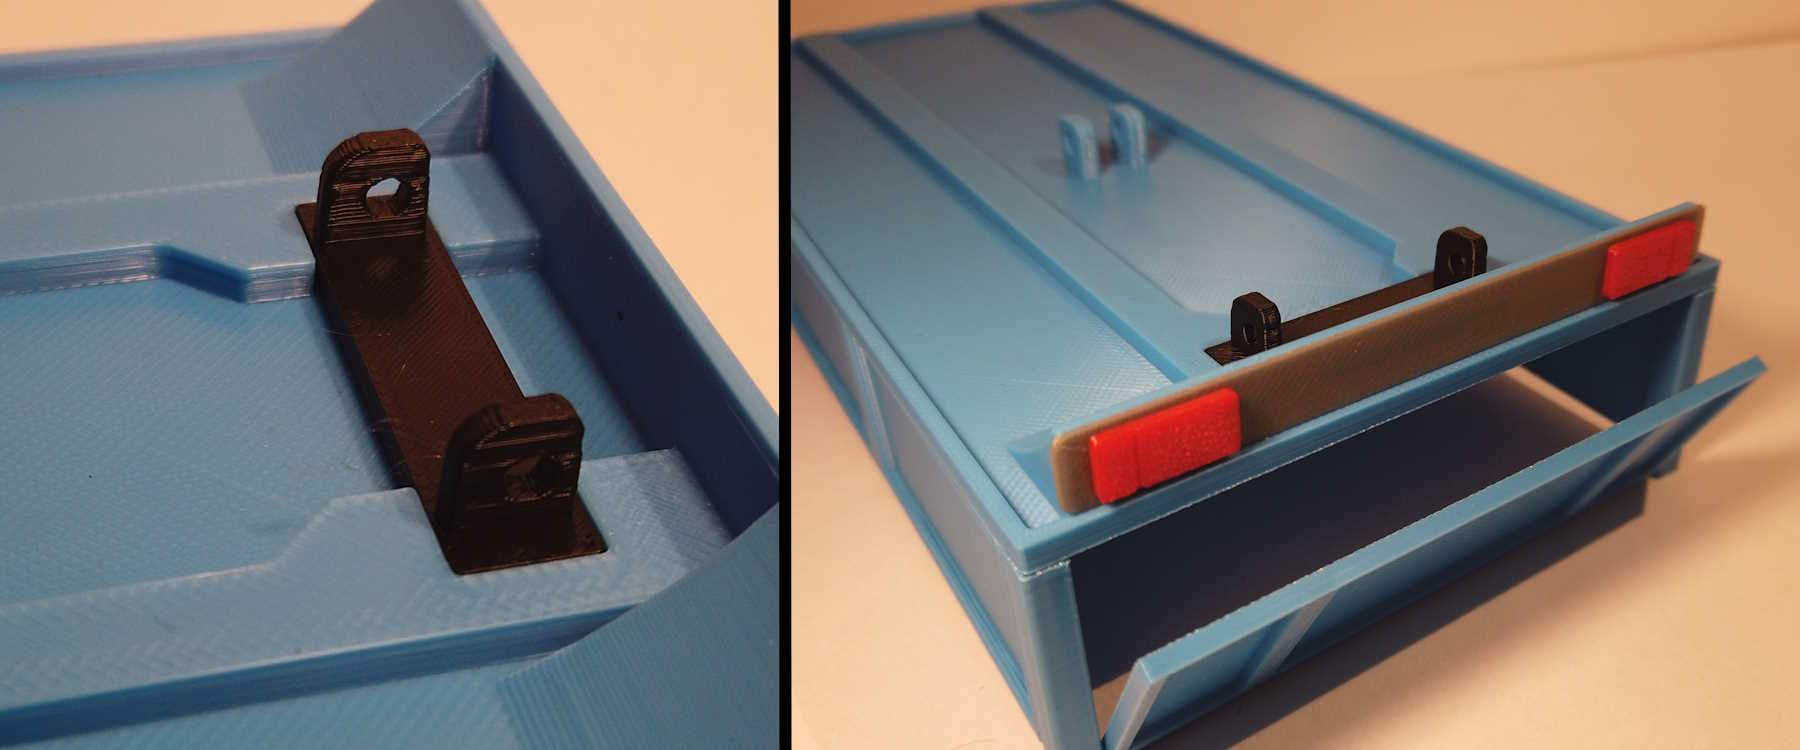
Glue the Tipper bracket into the tipper body, make sure to glue this into the corrector direction like in the photo and glue the rear bumper and lights onto the tipper
Step 3
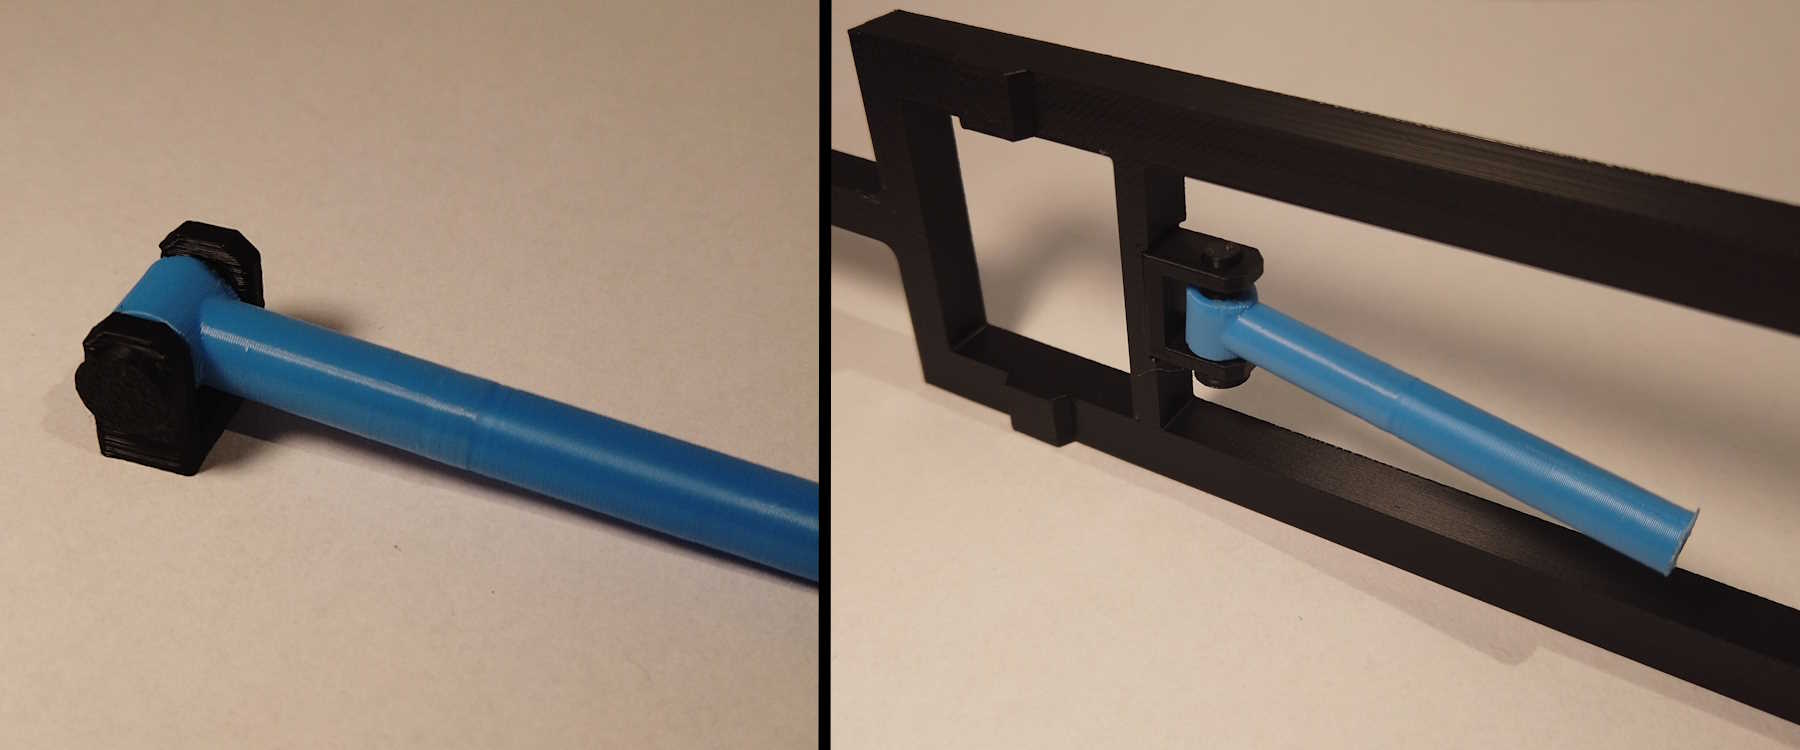
Join the blue ram cylinder with the black bracket and glue the black pin in to hold them together then glue the bracket into the cut out on the trailer frame like in the photo
Step 4
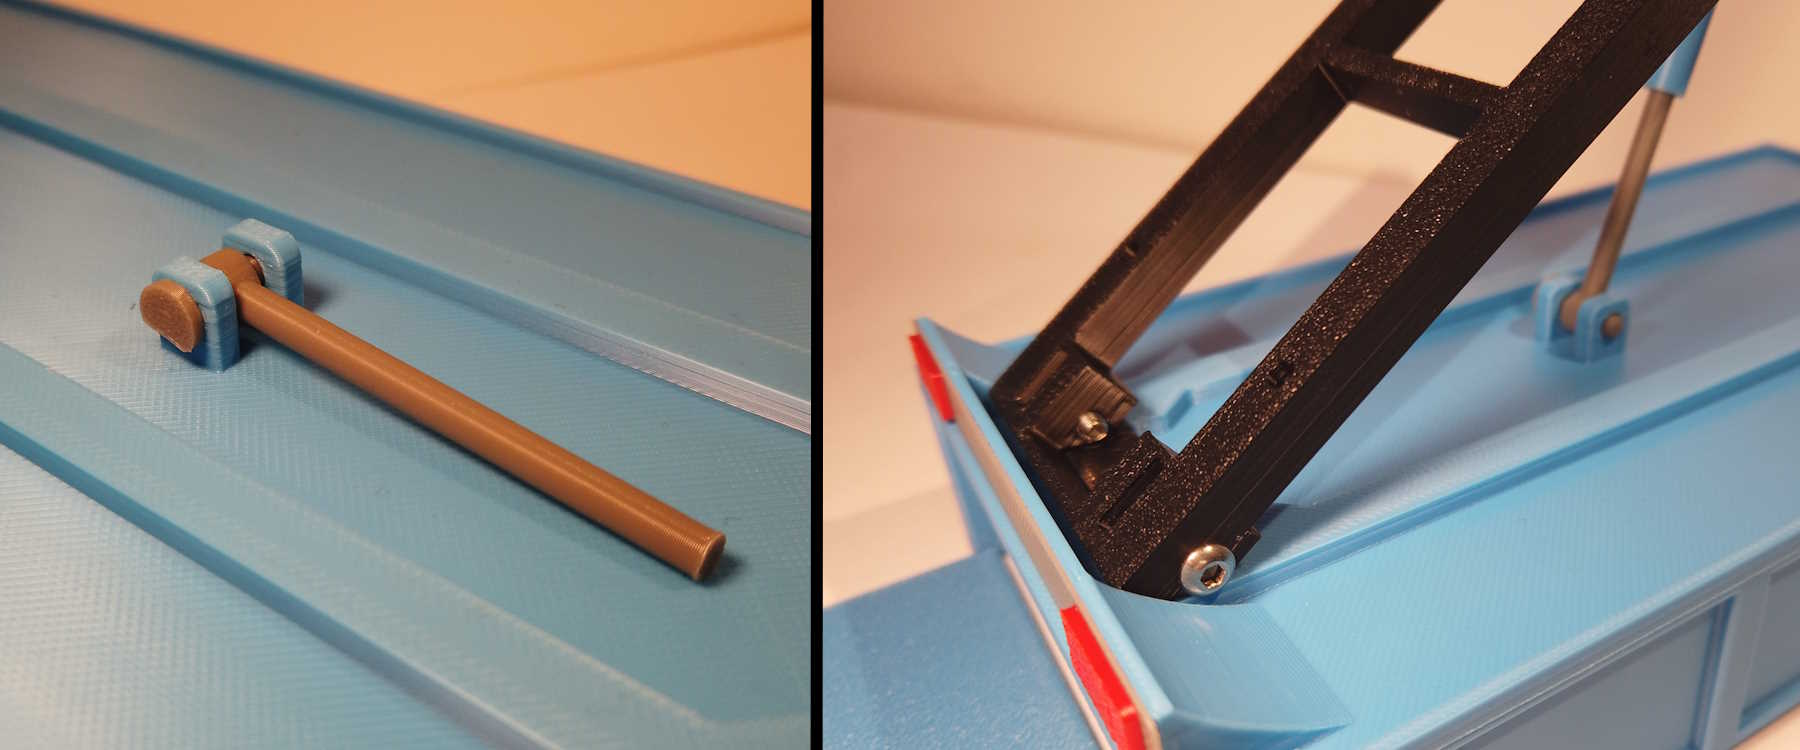
Attach the grey cylinder onto the bottom the the tipper body and glue the grey pin in, then attach the tipper the to frame and join the two Hydraulic ram ends together and use M3 16mm to attach it (if using 3d printed pins use the tipper pins)
Step 5 Finale
Glue the rims and tires together and attach them to the axle using M4 20mm bolts (If using pins use Trailer Wheel Pins) then glue the axle to the frame using the two guidance holes and push the stand into the front of the trailer.

Gostou deste modelo? Crie uma conta grátis para salvar seus favoritos e voltar a eles depois.
Criar conta