Você está no 3DFinder
Buscamos em Thingiverse, MakerWorld e Printables ao mesmo tempo para te dar o melhor de cada uma.
Descrição
Here my version of the pysical volume mixer made with deej.
More information here: [https://github.com/omriharel/deej](https://github.com/omriharel/deej)
I present you my version of the Deej - volume mixer.
Coming to github soon.
For this project this fork was used: [https://github.com/Miodec/deej](https://github.com/Miodec/deej)
This fork adds remappable button support.
What is deej?
Have a look here: [https://github.com/omriharel/deej](https://github.com/omriharel/deej)
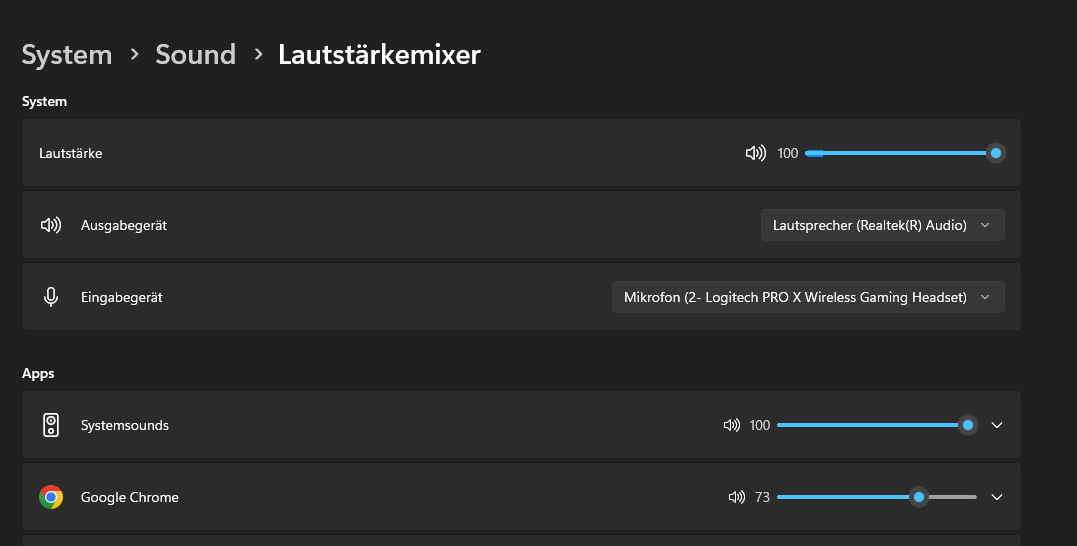
It connects to your PC and let you control your windows sound mixer by input.
Features:
- main big volume knob - with controlable RGB LED indication underneath
- gives feedback to volume level
- 4 small volume knobs - adjustable application
- Logos for Spotify, Chrome, Discord, Steam, Firefox, OperaGX (if needed more feel free to write)
- controlable RGB LEDs beneath the buttons to illuminate
- gives feedback to volume level
- switches back to choosen color afterwards
- button implementation beneath every button possible
- i personally used 1 button under the spotify button for music control
- Spotify Control
- in total 3 buttons
- press spotify logo for PLAY/PAUSE
- 2 buttons beneath for previous/next song
Parts (BOM):
- Potentiometers from amazon
- Arduino nano + USB cable for it long enough to reach your PC
- buttons maximum 7 can be installed - i used 3
- 6x6x5mm
- example: [https://amzn.eu/d/iYDAb6J](https://amzn.eu/d/iYDAb6J)
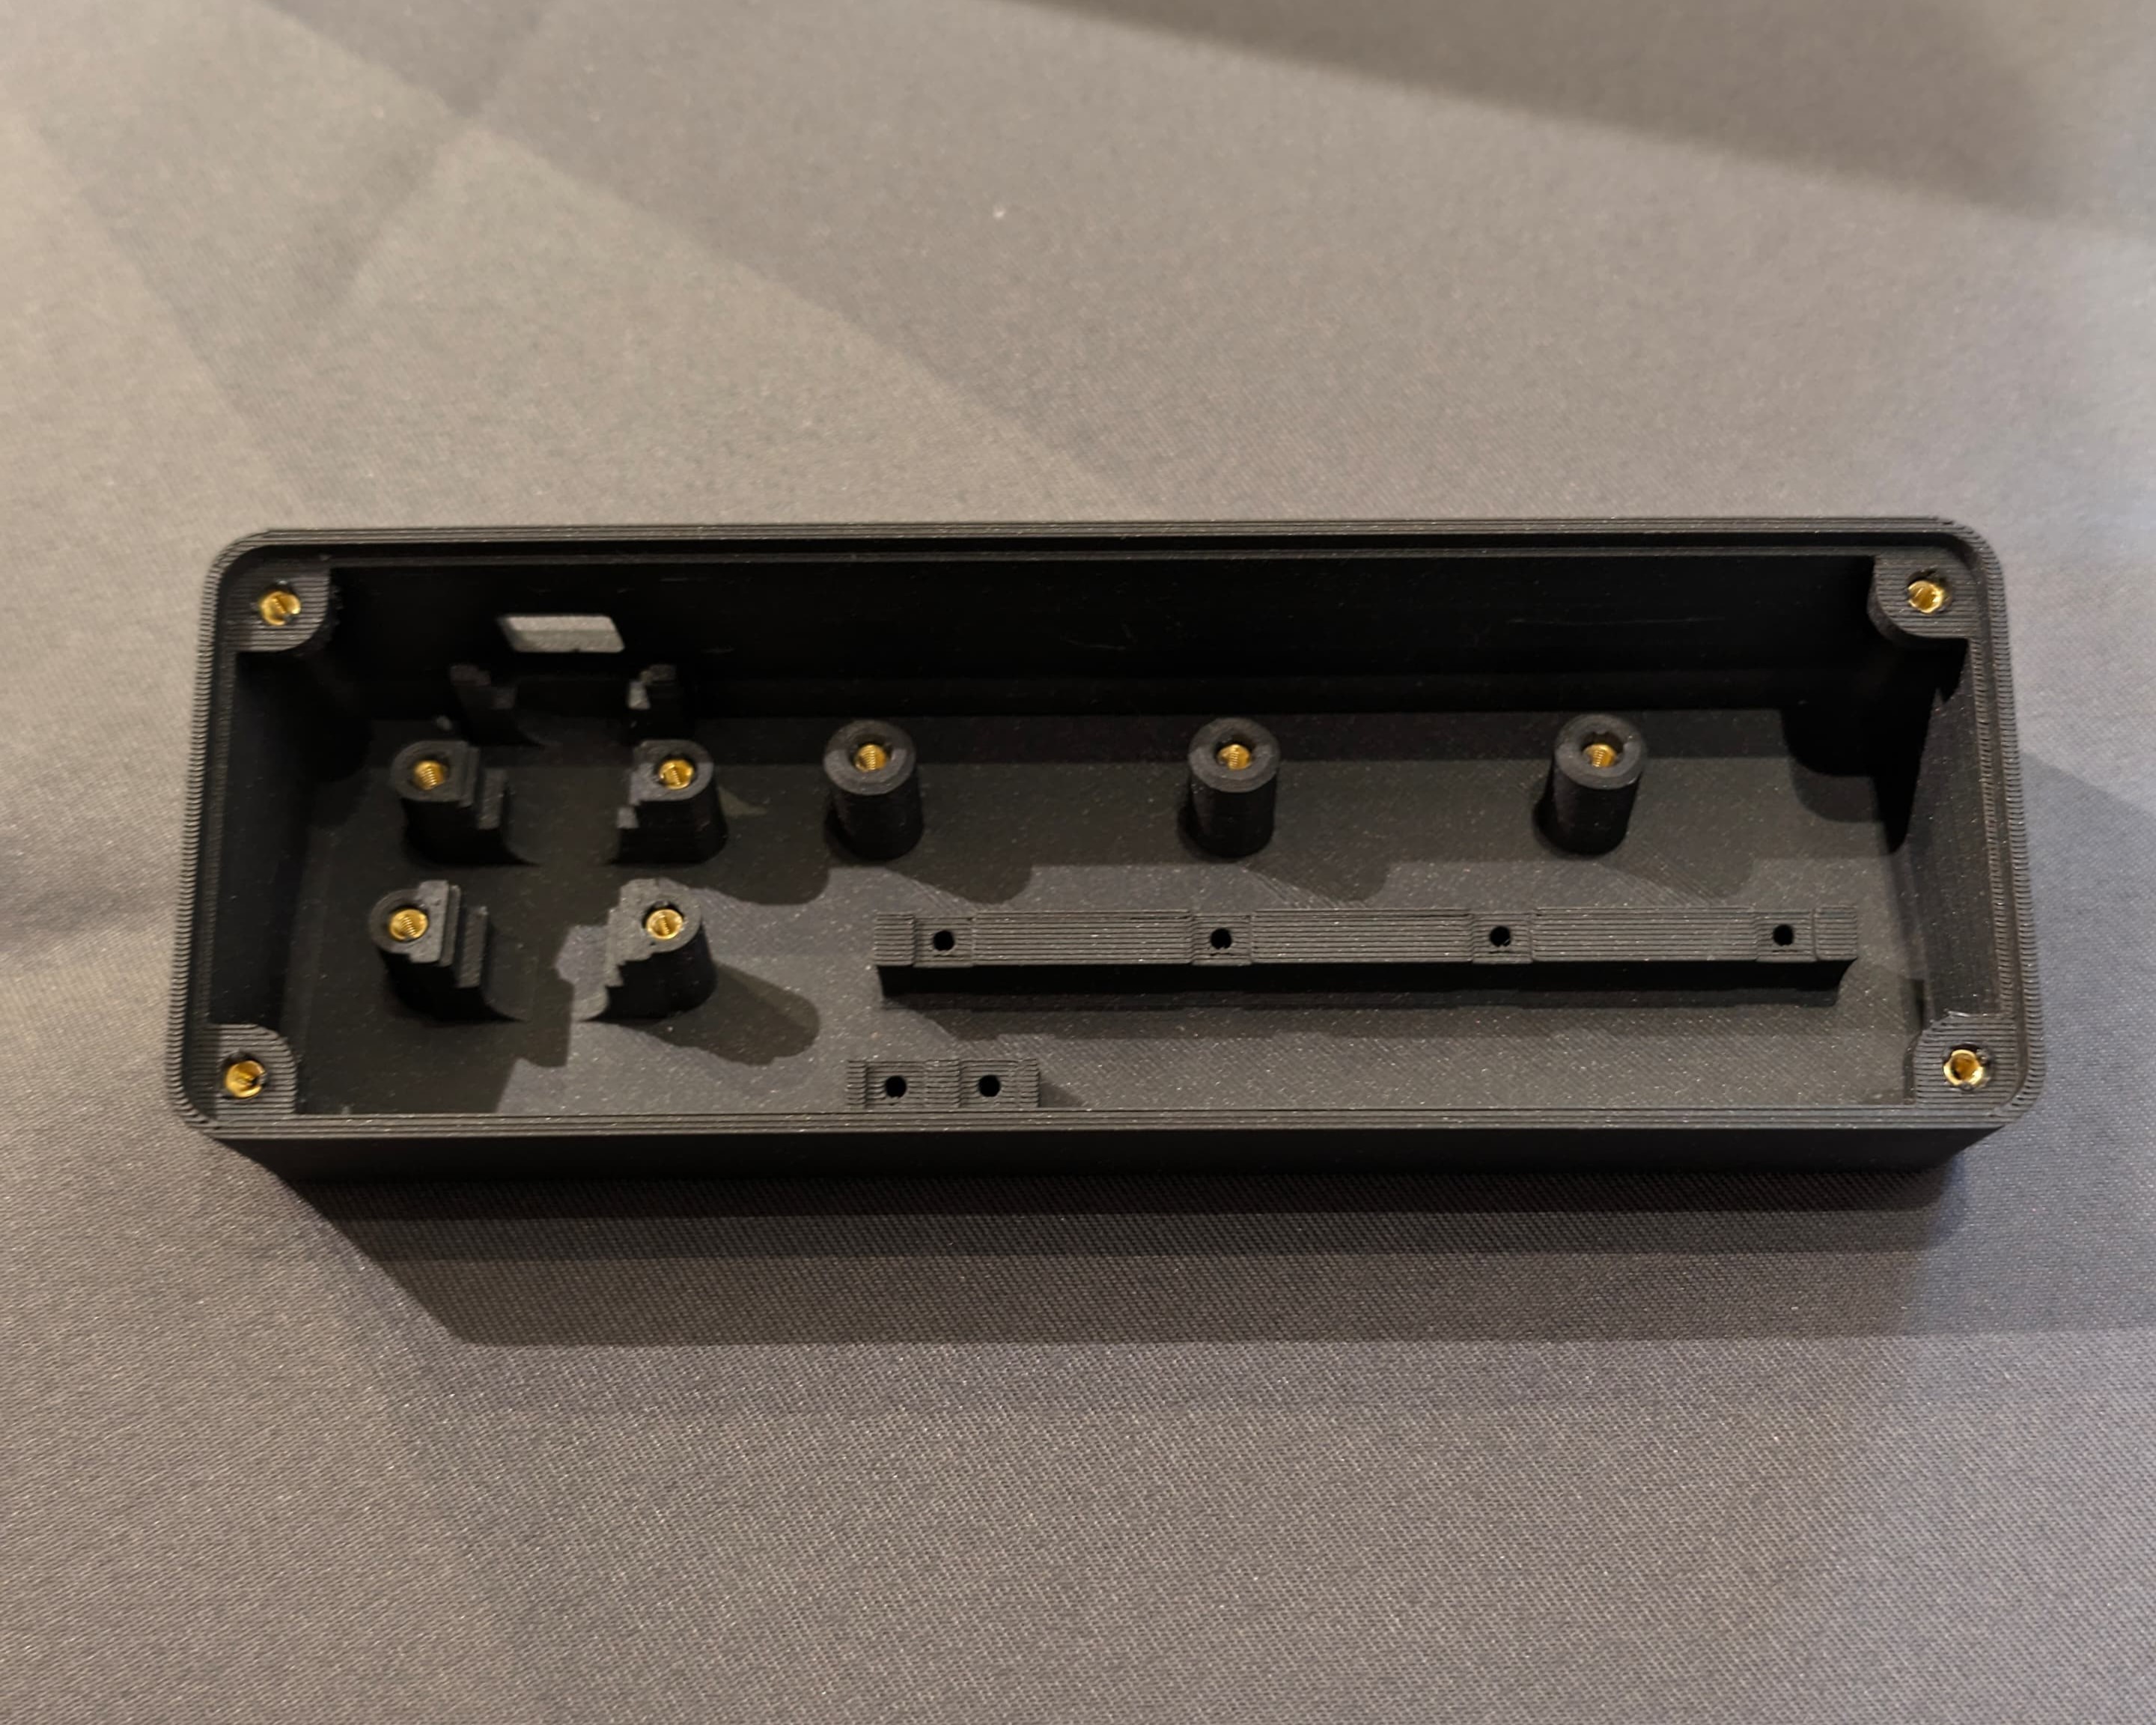
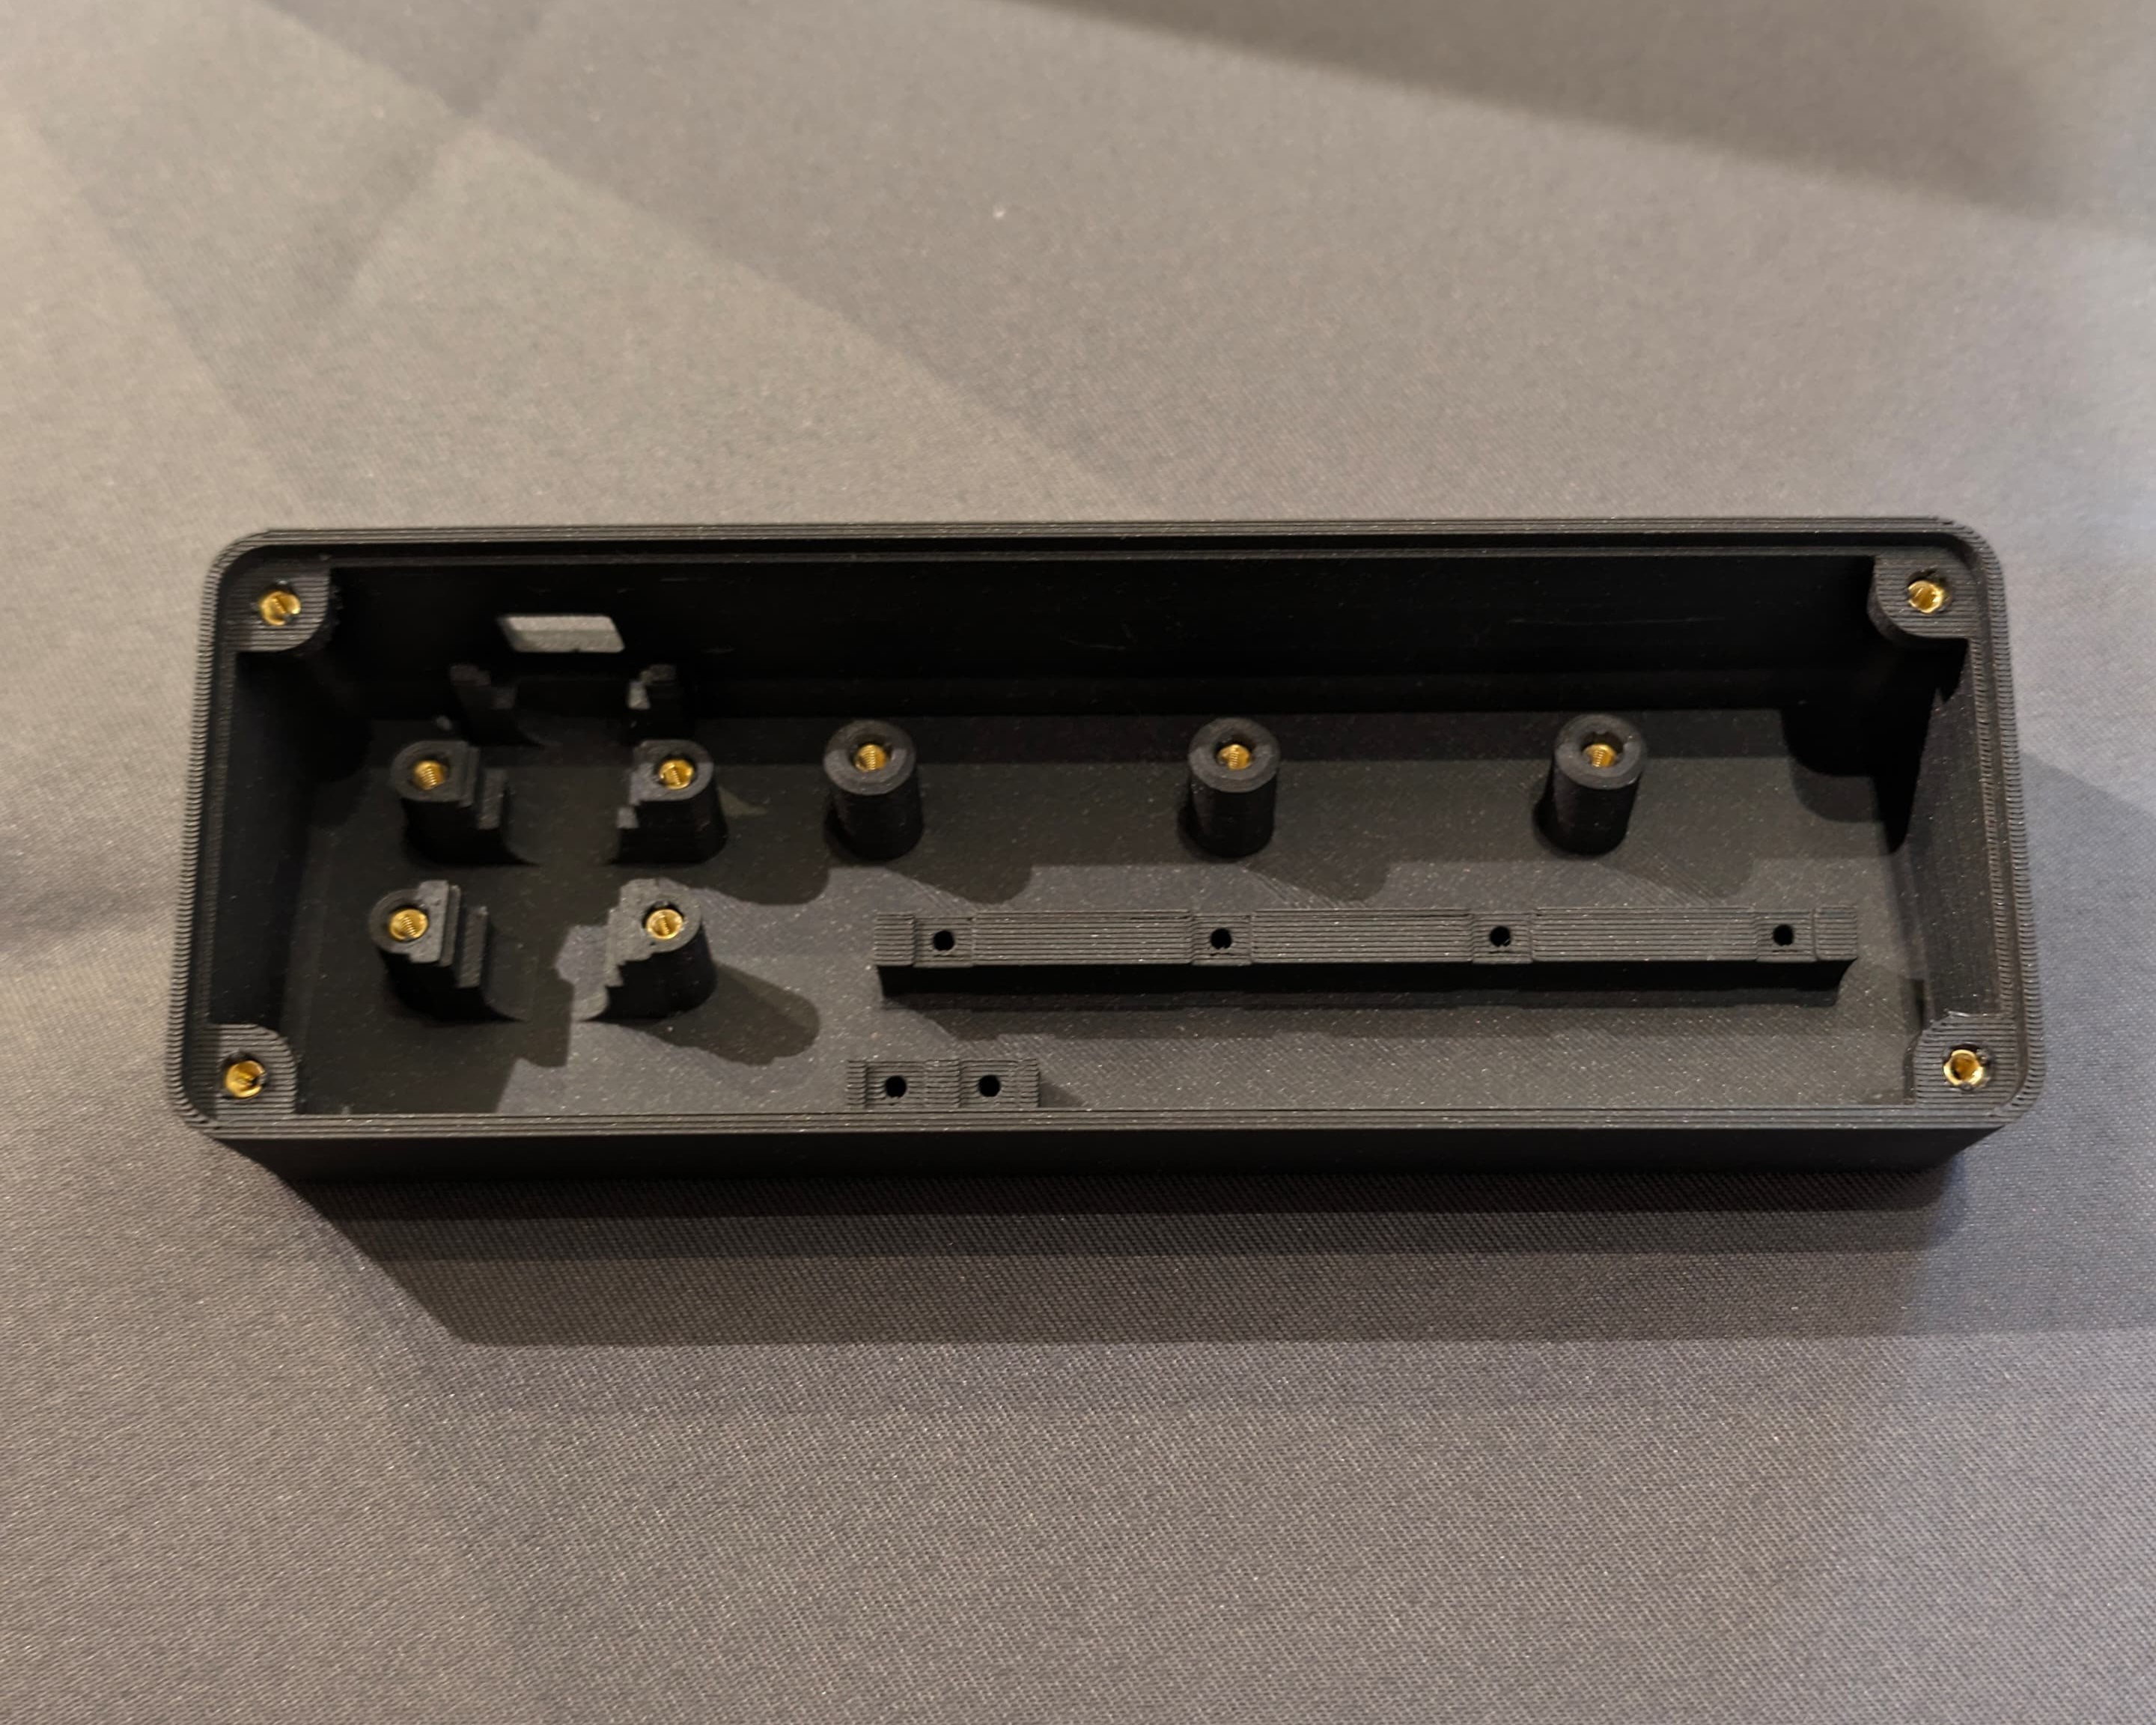
- Heat inserts M3
- you can drill your holes to the needed diameter
- i used 4 mm outer diameter inserts
- 11 in total
- super glue for gluing the buttons to the base
- Screws used
- 13x M3x10 (DIN 912)
- 4x M3x6-8 (DIN 912)
- 3x M3x10 (connecting the knob to the top plate)
- WS2812b LED Strip - 60LED/m 7 LEDs in total
- possible to use also more LED/m for better effect
- 4x WS2812b (single)
- [https://de.aliexpress.com/item/4000829316639.html?spm=a2g0o.order_list.order_list_main.66.30d65c5fbZDPle&gatewayAdapt=glo2deu](https://de.aliexpress.com/item/4000829316639.html?spm=a2g0o.order_list.order_list_main.66.30d65c5fbZDPle&gatewayAdapt=glo2deu)
- [https://amzn.eu/d/j249iwd](https://amzn.eu/d/j249iwd)
- Wires and zip ties
- i used silicone wires because they are very flexible
- Optional:
- Spacers for adding weights inside of the base
- DIN9021 / ISO7093
- M10 Spacers (inside diameter 10,5mm, outer 30mm, height 2,5mm)
- i used 17 in total for a good feeling
- Anti Slip Gel Pad
- something like this: [https://amzn.eu/d/fmU6lfz](https://amzn.eu/d/fmU6lfz)
- Spacers for adding weights inside of the base
Printing / Settings:
- Sorry - some parts need to be rotated manually by 15° in your slicer - need to find out how to export them correctly from Fusion 360 (maybe someone could help?)
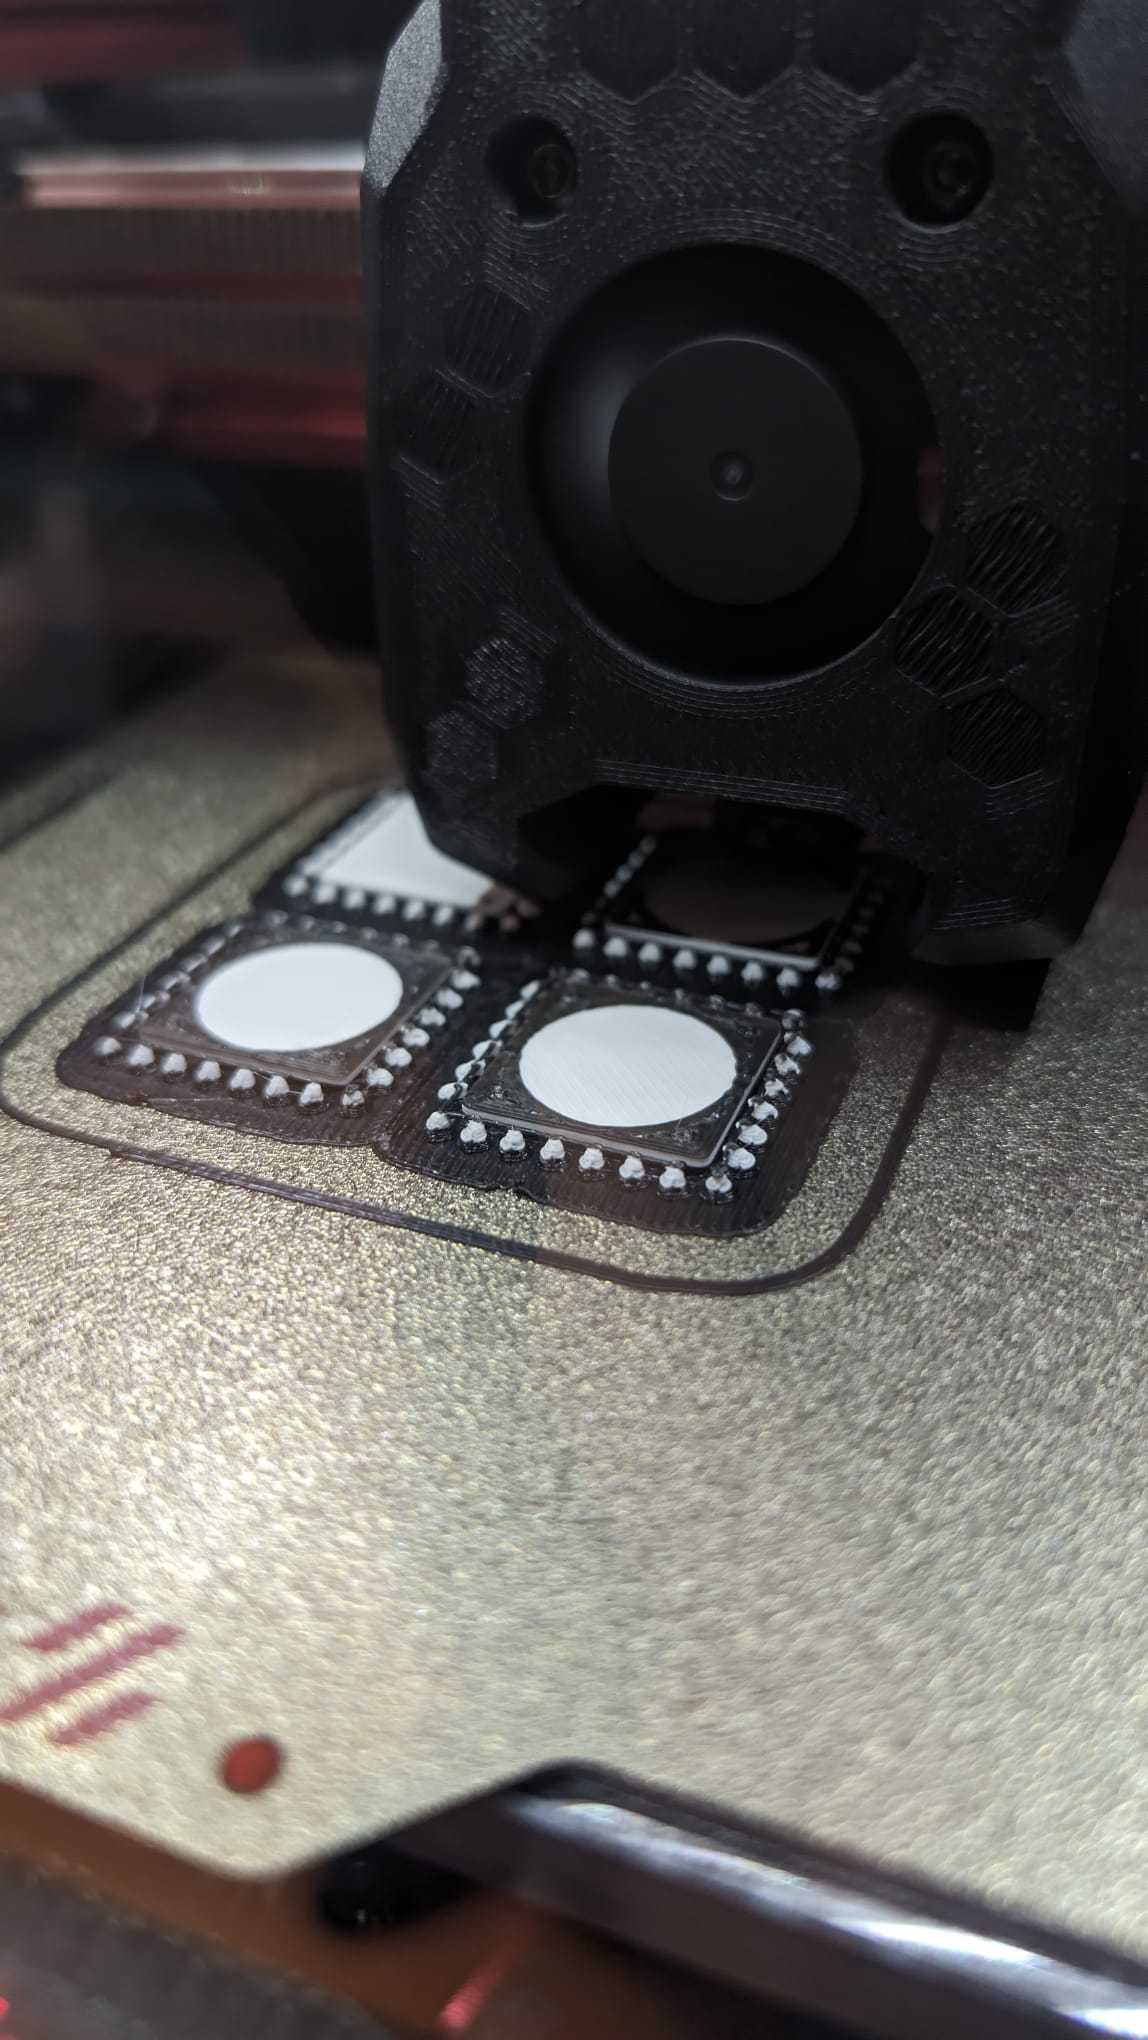
- Printed in ABS Black Magic matt for the clean look
- translucent parts printed in ABS natural (white)
- Big knob and buttons solved with stop at layer and changed the filament manually
- 4 Base Layers, 4 Top Layers, ~65% Infill, 3 Wall lines
- 0.15 - 0.2 Layerheight
- use your favorite settings I wanted the parts to be very strong and heavy
Building pics:
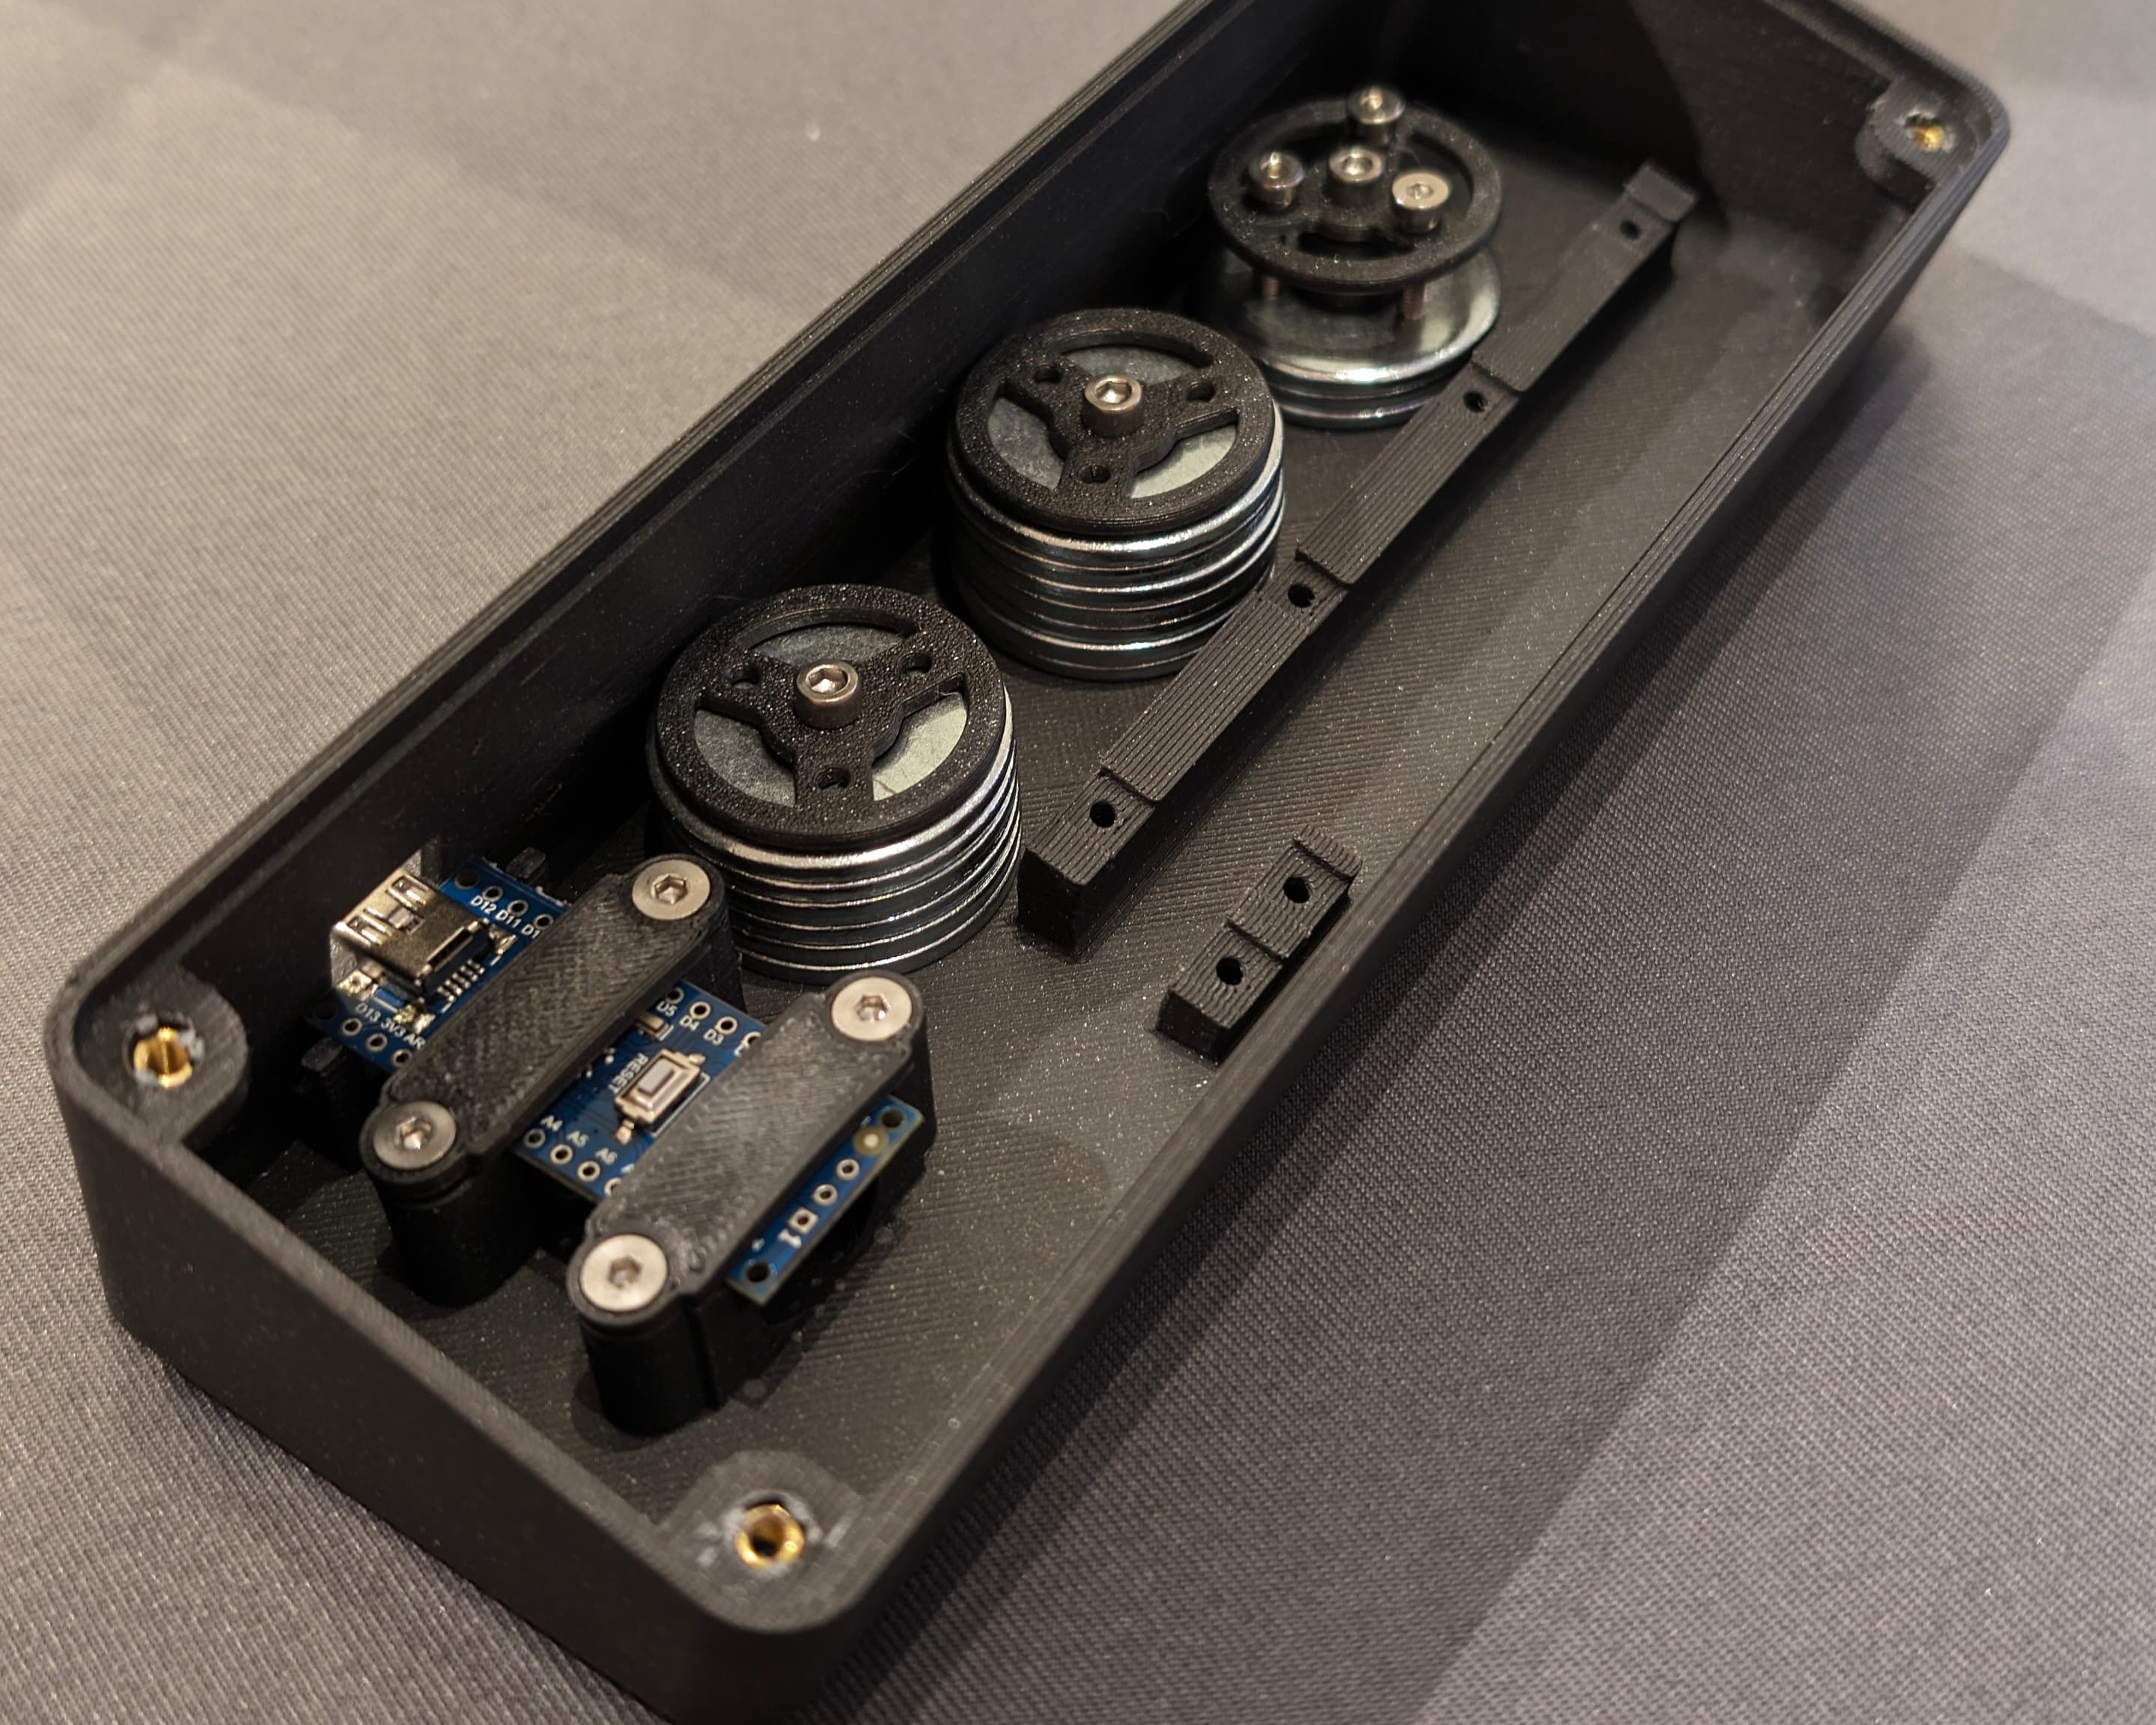
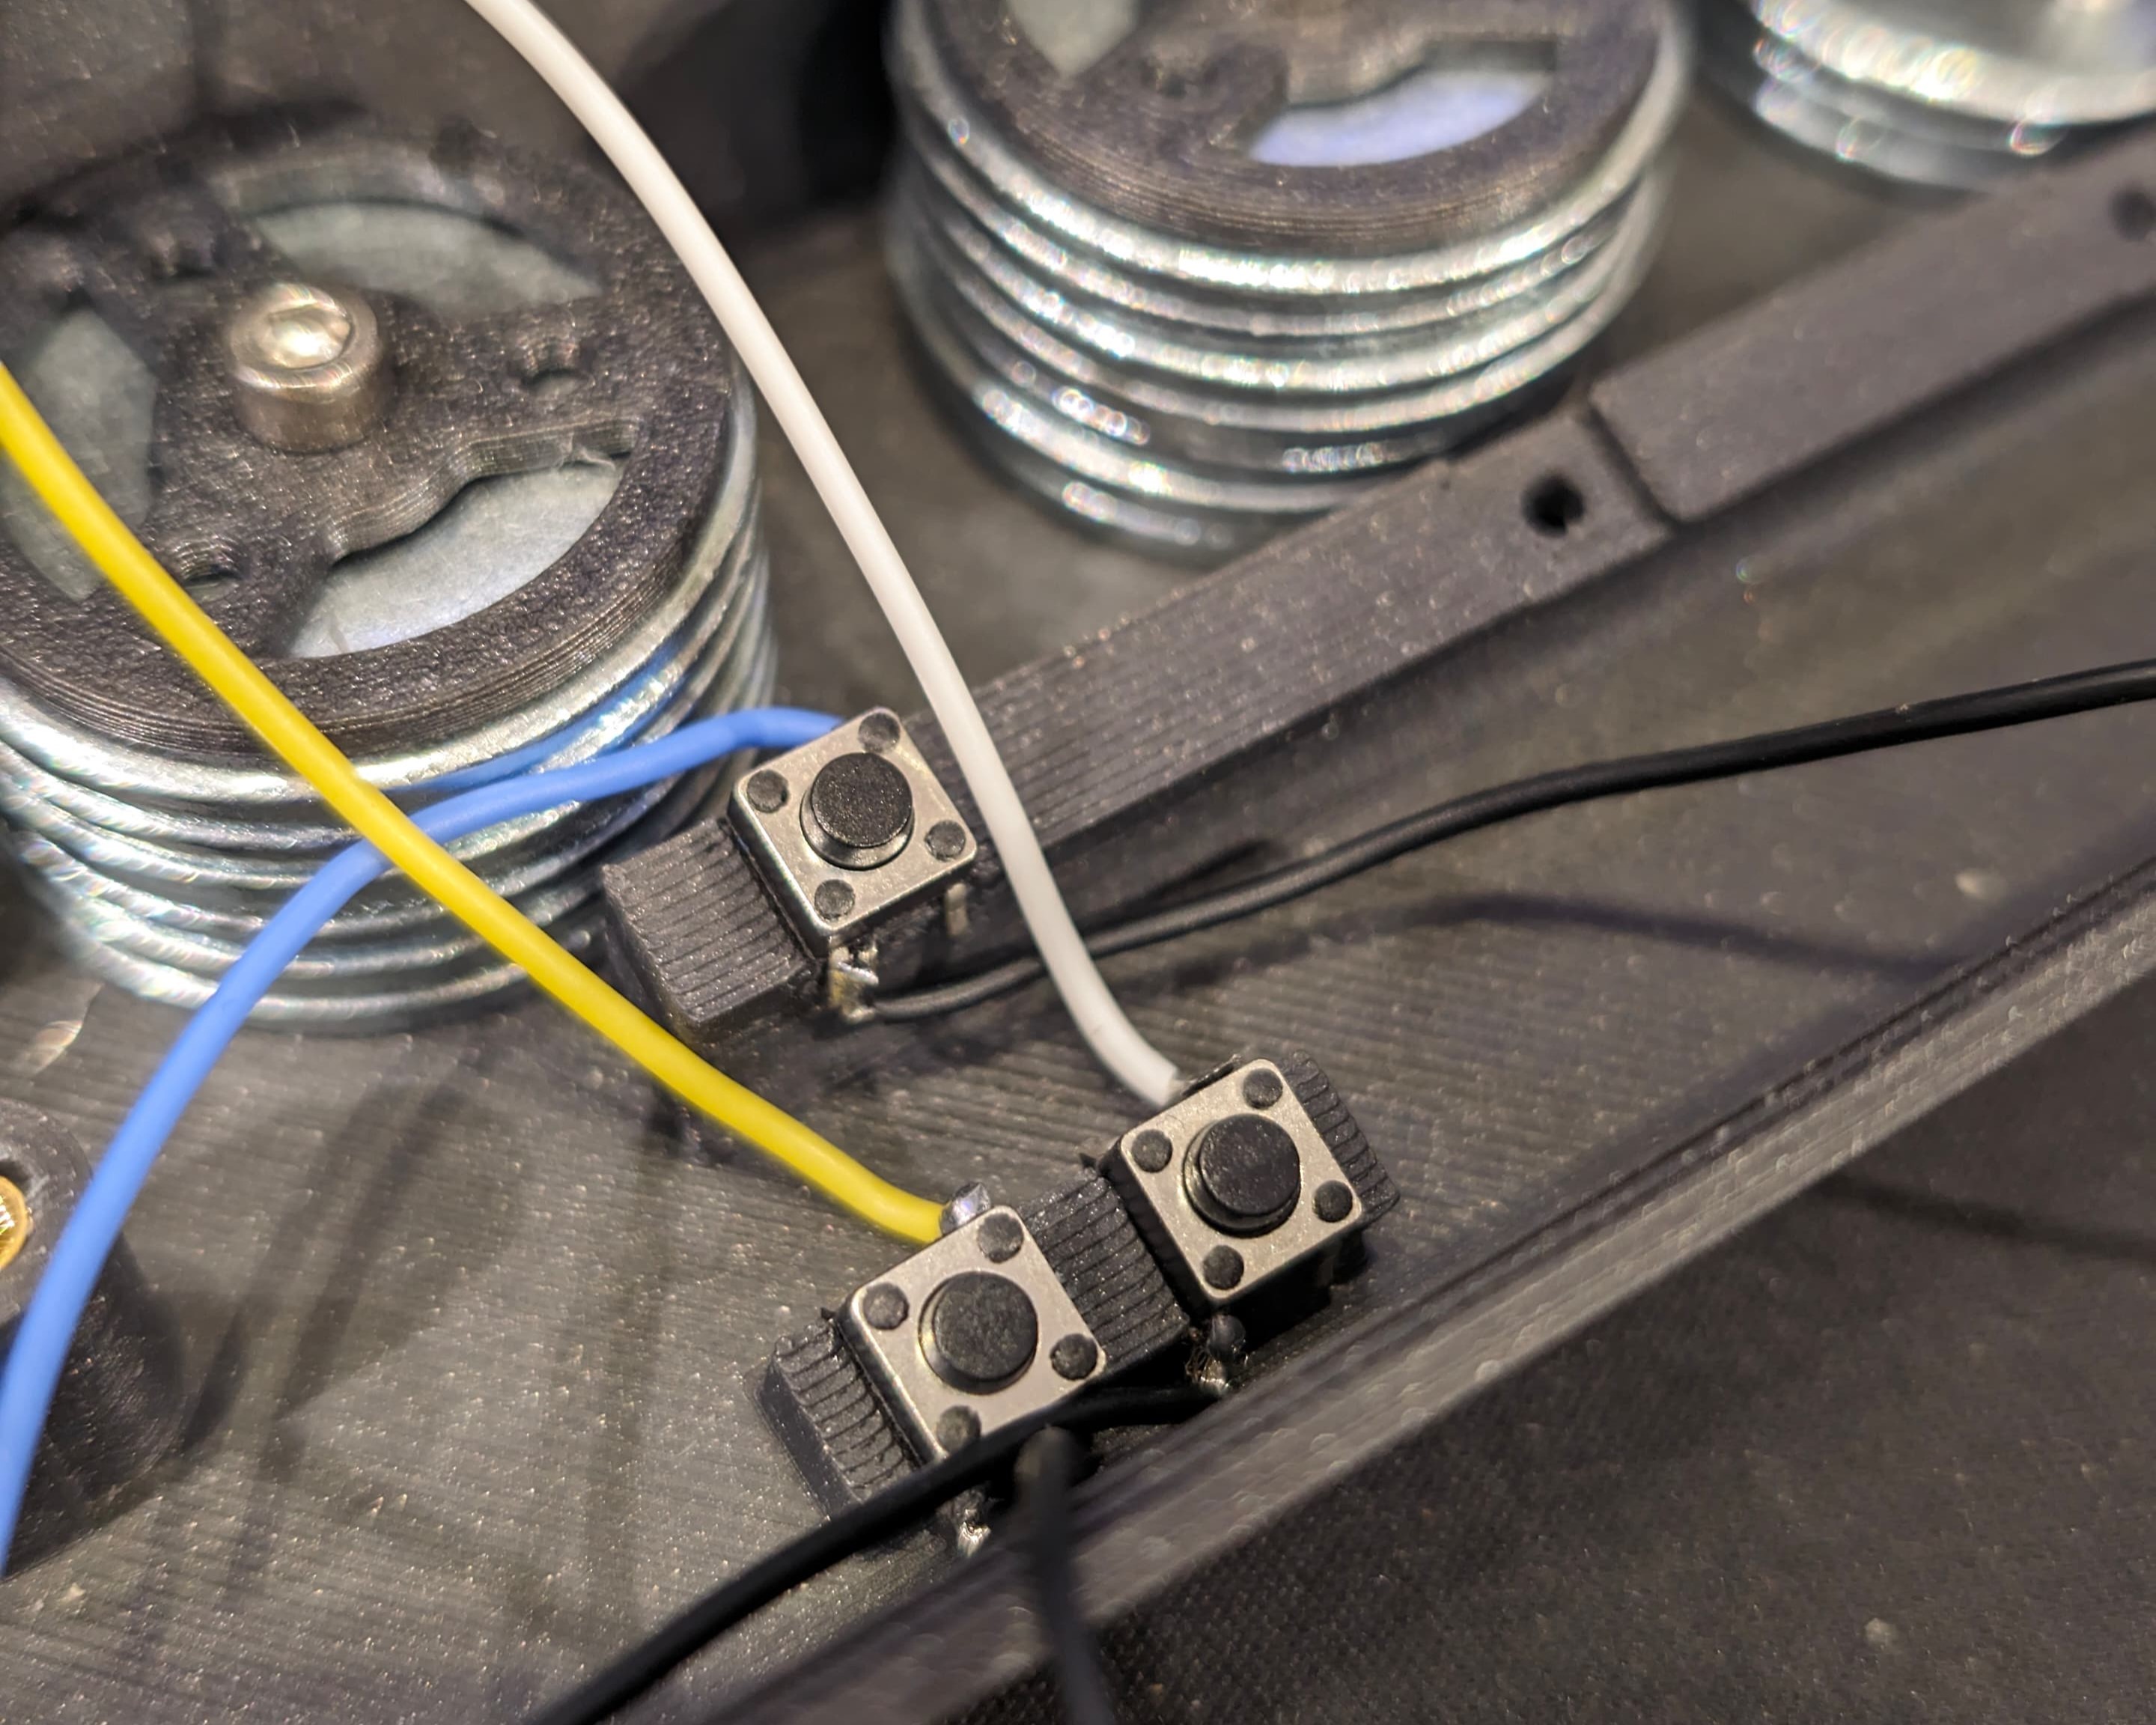
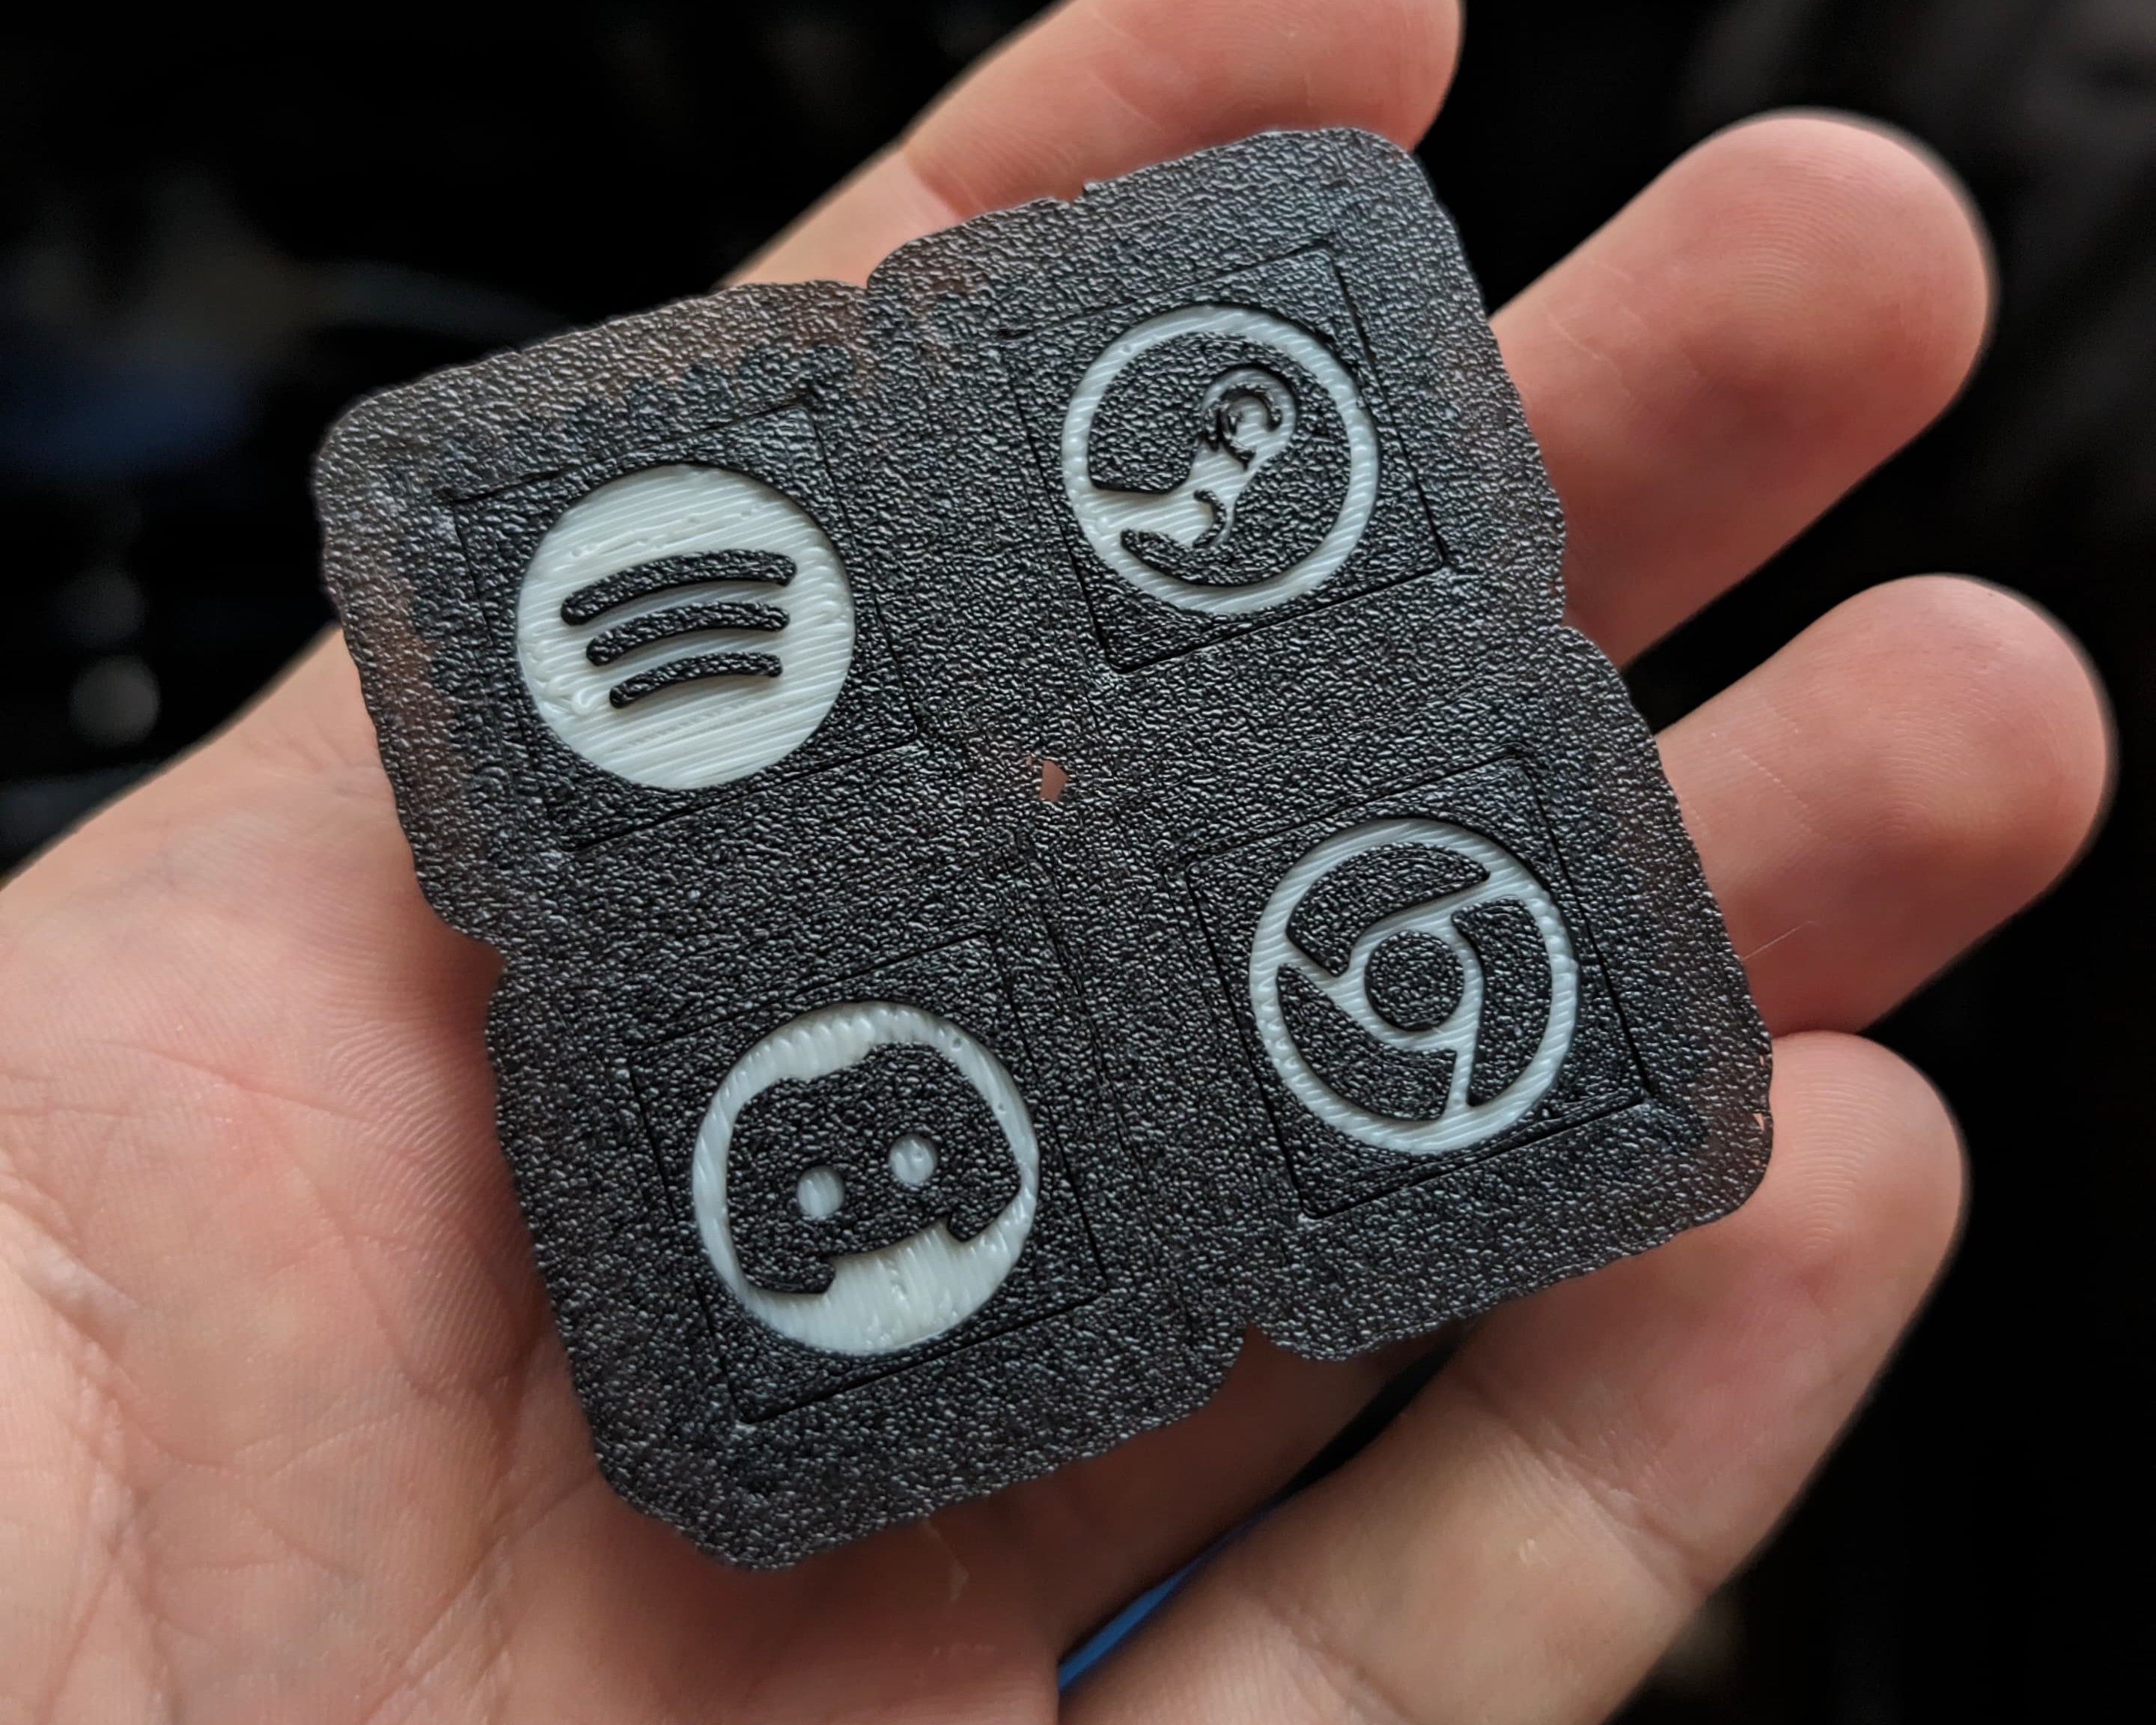
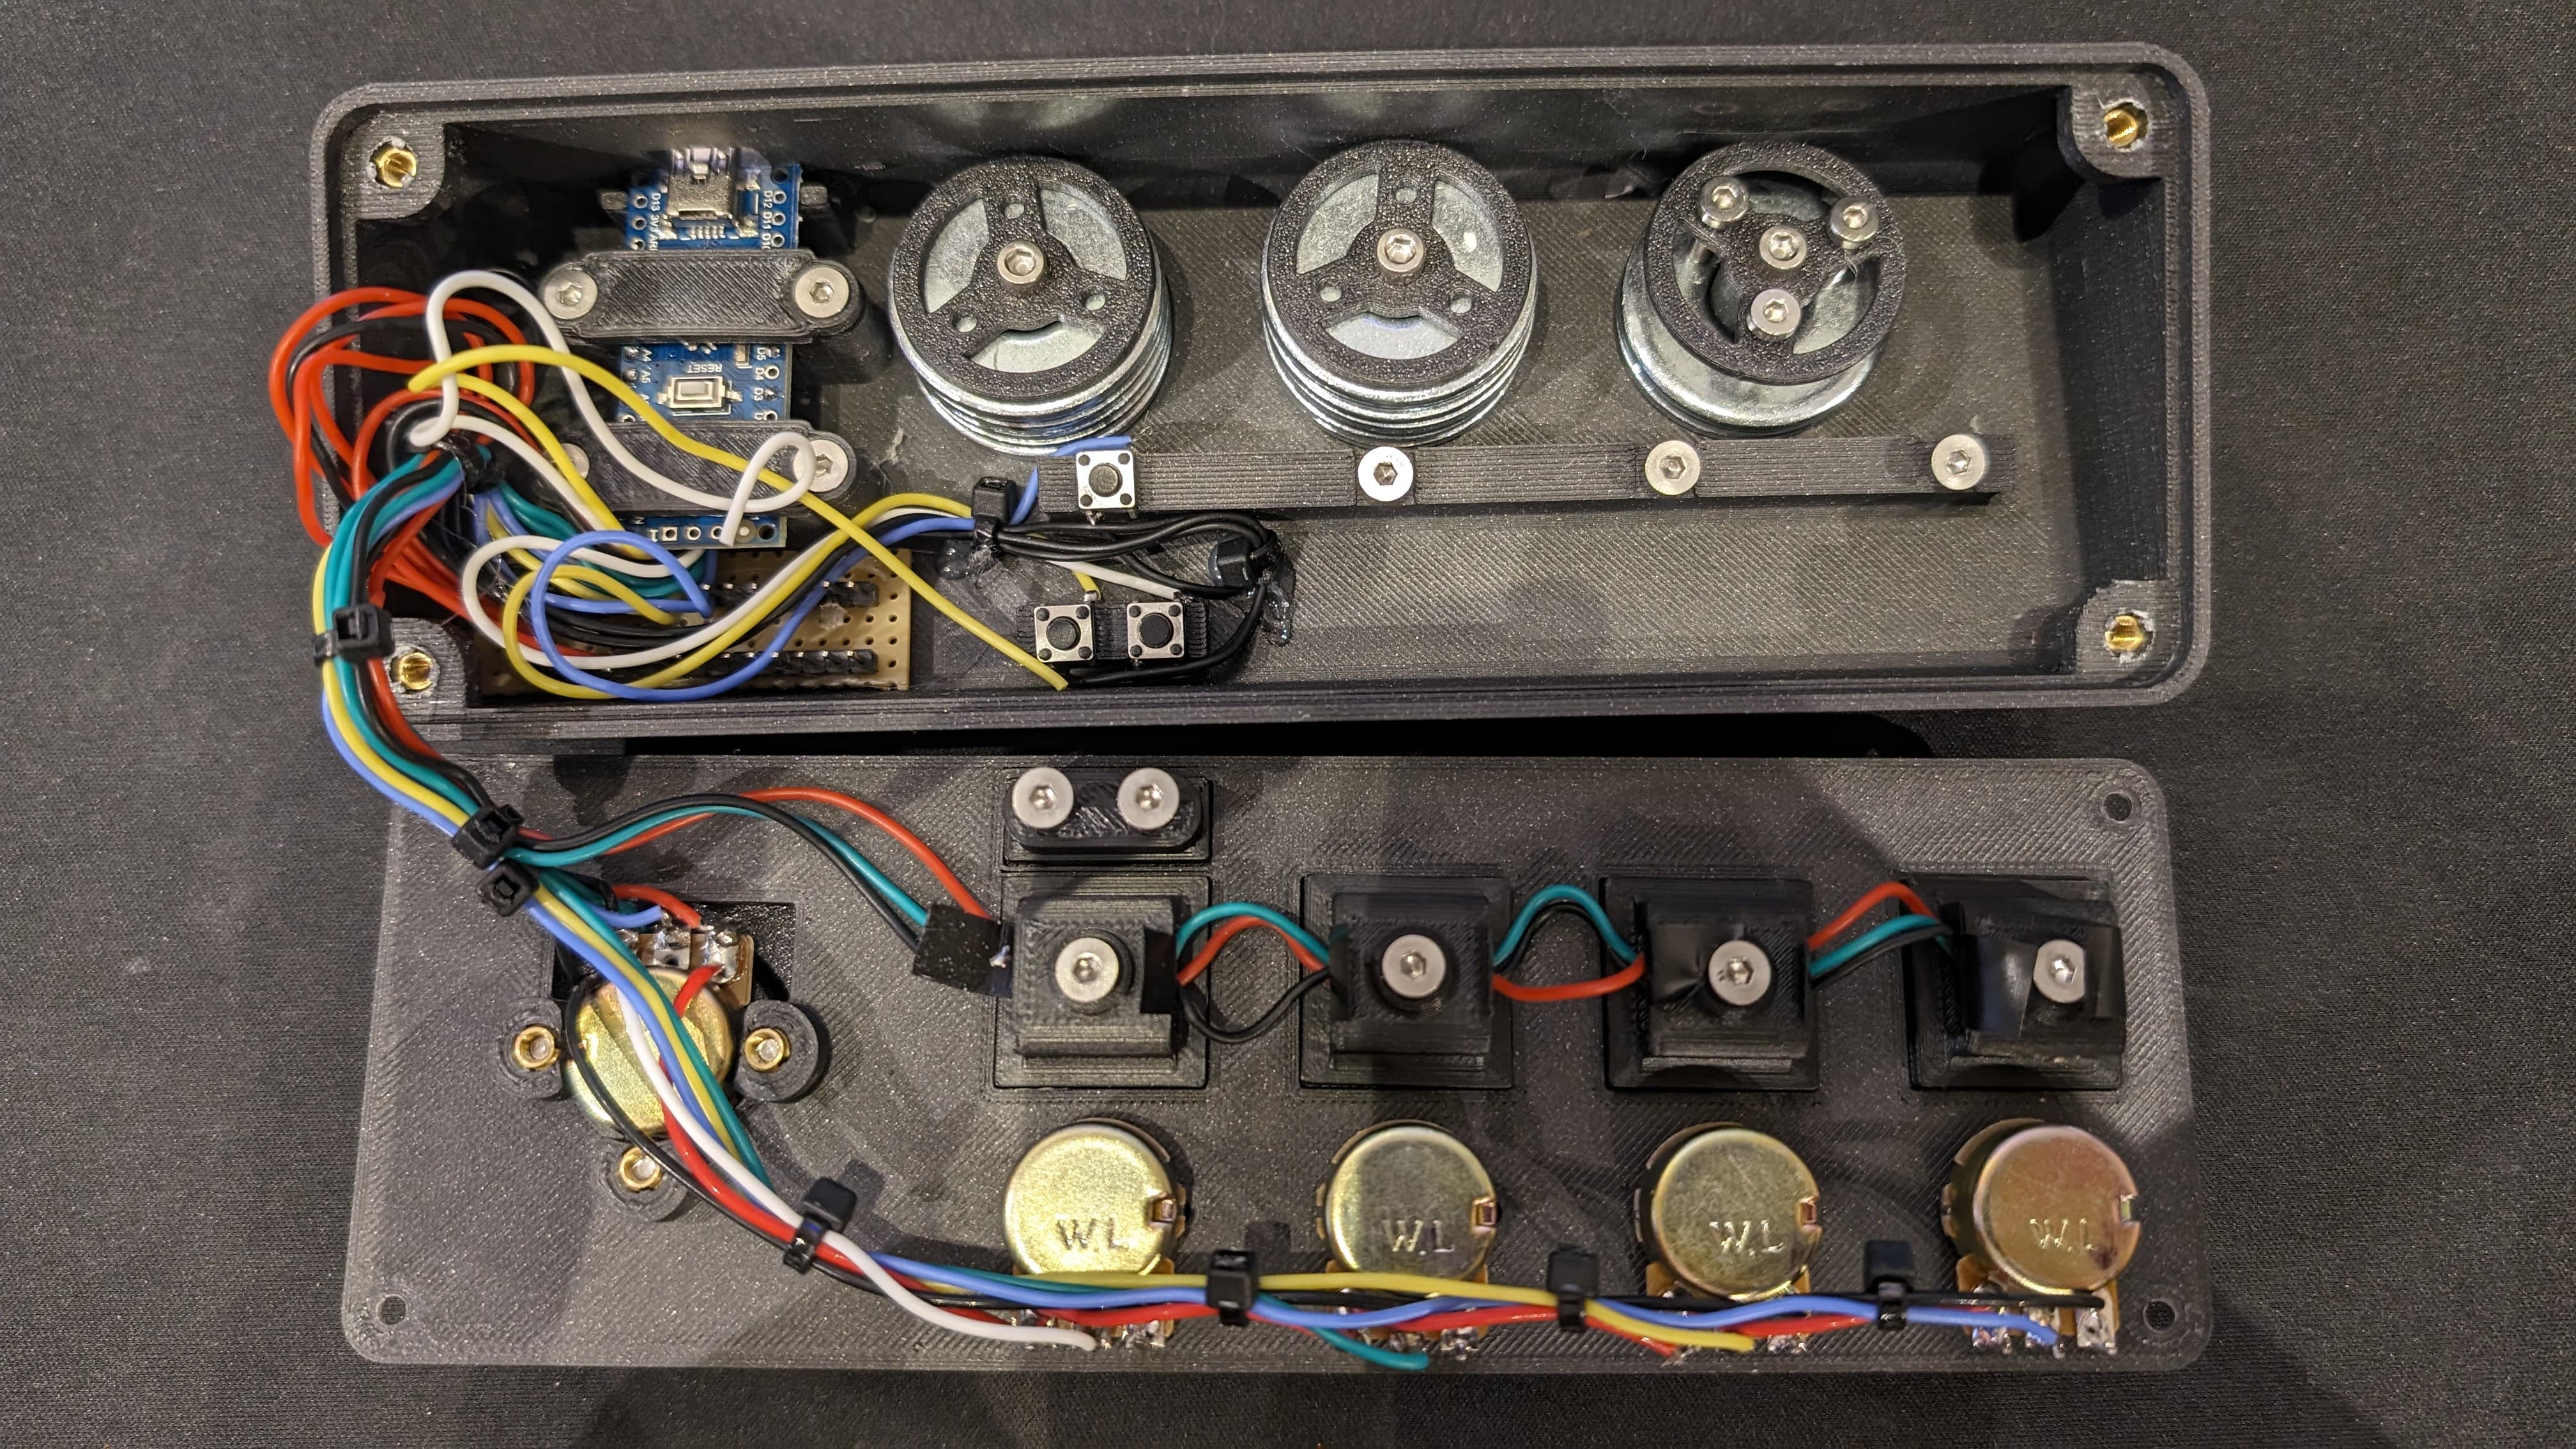
How do the buttons work?
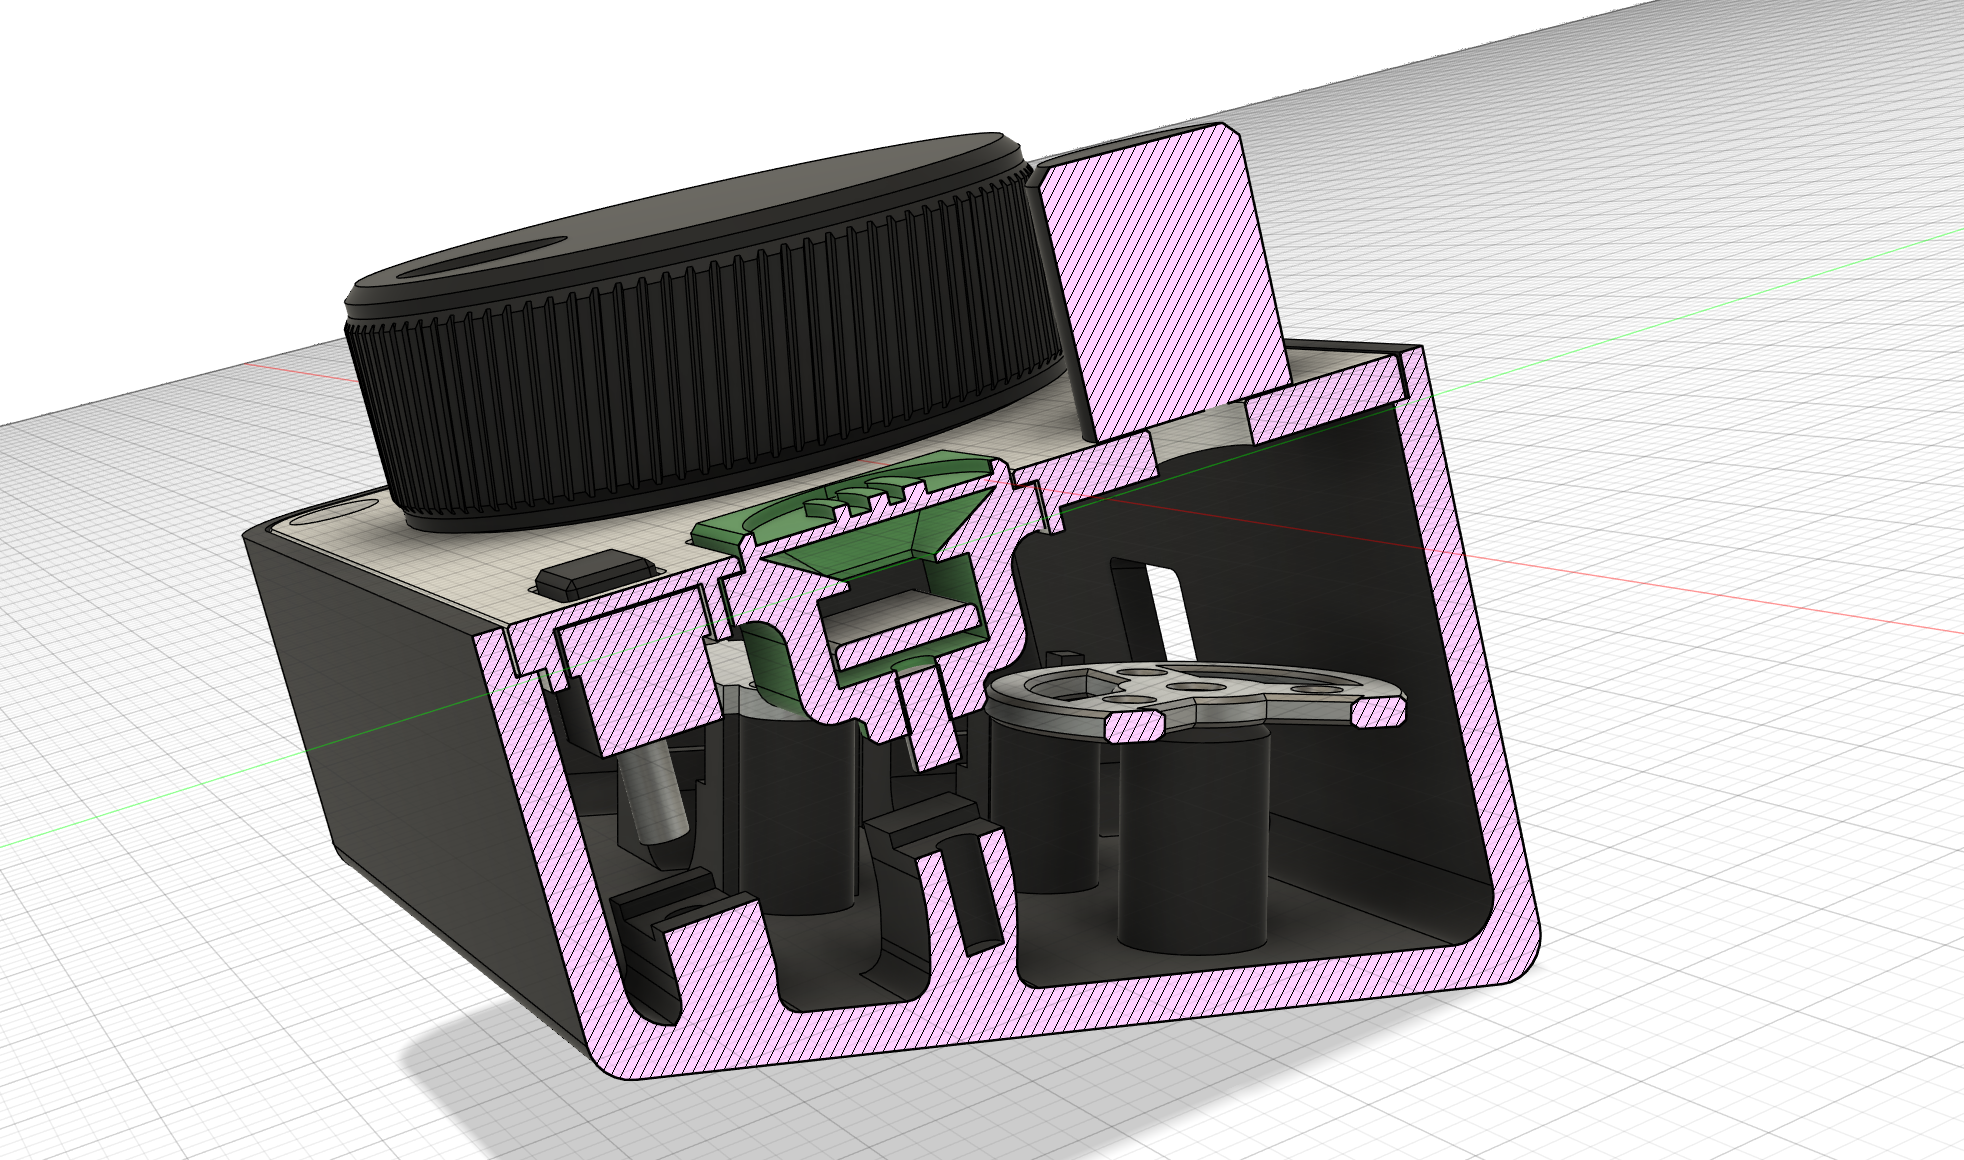
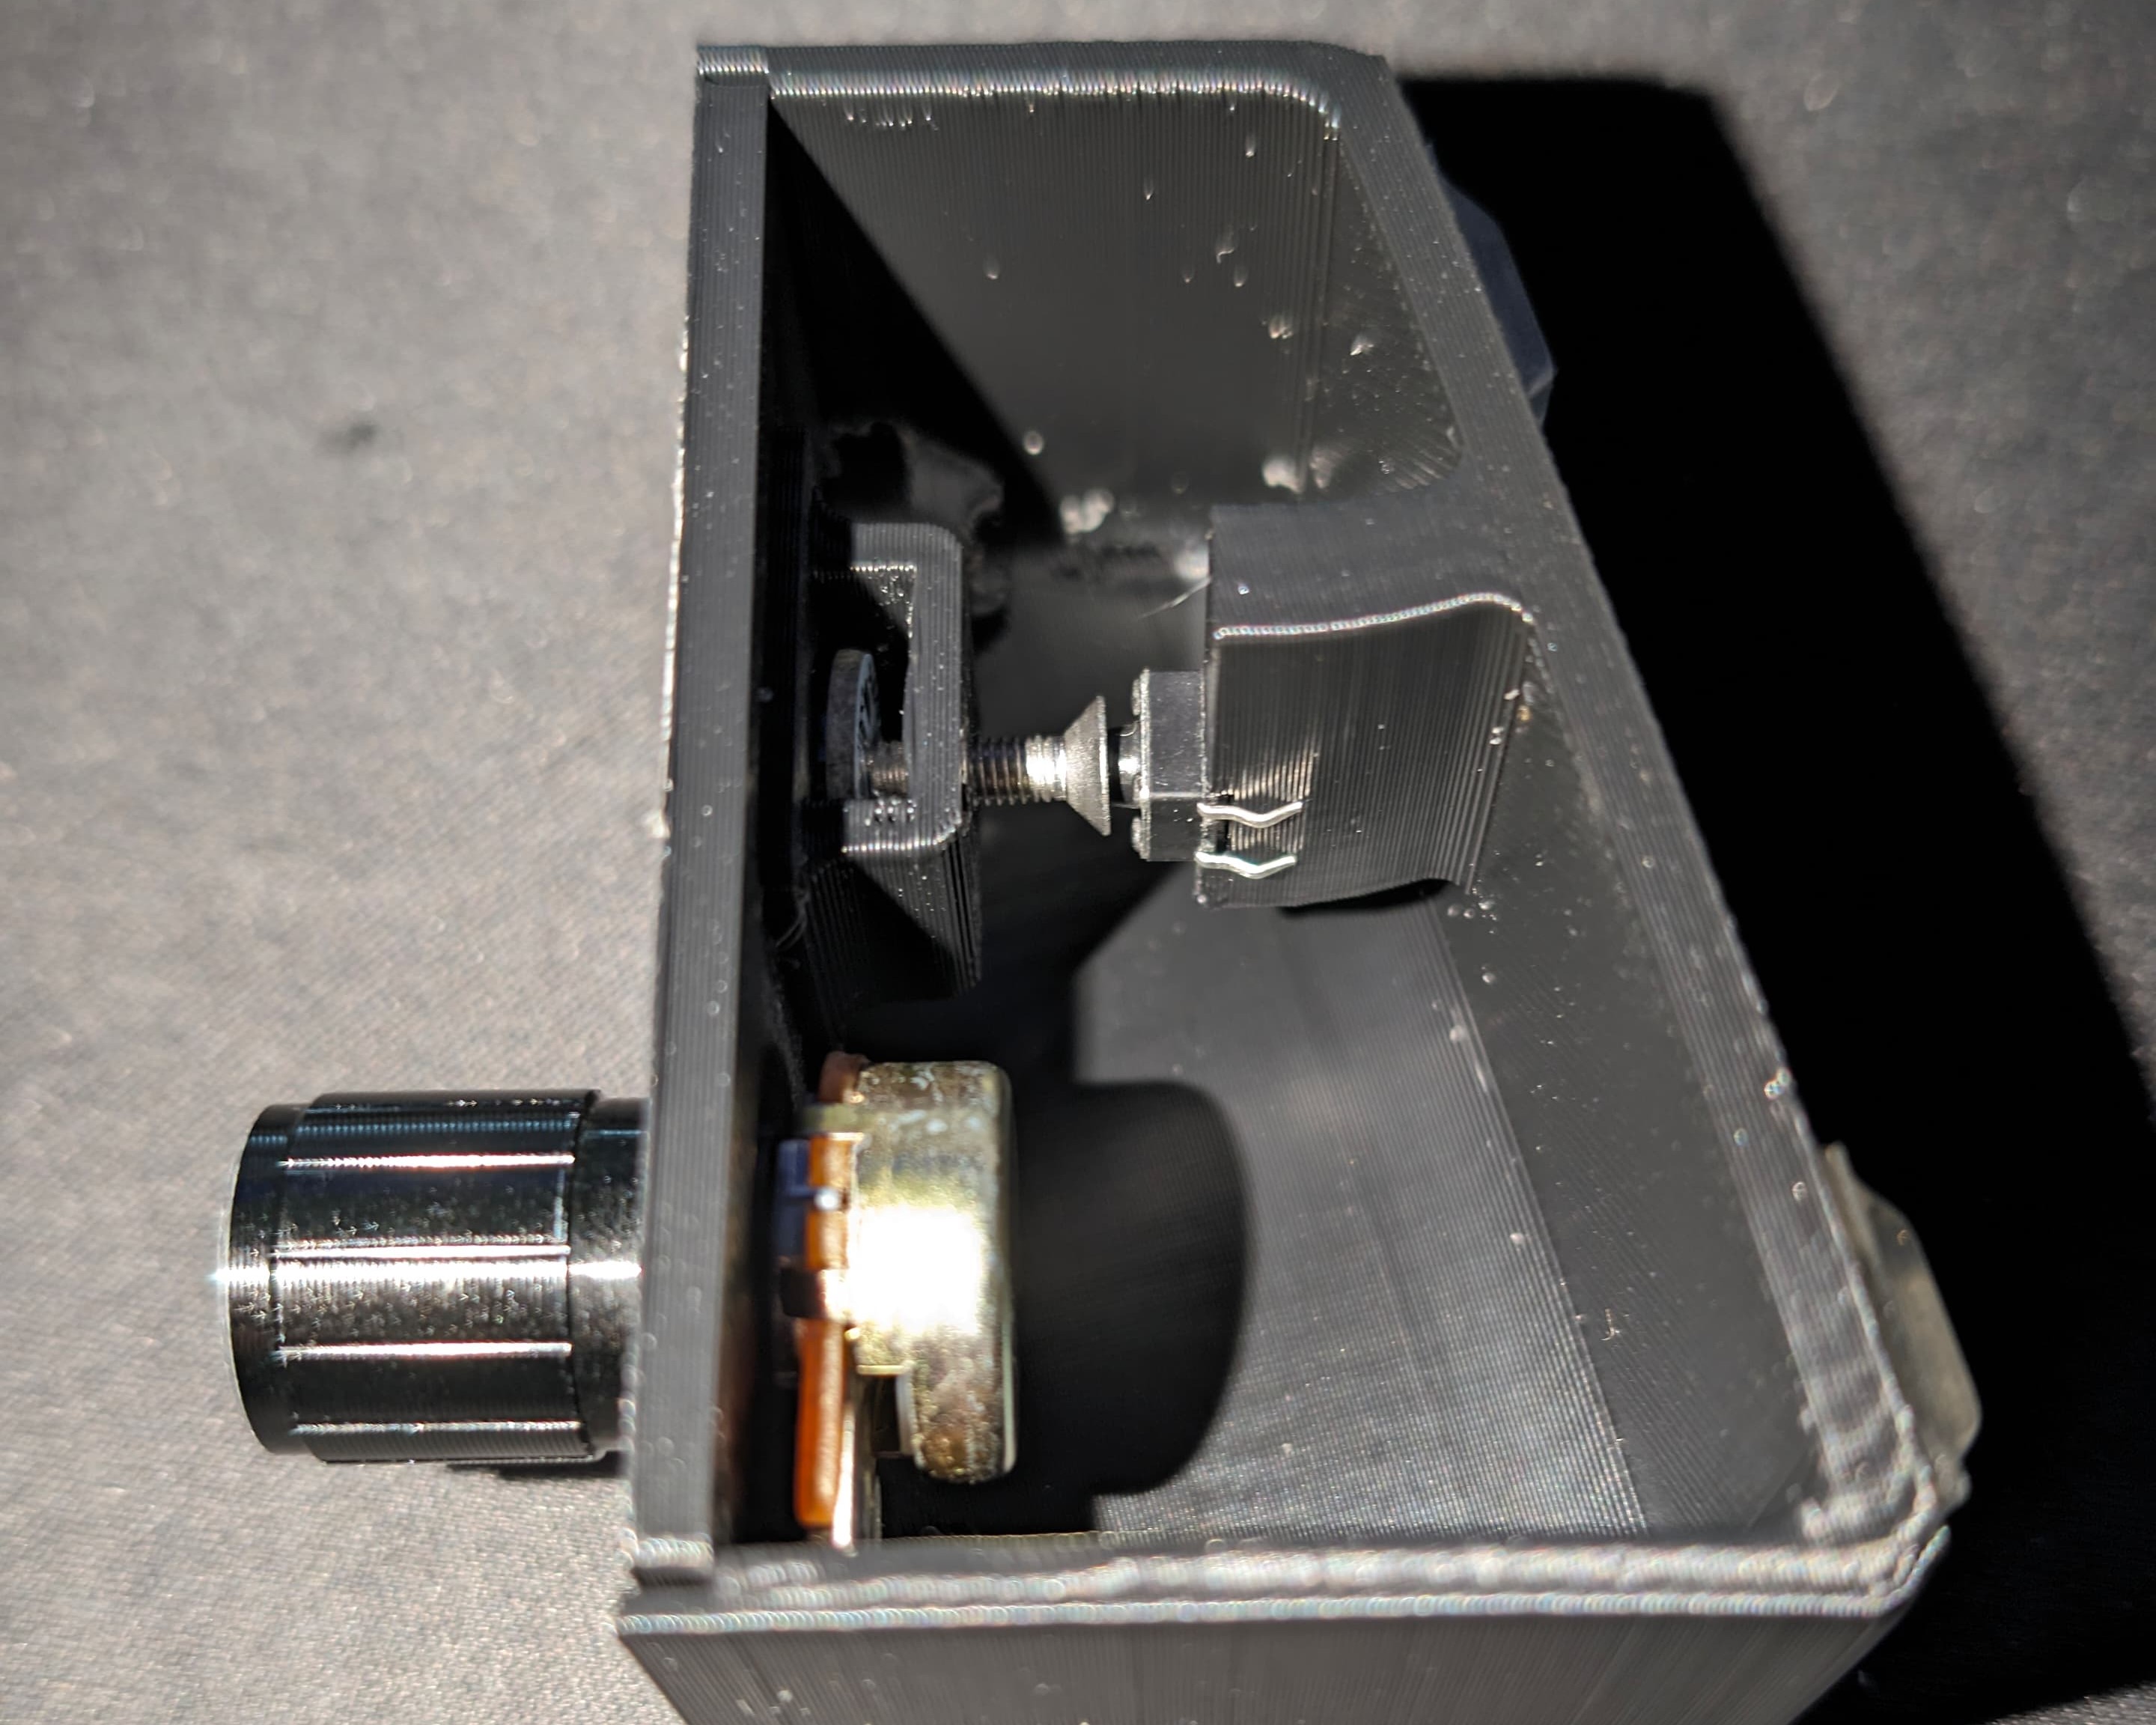
The RGB LED is placed inside of the button, the screw inside of the button can be adjusted. The button should be pressed by the screw. (use the M3x6-8mm here)
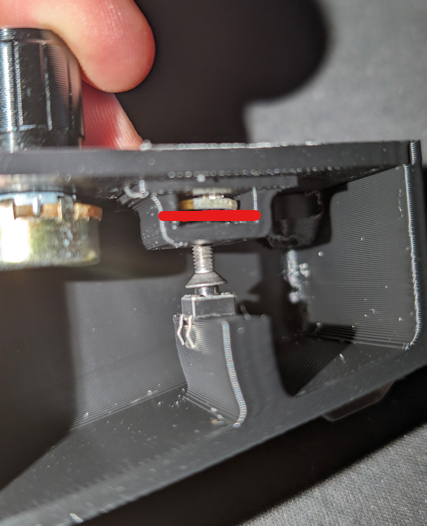
Use the “Deej_SpannerLED_5x.stl" between the LED and the top of the button to hold it down and to prevent that the screw touch the contacts.
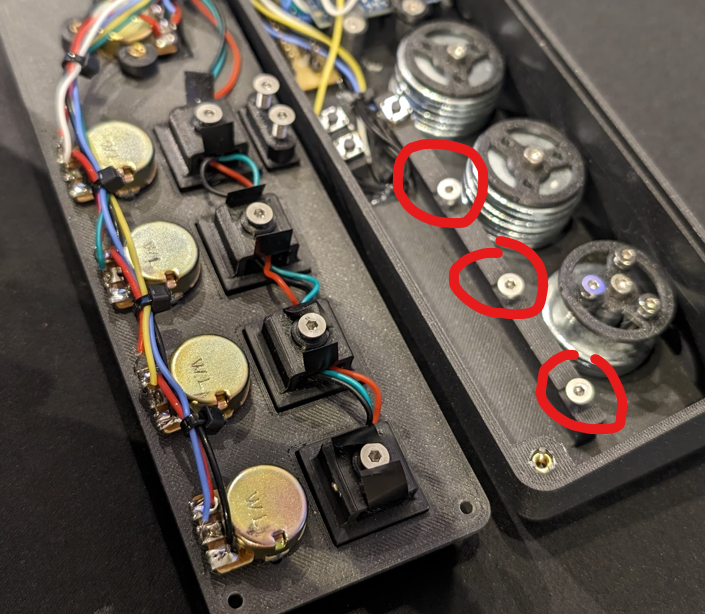
If some places does not have a button screw in some M3x10 and adjust them so the buttons are pressed against the top of the cover, when closed.
Wiring:
If you do not know how to solder potentiometers have a look here:
[https://www.wikihow.com/Wire-a-Potentiometer](https://www.wikihow.com/Wire-a-Potentiometer)
I made the mistake that i used the holes for soldering, which destroyed my potentiometers. Use the pins and everything works perfect.
Used Arduino nano pins:
- A0, A1, A2, A3, A6 for sliders
- D6, D7, D8 for Buttons
- D3 for LED strip ring inside of the big knob
- D5 for LED strip under the buttons
Attachments/Used Tools:
- Arduino program
- AutoHotKey script for control of spotify:
- download and install AutoHotkey: [https://www.autohotkey.com/](https://www.autohotkey.com/)
- open an notepad file, insert the code below and safe it as .ahk file
- it should be automatically opened with the autohotkey tool if not → right click → open with → other app → choose standard app autohotkey
- place the .ahk file into yout autostartup folder so it will be started automatically after booting your PC
;; Get the handle getSpotifyHwnd() { spotifyHwnd := WinGetID("ahk_exe Spotify.exe") Return spotifyHwnd }; Send a key, generic spotifyKey(key) { spotifyHwnd := getSpotifyHwnd() ; Chromium ignores keys when it isn't focused. ; Focus the document window without bringing the app to the foreground. ControlFocus "Chrome_RenderWidgetHostHWND1", "ahk_id " . spotifyHwnd ControlSend key, , "ahk_id " . spotifyHwnd Return }
; My combination, feel free to change to suit your tastes. F13::{ spotifyKey("{Space}") Return }
F14::{ spotifyKey("^{Left}") Return }
F15::{ spotifyKey("^{Right}") Return }
- My deej config.yaml
# process names are case-insensitiveyou can use 'master' to indicate the master channel, or a list of process names to create a group
you can use 'mic' to control your mic input level (uses the default recording device)
you can use 'deej.unmapped' to control all apps that aren't bound to any slider (this ignores master, system, mic and device-targeting sessions)
windows only - you can use 'deej.current' to control the currently active app (whether full-screen or not)
windows only - you can use a device's full name, i.e. "Speakers (Realtek High Definition Audio)", to bind it. this works for both output and input devices
windows only - you can use 'system' to control the "system sounds" volume
important: slider indexes start at 0, regardless of which analog pins you're using!
slider_mapping: 0: master 1: spotify.exe 2: chrome.exe 3: discord.exe 4: deej.unmapped
supported button list https://github.com/micmonay/keybd_event/blob/master/keybd_windows.go (scroll down)
be sure to convert hex values to decimal (hex values start with 0x)
for example: to get F13 (0x7C + 0xFFF)
0x7C = 124
0xFFF = 4095
124 + 4095
F13 = 4219
button_mapping: 0: 4219 1: 4220 2: 4221 3: 4271 4: 4229 5: 4230
set this to true if you want the controls inverted (i.e. top is 0%, bottom is 100%)
invert_sliders: false
settings for connecting to the arduino board
com_port: COM6 baud_rate: 9600
adjust the amount of signal noise reduction depending on your hardware quality
supported values are "low" (excellent hardware), "default" (regular hardware) or "high" (bad, noisy hardware)
noise_reduction: low
Feel free to contact me or write an comment here if you have questions regarding data, code or anything else.
Happy making.

Gostou deste modelo? Crie uma conta grátis para salvar seus favoritos e voltar a eles depois.
Criar conta