Você está no 3DFinder
Buscamos em Thingiverse, MakerWorld e Printables ao mesmo tempo para te dar o melhor de cada uma.
Descrição
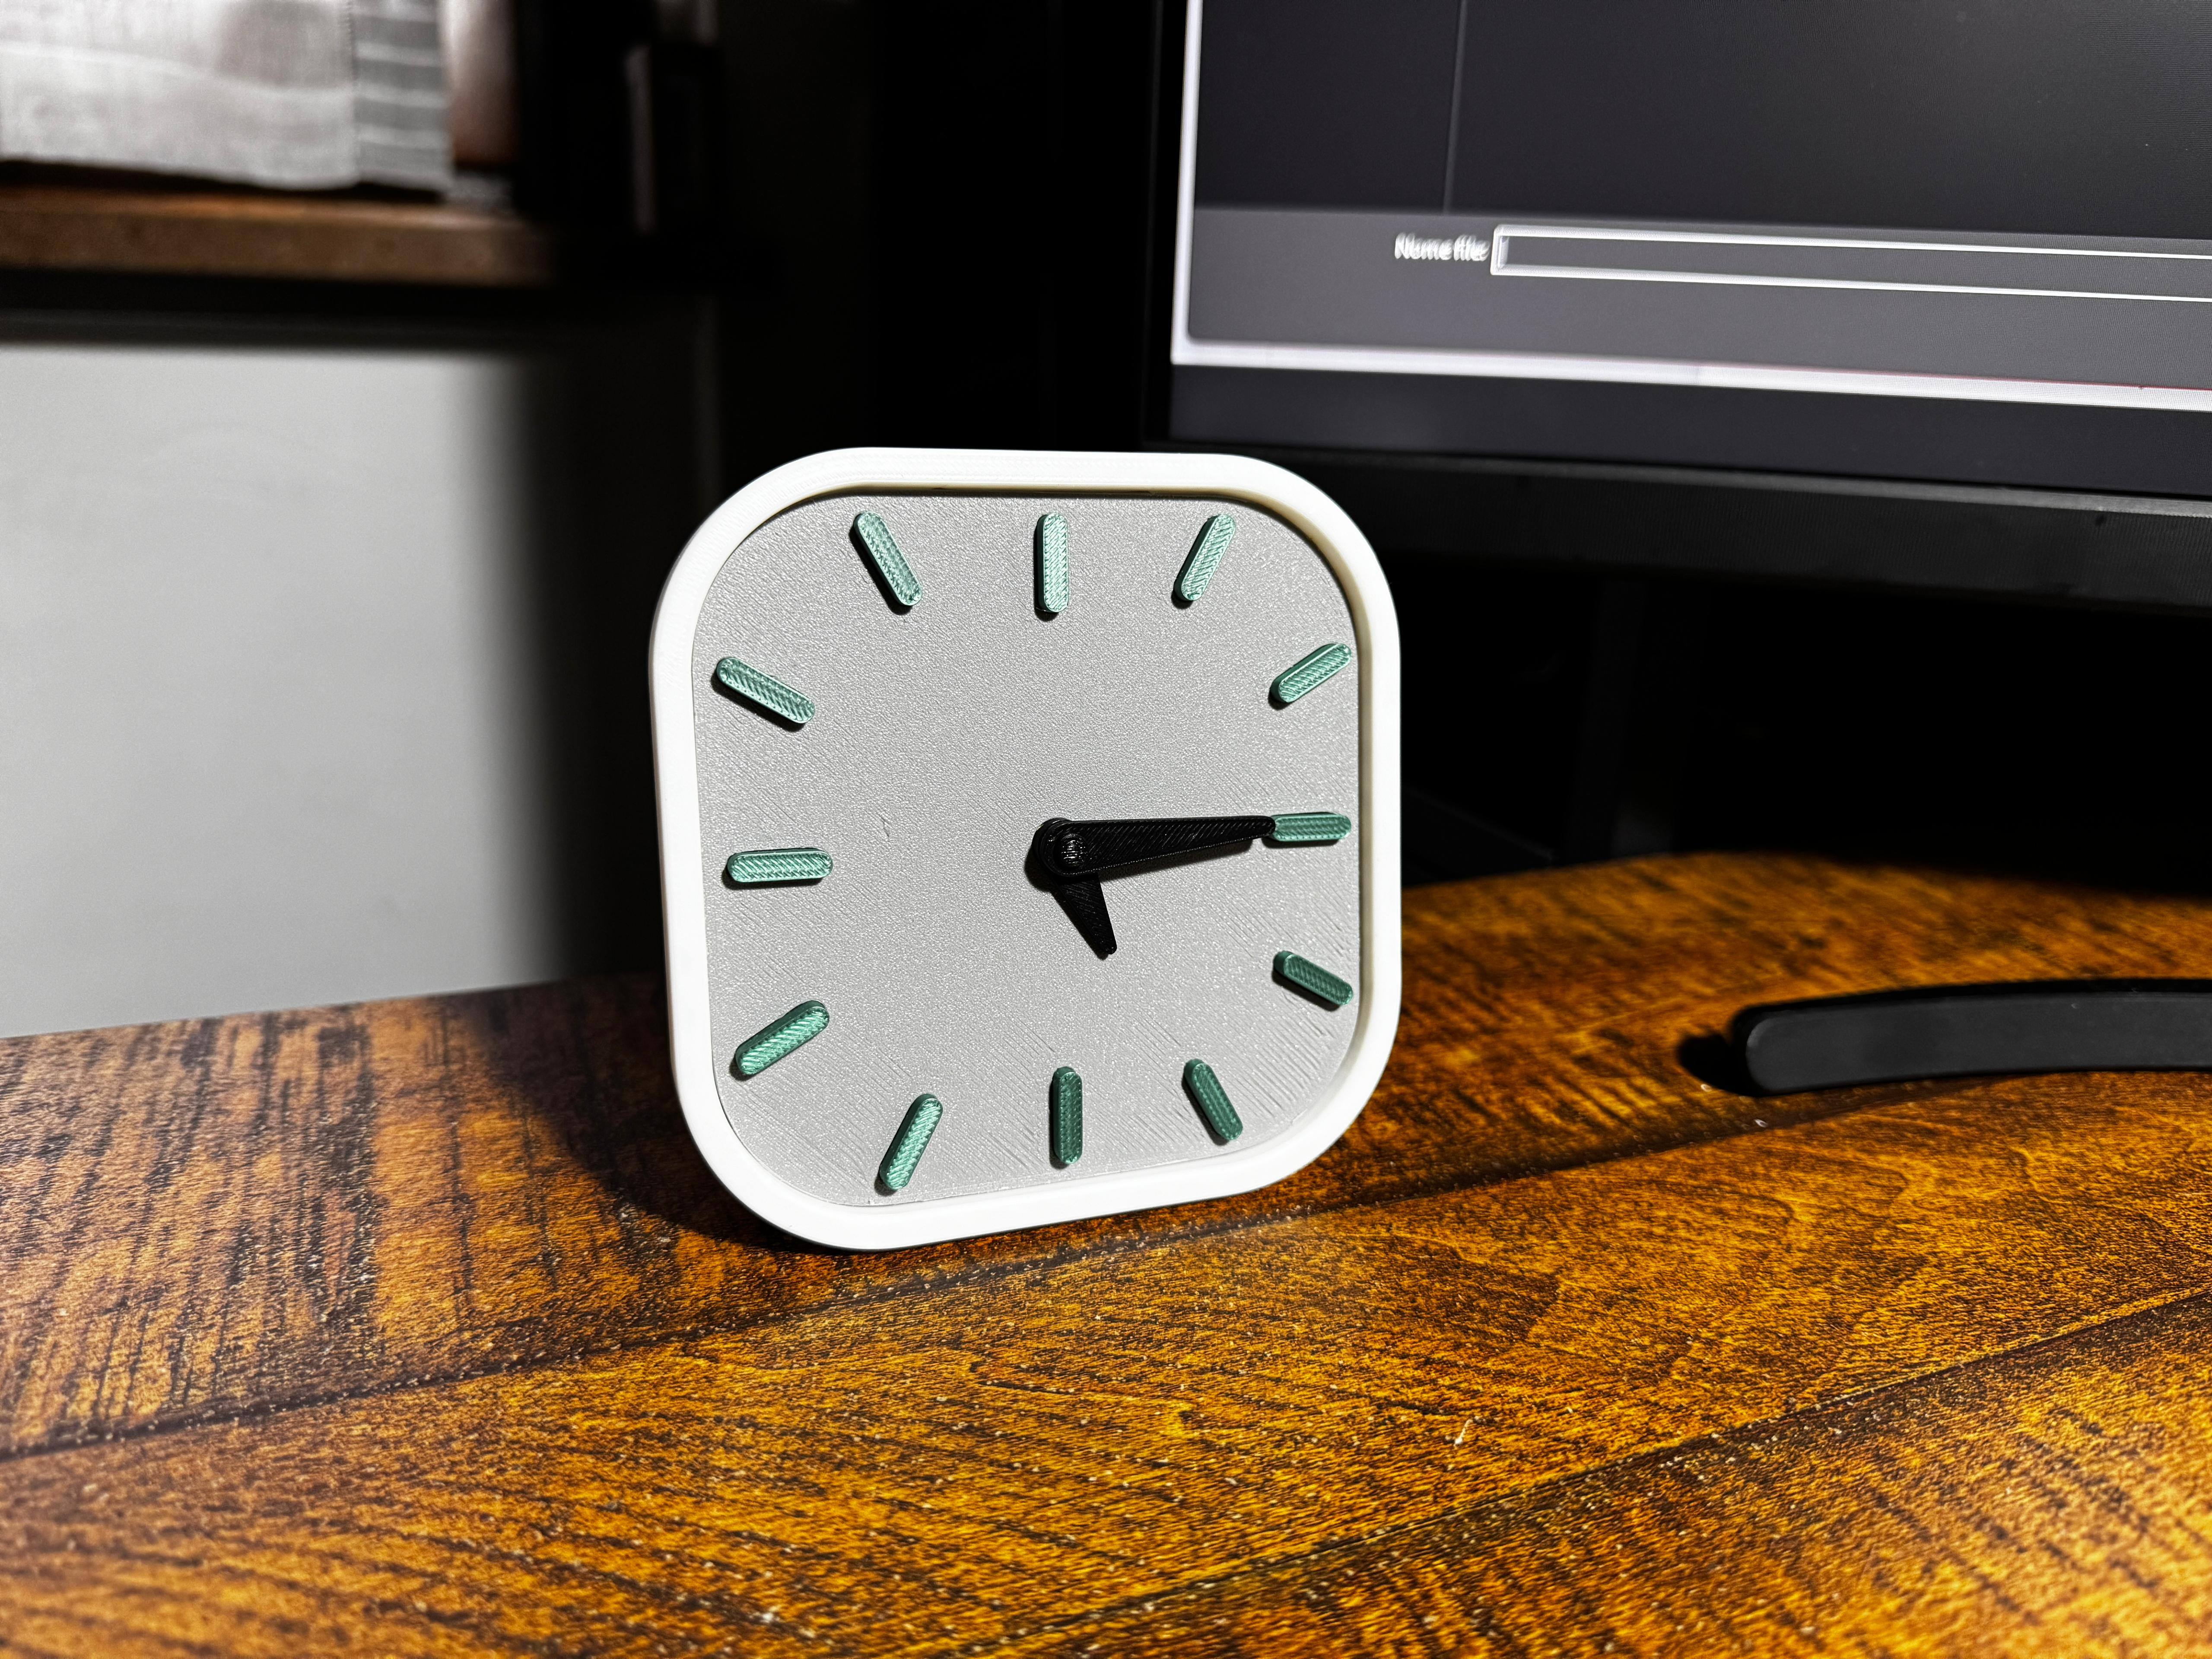
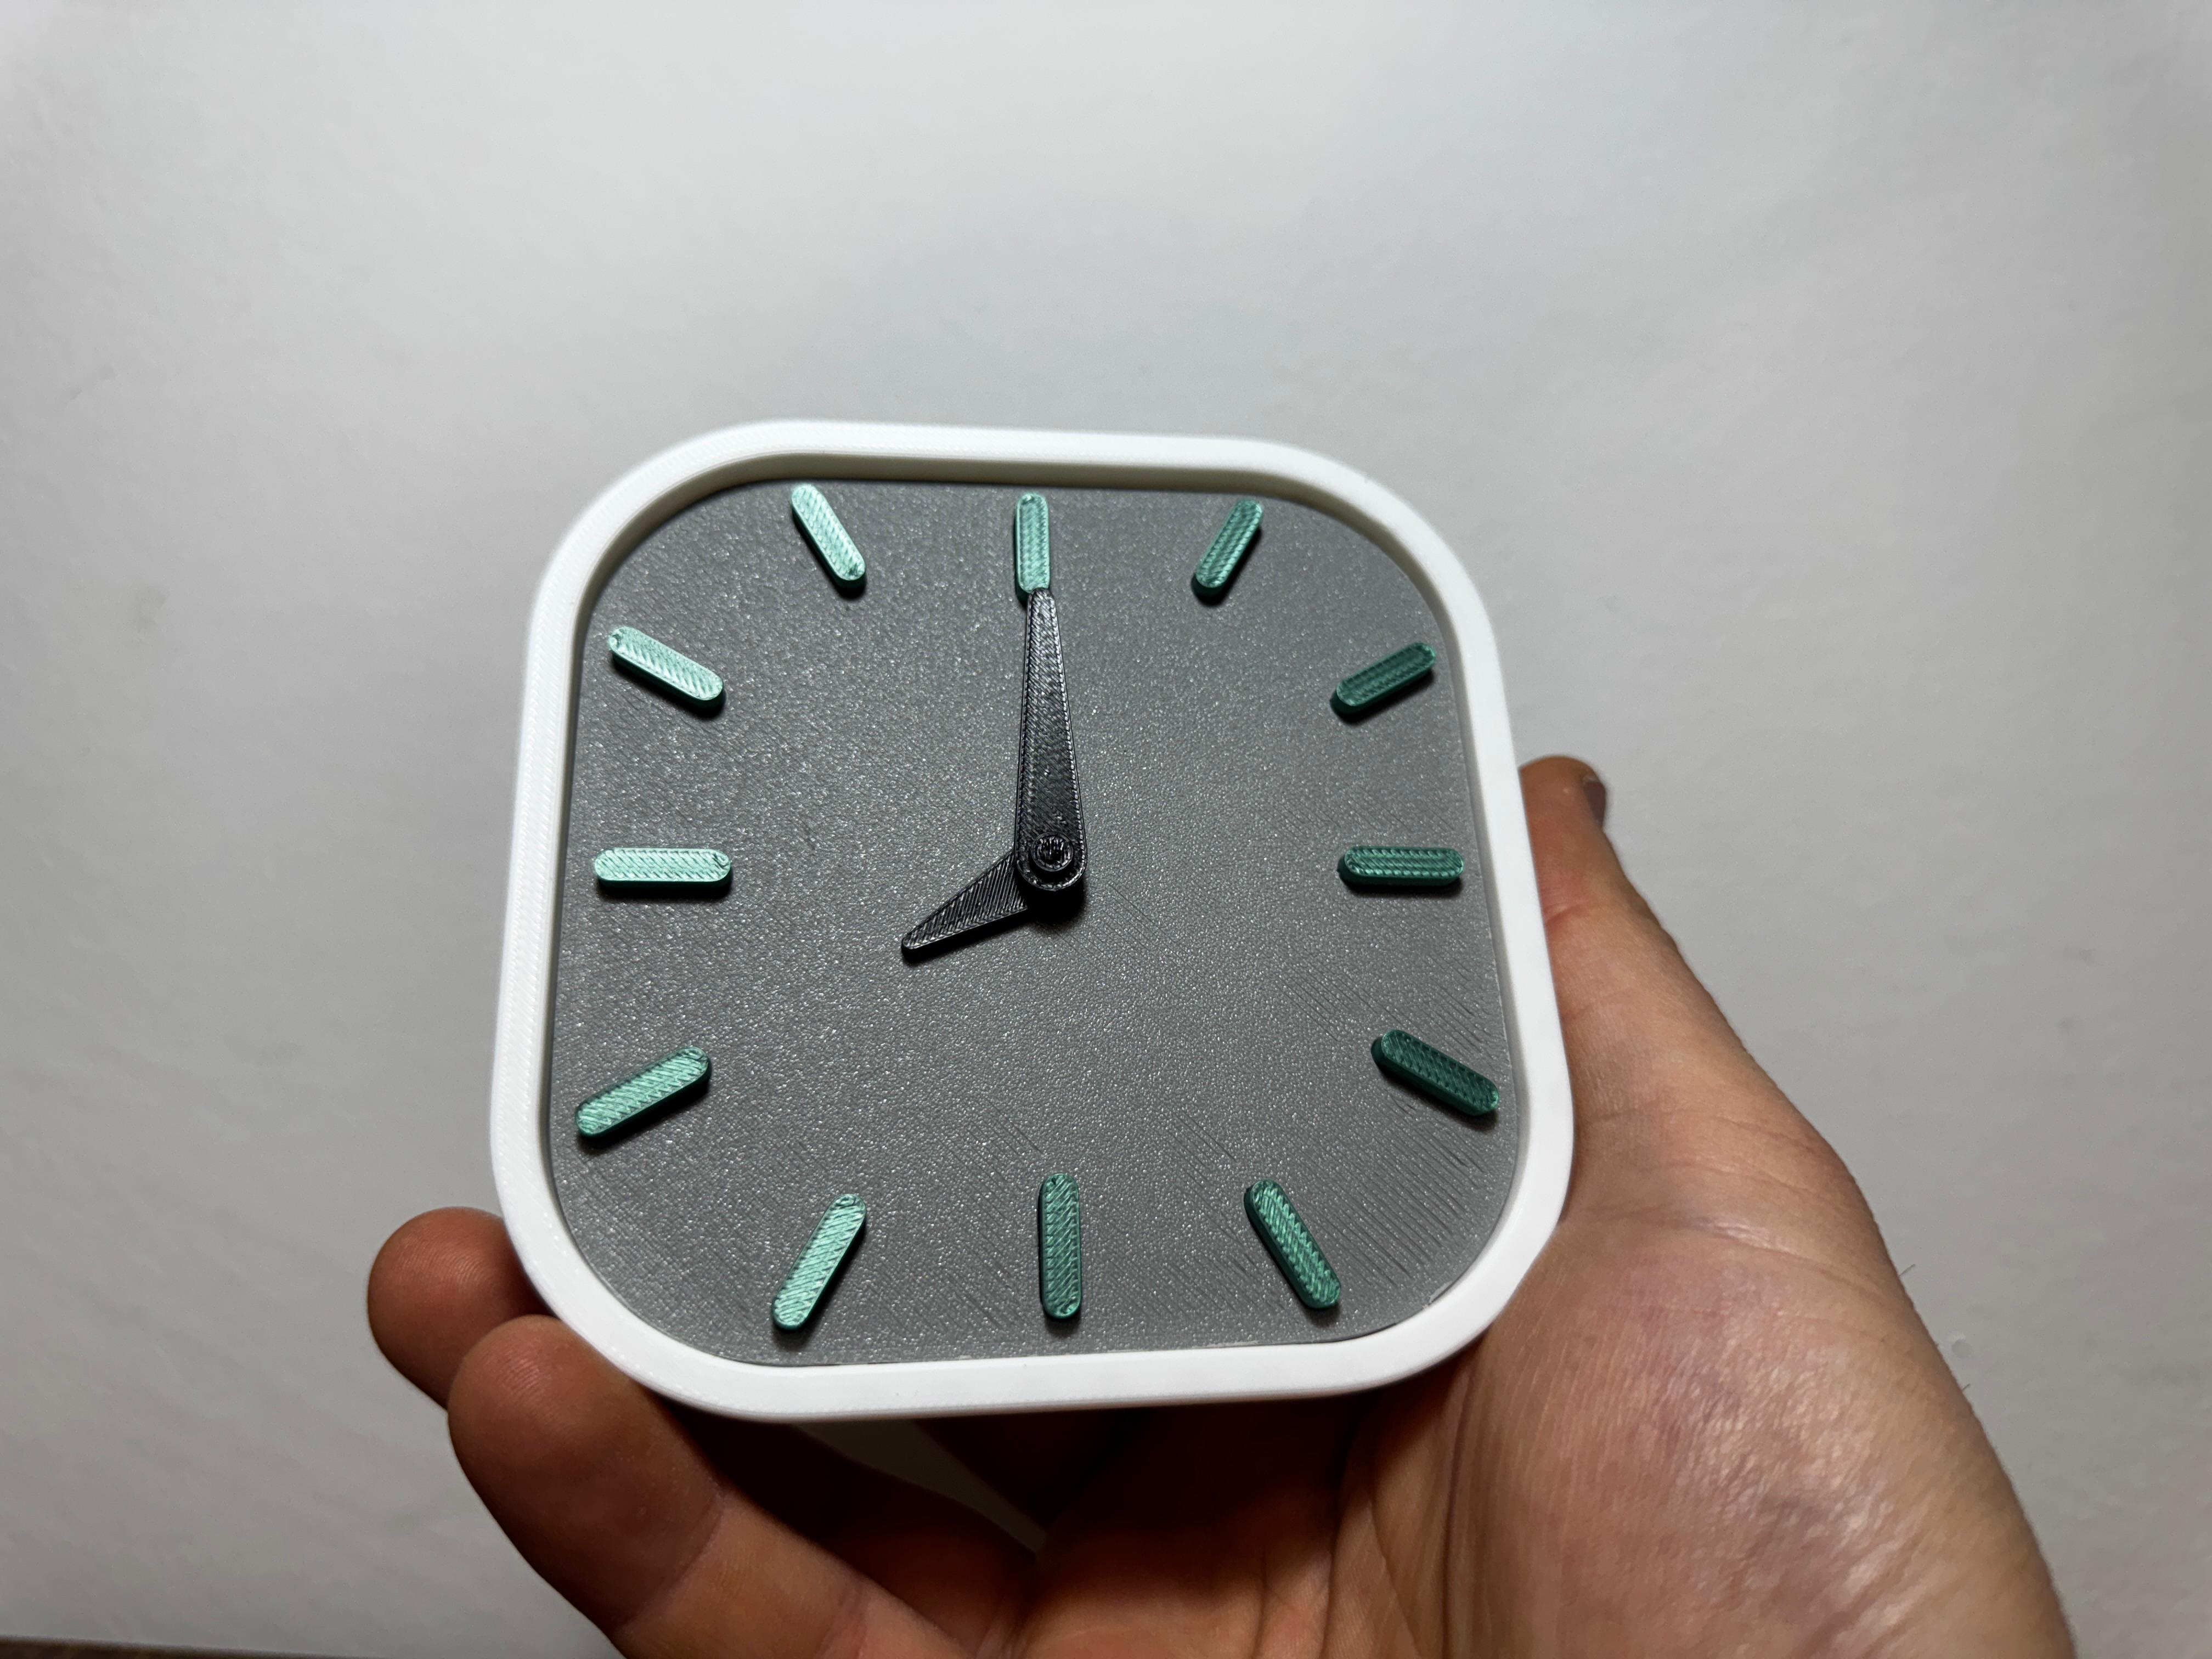
Minimals Clock
A perfect blend of simplicity and versatility. The Minimals Clock is designed to blend harmoniously into any environment, from the desk in your office to the bedside table at home. With its sleek, minimalist design, it fits any style, making it the ideal detail for those who love elegance without excess.
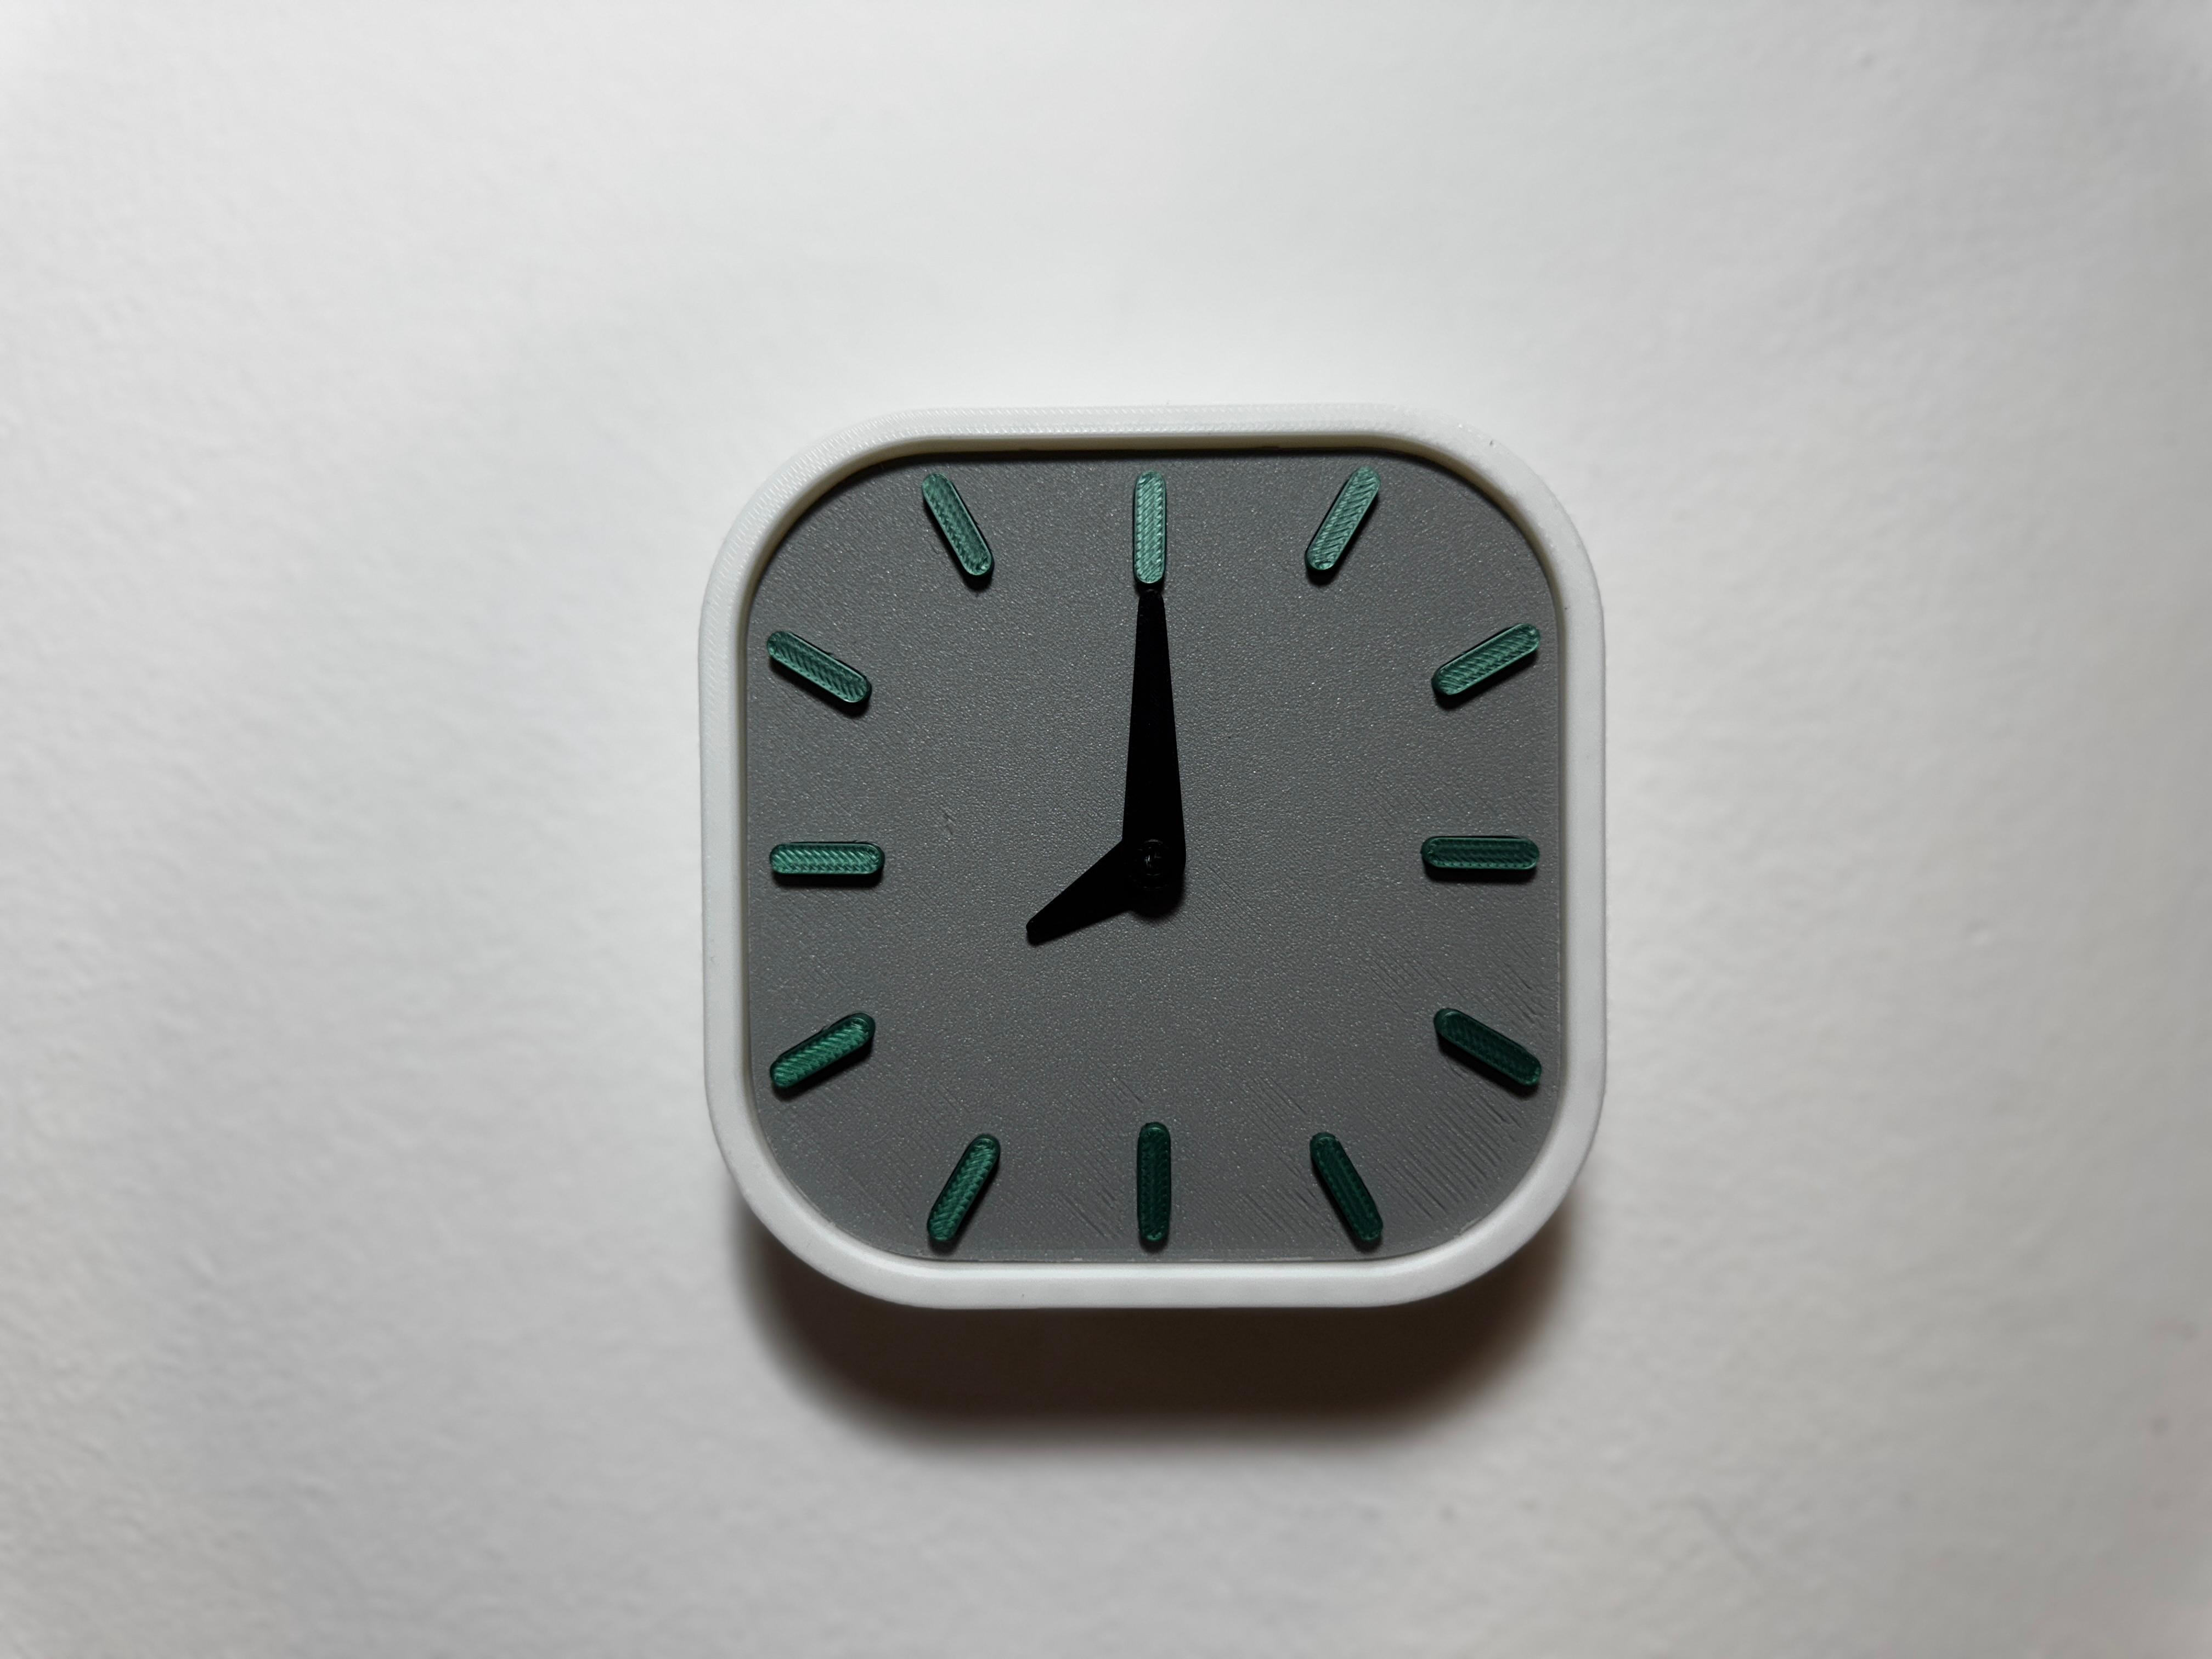
With its dual functionality, it can be conveniently placed on the desk, where it adds a touch of class and practicality, or hung on the wall for an even more versatile look.
The Minimals Clock is more than just a clock: it is a design element designed for those who appreciate beauty even in the small everyday things.
Assembly Instructions
Print all components.

- Prepare the "Face - Mechanism" component:
Remove all supports from the "Face - Mechanism" component.
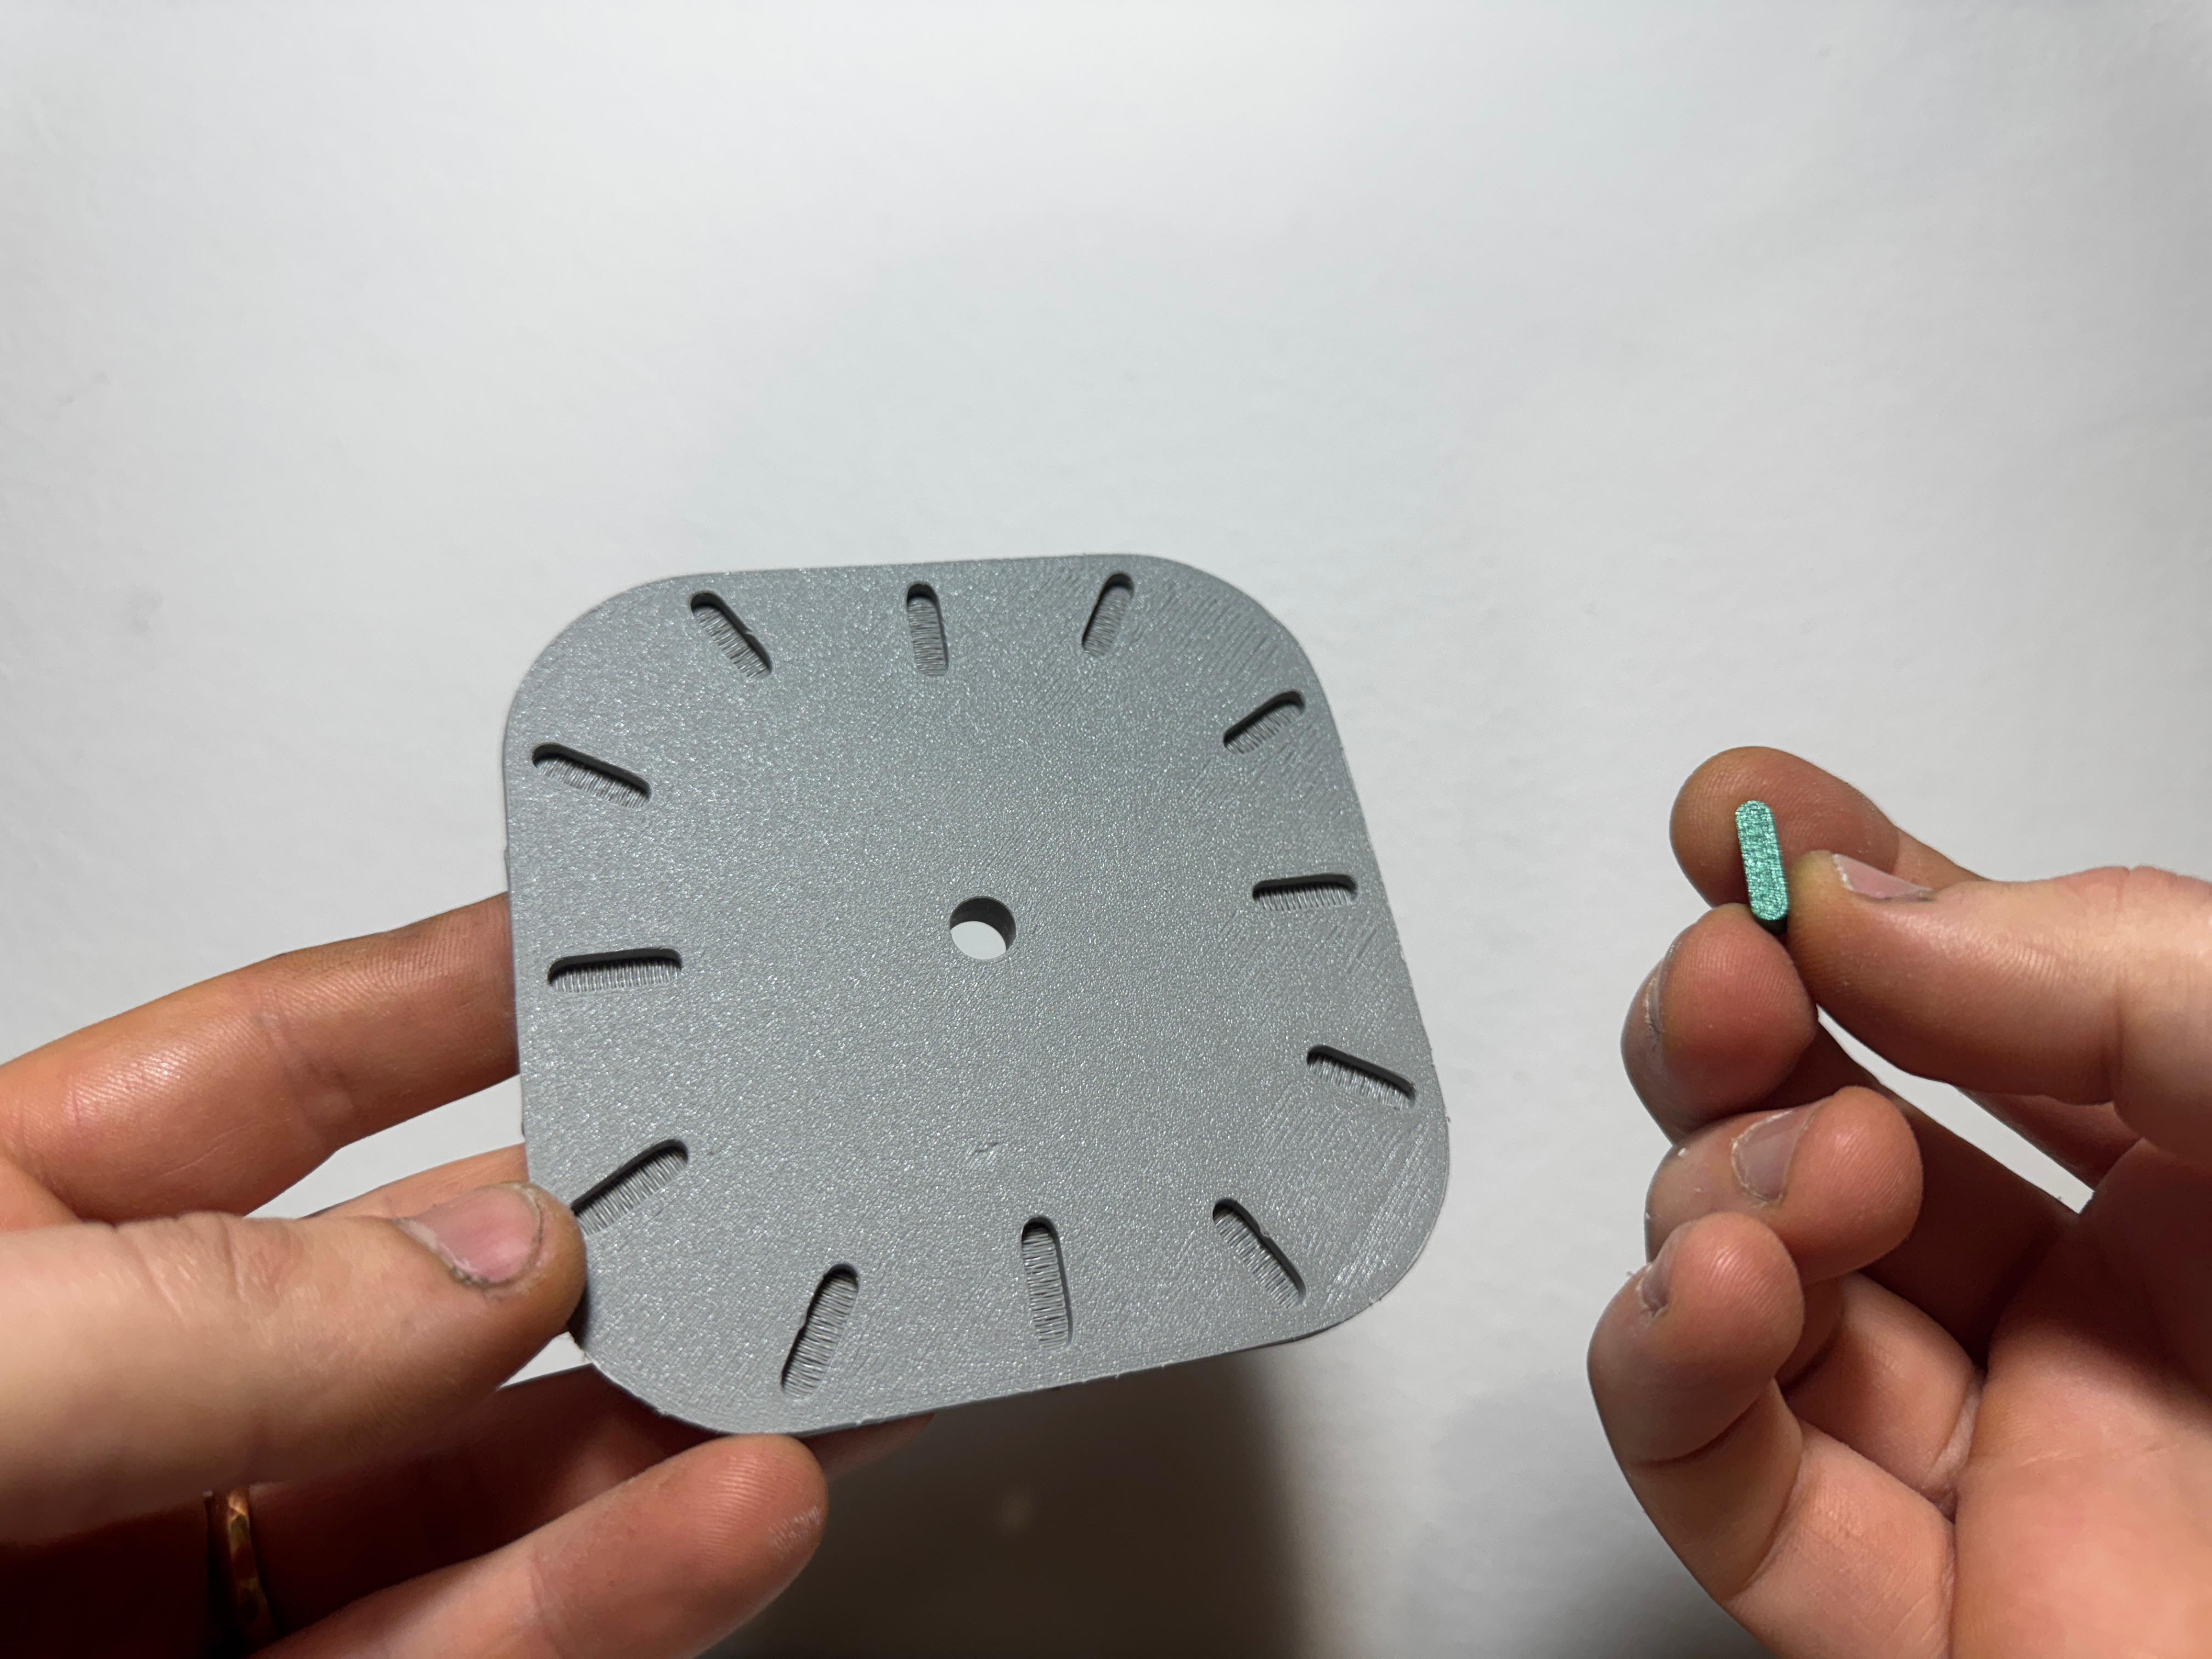
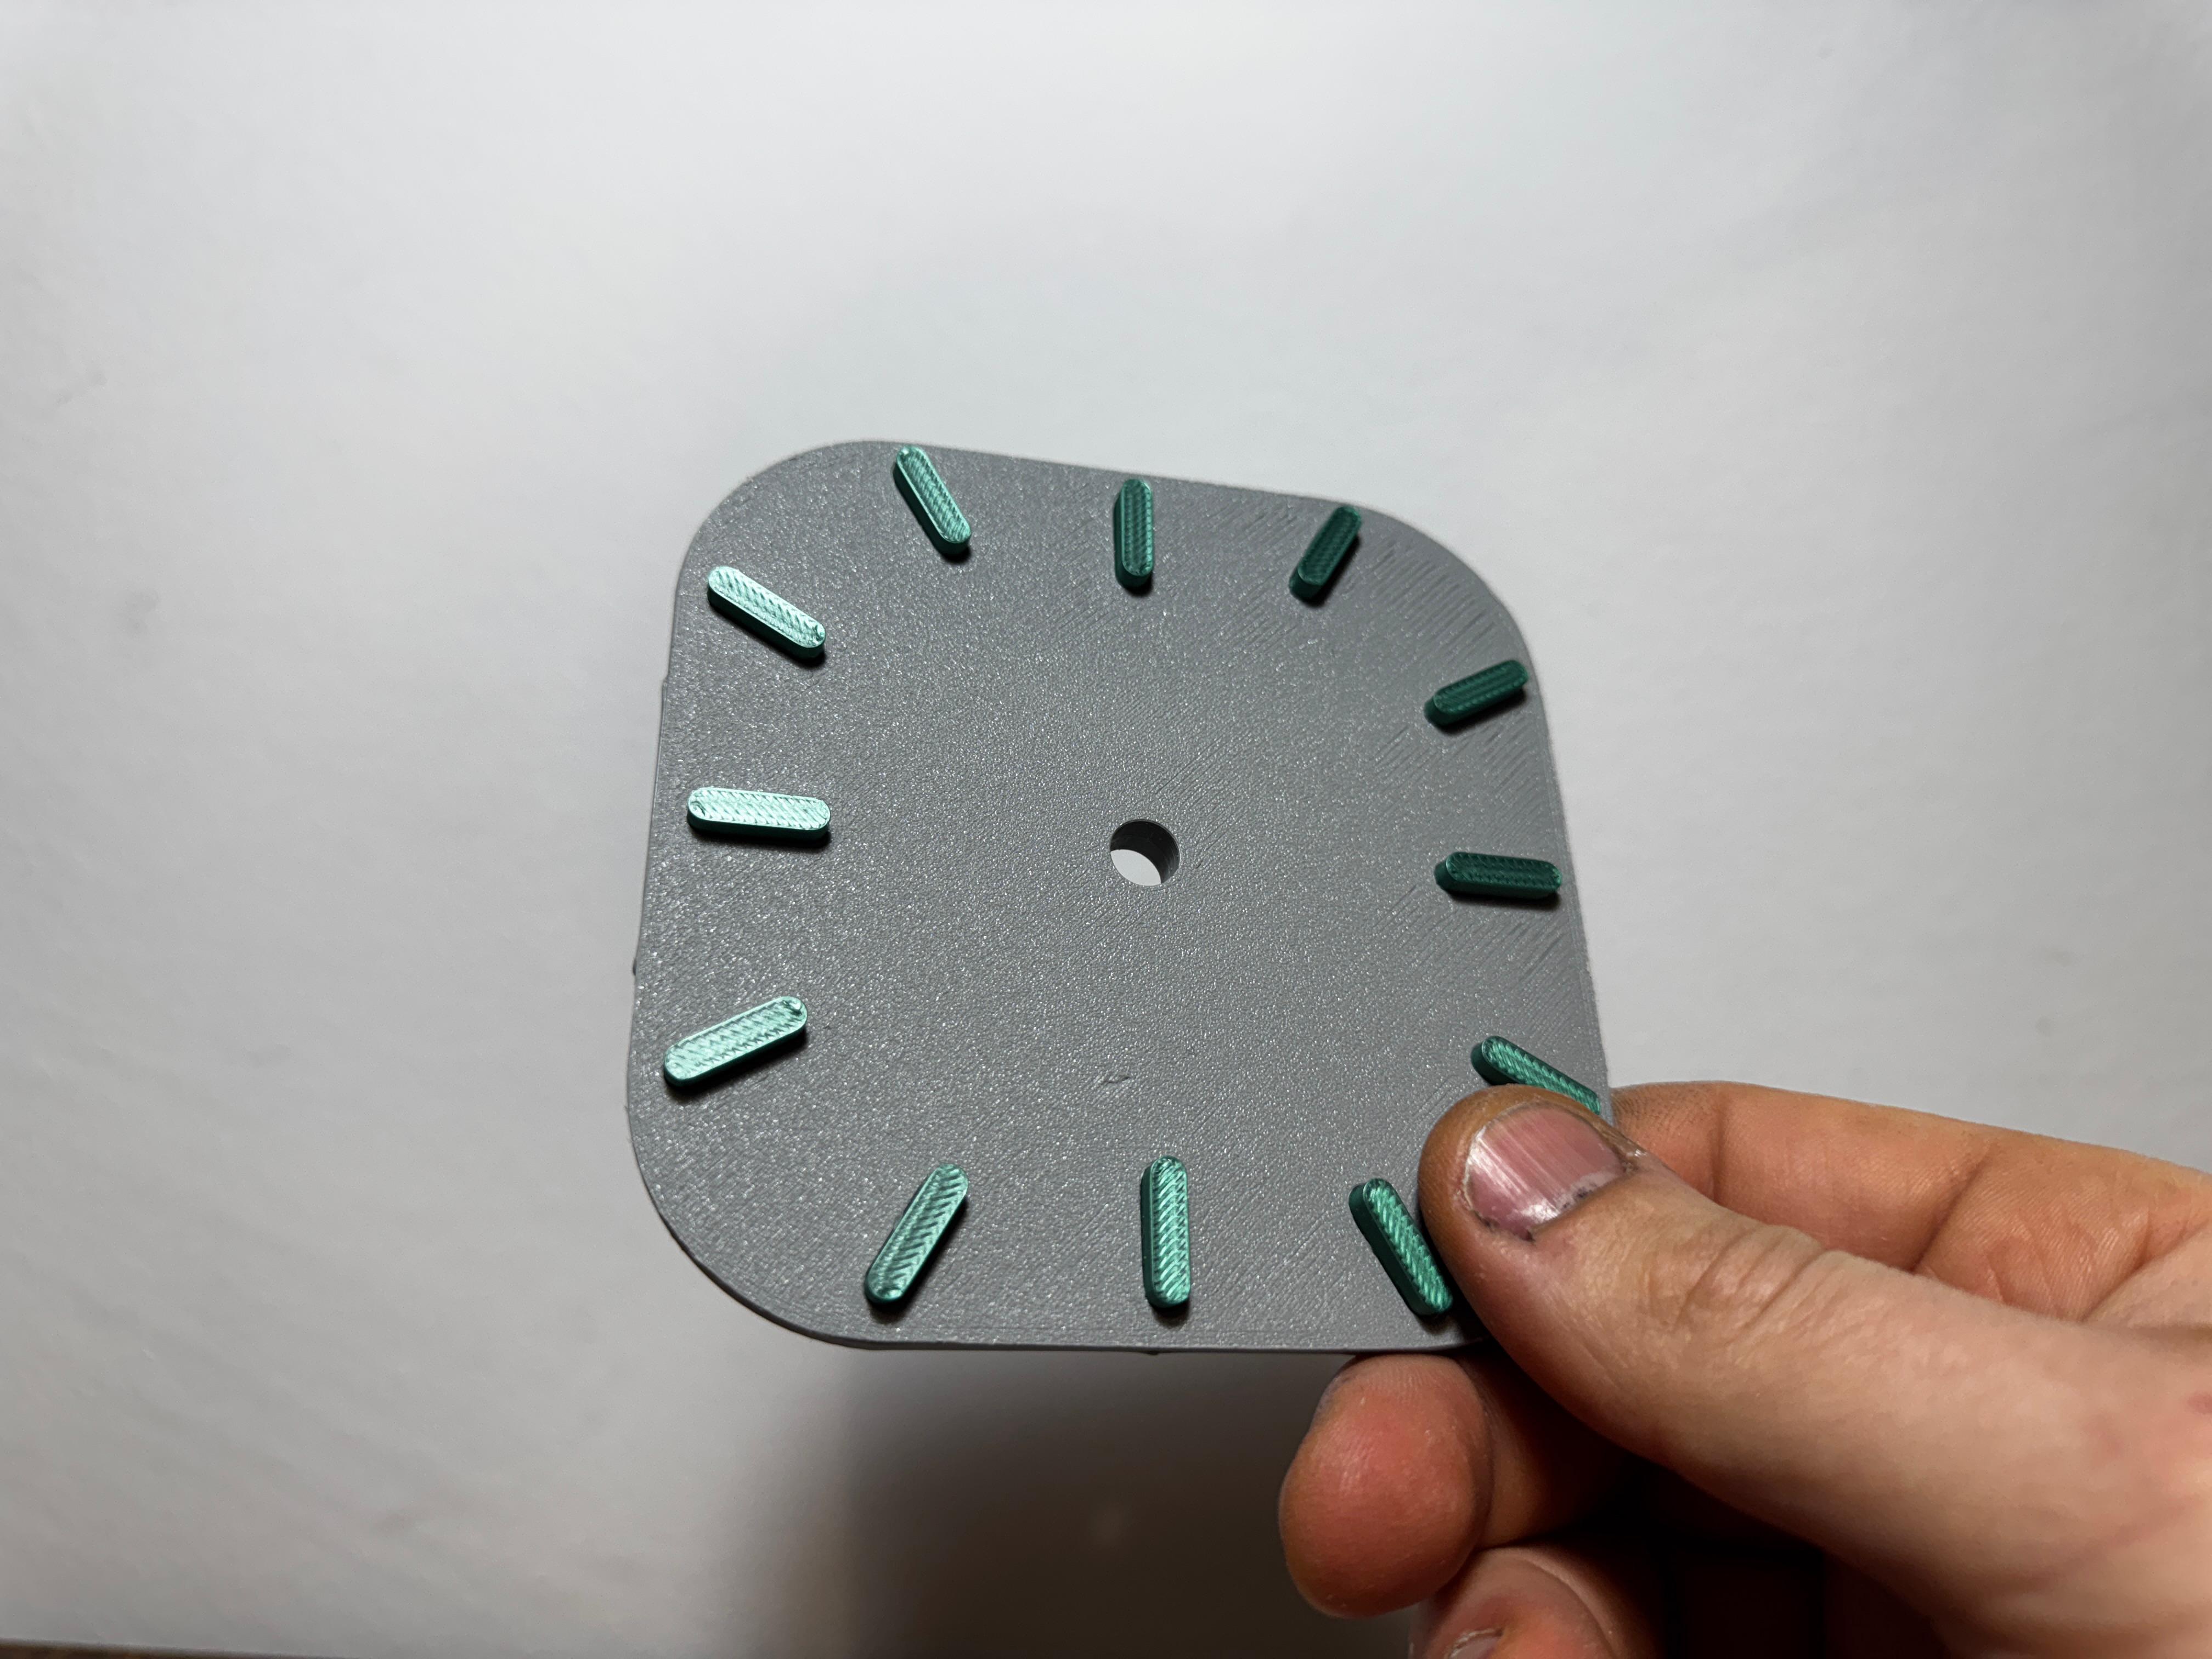
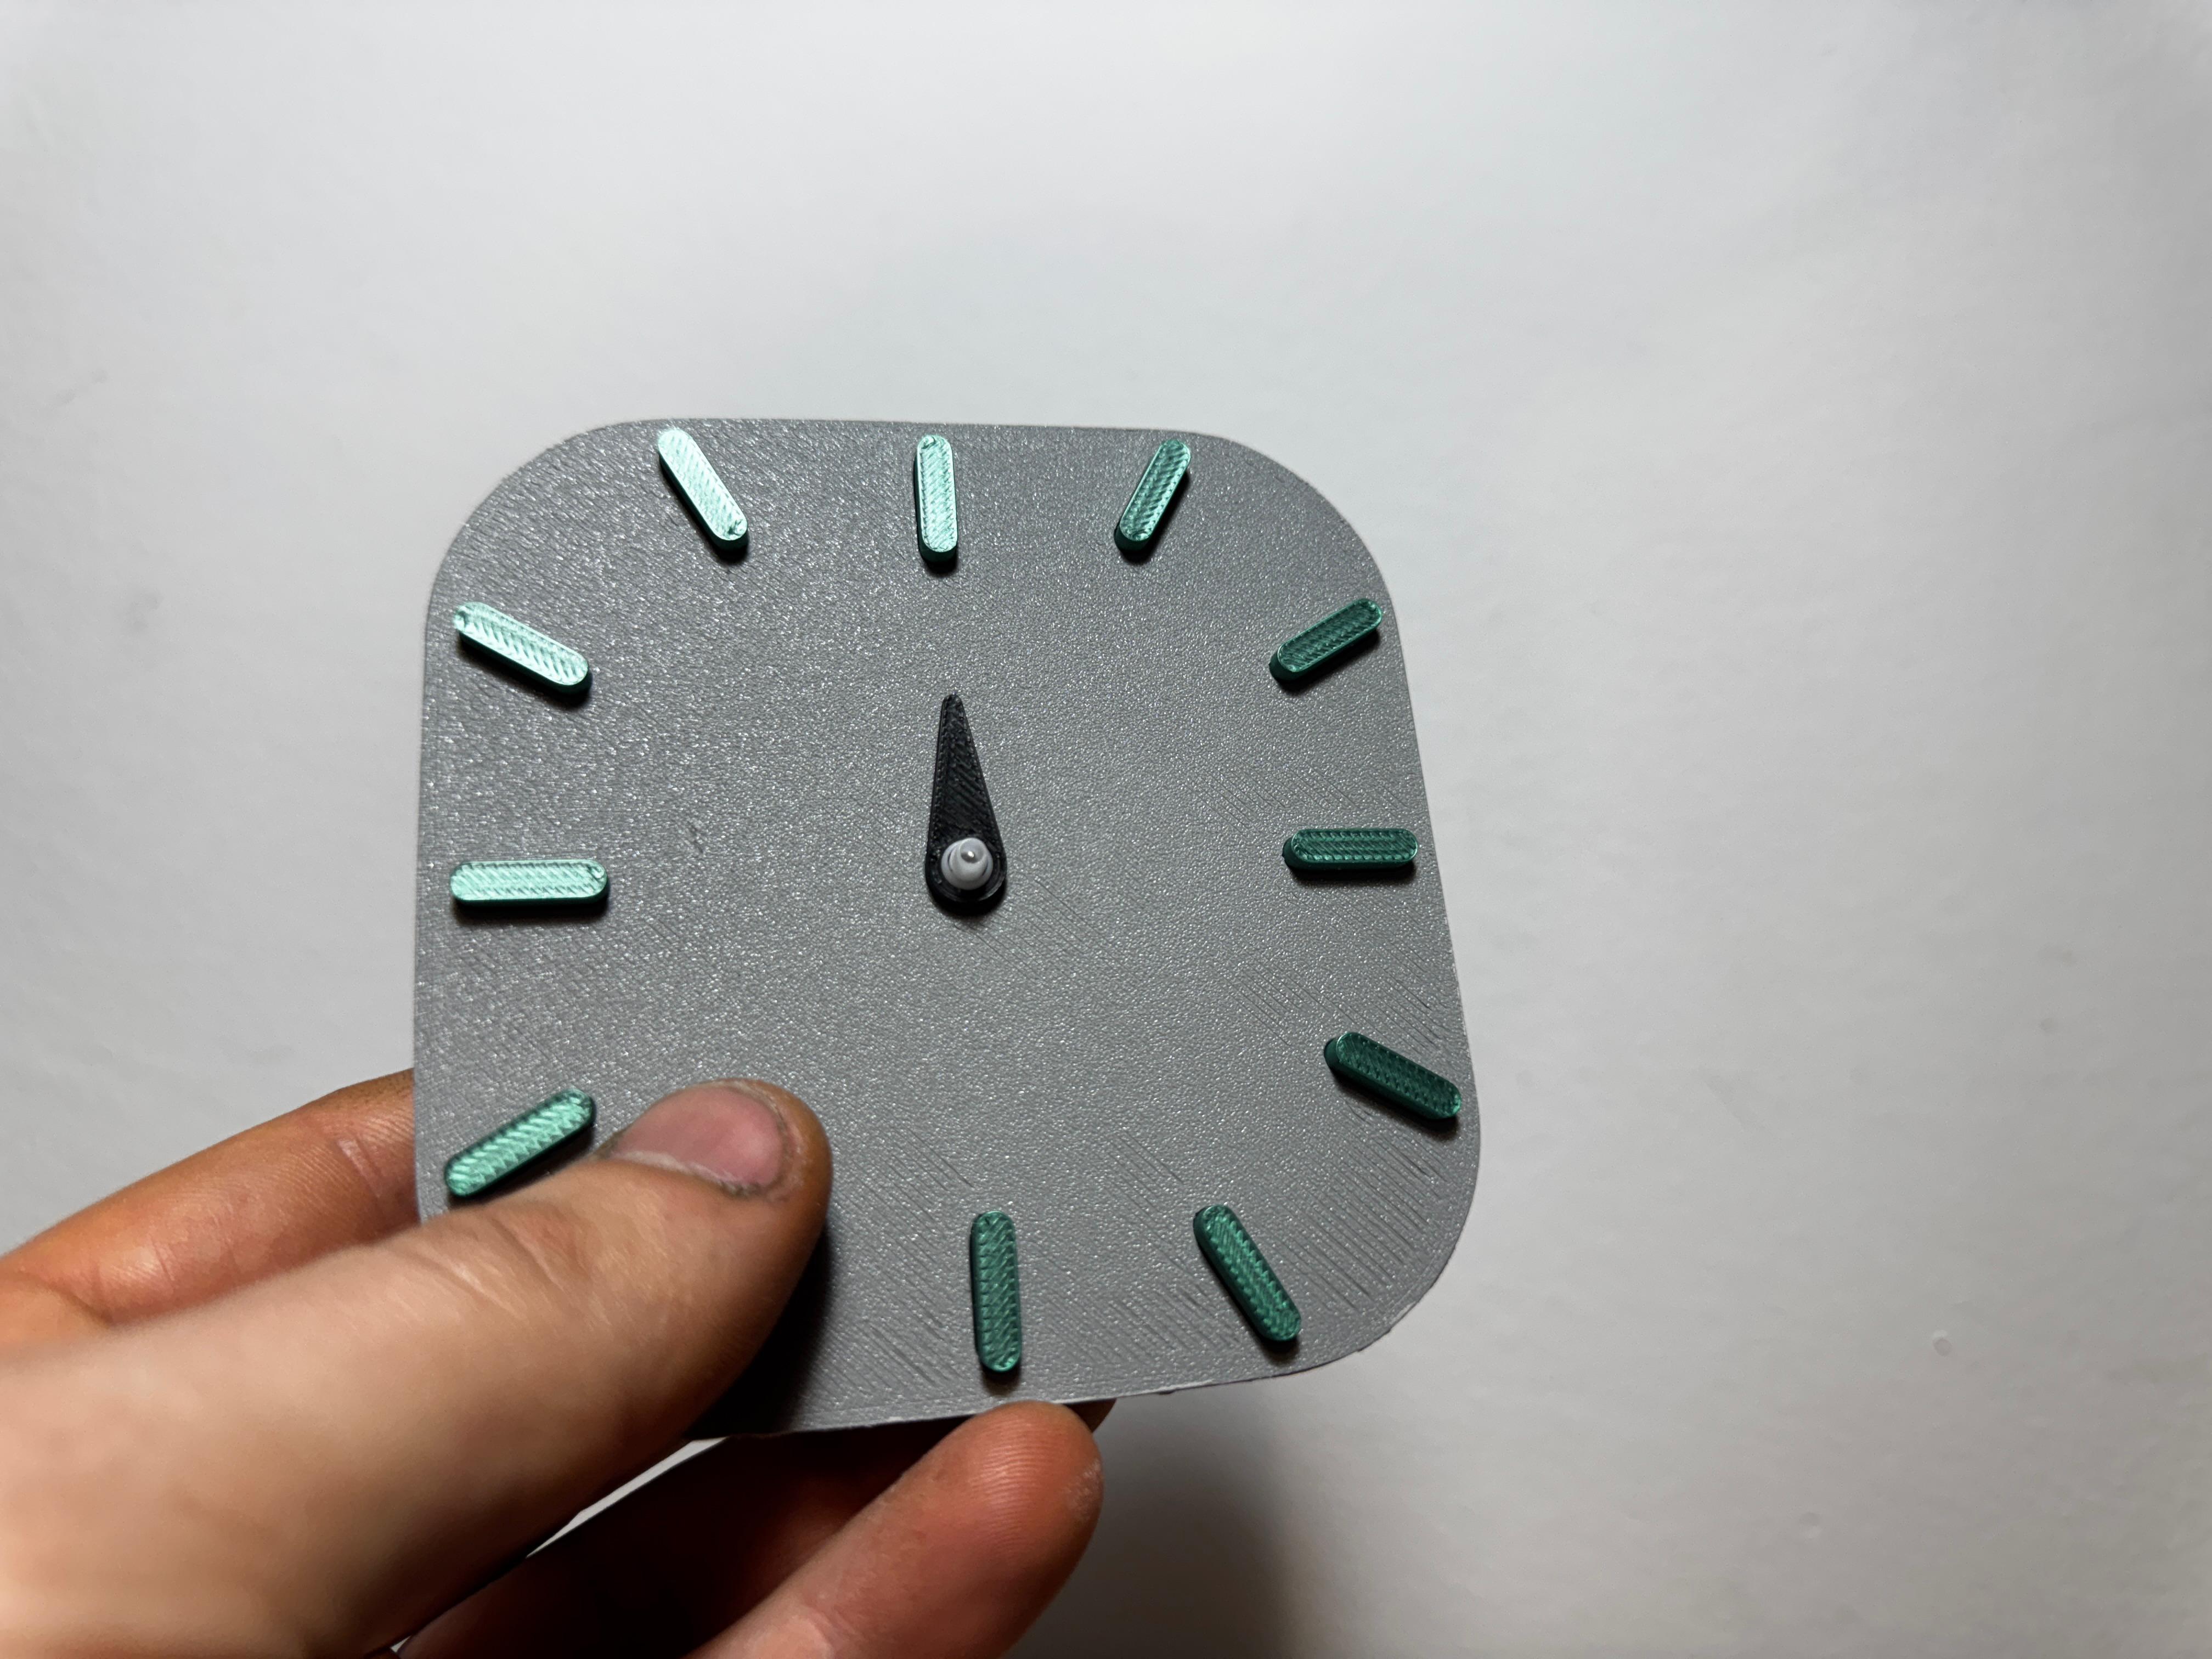
- Insert the "Numbers" components into their respective holes.
Note: Gluing is not necessary. A slight amount of pressure is enough to snap them into place securely. Once all the numbers are in place, the result should look as shown in the figure.
- Insert the mechanism:
Flip the "Face - Mechanism" component over.
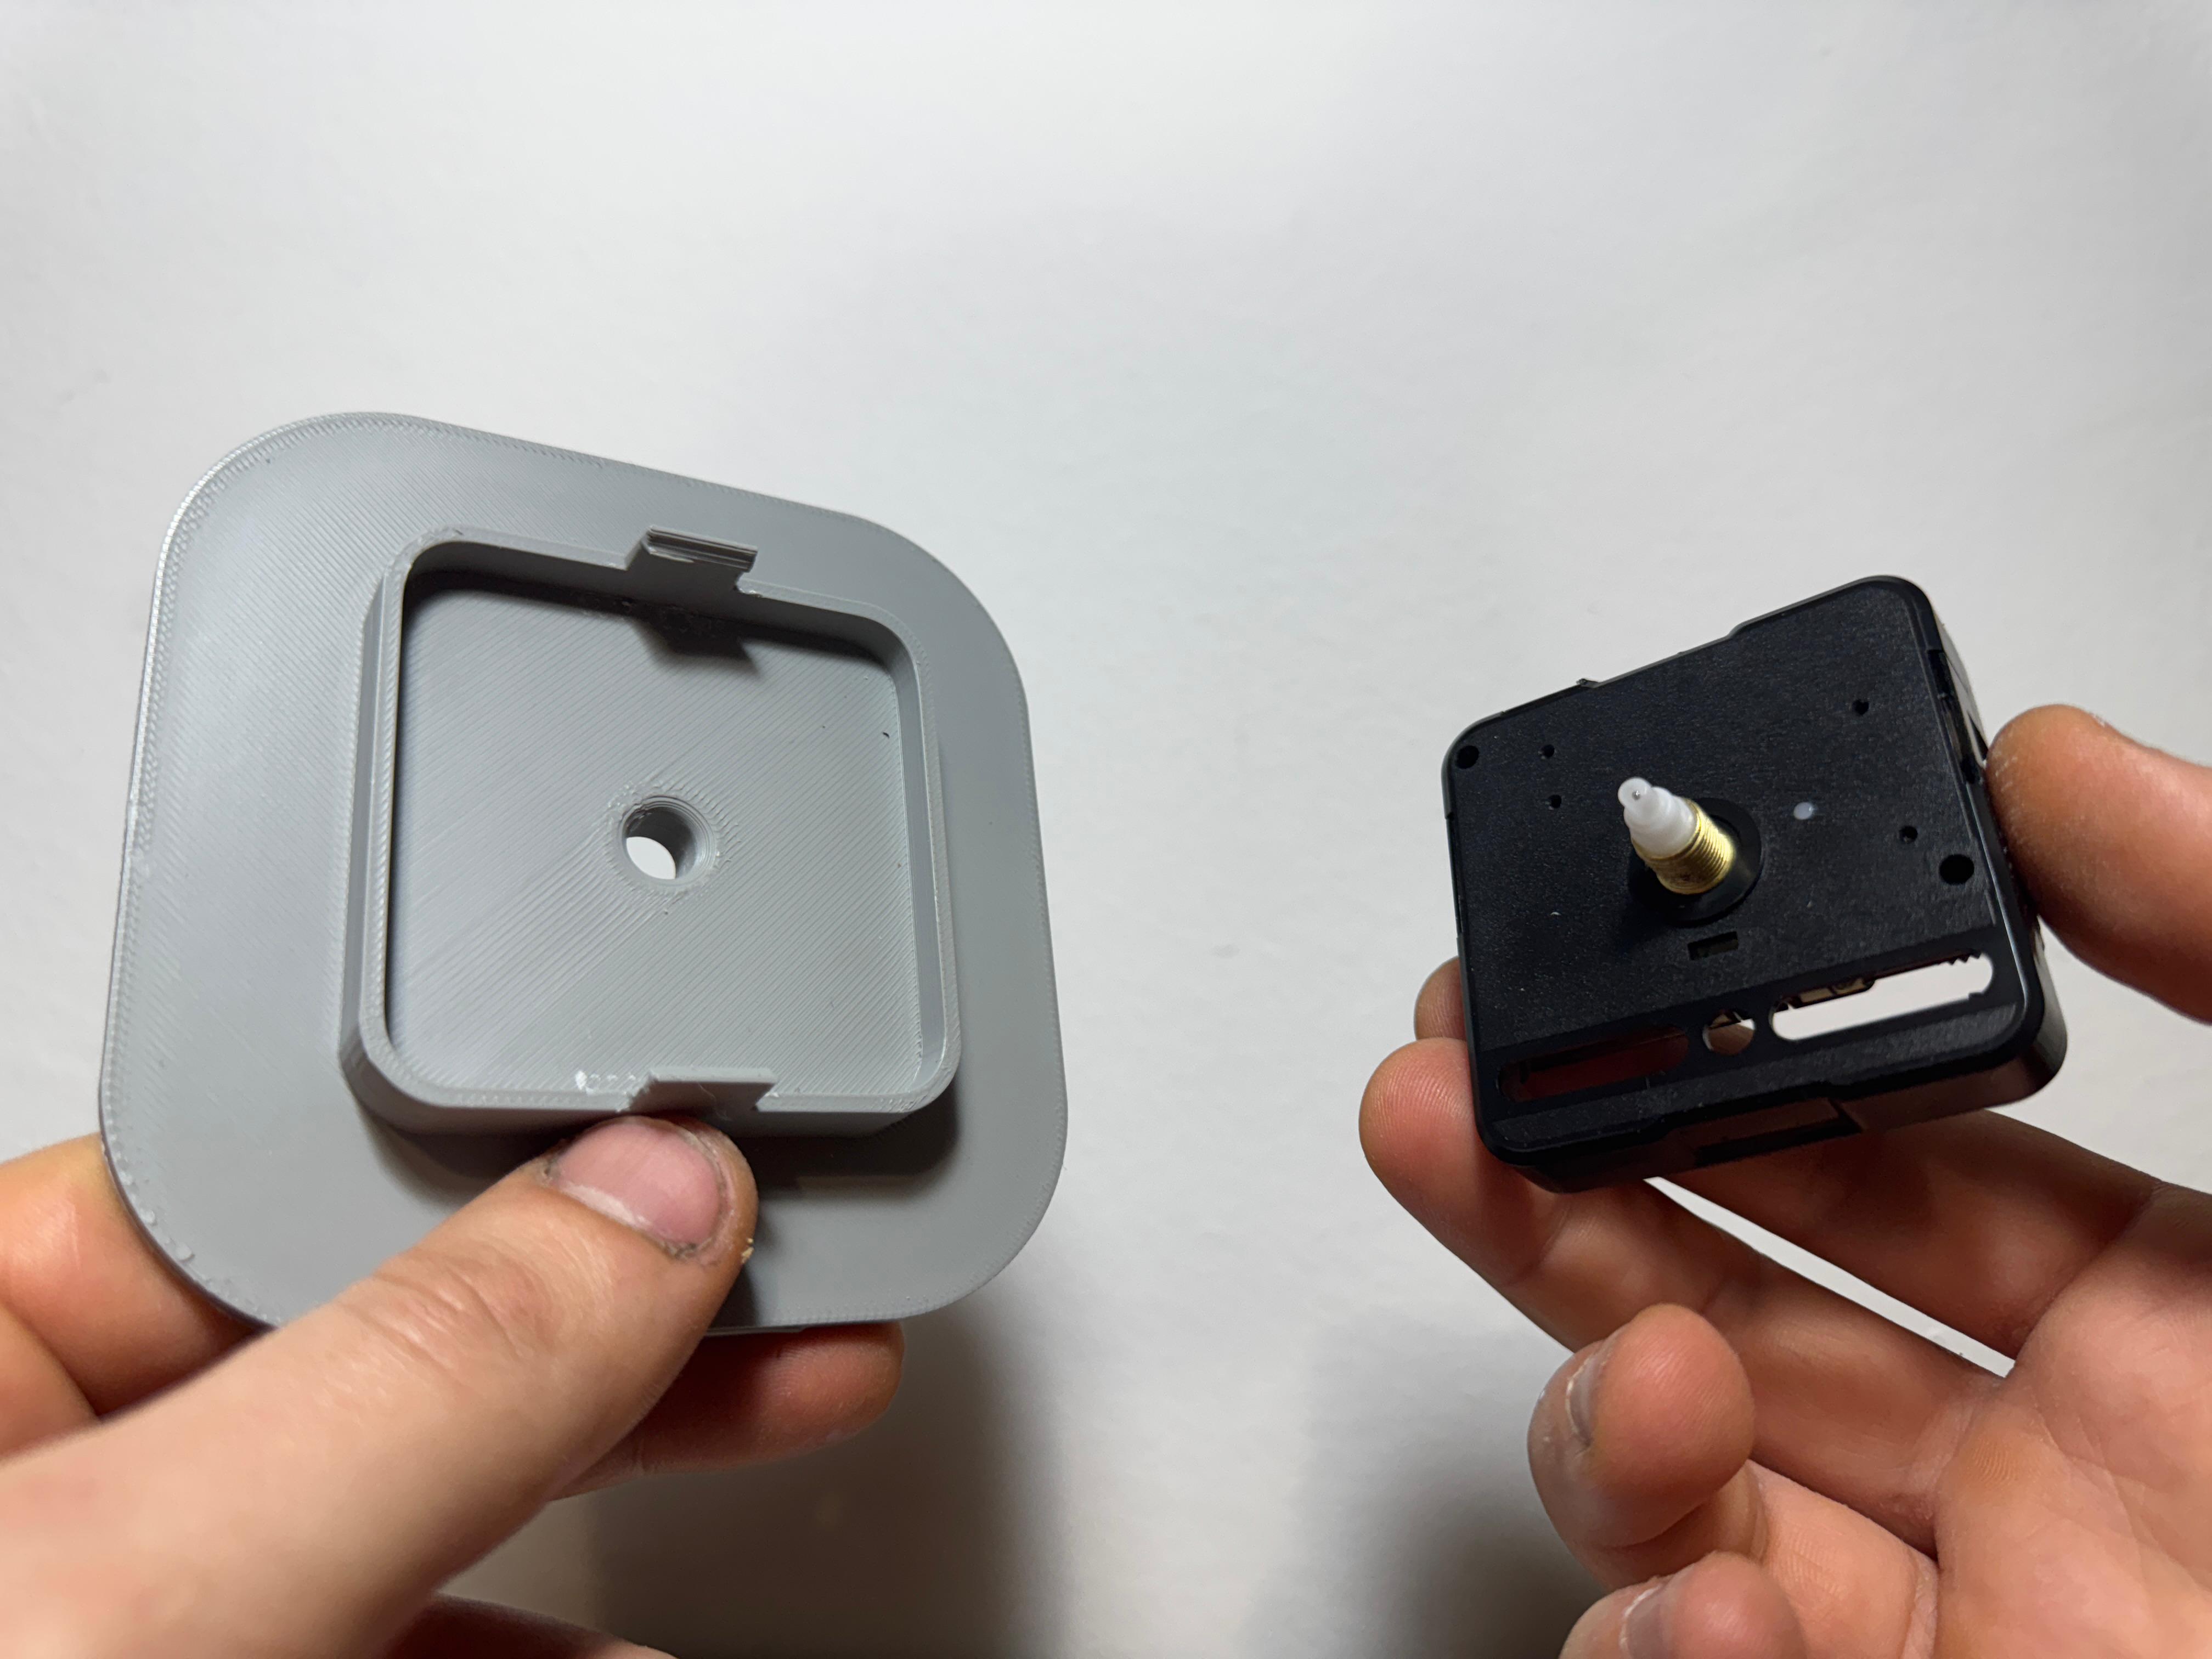
- Snap the mechanism into place inside the component.
Attention! The mechanism has a specific orientation:- On the side of the mechanism, you will find two indentations with small protruding tabs.
- These two black tabs must align and snap into the corresponding slots on the "Face - Mechanism."
See photo for reference.
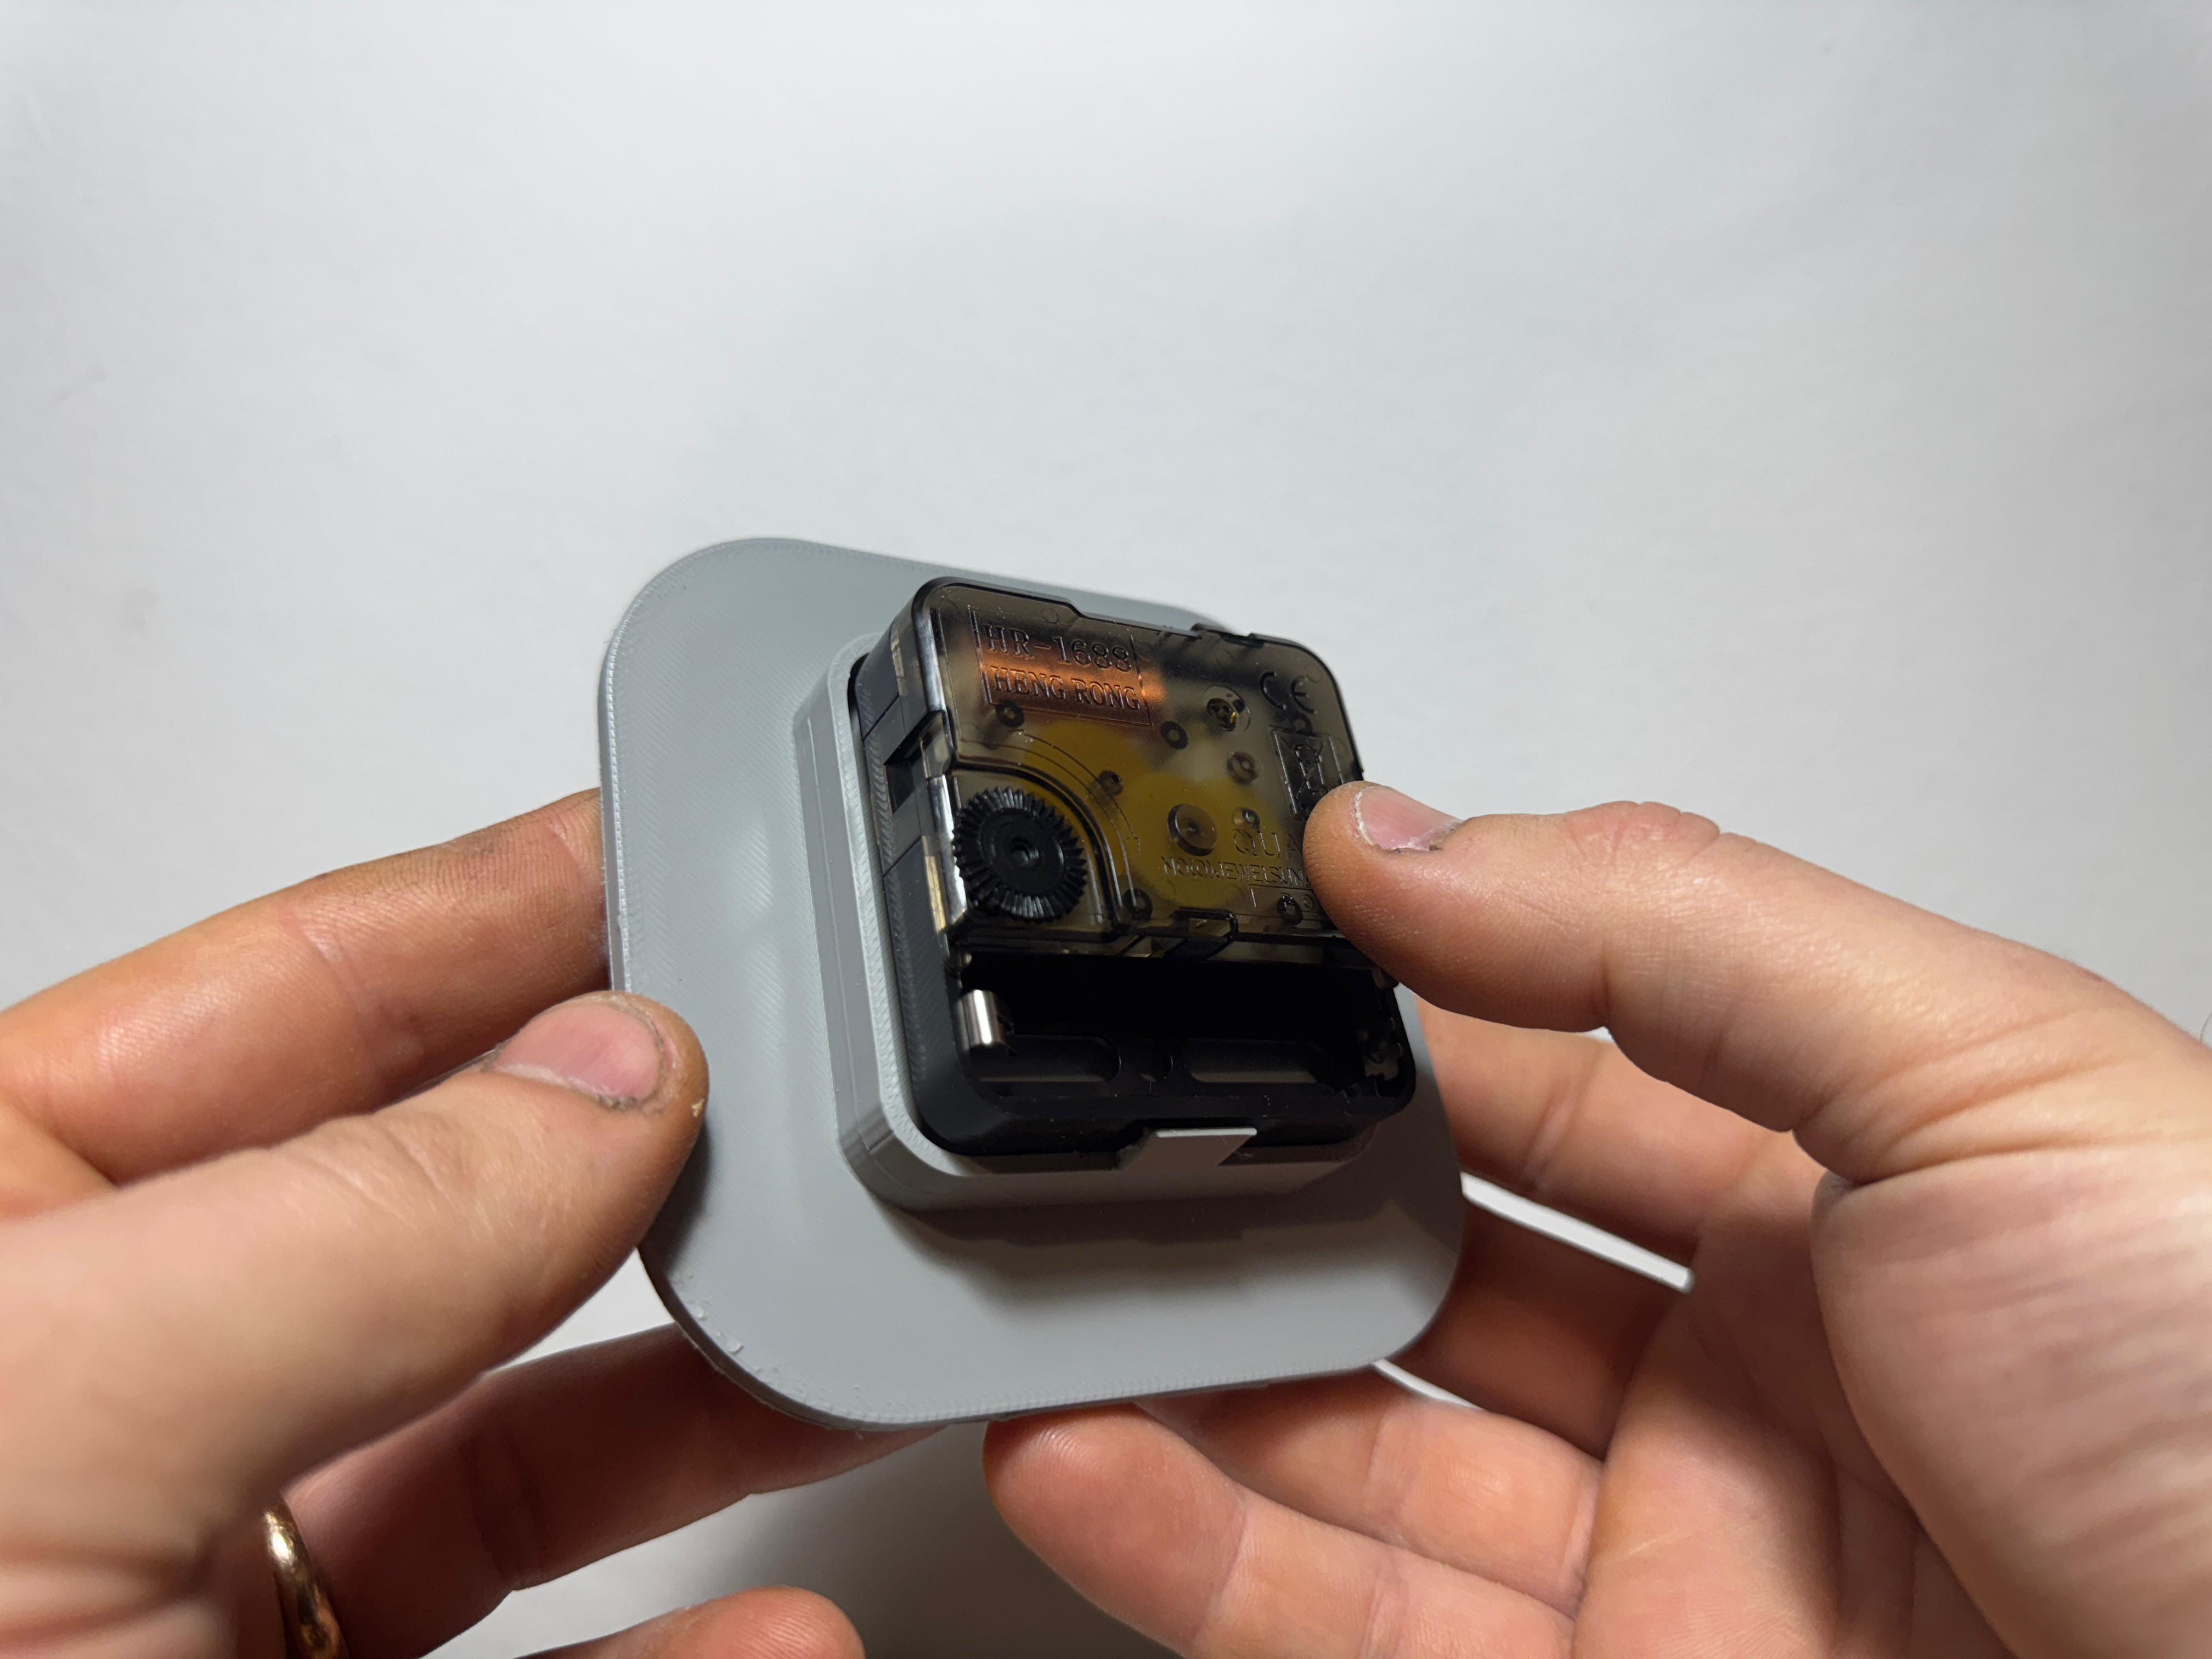
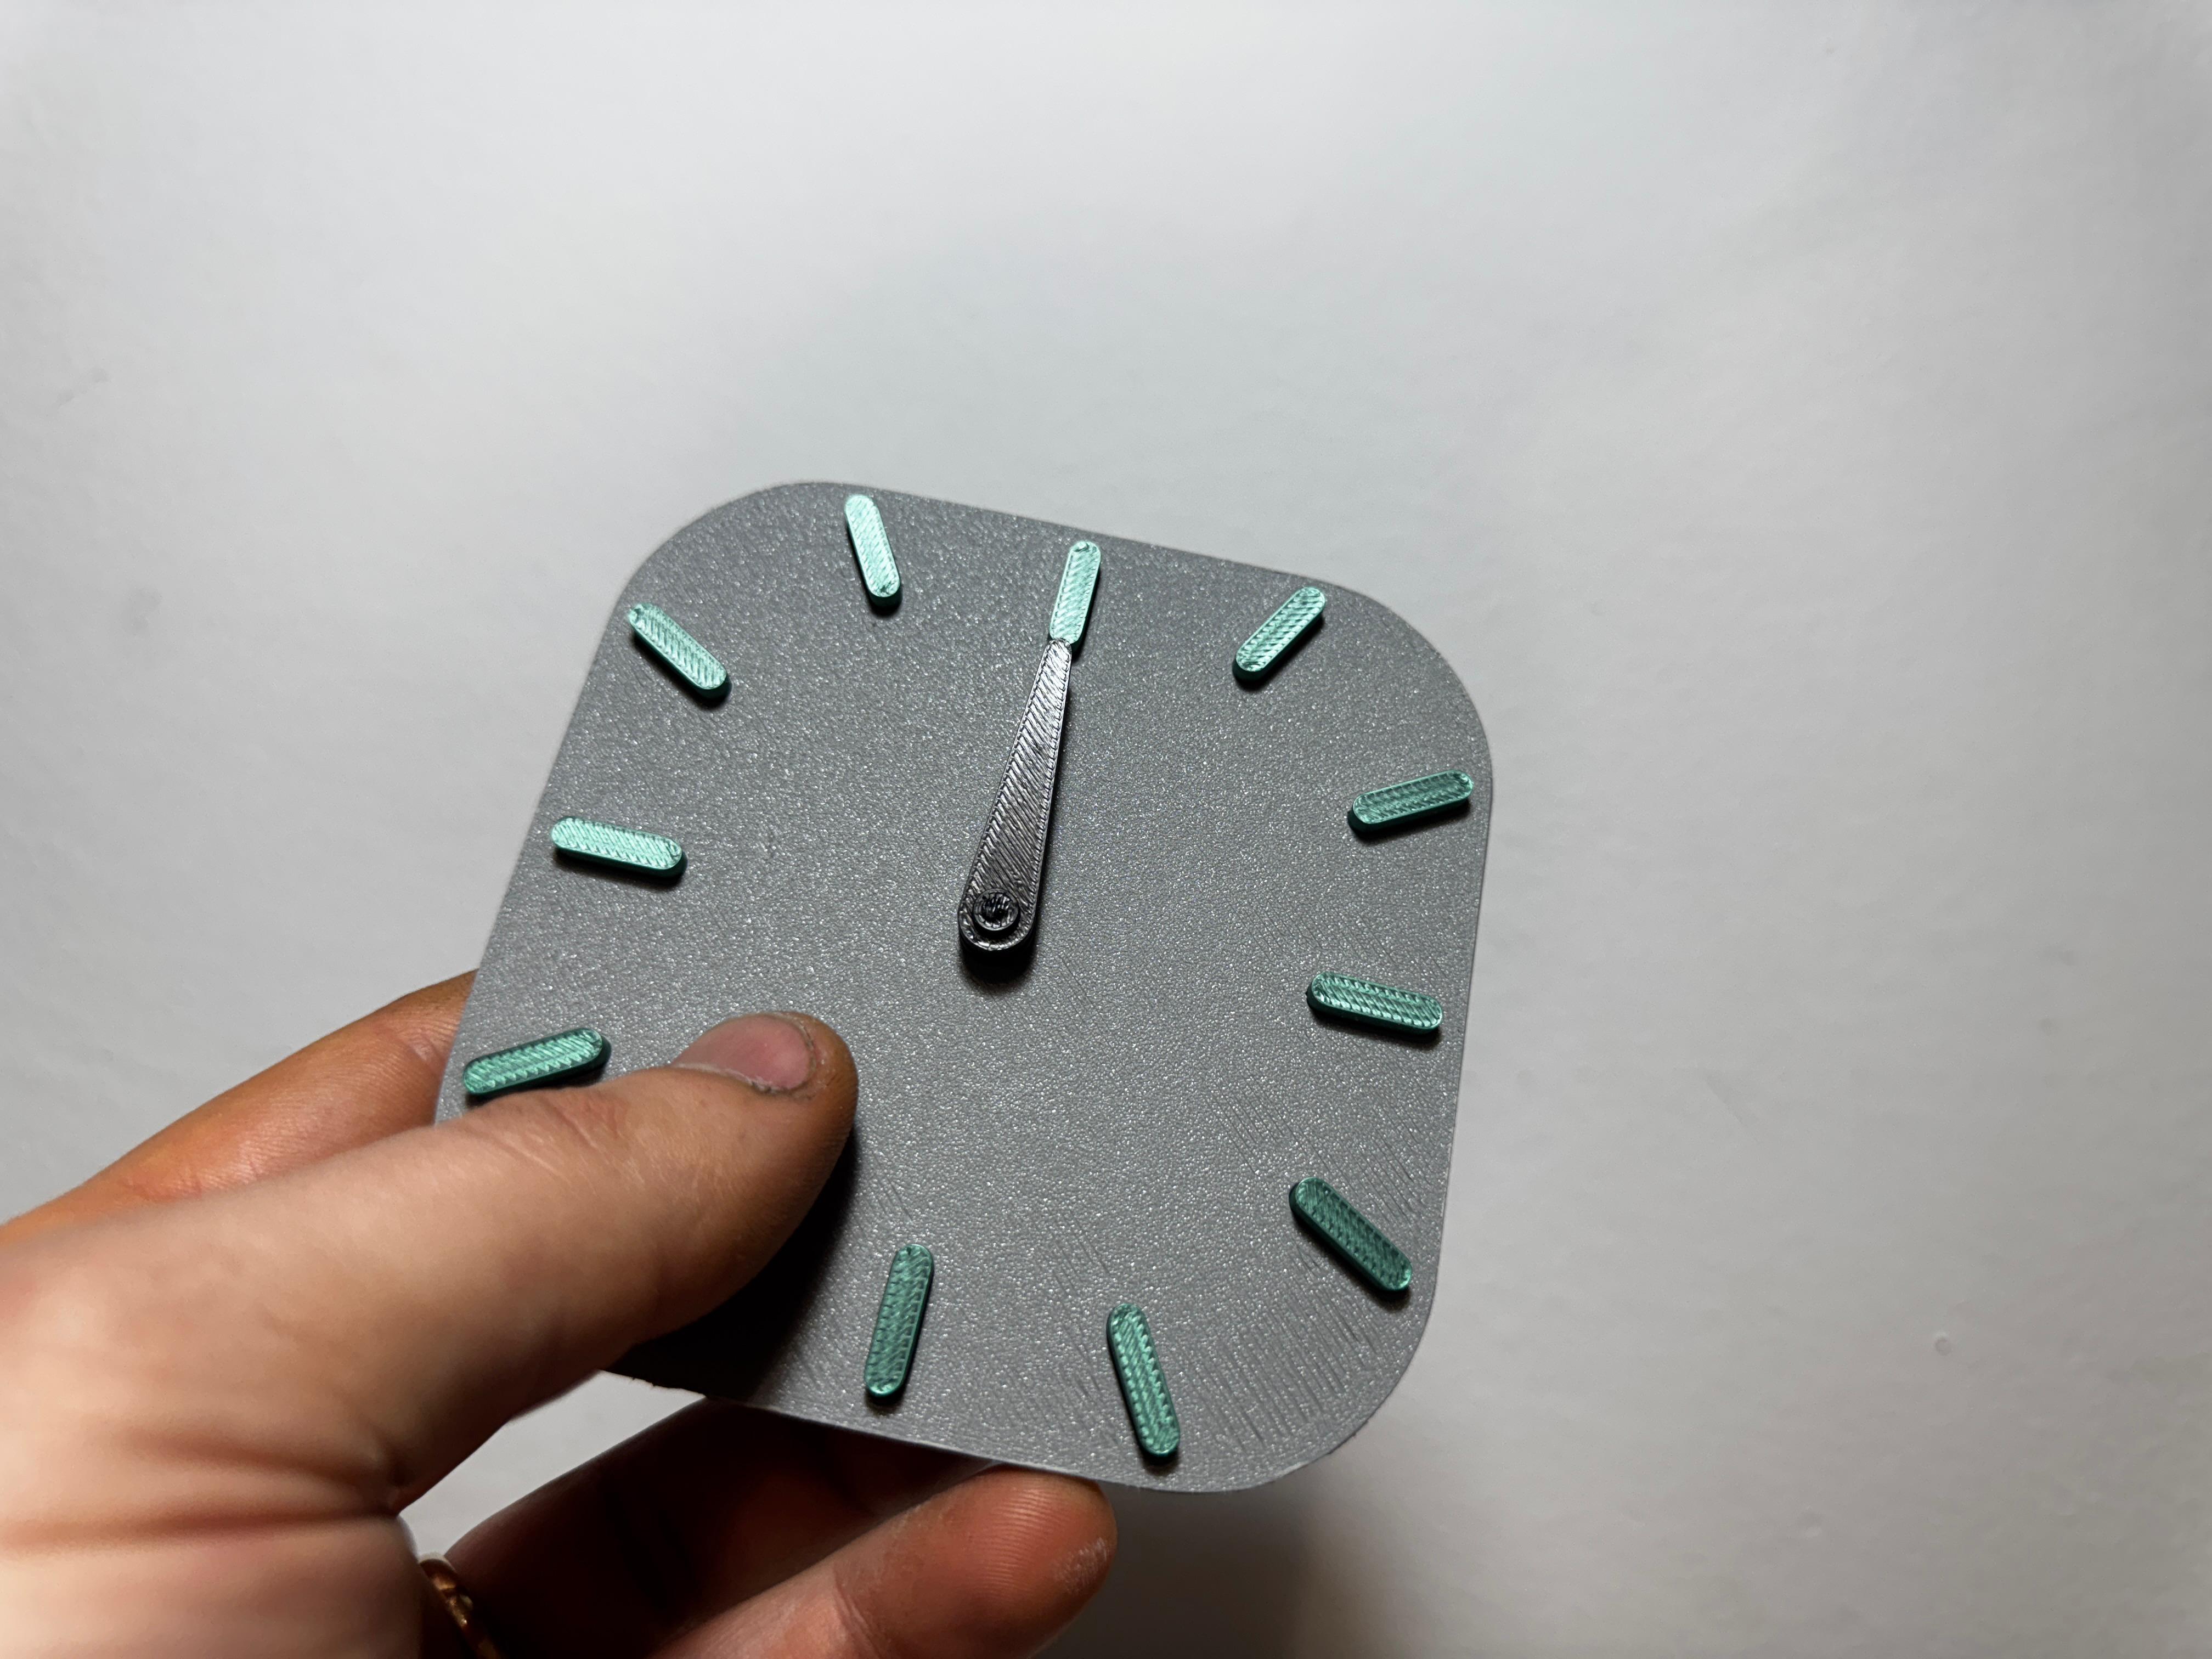
- Attach the clock hands:
After inserting the mechanism, flip the "Face - Mechanism" back over.
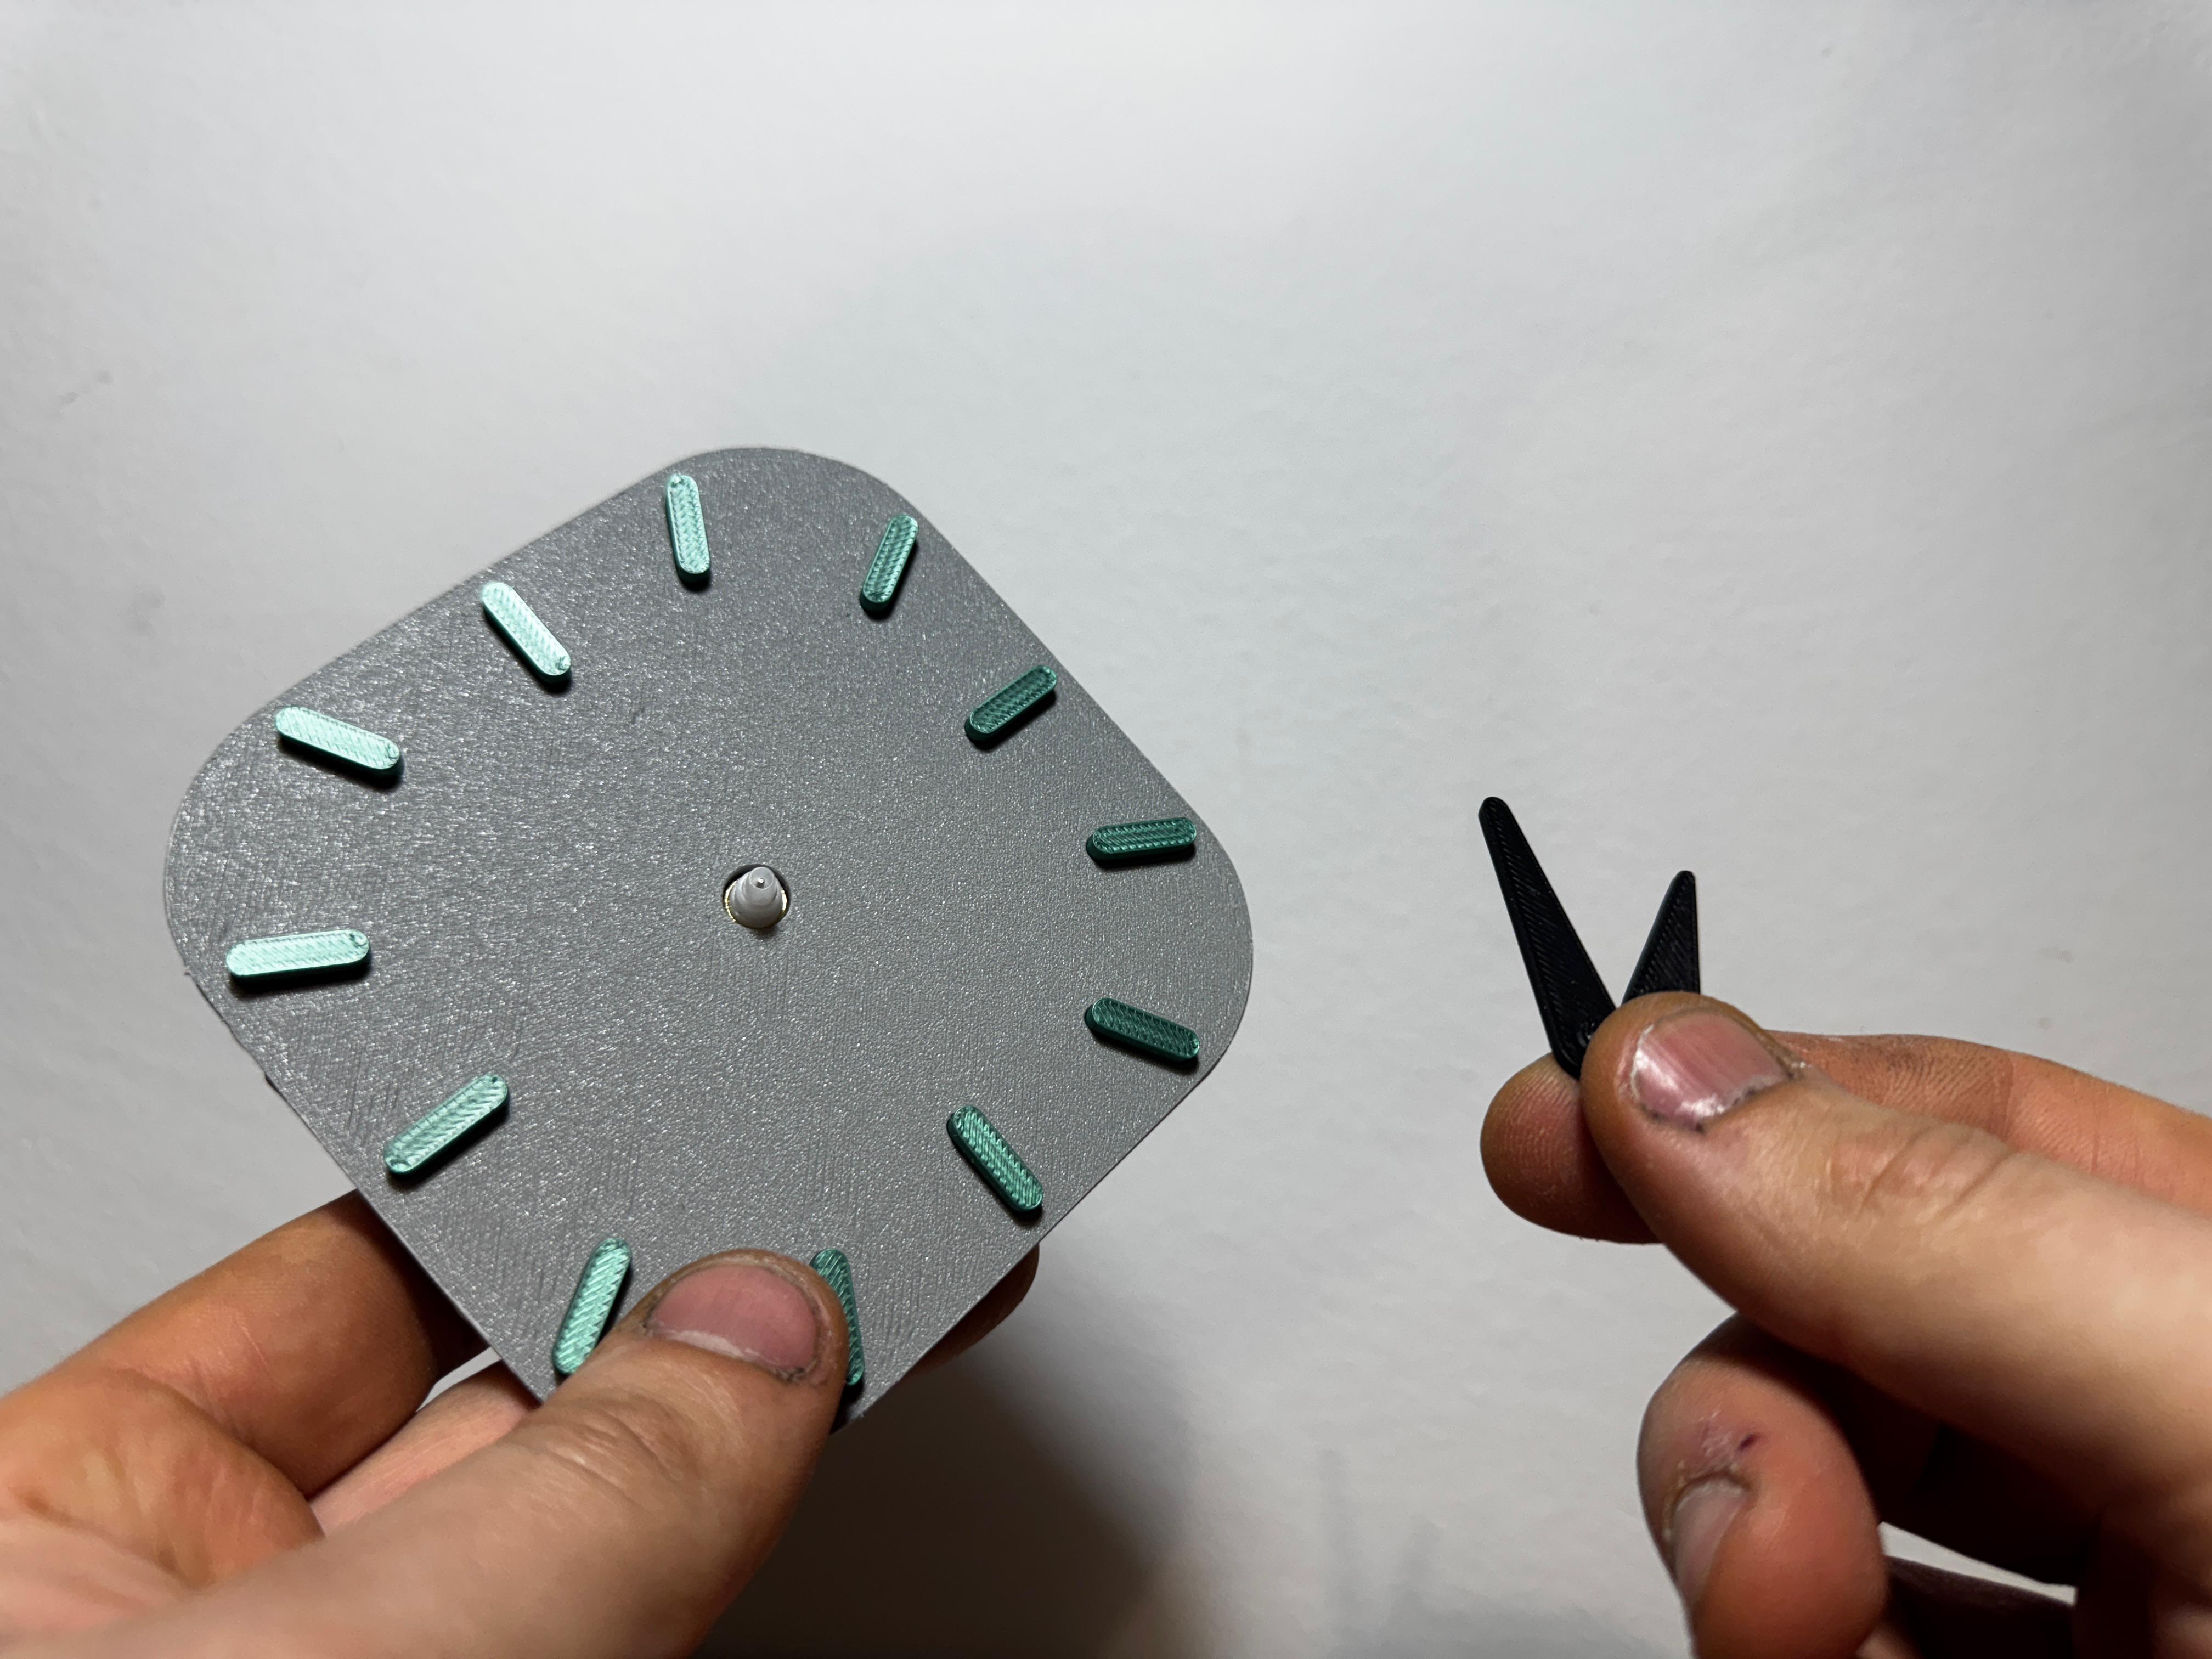
- Take the "Hands Clock" components (clock hands):
Place the hour hand at the 12:00 position.
Then place the minute hand at the 12:00 position.
- Final assembly:
- Insert the battery into the mechanism.
Prepare the "Face - Mechanism" component to be attached to the "Base" component.
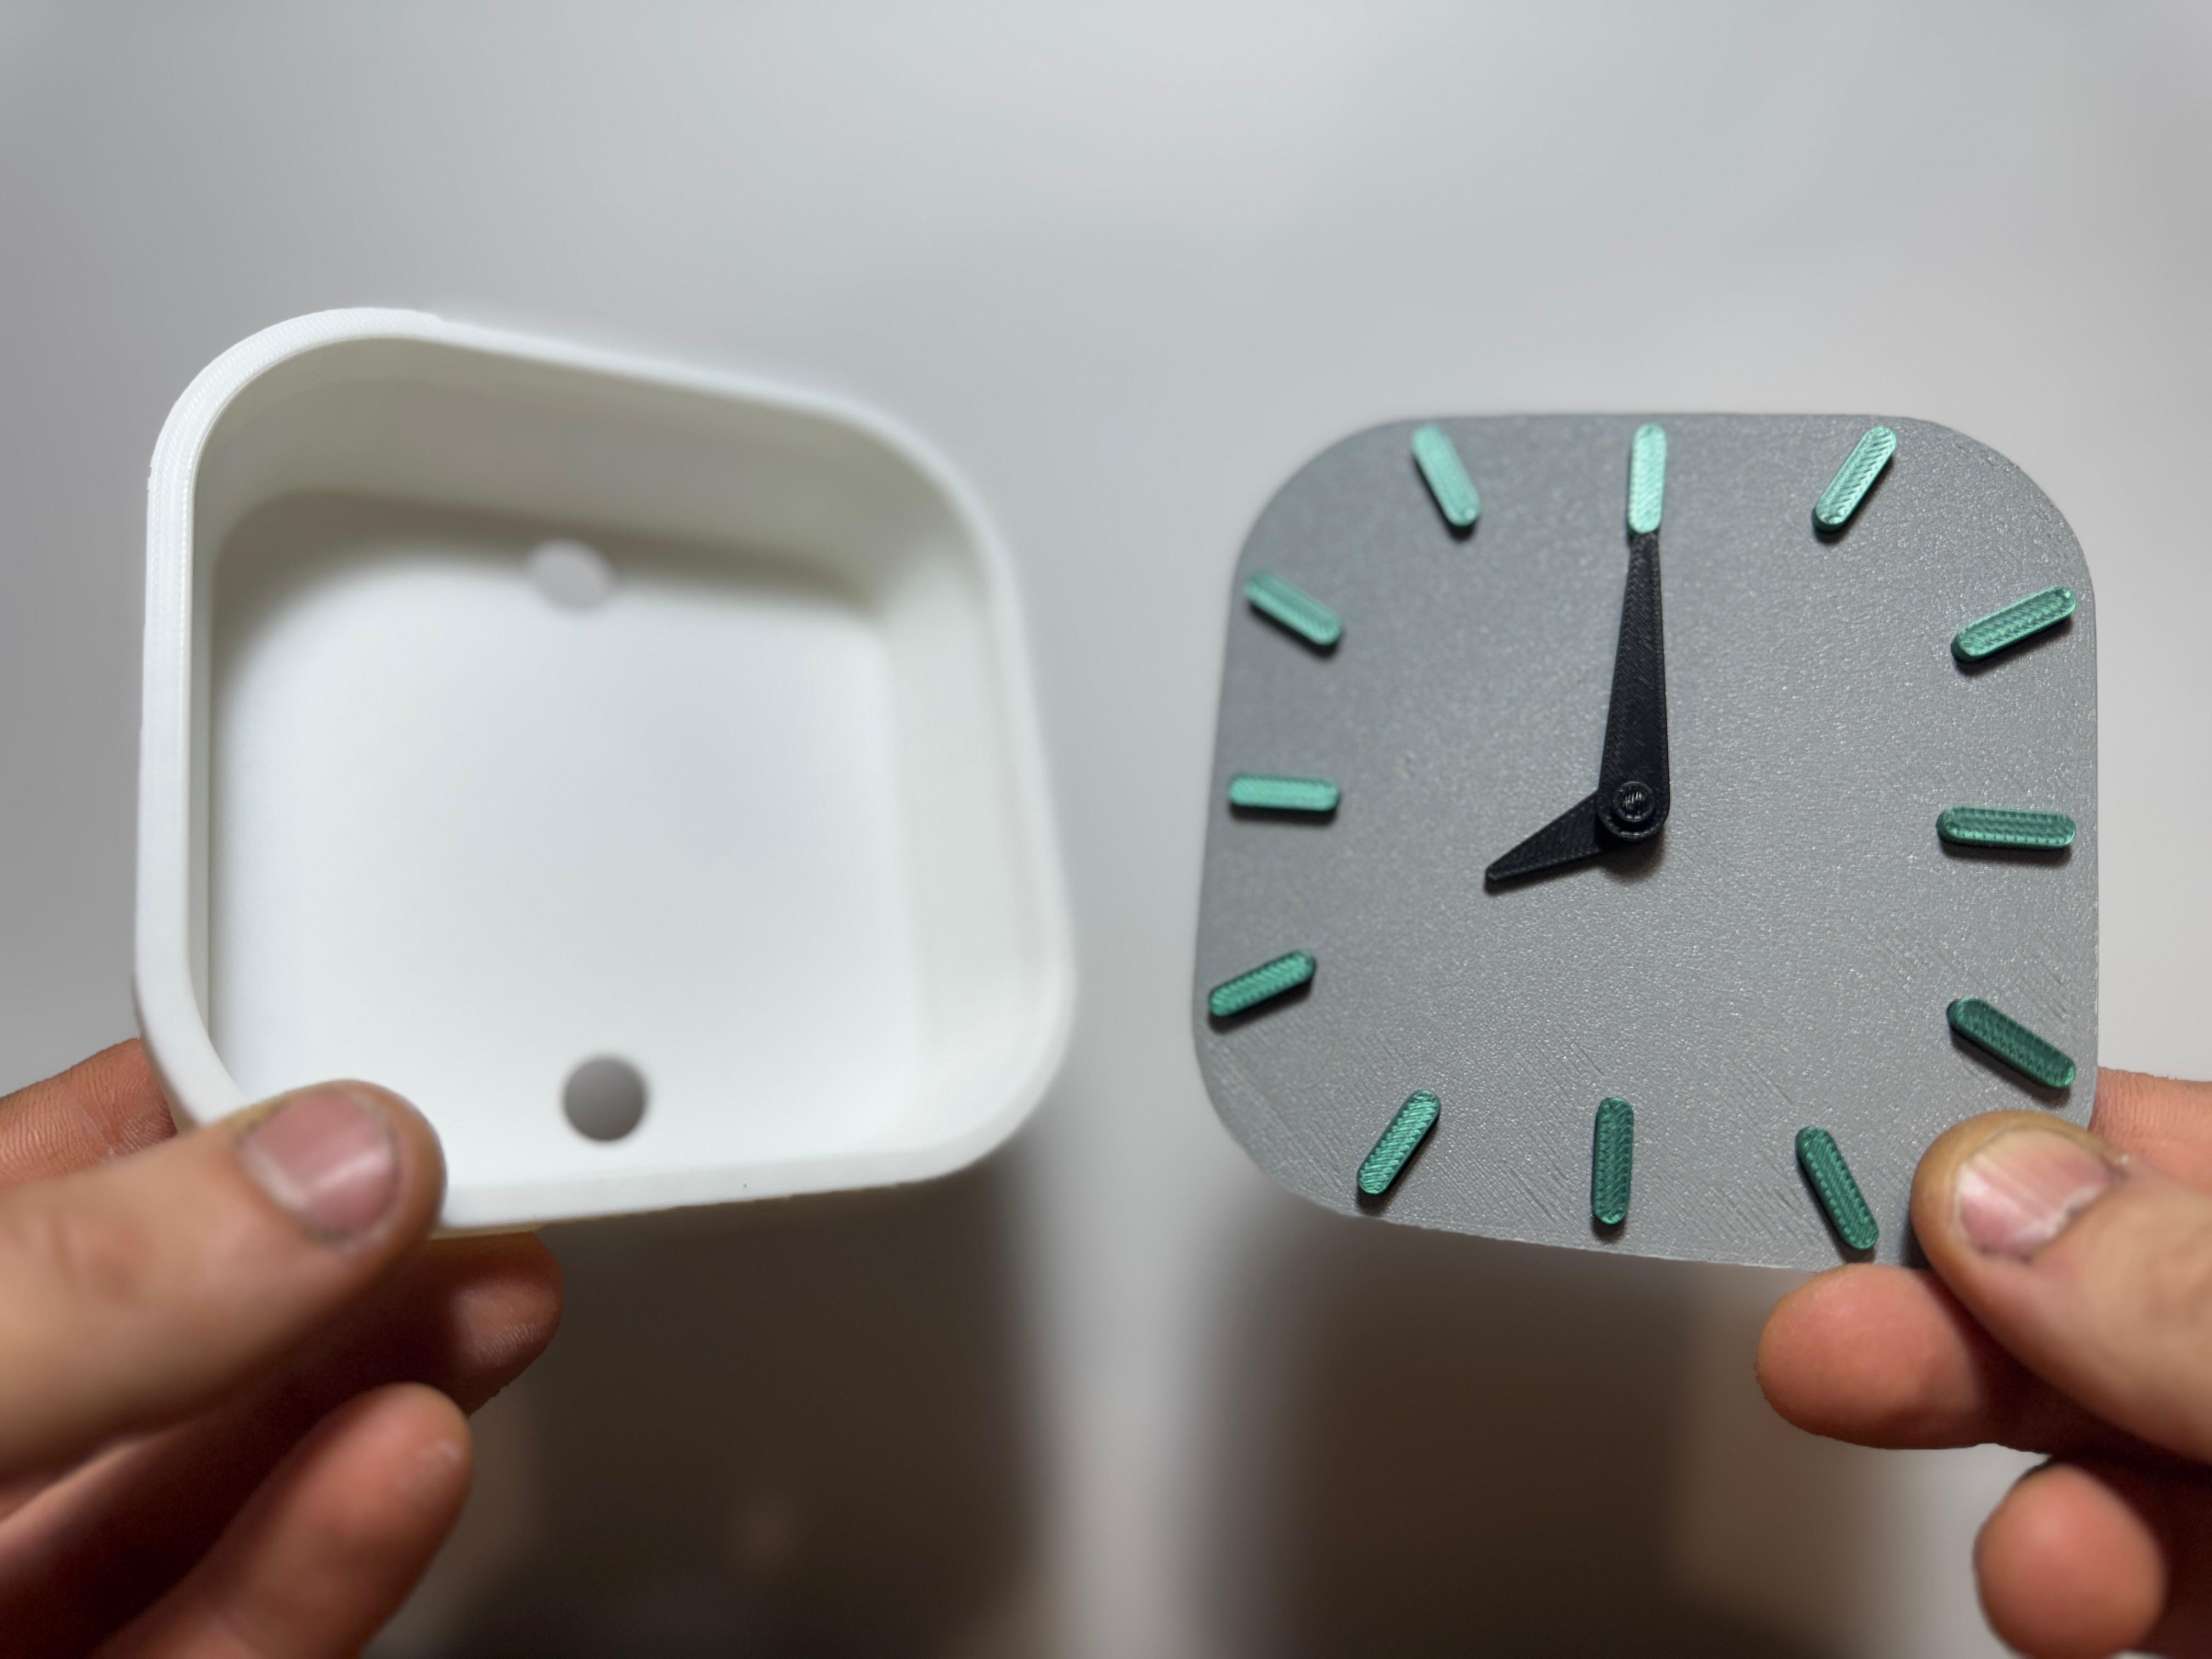
Note: Ensure that the locking points on both the "Face - Mechanism" and "Base" components align properly before applying pressure.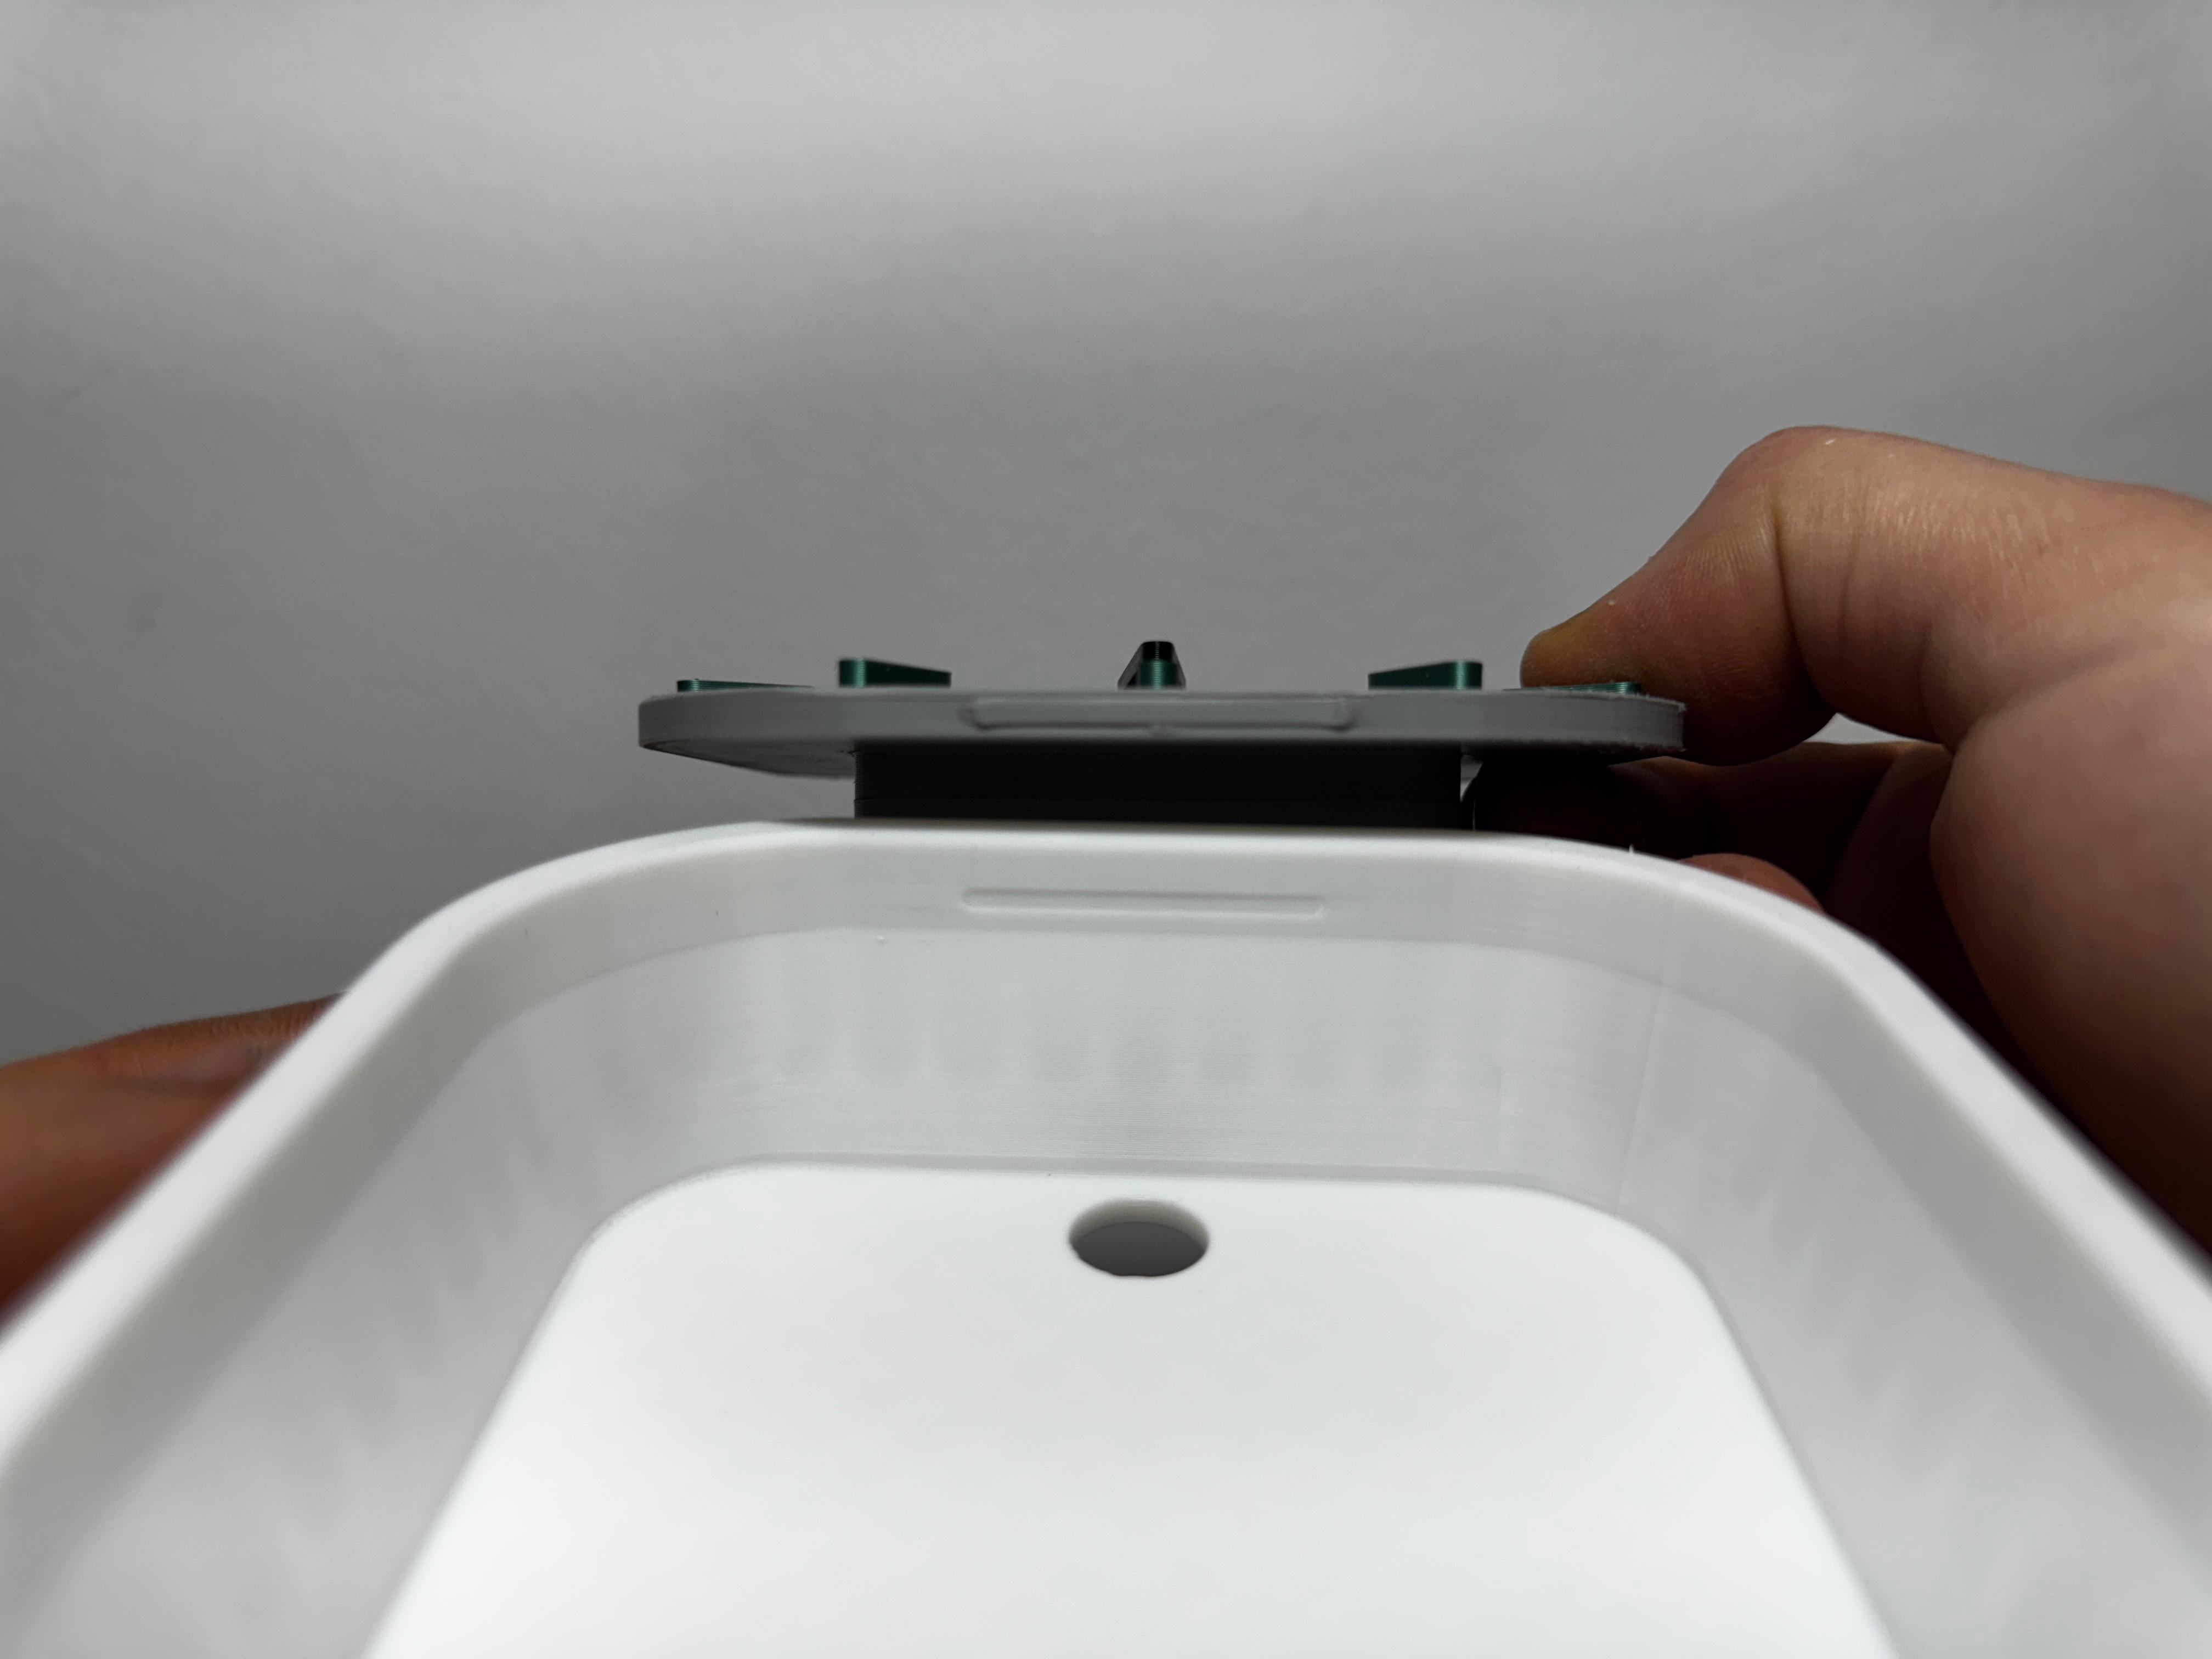
- Wall mounting (optional):
- On the back of the "Base" component, there are two holes.
- These holes allow the clock to be mounted on a wall if desired.
- They also make it easy to remove the clock for battery replacement when needed.
- On the back of the "Base" component, there are two holes.
- Enjoy your clock!
Assembly is now complete. Enjoy your Minimals Clock, a sleek and functional accessory designed to elevate your space!