Você está no 3DFinder
Buscamos em Thingiverse, MakerWorld e Printables ao mesmo tempo para te dar o melhor de cada uma.
Descrição
2 in 1 Filament Guide and Runout Spenser!
Works with Runout Sensor [https://www.amazon.ca/dp/B081NGYNMJ?psc=1&ref=ppx_yo2ov_dt_b_product_details](https://www.amazon.ca/dp/B081NGYNMJ?psc=1&ref=ppx_yo2ov_dt_b_product_details) and others like it.
Bearing is a (688zz,8mm x 16mm x 5mm) ( [https://www.amazon.ca/gp/product/B07VTMJ5N4/ref=ppx_yo_dt_b_search_asin_title?ie=UTF8&psc=1](https://www.amazon.ca/gp/product/B07VTMJ5N4/ref=ppx_yo_dt_b_search_asin_title?ie=UTF8&psc=1) )
Need:
2 - M3x25 for Lid threw too the bearing mount, you can use longer bolts with nuts of you want.
1 - 688zz bearing
1 - M6 Pneumatic Joint (not necessary if using double tube case)
2 - M5 or M4 bolts, washers and T nuts for mounting the Riser. I used M4x9 with washers as that's what I had laying around.
- Some tubing
Maker JTron did a great job with the housing and Maker Lars has designed a clean swivel mount system. So I mashed them up, changed some things and designed a riser mount that would keep it out of the way (as much as possible) when at full height)
After printing (you can use whatever filament and height you want) make sure you press the bearing in so that it sits flush with the bevelled side of the bearing mount, there should be some room between the case and the bearing for the bearing button.
Attach the M6 Pneumatic Joint to the flat holed side of the case or just use the double tube case. Holes might need drilling if fitment is tight. Careful drilling as drill bits seem to love biting hard into plastic.
After prying the original case open and retrieving the sensor itself, you might need to bend the filament sensor arm a bit so that it doesn't come into contact with the case while being triggered. I just turned the end in a bit with some pliers and it worked out nicely.
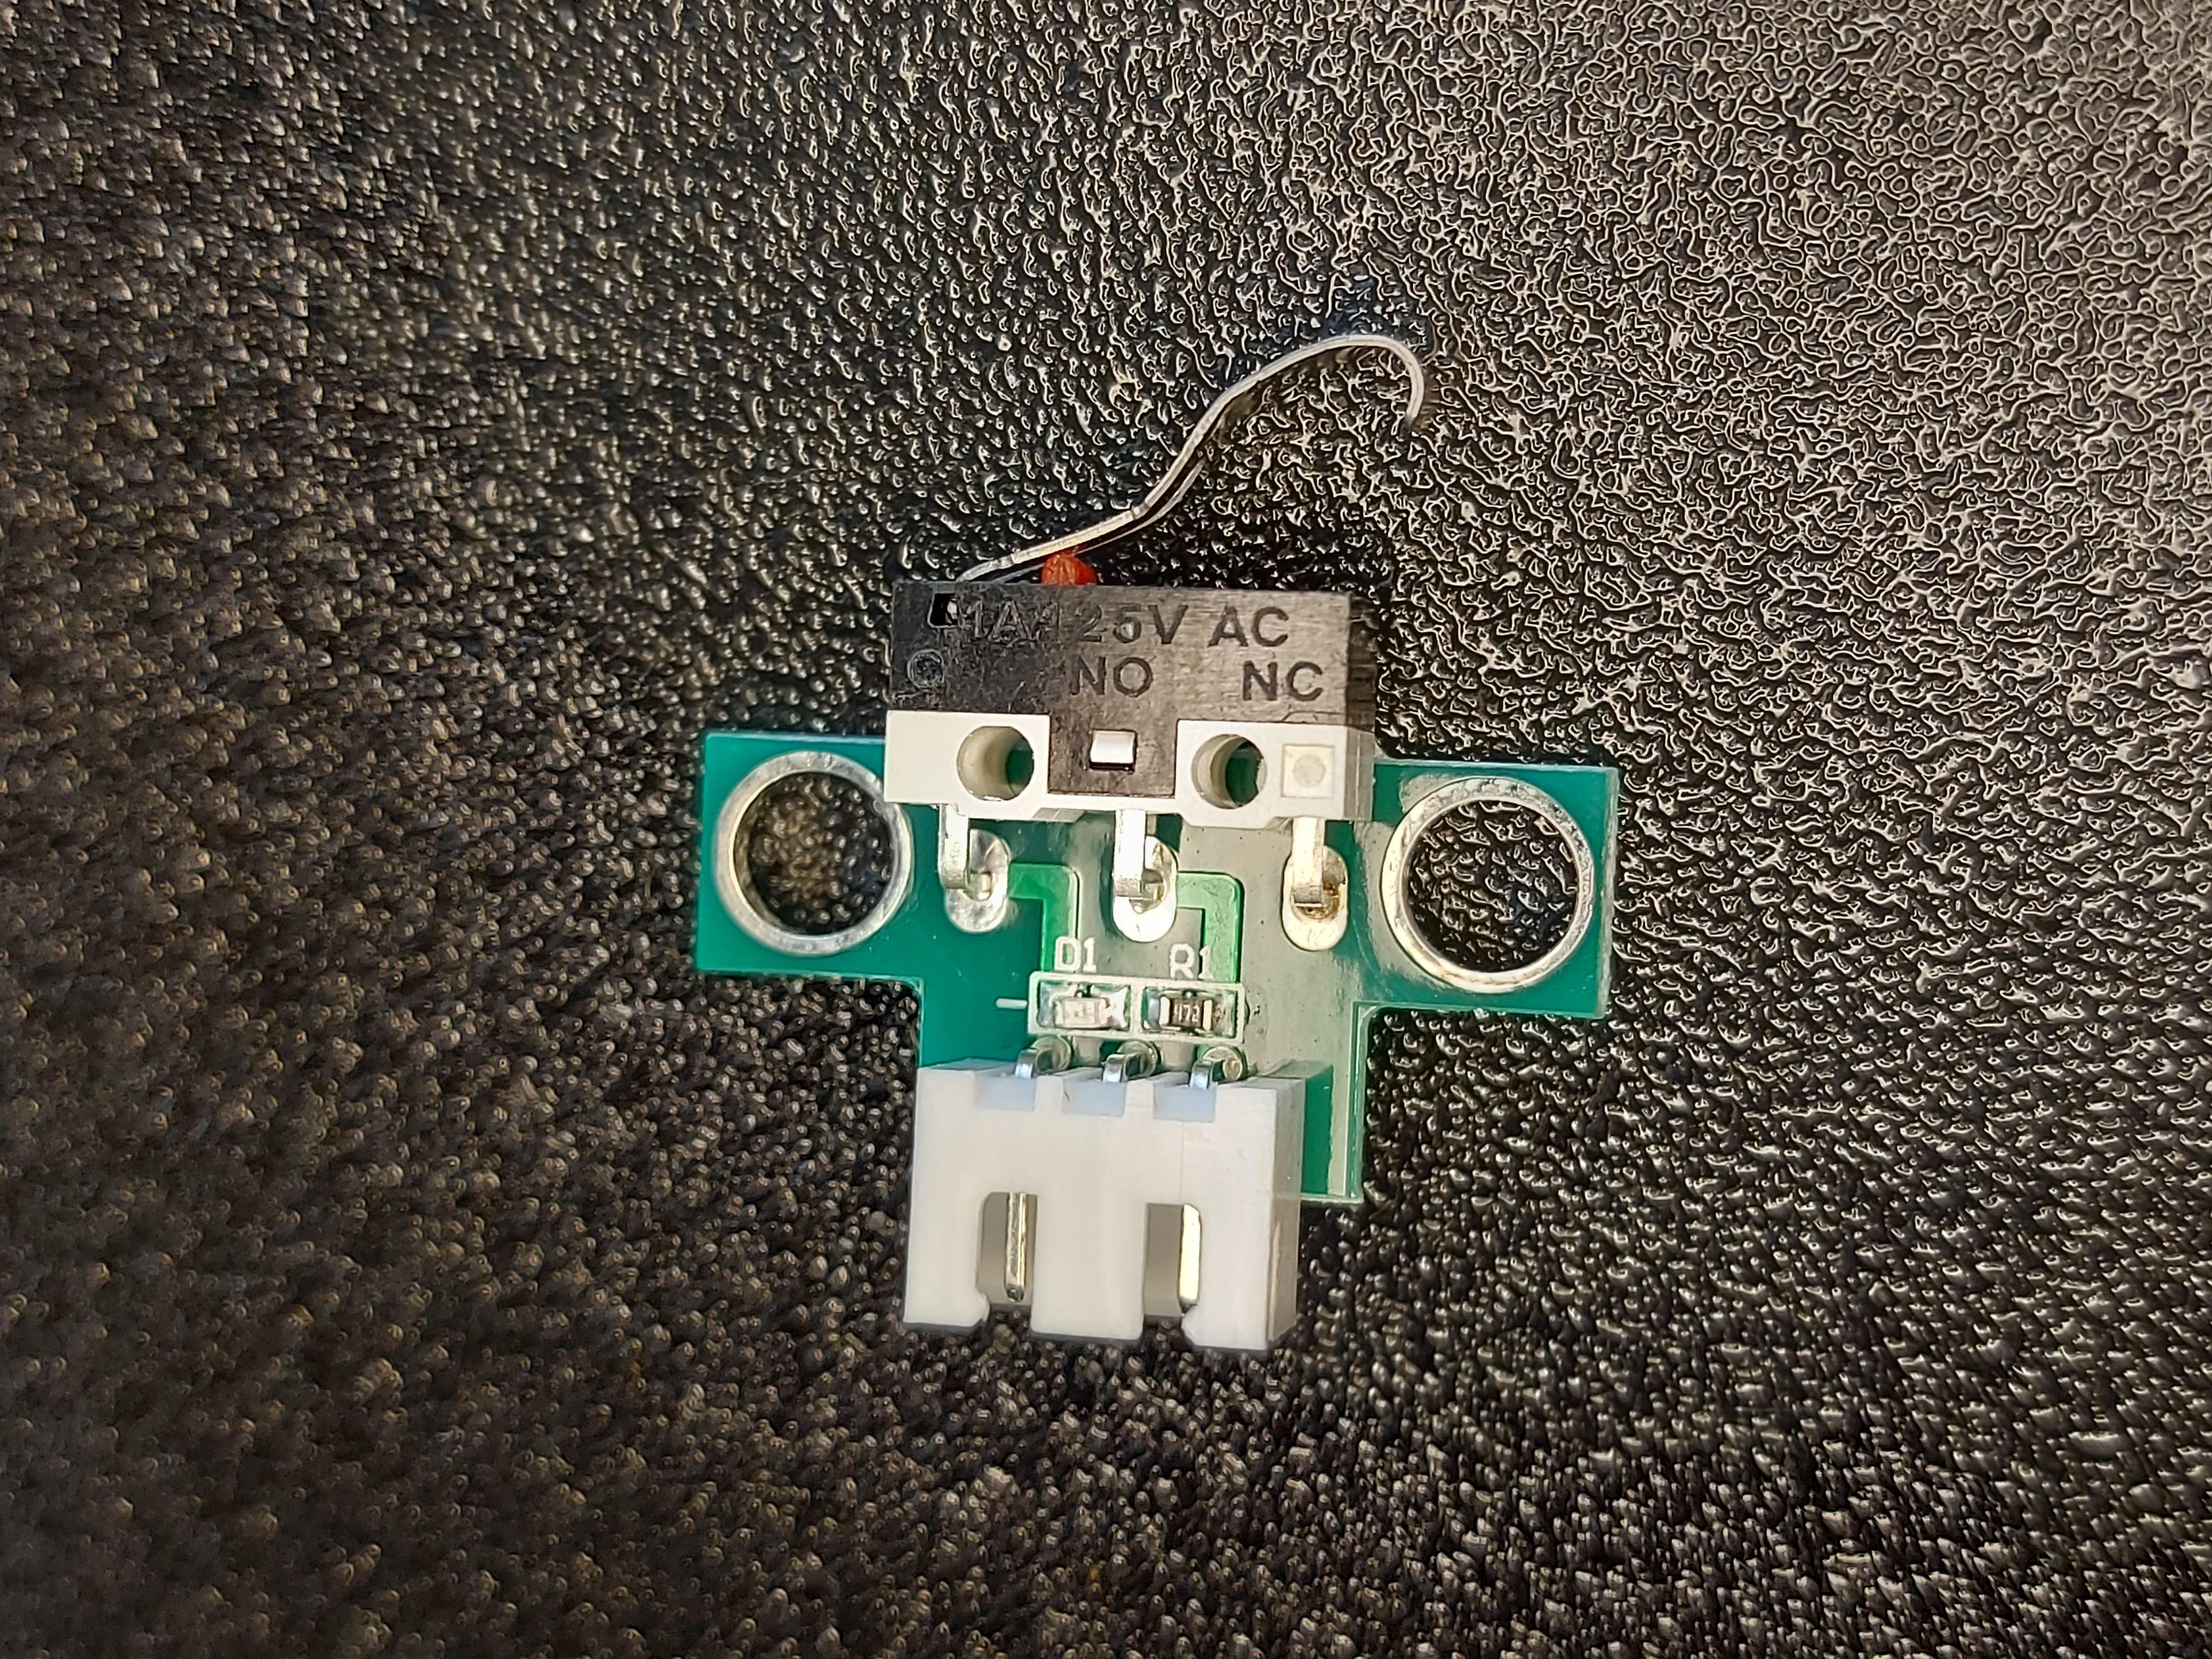
Use your M4 or M5 bolts to attach the Riser or Flat Mount to the printer and then attach the bearing mount with bearing pressed in with the bearing button to the riser.
Now use the 2 M3 bolts and marry the lid, sensor, case and bearing mount all together.
Attaching the tubes differ for weather you have a Bowden or Direct Drive setup. For Bowden you have a long tube going from the Filament sensor to the extruder motor and for Direct Drive you only need a small tube to aid in filament alignment so it doesn't get bent while exiting the filament sensor. For the Pneumatic Joint side you can choose to have a short one to help align the sensor or a long one reaching to your filament or filament drying case.
I am using this on my Kobra Go that is modded with a Sprite Extruder and many other mods. Should still be a very universal upgrade for many different printers.
Hope this works as good for you as it does for me. I'm using a BTT SKR Mini E3 V3.0 board so please no questions on coding your filament runout sensor to your printer. Lots of other resources out there on google.

Gostou deste modelo? Crie uma conta grátis para salvar seus favoritos e voltar a eles depois.
Criar conta