Você está no 3DFinder
Buscamos em Thingiverse, MakerWorld e Printables ao mesmo tempo para te dar o melhor de cada uma.
Descrição
Visit Jerrari3d.com for more related projects
_________________________________
The RETRO GameStack system is a fully customizable and modular storage solution designed specifically for your Atari 2600 game cartridges. Unlike pre-made storage options, the RETRO GameStack allows you to 3D print only the storage you need. Thanks to the 3D printable QuickLock mechanism, you can effortlessly rearrange or expand your setup in seconds, keeping your game library organized and adaptable to any space.
RETRO GameStack Collection | |
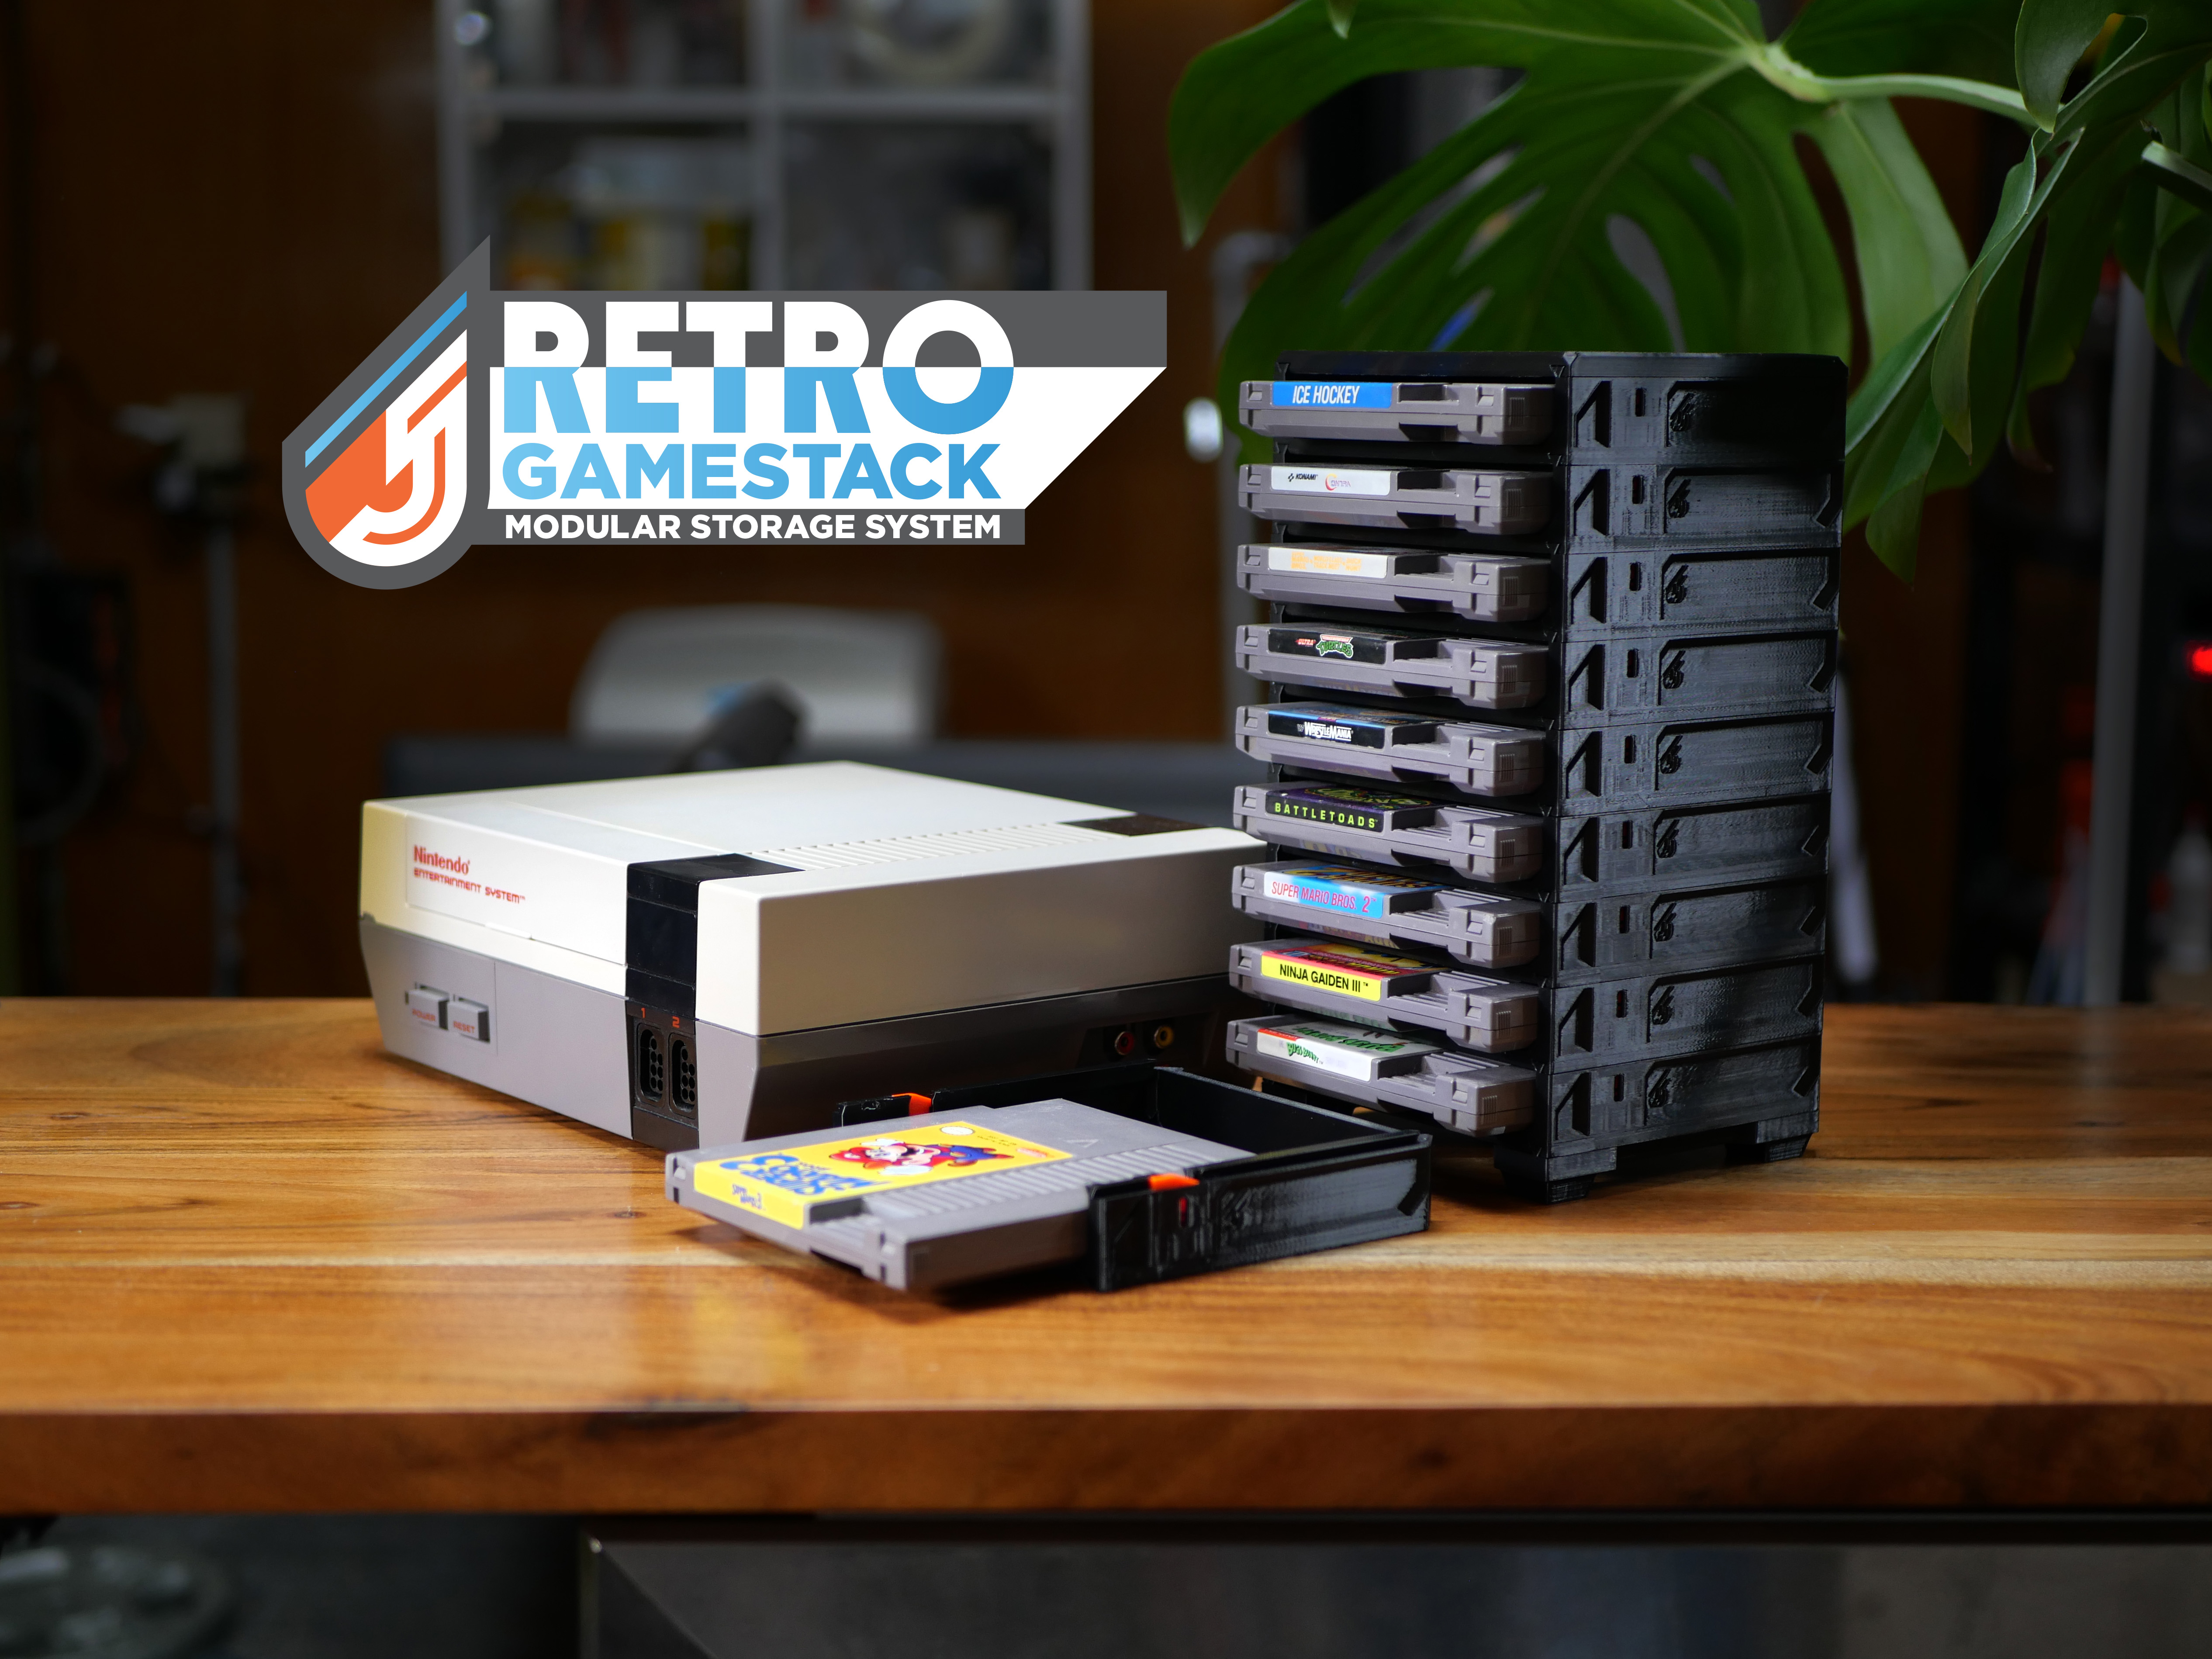 | RETRO GameStack - NES |
__________________________________
MATERIALS
Affiliated links to help support these projects
Hardware:
• M3x6 Screw
• M3 Nut
• Rubber Feet (Optional - Can be printed with TPU)
Filament:
• PETG (Required for QuickLock)
• PLA (Optional for case parts)
• TPU (Optional for printed feet)
___________________________________
ASSEMBLY INSTRUCTIONS
Your printed parts should look like what's shown below, you can add as many cartridge slots as you'd like. Images depict the RETRO GameStack - NES , but assembly is the same process.
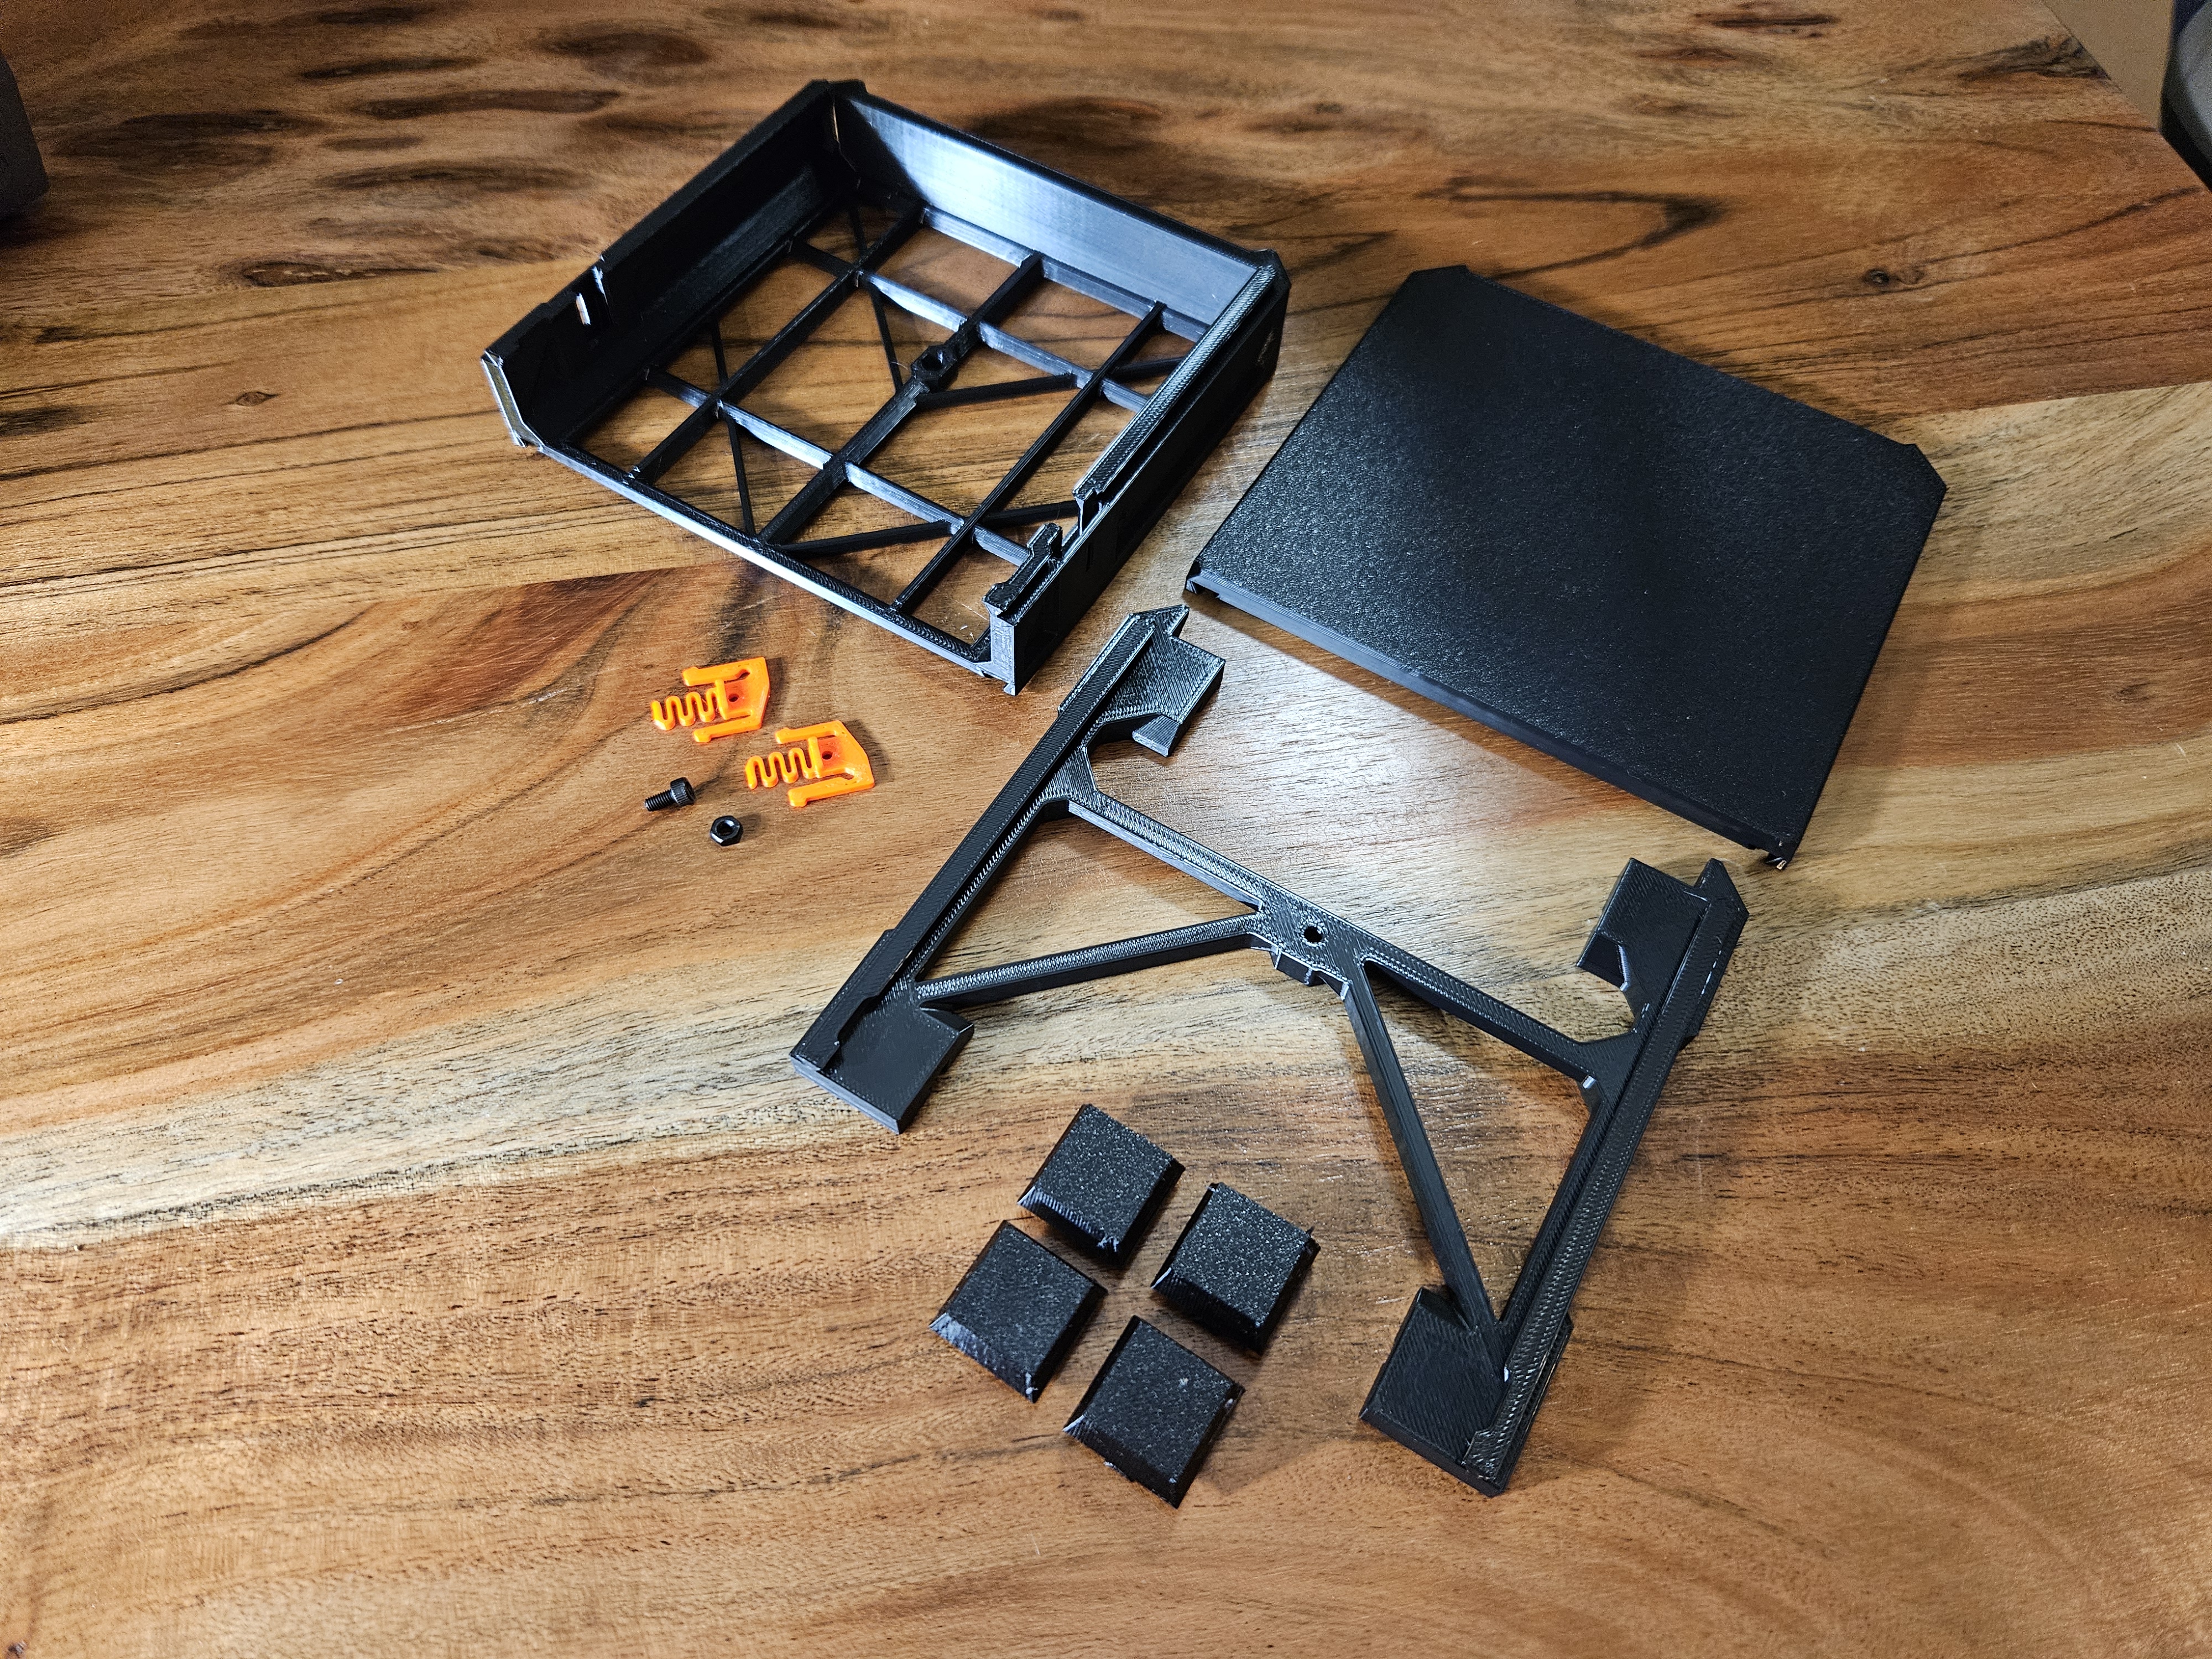
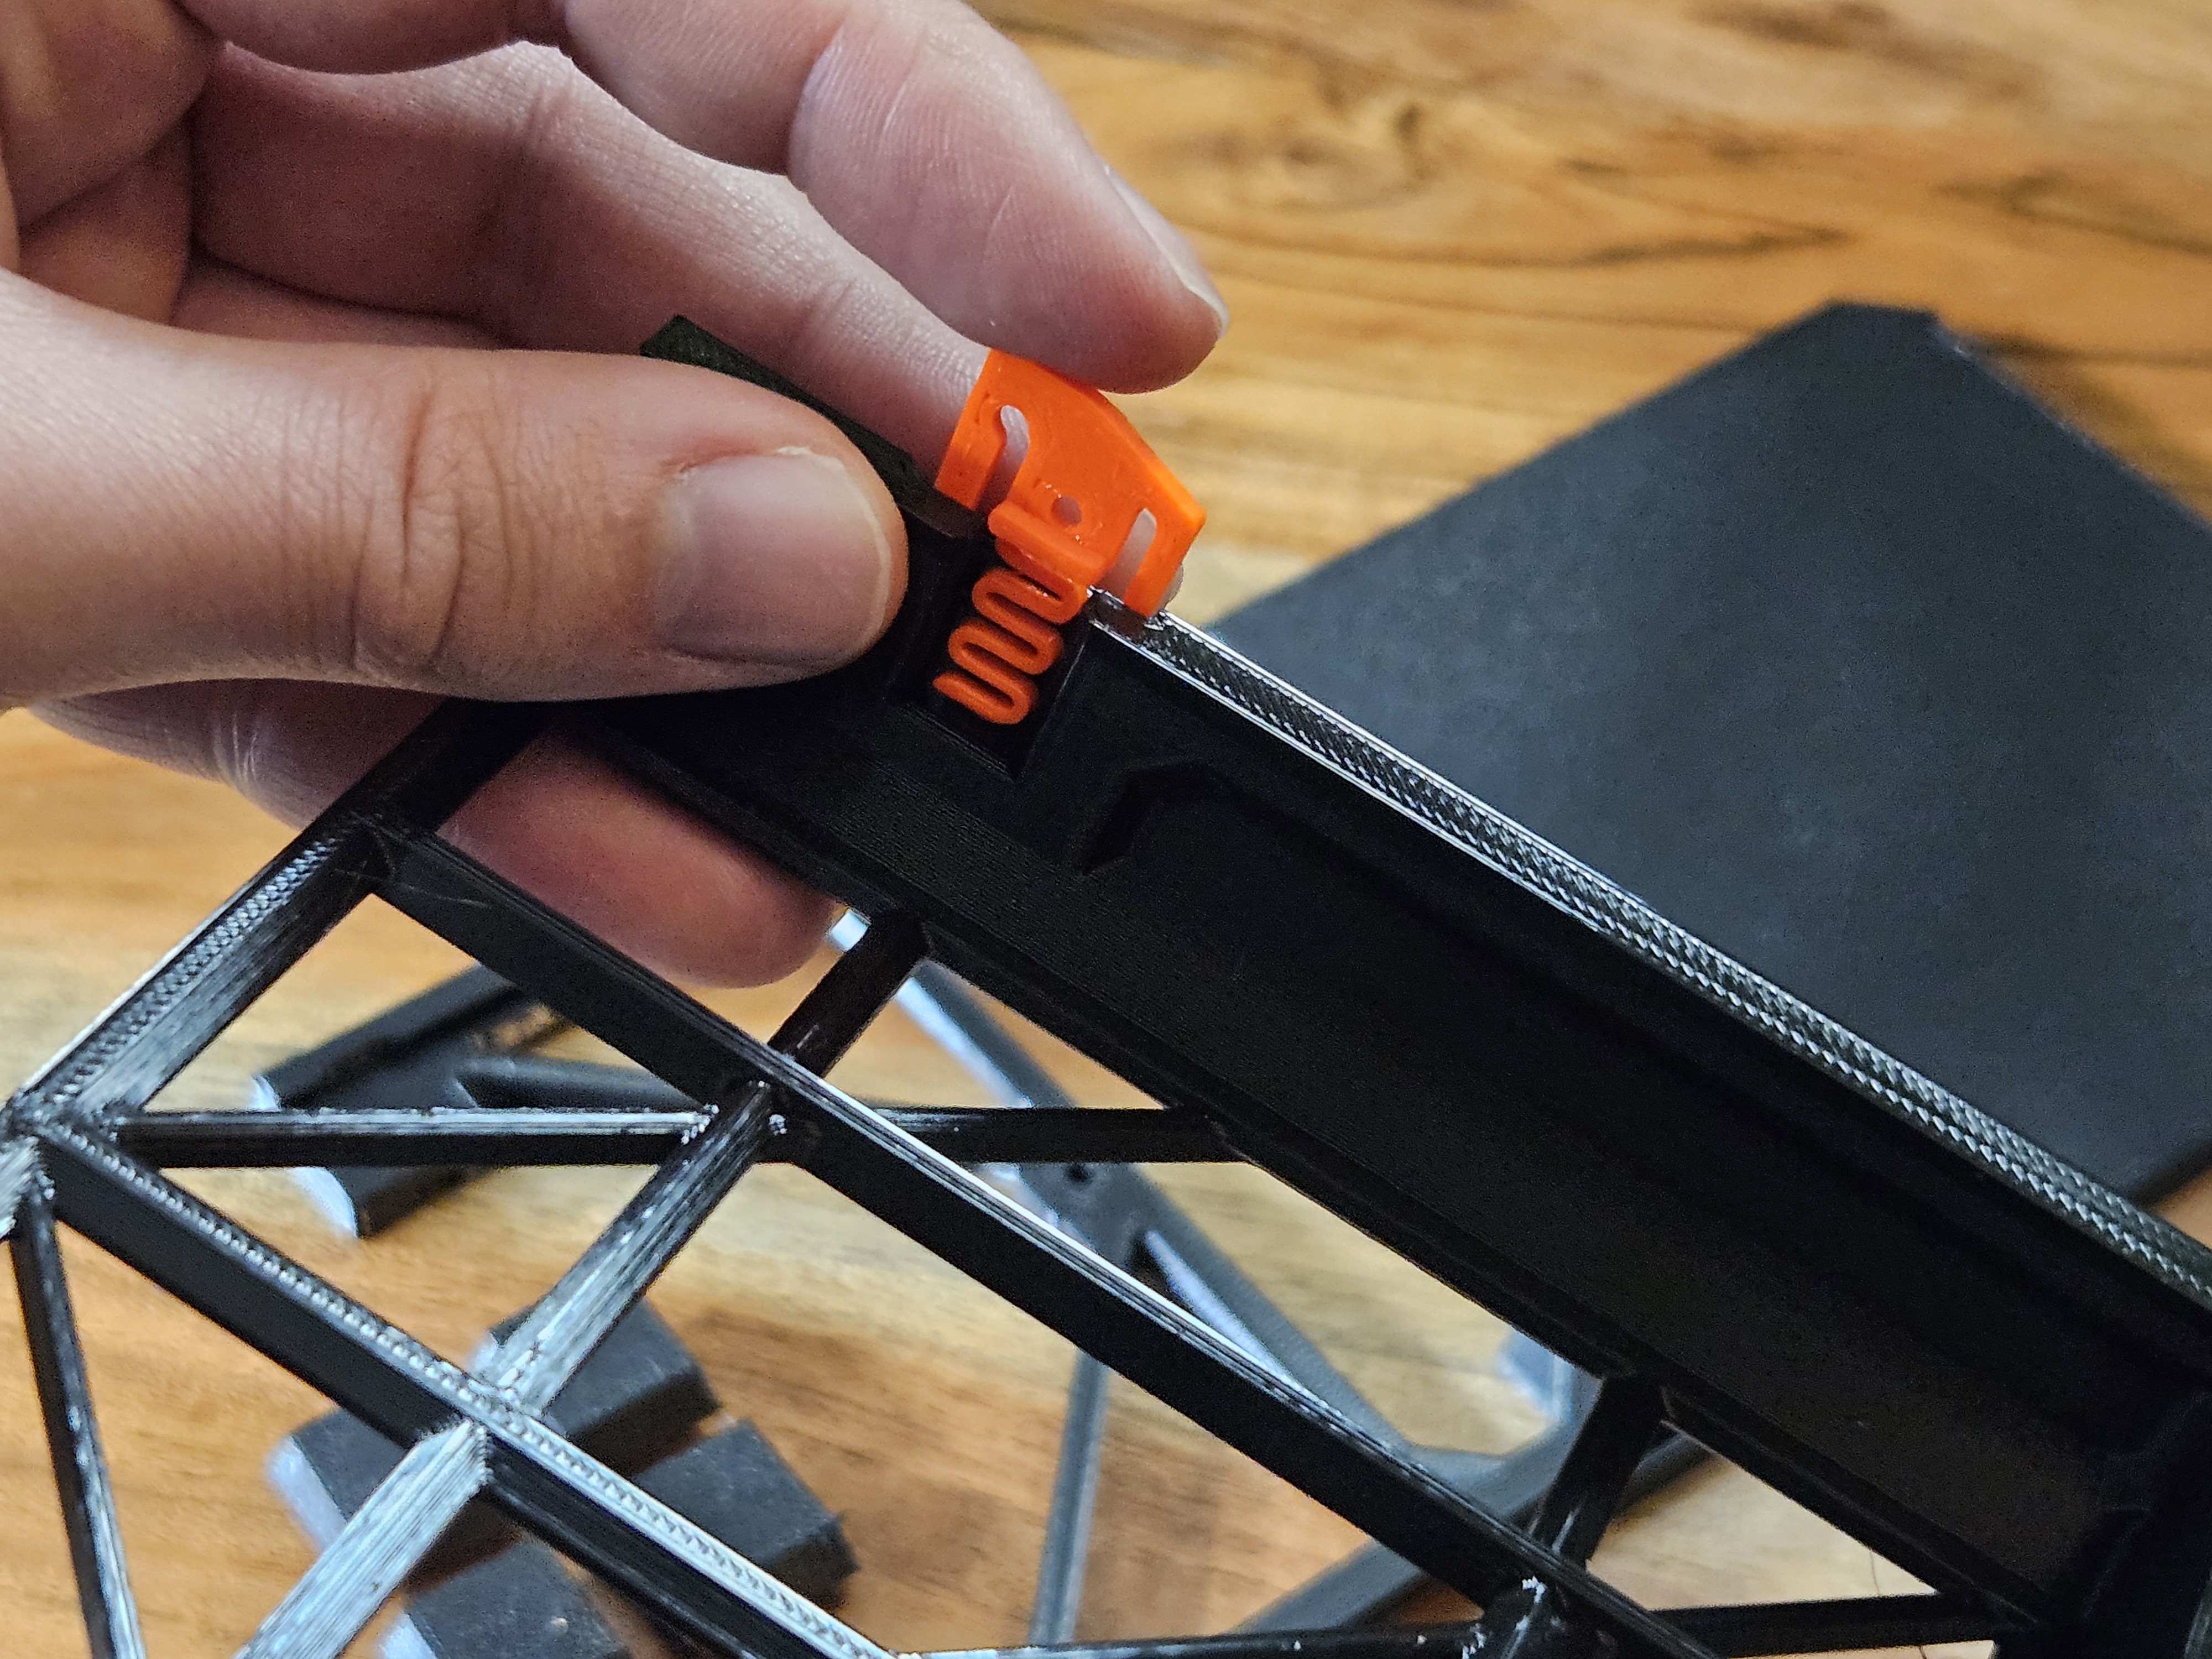
• Start by installing the QuickLocks into the Cartridge Slots. There is an "L" embossed on the QuickLock that will install on the left side and "R" for the right side.
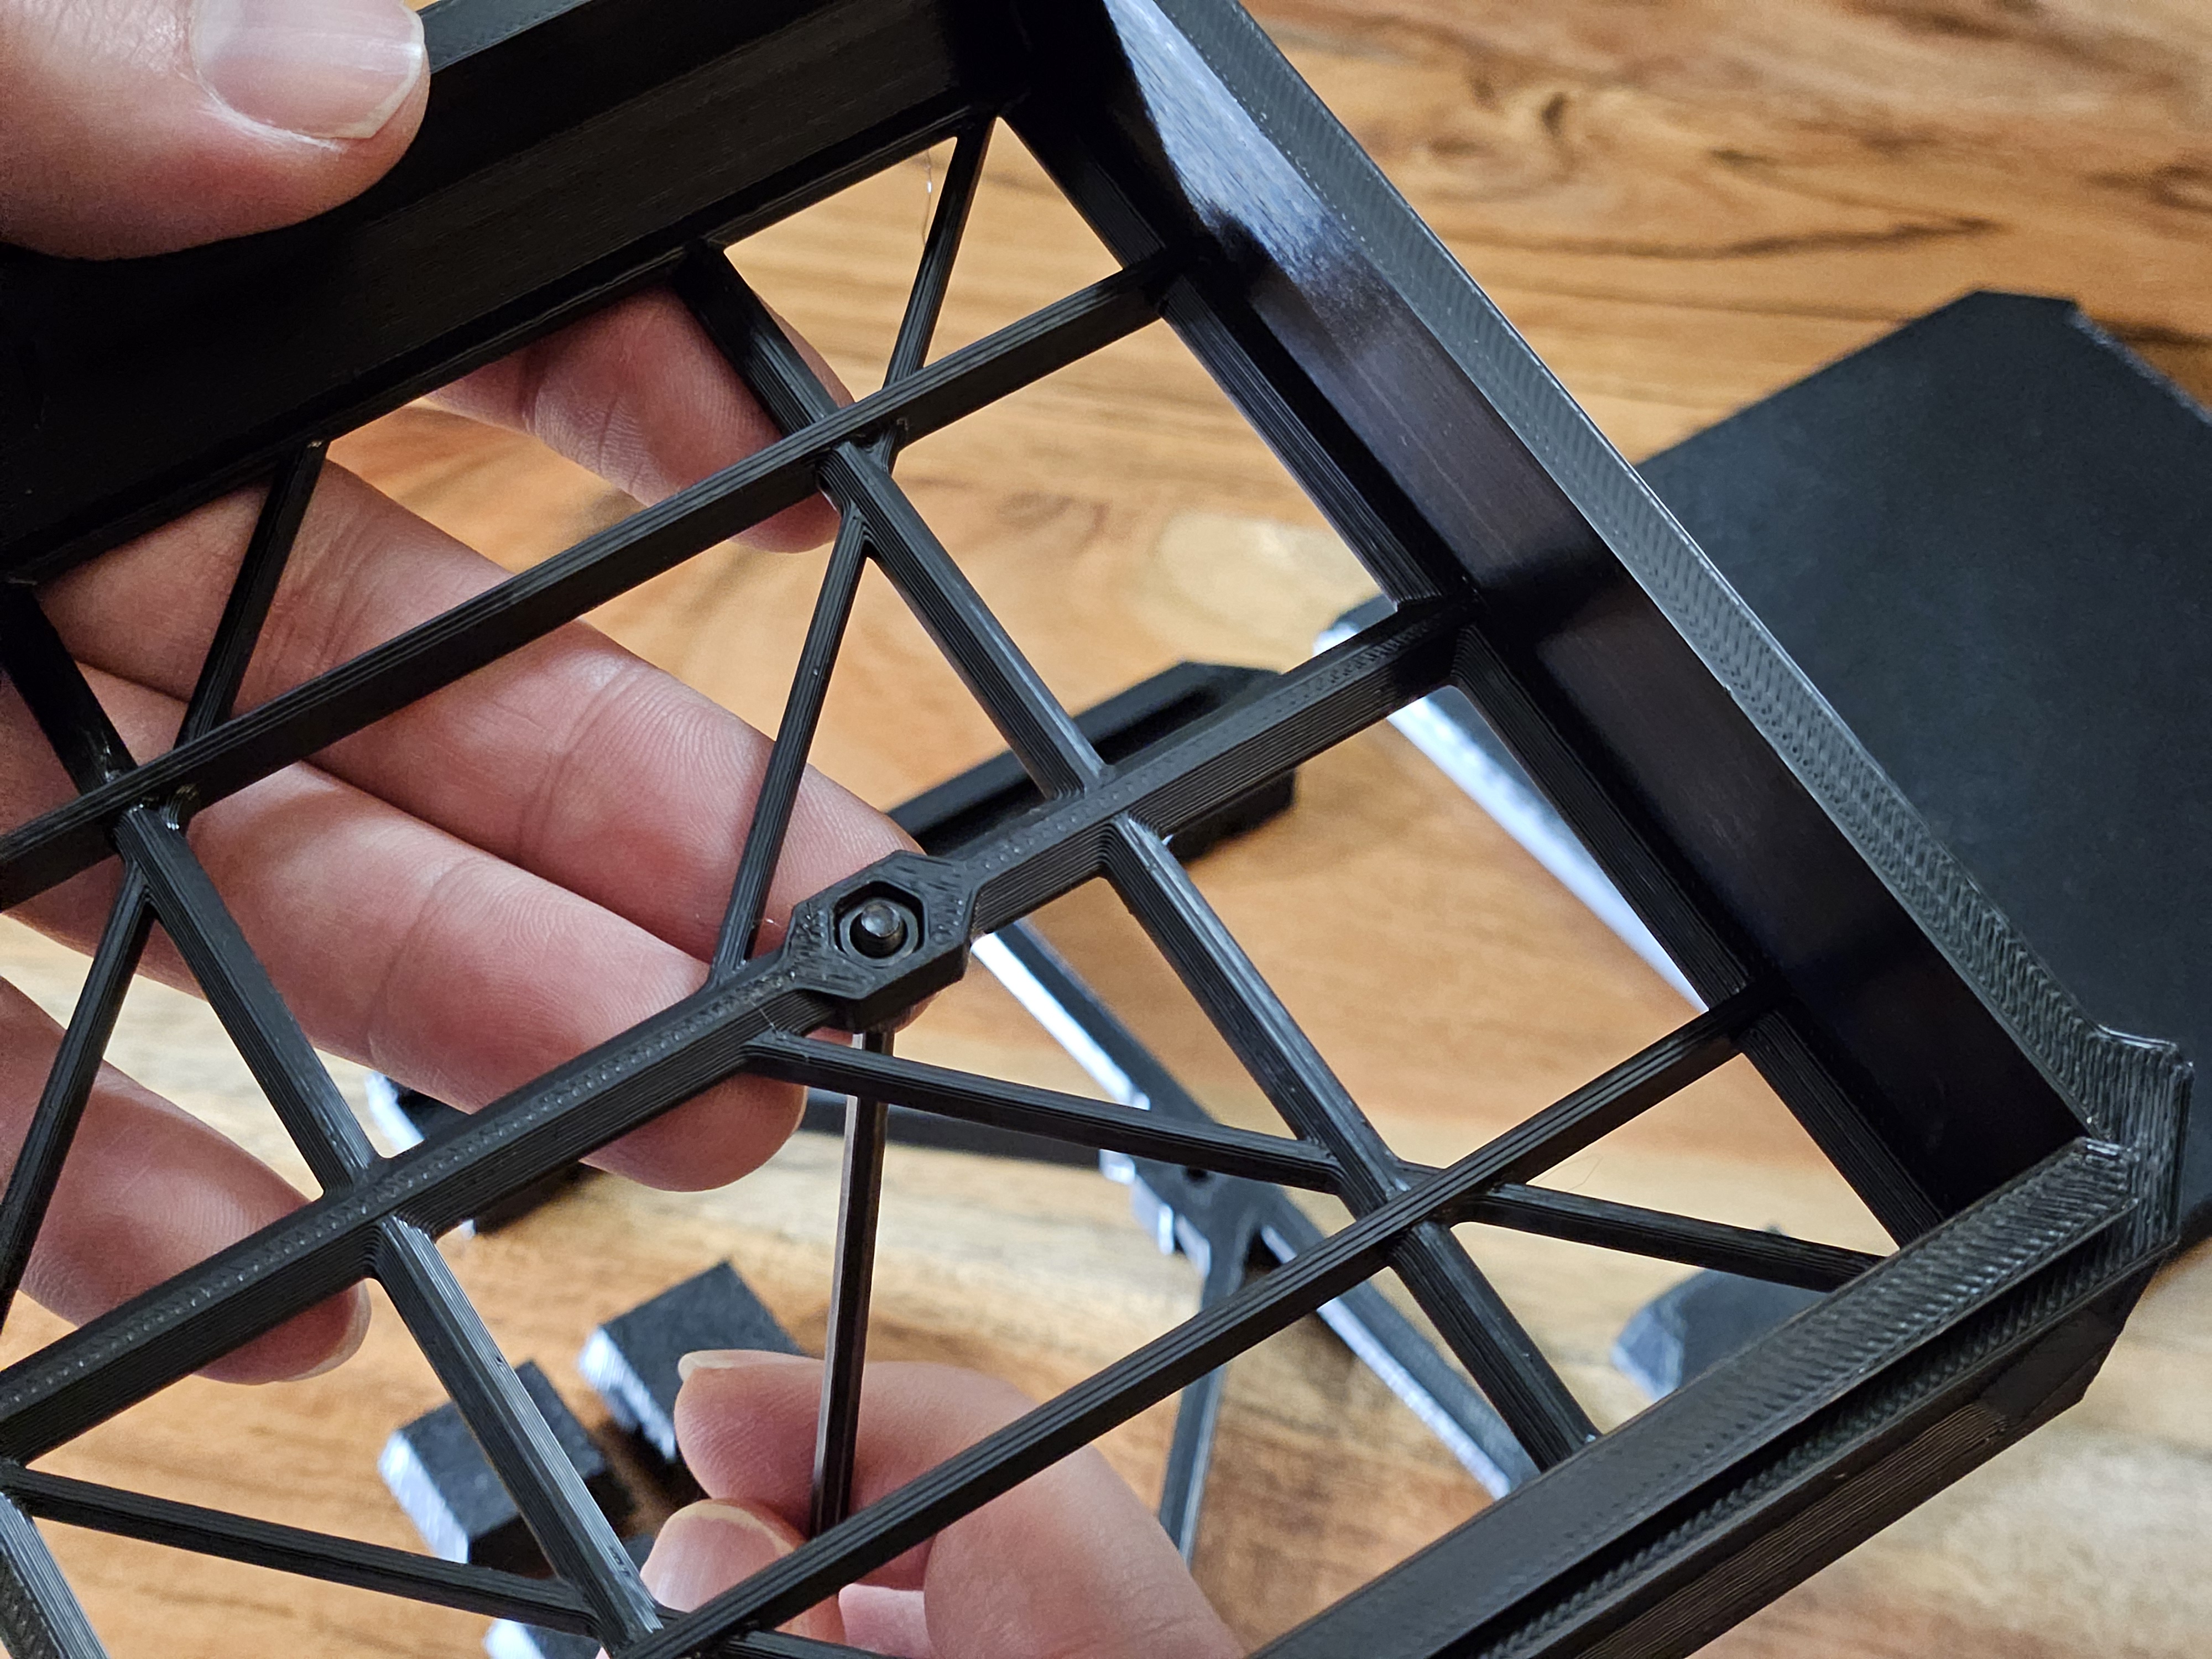
• On the Cartridge Slot that will be used on the bottom install the M3 nut. This can be pulled into place using a longer M3 screw such as an M3x10.
• (If using purchased rubber feet, skip to the next step) Install the feet onto the rail. Slide the pointed end of the rail on the top of the foot in place first.
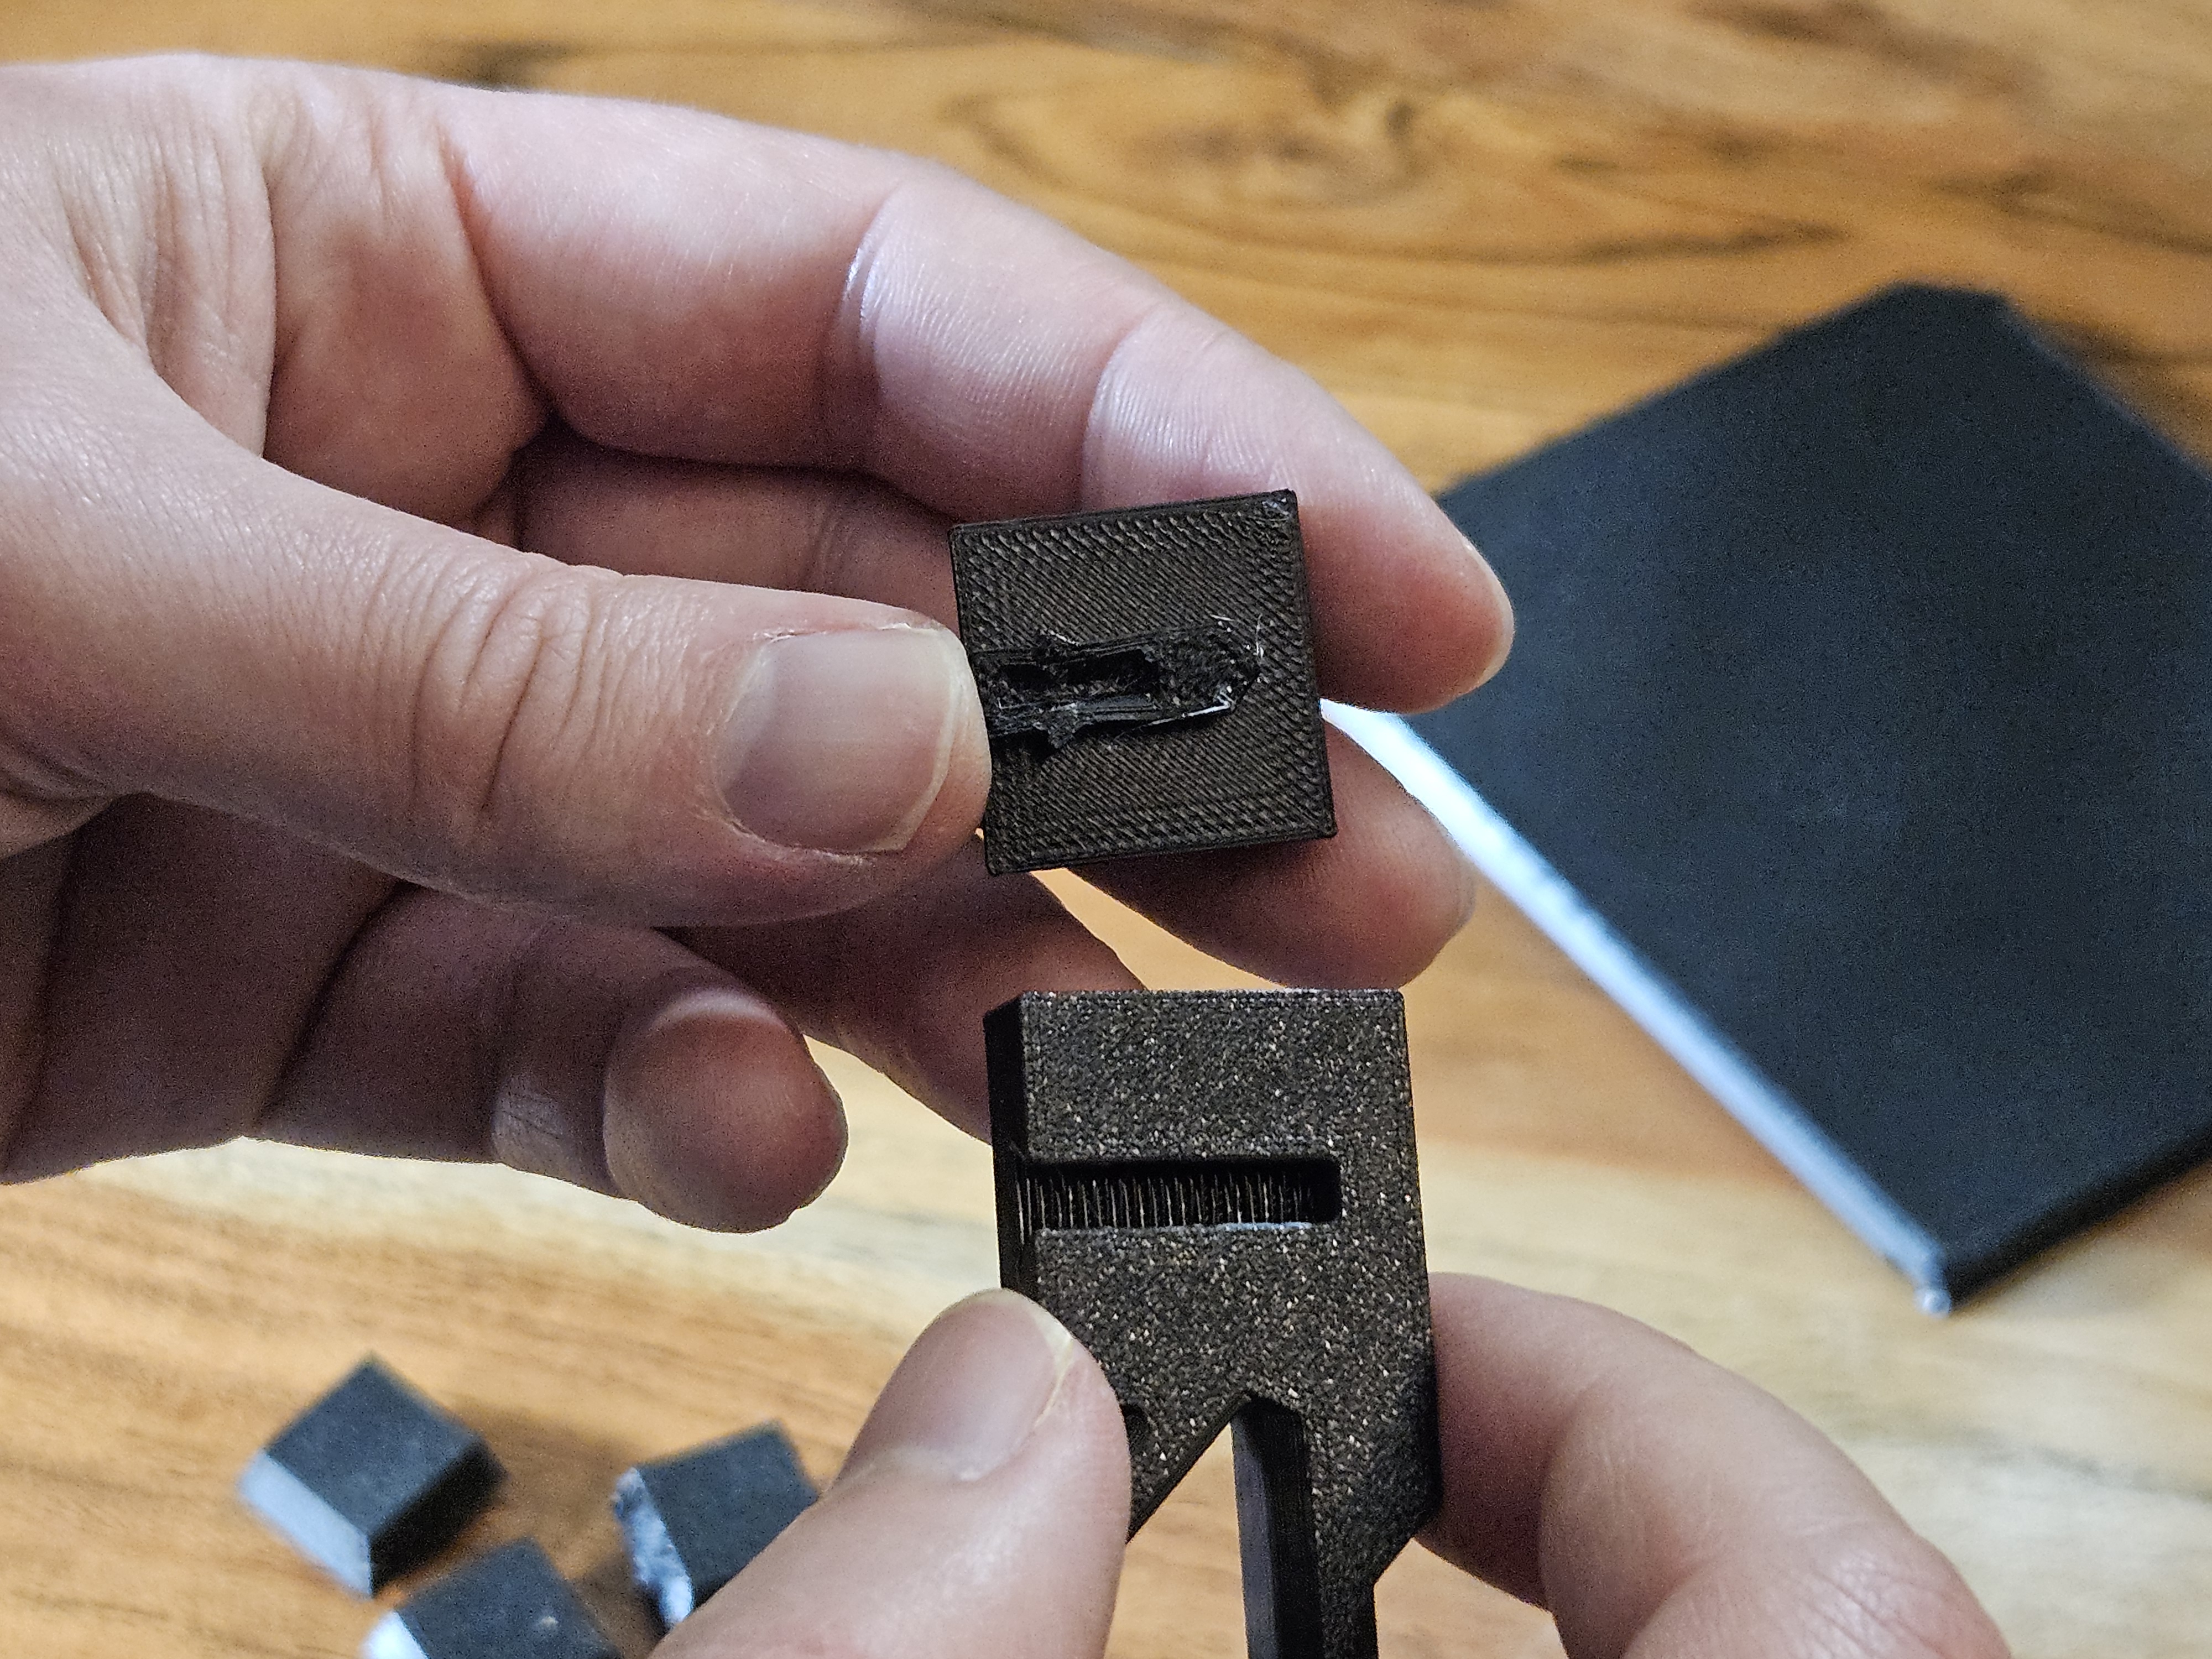
• Press the foot in all the way until it snaps in place.
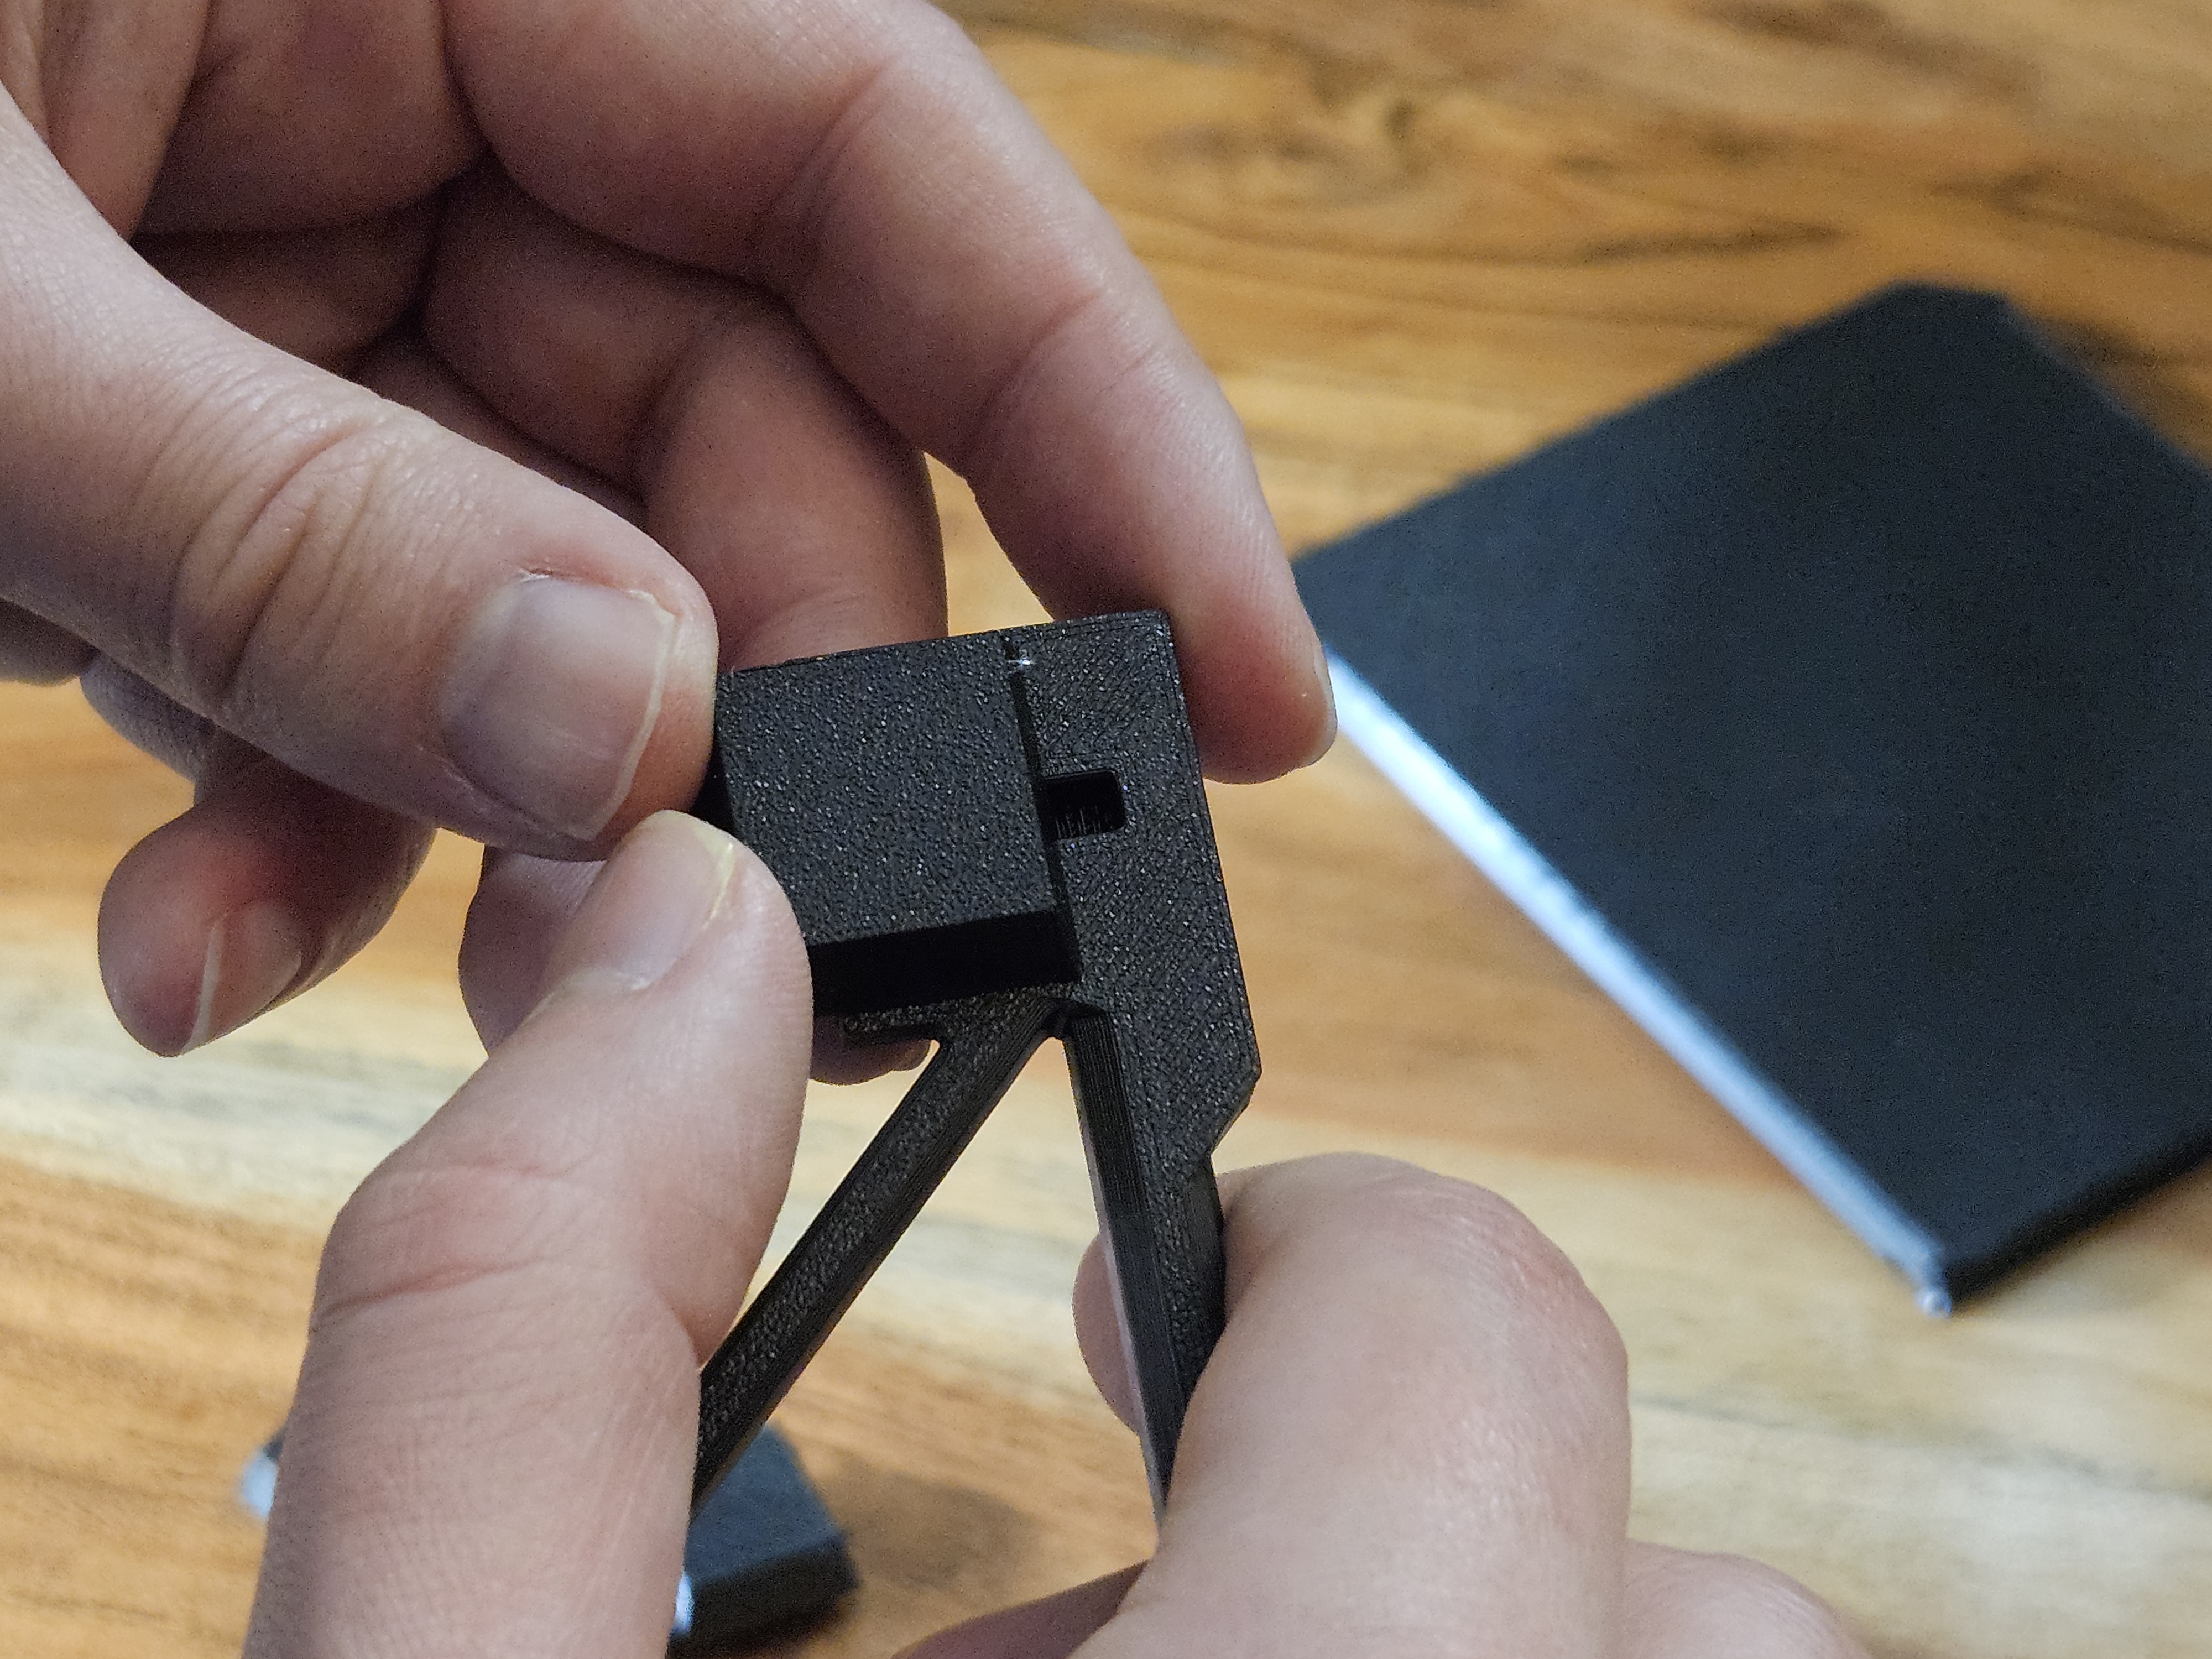
• Slide the Foot Rail onto the underside of the Cartridge Slot with the M3 nut installed. Thread a M3x6 screw through the opening in the Foot Rail into the M3 nut on the Cartridge Slot to lock it in place.
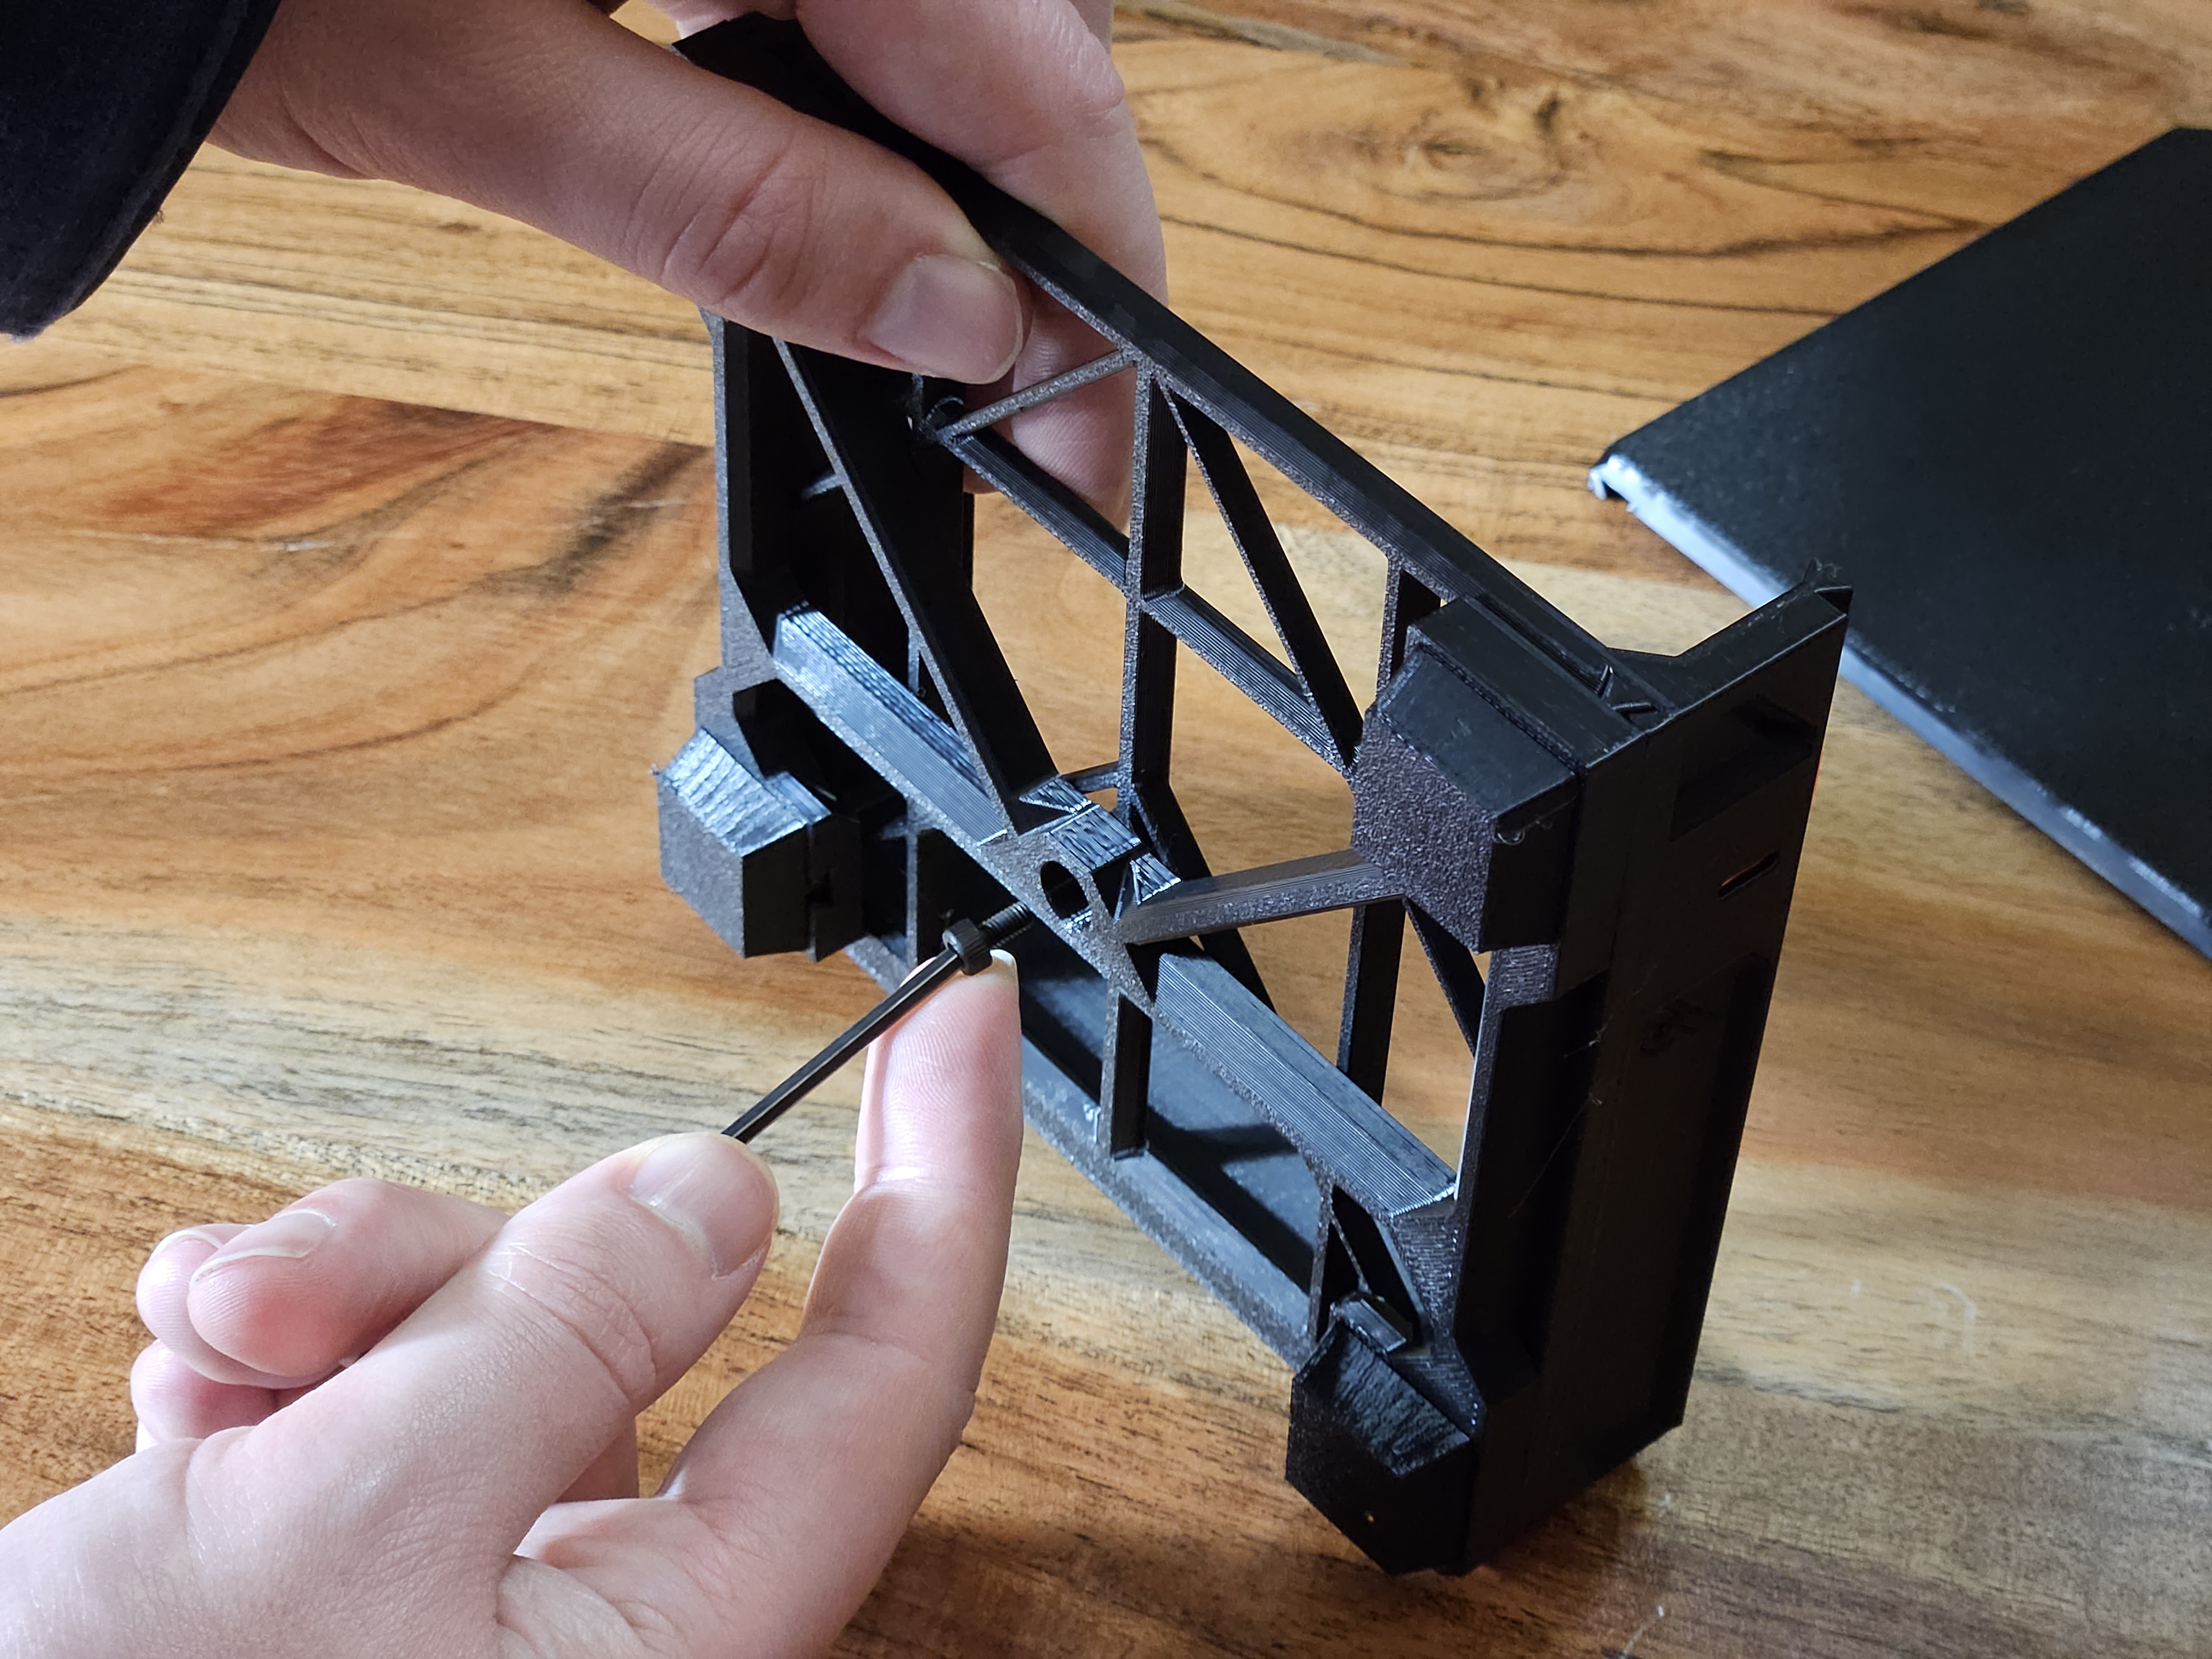
• Add any additional Cartridge Slots onto top of the bottom Cartridge Slot.
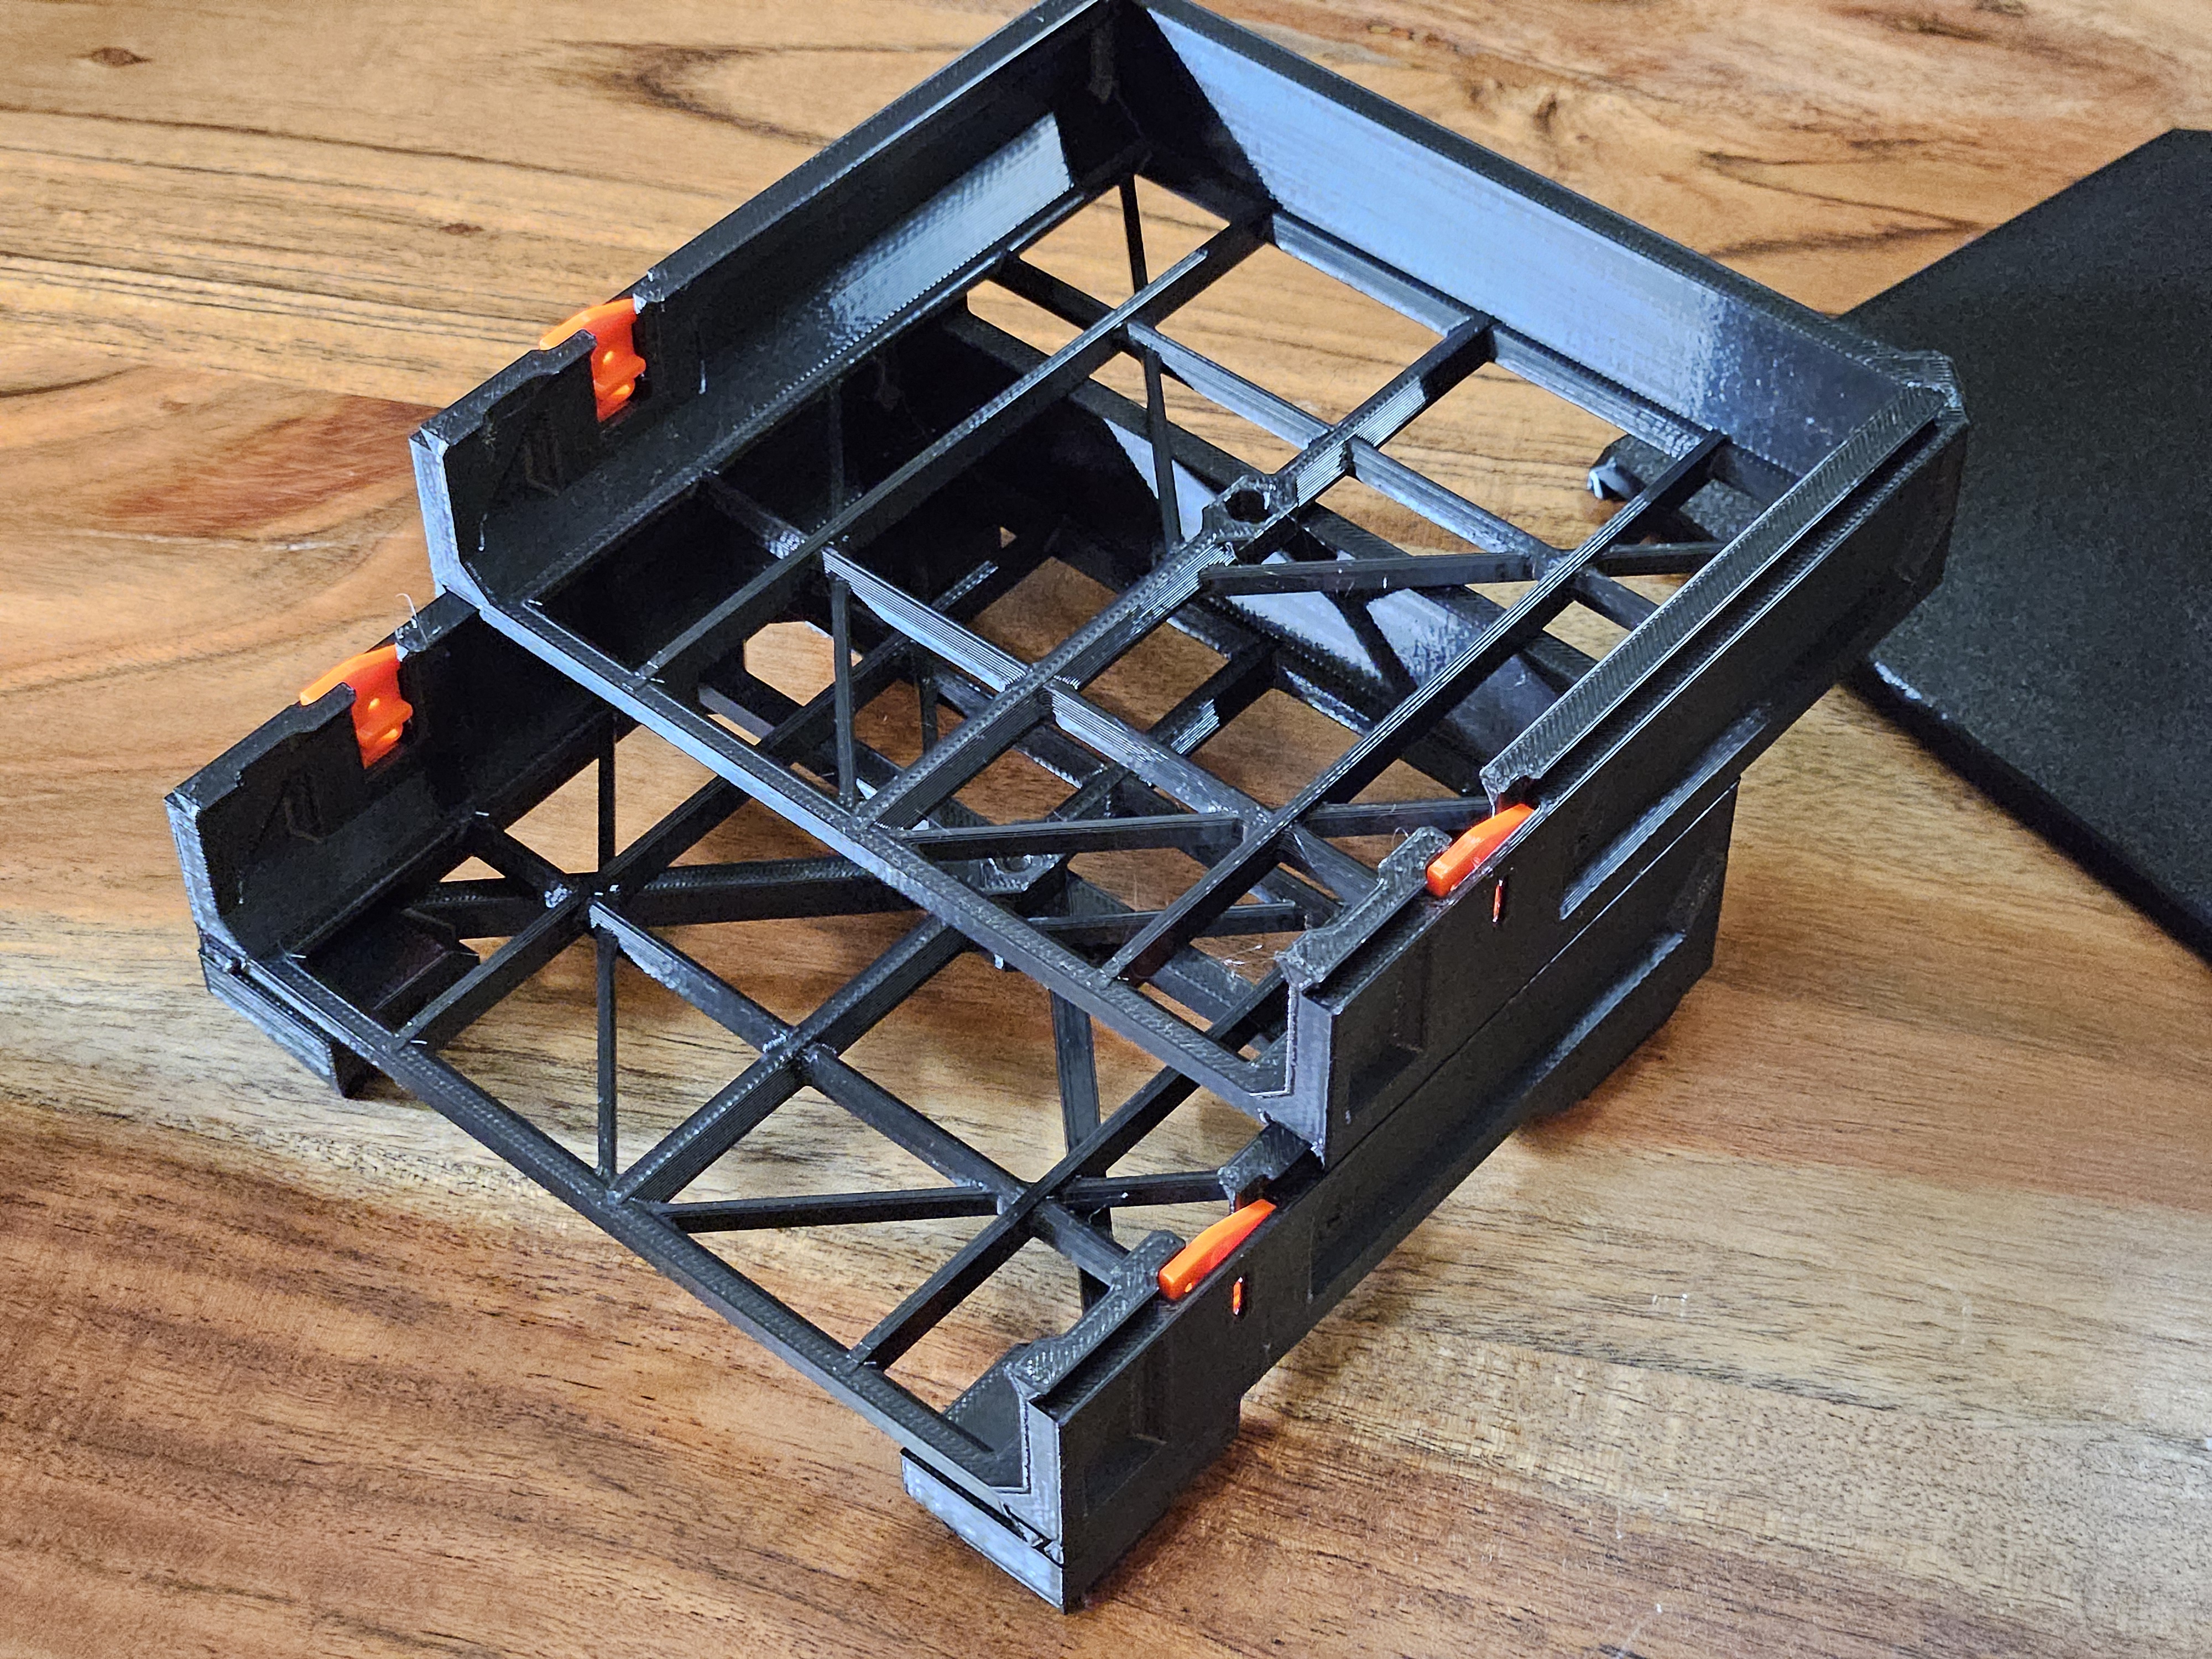
• With the QuickLocks installed they should snap in place.
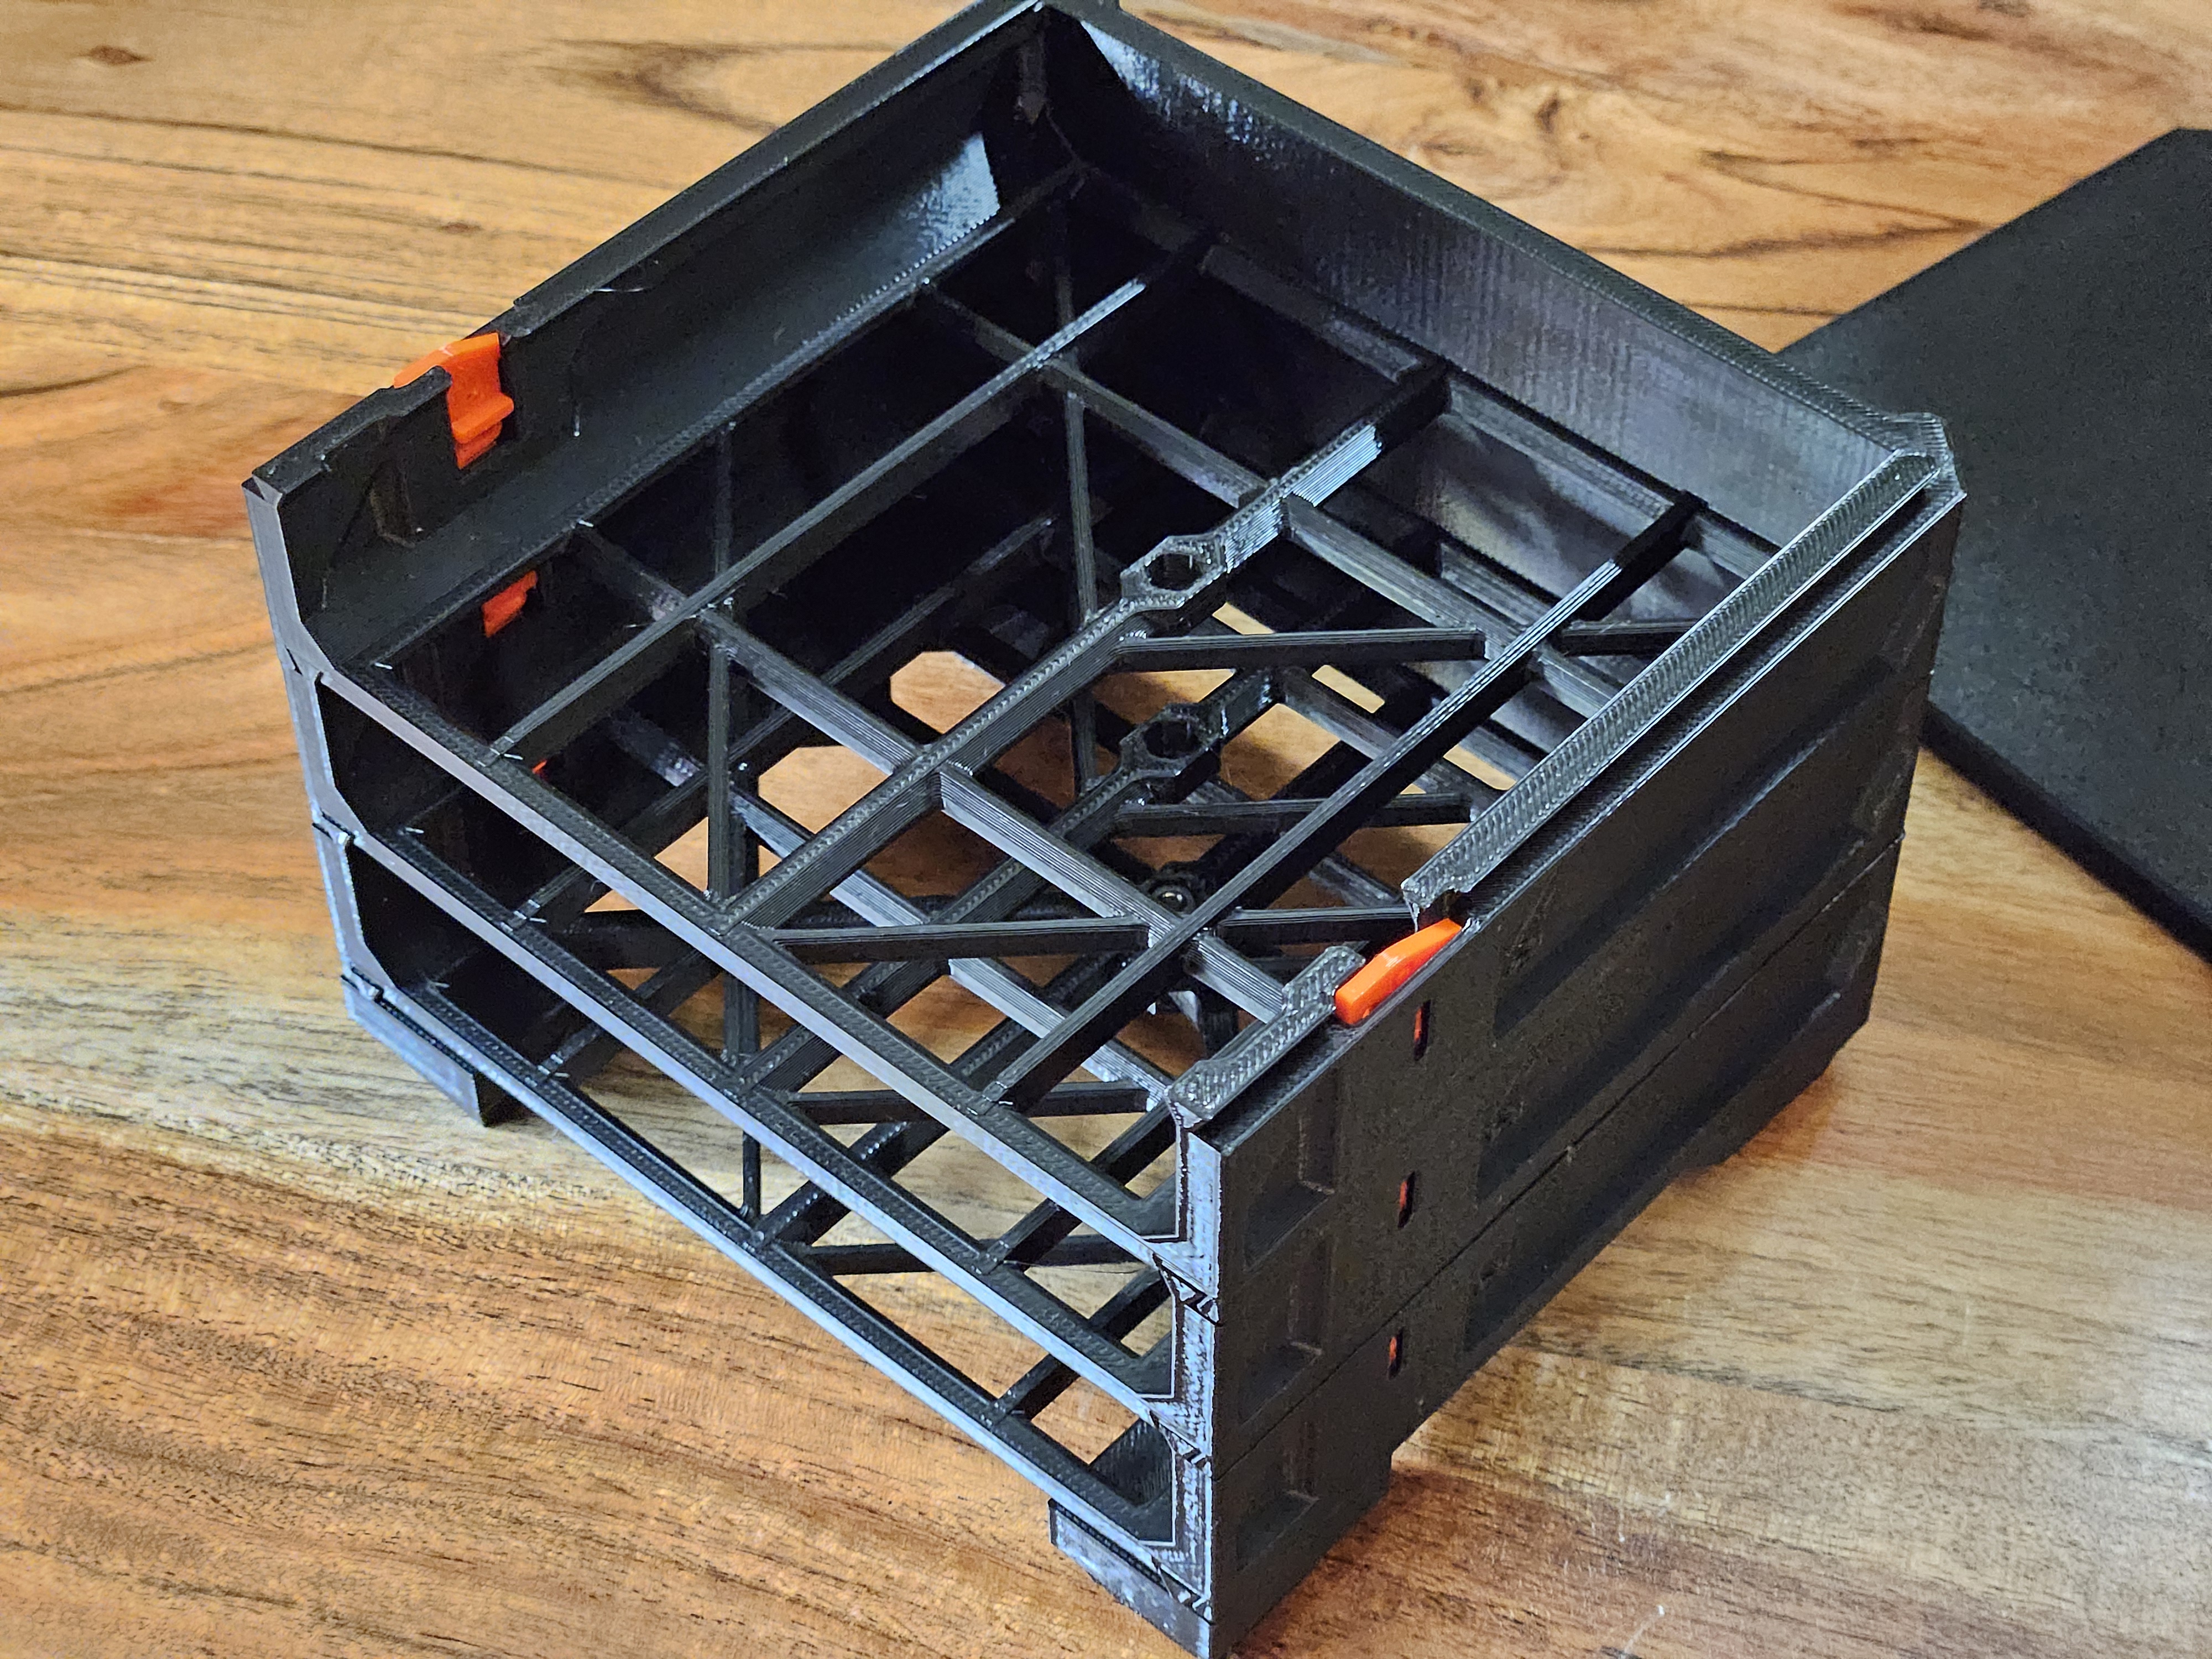
• Slide the lid on top until it snaps in place.
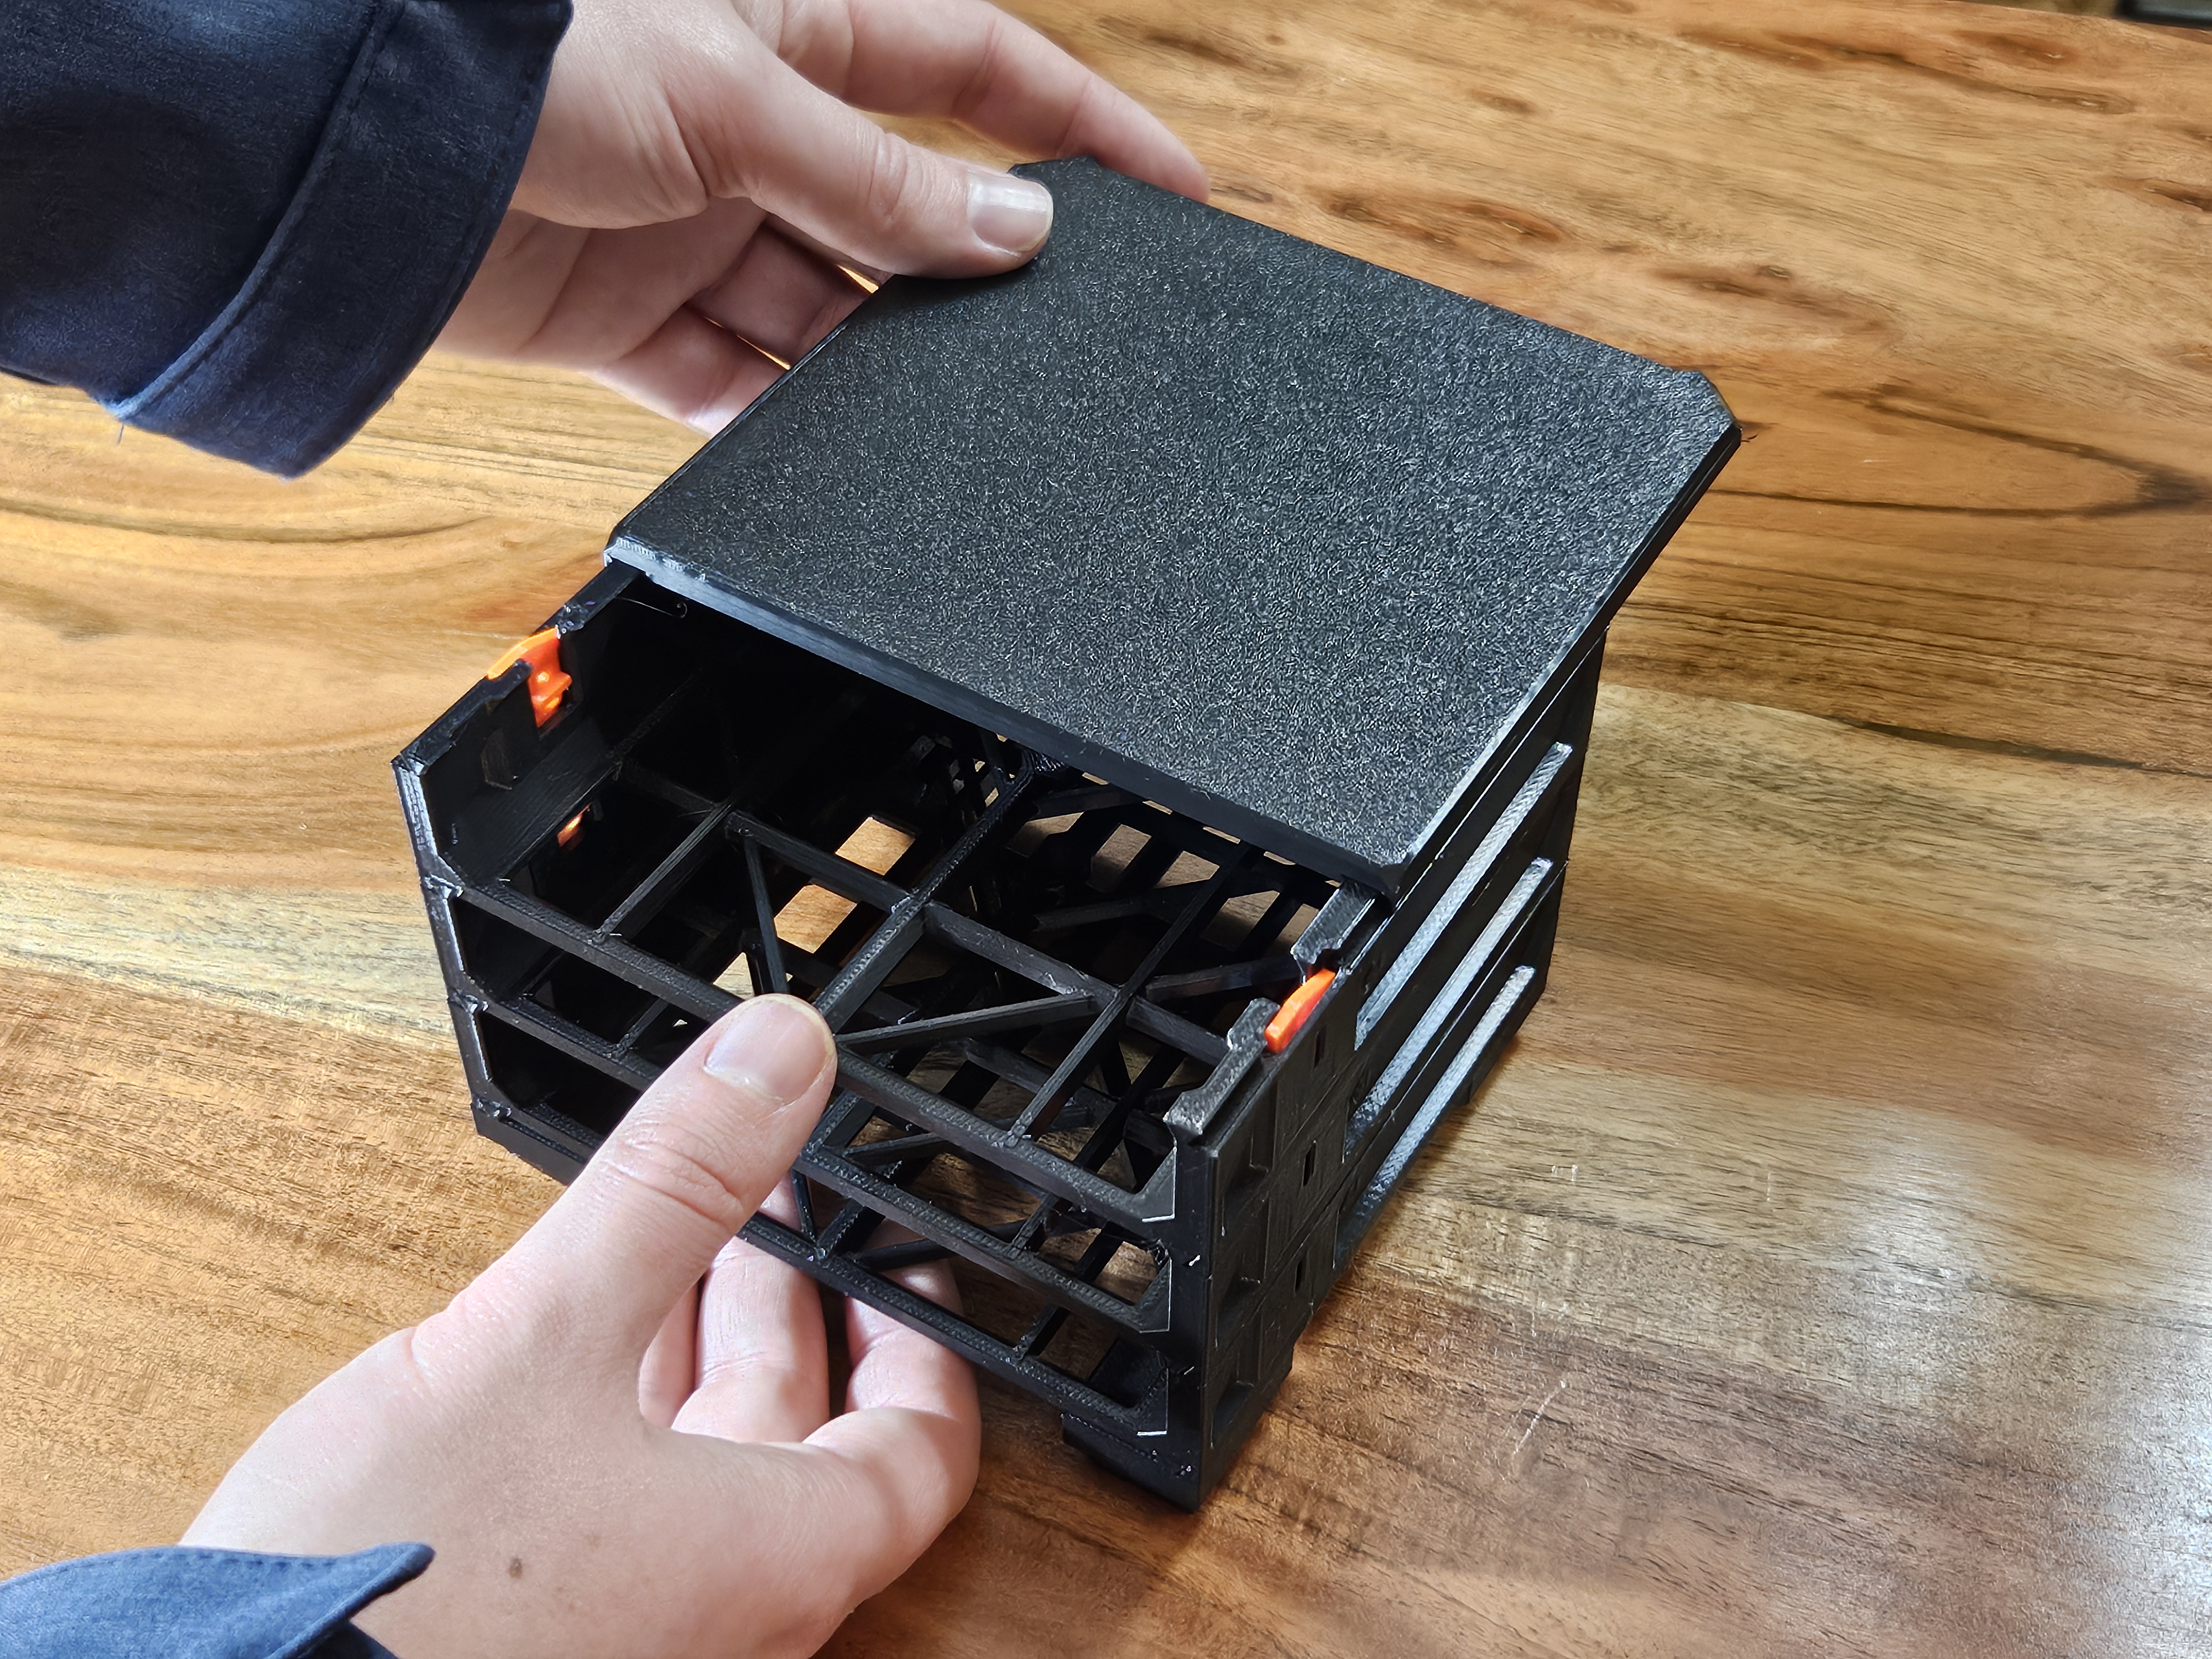
And that's it!
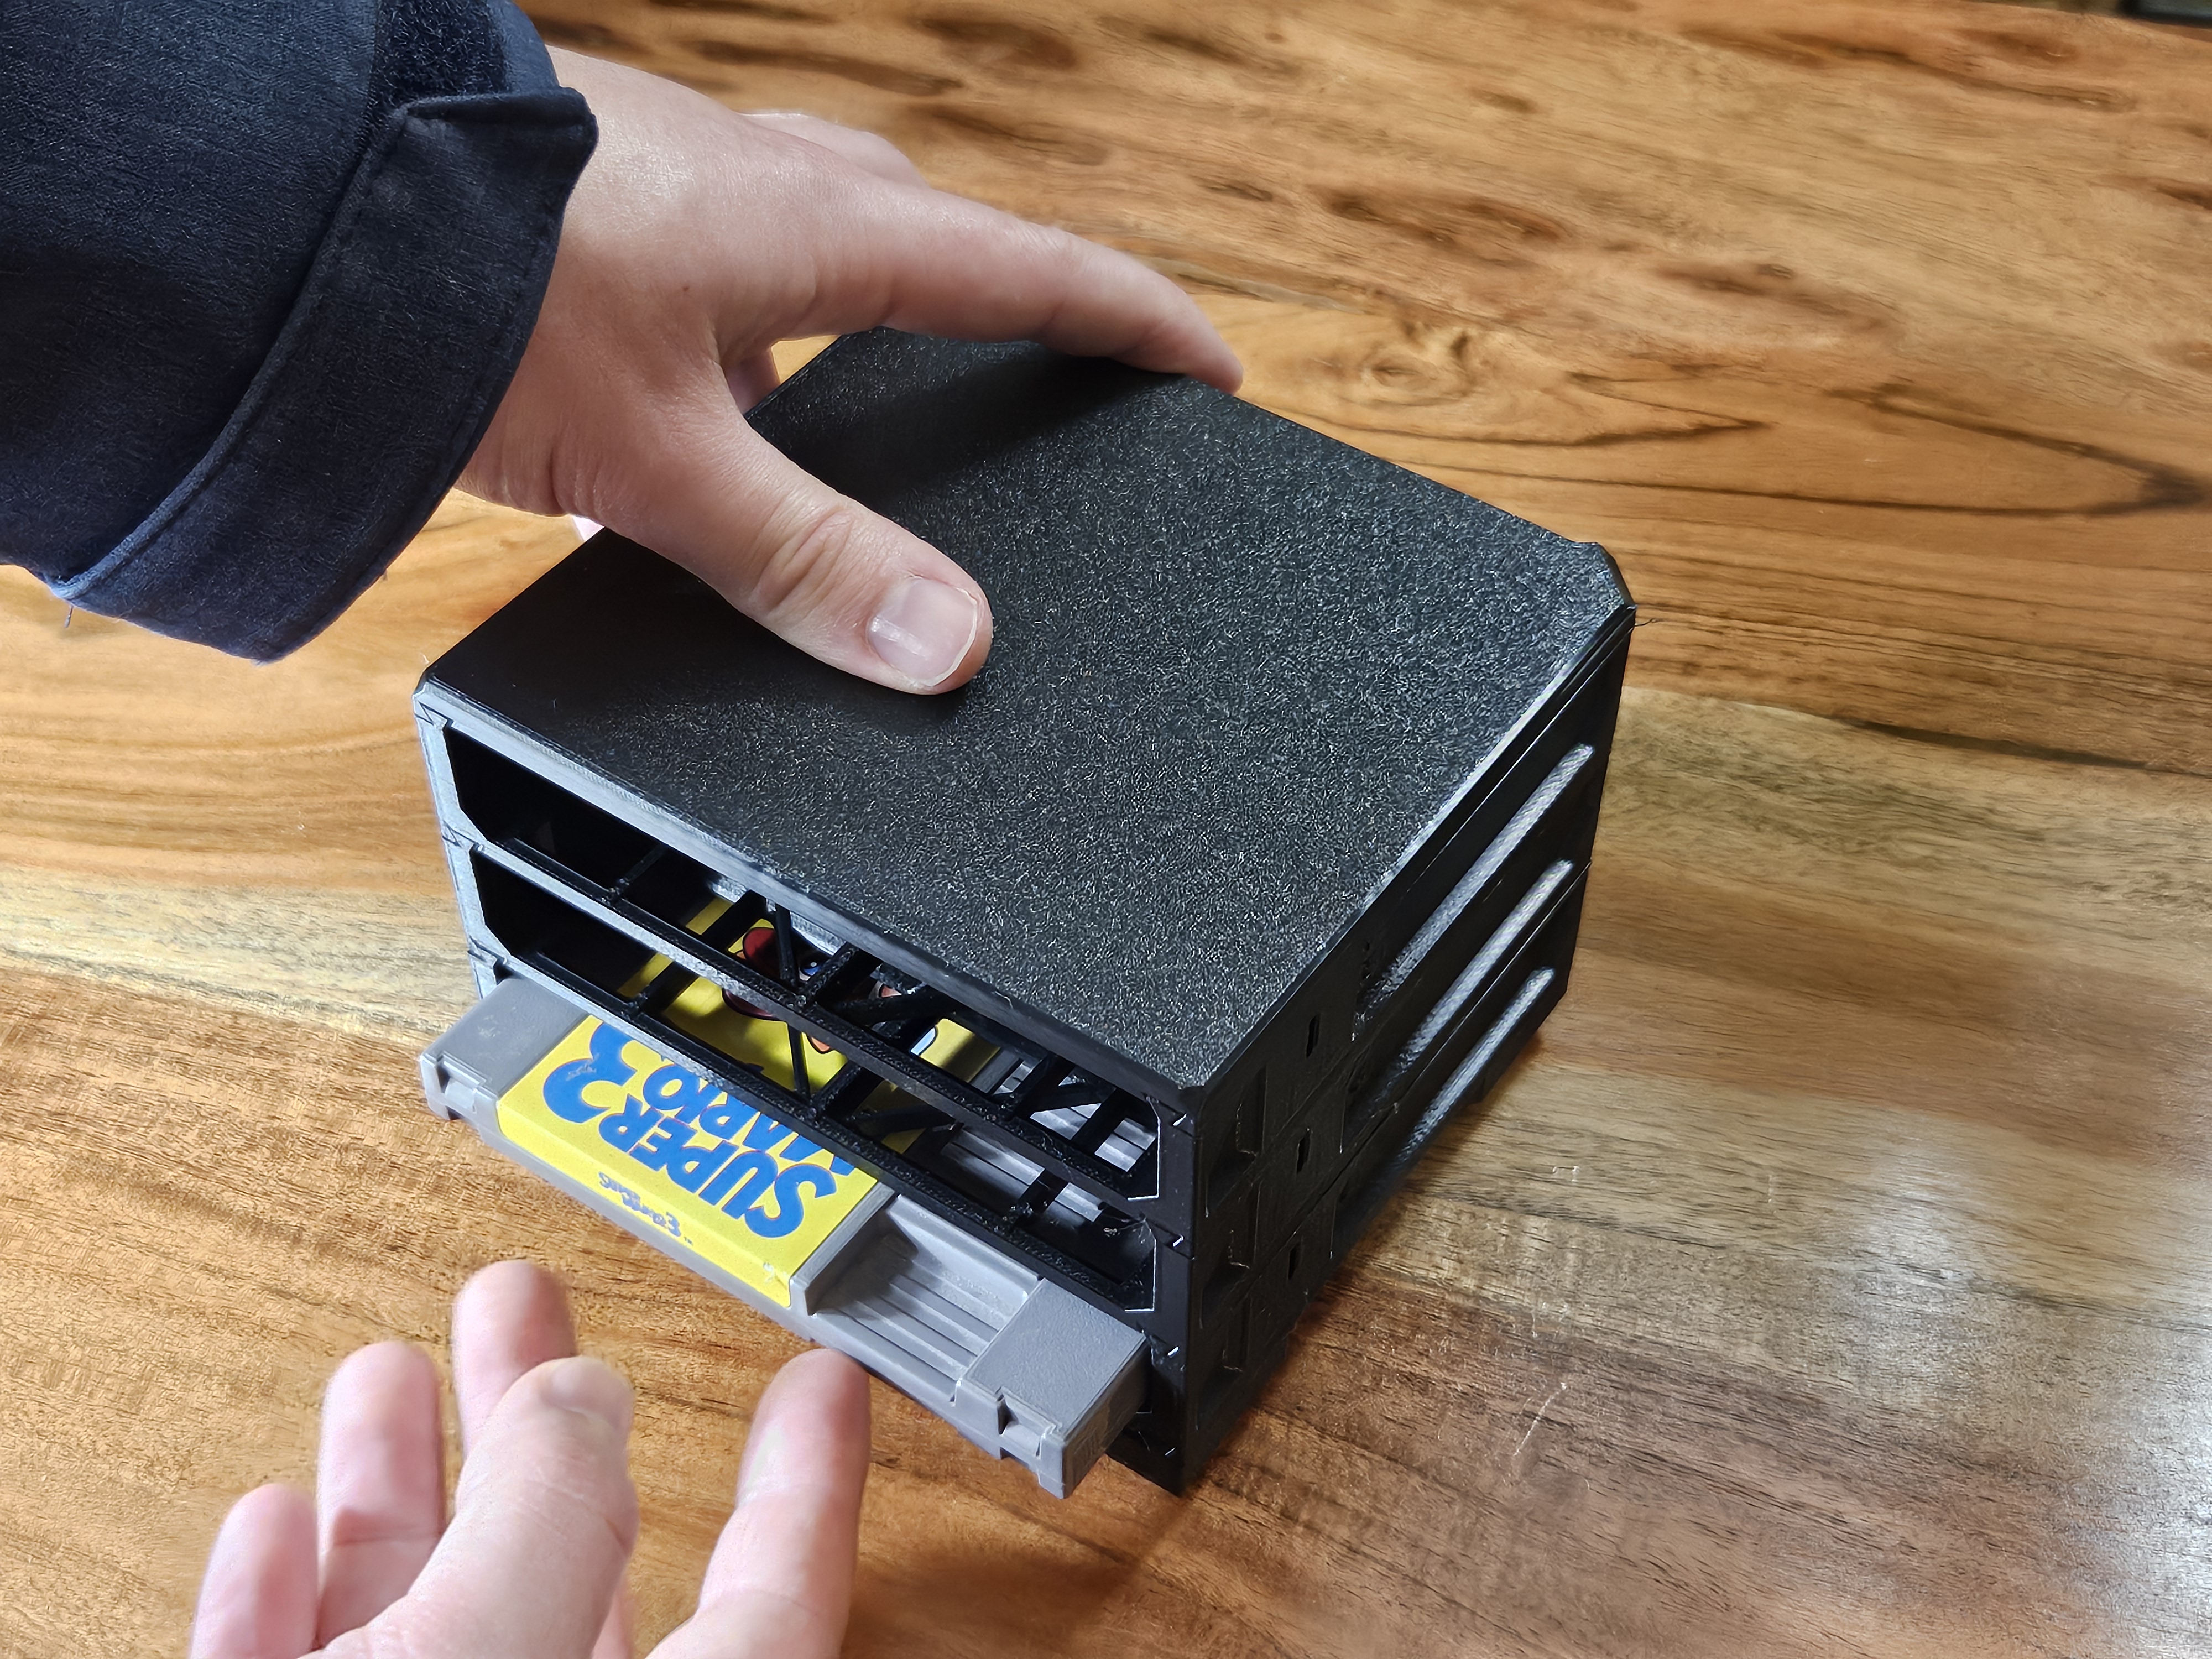
To add or remove more Cartridge Slots simply pull down on the QuickLocks on the inside walls of the Cartridge Slot (You can also use a small hex key to pull the QuickLocks down by inserting them in the small hole visible in the slots on the sides of the Cartridge Slot). Once pulled down slide the Cartridge Slot or Cover out.

Gostou deste modelo? Crie uma conta grátis para salvar seus favoritos e voltar a eles depois.
Criar conta