Você está no 3DFinder
Buscamos em Thingiverse, MakerWorld e Printables ao mesmo tempo para te dar o melhor de cada uma.
Descrição
The Holiday Season is upon us and with it comes many cardboard boxes. Turn that Black Friday TV box into a fort with these cardboard crafting tools.
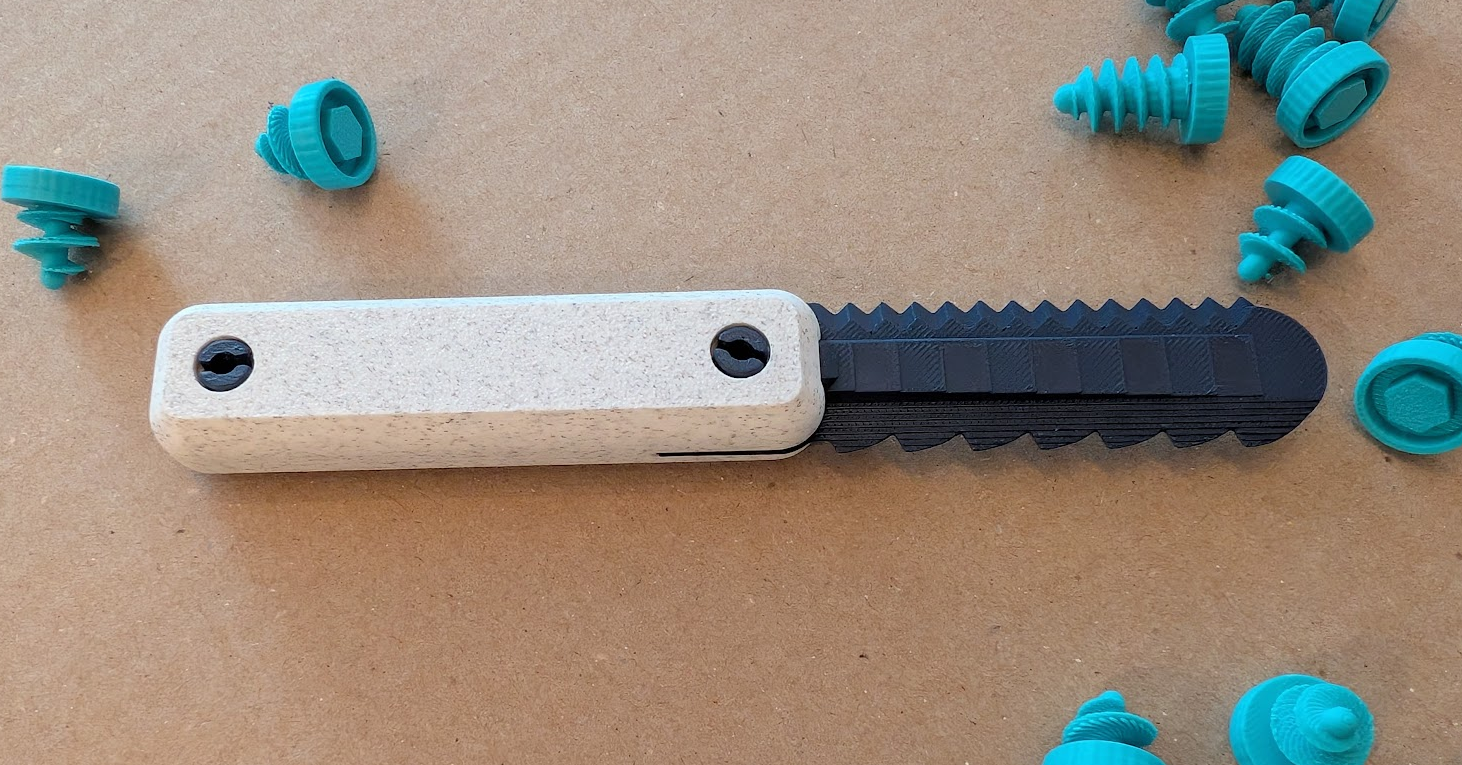
Cardboard Knife
This is a kid friendly cardboard knife design that uses the same geometry found in kid safe kitchen knives. If you're an adult however, I would recommend a sharp box cutter.
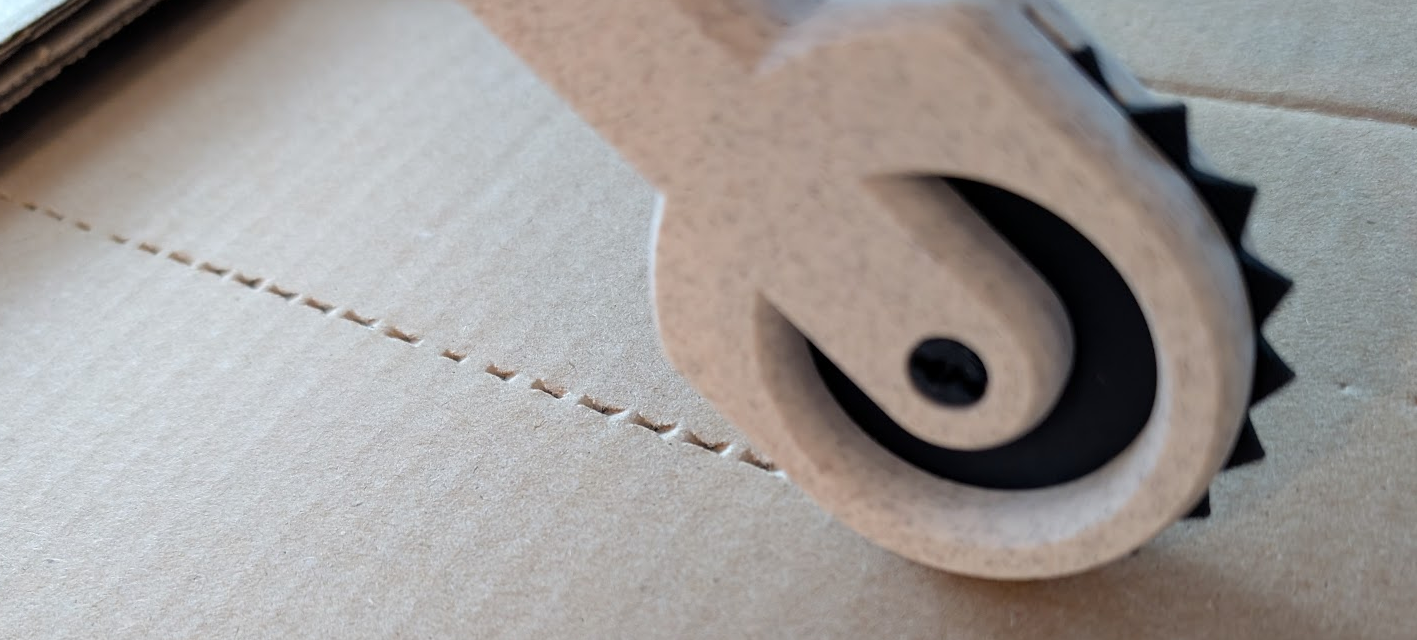
Perforator Tool
Use this tool to perforate cardboard for crisp, clean folds.
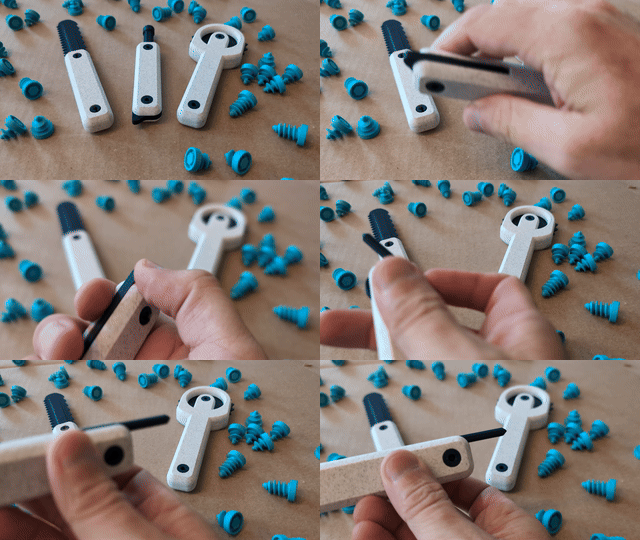
Fastener
This tool has a fold-away point in the handle. Use the point to poke a hole where you want to use a screw. Then use the tip to twist a cardboard screw into place.
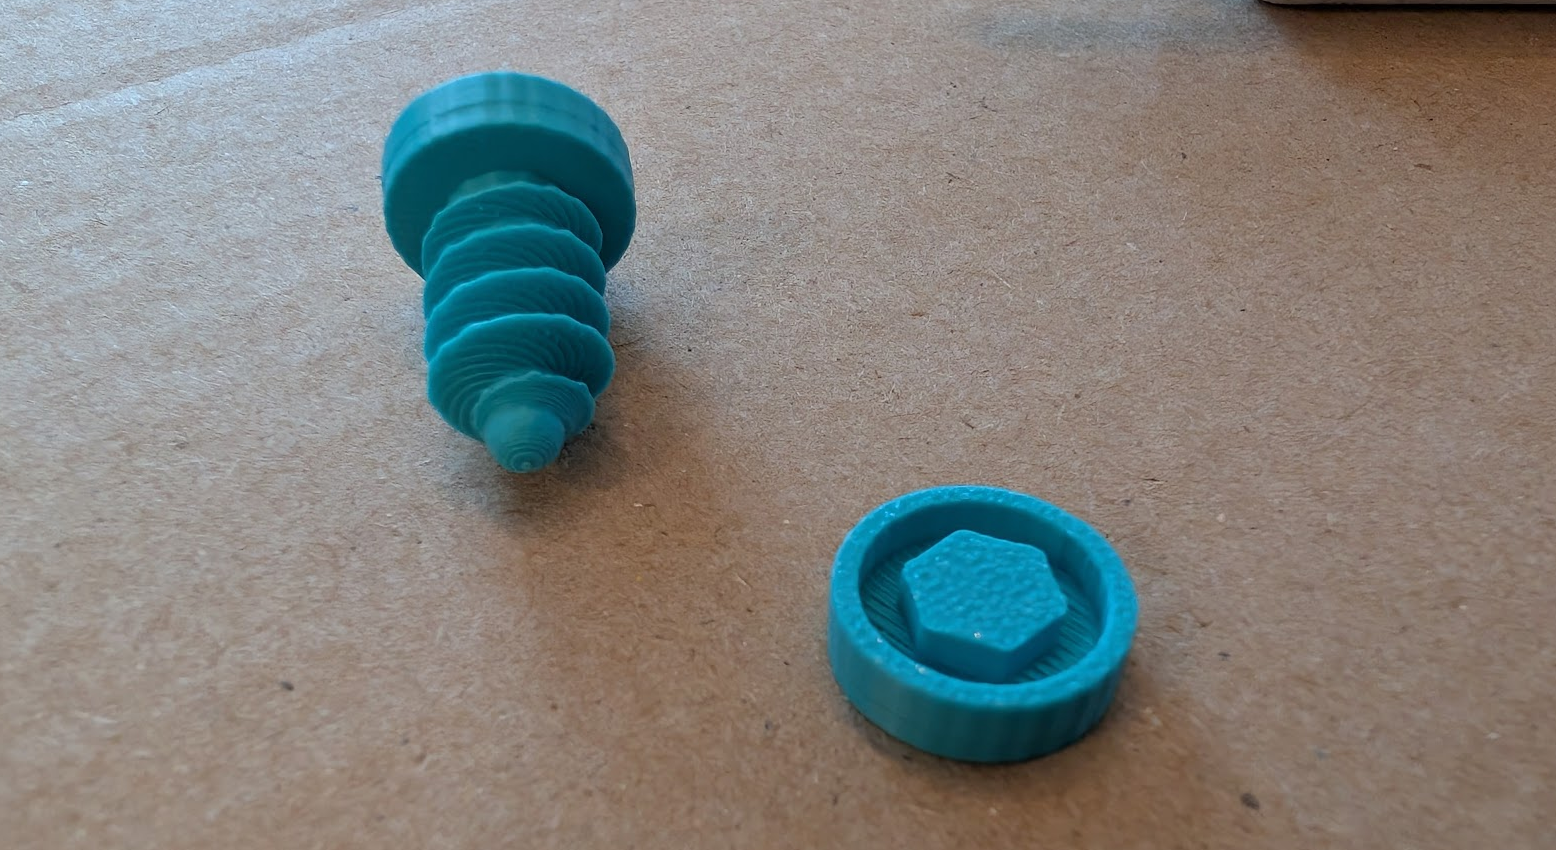
Long and Short Cardboard Screws
Use the short screws to fasten 2 layers of cardboard together. Use the long screws for 2+ layers.
These tools have been stress tested by my children. Initial designs lasted 15 minutes. These designs have yet to break. If you find a weak component, please let me know and I will update the print profile to remedy the failure.
All parts shown are printed with PLA. Tolerances of components have not been tested with other materials.
*** If you are having adhesion problems with the screws read below ***
I have received a handful of comments from people who have not had success printing the screws. If several people have voiced their frustrations about this issue, it means that many, many more are experiencing the same thing. I have printed multiple plates of 100 screws without a single adhesion issue. However, because many have found issues with printing 100 screws on a single plate, I have changed the print profile to 25 screws per plate. This will reduce the chance of failure by 75%. This is all that I can do, the rest is up to YOU. You must maintain your printer if you want good print results.
Below is my recommendations of appropriate printer maintenance.
- These screws were tested with PLA on a textured PEI plate. This is the most common printing material and textured PEI is the standard plate that comes with every Bambu Labs Printer.
After each print, wipe the plate with a microfiber cloth. The microfiber will remove any excess PLA that is stuck on the plate. If you do this after each print, your textured PEI plate will retain the same adhesion that it had on the first print. This maintenance task takes 30 seconds to complete. You should make this part of your printing routine.
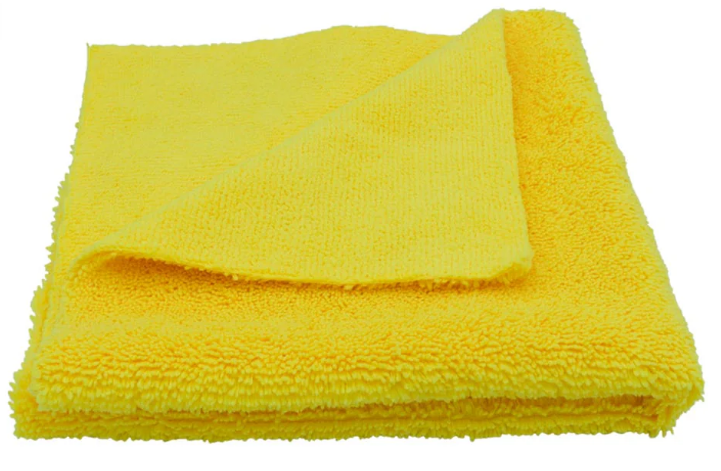
- If you print other materials besides PLA, search for the best cleaning methods for those materials. Your plate should look new after each print. Ensure that your plate does not show signs of previous prints.
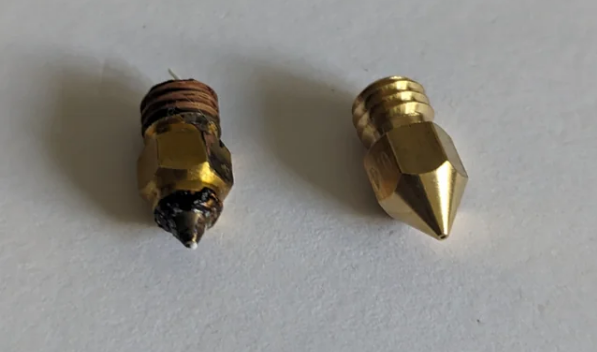
If your plate is clean, look at your nozzle. The nozzle should look like clean brass. If you nozzle looks black and discolored, you have filament cooked to the outside of nozzle. This can cause issues as the cooked filament will be stickier than the build plate. The picture below is not from a Bambu Labs printer but it shows the difference between a dirty nozzle and one that will print with consistent results. If your nozzle looks like the one on the left, you need to clean it.
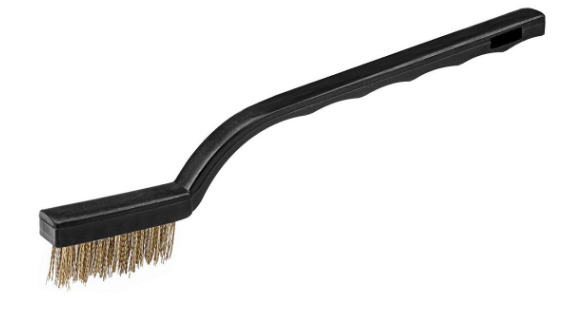
If you have burnt filament on the outside of your nozzle, use a brass wire brush to clean the nozzle. The procedure for this maintenance is as follows:
- Remove the silicone sleave from the nozzle
- Move the print head to the front center for easy access. Lower the print bed as far as it will go (Or raise print head for A1 printers).
- Unload filament (If necessary. Your AMS might have already unloaded the filament)
- Set the print head temp to 250 degrees C
- Use the brass wire brush to clean the print head at all angles. Some excess filament may ooze out of the nozzle while you are cleaning it. This is normal. Continue until your nozzle looks like a new nozzle.
- Set print head temp to 0
My textured PEI plate and nozzle has 900 hours of prints and I have not had a single adhesion issue. These maintenance steps are also very useful if you are trying to print something with fine lettering on the first layer. Having a clean build plate and clean nozzle are the most important things that YOU are responsible for when printing. Bambu Labs has taken care of the rest.
Hope this helps. Happy printing!
Gostou deste modelo? Crie uma conta grátis para salvar seus favoritos e voltar a eles depois.
Criar conta