Você está no 3DFinder
Buscamos em Thingiverse, MakerWorld e Printables ao mesmo tempo para te dar o melhor de cada uma.
Descrição
After weeks of testing, I happily introduce the A3X Driven Support Shaft!
I was tired of seeing tangles in my AMS randomly at the worst possible times, so I set out to find the cause and hopefully, a solution. What I found was my AMS driven support shafts on slots 2 and 4 were not always “gripping” the spool as the machine began to roll the filament back up. The timing was, ever so slightly, off which would cause a bird nest of filament inside the AMS. Sometimes the machine could recover, however, other times, it could not. Therefore, I would be left with an error code and a paused print job. To remedy this, I installed a brand-new driven support shaft from Bambu Lab, but it did not fix my issue and slot 4 (I used it exclusively to determine the fix) continued to give me trouble. Thus, I set off to create my own driven shaft and to be quite honest, I was surprised when it actually worked out after having the issues for so long.
The A3X Driven Support Shaft was born. Featuring flexibility of TPU 95A, 693-2Z bearings, smaller outer diameter to better suit larger spools, and quick-change grab for easy removal. This thing has worked wonders for me. Bambu spools just glide during loading and unloading and other, smaller 1kg spools work just as well. The smaller OD allows for cardboard spools with printed rings to move much more fluidly. With the stock shaft, there is barely any clearance between the spool ring and the lid. Check out the pictures and you will see an example of such. I had ditched the rings because of this and was just buying extra spools to transfer to but now I can actually use them and be worry free.
I strongly suggest using TPU 95A. I tested both PLA and TPU 95A thoroughly and found the TPU versions were much more efficient and quieter. For me, I used it as an excuse to print with the new TPU 95A HF from Bambu Lab and it prints great and is much faster than standard TPU.
PARTS LIST
- (2x per shaft) 693-2Z bearings [3mm x 8mm x 4mm]
- (2x per shaft) 3mm x 12mm Dowel Pins
Assembly Tips
- Dowel pins should be near flush to the end of the bearing (see photo). Tolerance here is very tight so the dowel cannot wobble. The dowel pins will likely have some variations due to the manufacturing tolerances so if it is not tight, grab another dowel. I had a few undersized pins in my order (as well as some oversized).
- Slide dowel into the shaft until you see a very small gap between the bearing and the shaft (see photo). This insures smooth operation. If the bearing is mashed up against the shaft, it will not be near as smooth. (Ask me how I know lol) Again, tight tolerance to reduce any wobble.
Special Notes and Findings
- Nope, still cannot fit Atomic spools with the lid closed unfortunately, and believe me, I tried. It is still too wide to fit and rubs against the internal guides on the lower side of the AMS. So, while you can make it work, it is still just a bit too much resistance for me to be comfortable with.
- After testing several brands, I never ran into an issue of the shaft being too small for your standard 1kg spools. (Looking at you Sunlu)
- As briefly mentioned before, the cardboard spools with printed rings worked so much better with the added clearance between the lid or the AMS. During testing I noticed some would actually rub the inside of the lid causing a lot of friction and resistance. This alone was the selling point for me to share this A3X concept in hopes of saving others from future frustrations and unanswered questions.
Give it a try! See how you like it and get back to me!
HAPPY PRINTING!!
Check out some of my other projects below!
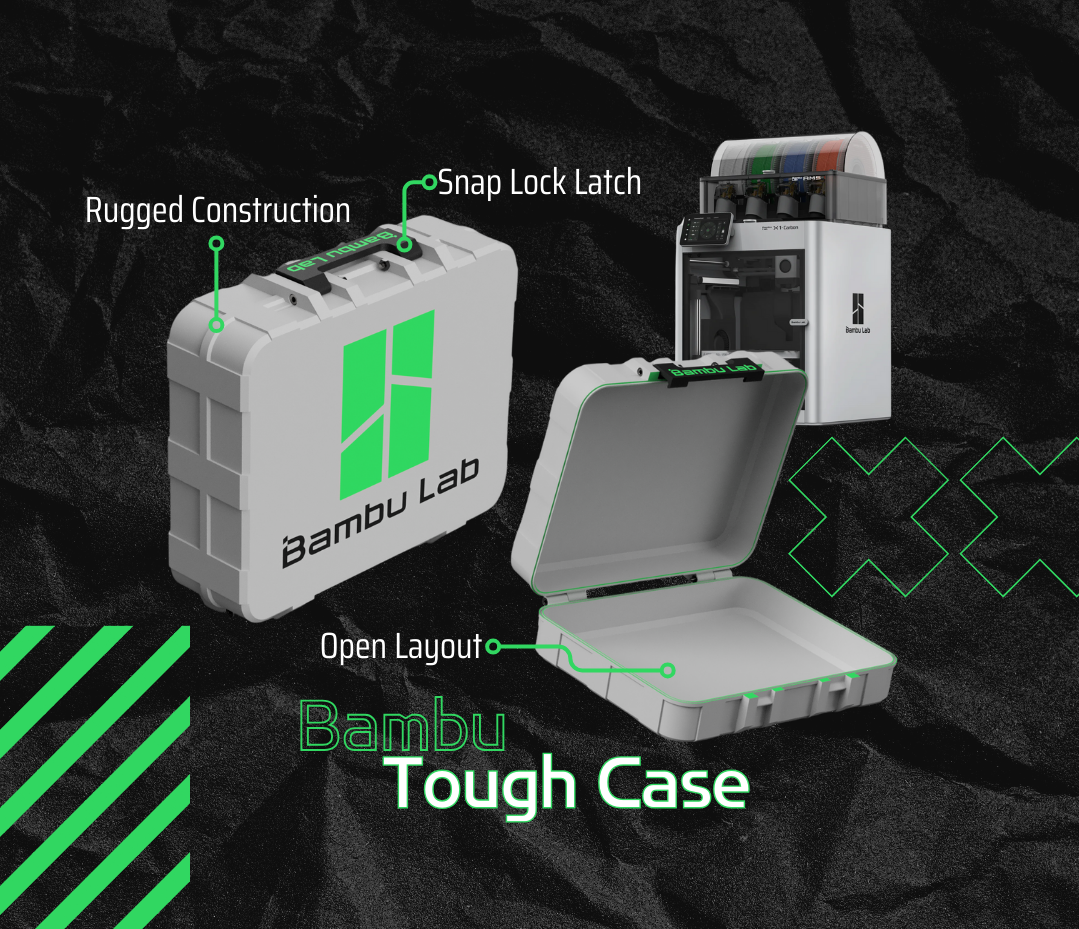
Bambu Tough Case by Aesth3tix - MakerWorld
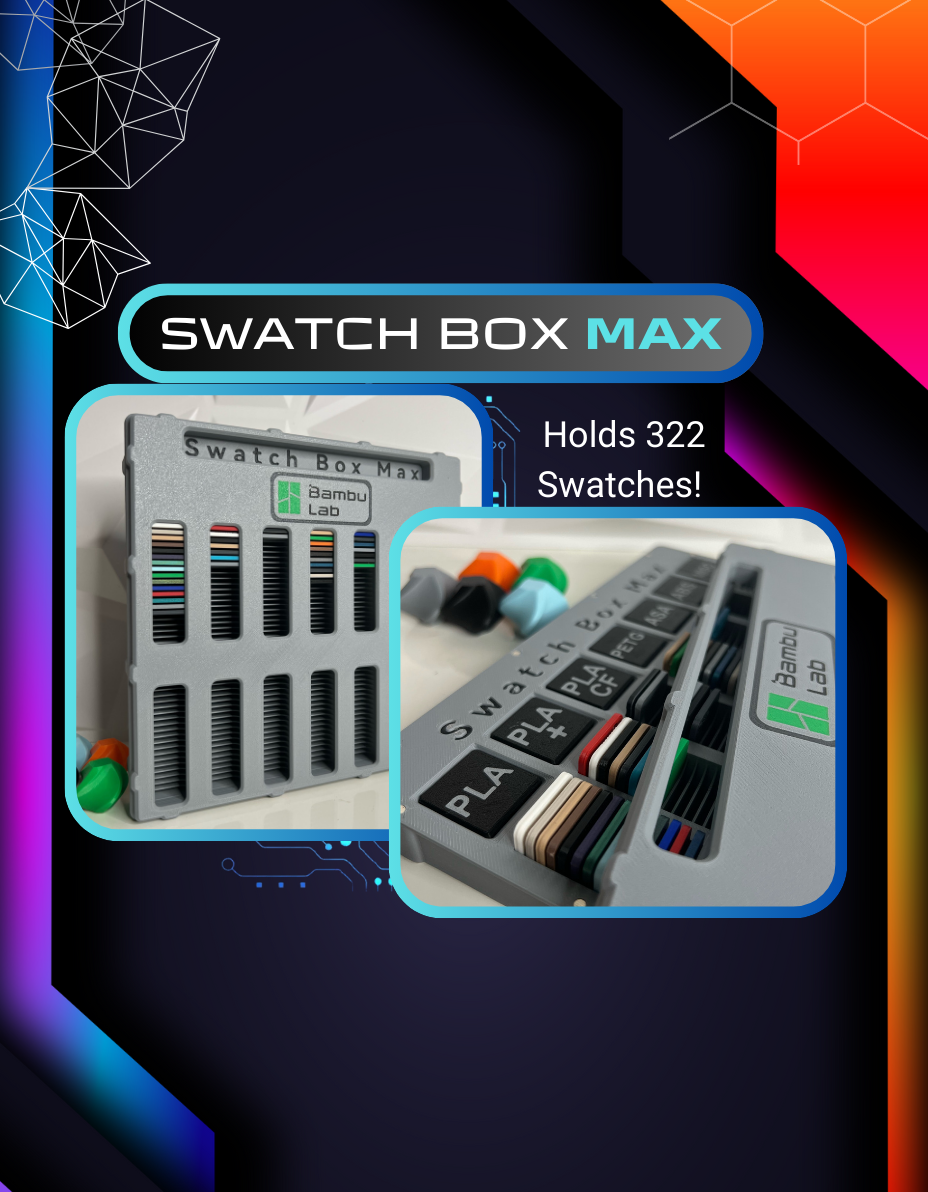
Swatch Box MAX by Aesth3tix - MakerWorld
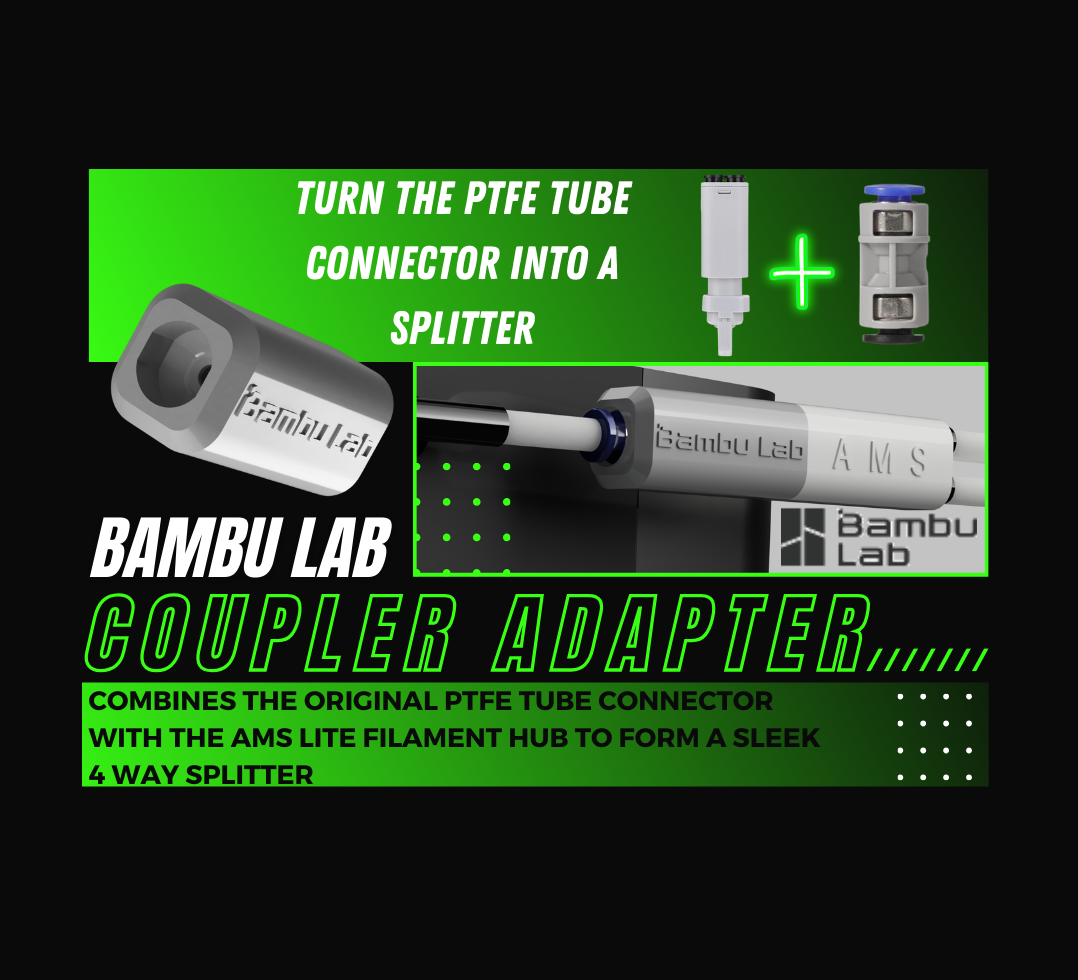
Bambu Lab Coupler Adapter (Splitter Mod) by Aesth3tix - MakerWorld
The Original AMS PTFE Guide by Aesth3tix - MakerWorld

A3X Driven Support Shaft (TPU)

Publicado em 27 de nov de 2023
Gostou deste modelo? Crie uma conta grátis para salvar seus favoritos e voltar a eles depois.
Criar conta