Você está no 3DFinder
Buscamos em Thingiverse, MakerWorld e Printables ao mesmo tempo para te dar o melhor de cada uma.
Descrição
Introduction
I often look at certain objects and think to myself, “I could 3D print that.”
However, after starting the design, I quickly realize that it might be more challenging than expected.
You have two leg options to choose from: 70mm and 110mm.
In my opinion, the 70mm option is superior in almost every aspect. It easily supports a load of 1 kg.
The legs are shorter, making them more compact and aesthetically pleasing in my view.
The 110mm is better suited for larger and lighter items due to its wider stance.
Instructions and features are provided in the video, as well as in the written instructions below (the video is more thorough).
My print profile uses two colors and 0.16mm layers for added detail.
I offer a fantastic kit on my website that includes all the hardware needed for this build, making your life super easy. It also greatly supports my work. Thank you! ✌
Get notified about new project releases here.
Happy printing and great success! Message me with any questions!
Required Components
- M2x5mm Flat Head Screw 6 PCS
- M3x5mm Flat Head Screw 1 PCS
- M3 16mm Dowel Pin 3 PCS
- 1/4 20, 7/8 Bolt 1 PCS
- 1/4 20, Nyloc Nut 1 PCS
Tools used for assembly:
- 3/16 hex Screwdriver (I just used a metric one)
- Phillips screwdriver
- Plastic Glue
Assembly
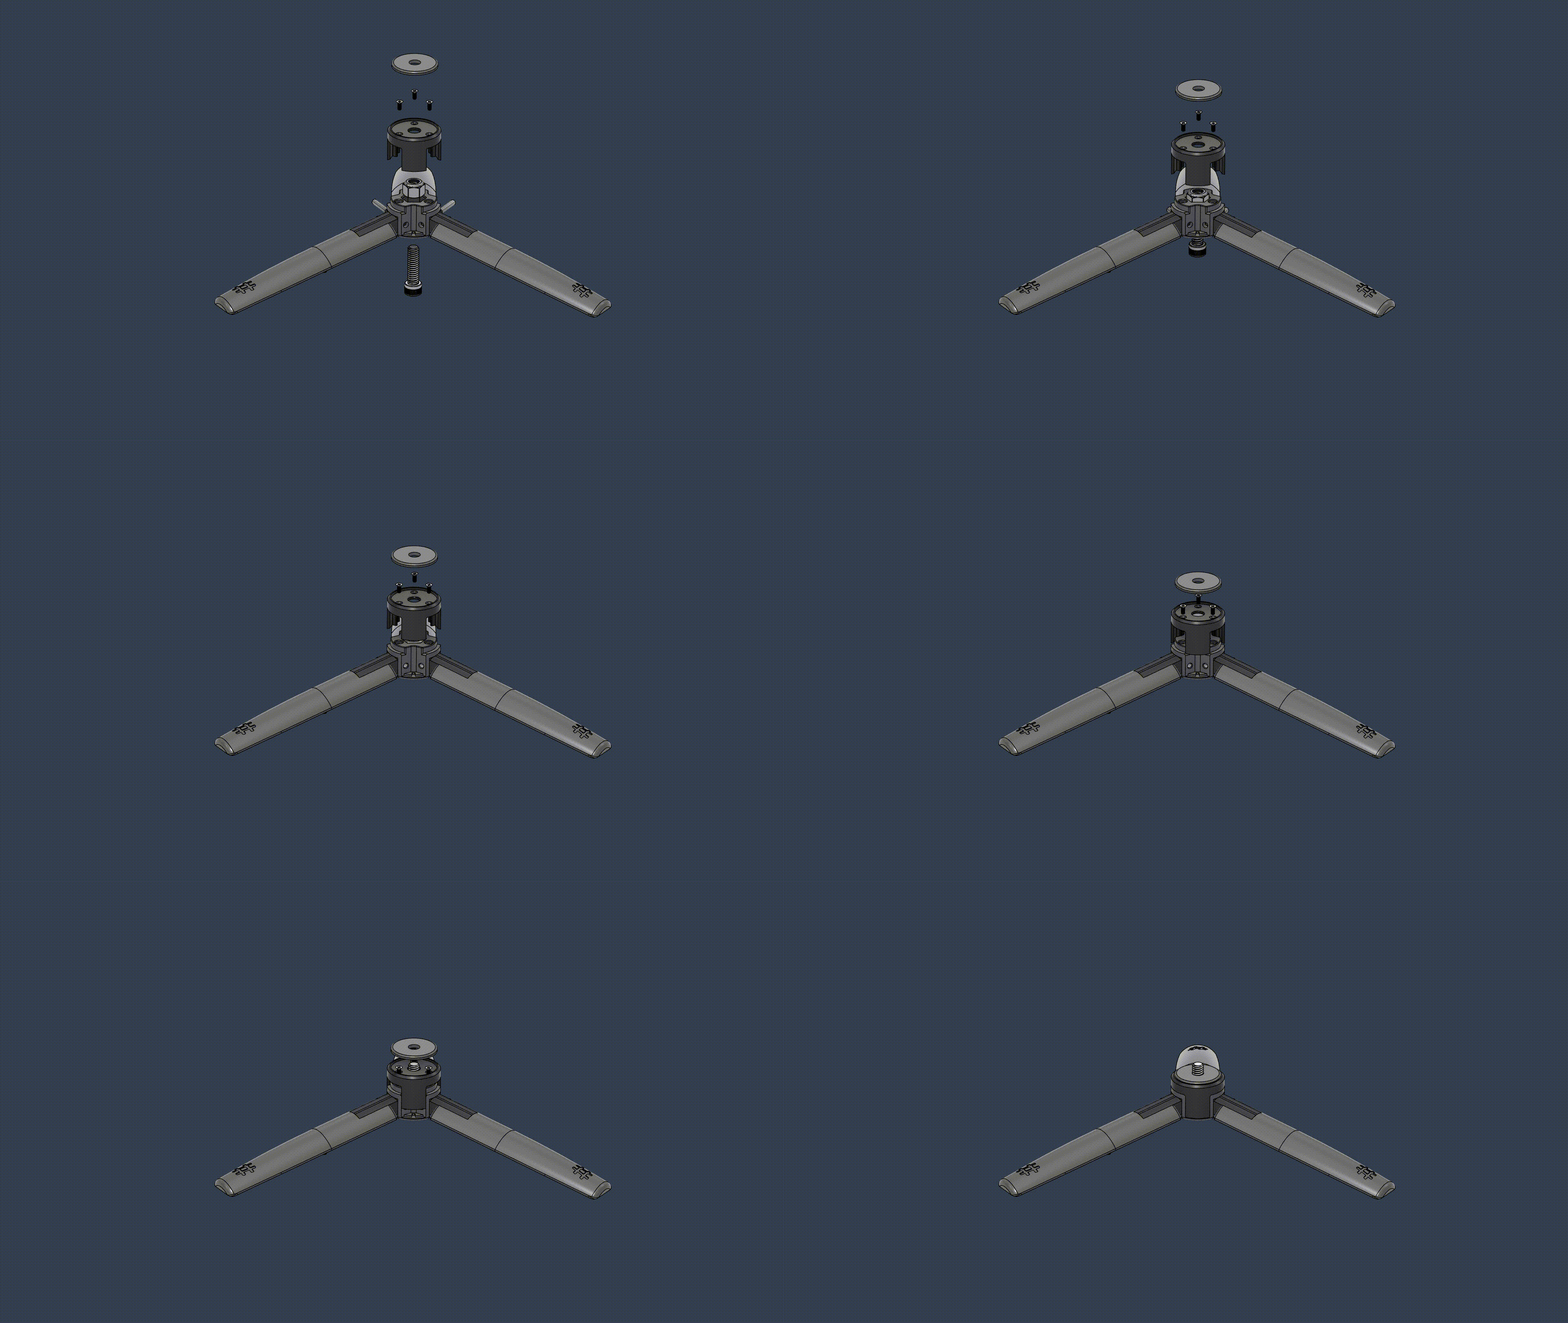
Install ¼ in bolt and nut into the center piece
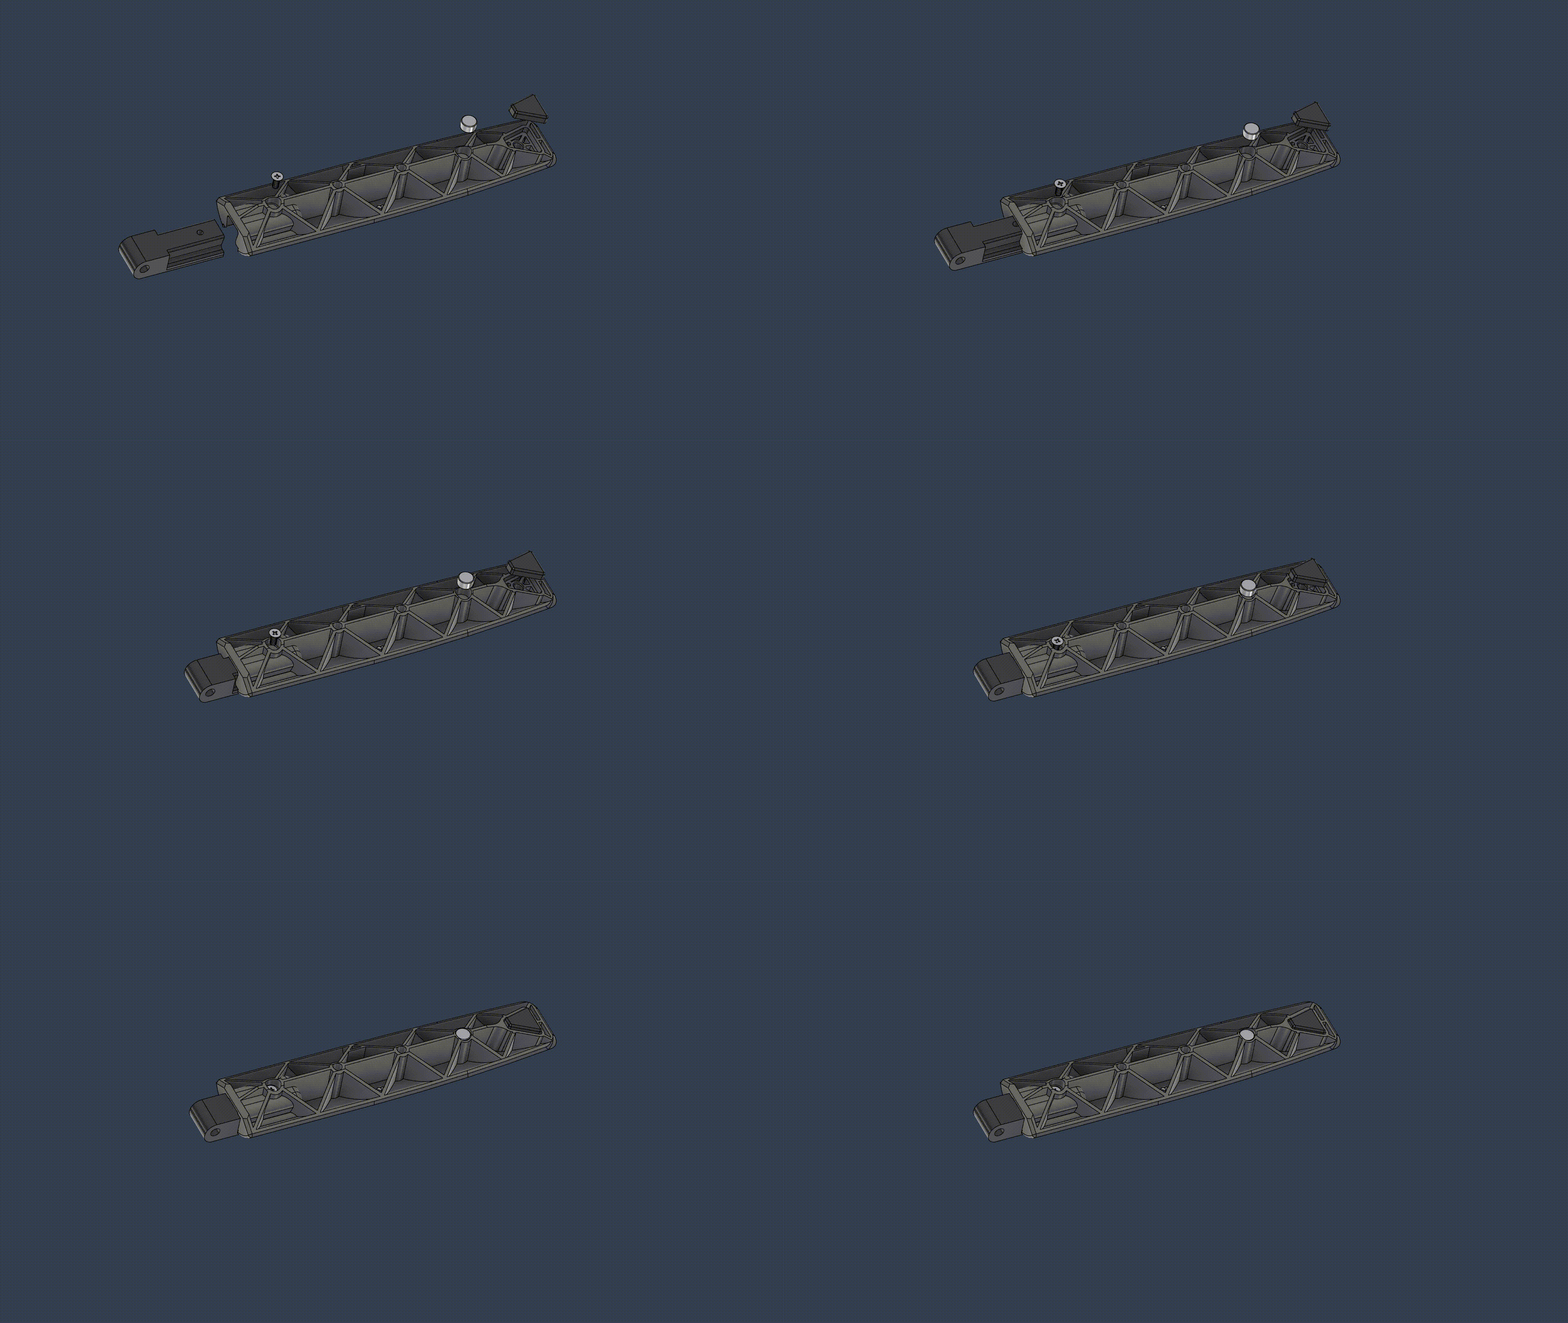
Attach the legs to the studs using an M2 screw
Push the legs into the center and slide in the dowel pins (make sure they are centered)
Add cover using three M2 screws
Add glue into the holes for the magnets and push them into the legs (check the polarity)
The other leg receives the M3 screw. Adjust its depth to get good magnetization and alignment
Glue in the TPU foot pads
- Slide on the TPU top pad. No glue is required if the fitment is right
Designed by linus3d
My website: [https://linus3d.de/](https://linus3d.de/)

Gostou deste modelo? Crie uma conta grátis para salvar seus favoritos e voltar a eles depois.
Criar conta