Você está no 3DFinder
Buscamos em Thingiverse, MakerWorld e Printables ao mesmo tempo para te dar o melhor de cada uma.
Descrição
This Model
This model is for all screwdrivers (also see the Gridfinity universal Extensions set if you want a more straight forward layout as they work with any tool with two ends). Let me know if you have any issues with a screwdriver not fitting in the trays as specified.
__________________________________________________________________
The Gridfinity Universal Toolbox Collection
Use the link above to browse the growing collection of my trays If you have a tray you would like made, please let me know in a DM and I will add it to the list.
Let me know if you have any issues with any of your tools not fitting a tray, let me know so I can resolve it and keep my trays fully universal.
_________________________________________________________________
an optional way for those who wish to contribute beyond Maker World points.
__________________________________________________________________
Intro to my universal trays
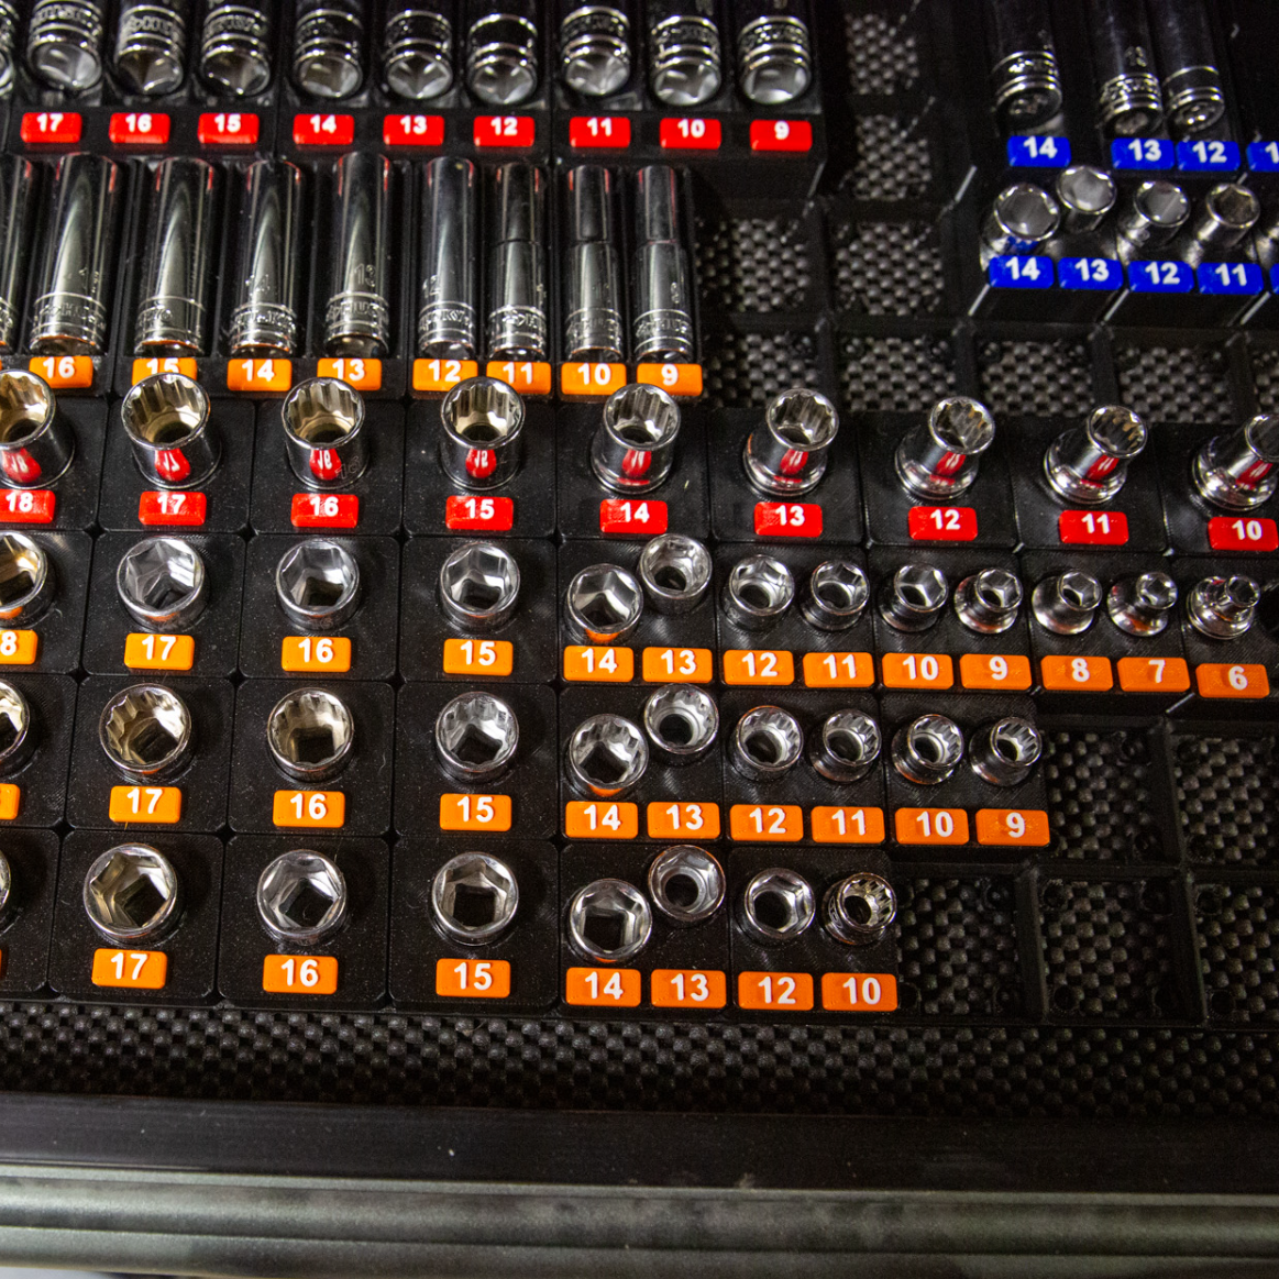
I was tired of trays for specific socket sets or tools (or just had no labels and was way too condensed). So I made a simple model and expanded it to fit any possible size while still being 100% click and print. This setup sacrifices some space saving but maximizes visibility and simplicity. Enjoy, rate, and let me know if there are any issues not noted. If you find you need a specific size or item I don't have here, let me know. Lastly let me know if there are any improvements you would like to see made.
__________________________________________________________________
Features
- fit virtually any set OR random pile of tools -you measure your own and print the appropriate tray pieces
- based on Gridfinity standard - will fit all standard sized Gridfinity bases
- 6x2mm magnet inserts. help keep the tray from coming out of their spot in the grid
- Fake-A-Magnet - A functional replacement for magnets - pin insert to hold the tray down
- optional V2 - Snap Fit Labels - Doesn't require magnets or glue, Stays secure (and still removable) with the new H-clip.
- half-size bottom grid - Some of my trays required half-sized grids to save on space and not waste filament. I came up with a mini-grid that allows for half size grid utilization while still fitting a standard GF base - you can still use regular GF trays along side my Half-Grid trays.
- Check out my "lowest profile possible" Gridfinity base if you are in need of a good base with the magnet inserts. see details below in the base plate instruction.
________________________________________________________
Instructions
download and open the profile using Bambu Studio (or your preferred slicers for 3mf print files like Orca Slicer).
Measure the width of your screwdriver handle at its largest point
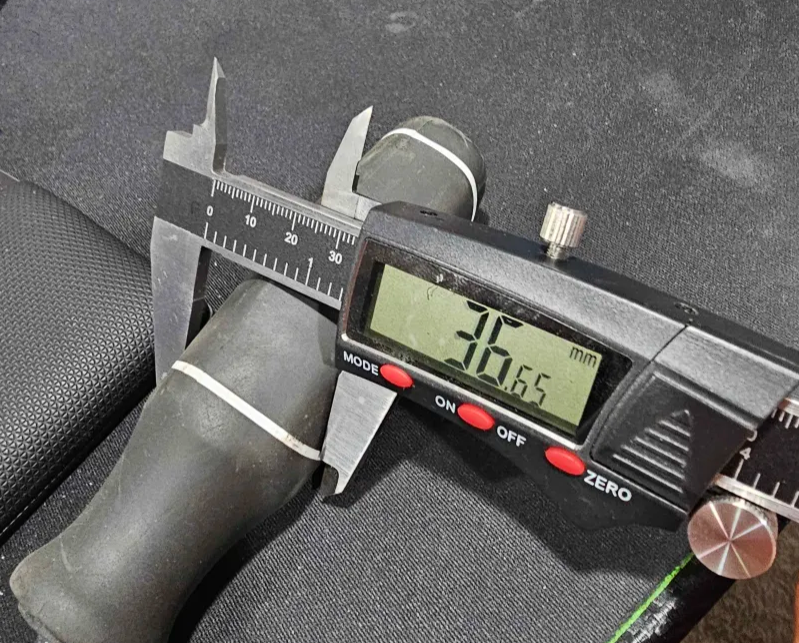
- Round up to the nearest whole number (ex. 36.5 goes to 37mm) then see below for sizing
- Take note of how many of each size is needed.
- XLarge - 42-50mm
- Large - 31-42mm
- Medium - 21-30mm
- Small - <20mm
____________________________________________________________
Instructions for - XLarge - Medium - Small
Click on the new plate button
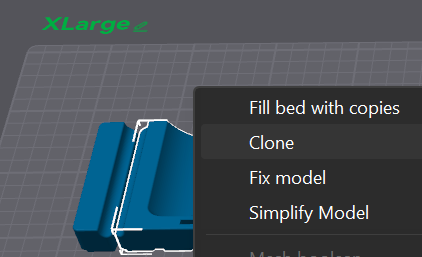
Right click on the model for the needed size and hit clone(type the number needed), it should clone to the selected empty plate
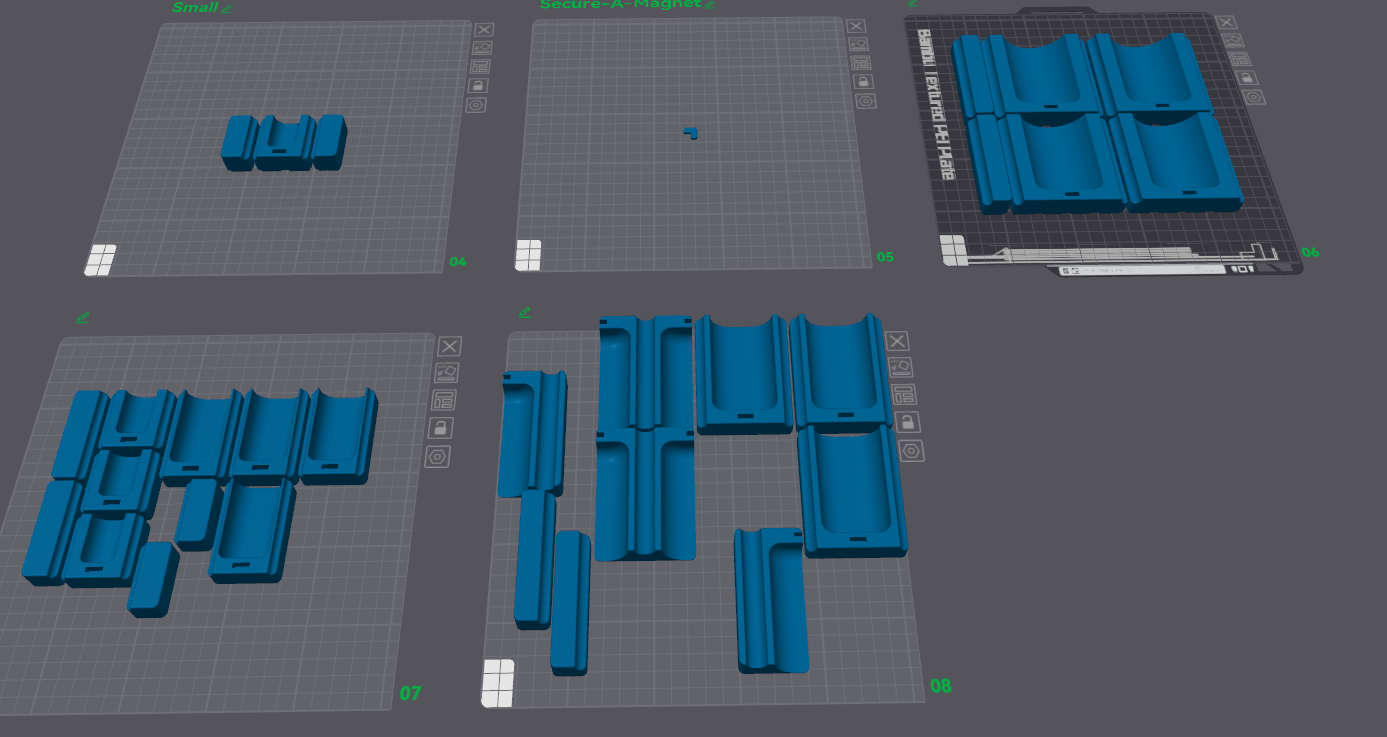
HOT TIP: Due to the size the models, it may not fit all on one plate. you can add additional plates as needed and then save the entire project when you have cloned every piece needed. Then you can streamline your printing one after another and not have to remeasure after forgetting what you needed (like I do). - Clone two end pieces of the size printing. I put two on each tray just to show how it looks “assembled”, you can clone either one of them as they are identical)
The end pieces are used for the last screwdrivers on each end of the trays as pictured
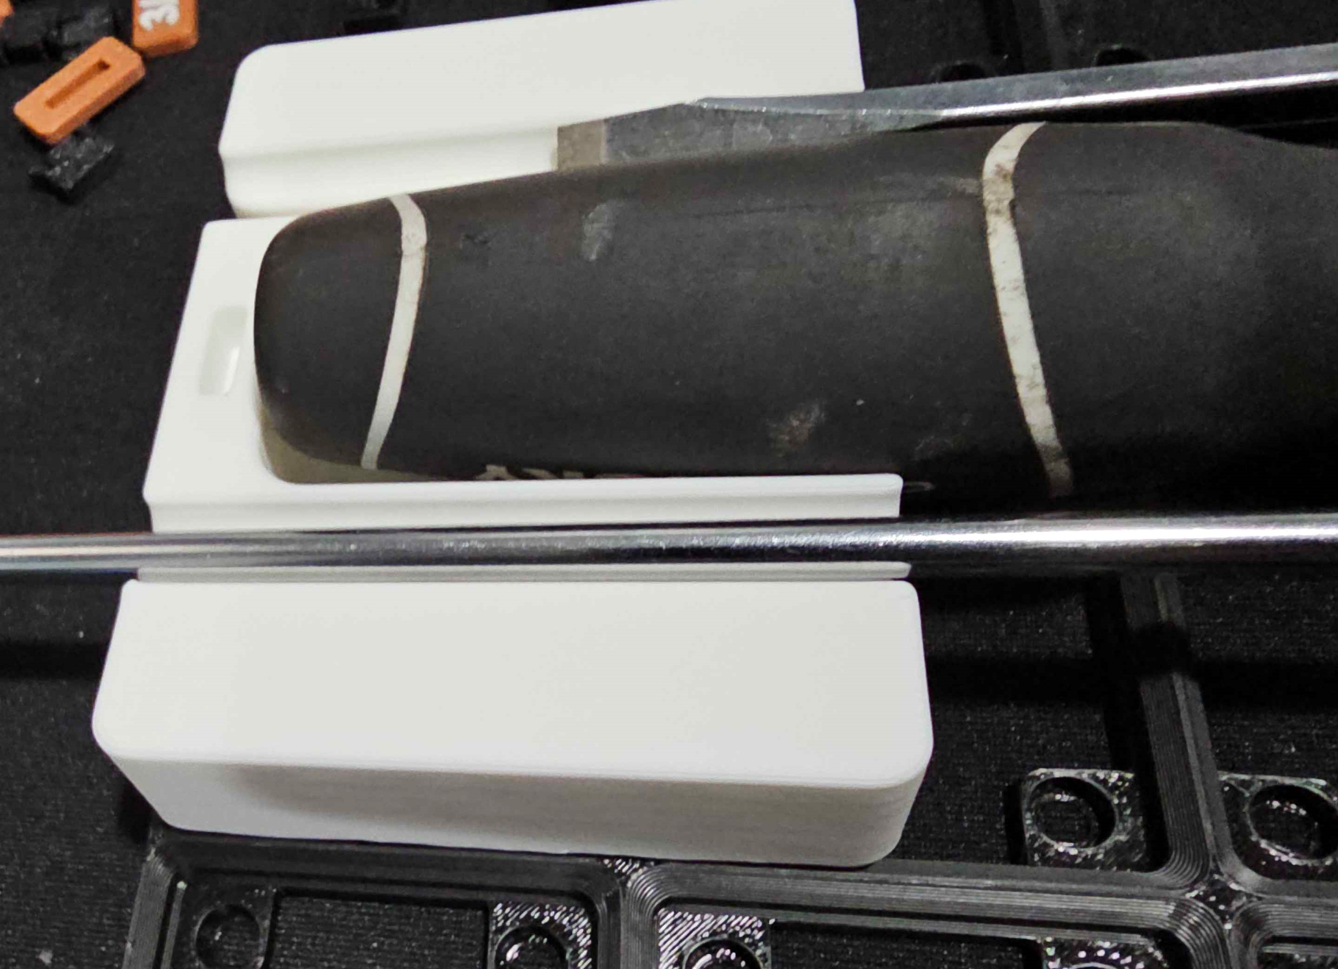
- Repeat cloning for the number of screwdrivers at each size needed, click the organize plate button, and then print.
- Alternate placing the trays and offset them by Half to place screwdrivers in a alternating direction.
____________________________________________________________
Instructions for - Large
NOTE: The large trays I made as an option because going straight to the XL could potentially use up a lot of extra space if you have a lot of screwdrivers. So I had to adjust the model concept since I couldn't split a 1.5 sized tray evenly in two. This size saves a half a grid width per screwdriver over the XL trays. Even though its a slightly different concept, It still works well.
Click on the new plate button
- Start by cloning 1 of each large end piece to an empty plate
The large end pieces are Mirrored, not identical. like the small end pieces.
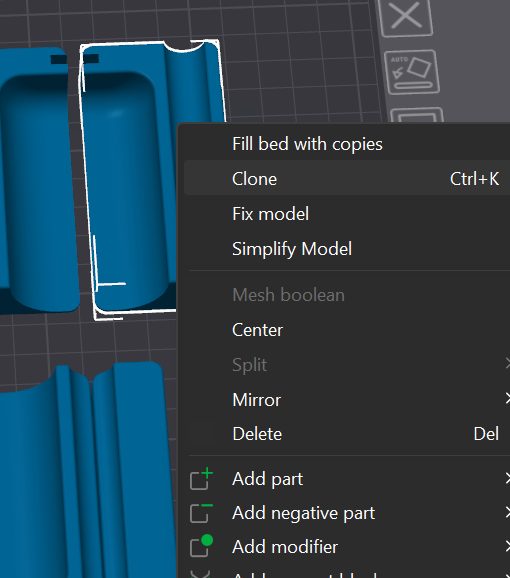
- Then clone a number of the large tray pieces up to the total number of large screwdrivers needed (see below for numbers)
- 1: full tray x1
- 2-3: full tray x1, split tray x1
- 4: full tray x2, split tray x1
- 5: full tray x3, split tray x1
- 6 or more, Alternate adding 1 split tray and one full tray
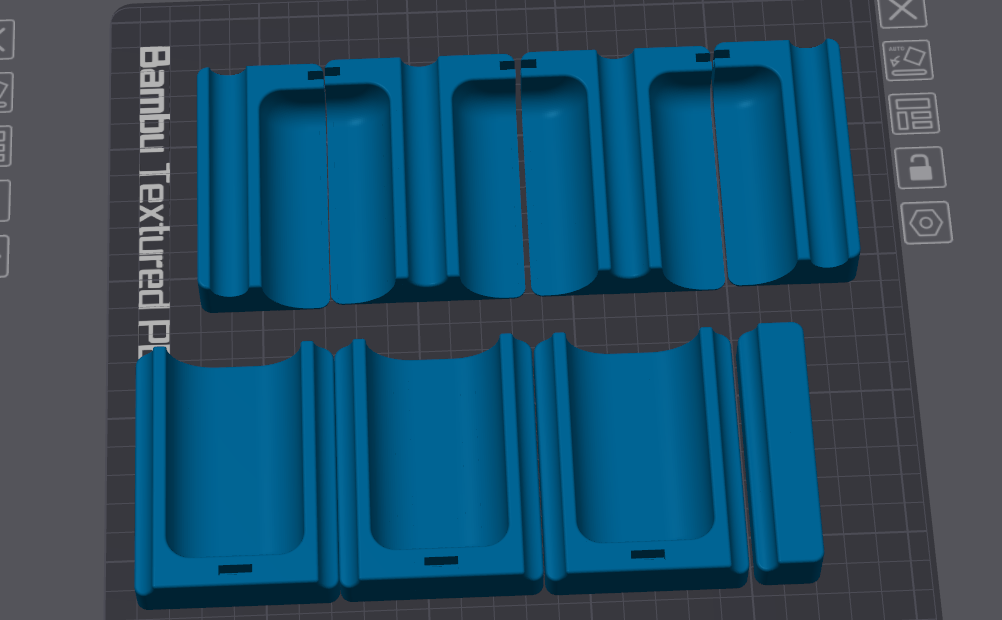
Clone two smaller end pieces of the size printing. I put two on each tray just to show how it looks “assembled”, you can clone either one of them as they are identical)
The end pieces are used for the last screwdrivers on each end of the trays as pictured
- Repeat cloning for the number of screwdrivers Needed click the organize plate button, and then print.
- The large size trays place inline with each other(except the end pieces). Assemble as needed.
____________________________________________________________
Labeling
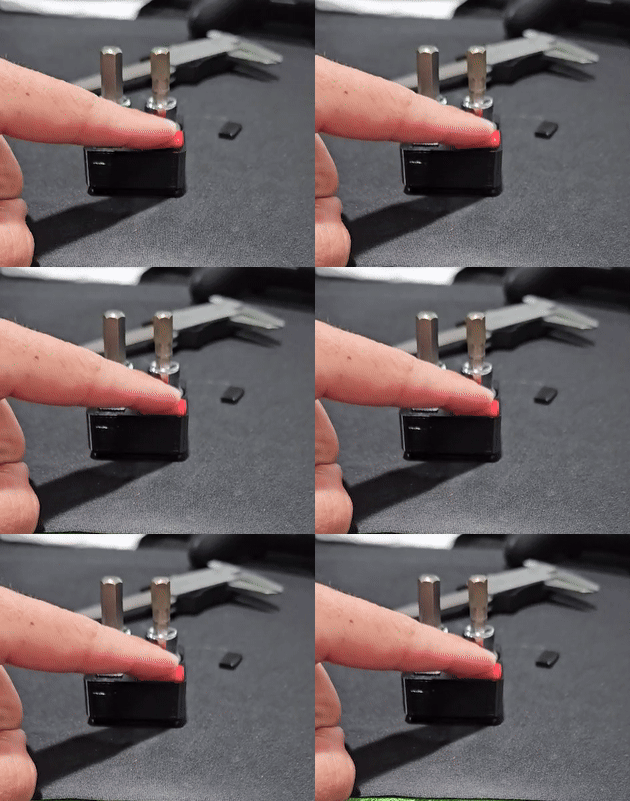
- go to my profile or click the link here to find the V2 - Snap Fit Labels, premade with an exhausting amount of common sizes (took a while making them all). They are very easy to print, use only one color change, and snap fit together. Let me know if you don't see your size available or if you have a whole set of a specific size type that I am missing.
_______________________________________________________
Base Tray
All Baseplates - Low Profile - With magnet insert - All sizes with profiles for A1, X1/P1, and A1 mini
Half-Size grid - Low Profile - filler baseplates - These are .5 x 1-6, used for filling spaces in the drawer that didn't fit a full grid. Particularly useful with my half-sized grid based trays that can lock these in place with another grid but can be used as side fillers as well. fill them with my .5x1 blank covers to give it a finished look if wanted.
I created a specific base for my use case to get the lowest profile POSSIBLE. This maximizes the vertical space available for your tools while in the trays. It is a just standard Gridfinity tray but cut as low as possible while still having the magnet slots available. I appreciate everyone who wants to take a look and use it for these trays but my base tray is not a requirement. Any tray can be used especially if you already have a system so do not feel like you need to switch over unless my tray provides something that you need. (such as the magnet inserts, less filament, or the lowered profile compared to stock).
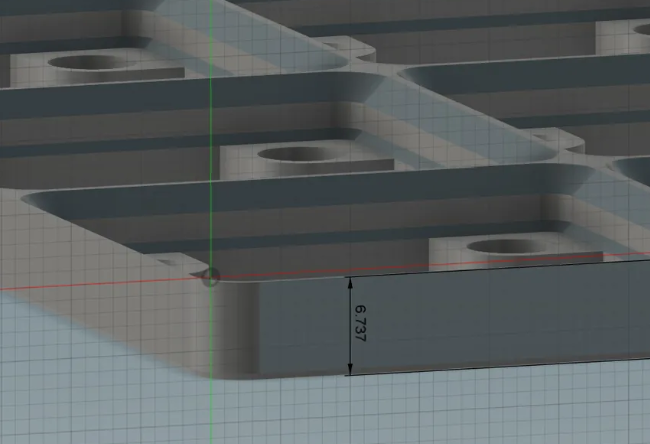
_______________________________________________________________
MAGNETS
- If you wish to use magnets or my Print-A-Magnet magnet replacement to secure the trays, use the Secure-A-Magnet plate.
- Clone just a couple of the magnet securing inserts to test the fit, and print.
Insert the key in the desired position based on where in the grid it will sit. If they are a tight fit and not seated all the way, turn the tray upright and use a hard flat surface to press harder to get them to seat all the way in. The fit should be tight, if it is loose then the magnets will be loose.
Resizing: If you find the fit loose or cannot fit them at all, resize the insert X and Y axis only(not Z), up or down by 0.05mm. once the fit is good, clone as many as you need (# of trays X magnets per tray)
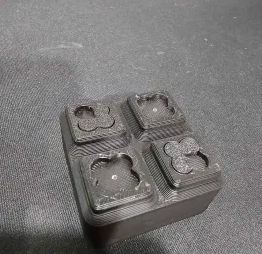
Insert your magnets or Print-A-Magnet then press it into the Grid
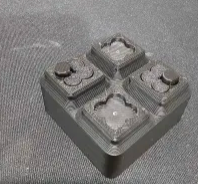
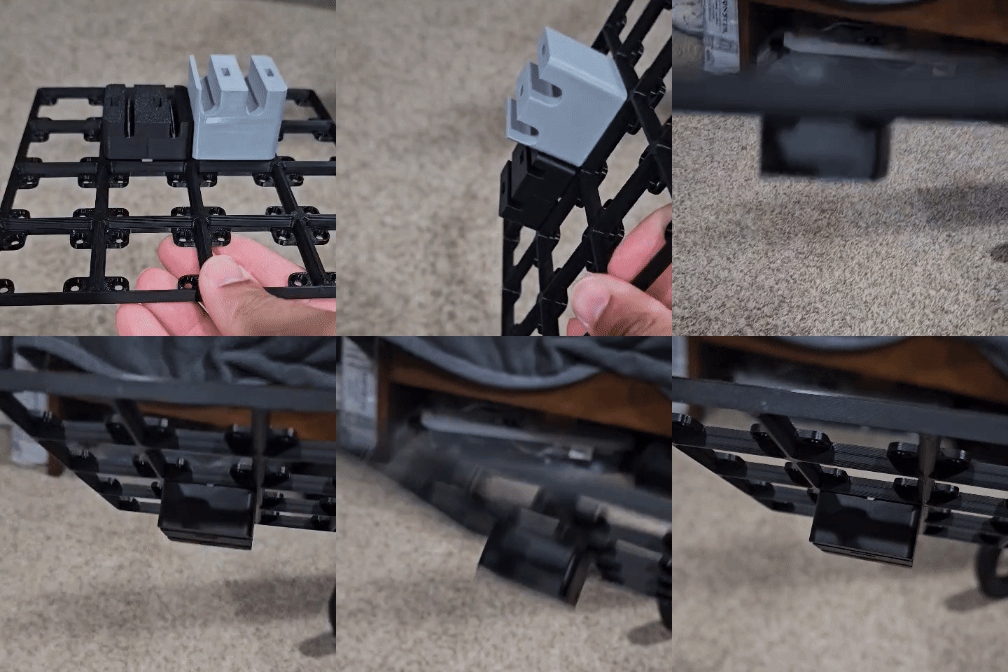
____________________________________________________
Gridfinity Universal Screwdriver Trays
Publicado em 5 de set de 2024
Gostou deste modelo? Crie uma conta grátis para salvar seus favoritos e voltar a eles depois.
Criar conta