You're on 3DFinder
We search Thingiverse, MakerWorld, and Printables at once so you get the best of each.
Description
Yet another dry box. Why? Because the rubber-maid mussli boxes were too expensive where I live and even they could not fit some wide spools. I've been using them for over a year now, so I thought I would share.
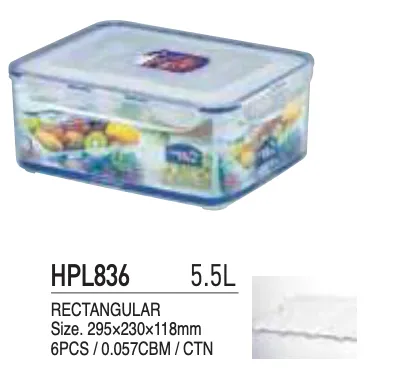
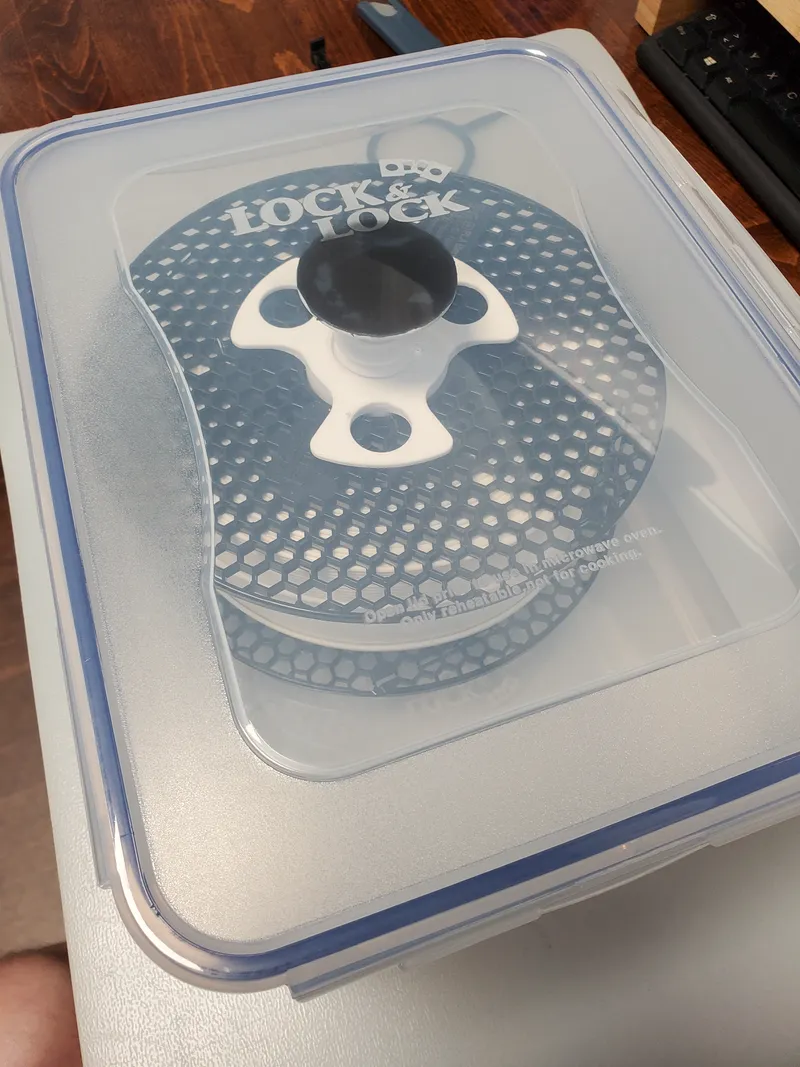
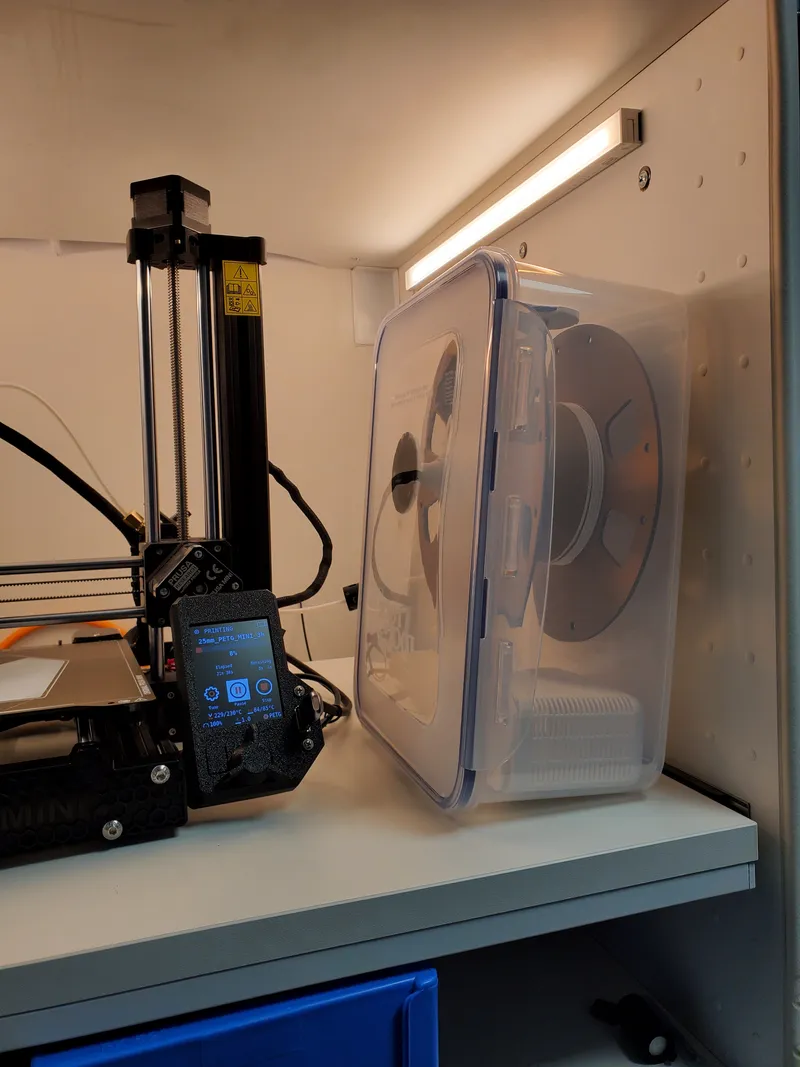
Introducing the Lock n Lock HPL 836 dry box, which has a volume of 5.5 l:
Features:
- Accomodates spools up to 20.2 cm diameter and up to 10.5 cm wide (this includes the 1 kg spools from Prusa).
- The box is air tight and keeps the filamens dry. A pnuenmatic connector on the side allows you to connect it to you existing setup if you have an “air-tight” system.
- The box uses a guide on the cover to prevent spool rubbing when used on its side (the bottom of the box flexes too much)
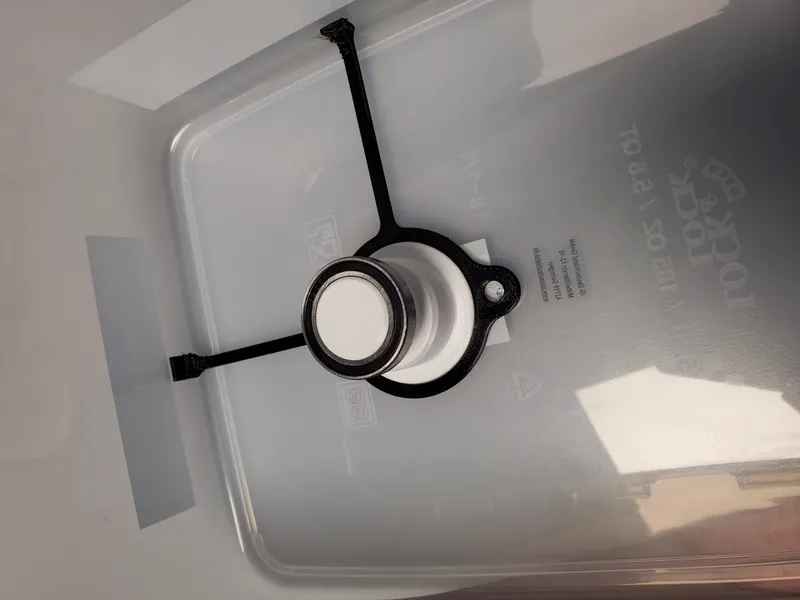
- Handy removal tool if you are having difficulties - tools holds the shaft so you can turn the nut
- Desiccant box for continious drying of your filament while in the box
- Stackable!
Check local businesses before you buy the HPL box from Amazon. Amazon is quite expensive UNLESS you buy 6 at a time, where the price can go as low as 13€/box. I would suggest buying one and making sure this box fits your needs before you buy more.
German links:
Bill of Materials (per box):
1x Lock n Lock HPL 836 box: Link above
1x 3M VHB 5925 tape, 25mm wide Link
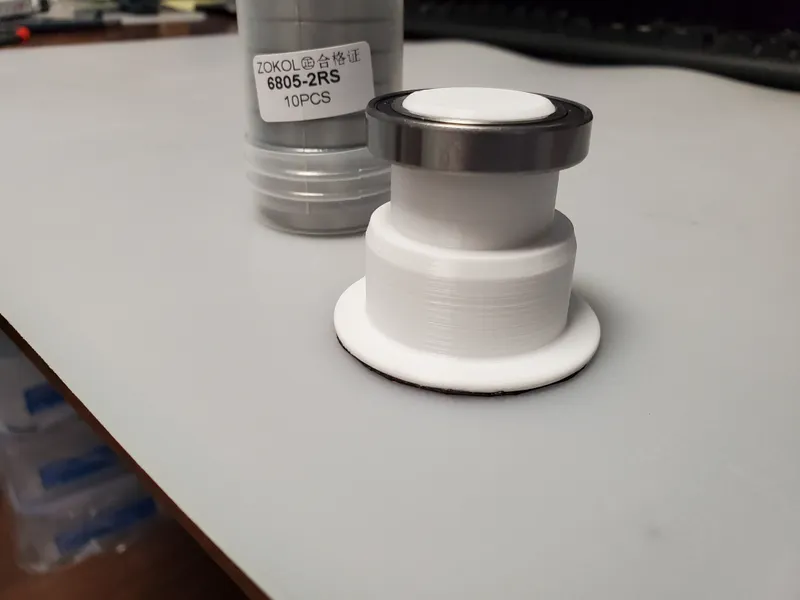
1x 6805 bearing (25 mm x 37 mm x 7 mm): Link
1x Pneumatic Connectors 4mm: Link
! up until now, the 3M VHB tape is the only one that works with these containers !
! As an alternative you can try to print a bushing instead of using a bearing. I actualy find the system to have too little friction sometimes.
Assembly:
- Apply the tape to the bottom of the “Base”. Make sure to strongly press it onto the base.

- Trim off any excess
- Press the 6805 bearing onto the base.
- Use the OrientationBracket to find the correct mouting position of the base.
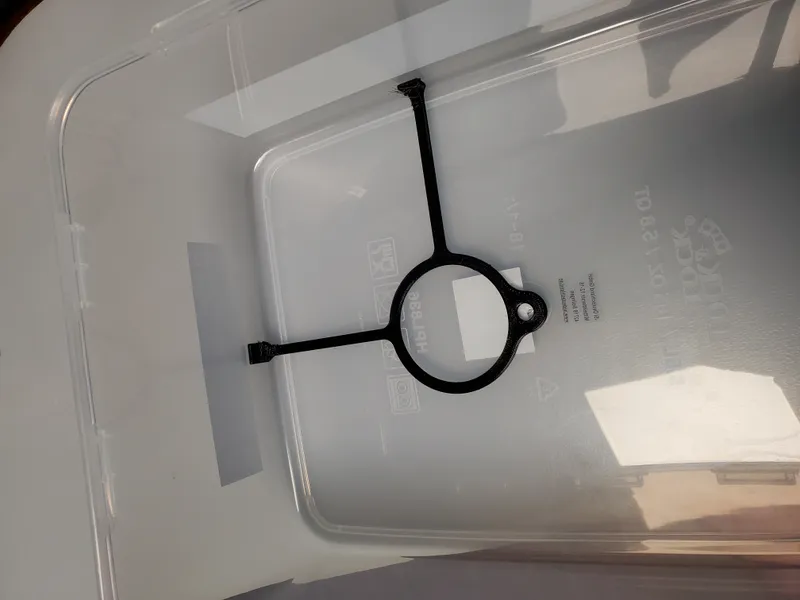
- and firmly press it onto the HPL 836 box.
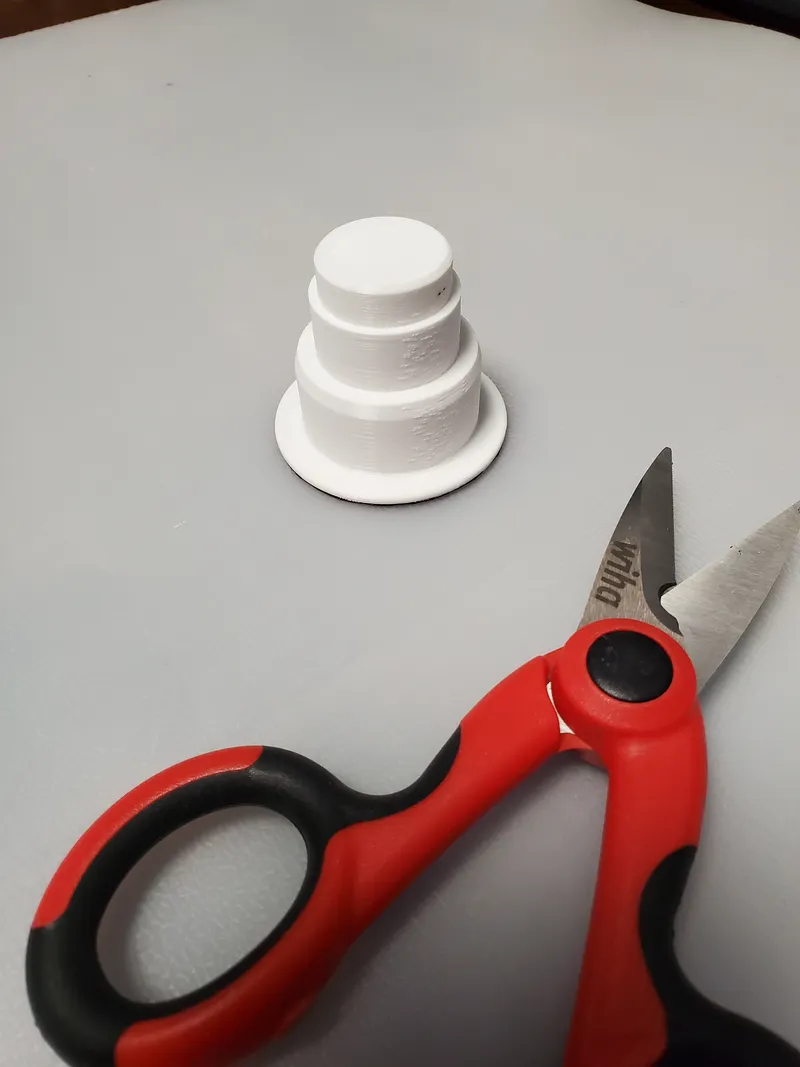
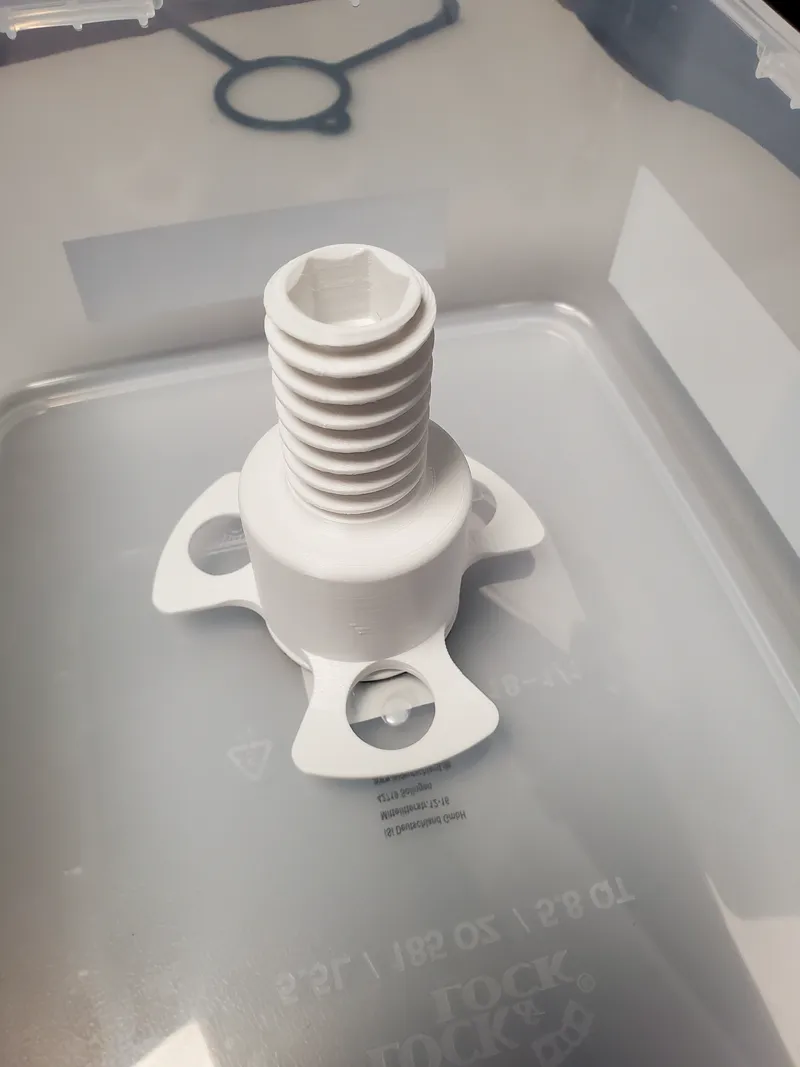
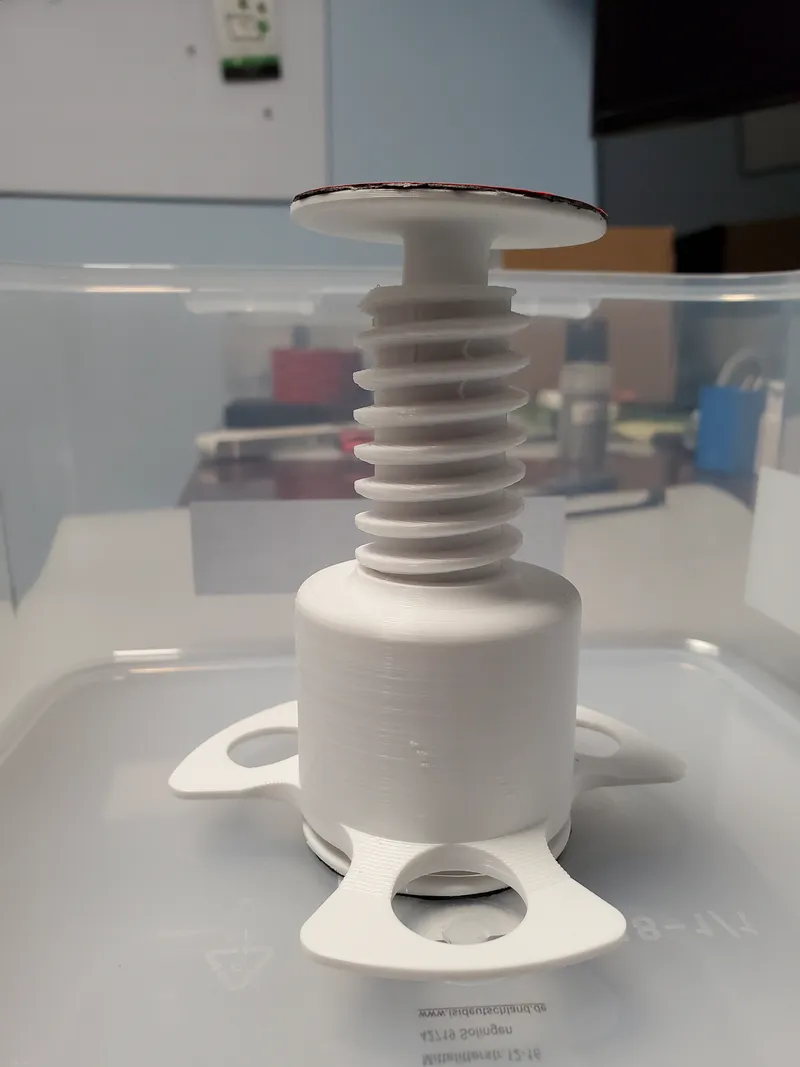
- Remove the OrientationBracket and press the SpoolShaft onto the bearing.
- Apply tape to the CoverSupport in the same way you did the base, trimming off any excess.
- Place the box cover on and press down so the CoverSupport makes contact with the cover. Then remove the cover and firmly press the CoverSupport onto the box cover.
- Now drill a hole for your Pnuematic connector. Location is completly up to you depending on how you want to use the box with your printing setup. Mine are on the sides.
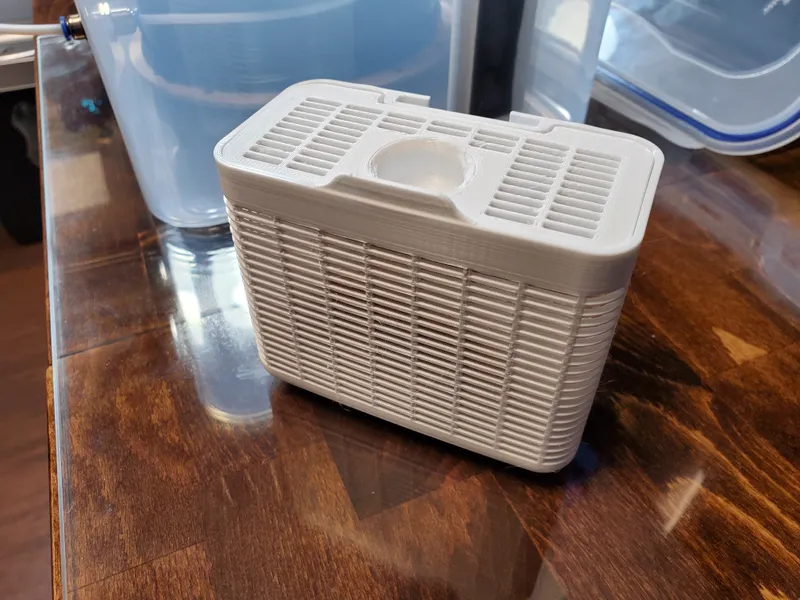
Bonus: Desiccant holder
I've also included a Printplate for the Desiccant holders I use. Use the 3M tape to tape the MountingBracket to the wall of the container. The box then just slides onto it.
Original Model on [https://www.printables.com/de/model/483511-stackable-dry-boxes](https://www.printables.com/de/model/483511-stackable-dry-boxes) by [https://www.printables.com/de/@SJB4127](https://www.printables.com/de/@SJB4127) , no changes were made (just creating a 3mf from all the STL files).
