Estás en 3DFinder
Buscamos en Thingiverse, MakerWorld y Printables al mismo tiempo para darte lo mejor de cada una.
Descripción
I became fascinated with the math behind the pendulum wave and wanted to create one that would oscillate for at least a minute. My pendulum wave uses 11 pendulums ranging from 140mm to 300mm in length with a 24 second oscillation period. I used a piece of 1.75mm filament to hang the pendulums for minimum friction and maximum oscillation time. Here's a high quality video (the GIF is kind of jerky).
The lengths of the pendulums are set such that in a given time t, the first pendulum completes x oscillations, and each subsequent one completes one more oscillation than the previous. As all pendulums are started together, their relative phases change continuously, but after time t, they come back in sync and the sequence repeats.
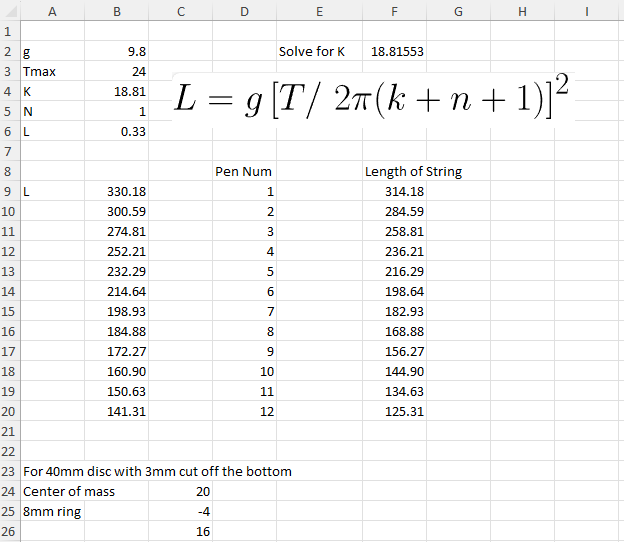
This is the formula for pendulum length:

Where:
L= length of the pendulum
T= oscillation period
g= gravitational acceleration
k= is a constant determined by the first pendulum in the series
n= pendulum number
I created a spreadsheet to determine the length of each pendulum. I set the oscillation time for 24 seconds hoping to achieve two complete cycles (48sec)
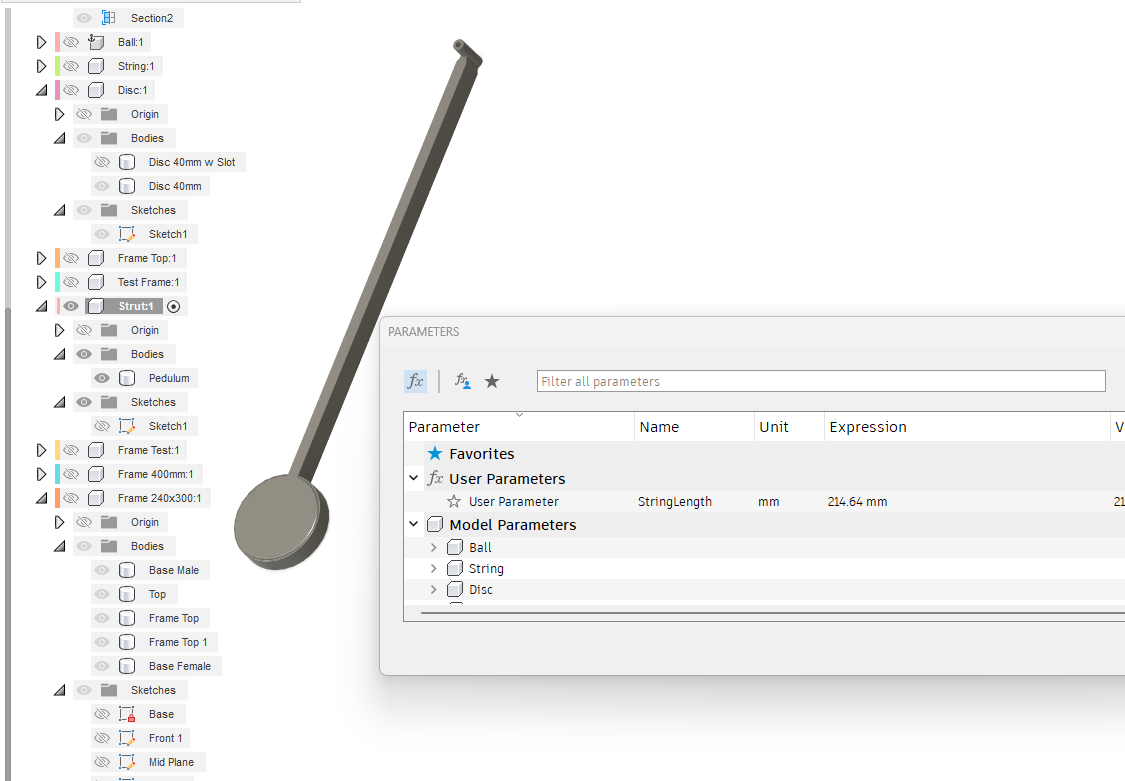
I then used Fusion360 to design a parametric model for the pendulum where I could input the pendulum length from the spreadsheet to create the correct length for each pendulum.
Printing Instructions
The frame is designed in five parts that don’t require supports or special settings. The parts are easily glued together with CA glue (or your glue of choice). Unfortunately, it's not printable on an A1 Mini. I had some trouble with bed adhesion at the very corners of the plate on the long pendulums. A little glue at the corners solved the issue for me.
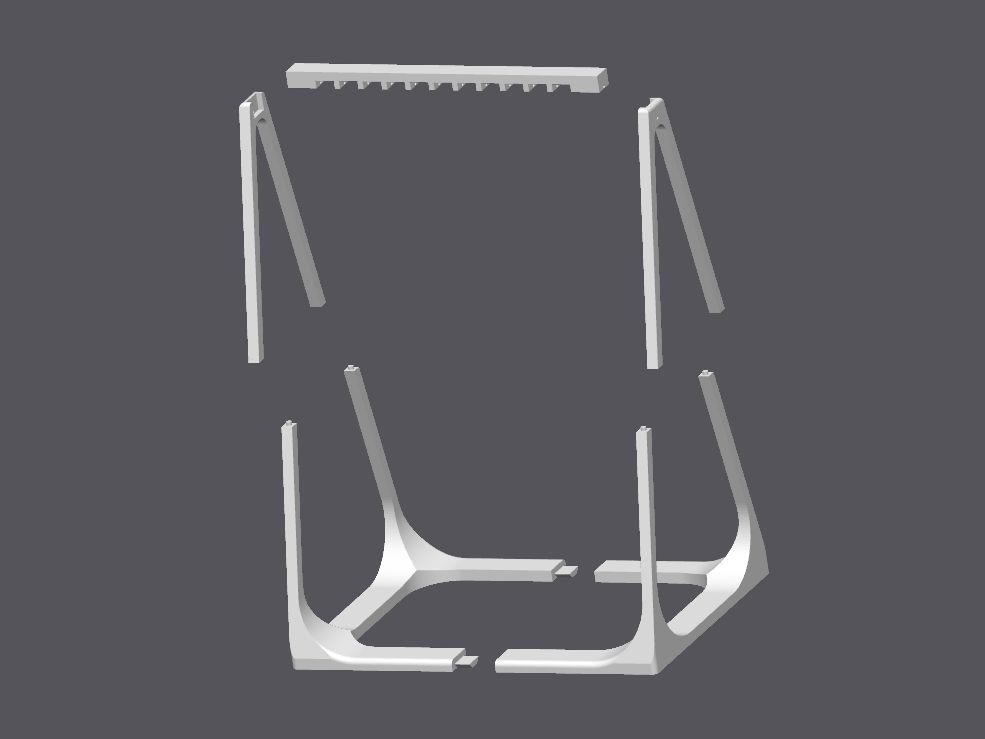
Glue the lower frame halves together. Then glue the upper A-frames to the base. Finally, glue the top hinge bar into the upper A-frames with the holes facing down. Make sure not to get glue in the holes in the upper A-frames. This is where a length of filament will be threaded through the holes to suspend the pendulums.
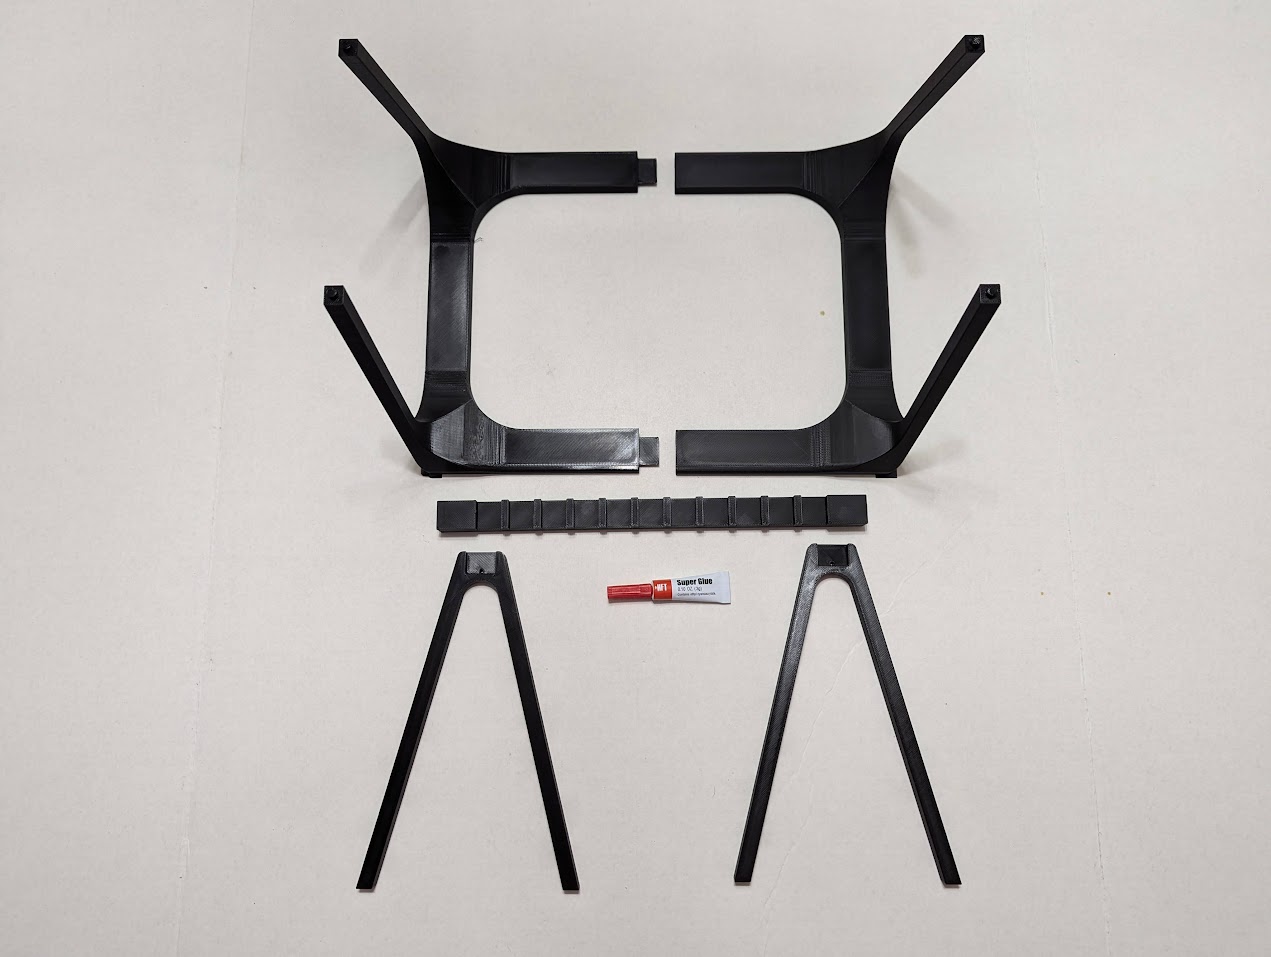
When the glue dries, use a 300mm piece of filament to thread through the holes in the frame and the pendulum. Arrange the pendulums in order of length. Trim the ends of the filament when done.
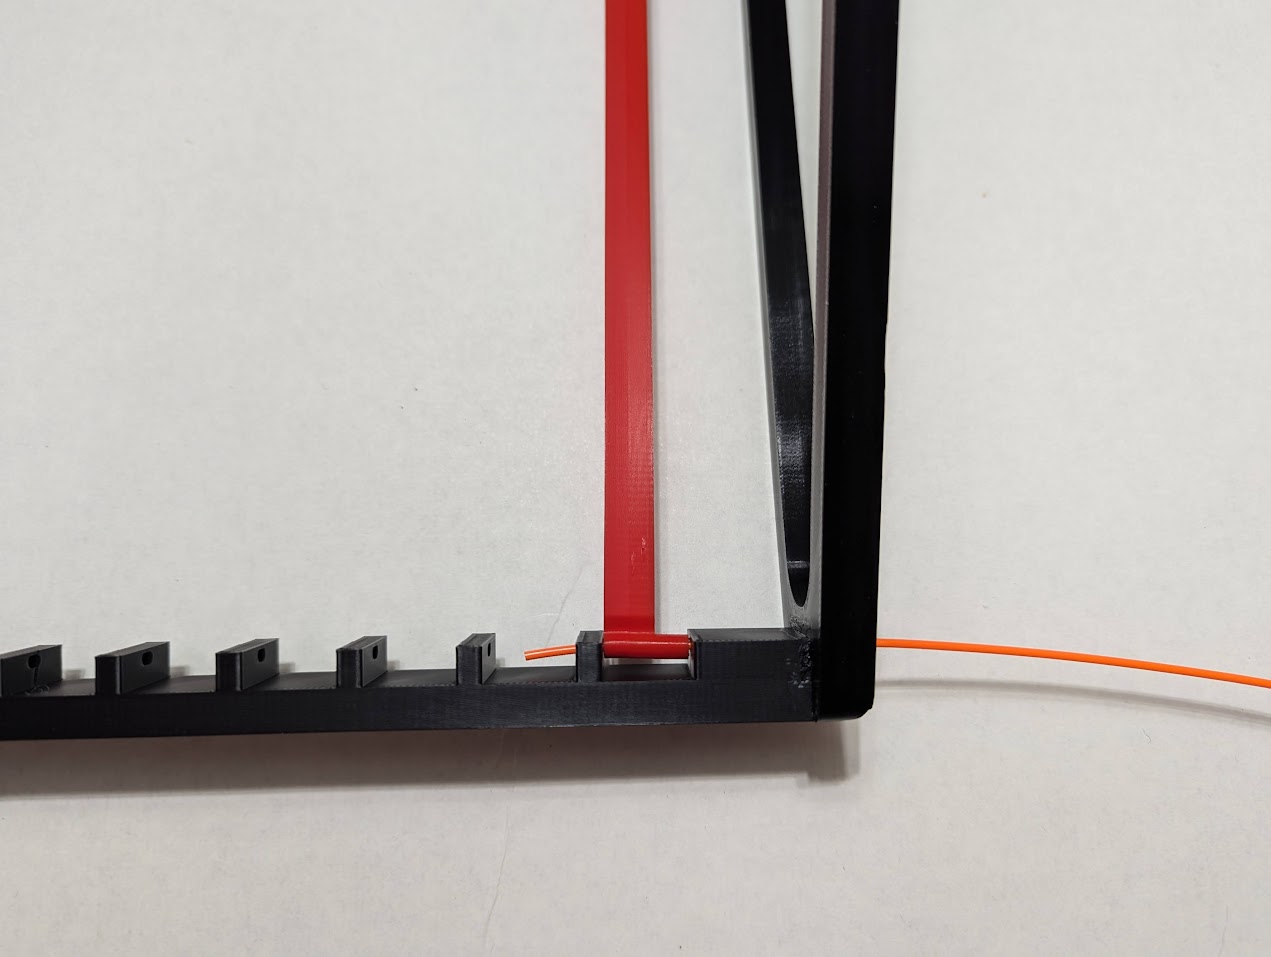
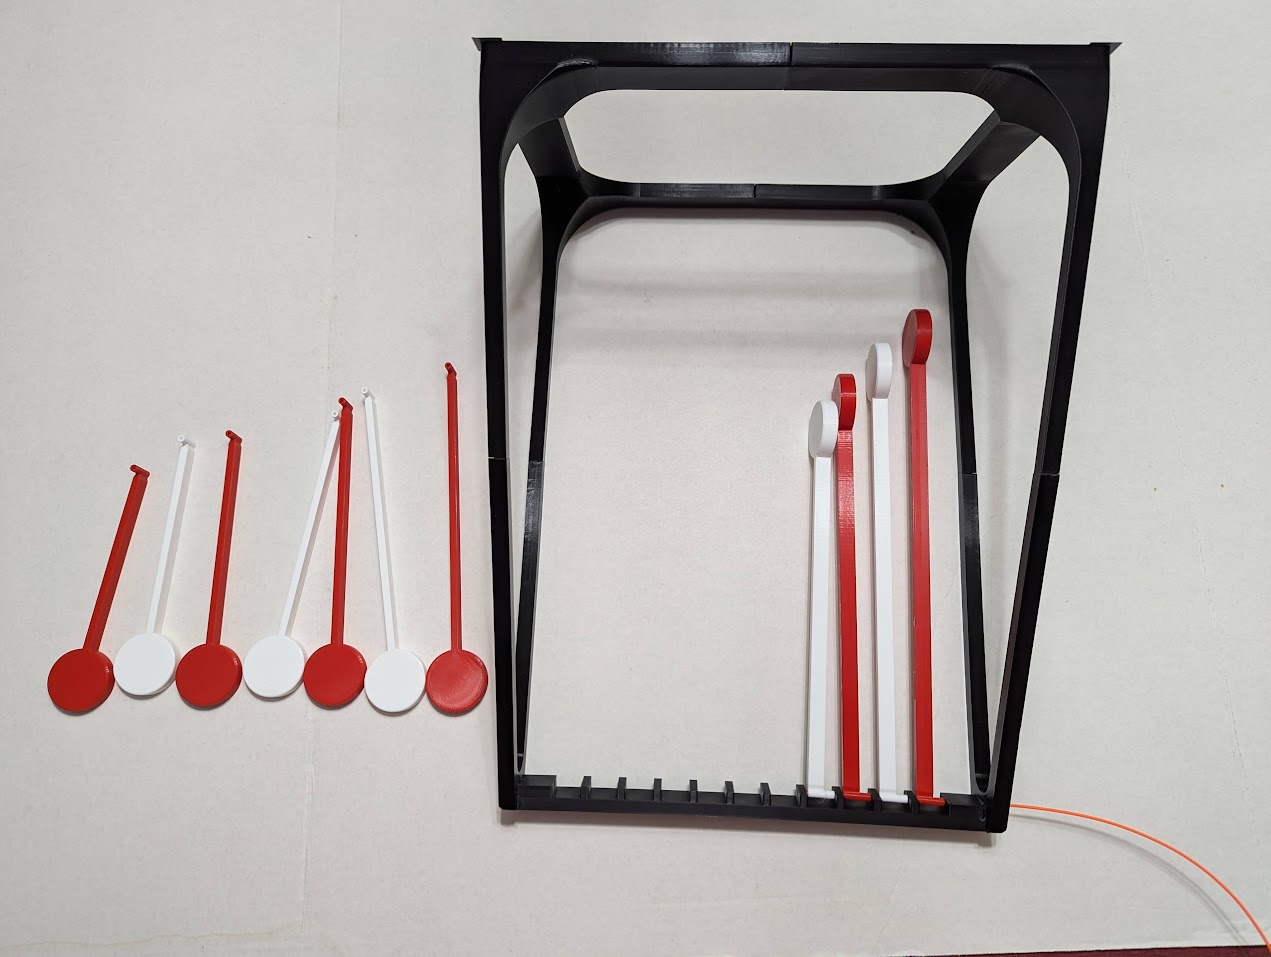
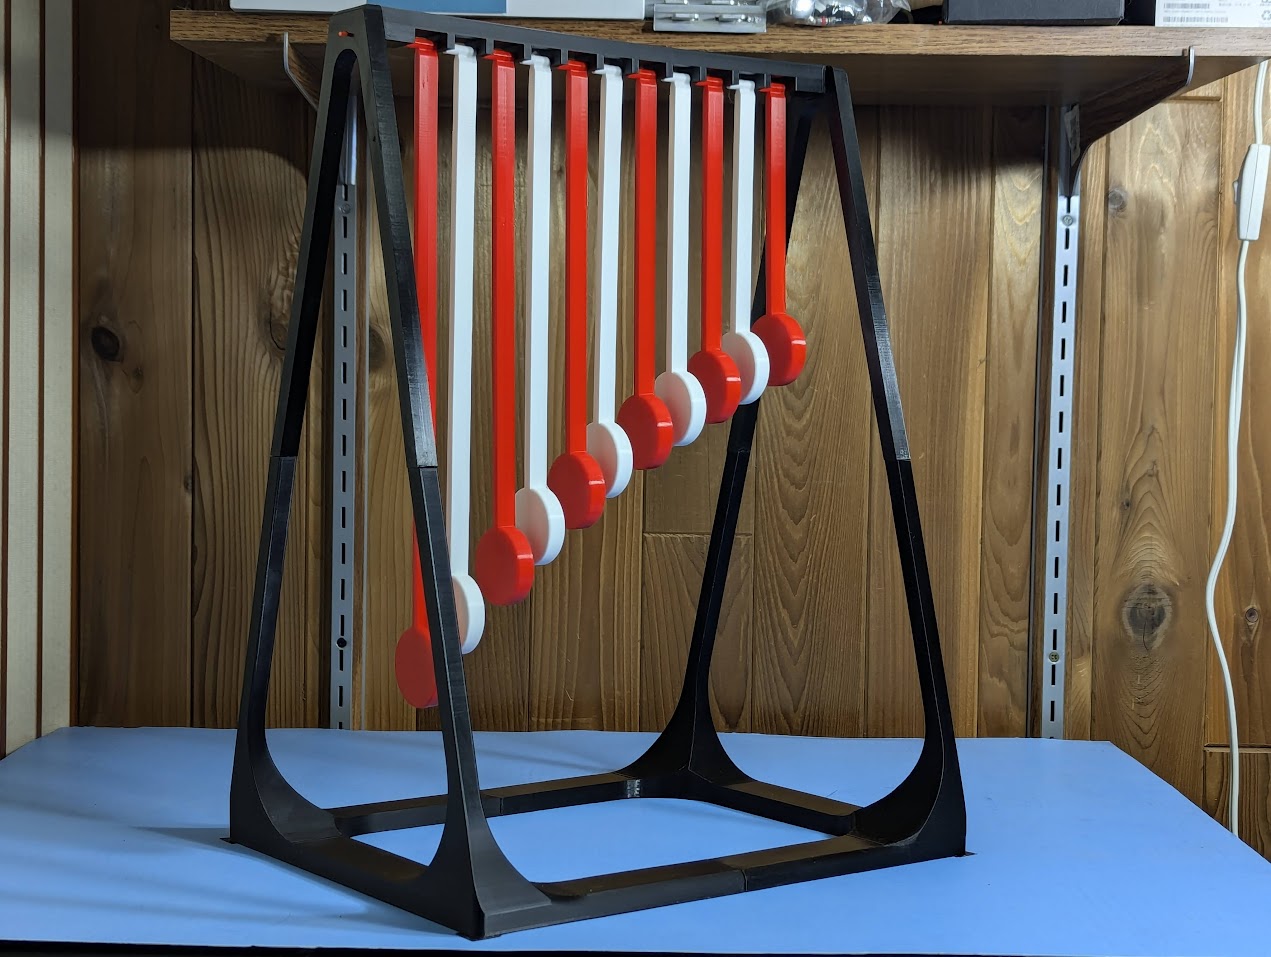
To start the oscillation, use the start board to raise all the pendulums at once and let go. You should get a full minute of good oscillations. If the pendulums hit each other, try again with a little less angle.

¿Te gusta este modelo? Crea una cuenta gratis para guardar tus favoritos y volver a ellos más tarde.
Crear cuenta