Você está no 3DFinder
Buscamos em Thingiverse, MakerWorld e Printables ao mesmo tempo para te dar o melhor de cada uma.
Descrição
The Accu-Bite Super BCAR a 3D Printed muzzle device for toy foam dart blasters with a minimum 18mm of exposed barrel (~16mm OD). It requires 3 3x7x3mm flange bearings and 3 m3x12mm screws.
The Accu-Bite Super BCAR was inspired by the work of Misplaced Moose and his “Moose-Bite Super BCAR”. The Accu-Bite utilizes a single row (3) of F683ZZ Flanged Ball Bearings, secured with 3 m3x12mm screws. The bearings are installed at an angle that gives them each 2 points of contact with the dart as it passes through. After the dart passes through the bearings, it enters a PCAR portion of the barrel which constrains the dart's flight path to help correct rotational drift as the dart exits the muzzle. The Accu-Bite attaches to the barrel with the same compliant clamping mechanism of the Accu-Nub 2.0, which was inspired by the work of Chance.
The Accu-Bite is designed for HvZ level blasters (~120fps) and has its bearings at a 13 degree angle. This has not been tested with higher FPS setups.
UPDATE 7/4/26: I have added a 9.5 degree version which should be better for higher FPS setups, but this has not been tested.
REQUIRED HARDWARE:
3 x F683ZZ Flanged Ball Bearings (3x7x3mm) - [https://a.co/d/0gYmB4ab](https://a.co/d/0gYmB4ab)
3 x 12mm screw (10mm should also work) - [https://a.co/d/0bPcz8H5](https://a.co/d/0bPcz8H5)
ASSEMBLY:
- Place a dart inside the Accu-Bite - Body. This will keep the bearings from falling through their holes during assembly.
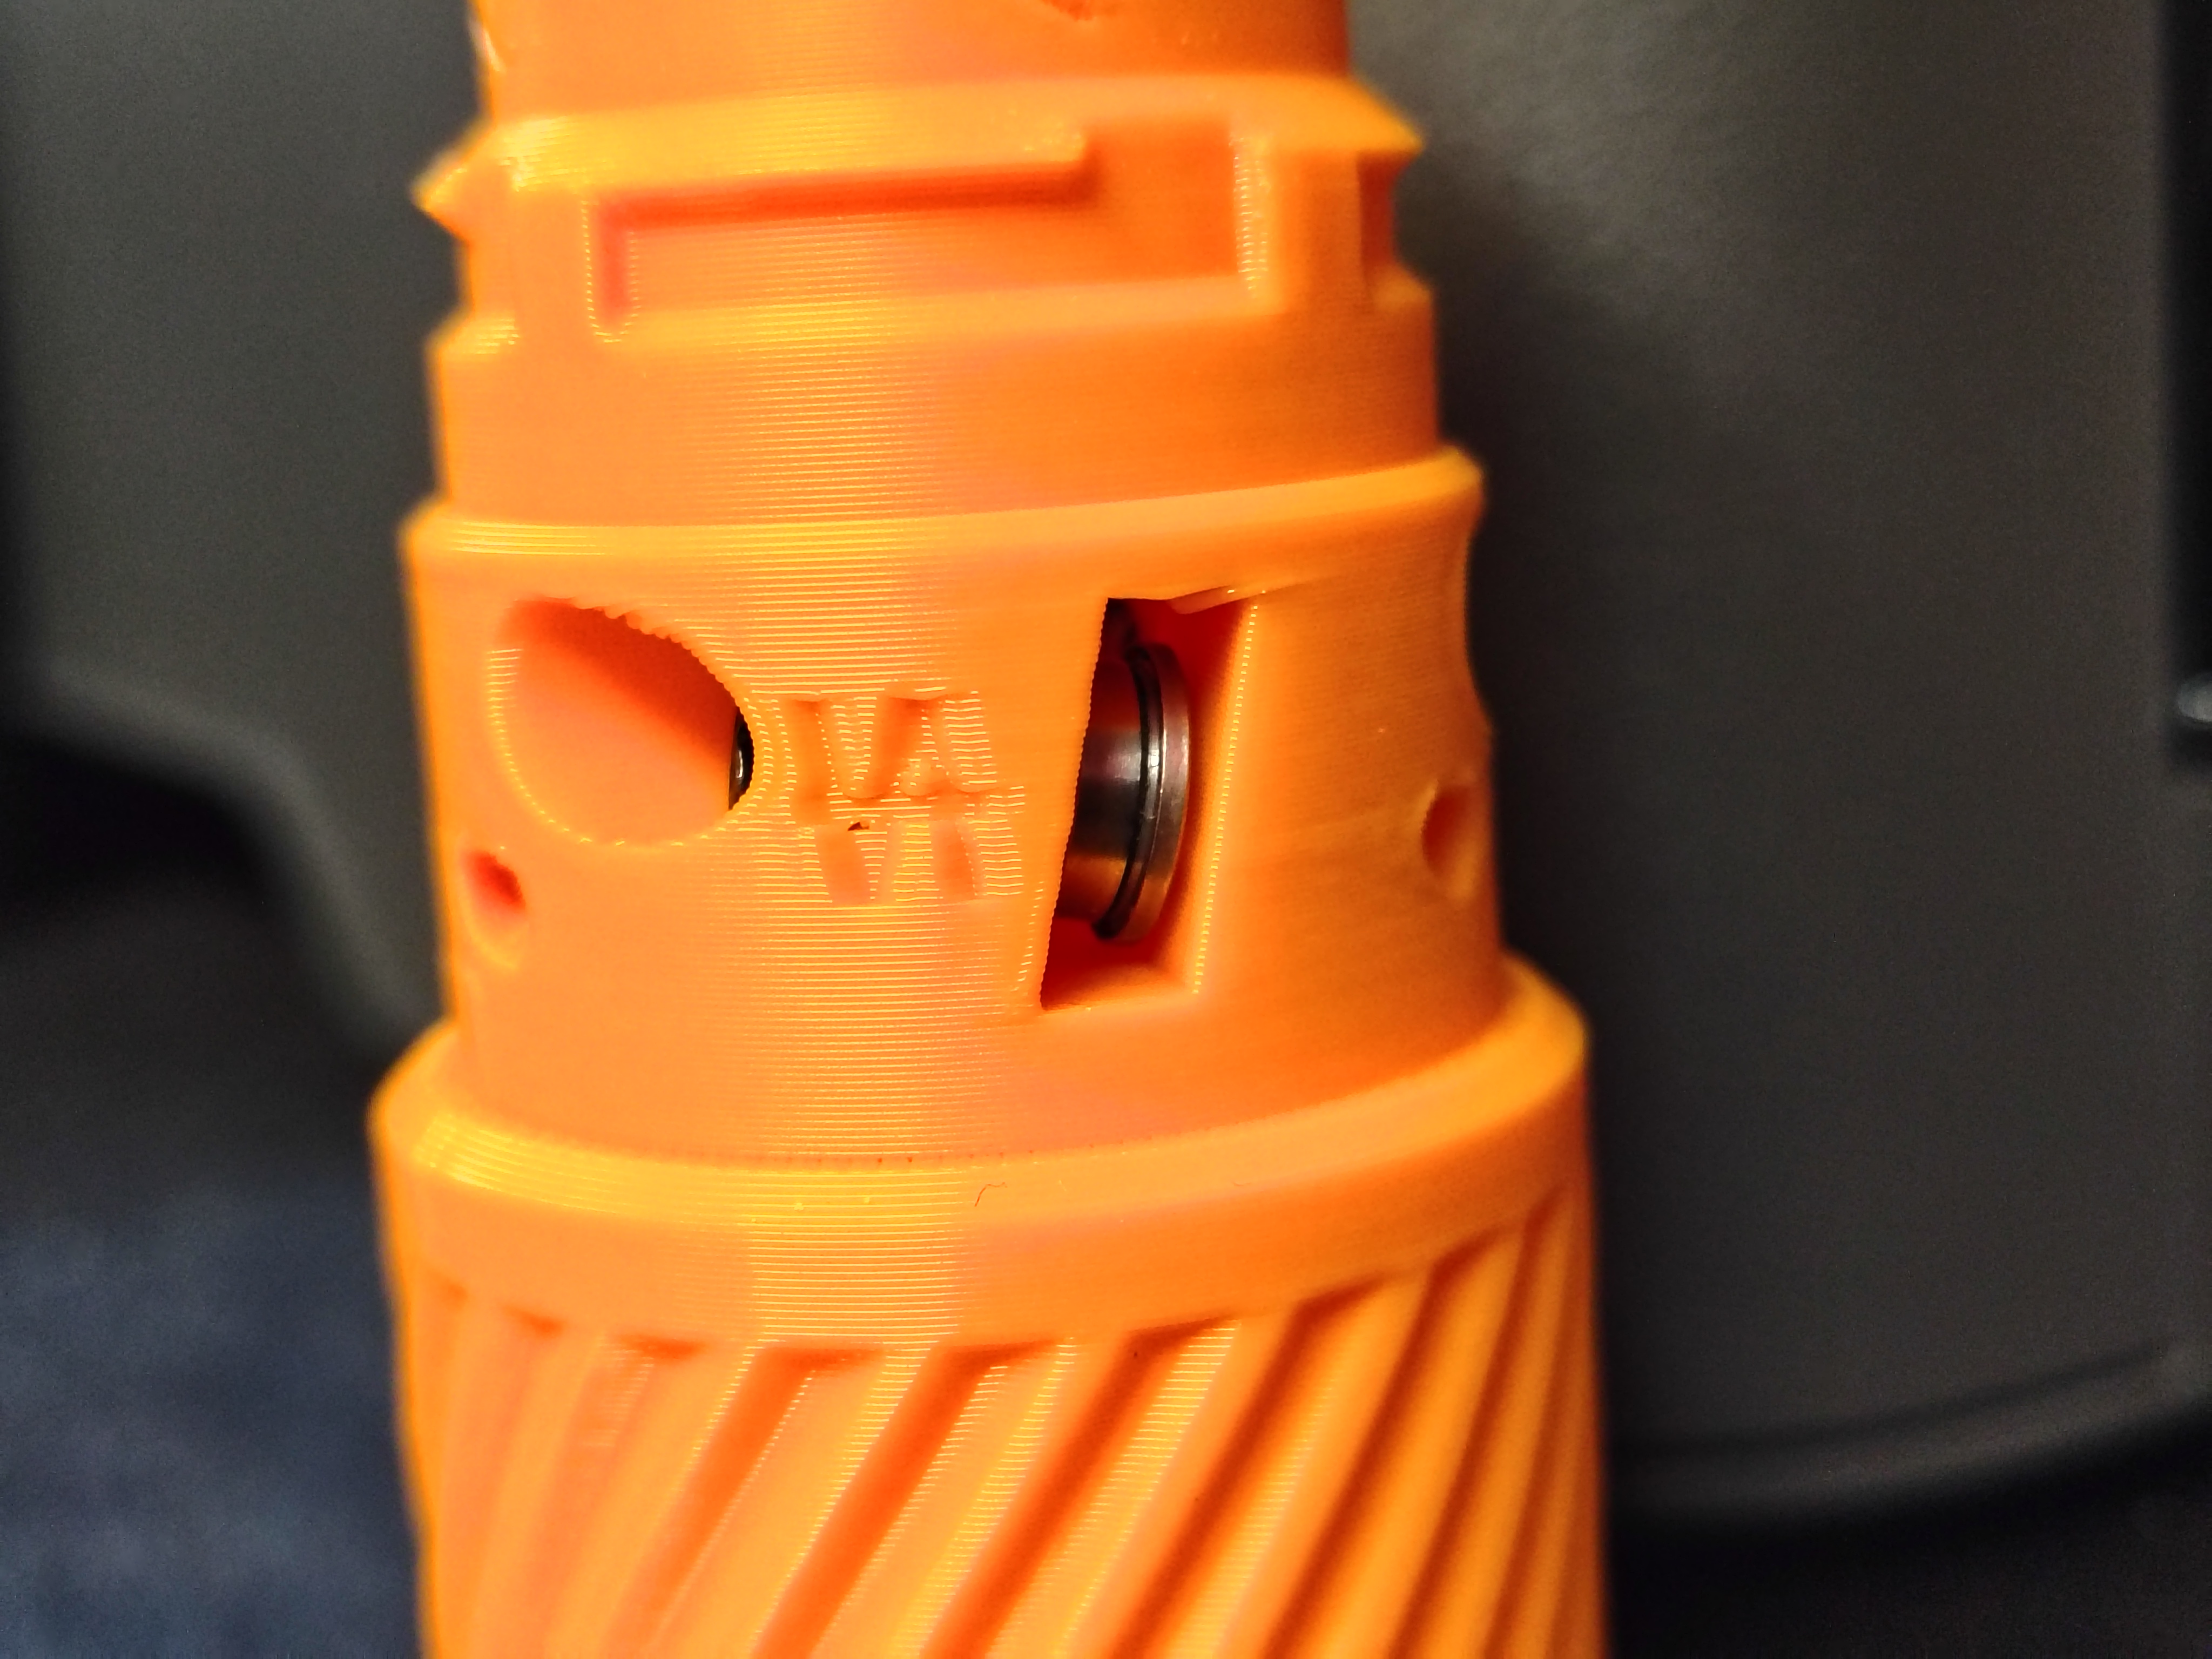
- Place a bearing inside its slot with the flanged side towards the smaller hole for the screw (see picture below).
- Drive an m3x12mm screw through the hole aligned with the places bearing. The screw goes into the “big hole”, and the threads will catch after it passes through the bearing. Tighten the screw until you feel resistance and the head of the screw is below the rim of the hole.
Repeat steps 2 & 3 for the other 2 bearings/screws.
INSTALLATION:
NOTES: I recommend installing the Sleeve off of the barrel and twisting it back and forth and removing and replacing it from the Body a few times to wear in the interfacing surfaces a bit for a smoother operation. You can also combine steps 1-3 on most barrels and insert the barrel through both parts together.
Additionally: When not installed on a barrel, you can twist the Sleeve all the way past the compliant clamps and it will stay together. This is great for keeping the parts together while not in use; simply twist in the opposite direction to “unlock” them again.
- Slip the Clamp Sleeve onto your barrel
- Insert the end of the barrel into the Accu-Bite Super BCAR - Body until it bottoms out against the barrel.
- Slide the Clamp Sleeve up over the Accu-Bite Super BCAR Body until it is flush, keeping the internal tabs on the sleeve aligned with the slots on the body.
- While holding the Body, give the Clamp Sleeve a slight turn clockwise to engage the compliant clamps.

Gostou deste modelo? Crie uma conta grátis para salvar seus favoritos e voltar a eles depois.
Criar conta