Você está no 3DFinder
Buscamos em Thingiverse, MakerWorld e Printables ao mesmo tempo para te dar o melhor de cada uma.
Descrição
A modular wall-mounted organiser system for a workbench or workshop wall. Three horizontal rails each being a 200mm section: a decorative top rail, a main front rail that accepts various container and tool-holder features, and a lower rail that works as a cable guide. Features slide along the front and bottom rails and can be rearranged without tools, this can be customised in many ways either a single rail or potentially up to as many extension as you like. There are various connector pieces within the 3MF files, best to use the “Connector Plate Sliding + End Caps plate”.
This was a personal passion project — my first proper outing into system design across modelling, slicing and FDM tolerancing. The 3MF includes a large set of optional plates so you can pick what suits your bench. Refer to the photos for examples of how the containers, hooks and trays interact on the rails.
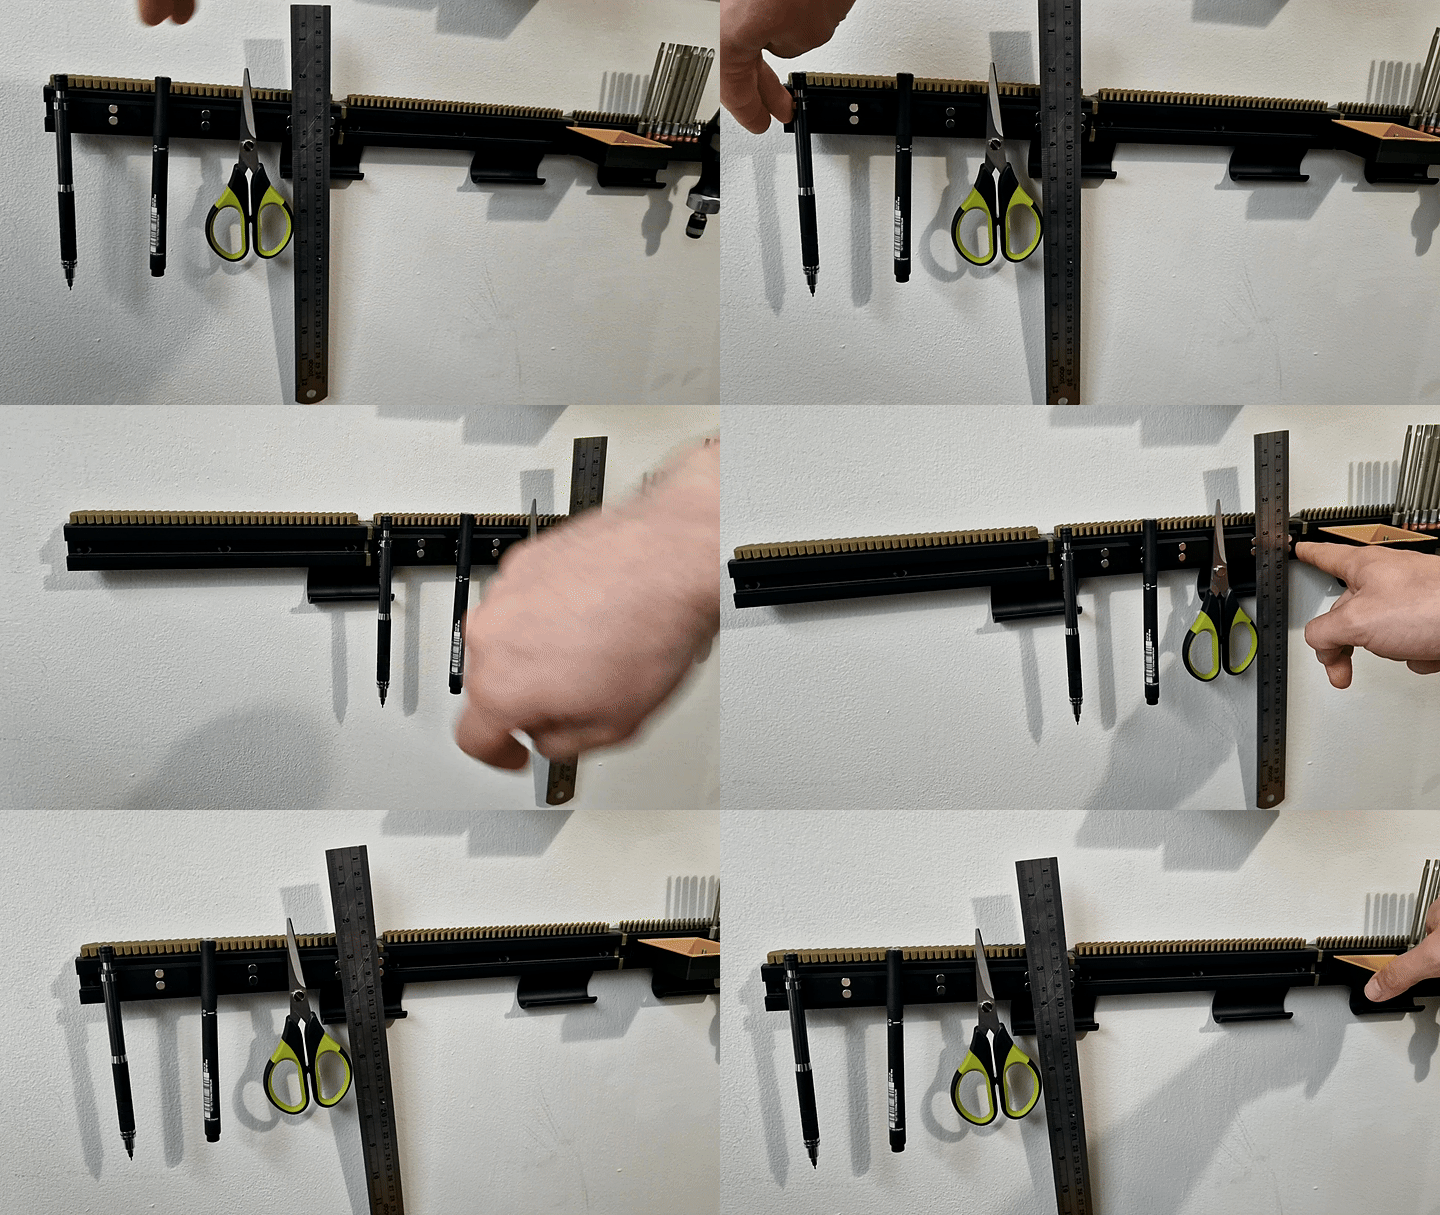
The system is designed to be wall mounted with M4 × 35mm or 40mm countersunk screws (8mm head) and Rawl plugs suited to your wall. Depending on the amount of weight of your intended use you may need deeper holes and screws. This initial design is intended for light duty weight support using PLA, other types of filament may provide enhanced structural properties. There is no strict weight rating and this is only intended for light work as illustrated in the attached imagery.
All sliding and fitting tolerances of the modular sliding system are either 0.1mm or 0.2mm depending on the need for tight or free movement, the bottom rail features should essentially move freely. I have attempted my best to produce parts with minimal support but have used the snug option as it seemed to produce the most usable parts but if someone has a better approach for the support structures or settings please let me know.
It is worth noting that tolerances and freedom of movement are reliant on printer calibrations and settings as well as specific filament material properties, filament properties can vary between manufacturer and batches.
I welcome any comments or feedback. Post a make if you build one or have any mods you want to introduce — would love to see how others lay theirs out.
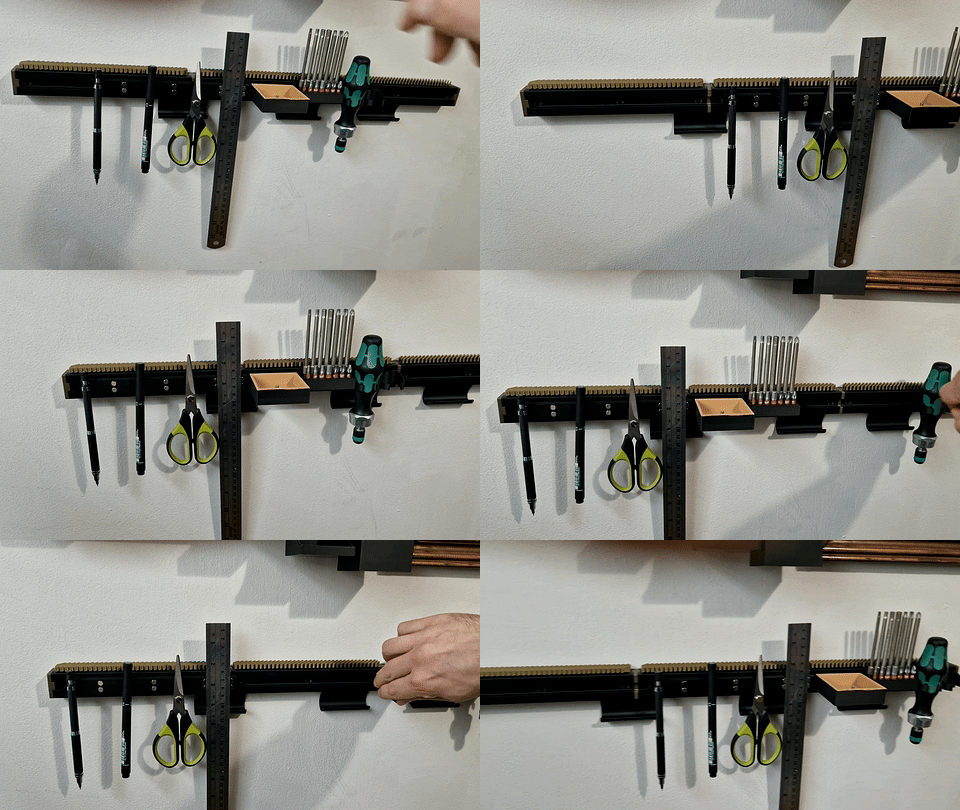
Where to start and Assembly Guide
If you want a minimum viable section to get a feel for the system before committing to a wall, start by printing: One or two 200mm front rail, the Connector plates and end plates, one or two cable guide lower rails, one main rail container or Bit holder— roughly 6 hours total on a 0.2mm profile. That gives you a working slice you can mount or bench-test before scaling up.
There are no written instructions just yet.
Options
The entire 3MF file has a large amount of optional plates and are left open as a personal choice, refer to the images as examples of how these plates can interact. Each Rail has been designed to fit three individual features or one large feature across the 200mm length, the top rail is entirely decorative for now, the lower rail is simply a cable guide option, but the main front rail has various container and feature options.
All the end plates and connectors are push fit and these can be attached after mounting the main rail to the wall, just to ensure you print the sliding connector pieces if you want the rails to slide all the way between multiple sections.
Magnetic Rail
The magnets that are embedded into the Magnet rail are 6mm diameter x 3 mm, the recesses are push fit and are 0.1mm tolerance based on the magnets I have. Variations may work and you could use glue if needed.
Print Notes
- Filament tested: PLA Basic Black, PLA Basic Bronze, PLA Matte White
- Layer height: 0.2mm
- Perimeters: 4 recommended on rail and slider parts (the slot lip is the load path)
- Infill: variable by part — 15% gyroid on containers, 25%+ on rails and sliders
- Supports: set to snug, needed on most container parts for the rail, attempted to avoid support where possible
- Print time: 2–20 hours depending on which plates you run
- Printer: Bambu Lab X1C — sliced in Bambu Studio, any 256mm-class bed will run the full plates
- AMS: not required. The three colours shown are separate single-colour prints, not a multi-material job.
Future Work
I will work on adding other features like an LED light bar for the lower rail in future. I will look to make some assembly and mounting instructions in the future also to provide a bit of documentation for the design and will attempt to do this with fusion.
Modular Workshop Organizer - GuideRail System

Publicado em 24 de mai de 2026
Gostou deste modelo? Crie uma conta grátis para salvar seus favoritos e voltar a eles depois.
Criar conta