Você está no 3DFinder
Buscamos em Thingiverse, MakerWorld e Printables ao mesmo tempo para te dar o melhor de cada uma.
Descrição
Bring a splash of color and movement to your home with this DIY Rainbow Wind Spinner! 🌈✨
This model is designed for anyone who loves a small assembly project. It features precision-fit arches and dangling rods that create a beautiful kinetic effect in the breeze. Because this spinner is meant to be in constant motion, the design focuses on a secure and stable construction.
Assembly Features:
- Precision Slots: Each rainbow arch is designed with matching grooves (Nuten) for a perfect, easy fit.
- Durable Design: To withstand wind and movement, the arches are intended to be glued together, ensuring the spinner stays intact for a long time.
- Kinetic Rods: The small rods at the bottom add dynamic movement. Simply attach them using a string or fishing line (approx. 30 cm / 12 inches recommended). You can hang them at equal heights for a clean, uniform look.
Printing & Assembly Tips:
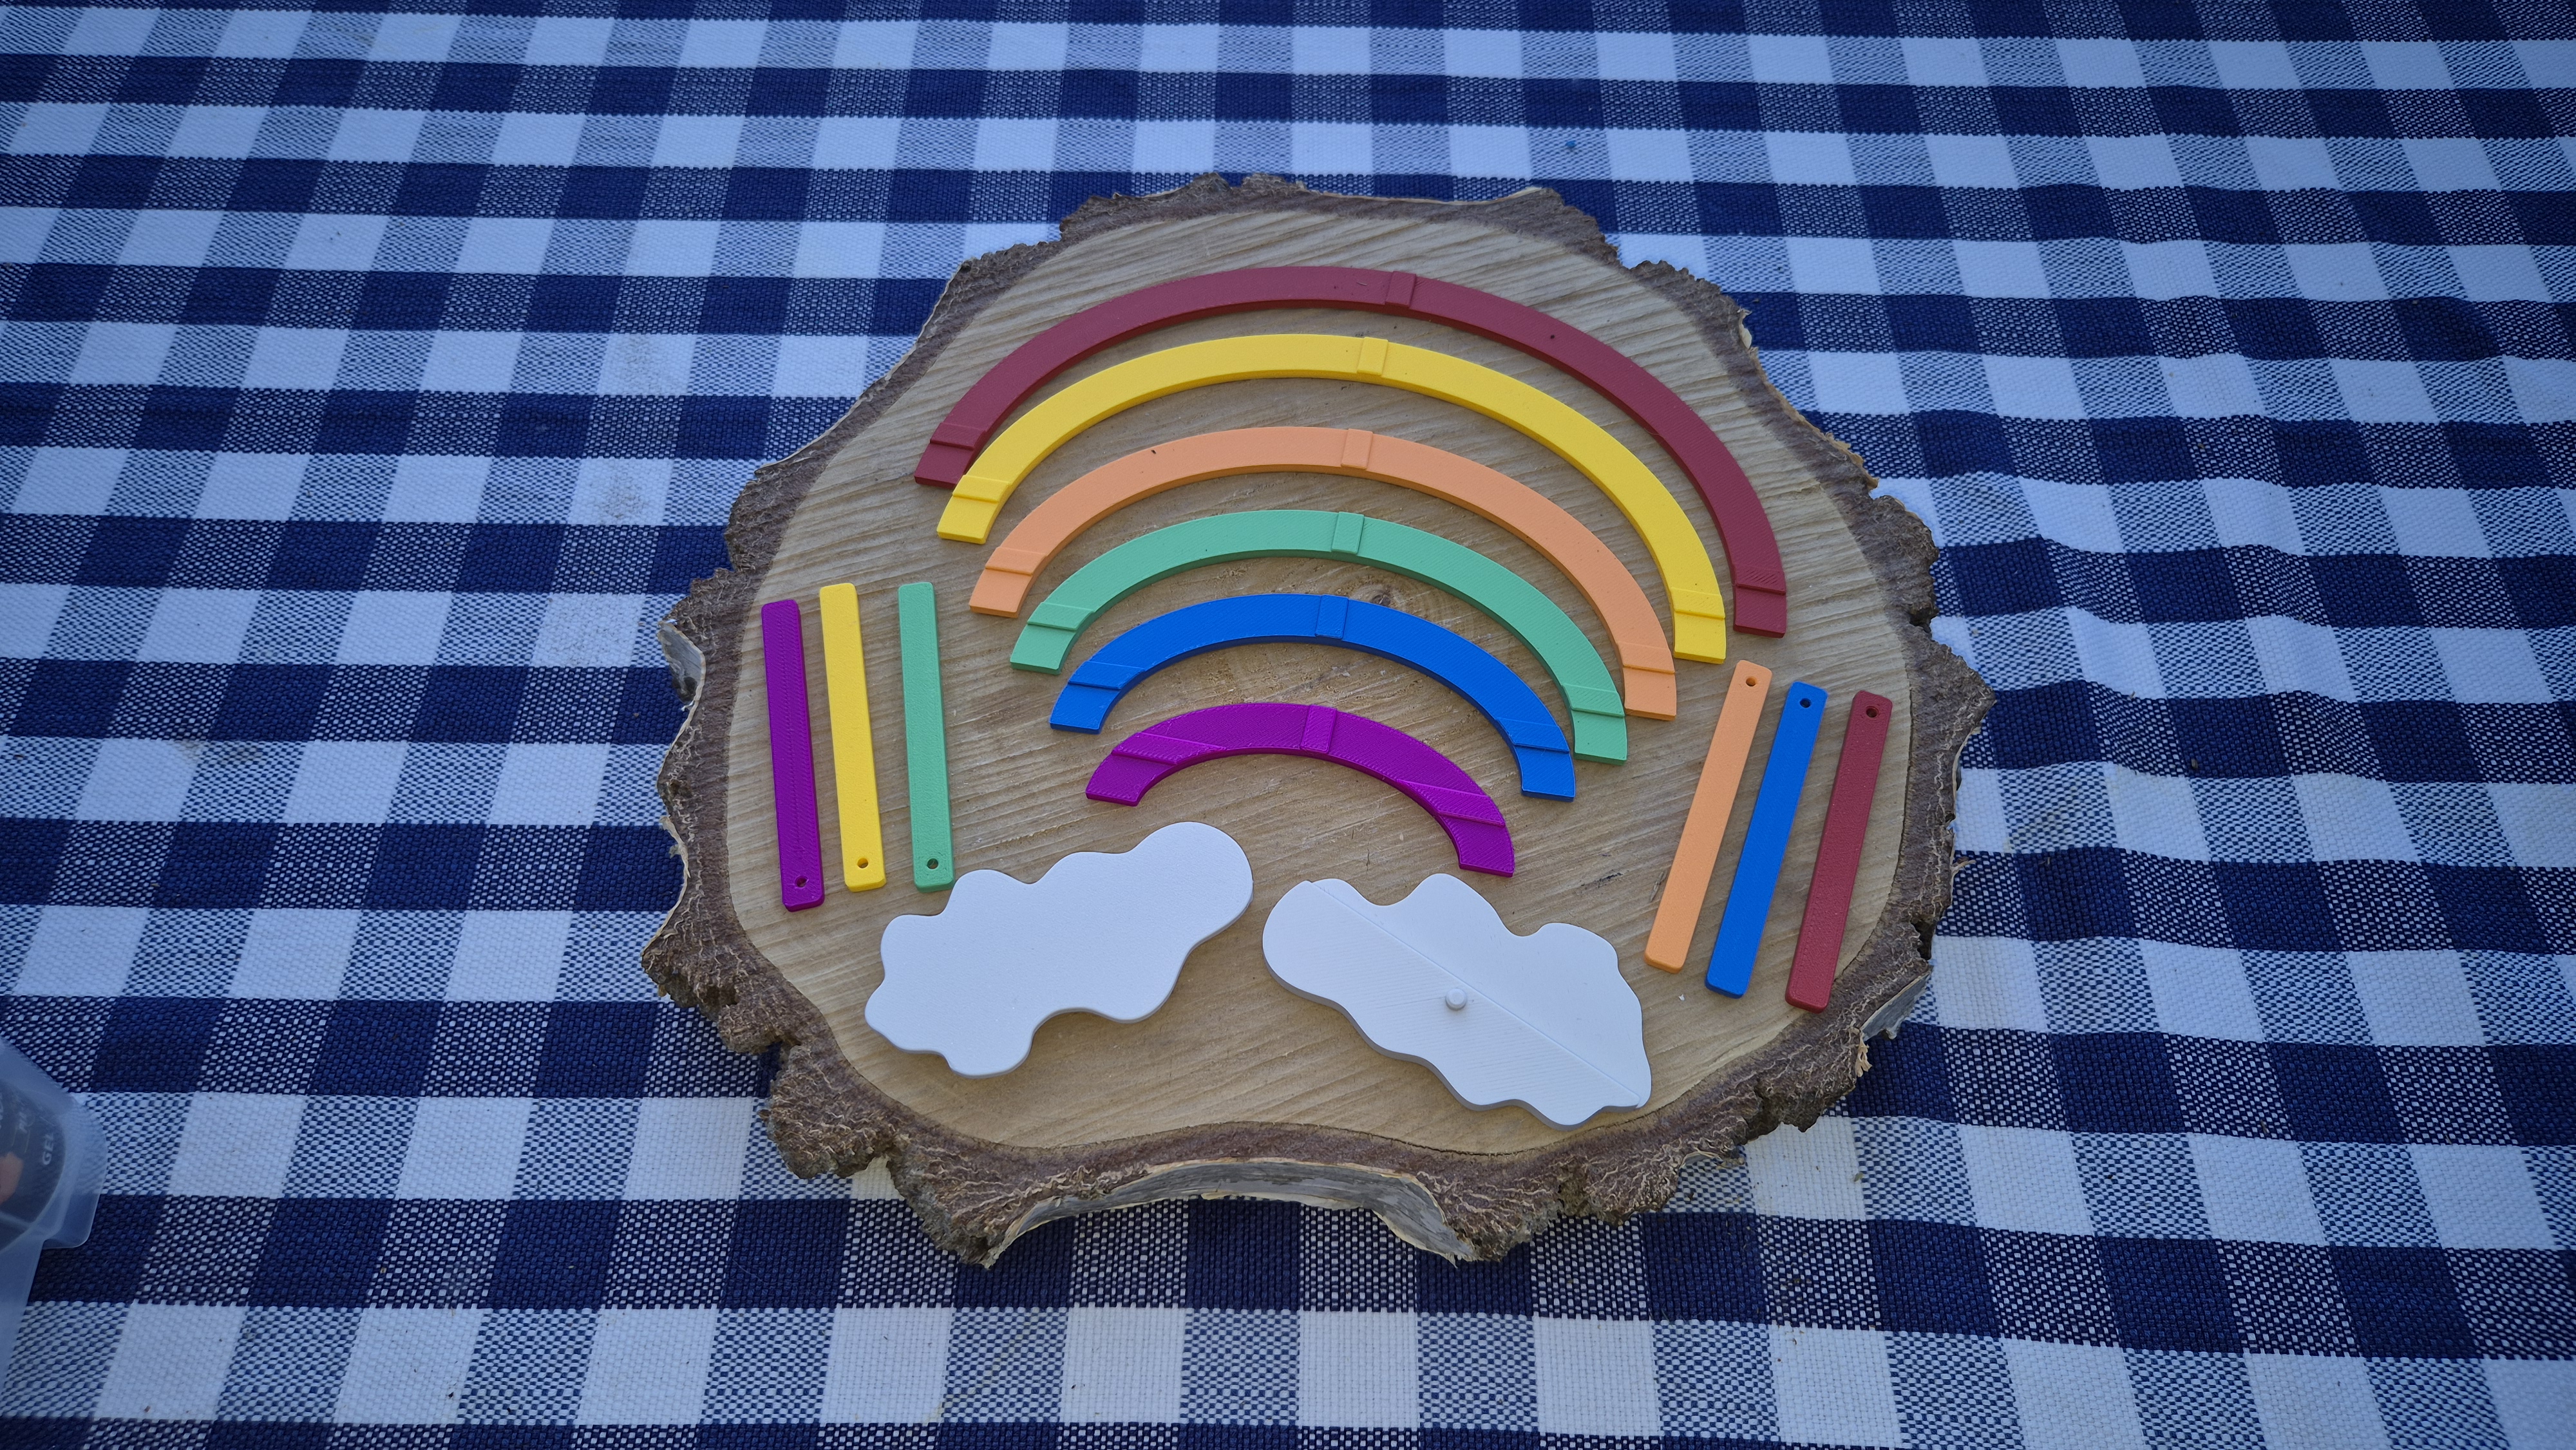
- Print all rainbow segments and the dangling rods in your favorite colors.
- Test fit the arches using the precision grooves.
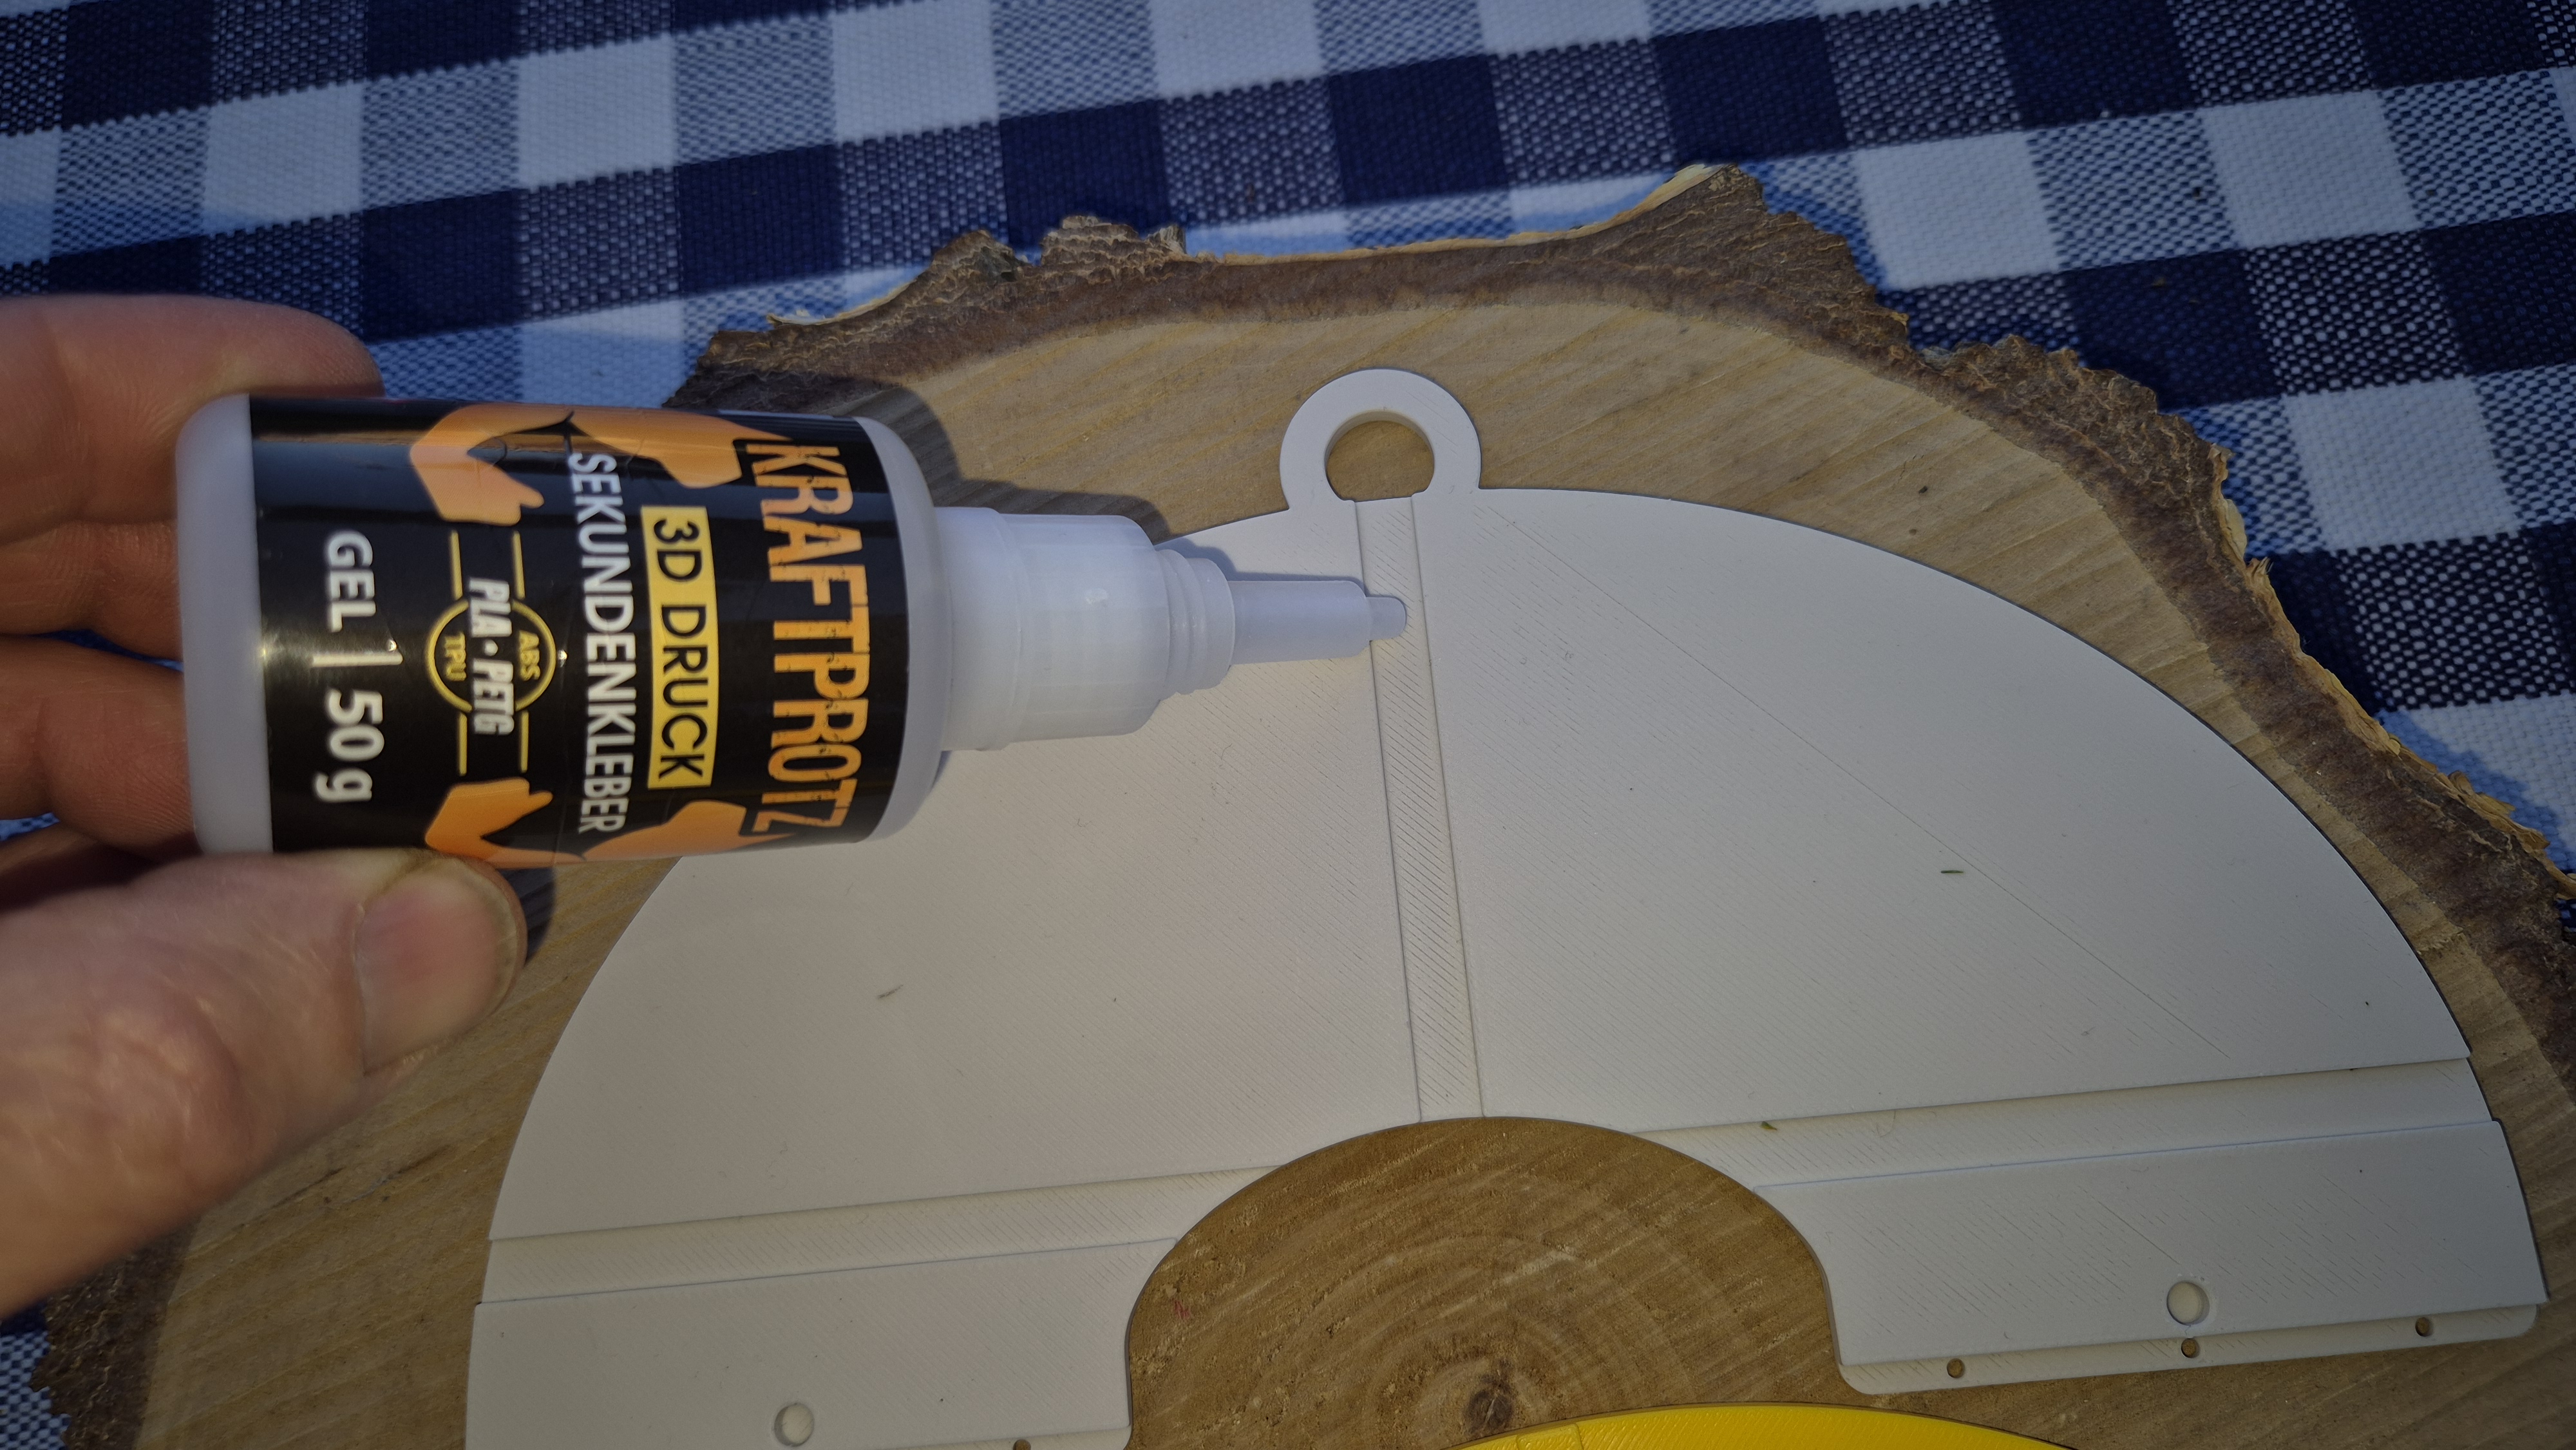
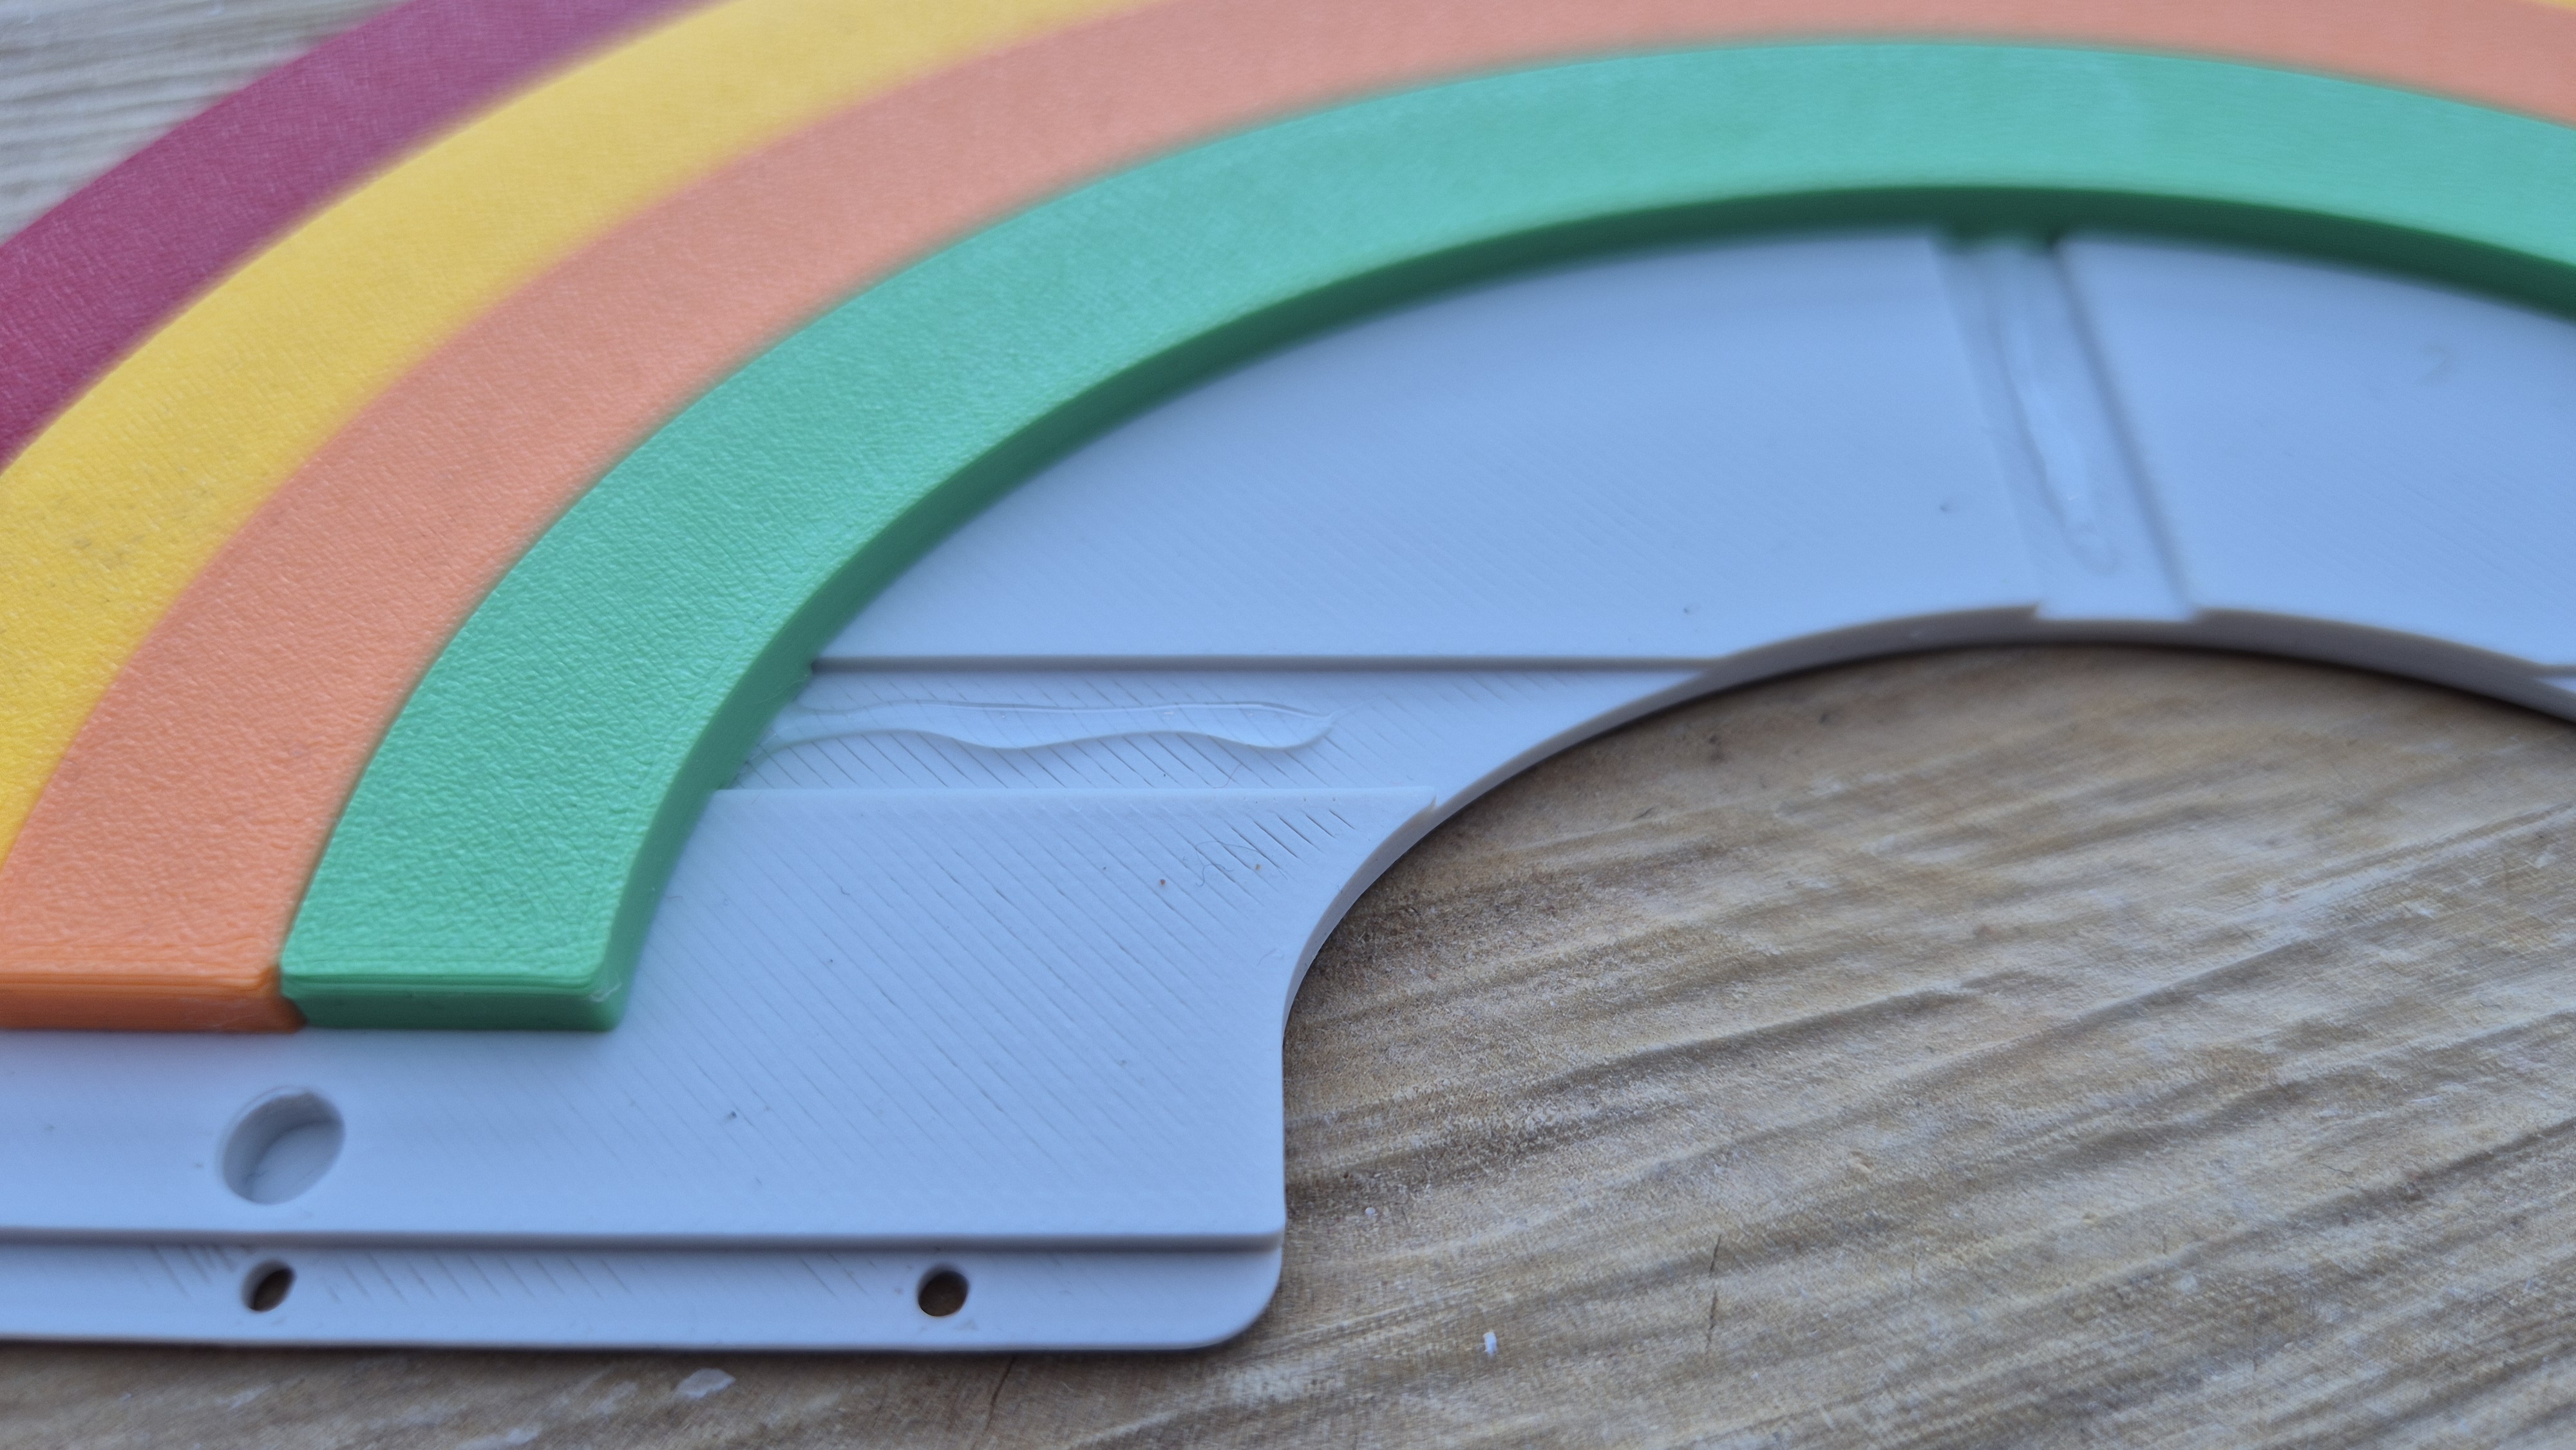
- Apply glue (e.g., superglue or plastic cement) to the joints for a permanent bond.
Tie the rods to the base of the clouds/arch using a 30 cm string for each.
Easy Assembly:
Use a simple string or twine to attach the dangling rods (approx. 30 cm) and to hang the entire spinner from the top loop. No extra hardware needed!
---------------------------------------------------------
Bringe Farbe und Bewegung in deinen Garten oder auf deinen Balkon! 🌈✨
Dieses Regenbogen-Windspiel ist ein tolles DIY-Projekt, das durch seine baumelnden Elemente eine beruhigende, kinetische Wirkung erzielt. Das Design ist bewusst stabil gehalten, damit du lange Freude daran hast.
Besonderheiten & Montage:
- Präzise Passform: Die Regenbogen-Elemente sind mit passgenauen Nuten versehen, sodass sie sich beim Zusammenfügen perfekt ausrichten.
- Stabile Konstruktion: Da das Windspiel draußen ständig in Bewegung ist, werden die Bögen fest miteinander verklebt. Das sorgt für maximale Haltbarkeit bei jedem Wetter.
- Kinetische Stäbe: Die kleinen Stäbe an der Unterseite werden einfach mit einem Bindfaden (ca. 30 cm Länge empfohlen) angeknotet.
- Einfache Aufhängung: Auch der Regenbogen selbst wird ganz unkompliziert mit einem Bindfaden an der oberen Öse aufgehängt – so schwingt und dreht er sich ganz natürlich im Wind.
Kurze Anleitung:
Alle Teile Drucken: Die Teile in deinen Lieblingsfarben ausdrucken. Die Regenbogenfarben sind Rot, Gelb, Orange, Grün, Blau, und Lila. Die Wolken sind Weiß.
Kleben: Kleber in die Nuten geben und die Bögen fest zusammenfügen.
Knoten: Die Stäbe und die Hauptaufhängung mit Bindfaden befestigen. Die Empfehlung wäre ca. 30 cm Faden pro Stab für einen schönen Effekt.
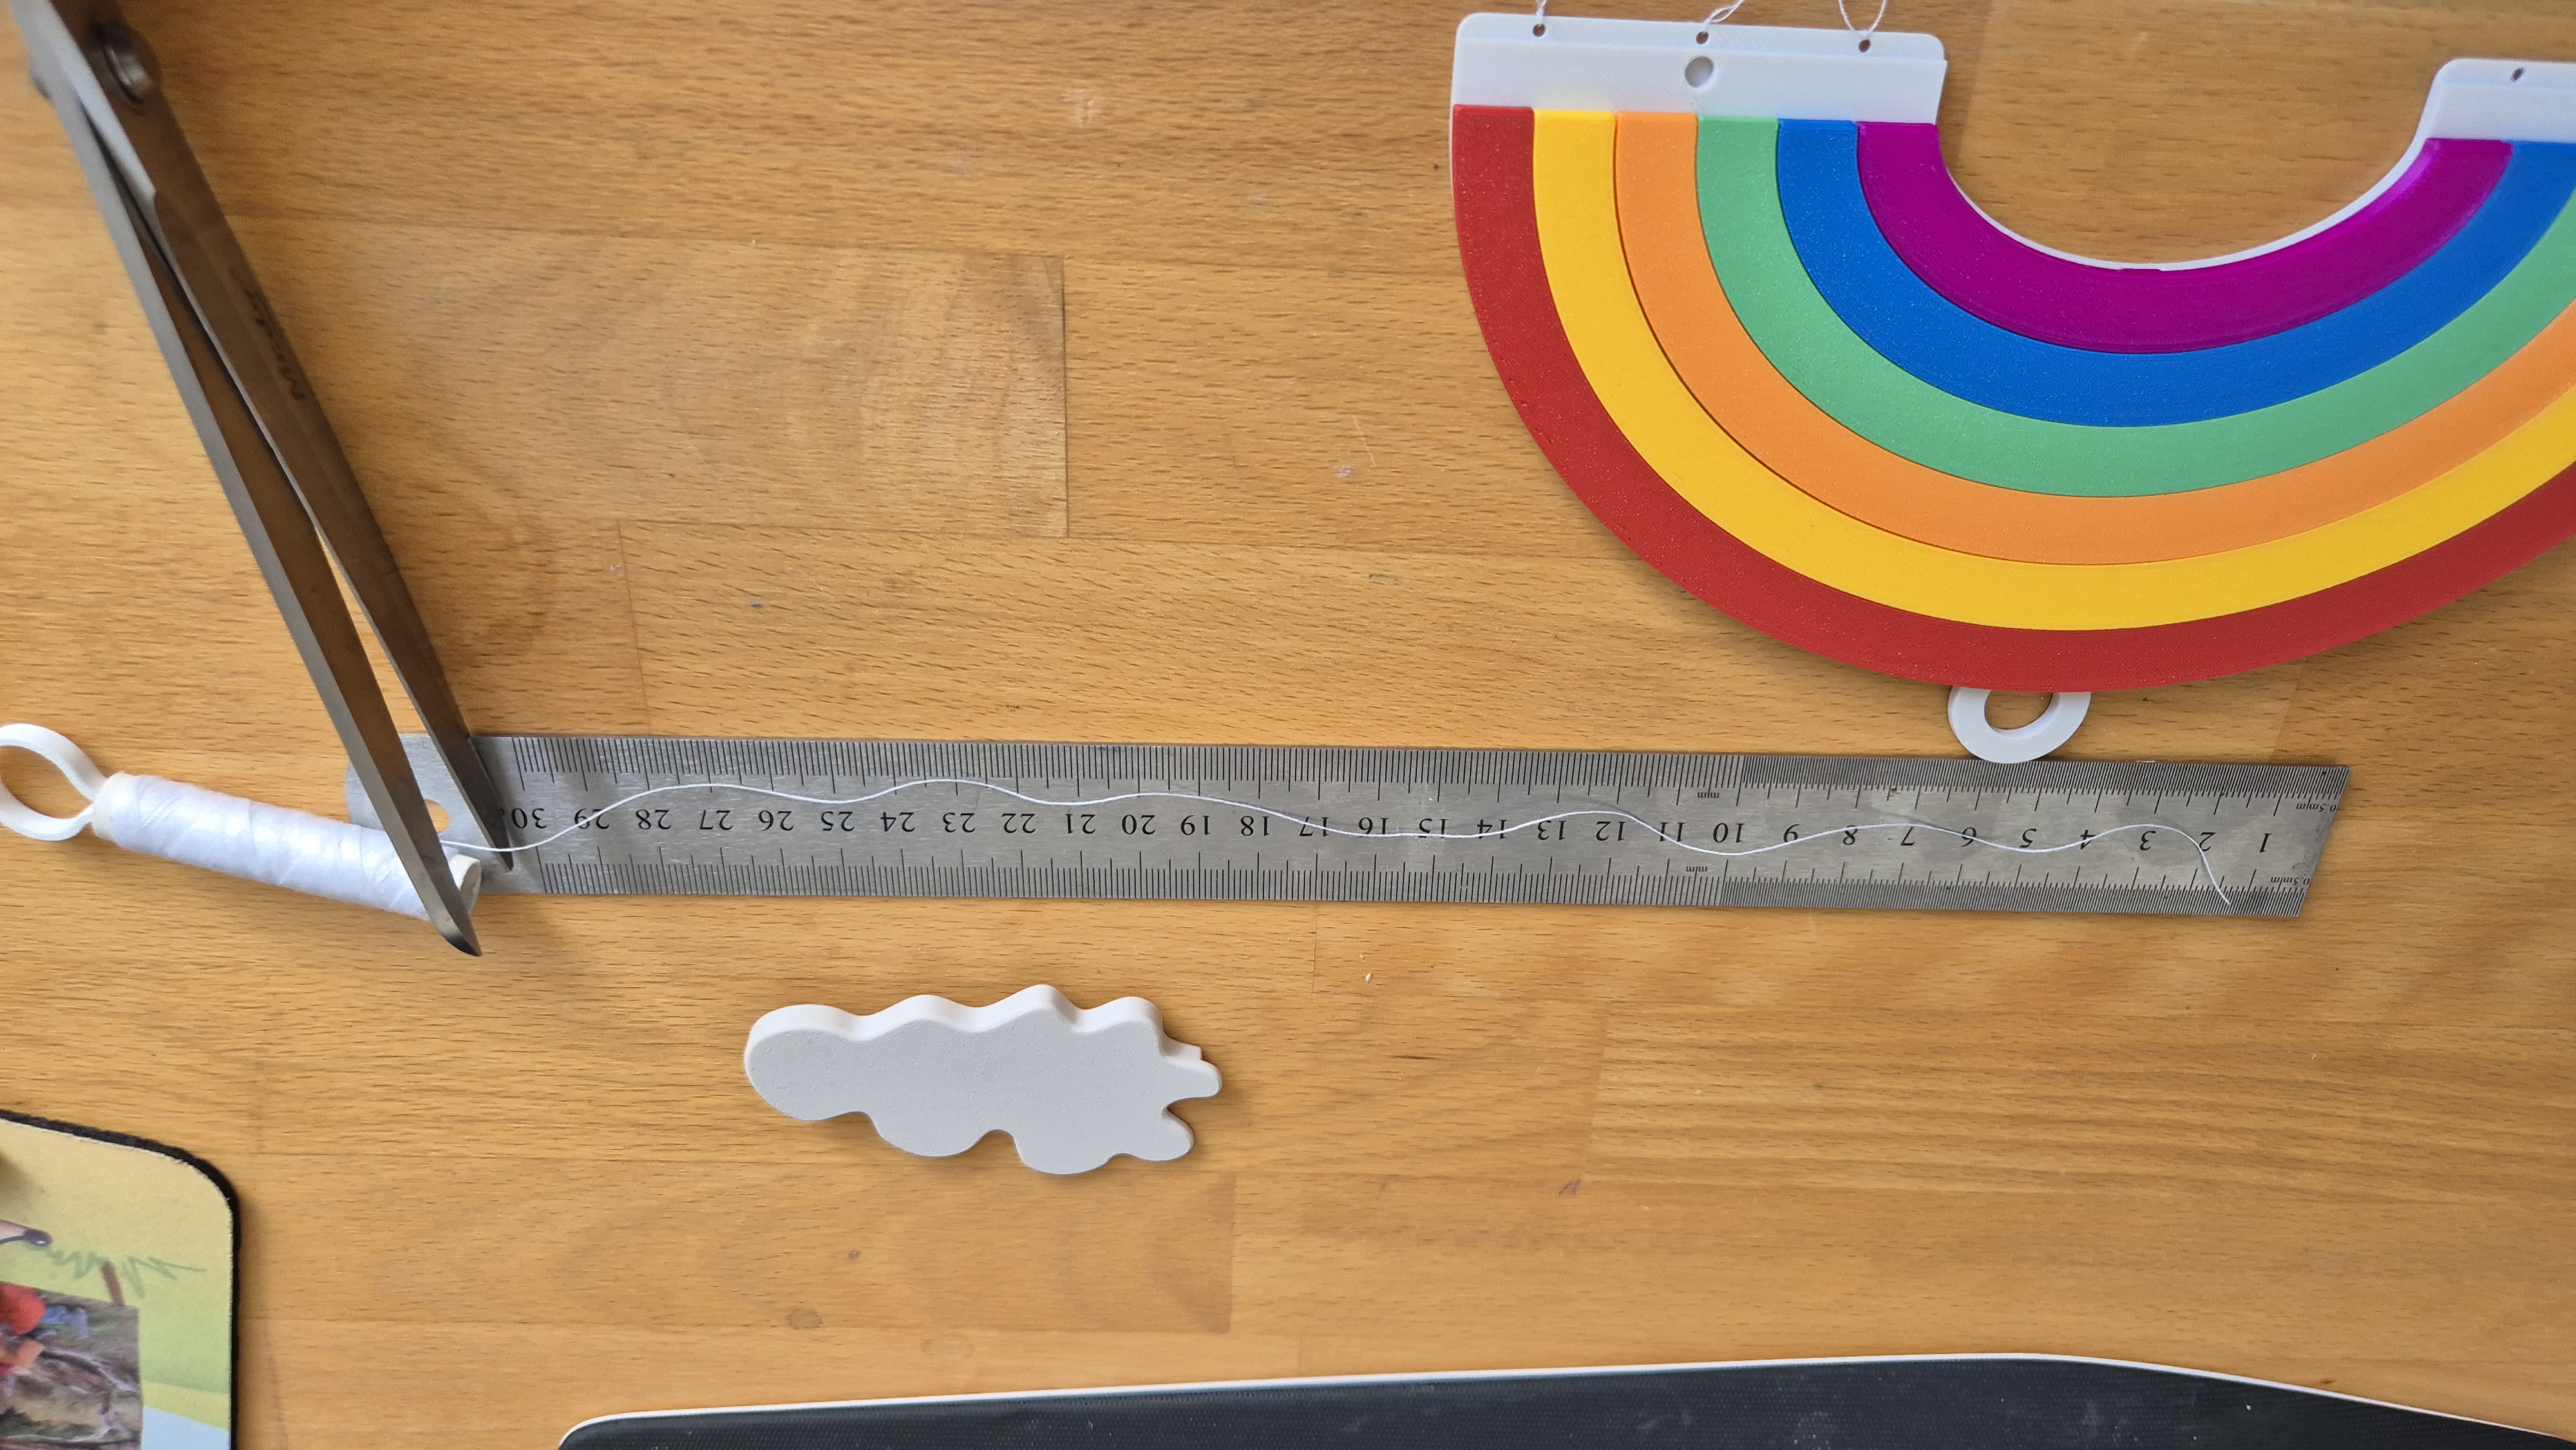
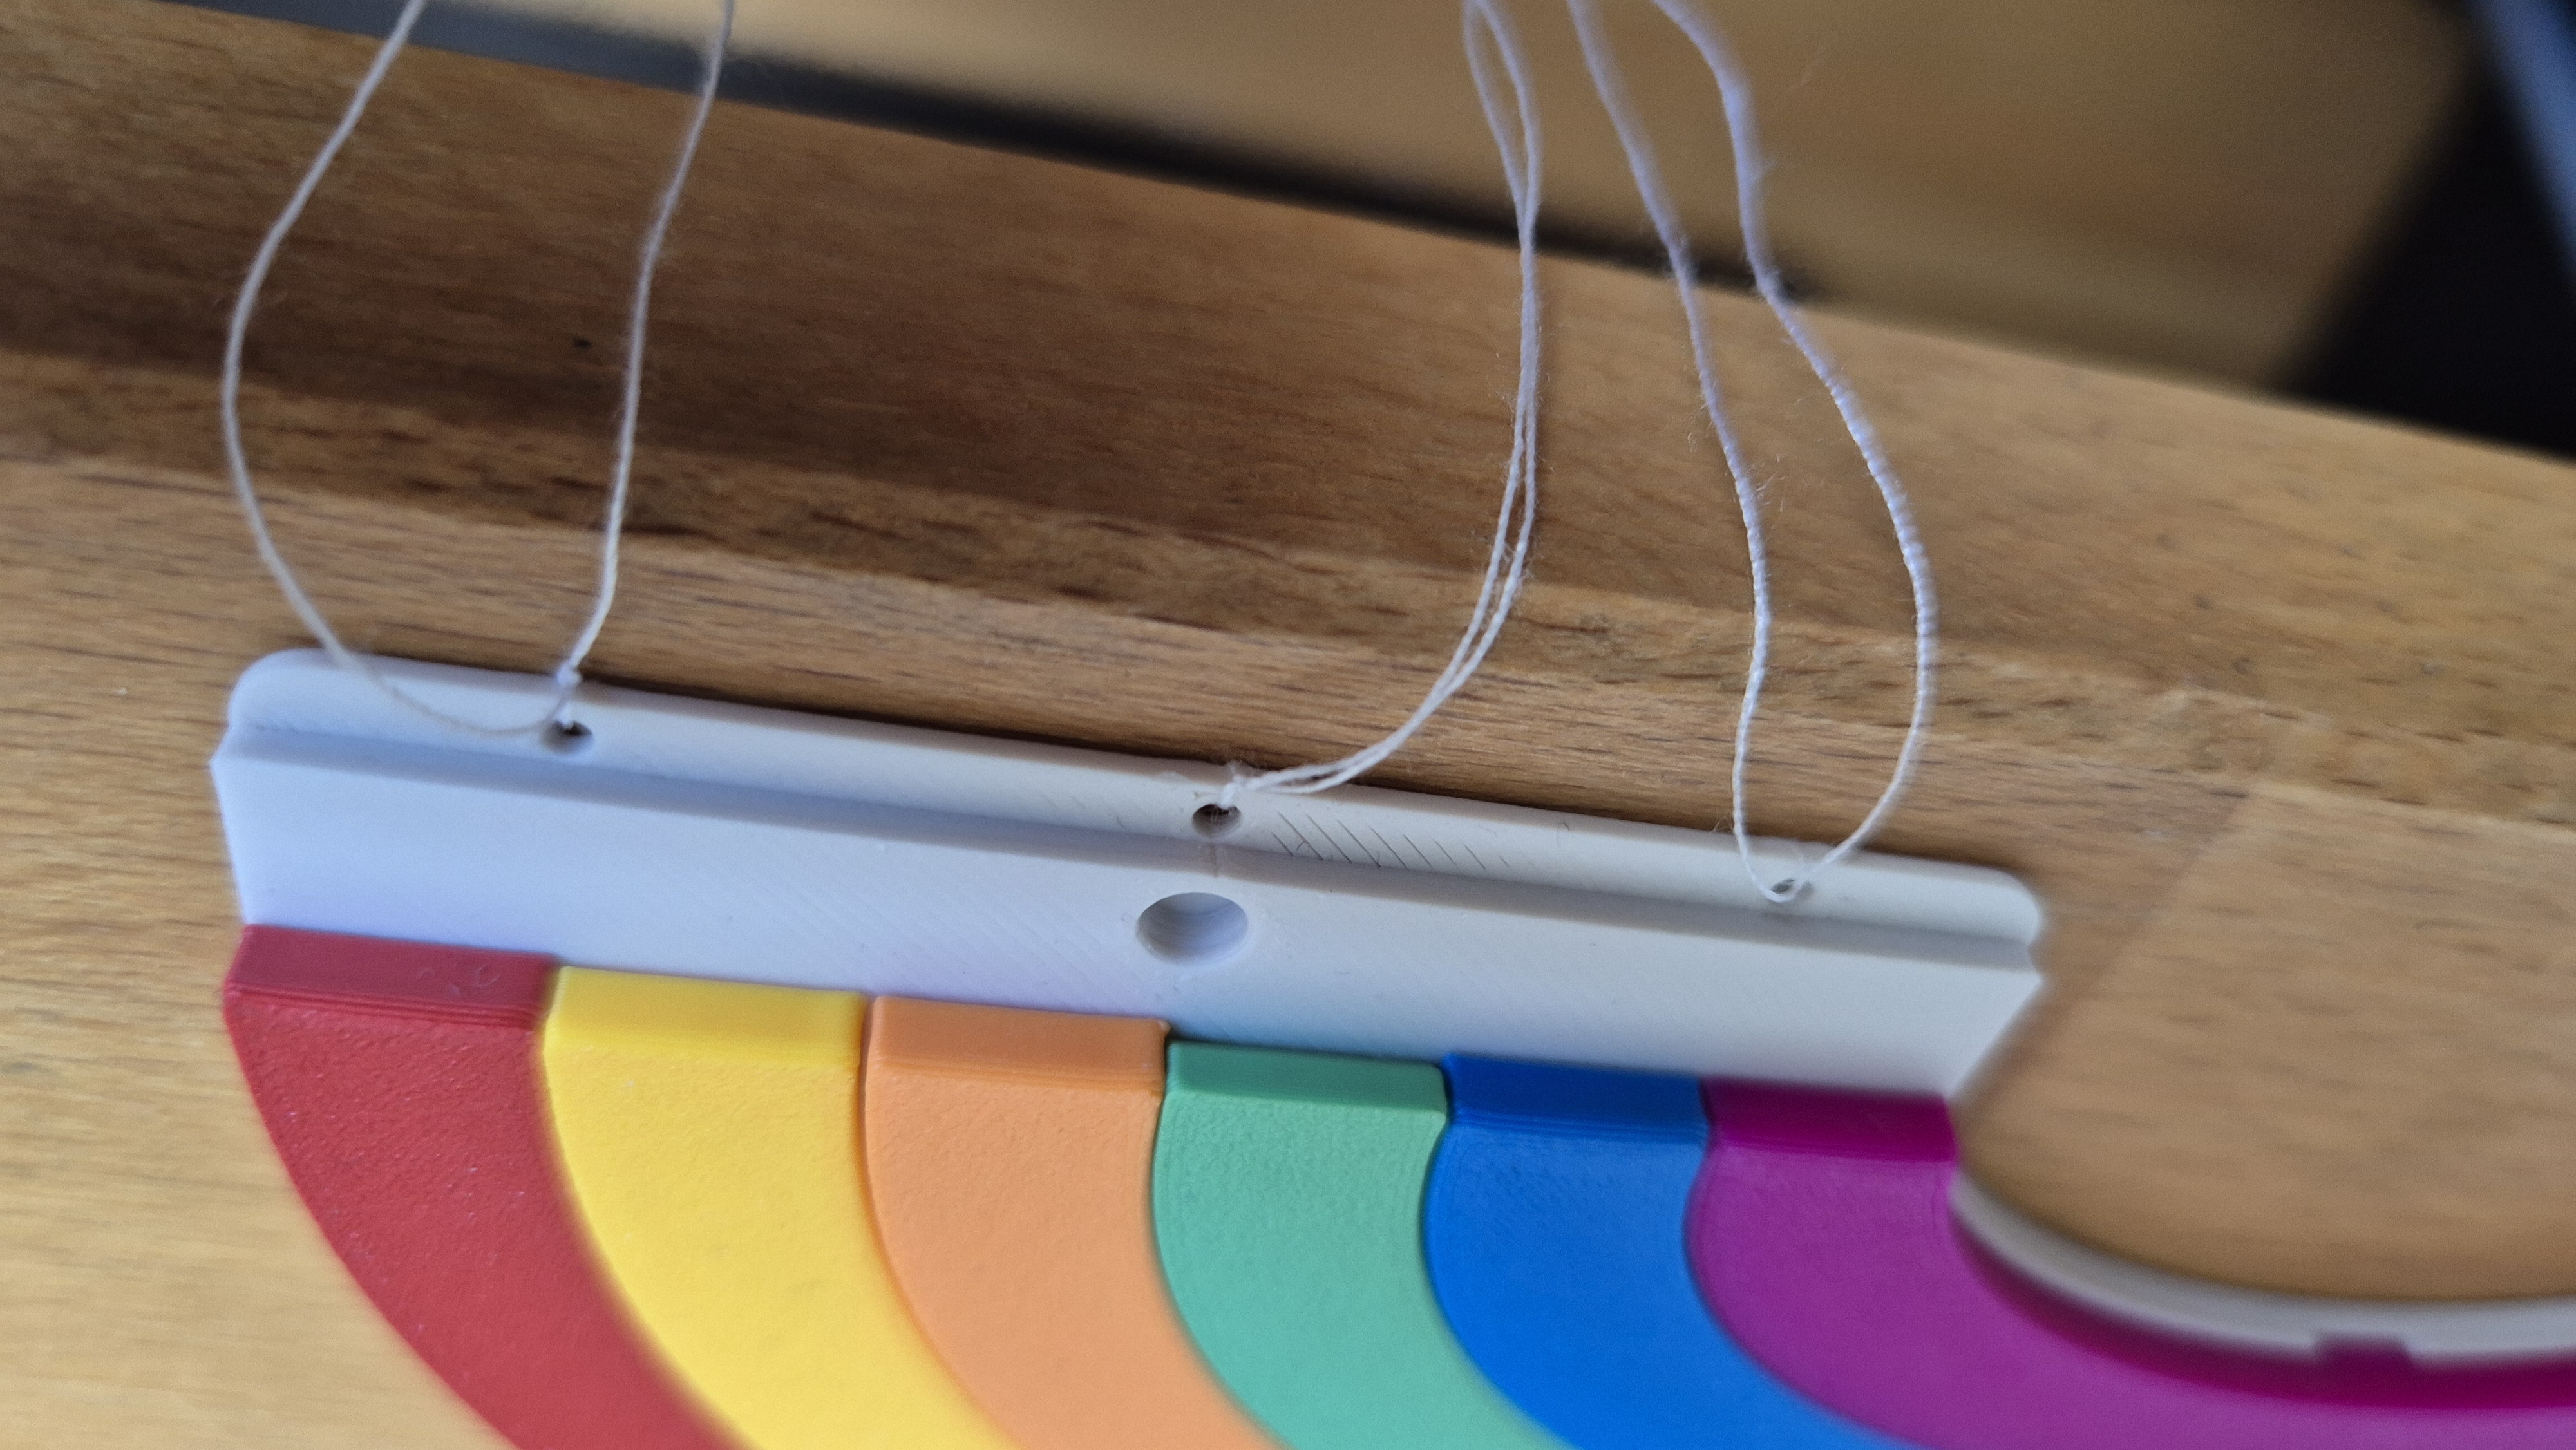
ACHTUNG! Nachdem du die Regenbögen verklebt hast, solltest du die Fäden befestigen! Also bevor Du die Wolken festklebst!
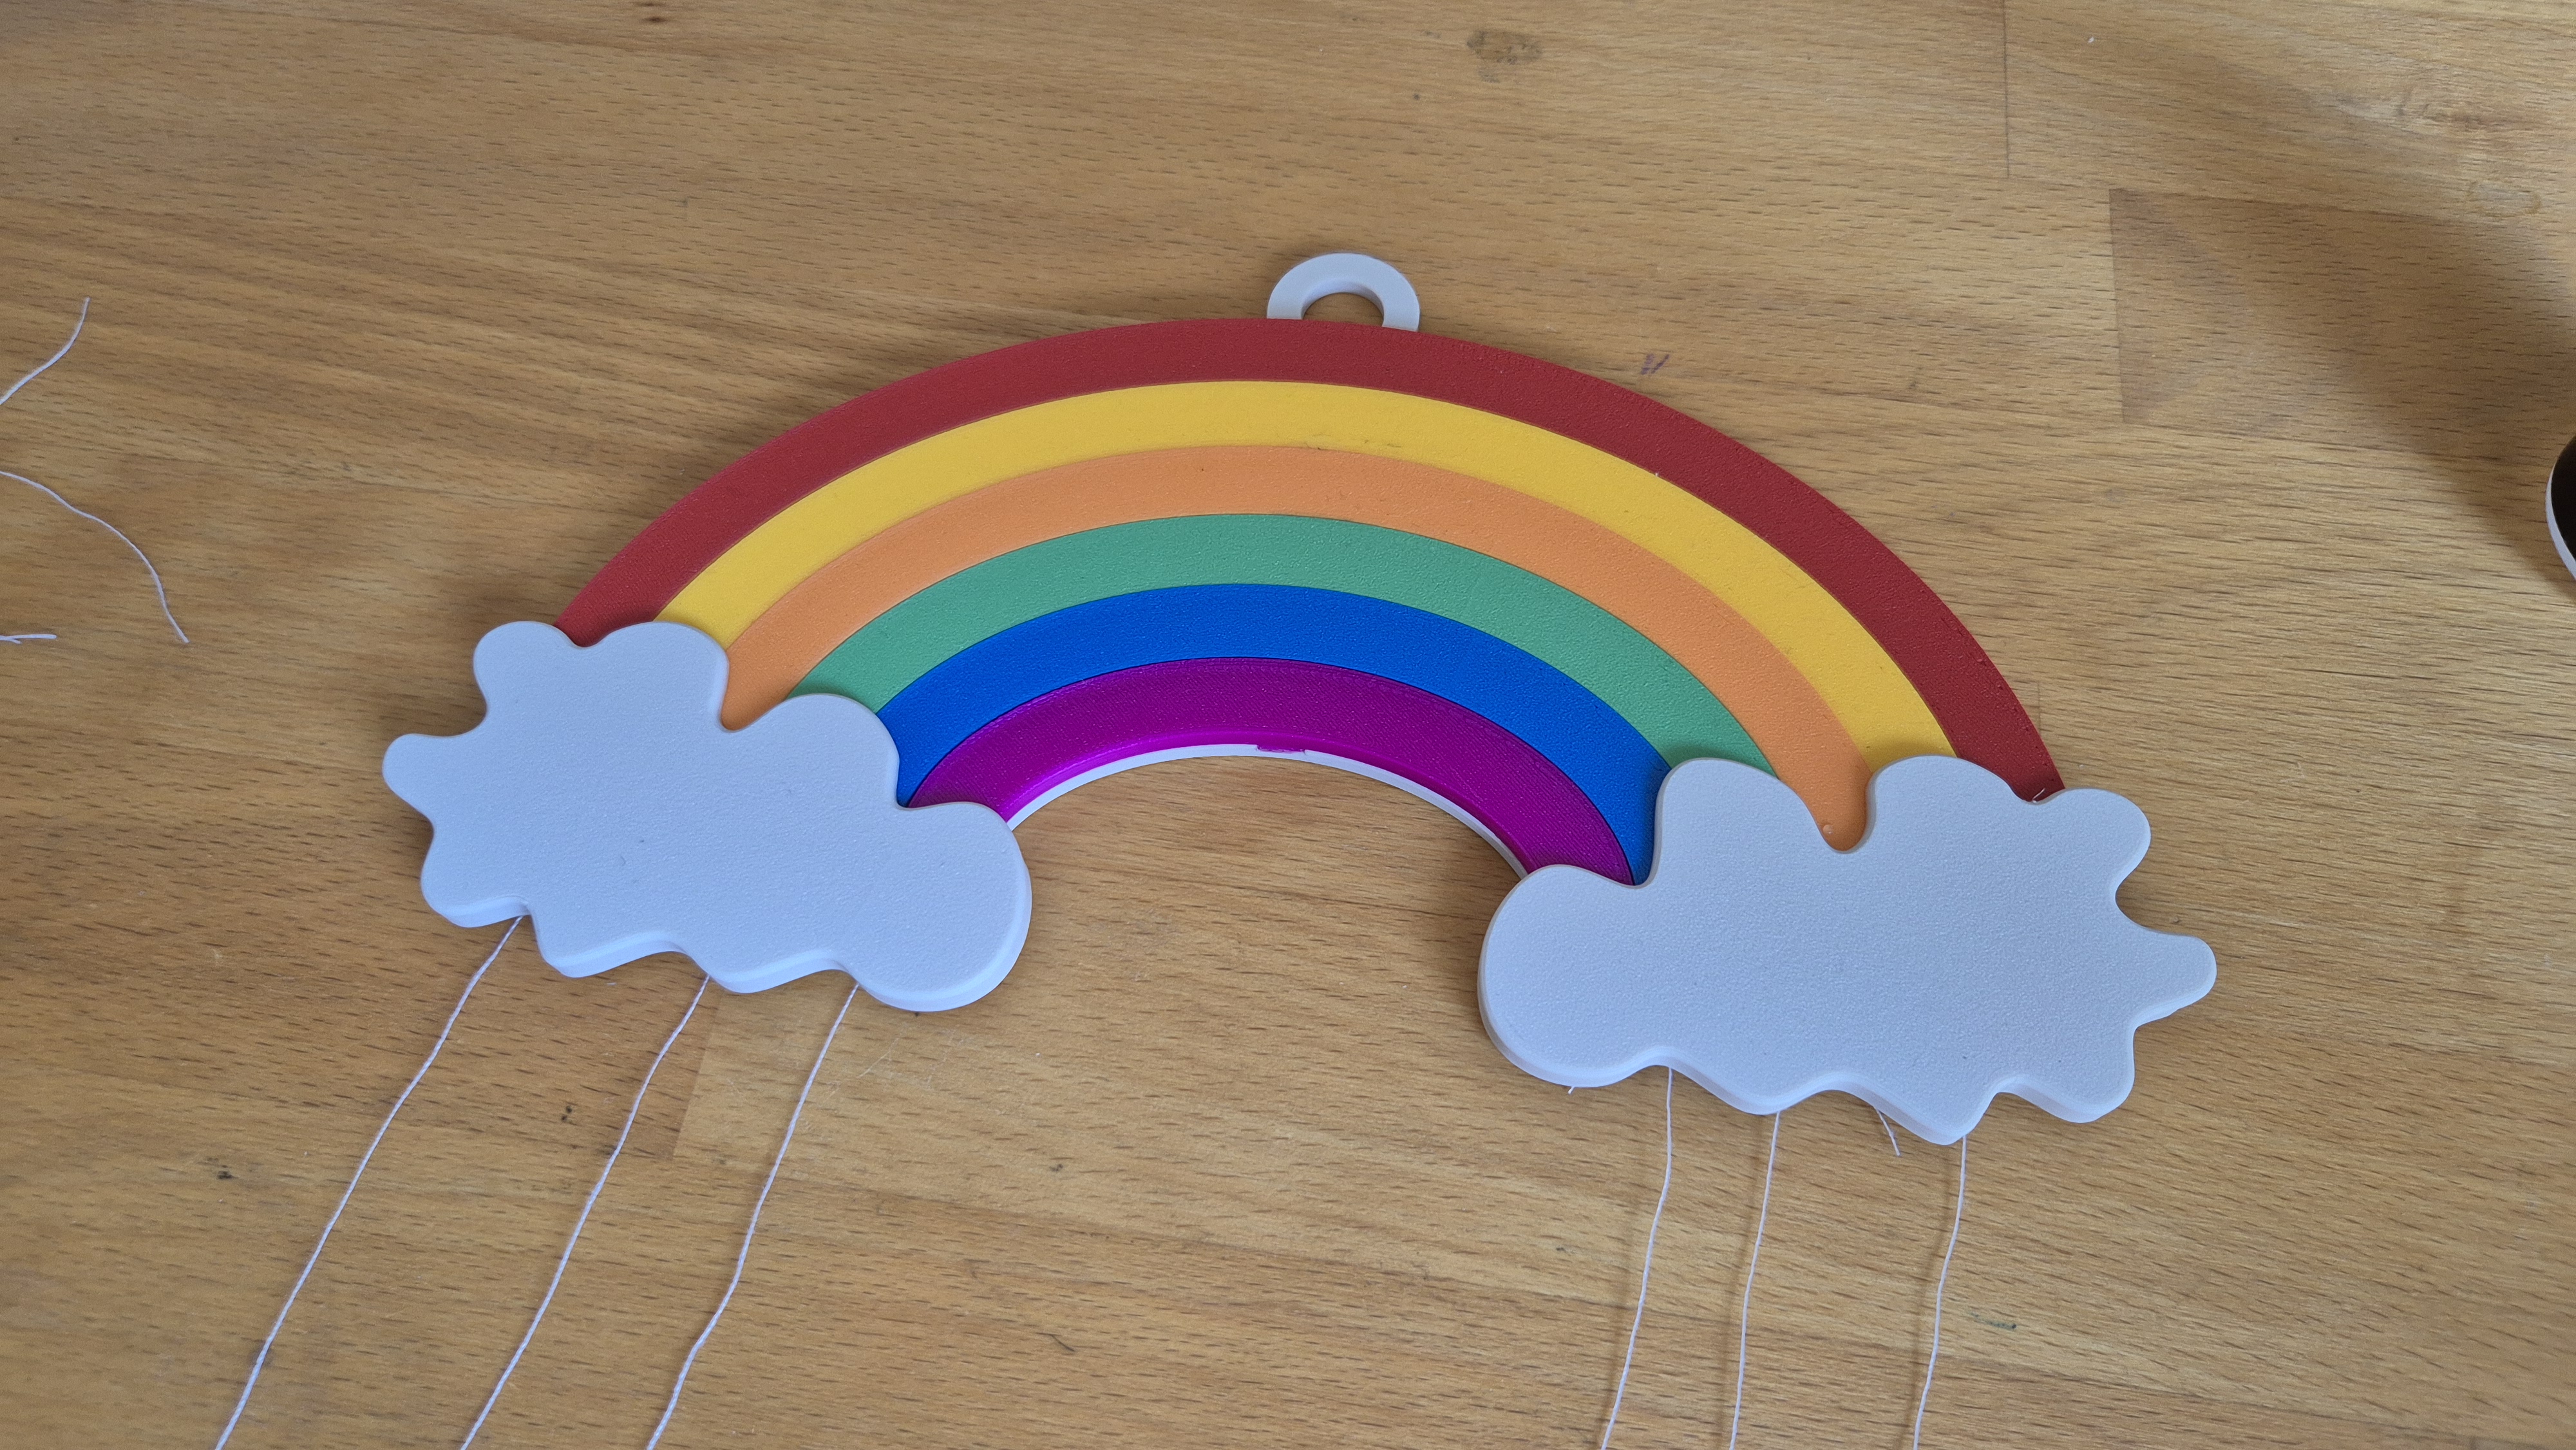
Danach kannst du die Stäbe anknoten!
Perfekt! Dein Windchill Rainbow ist fertig!
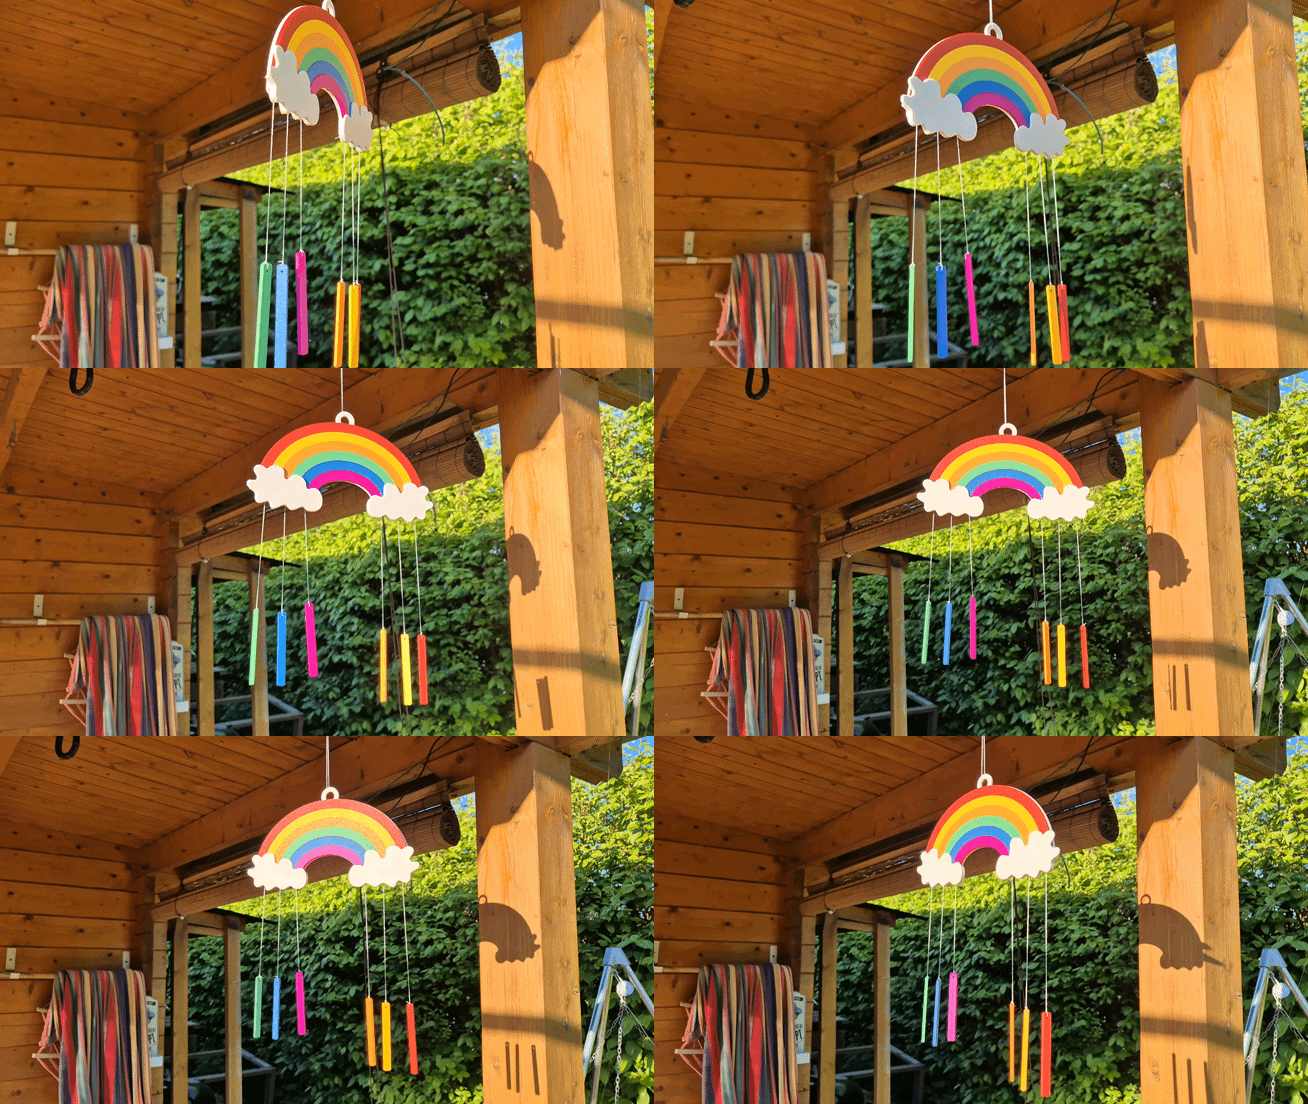
Windchill Rainbow - Wind Spinner
Publicado em 22 de abr de 2026
Gostou deste modelo? Crie uma conta grátis para salvar seus favoritos e voltar a eles depois.
Criar conta