You're on 3DFinder
We search Thingiverse, MakerWorld, and Printables at once so you get the best of each.
Description
🌸 Customisable flower wind spinner 🌸
Print and enjoy the flowing petal pattern that gently shifts and dances with the breeze, creating a soft, hypnotic motion that’s just as calming as it is eye catching.
The model includes two mounting options across separate print plates. You can either hold it in your hand like a classic pin wheel and enjoy the motion up close, or place it on top of a fence using the included mounting options, which come in multiple size options to suit different fence widths. No fixing required, it simply rests securely in place.
Using one of the Makers Supply bearings, the spinner runs incredibly smoothly. Even a gentle breeze is enough to get it moving, and once it starts, it really comes to life.
Printing and assembly are straightforward, though you will need a 2.6 × 8 self tapping screw and a 12 mm bearing. Both are listed and linked in the Bill of Materials for convenience. I’d recommend adding a small dab of glue to each petal during assembly to keep everything secure at higher speeds.
You also have the option of choosing between thin and thick petals, letting you tweak the look and feel of the spinner depending on your preference.
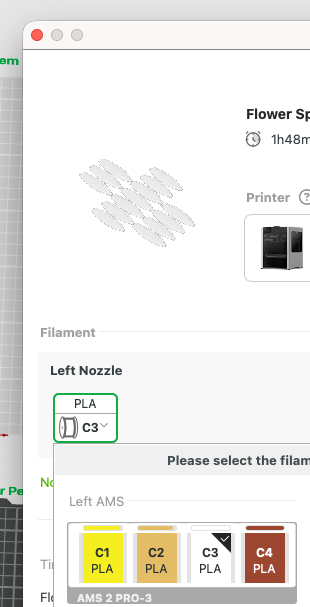
For colours, you can easily switch between styles. Go for classic white petals with a yellow centre for a daisy look, or deeper yellows and browns for a sunflower inspired finish.
I’d recommend making these changes on the final print screen for the quickest workflow.
🔥 Tips before you start
Having a clean print bed and hot end(s) free from filament is essential in getting that crisp, clean look. Here's some tips on what to do to get the best print possible;
🧼 Cleaning
Clean your plate first, following your usual routine. Dish soap works best, clean and then rinse thoroughly, ensure the plate is dry and free of debris before putting back in the printer.
Leftover filament residue on your hot end can cause unwanted colour streaks, which will show very clearly against the lighter parts of the print. Please inspect your hot end before starting the print, if you spot any clumps or leftover filament, follow Bambu's recommended cleaning guide to remove.
·····
🖨️ Printing setup
This model is split across multiple plates depending on how you plan to use it:
Plate 1: The stem (for hand held use), bearing holder and centre piece
Plate 2: Flower centre
Plate 3: Thin petal design option (14 needed)
Plate 4: Wider petal design option (14 needed)
Plates 4,5 and 6: Fence mount options, in 45mm, 35mm and 25mm widths.
The simplest way to change the colour of the print is from the screen once you've pressed print, just change the drop down colour to your preferred colour
You can also do this per object if you wish, changing the filament (rather than painting) per object.
You won't need to print both petal types, choose your preferred look (thinner or wider petals) and just print that plate.
If you're printing the fence mount, choose the size that best matches your fence width. The design is intended to sit on top securely without needing screws or adhesives. Options include multiple widths to suit common fence sizes.
Once printed, allow parts to fully cool before removal to avoid any warping or stress on the thinner petal sections.
·····
🏗️ Assembly
🧰 What you will need
- 1 × 12 mm bearing (from BoM)
- 1 × 2.6 × 8 self tapping screw (from BoM)
- Superglue (or your preferred filament safe adhesive)
🧵 Filament recommendations
PLA works perfectly for this model. If placing outdoors, consider a more weather resistant material like PETG. Filaments I’ve used are listed in the BoM.
⚙️ Assembly steps
🌼 Assembling the petals
- Lay out your petals ready for assembly.
Dry fit each petal into the centre piece first, the fit will be tight initially.
- Once happy with the fit, remove each petal, add a small dab of glue to the insert, and reinsert firmly.
Work your way around until all petals are secured.
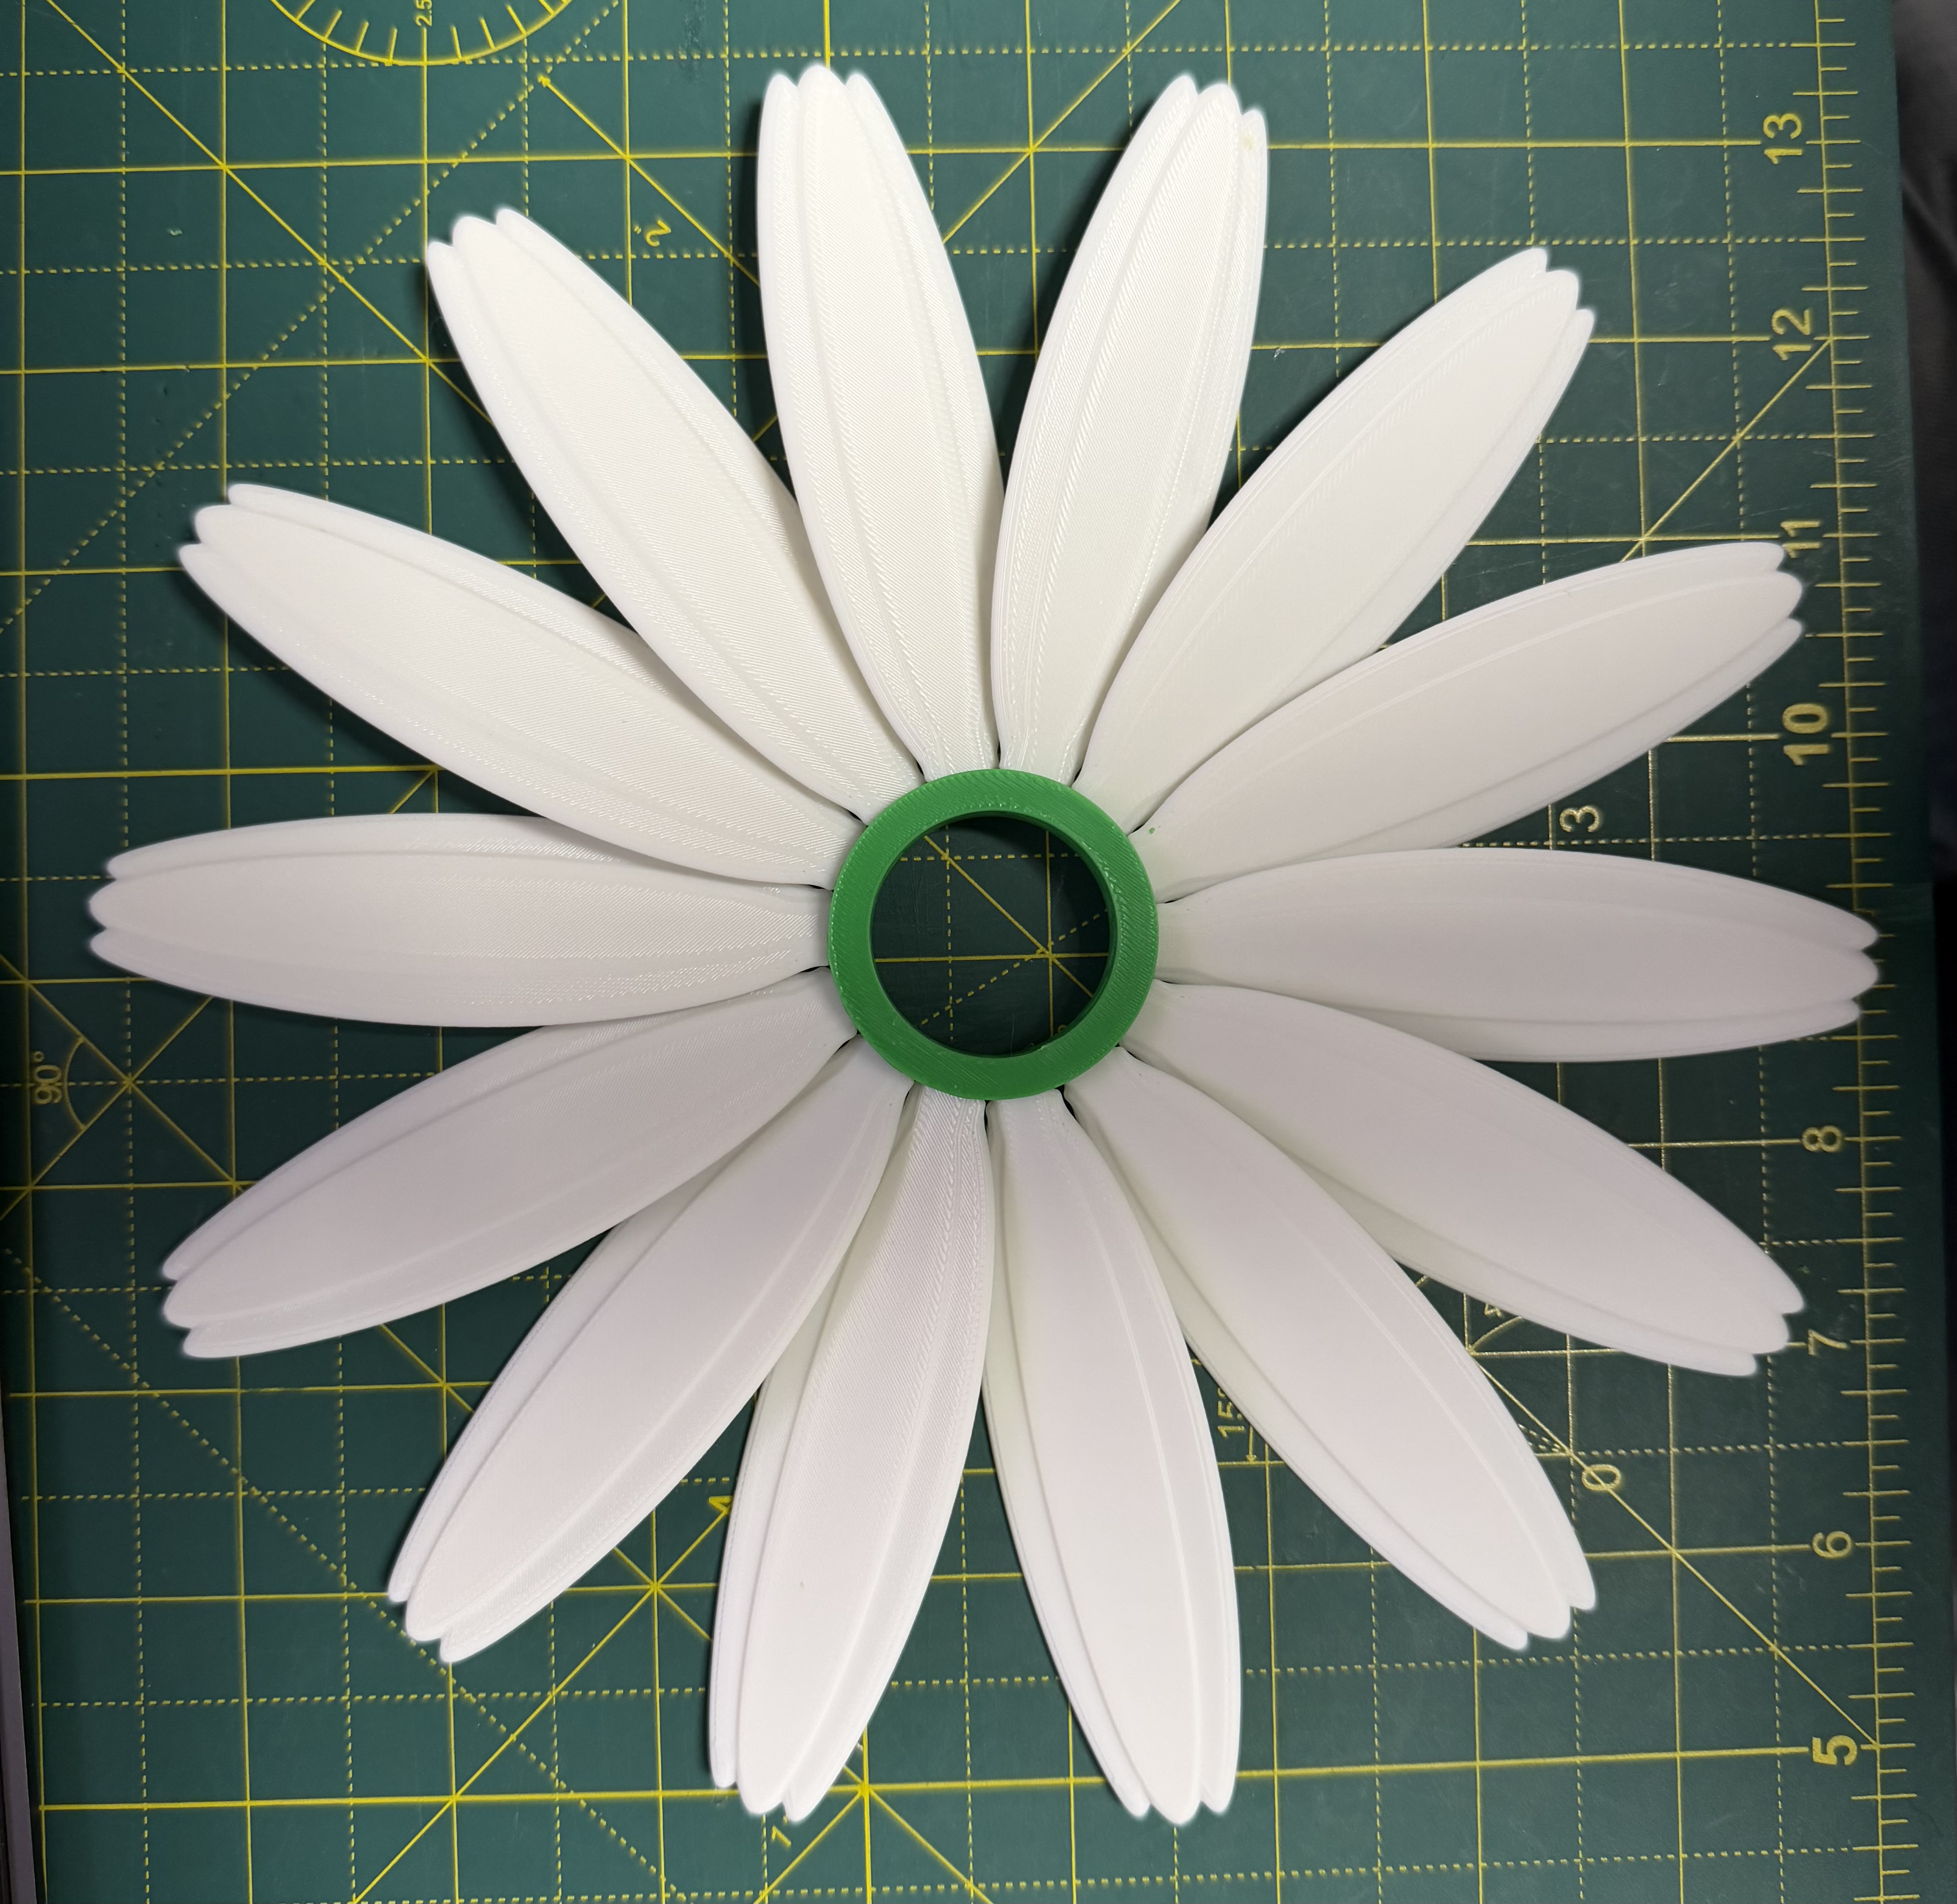
💡 Tip: As you near the final few petals, rest the spinner on your work surface to make insertion easier while holding the centre steady.
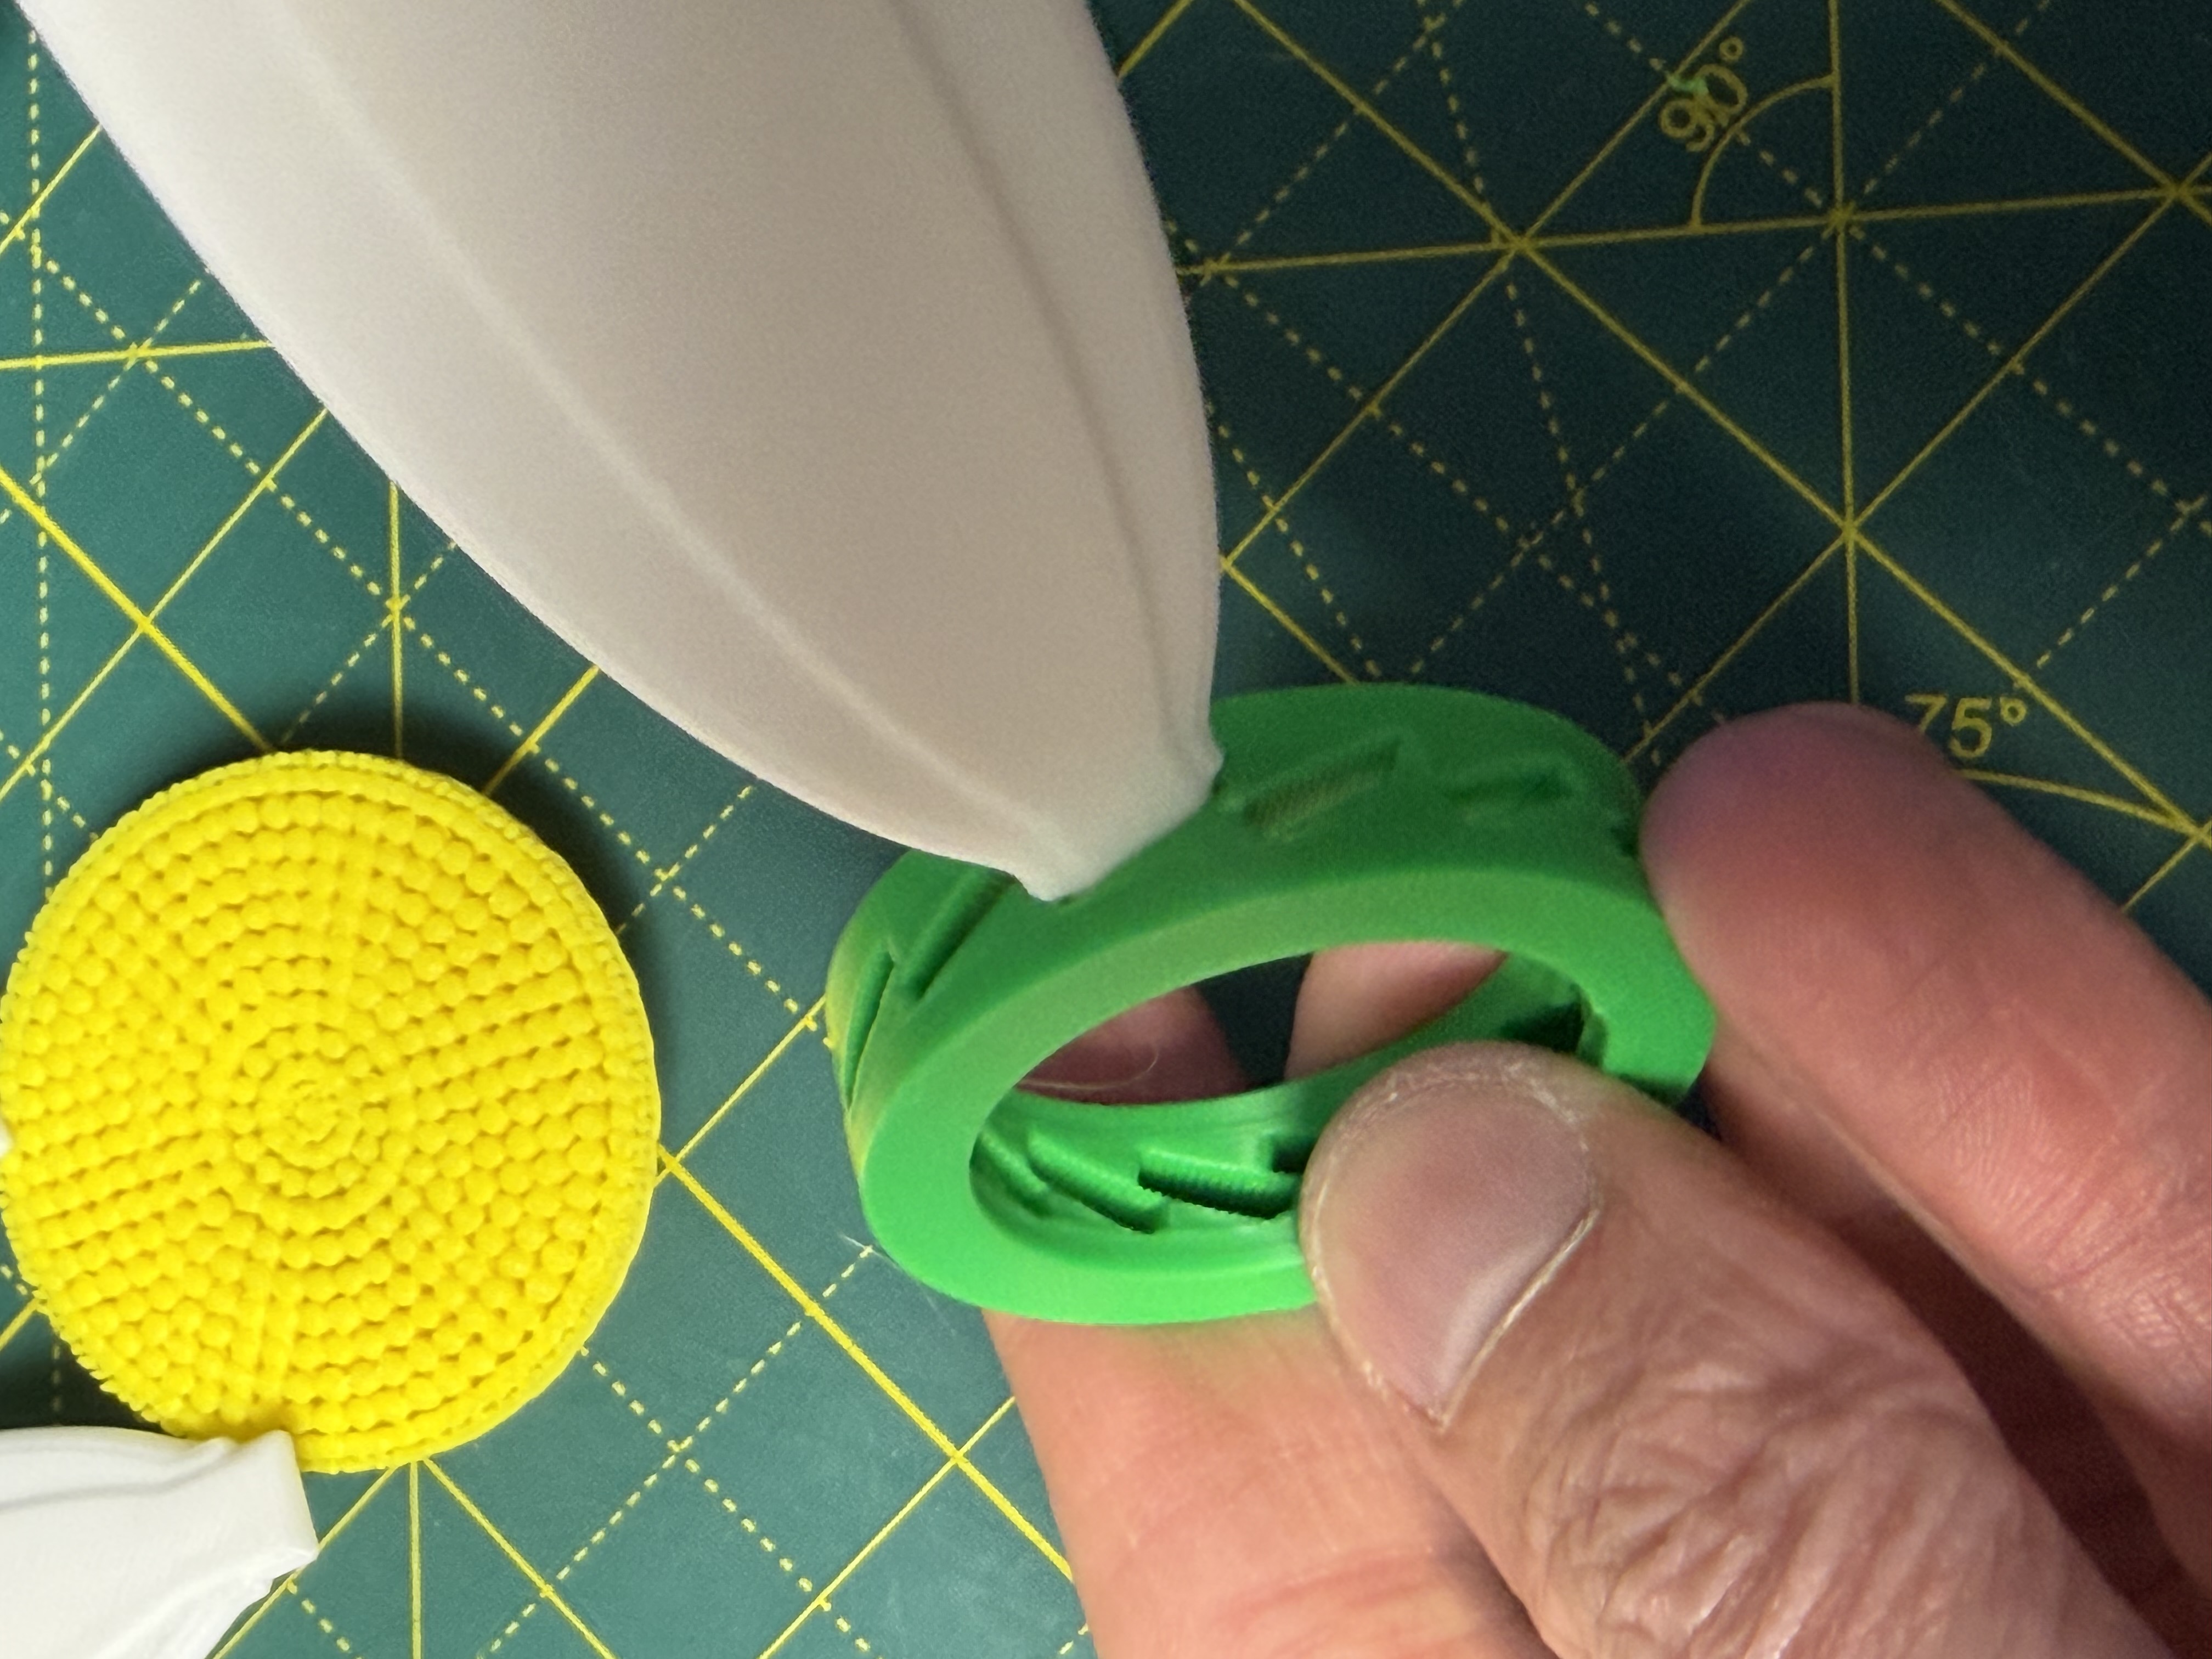
🌼 Inserting the centre
- Align the centre piece with the front of the spinner.
Press into place, a small amount of glue can be used if needed.
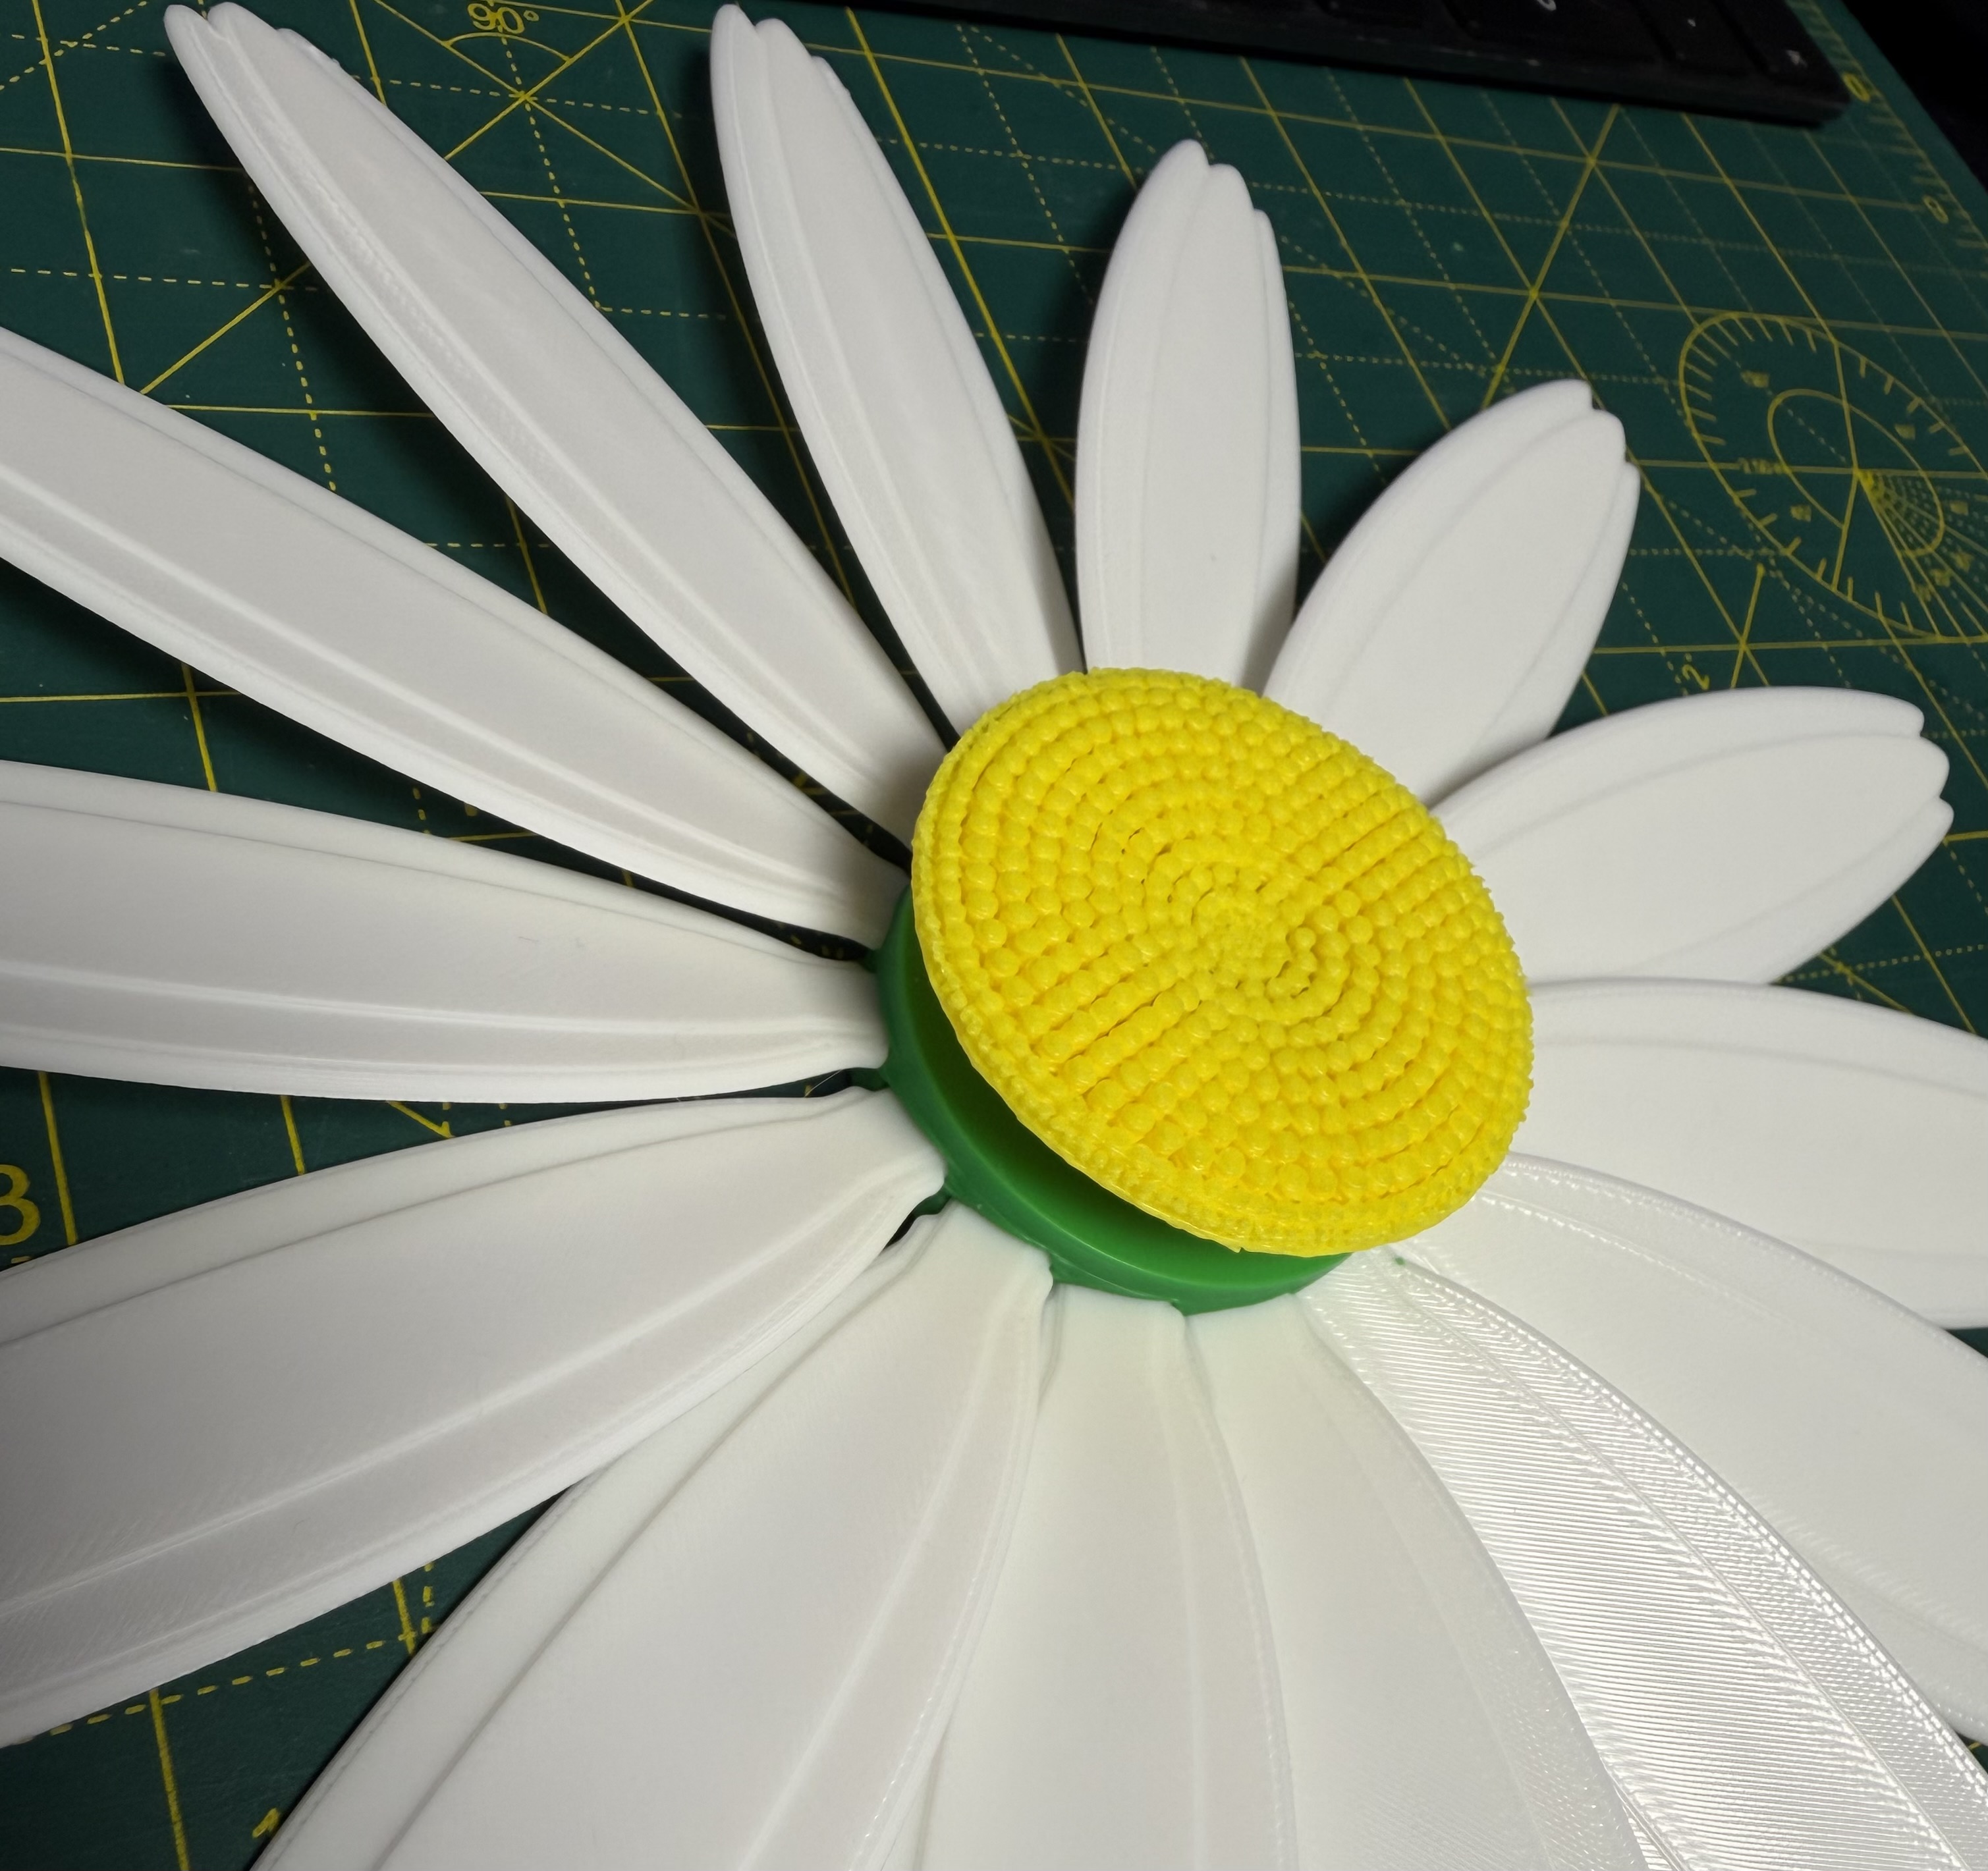
- Set aside and allow the glue to fully cure.
🔧 Assembling the stem
Assembly is the same for both handheld and fence mounted versions.
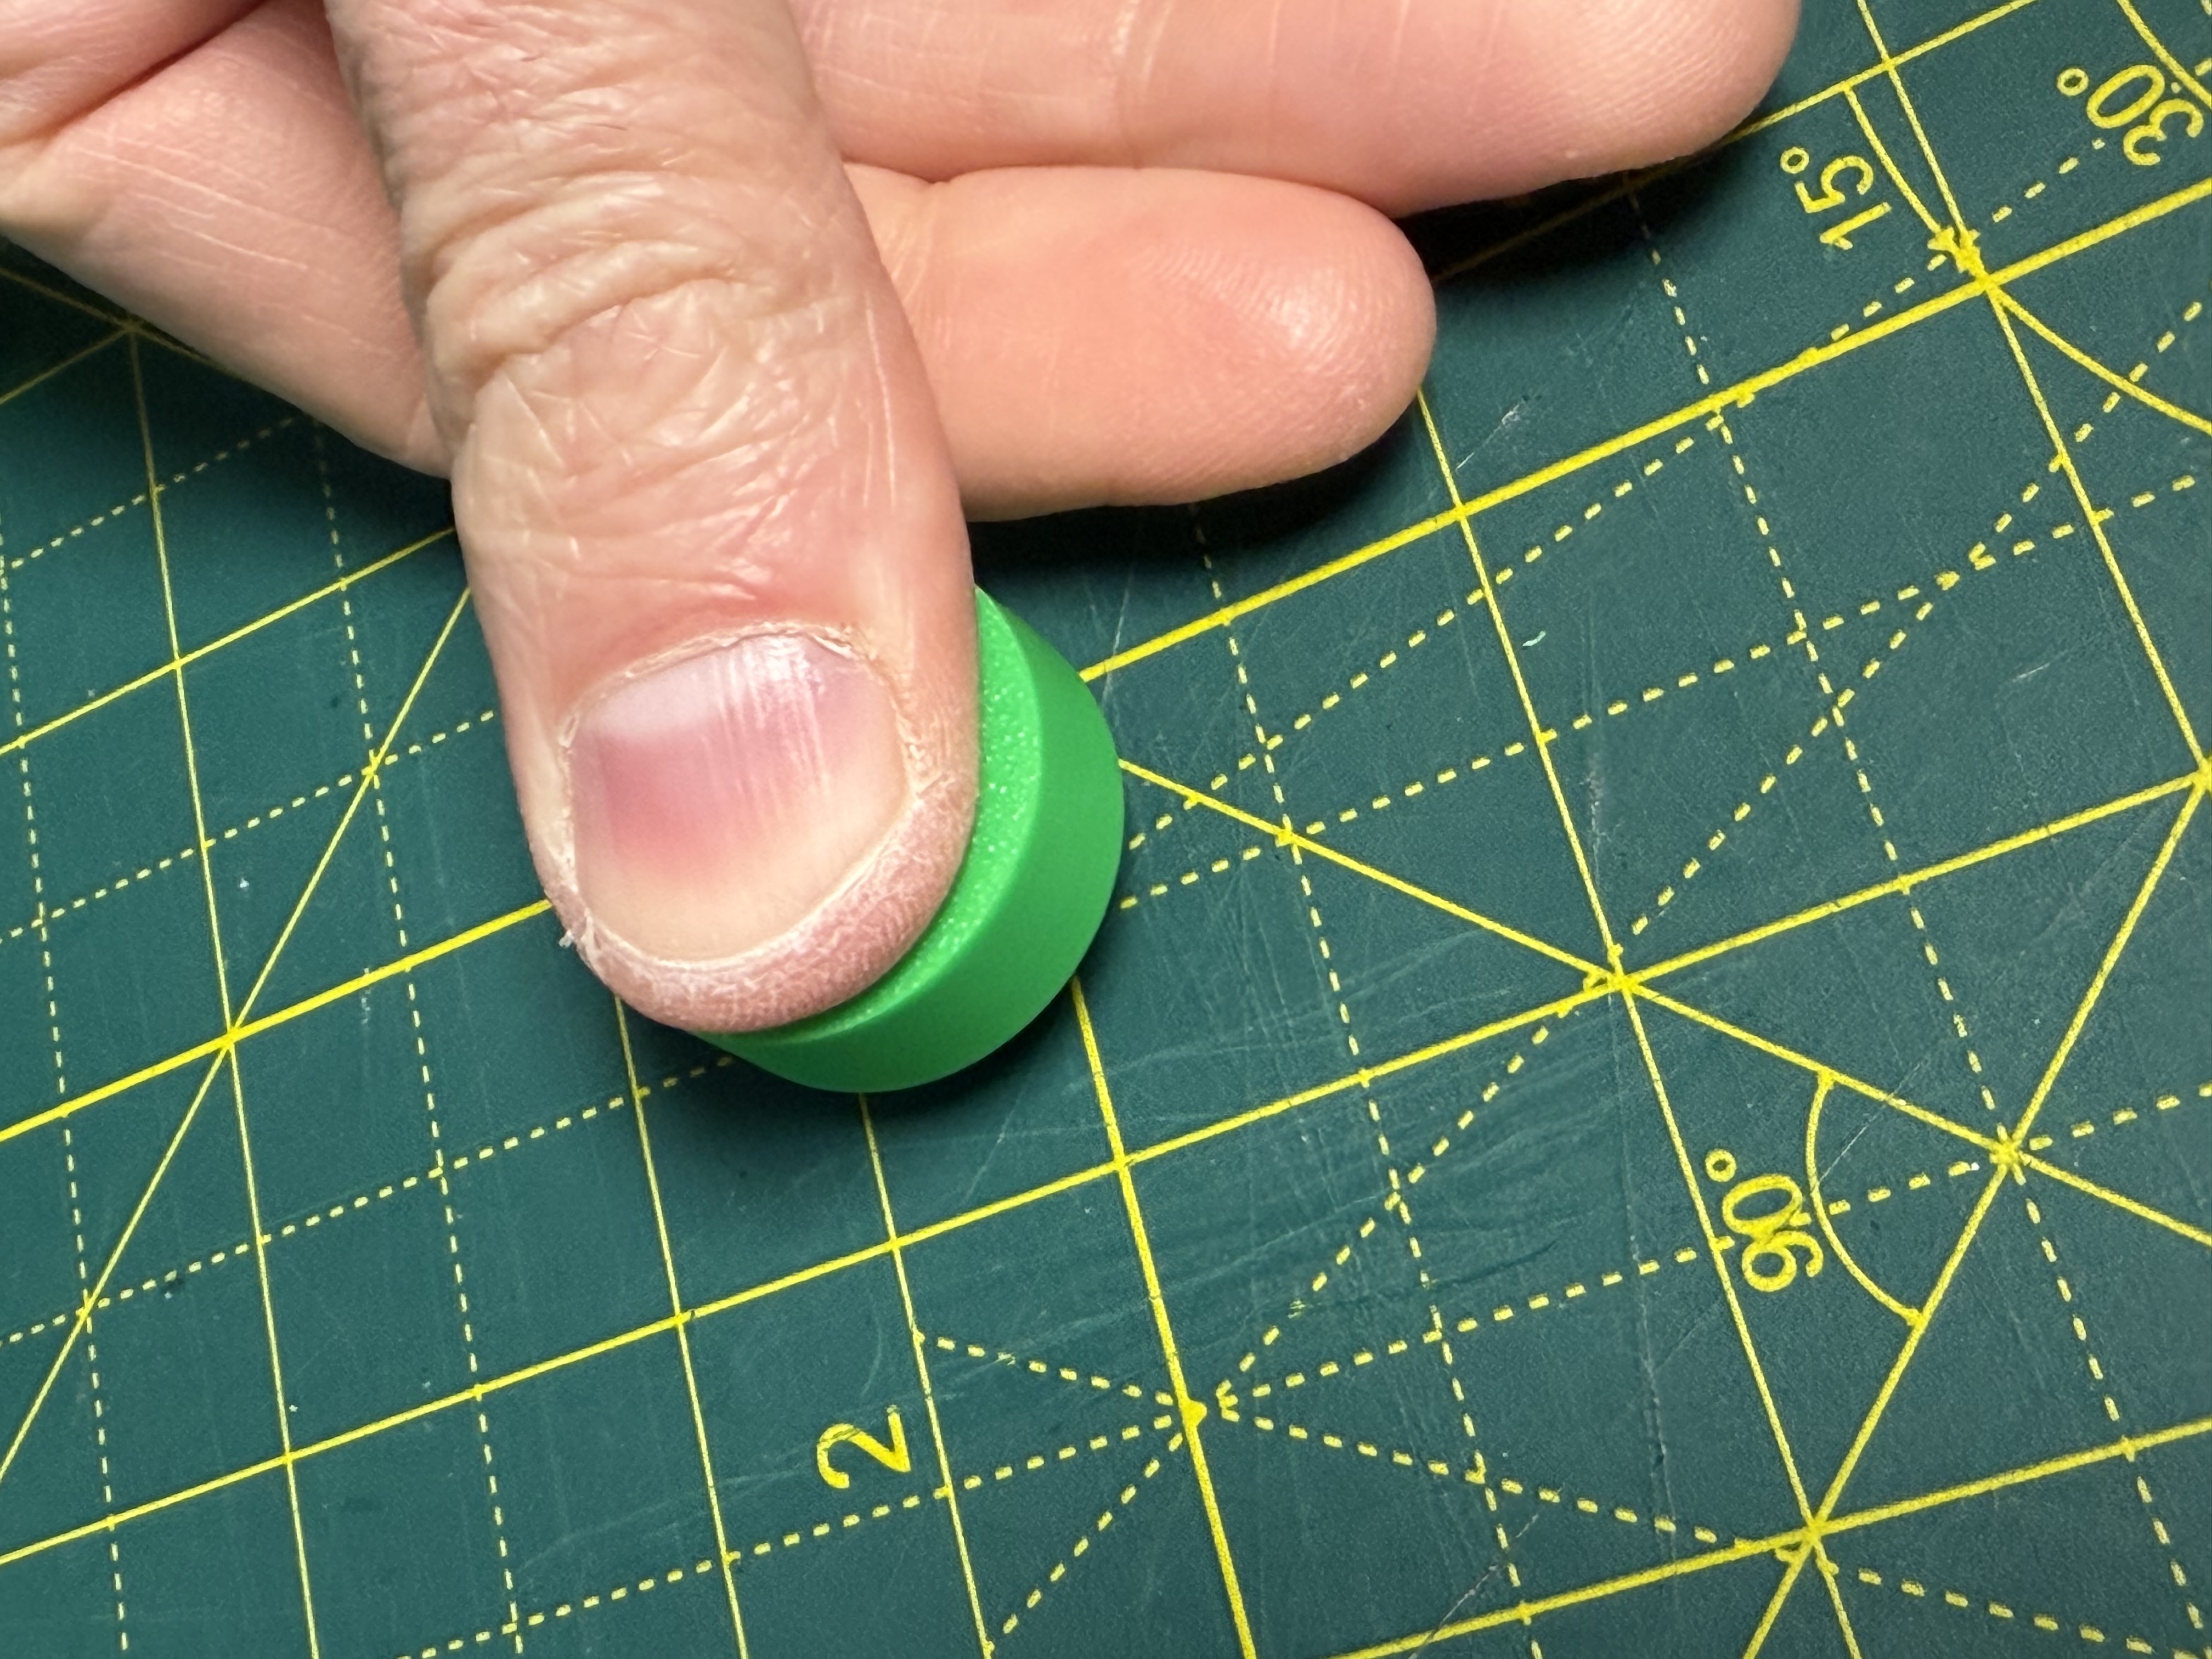
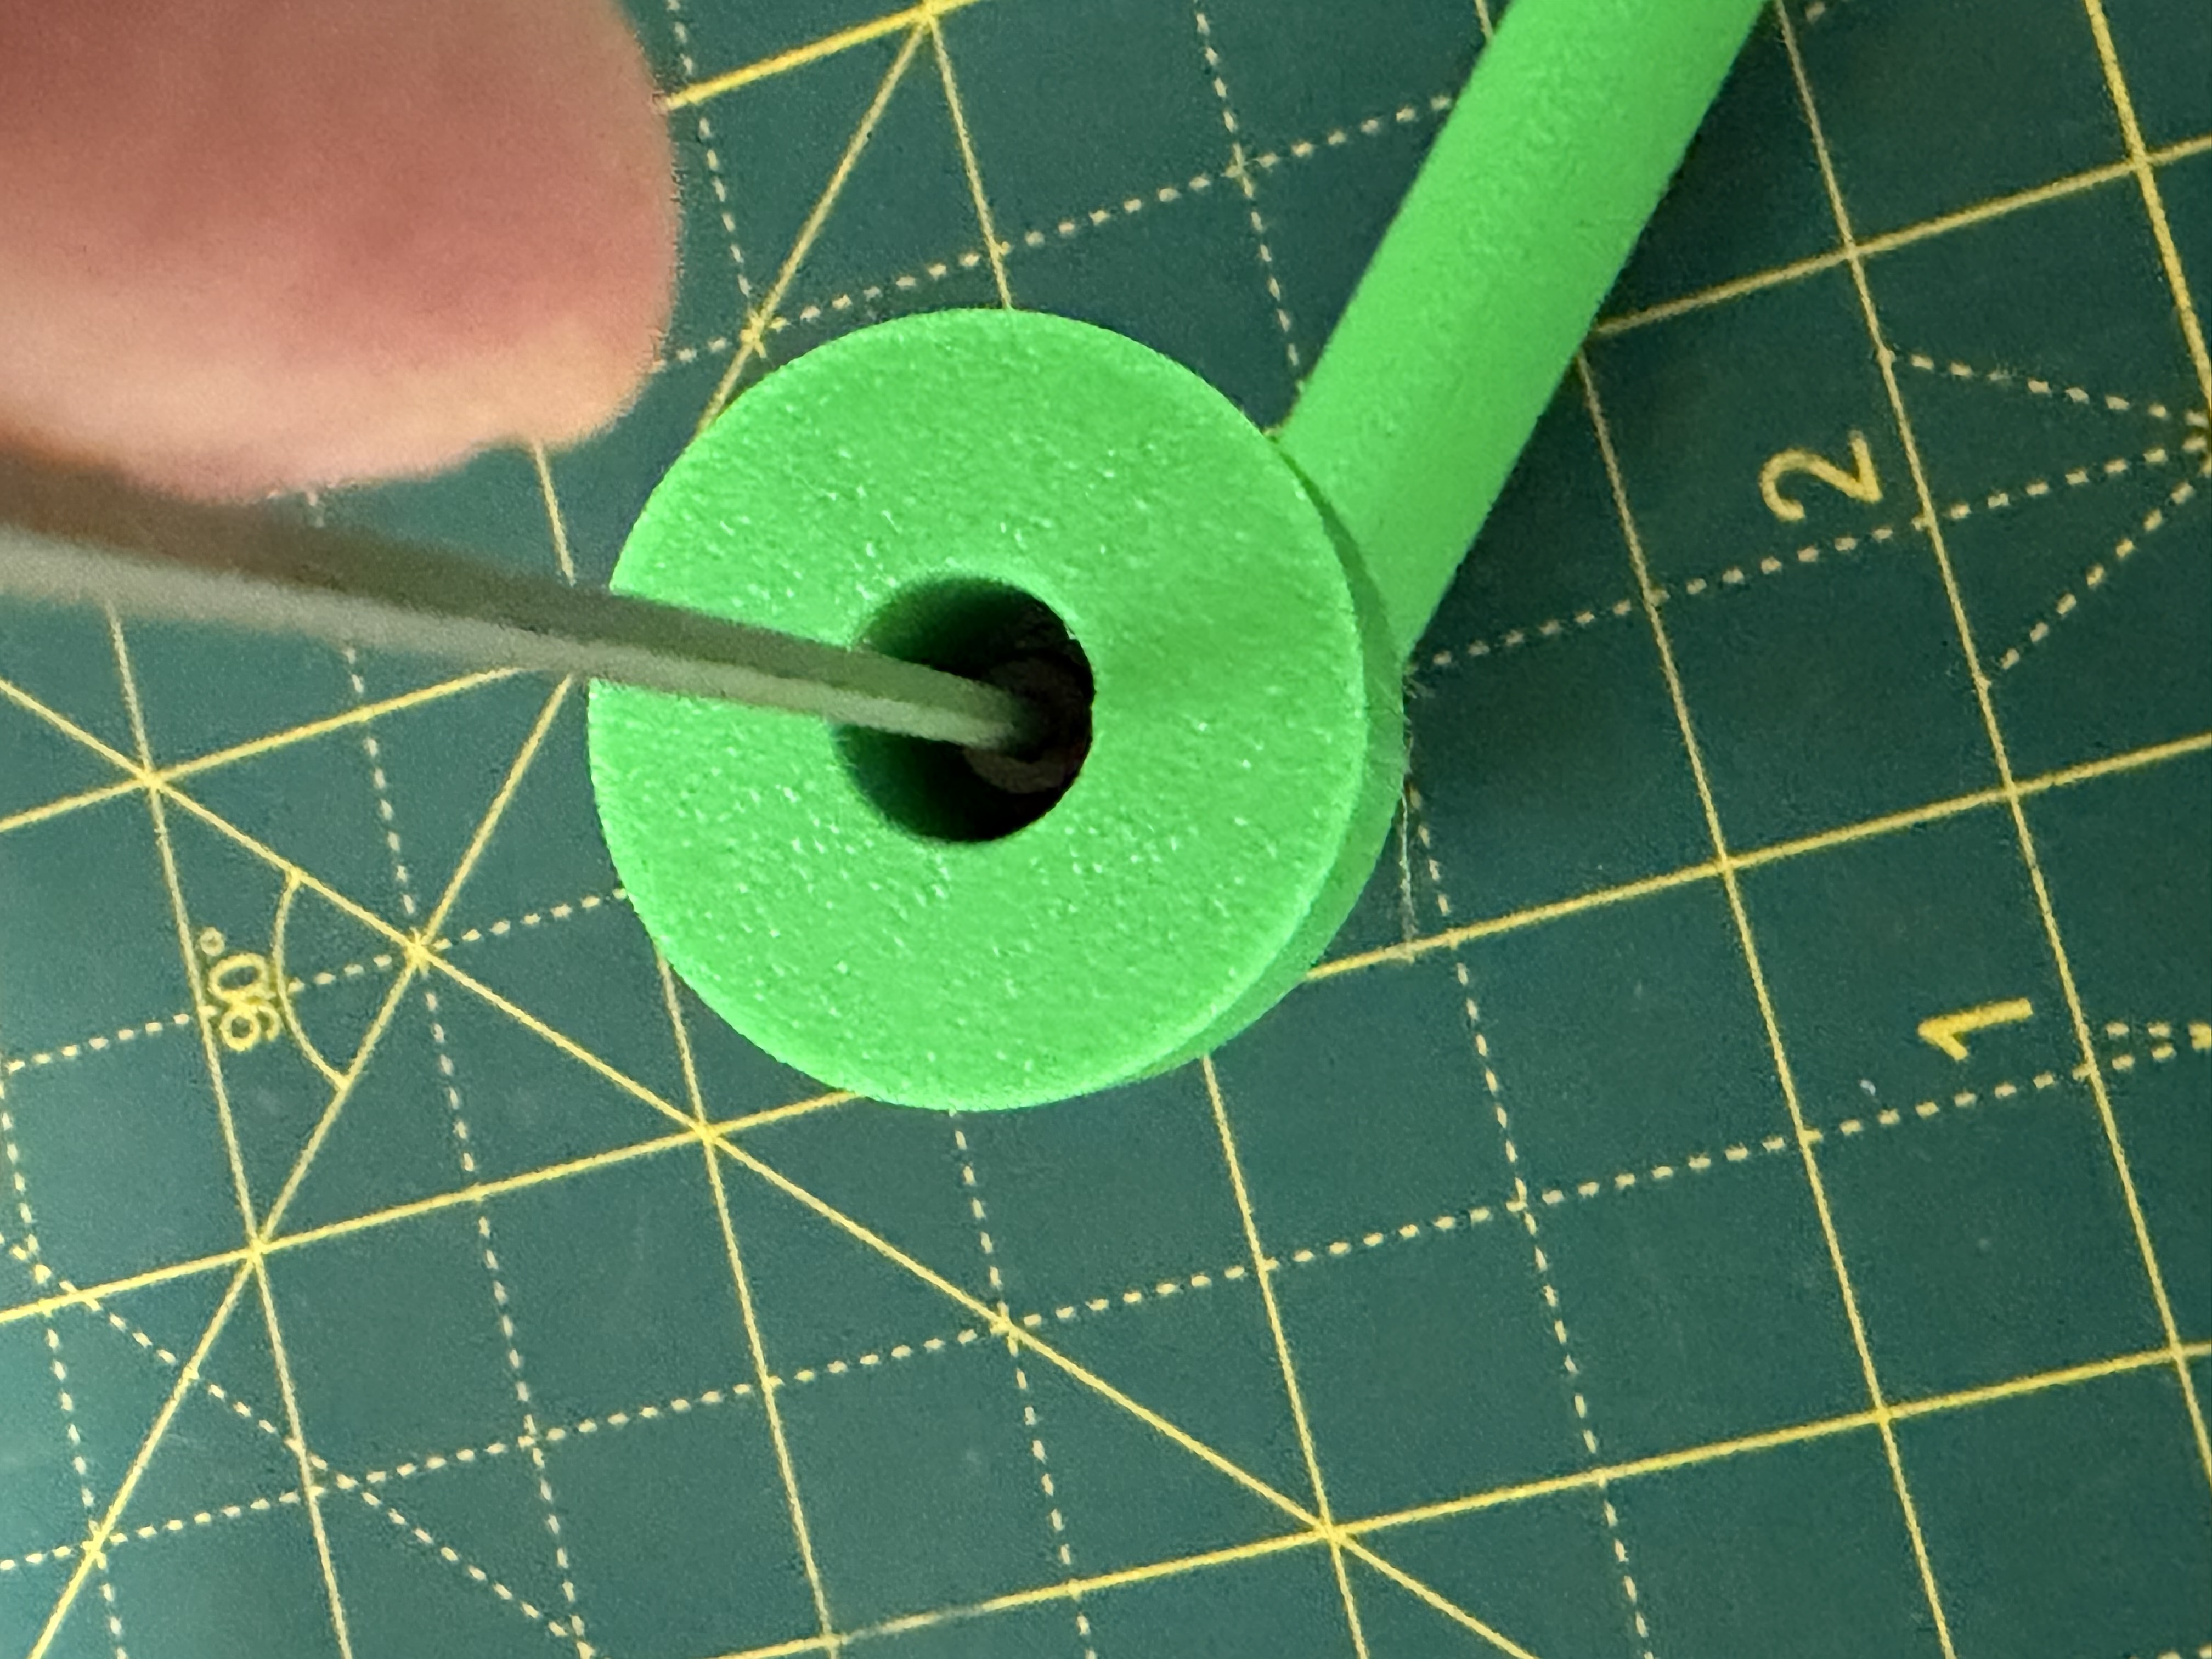
Insert the 12 mm bearing into the bearing holder, it should be a snug fit.
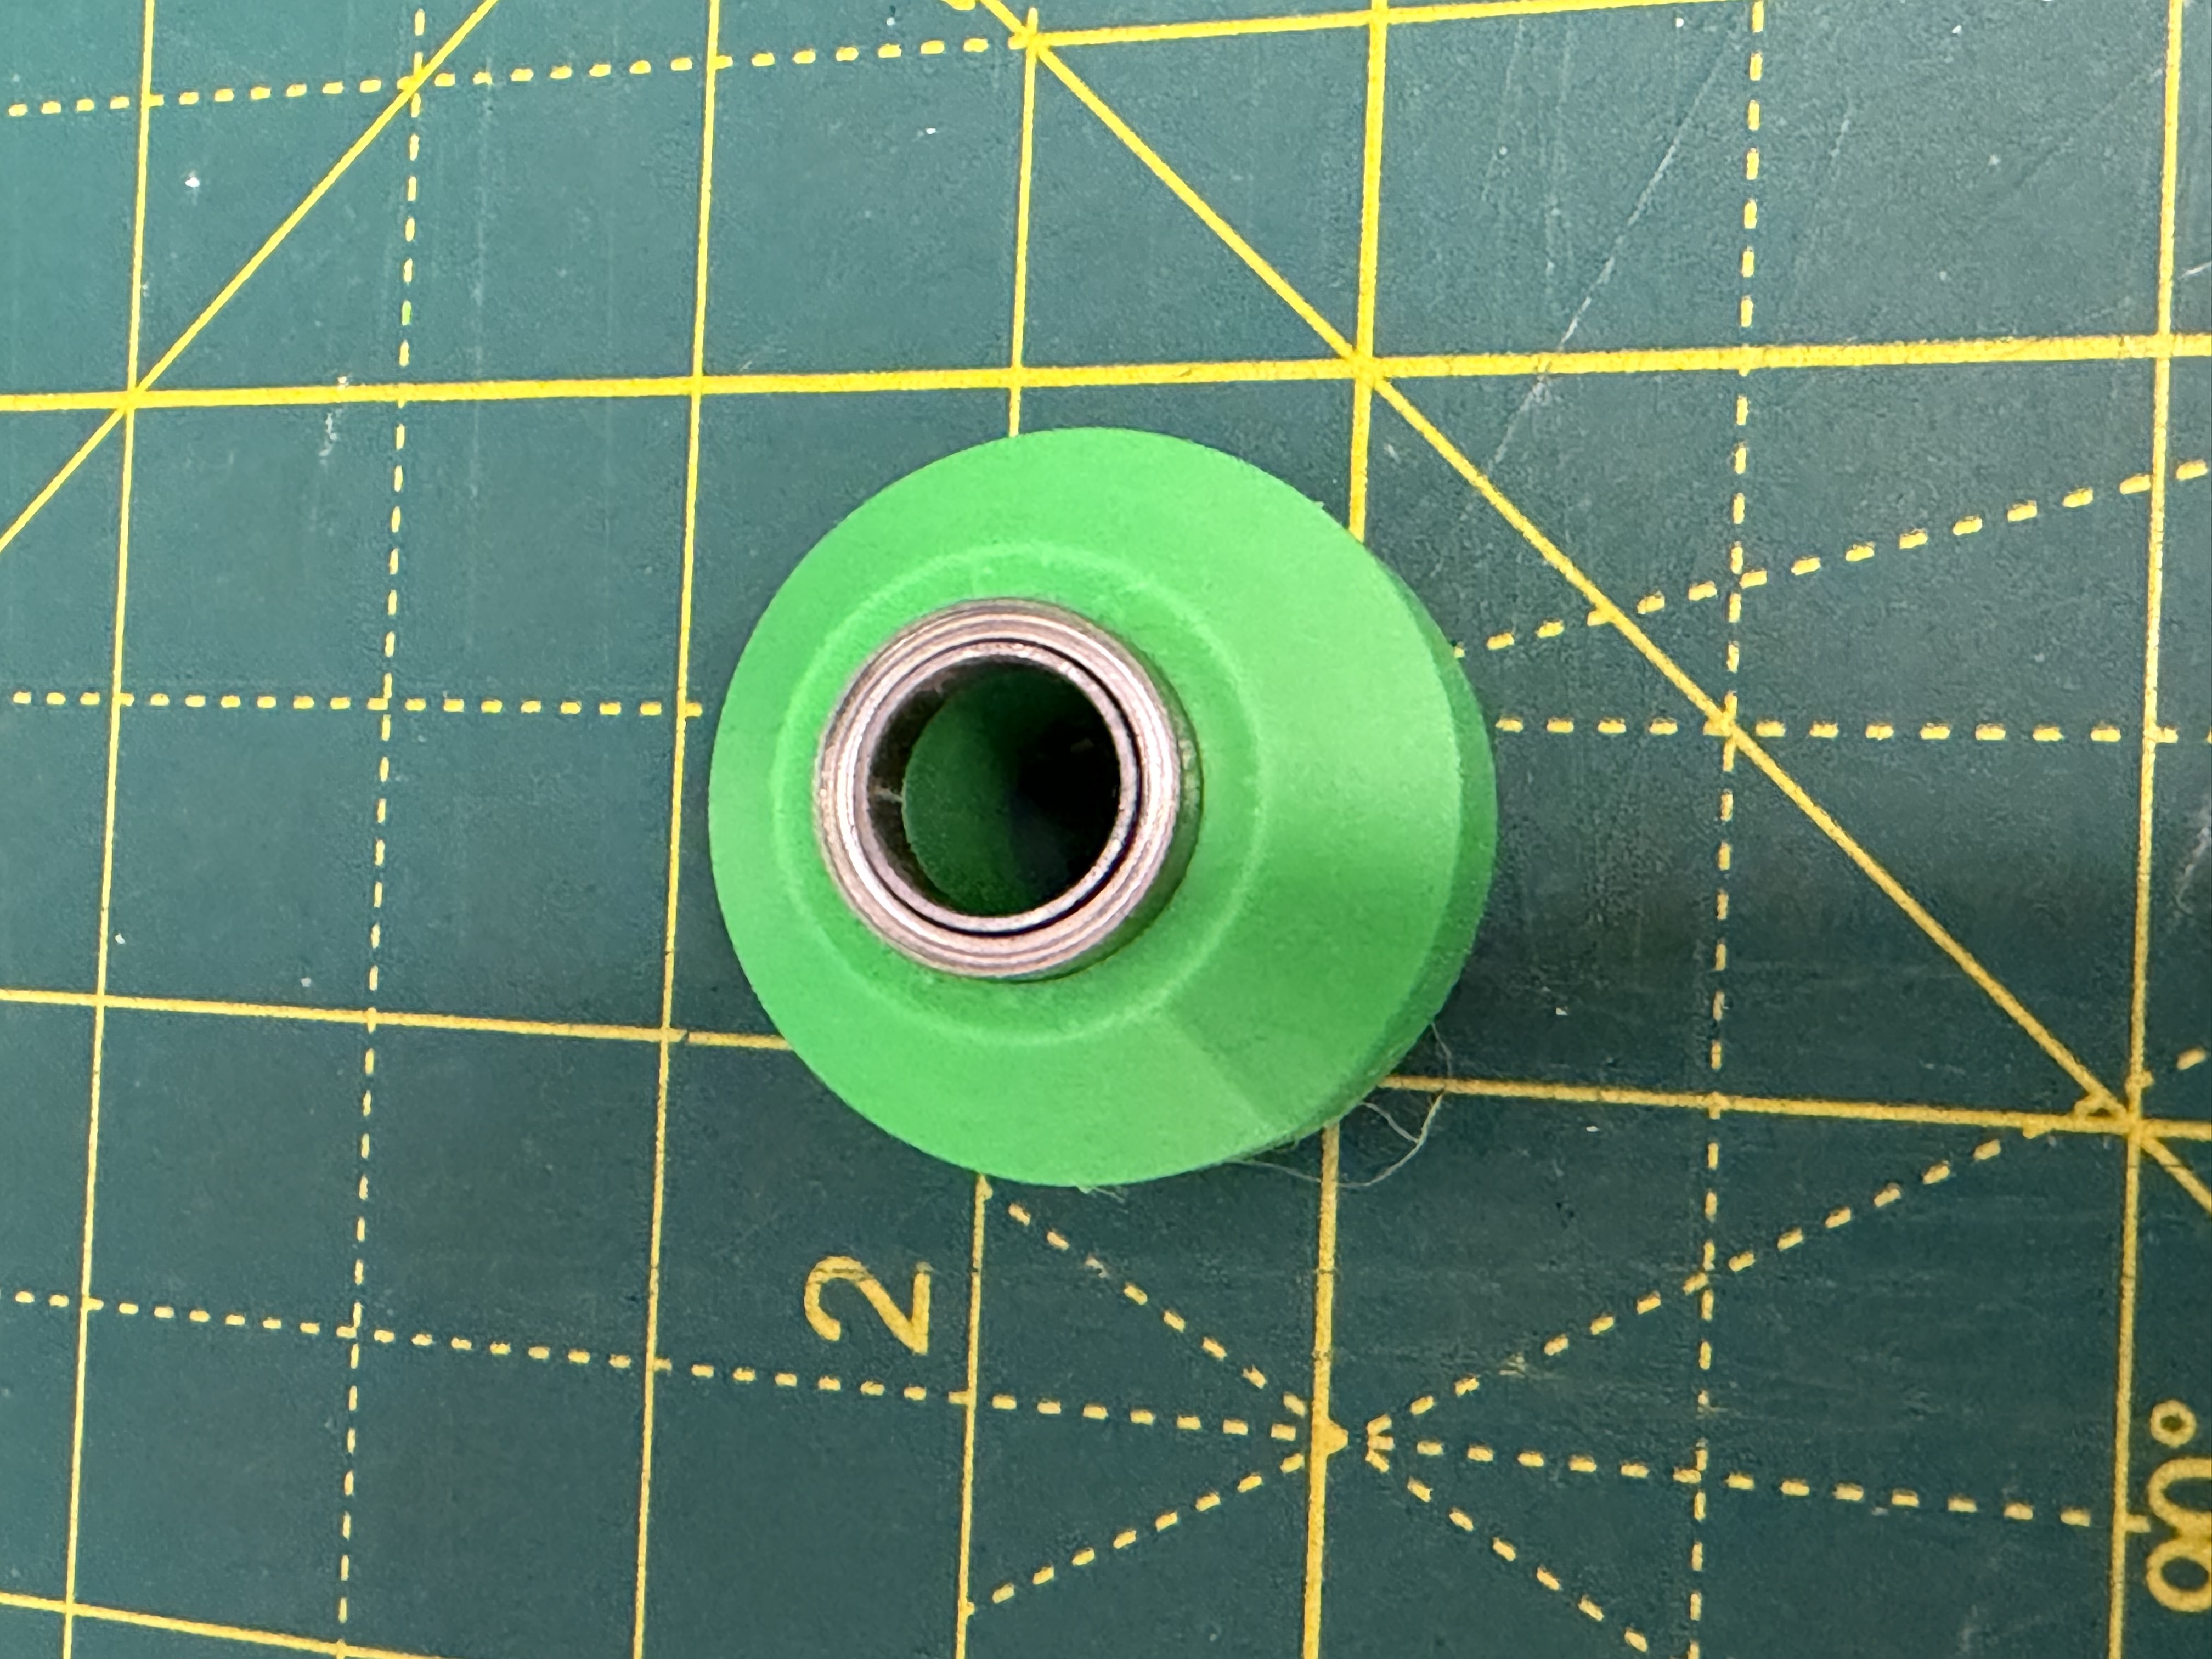
Flip the part and press down firmly to fully seat the bearing.
Insert your chosen stem and push flush.
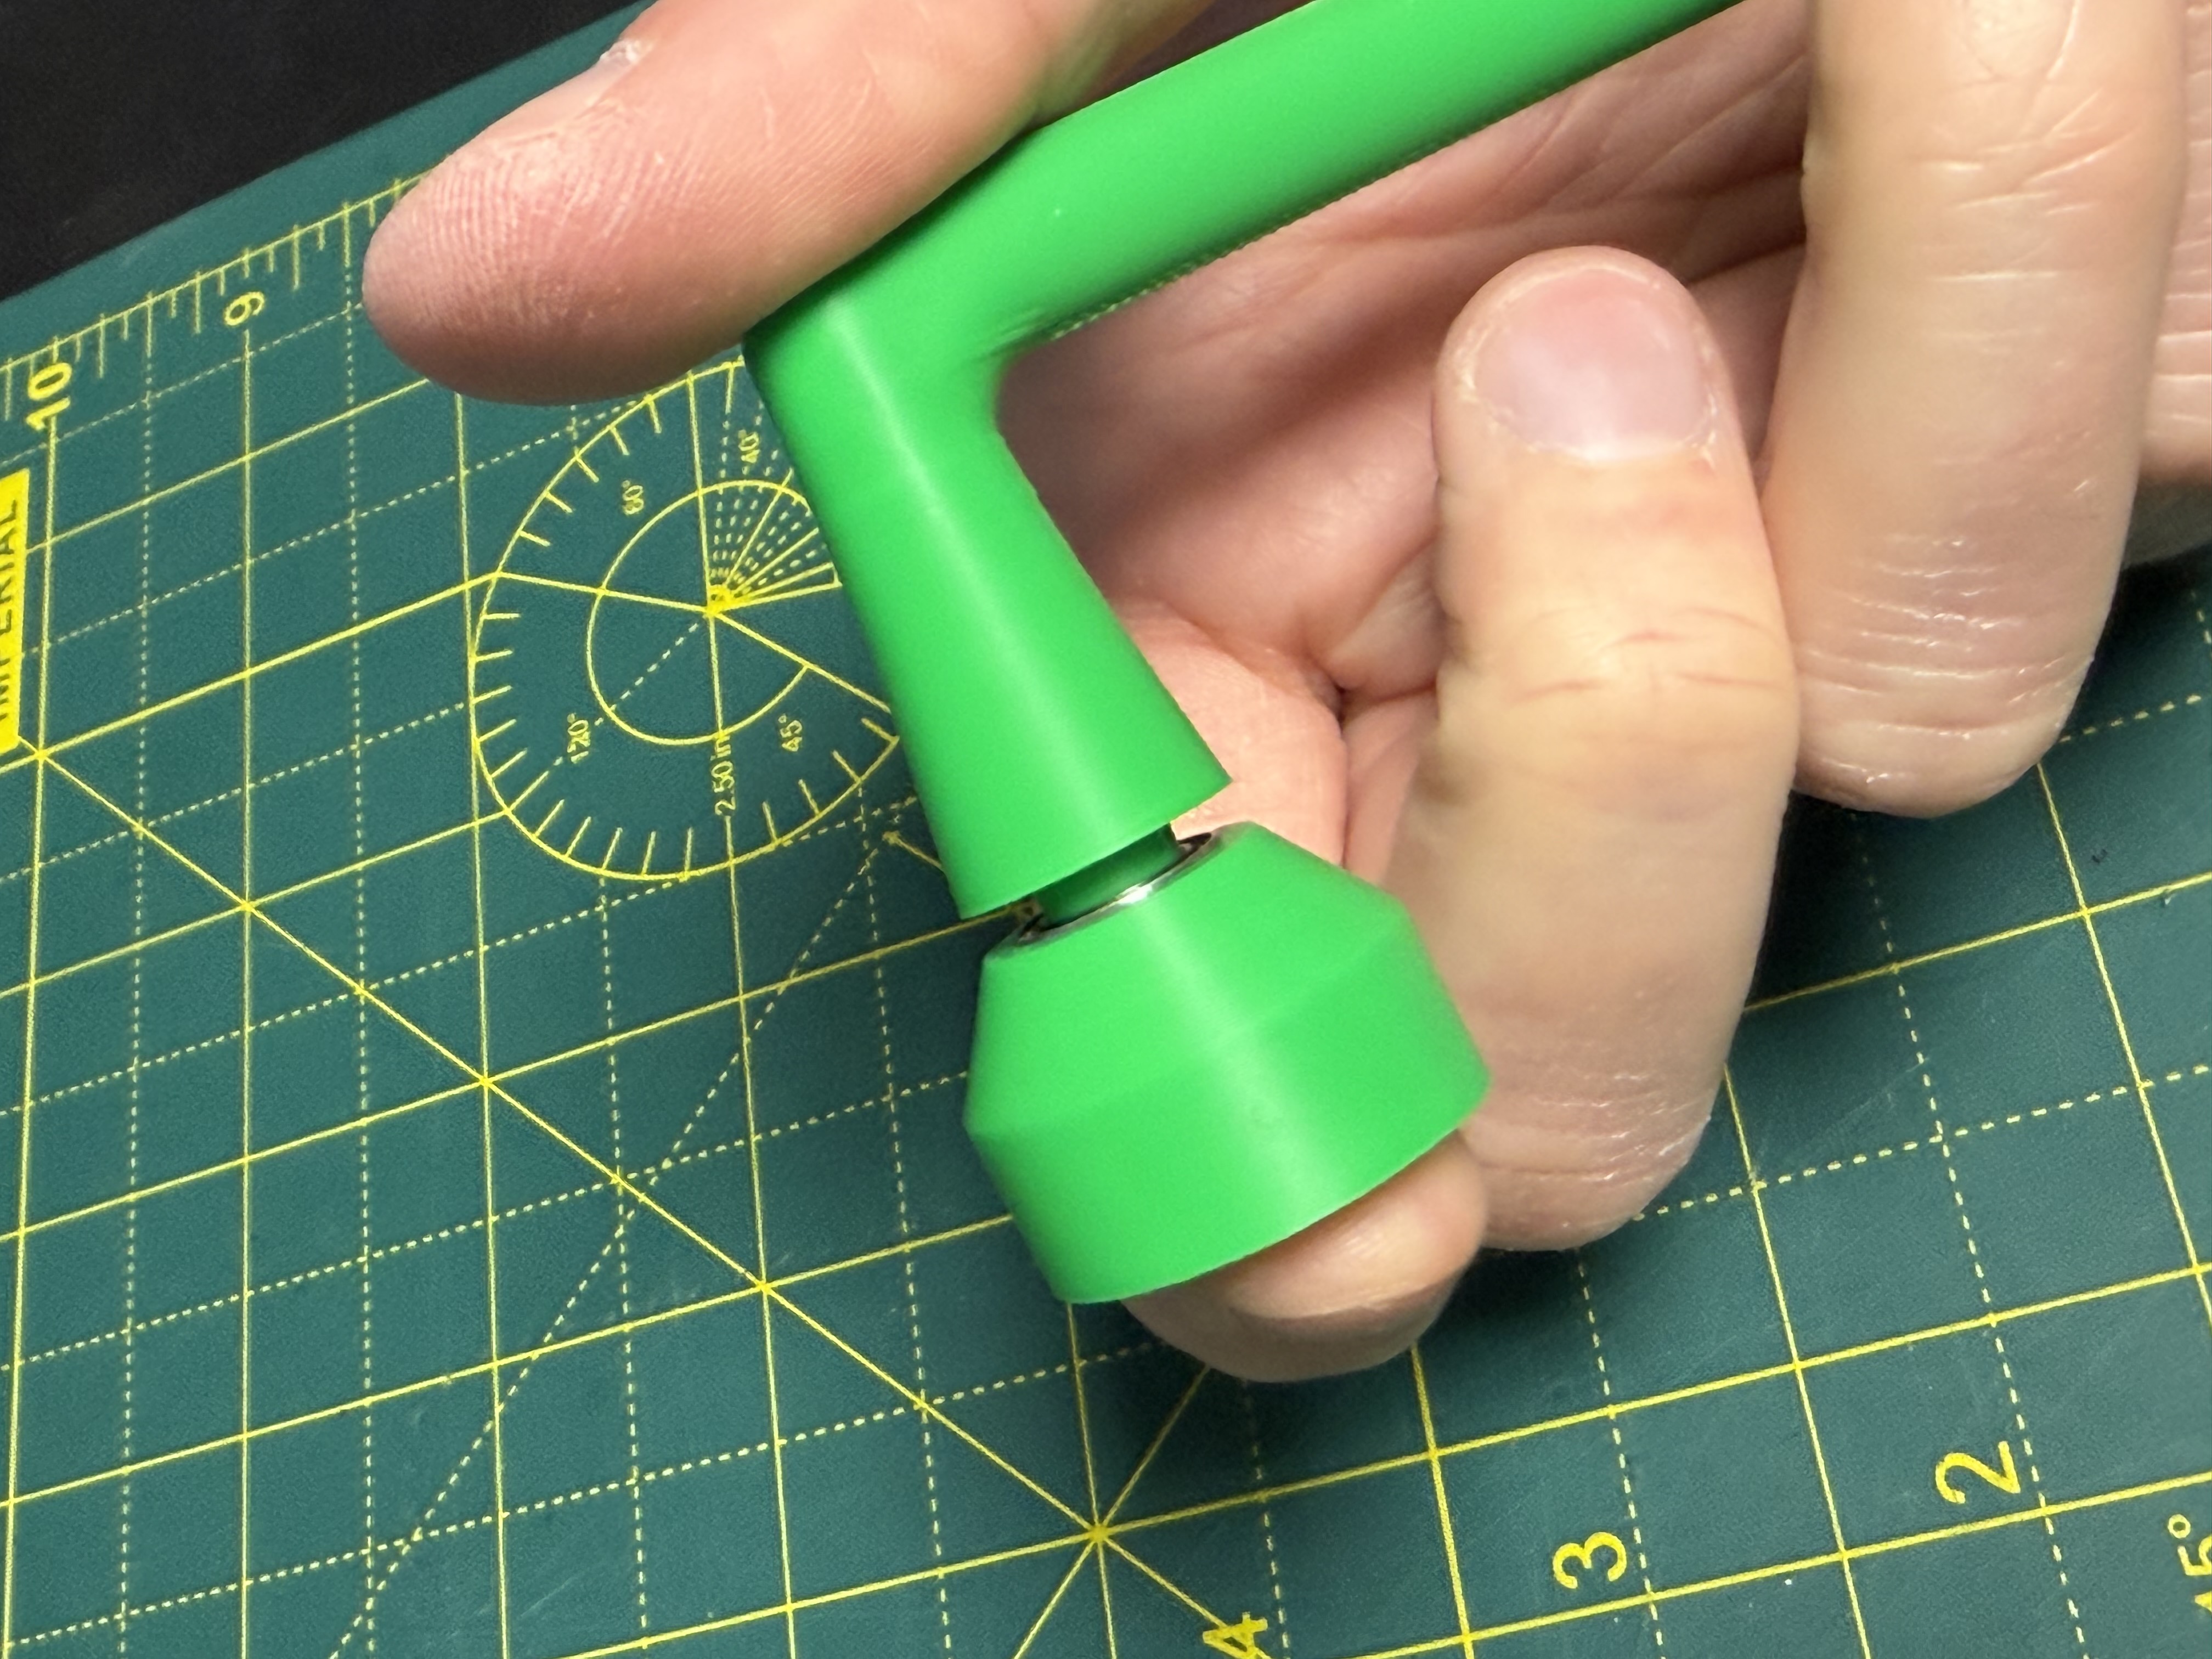
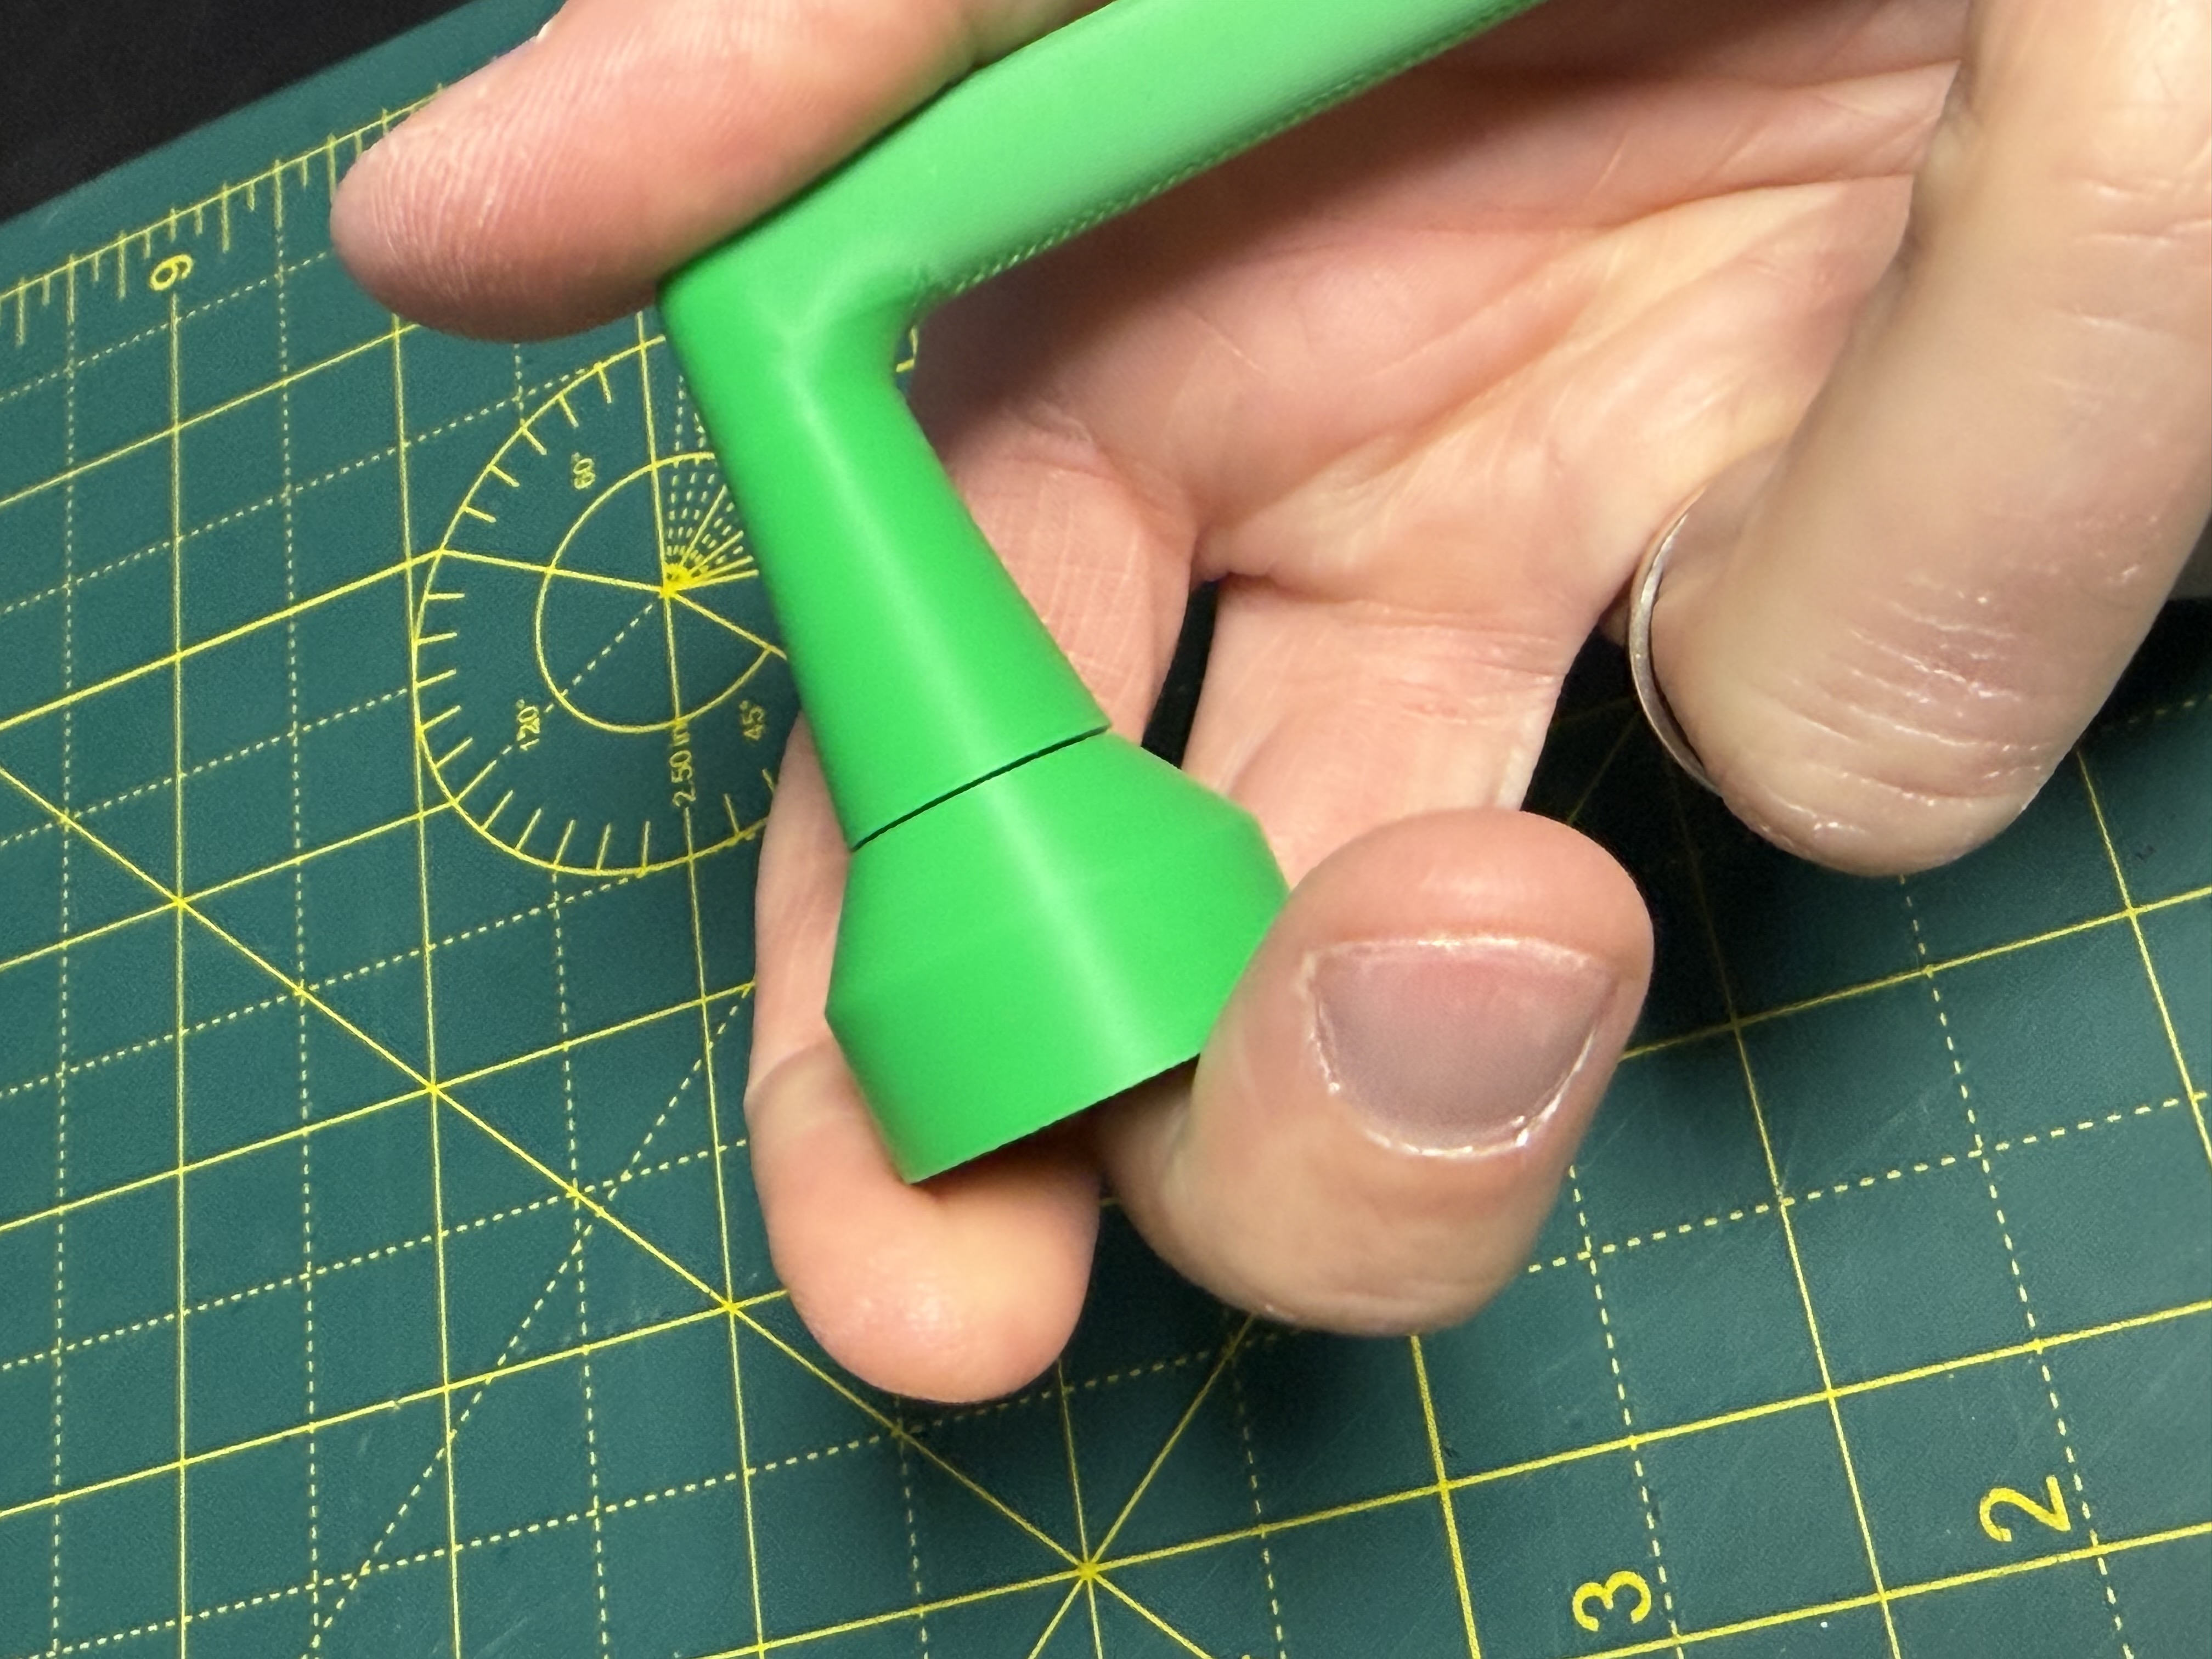
Insert the screw through the access hole and tighten until it sits flush inside the stem. This helps lock everything in place.
🔄 Final assembly
Once the spinner glue has fully cured, push the bearing holder into the back of the flower.
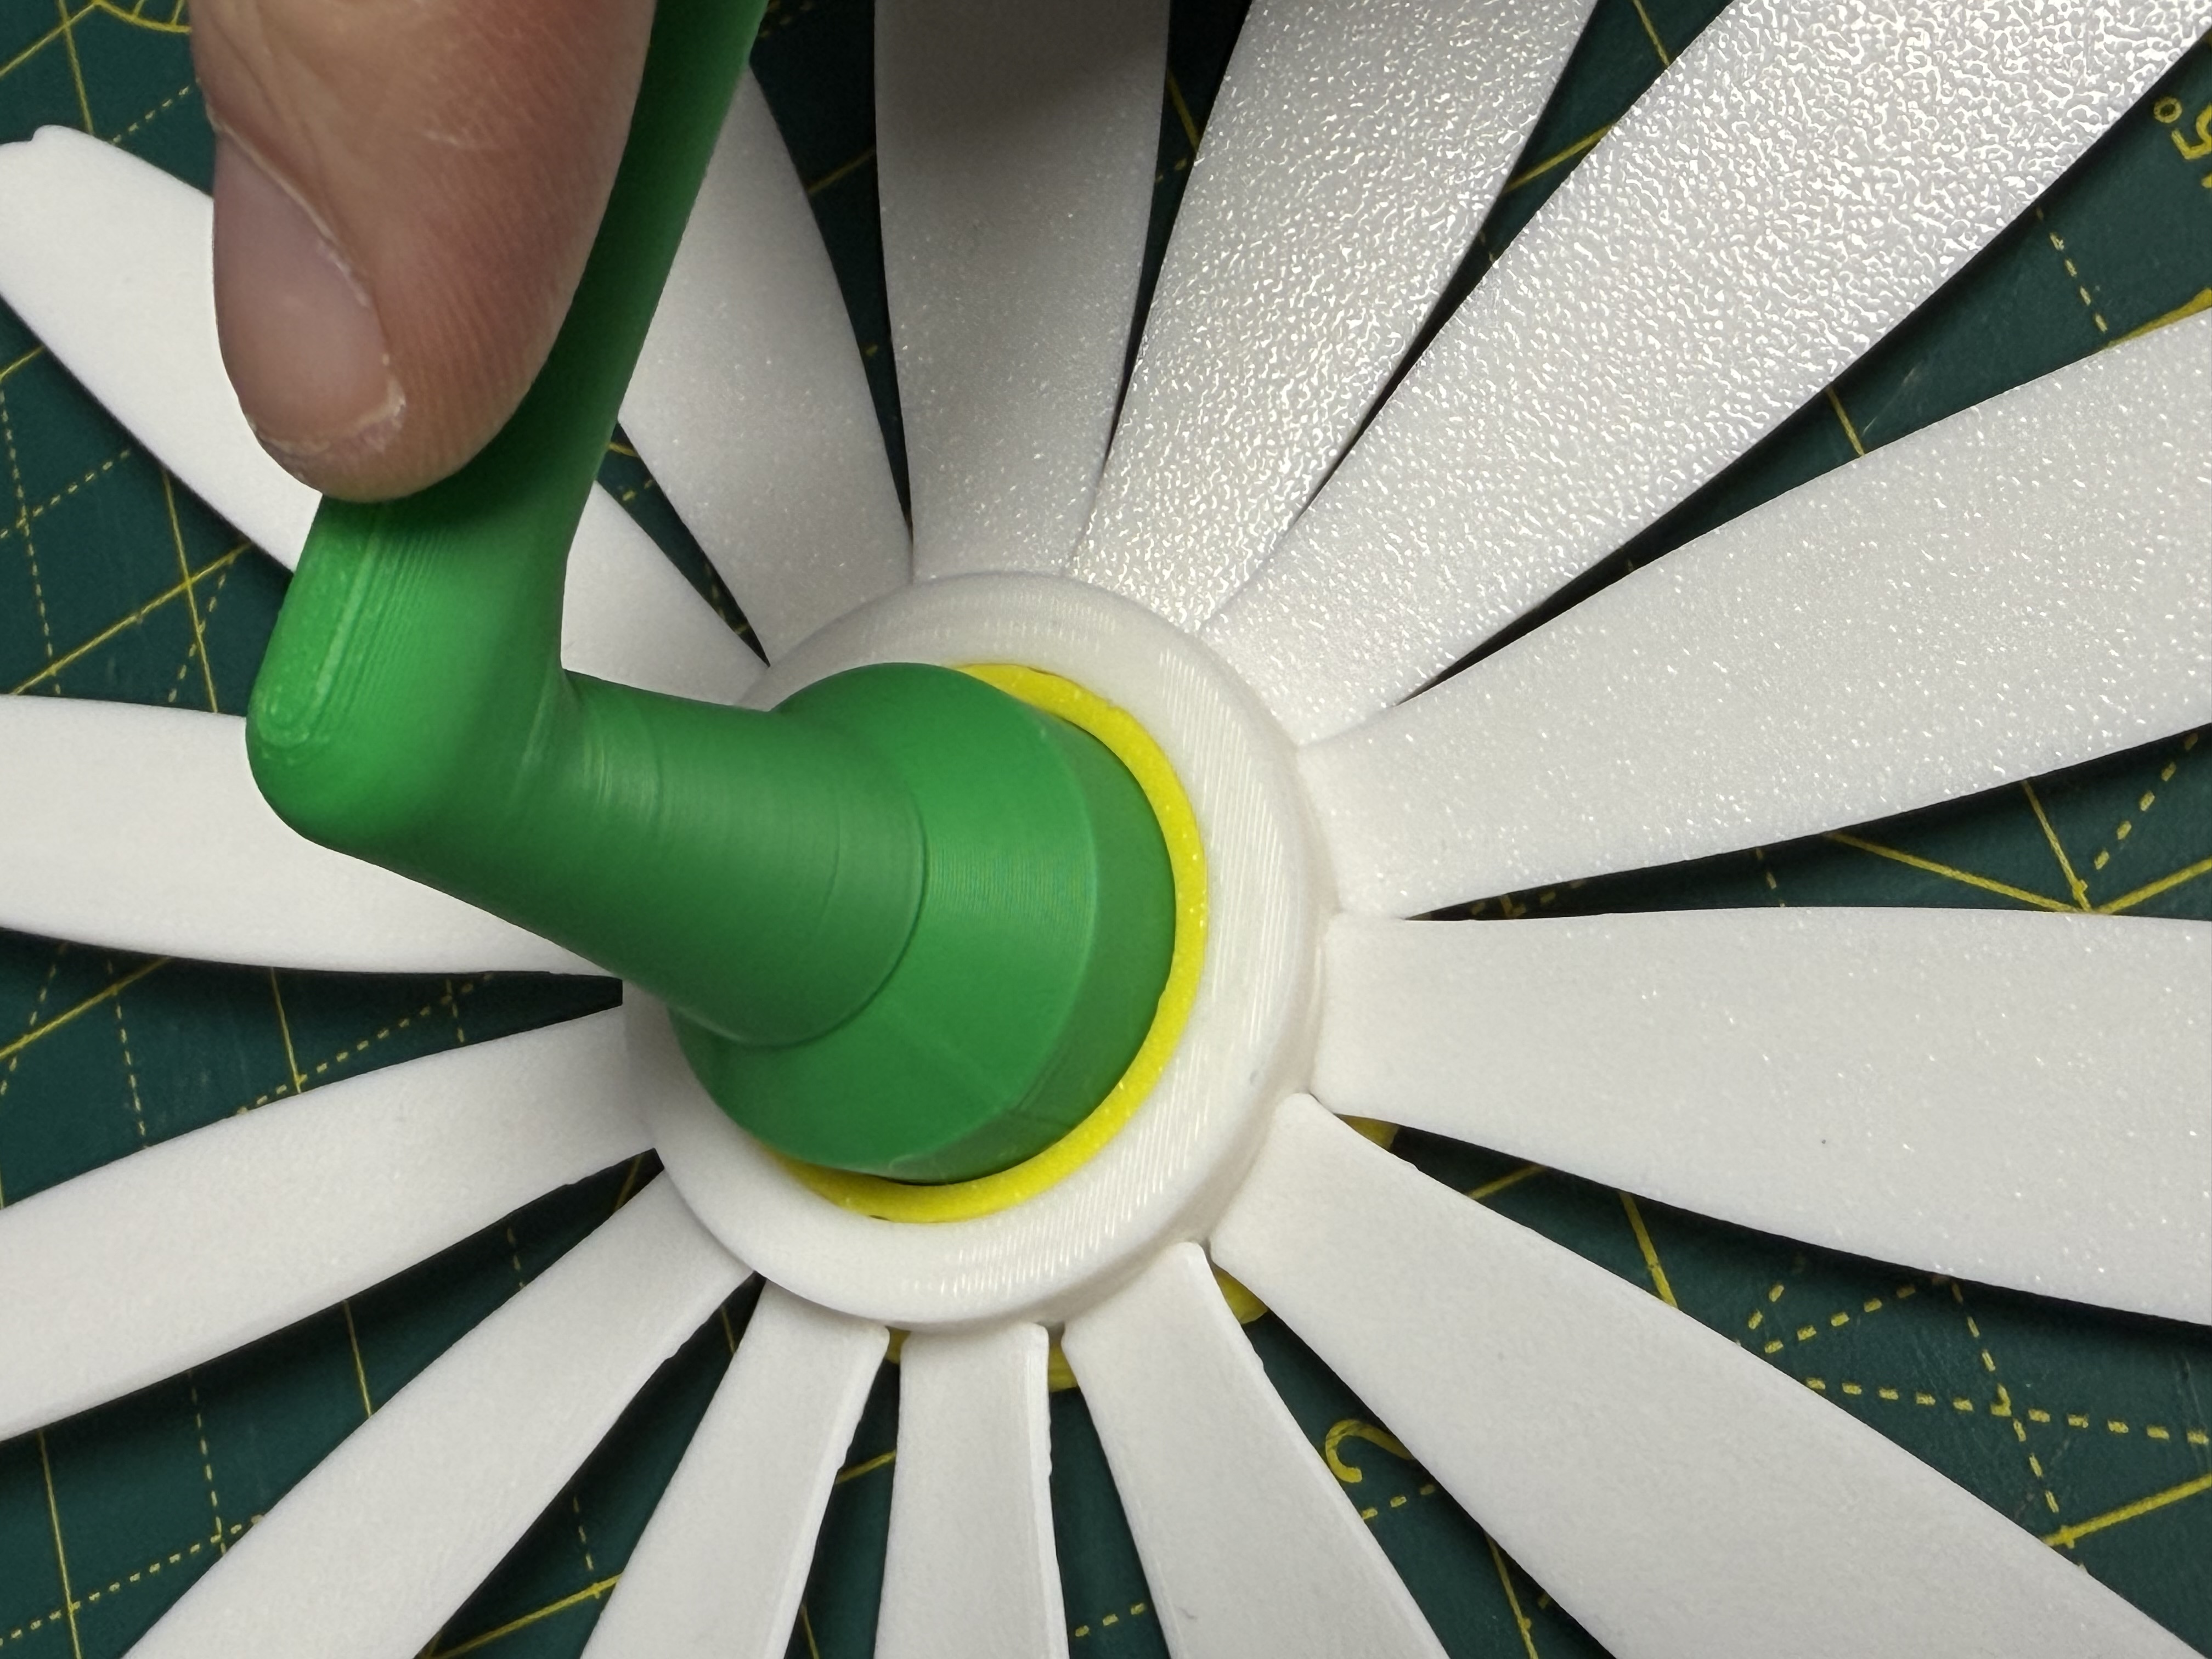
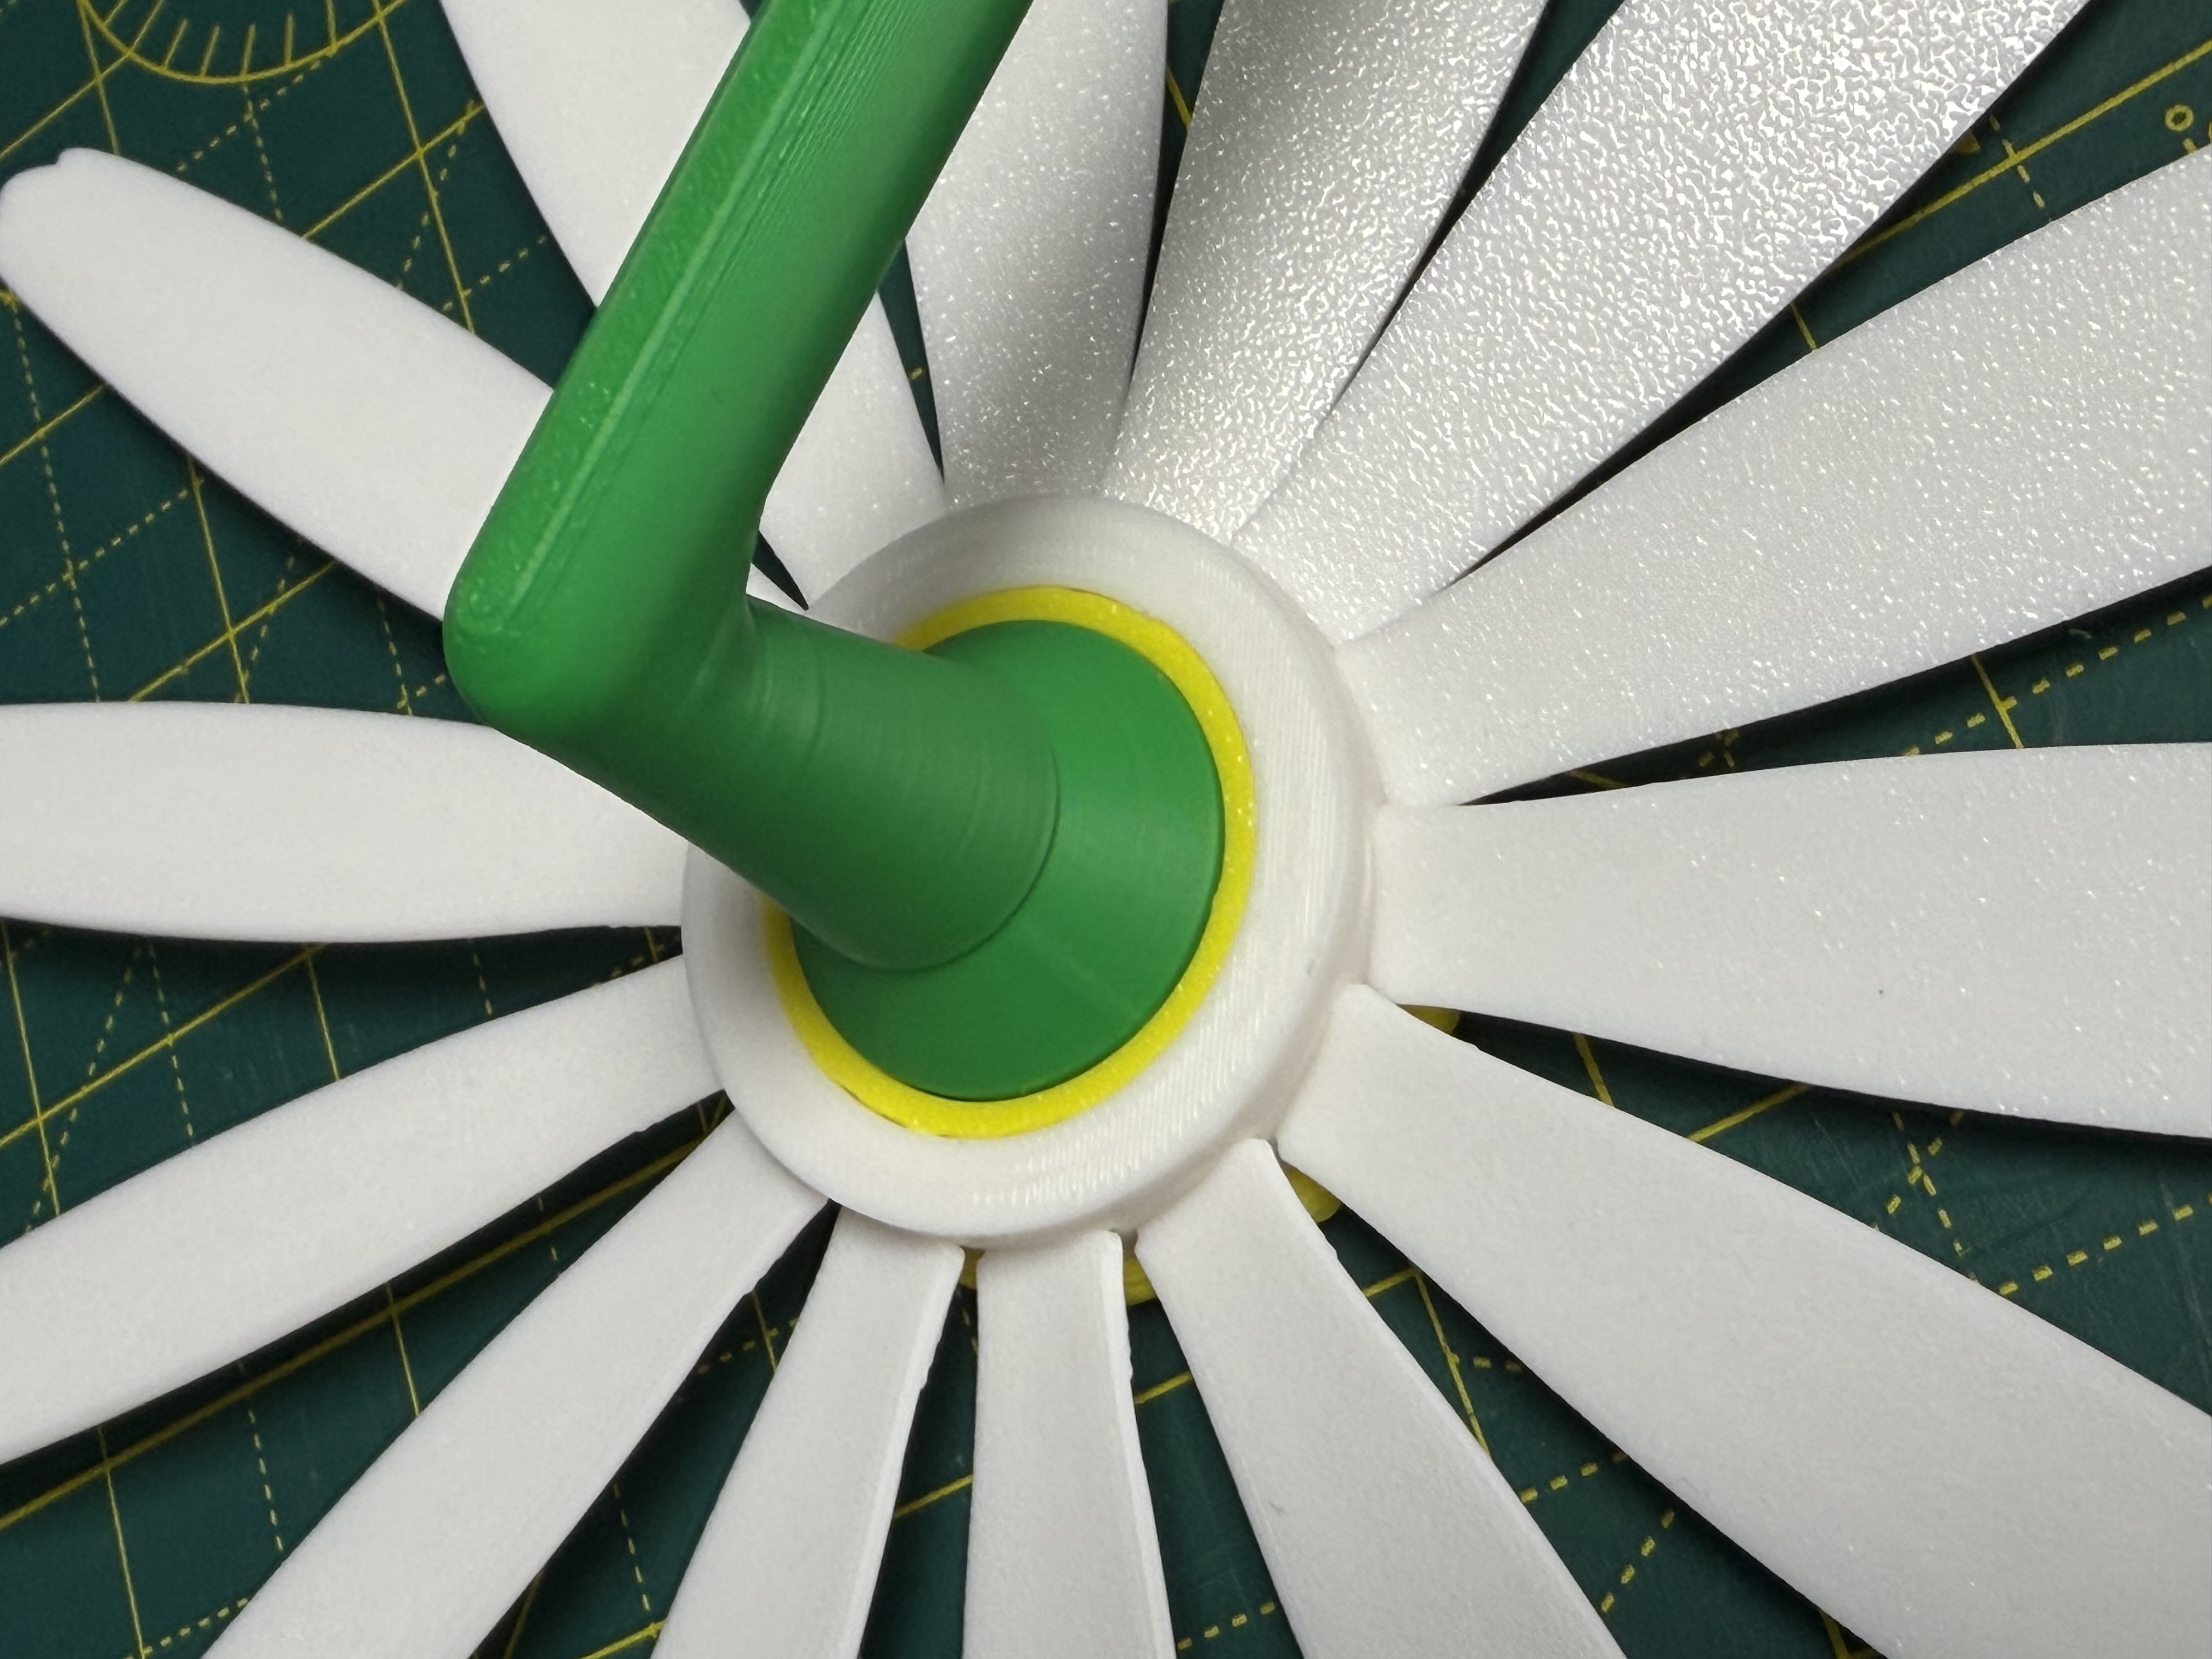
- Optional: Add a tiny amount of glue, avoiding the bearing itself.
- Once everything is secure, give it a spin.
If handheld, take it outside and find that breeze 😊 If fence mounted, place the mount on the fence
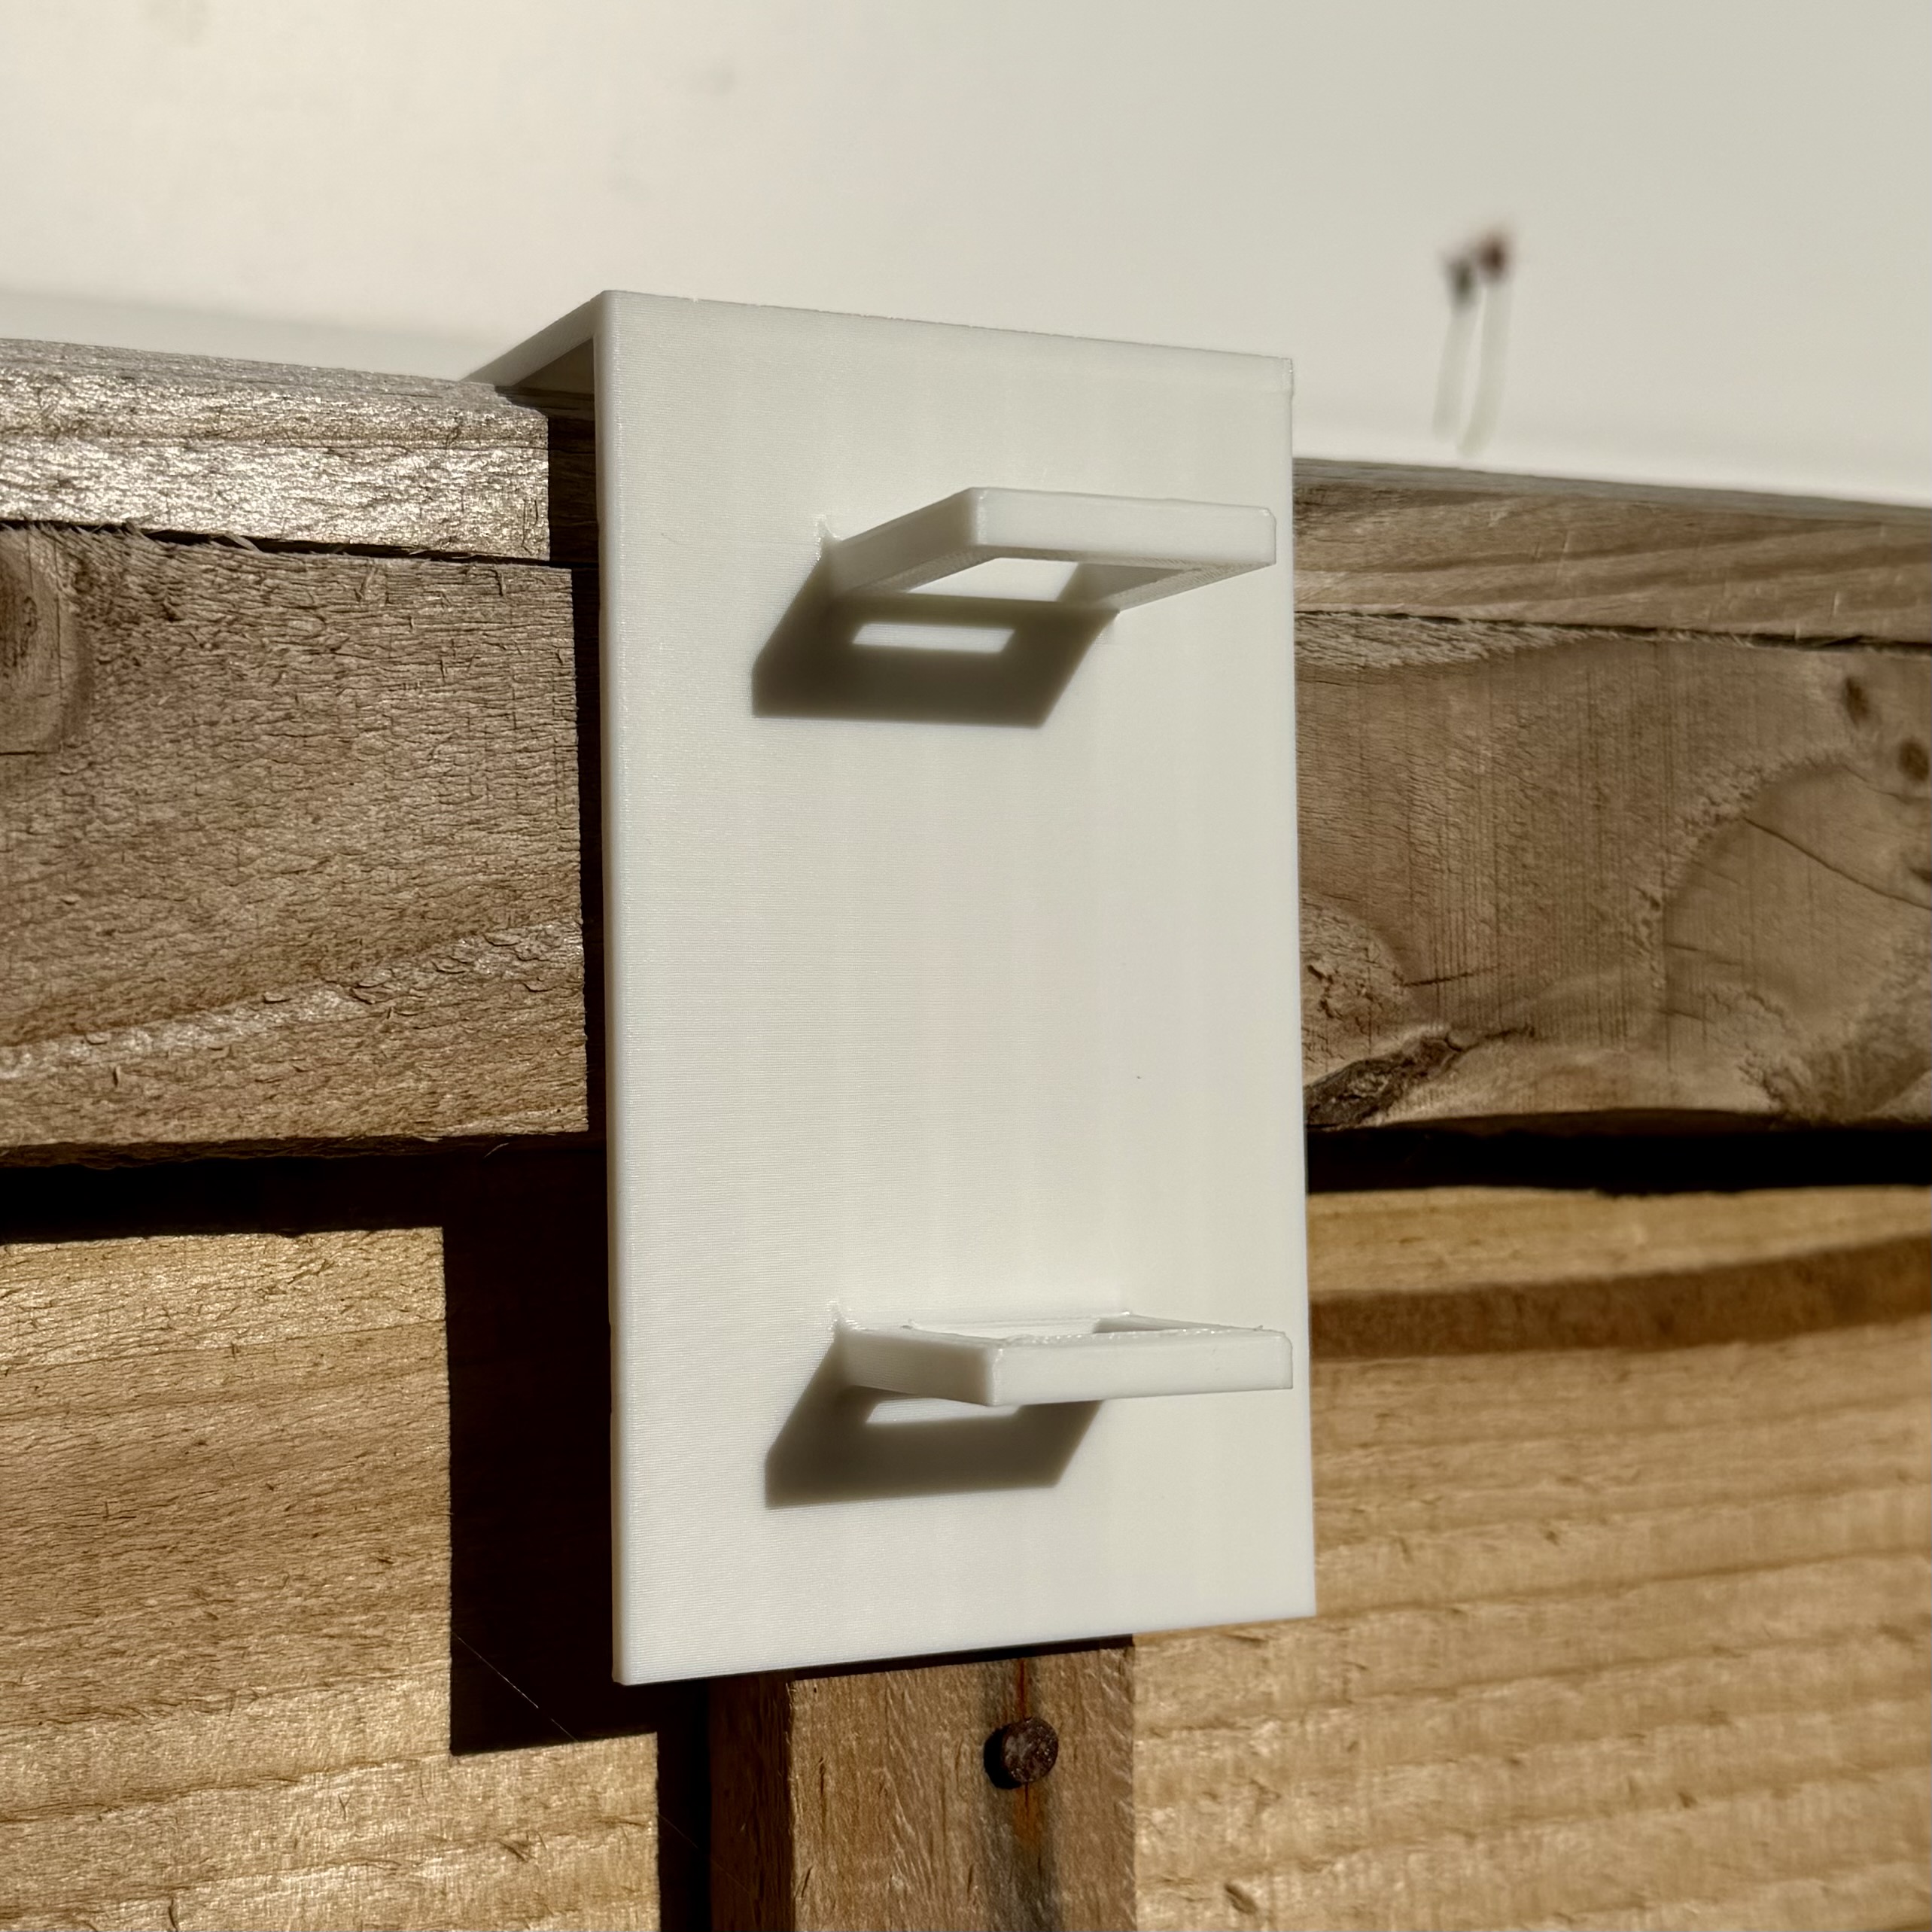
then slide the fence mount in position and let nature do the rest.
·····
🧰 Troubleshooting
Model Doesn’t Match Preview / Wrong Colours / Odd Layout / Dots instead of lines or shapes
If your model looks misaligned, missing colours, or prints incorrectly, please make sure you are using the supplied 3MF print profiles, not the raw STL or STEP files.
The 3MF files contain all the model specific tuning, including:
- Colour allocations
- Line width settings
- Print specific adjustments
To use them properly:
- Either click “Open in Bambu Studio” directly from MakerWorld,
- Or download the .3MF file and open it manually in Bambu Studio.
Avoid using the raw STL or STEP files unless you specifically want to rebuild your own profiles, they do not include the tuned print settings.
·····
⚠️ Copyright / Safety / Final notes
This model contains moving parts. Please ensure the bearing and screw are fitted securely before use, especially if placed in areas accessible to children or animals. It can spin surprisingly fast in stronger winds.
Prolonged viewing may result in unexpected levels of relaxation… or a sudden urge to print more 🌸
Customisable flower wind spinner - No AMS needed
Published on Apr 14, 2026