Você está no 3DFinder
Buscamos em Thingiverse, MakerWorld e Printables ao mesmo tempo para te dar o melhor de cada uma.
Descrição
DIY VR
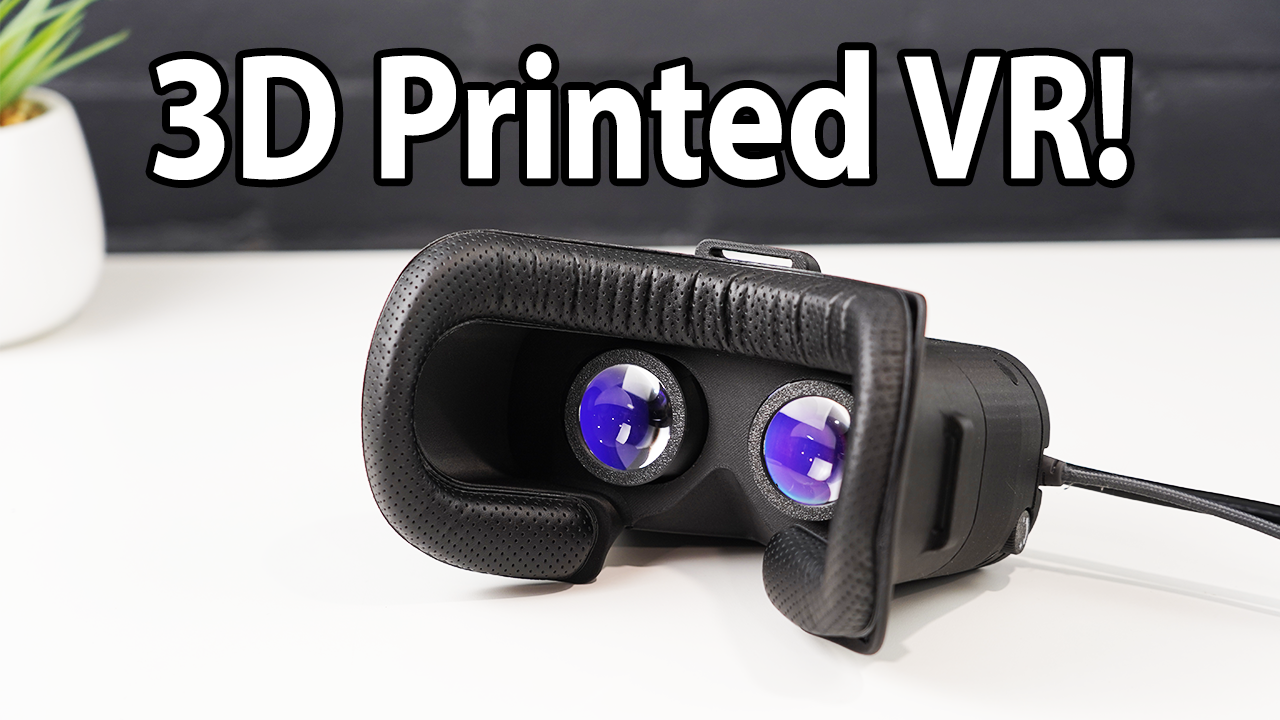
A fully 3D printed headset design for VR!
Note: VR Controllers also available here:
Features
2880x1440p Resolution
Inidividually adjustable IPD
Easily replaceable lenses
Compatible with HTC Vive Pro Head Pads
Adjustable brightness
Duplicate or extend display modes for VR or regular viewing
SteamVR compatible 3 DOF head tracking
Please note! As I mentioned in the video, the displays I purchased can't actually do the 90hz they claim in the full 2880x1440 display mode which is needed for SteamVR. I'm going to reach out to the company and see if this is just an issue with my unit or if the other 120hz version they sell can actually provide the refresh rate that they claim. I will write back here if/when I get a response!
Bill of Materials
1x Display Set (this is the one I used in the video with the issue of not reaching 90hz when in full resolution mode) - [https://www.aliexpress.com/item/1005008906958871.html](https://www.aliexpress.com/item/1005008906958871.html)
1x IMU board (any variety that FastIMU supports is fine) - [https://www.aliexpress.com/item/1005007284708262.html](https://www.aliexpress.com/item/1005007284708262.html)
2x 3mm x 145mm Stainless Rod - [https://www.aliexpress.com/item/1005009347568195.html](https://www.aliexpress.com/item/1005009347568195.html)
6x 3x6(OD) 4mm(L) Brass Bushings - [https://www.aliexpress.com/item/1005008668212038.html](https://www.aliexpress.com/item/1005008668212038.html)
1x Arduino Pro Micro USB-C Version - [https://www.aliexpress.com/item/32846843498.html](https://www.aliexpress.com/item/32846843498.html)
1x Pair 34mm Diameter 45mm Focal Length Lenses - [https://www.aliexpress.com/item/1005004324103470.html](https://www.aliexpress.com/item/1005004324103470.html)
1x 1M 25mm Nylon Strapping - [https://www.aliexpress.com/item/1005008515249414.html](https://www.aliexpress.com/item/1005008515249414.html)
1x HTC Vive Pro Face Pad - [https://www.aliexpress.com/item/1005001324834346.html](https://www.aliexpress.com/item/1005001324834346.html)
Hardware
16x M3x5x5 Threaded Inserts
4x M3x12 SHCS
10x M3x8 SHCS
Instructions
Printing
First, you'll need one of every part printed, except for these items that require multiples:
3x DIY VR Buckle
2x DIY VR Lens Retainer
2x DIY VR Thumbscrew Head
There are print recomendations for most of the important parts in the video, except for the front cover. It's a difficult print to do well, and would ideally be printed back-side down with support interface material enabled. If you can't do multi-material prints, your next best bet would be to print it front-side down and just expect to do some cleanup on the front beveled edges.
Electronics
Only four connections are needed between the Arduino and the IMU; VCC, GND, SCL and SDA. If you decide not to use the PCB, you can just wire them manually as follows:
 Arduino |  IMU
----------------
  VCC    |  VCC
  GND    |  GND
  D2     |  SDA
  D3     |  SCL
Use the +5v and GND pins on the PCB (or equivalent if you're going without the PCB) to power the HDMI driver board from the head tracker module. Use a multimeter to confirm which of the two pads is the ground before you connect anything! On my unit, the circular pad was ground and the square pad was +5v!
Head Tracking Software/Firmware
The head tracking relies on the Relativity VR driver and the FastIMU Arduino library.
To install/flash the FastIMU firmware onto your head tracker, follow this guide:
The one thing they don't mention in the guide is that you may need to change the IMU address and name on lines 13 and 14 to match your module. You can flash and run the Example "IMUIdentifier" to find out what values to include.
When you complete the head tracker calibration both in Arduino Studio and later in SteamVR, ensure your headset is sitting flat on the table. You will need to prop it up with something so that the face plate isn't making the unit sit at an angle otherwise your home position will be off.
Next you will need to install and configure the Steam VR driver. Here is a link to the guide!
Ensure you follow the guide closely. During the configuration, you will need to set the VID and PID of your board as it will be different to the one used in their drivers. Use the identify board info option in Arduino Studio to display the VID and PID values. They will be in HEX format and need to be converted to Decimal before you can enter them into the configuration!
The window X and Y setting will depend on your PC setup so read the guide for how to set that up, but the correct settings for everything else are as follows:
"windowWidth" : 2880,
"windowHeight" : 1440,
"renderWidth" : 2880,
"renderHeight" : 1440,
If you can't get through the room setup in SteamVR, chances are you've got something wrong in either the driver configuration or you haven't got the correct IMU selected in the Arduino sketch.
Physical Build
Refer to the project video for build steps and I will add anything here in future if anyone requests extra information!
Diy 3D Printed VR Headset

Publicado em 7 de abr de 2026
Gostou deste modelo? Crie uma conta grátis para salvar seus favoritos e voltar a eles depois.
Criar conta