Você está no 3DFinder
Buscamos em Thingiverse, MakerWorld e Printables ao mesmo tempo para te dar o melhor de cada uma.
Descrição
Customisable Modula Hotend & Accessories Box (v3)
Features
- Arrange interlocking cutout inserts as you see fit.
- Rugged box design with a strong clasp mechanism.
- Several pre-made cutout inserts provided (Bambu Lab A1, P1, P2, X1, X2, H2, H2C).
- Blank insert included for customization.
- Blank lid or optional lid with Bambu logo provided.
- New deeper v3 Lid option to accomodate lid insert.
- Included Autodesk Fusion file (.f3d) of a blank insert, ready to edit.
NOTICE: This version is not compatible with my V1 modular box. This is a new and improved design with better clearances and fitments.
YouTube Video Instructions for adding your own logo
Assembly Instructions
- Attach the lid to the bottom using 2x M3, 30mm hex screws.
- Screws should be driven from outside in. Do not over-tighten.
- Attach the clasp to the lid using 2x M3, 30mm hex screws.
- Screws should be driven from outside in. Do not over-tighten.
- Screw the latch catch screws into the lower latch receiver.
- Screws should be driven from outside in. Do not over-tighten.
Install the bottom spacer so that the tabs face outward (toward top of box).
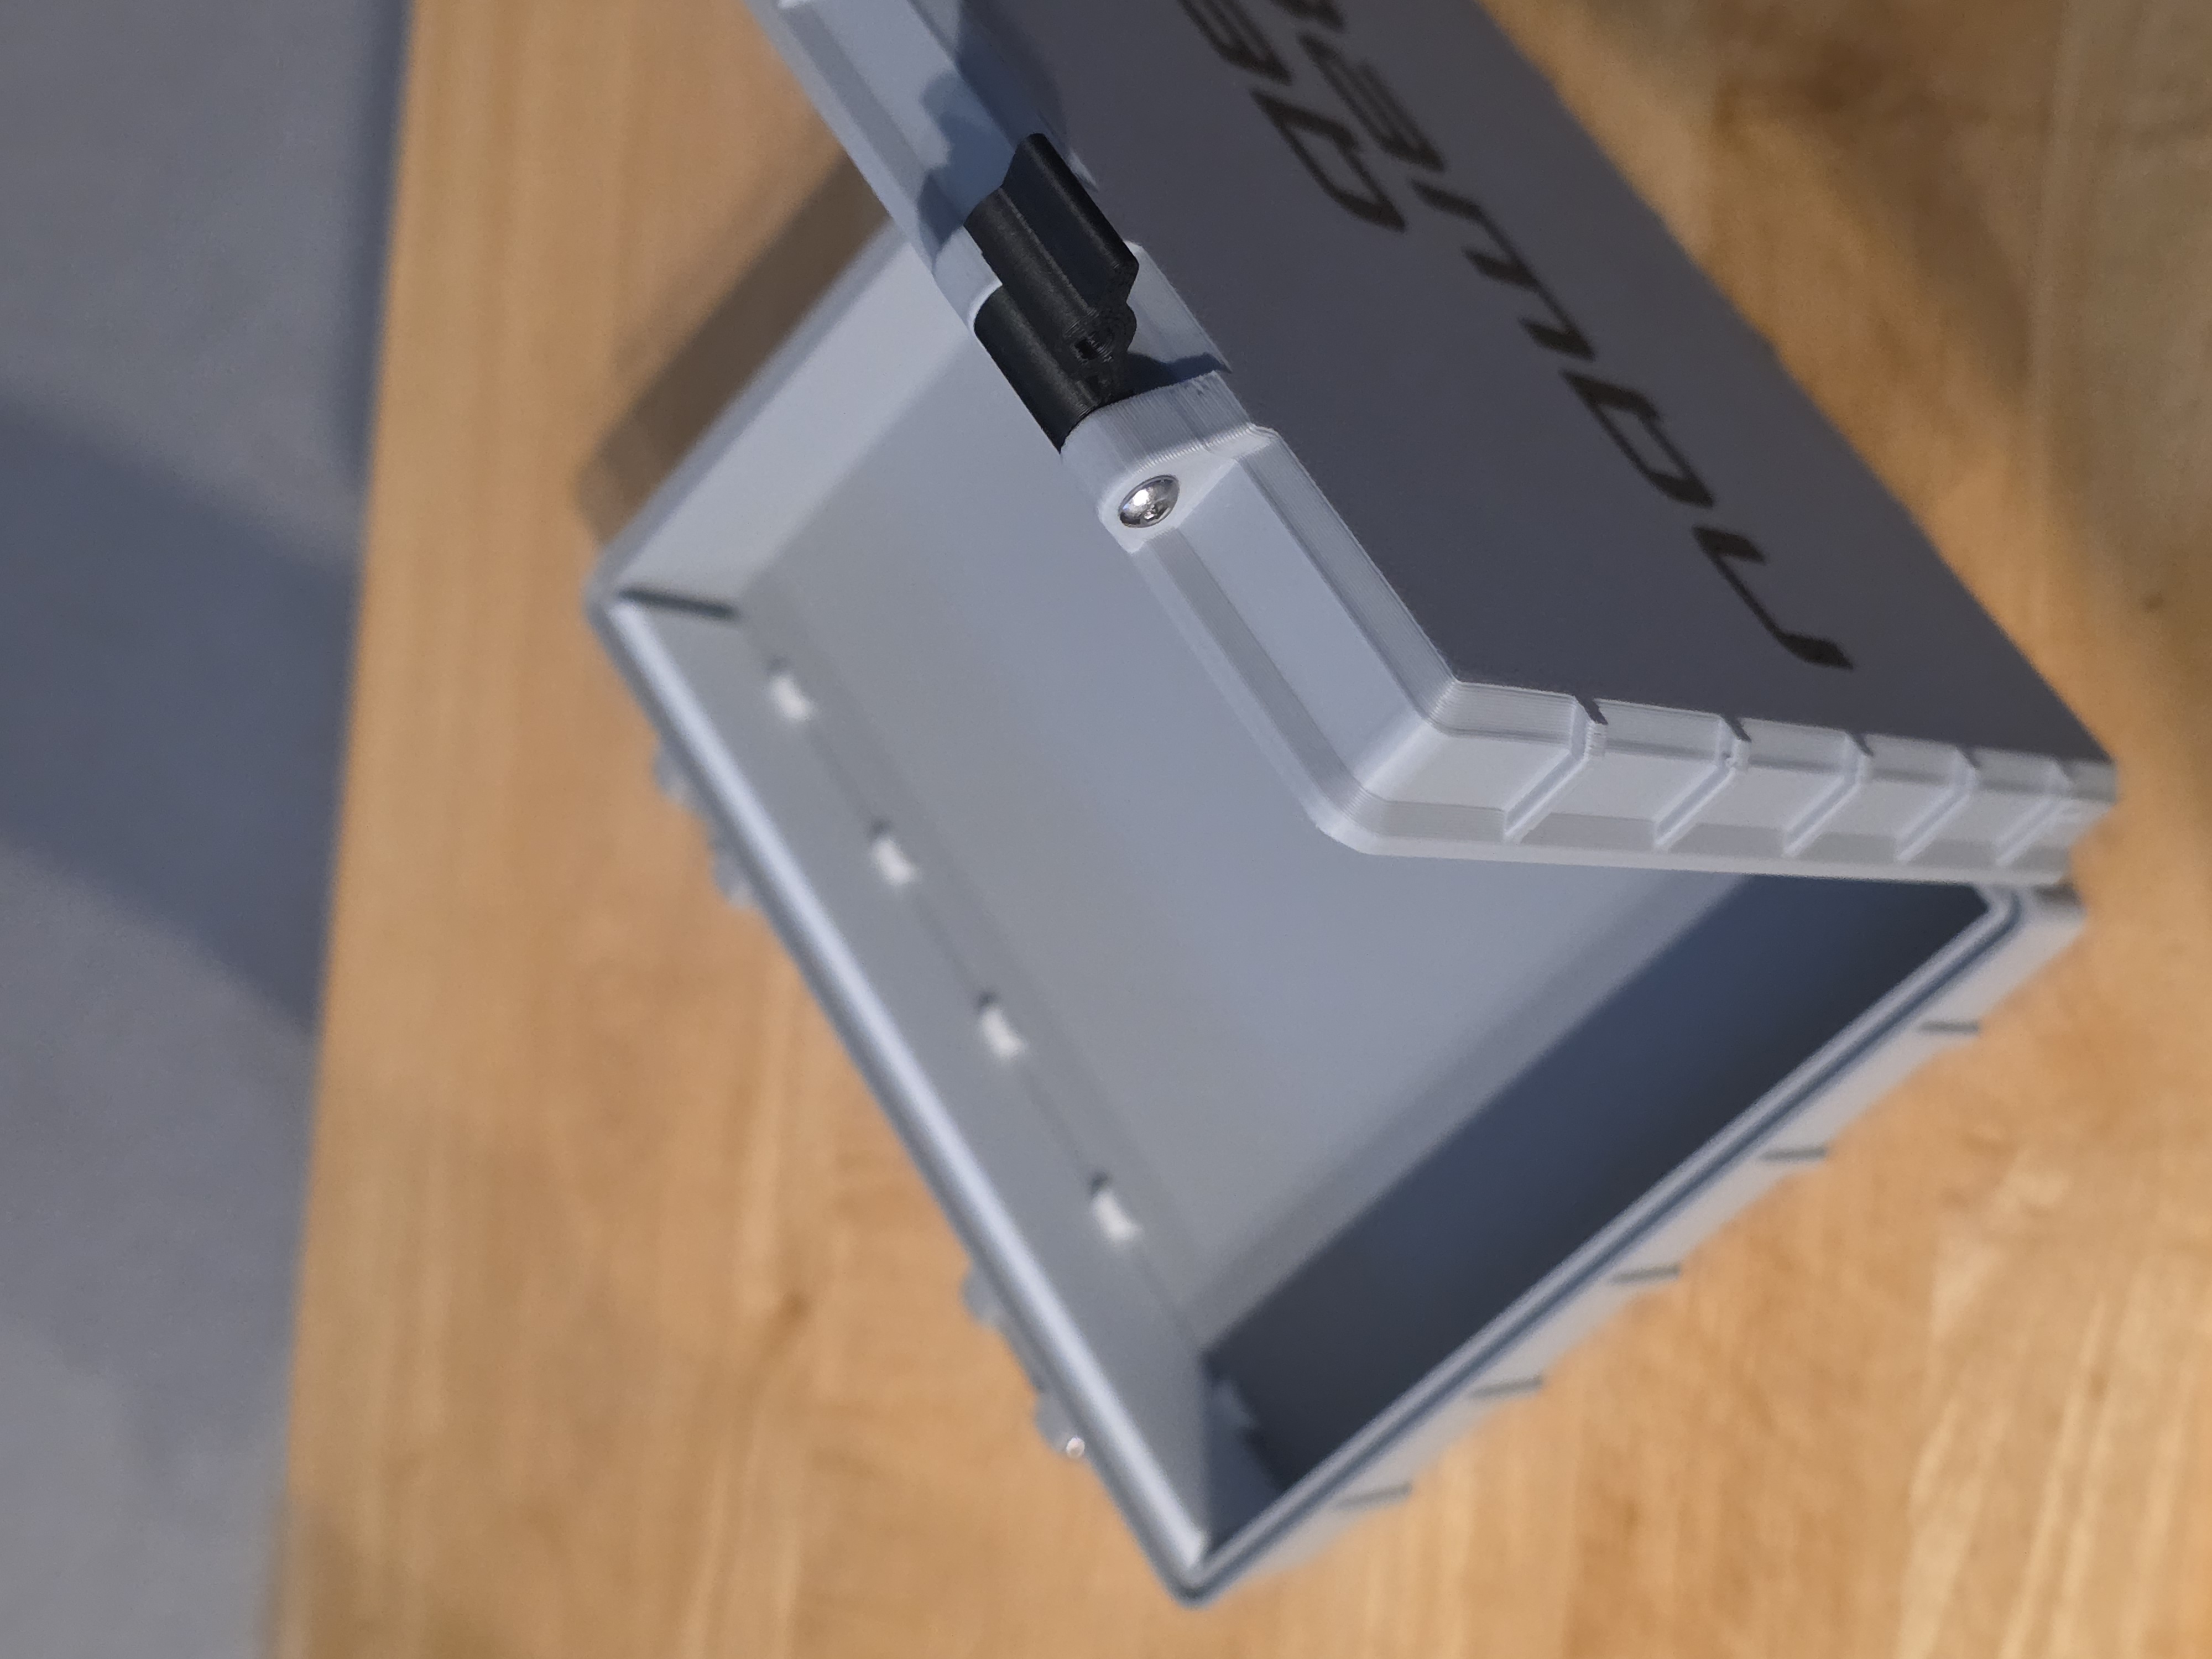
- Install the right spacer so that tabs face outward.
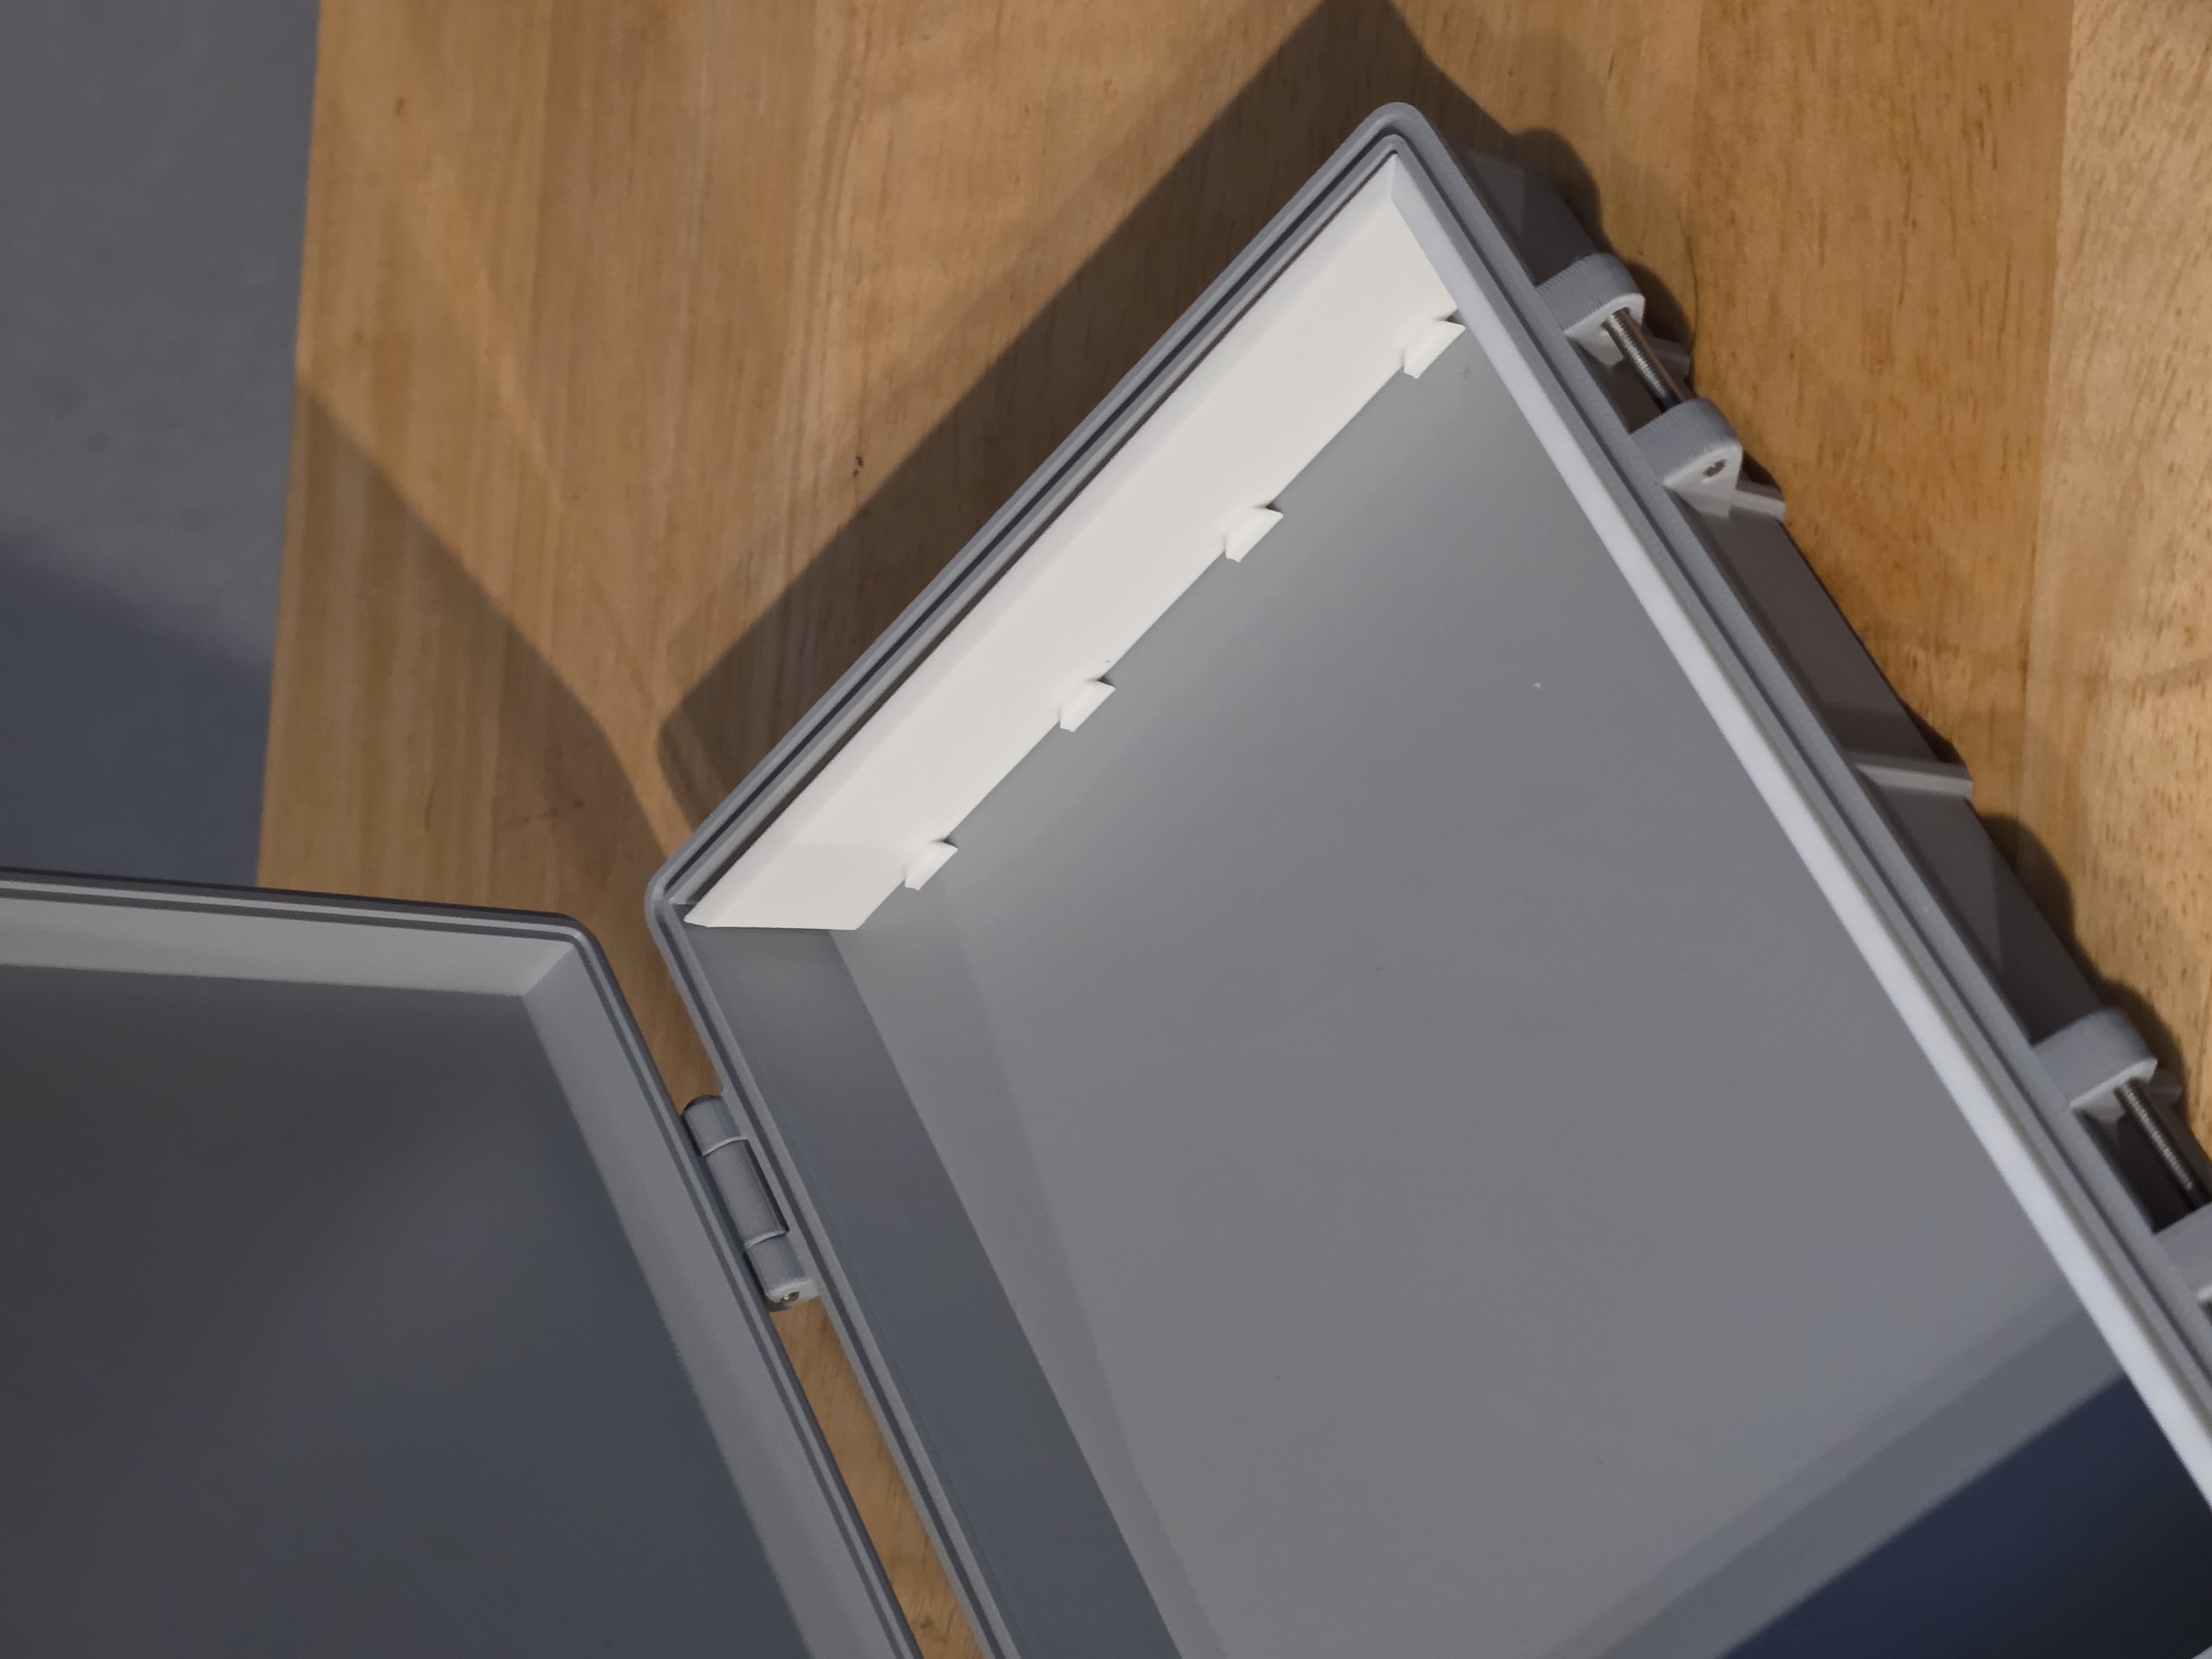
- Install the cutout insert you want in the bottom-right position.
- Always install inserts from bottom, right-to-left.
Slide inserts down onto the tabs, one at a time, to interlock them.
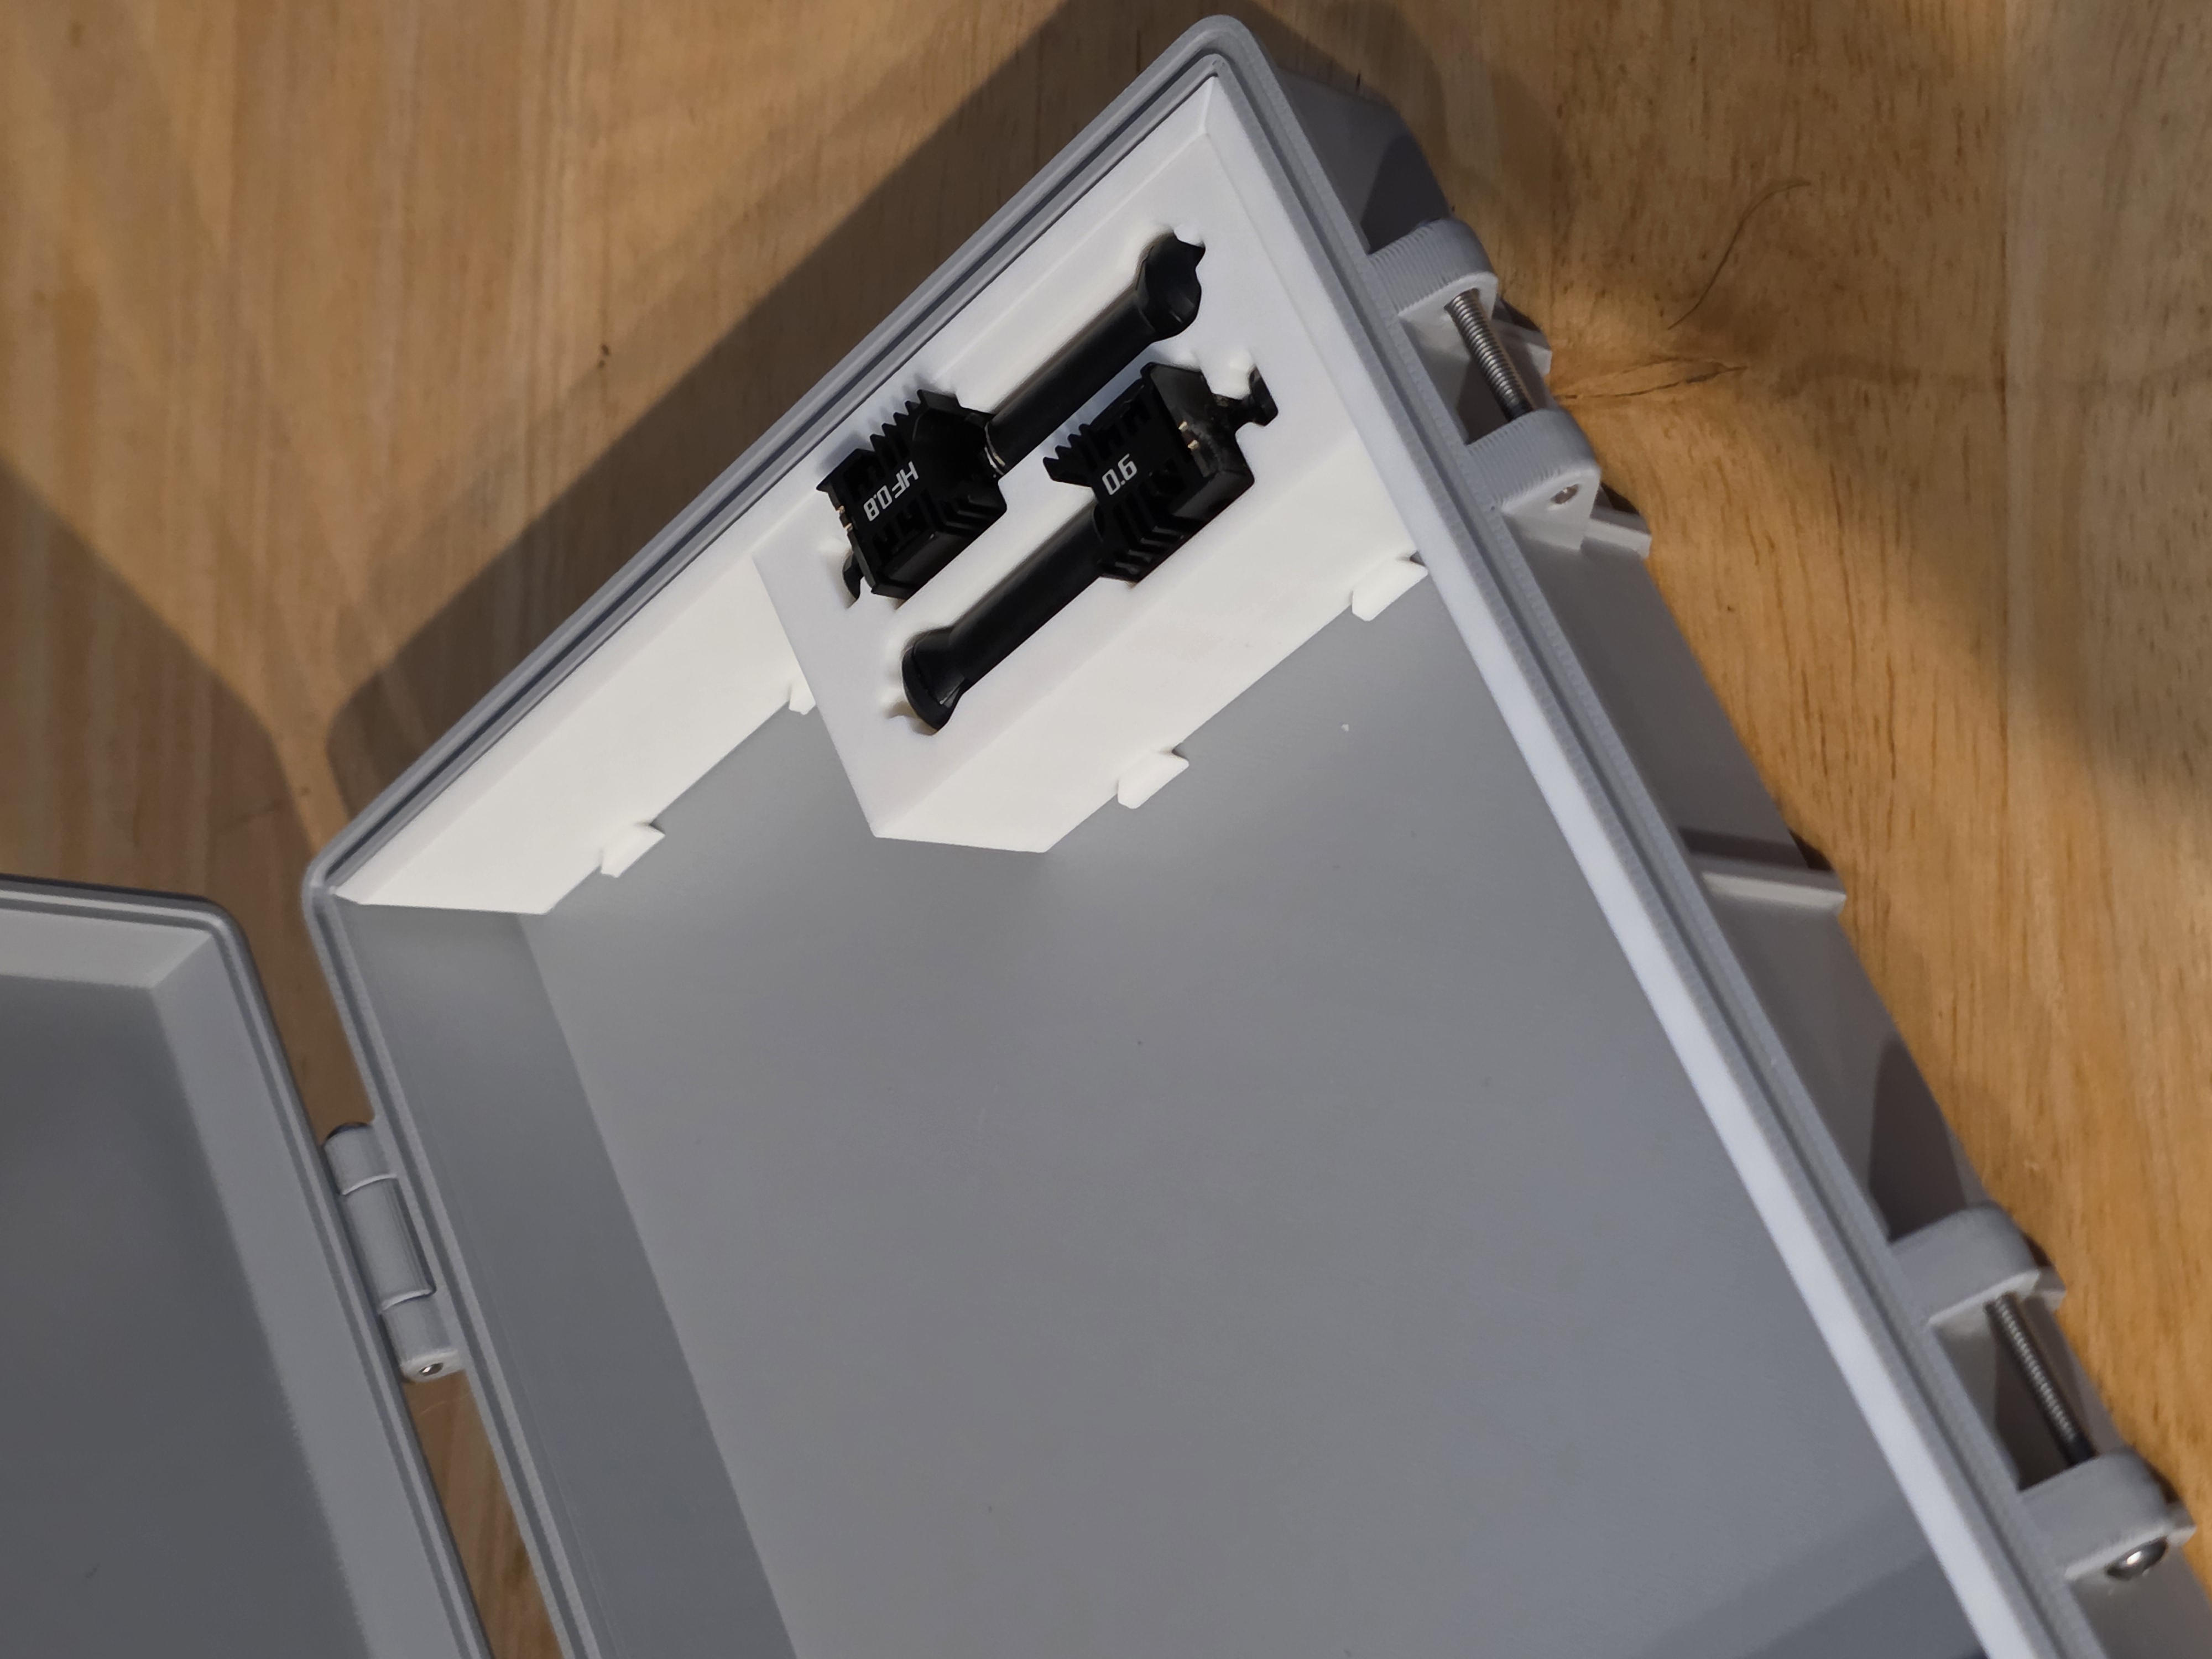
Continue installing inserts, one at a time, along the bottom row, from right-to-left.
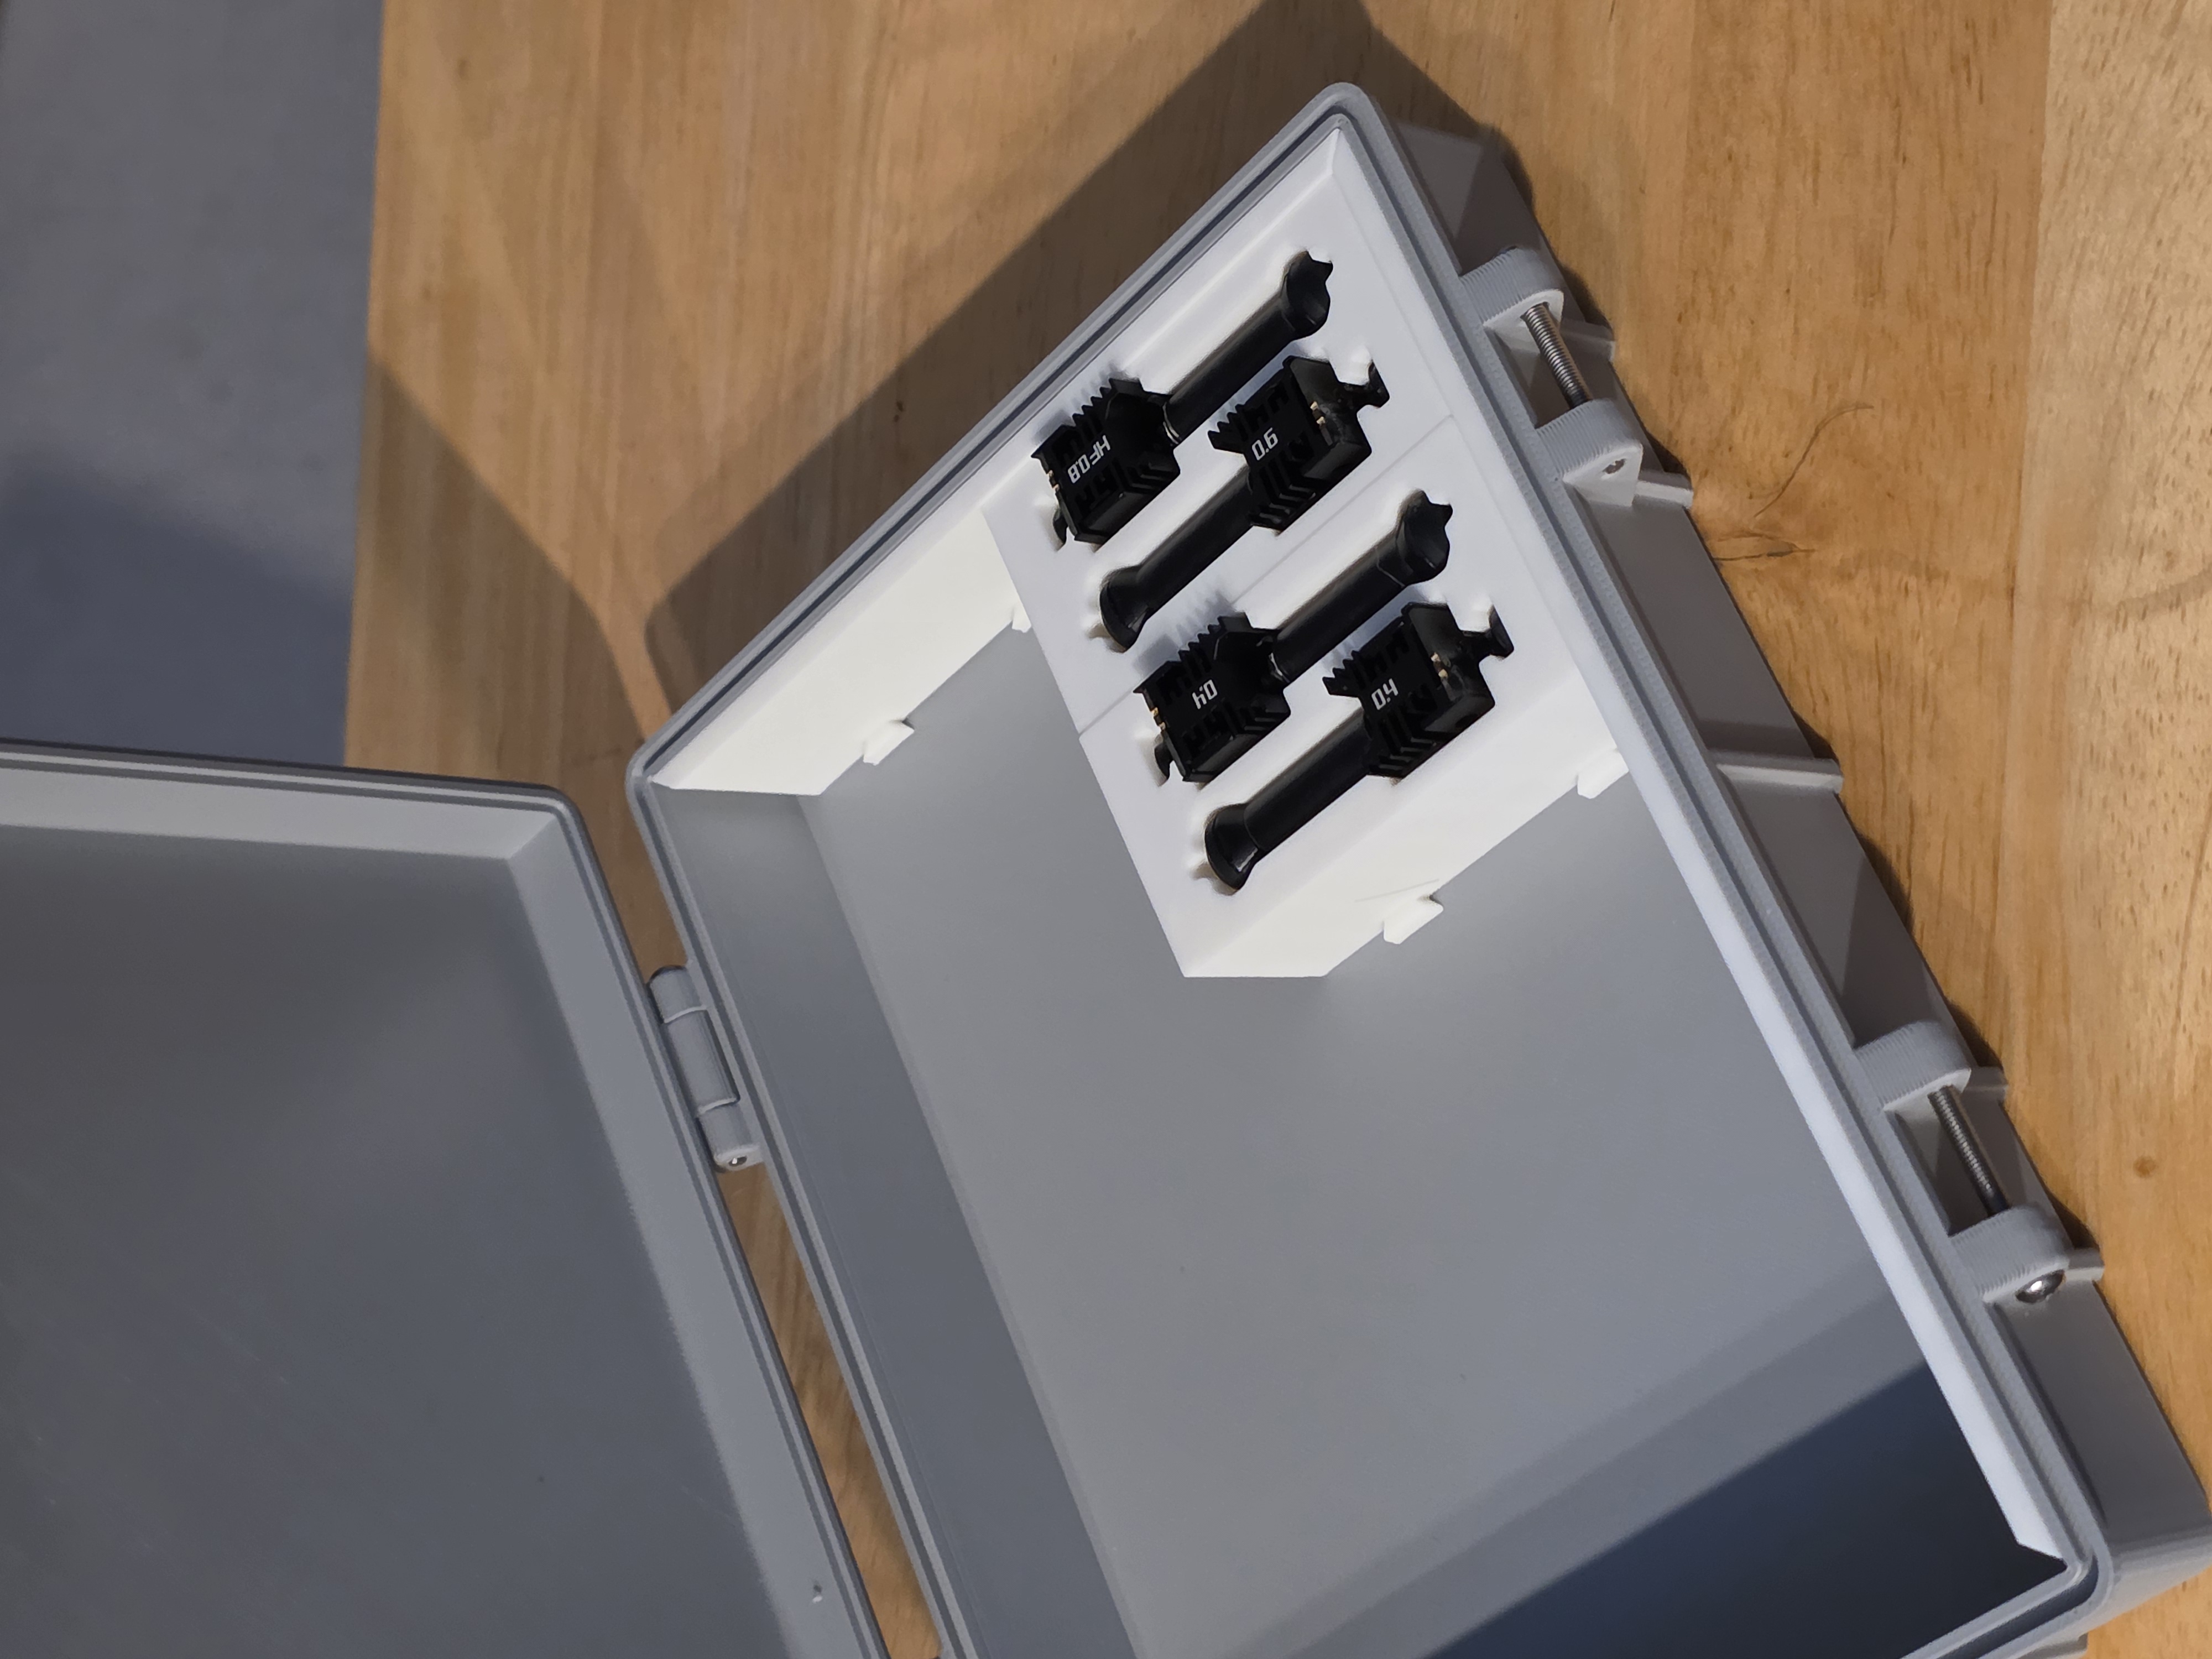
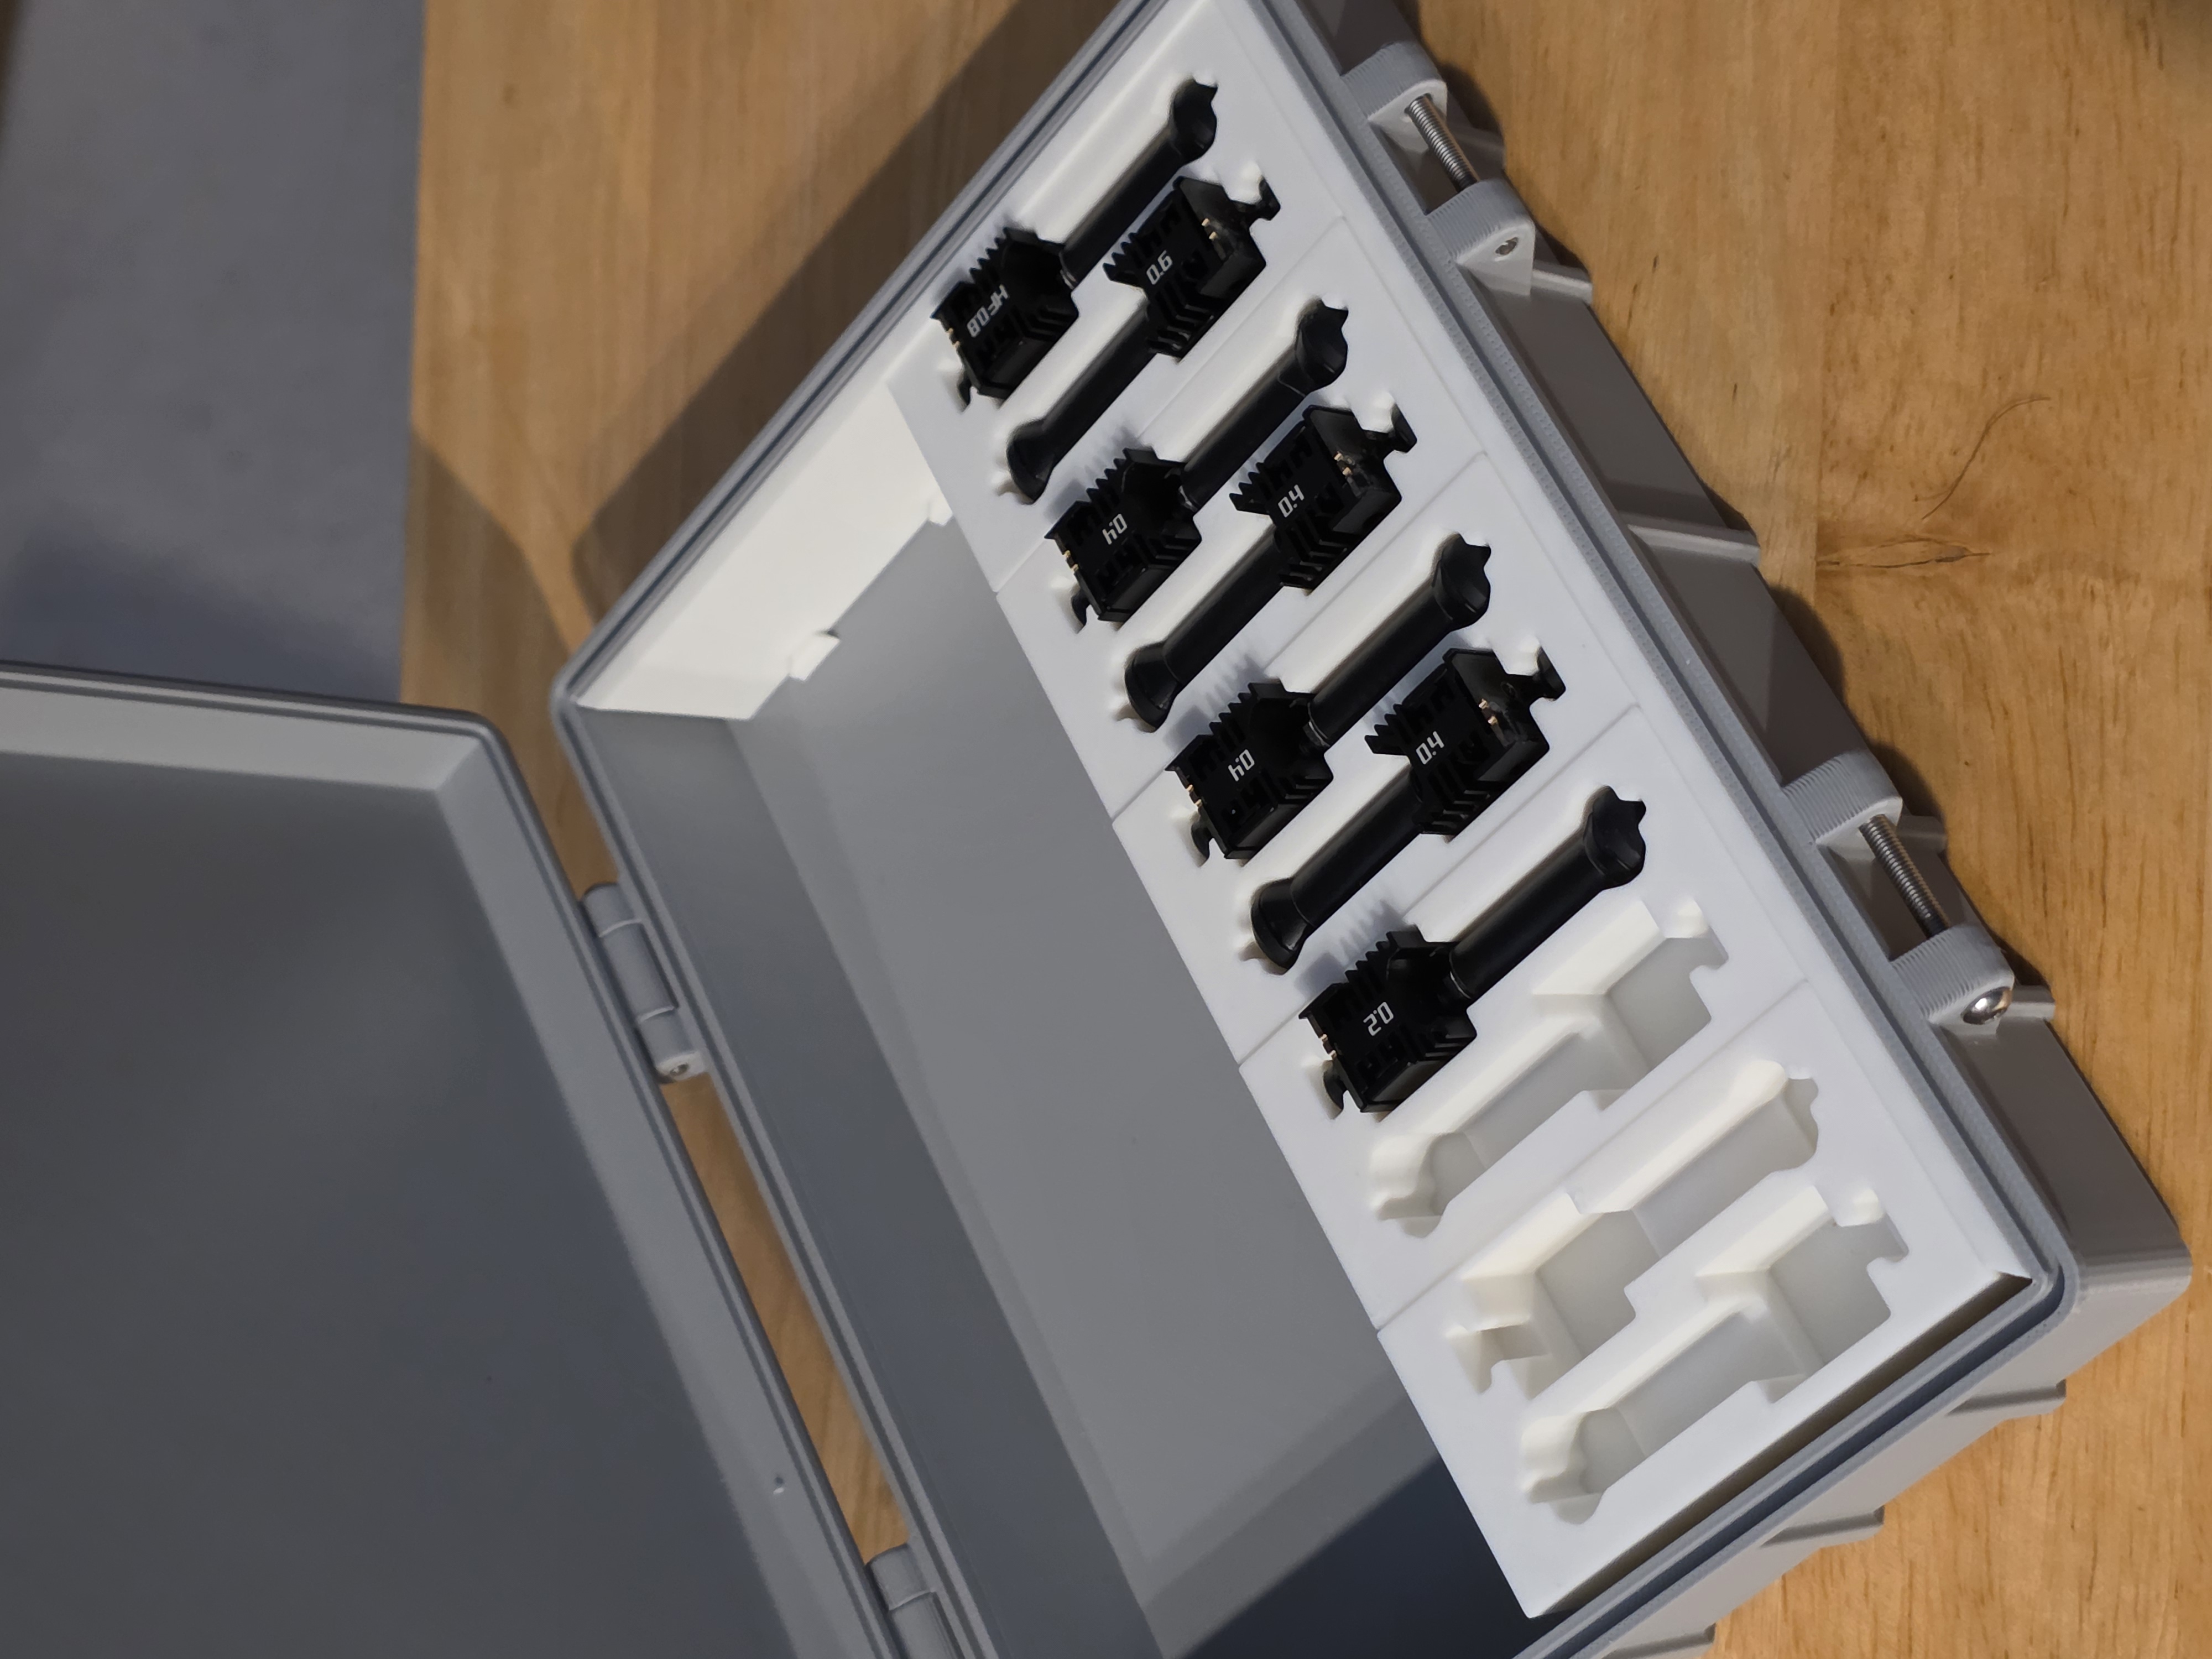
Then install top row of inserts from right-to-left, interlocking each as you go.
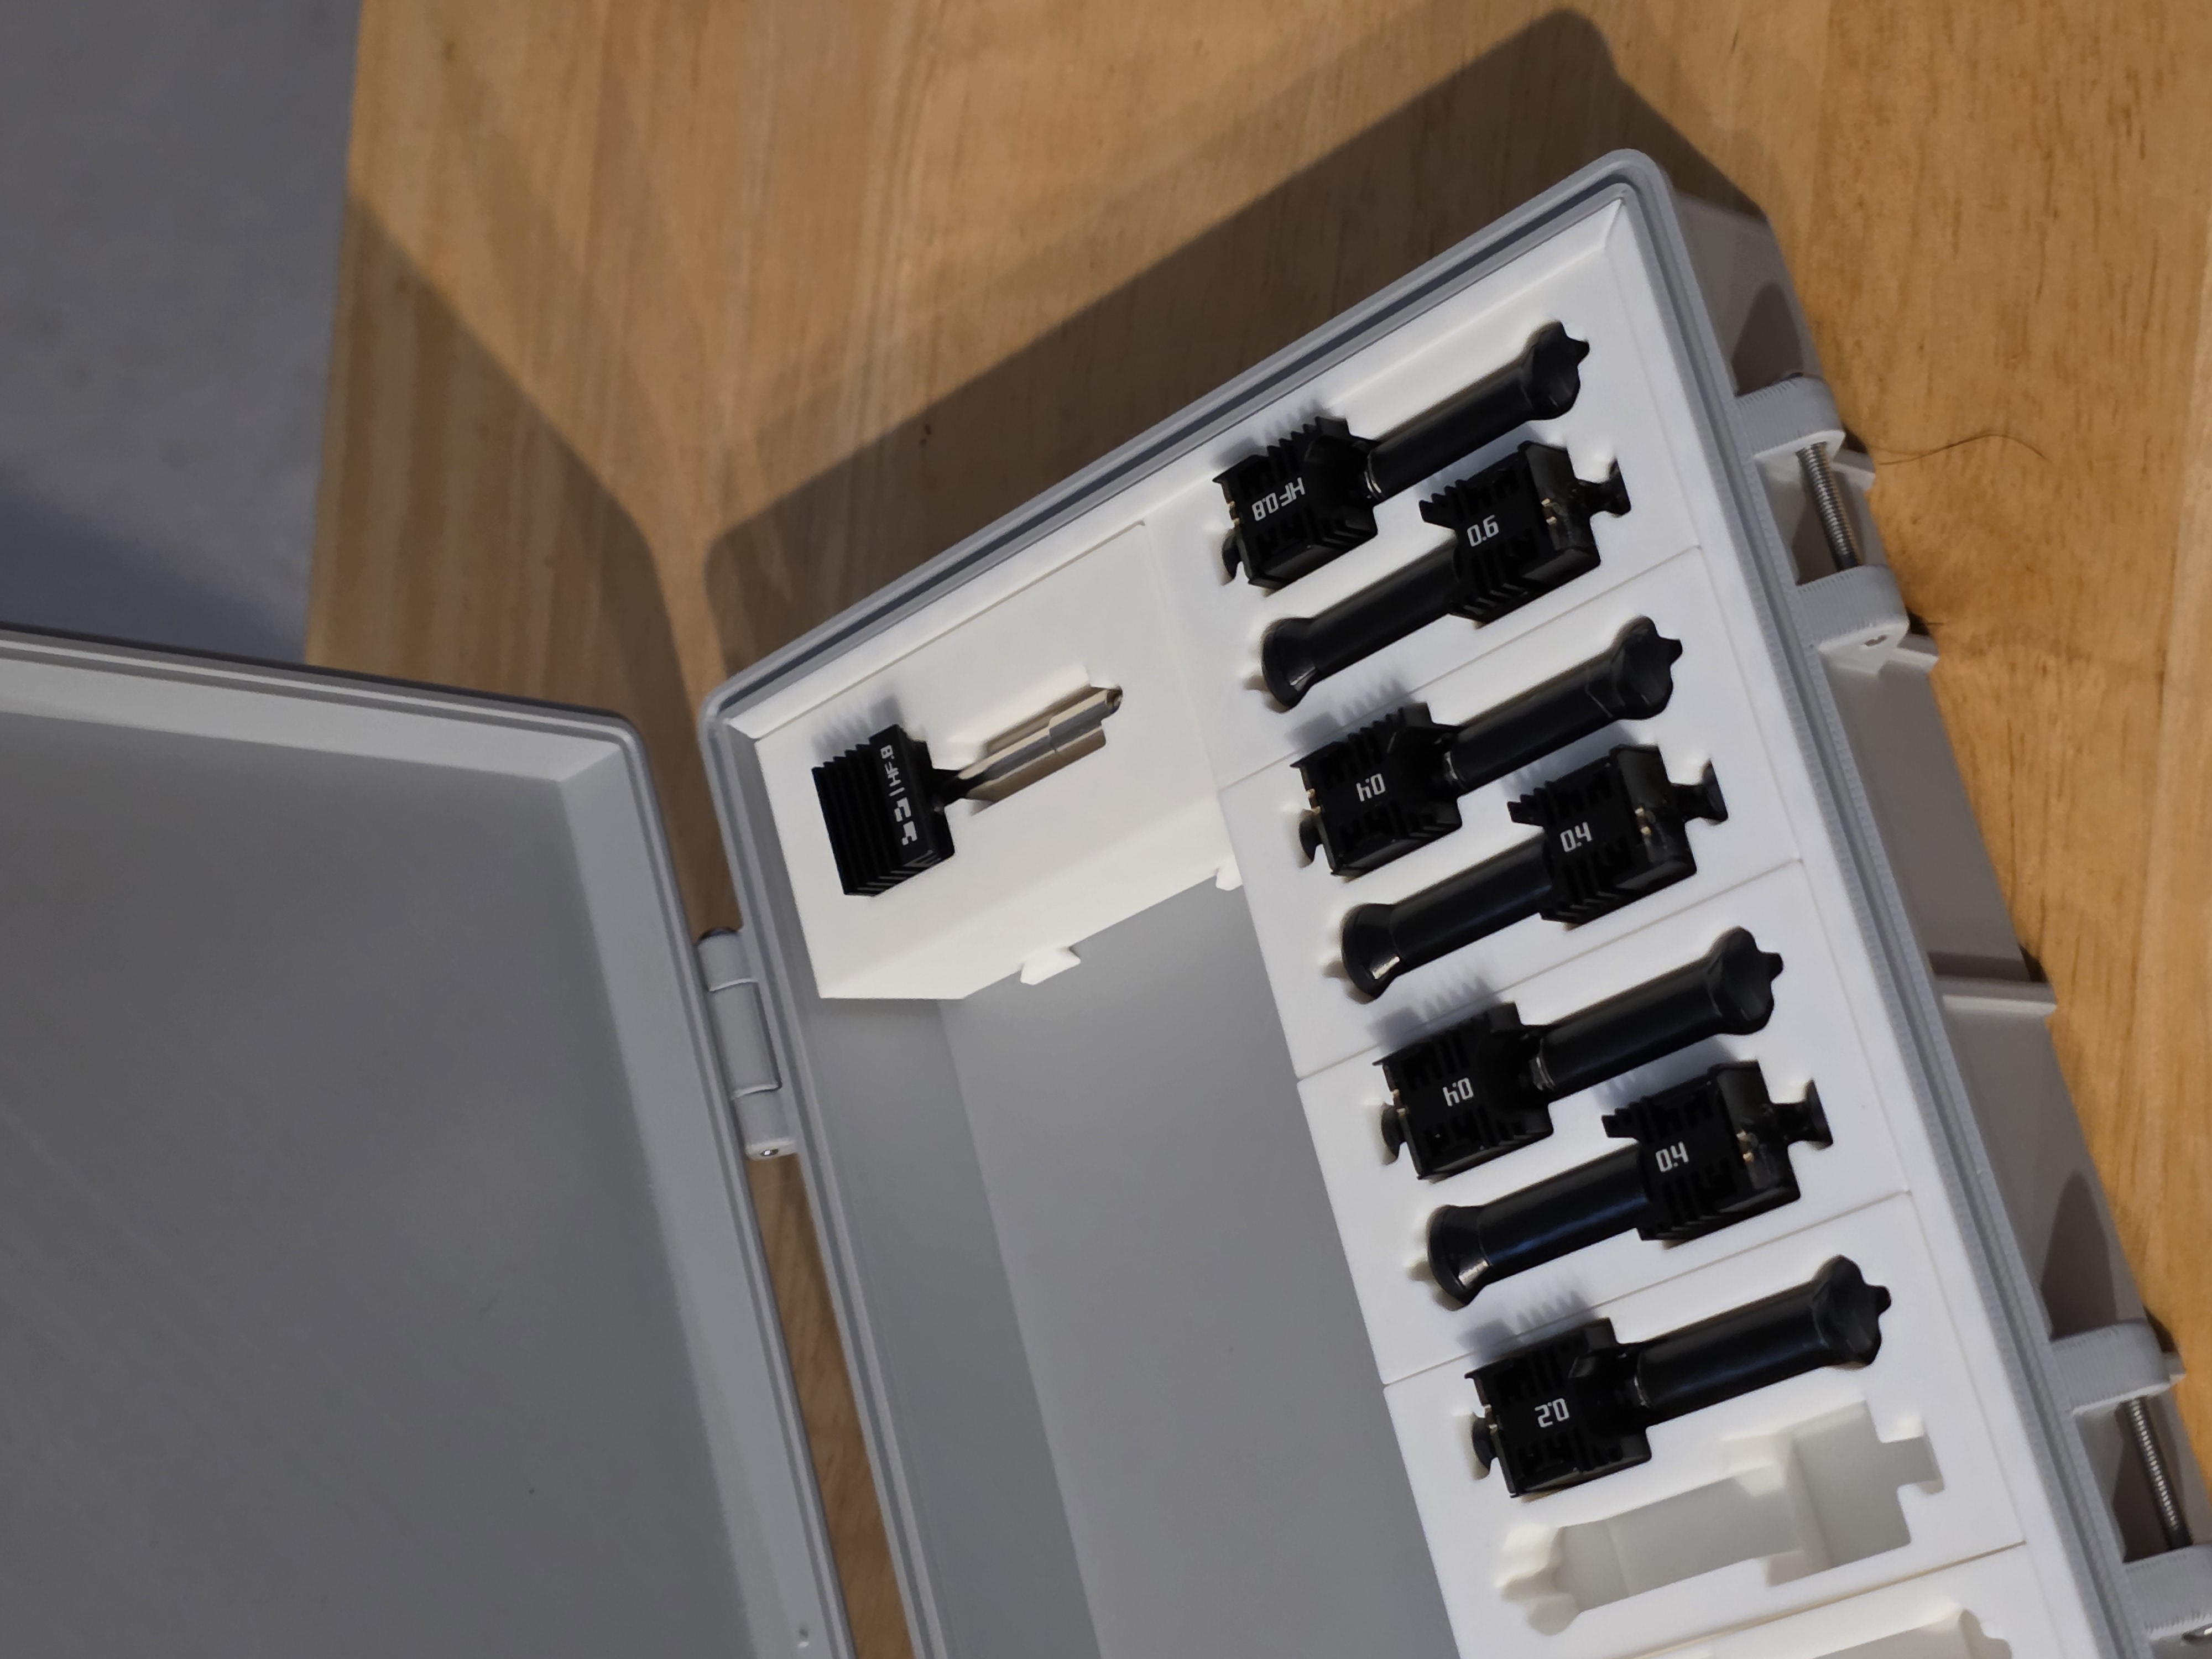
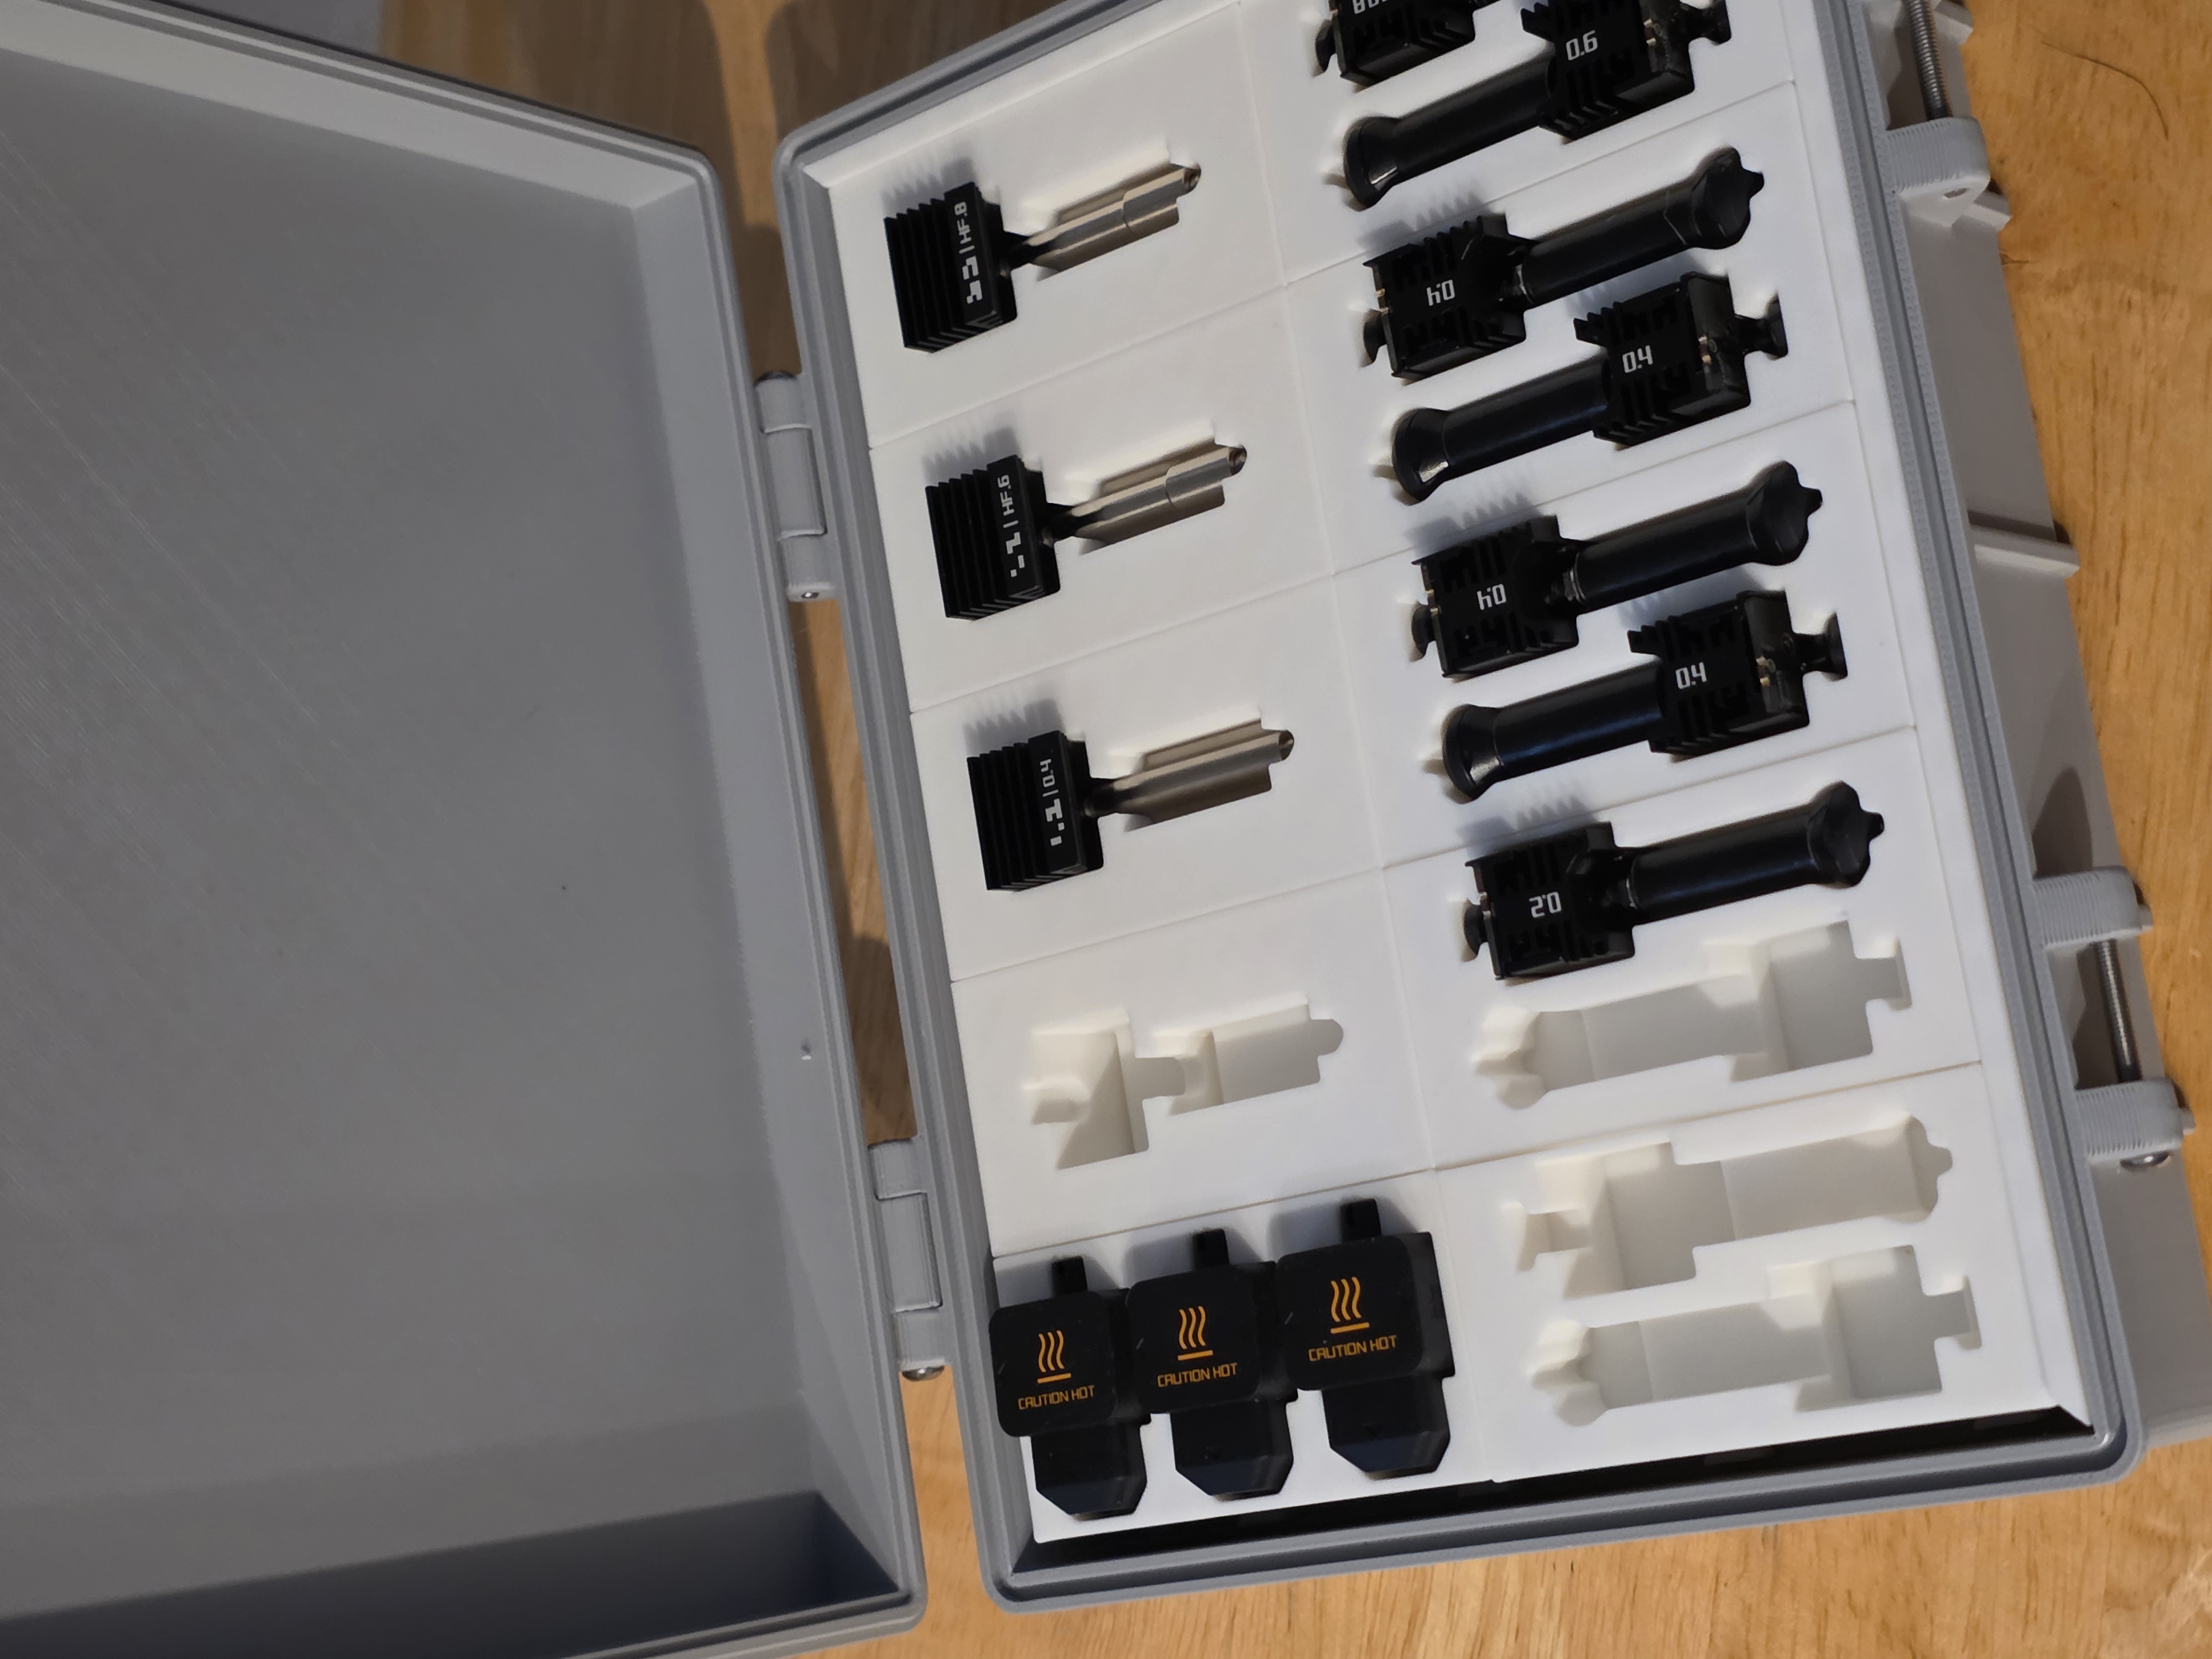
- Now install the left spacer, having female tabs facing outward.
- Using the edge, you can pry a gap and snugly press it into place, starting from an angle, from back to front (as shown)
- Note: spacers are designed to be 1mm taller than the insert boxes. All boxes, however, should be flush.
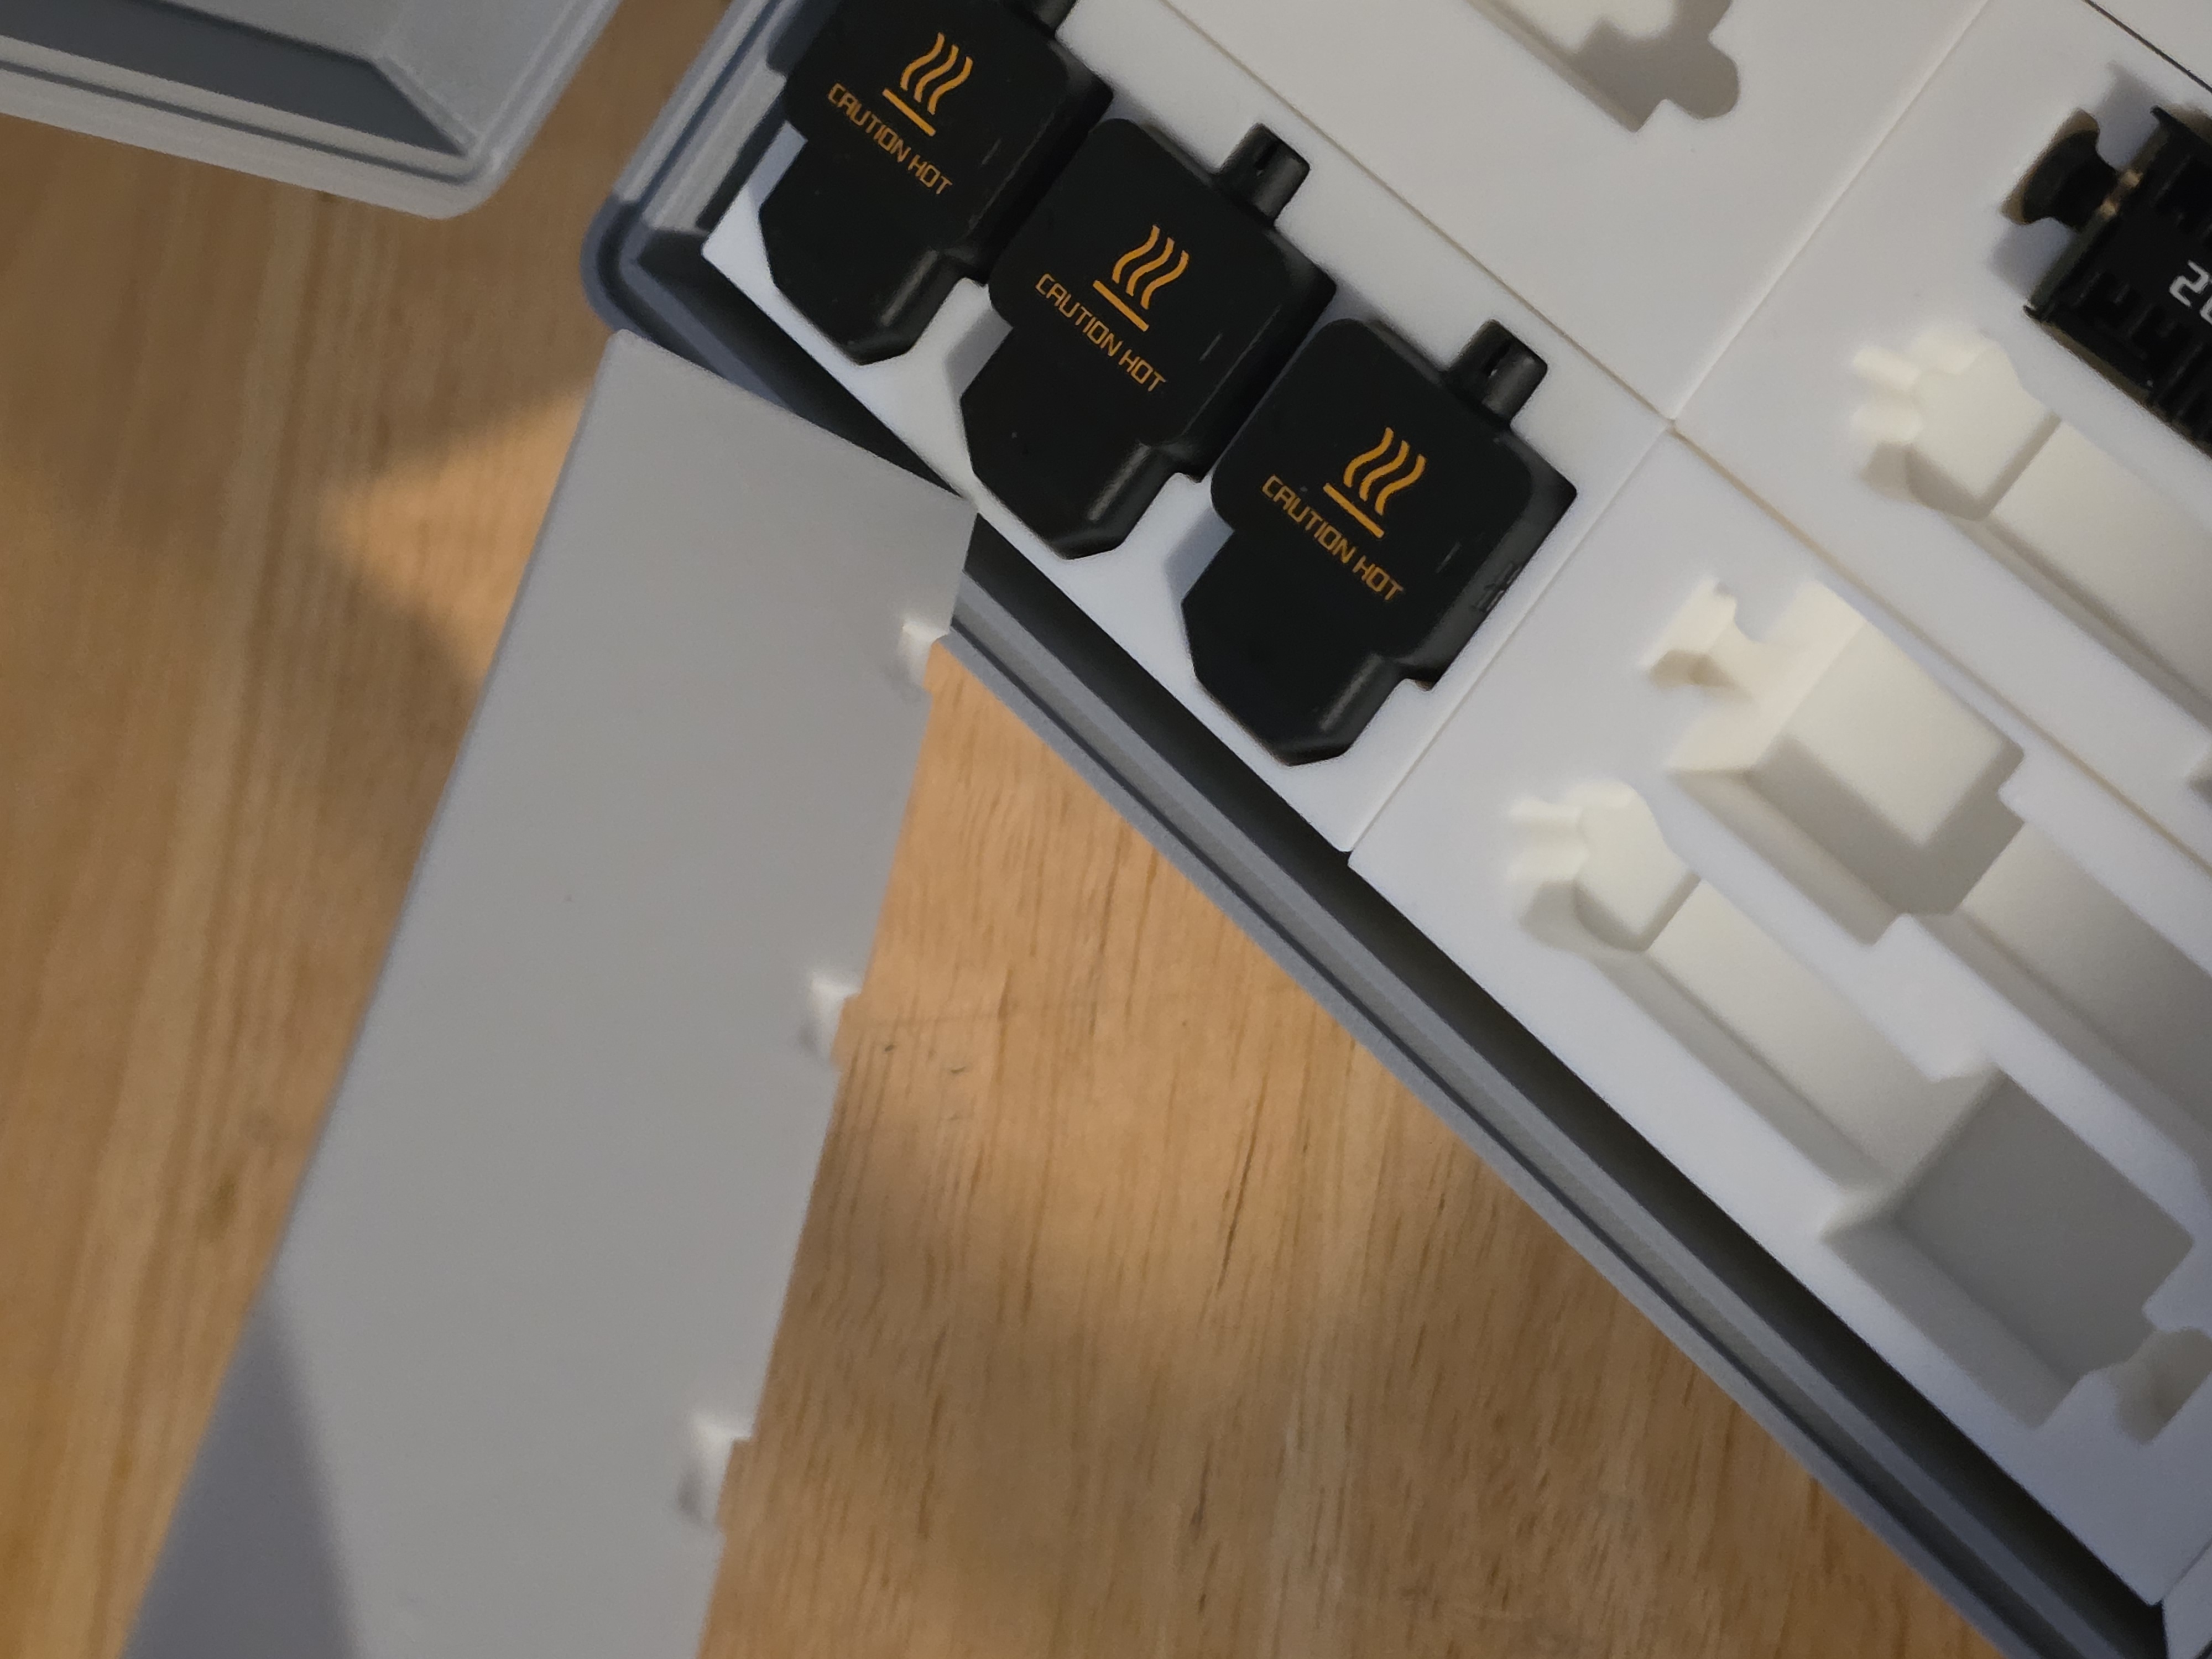
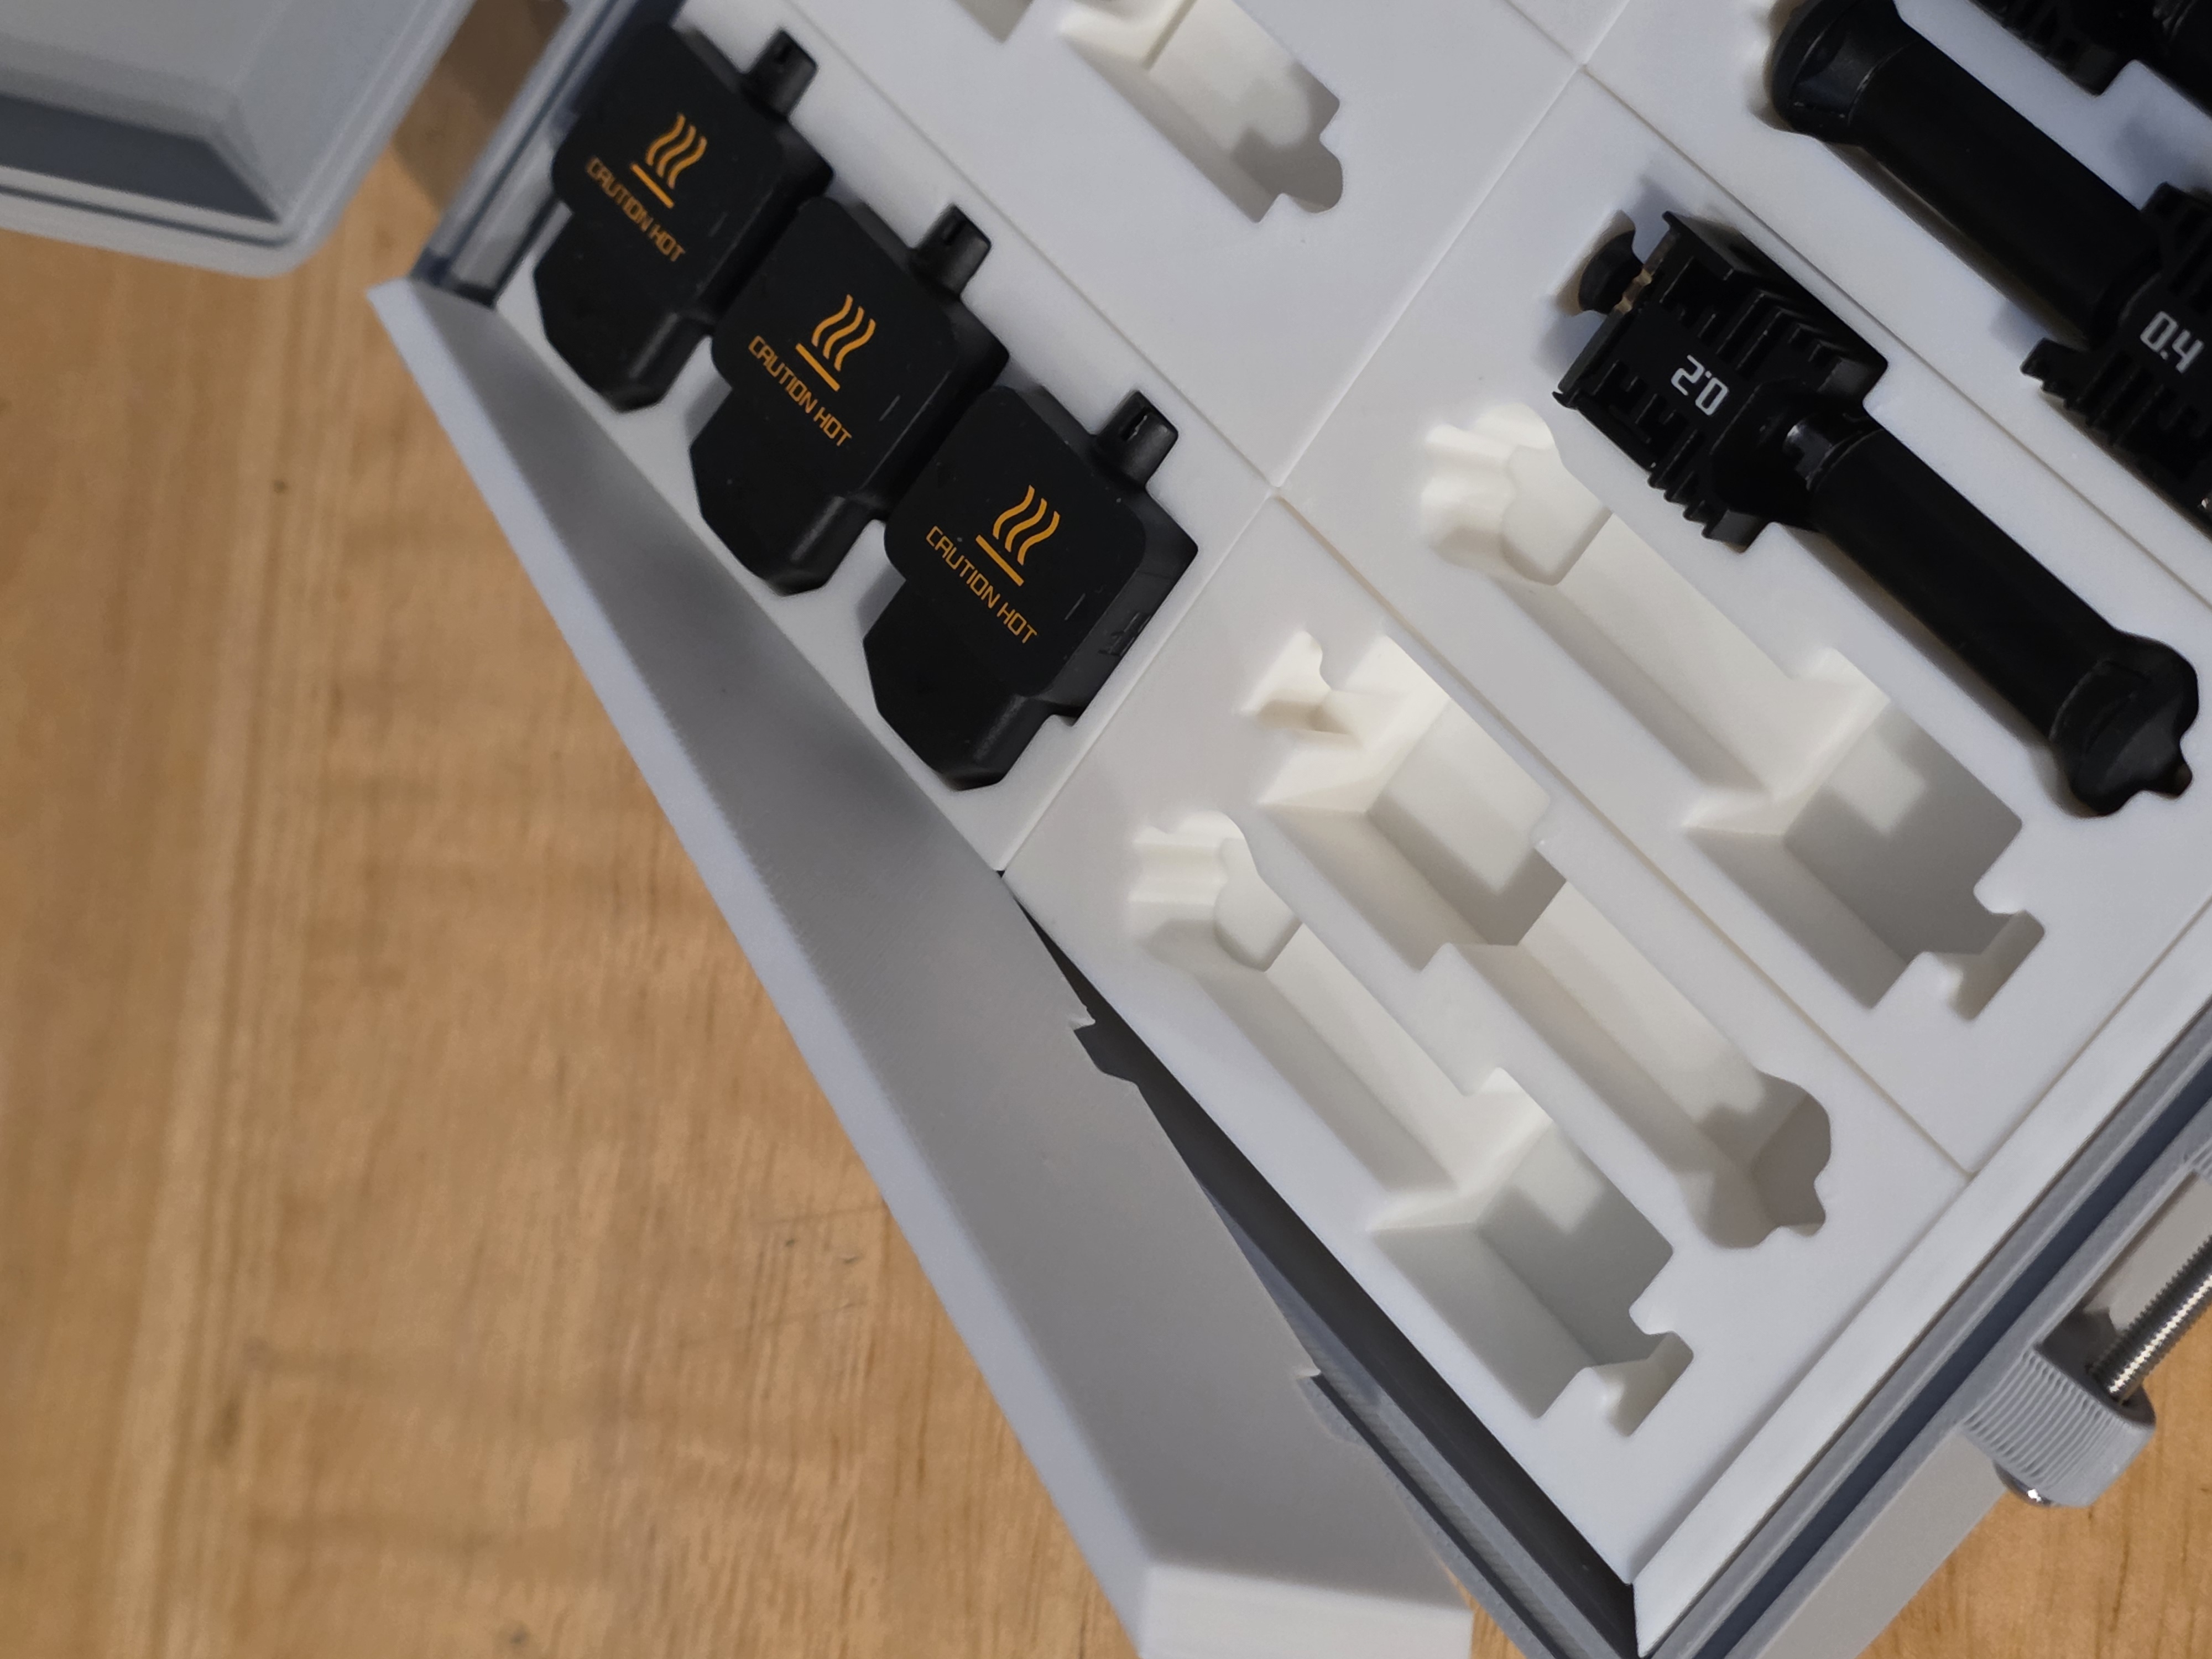
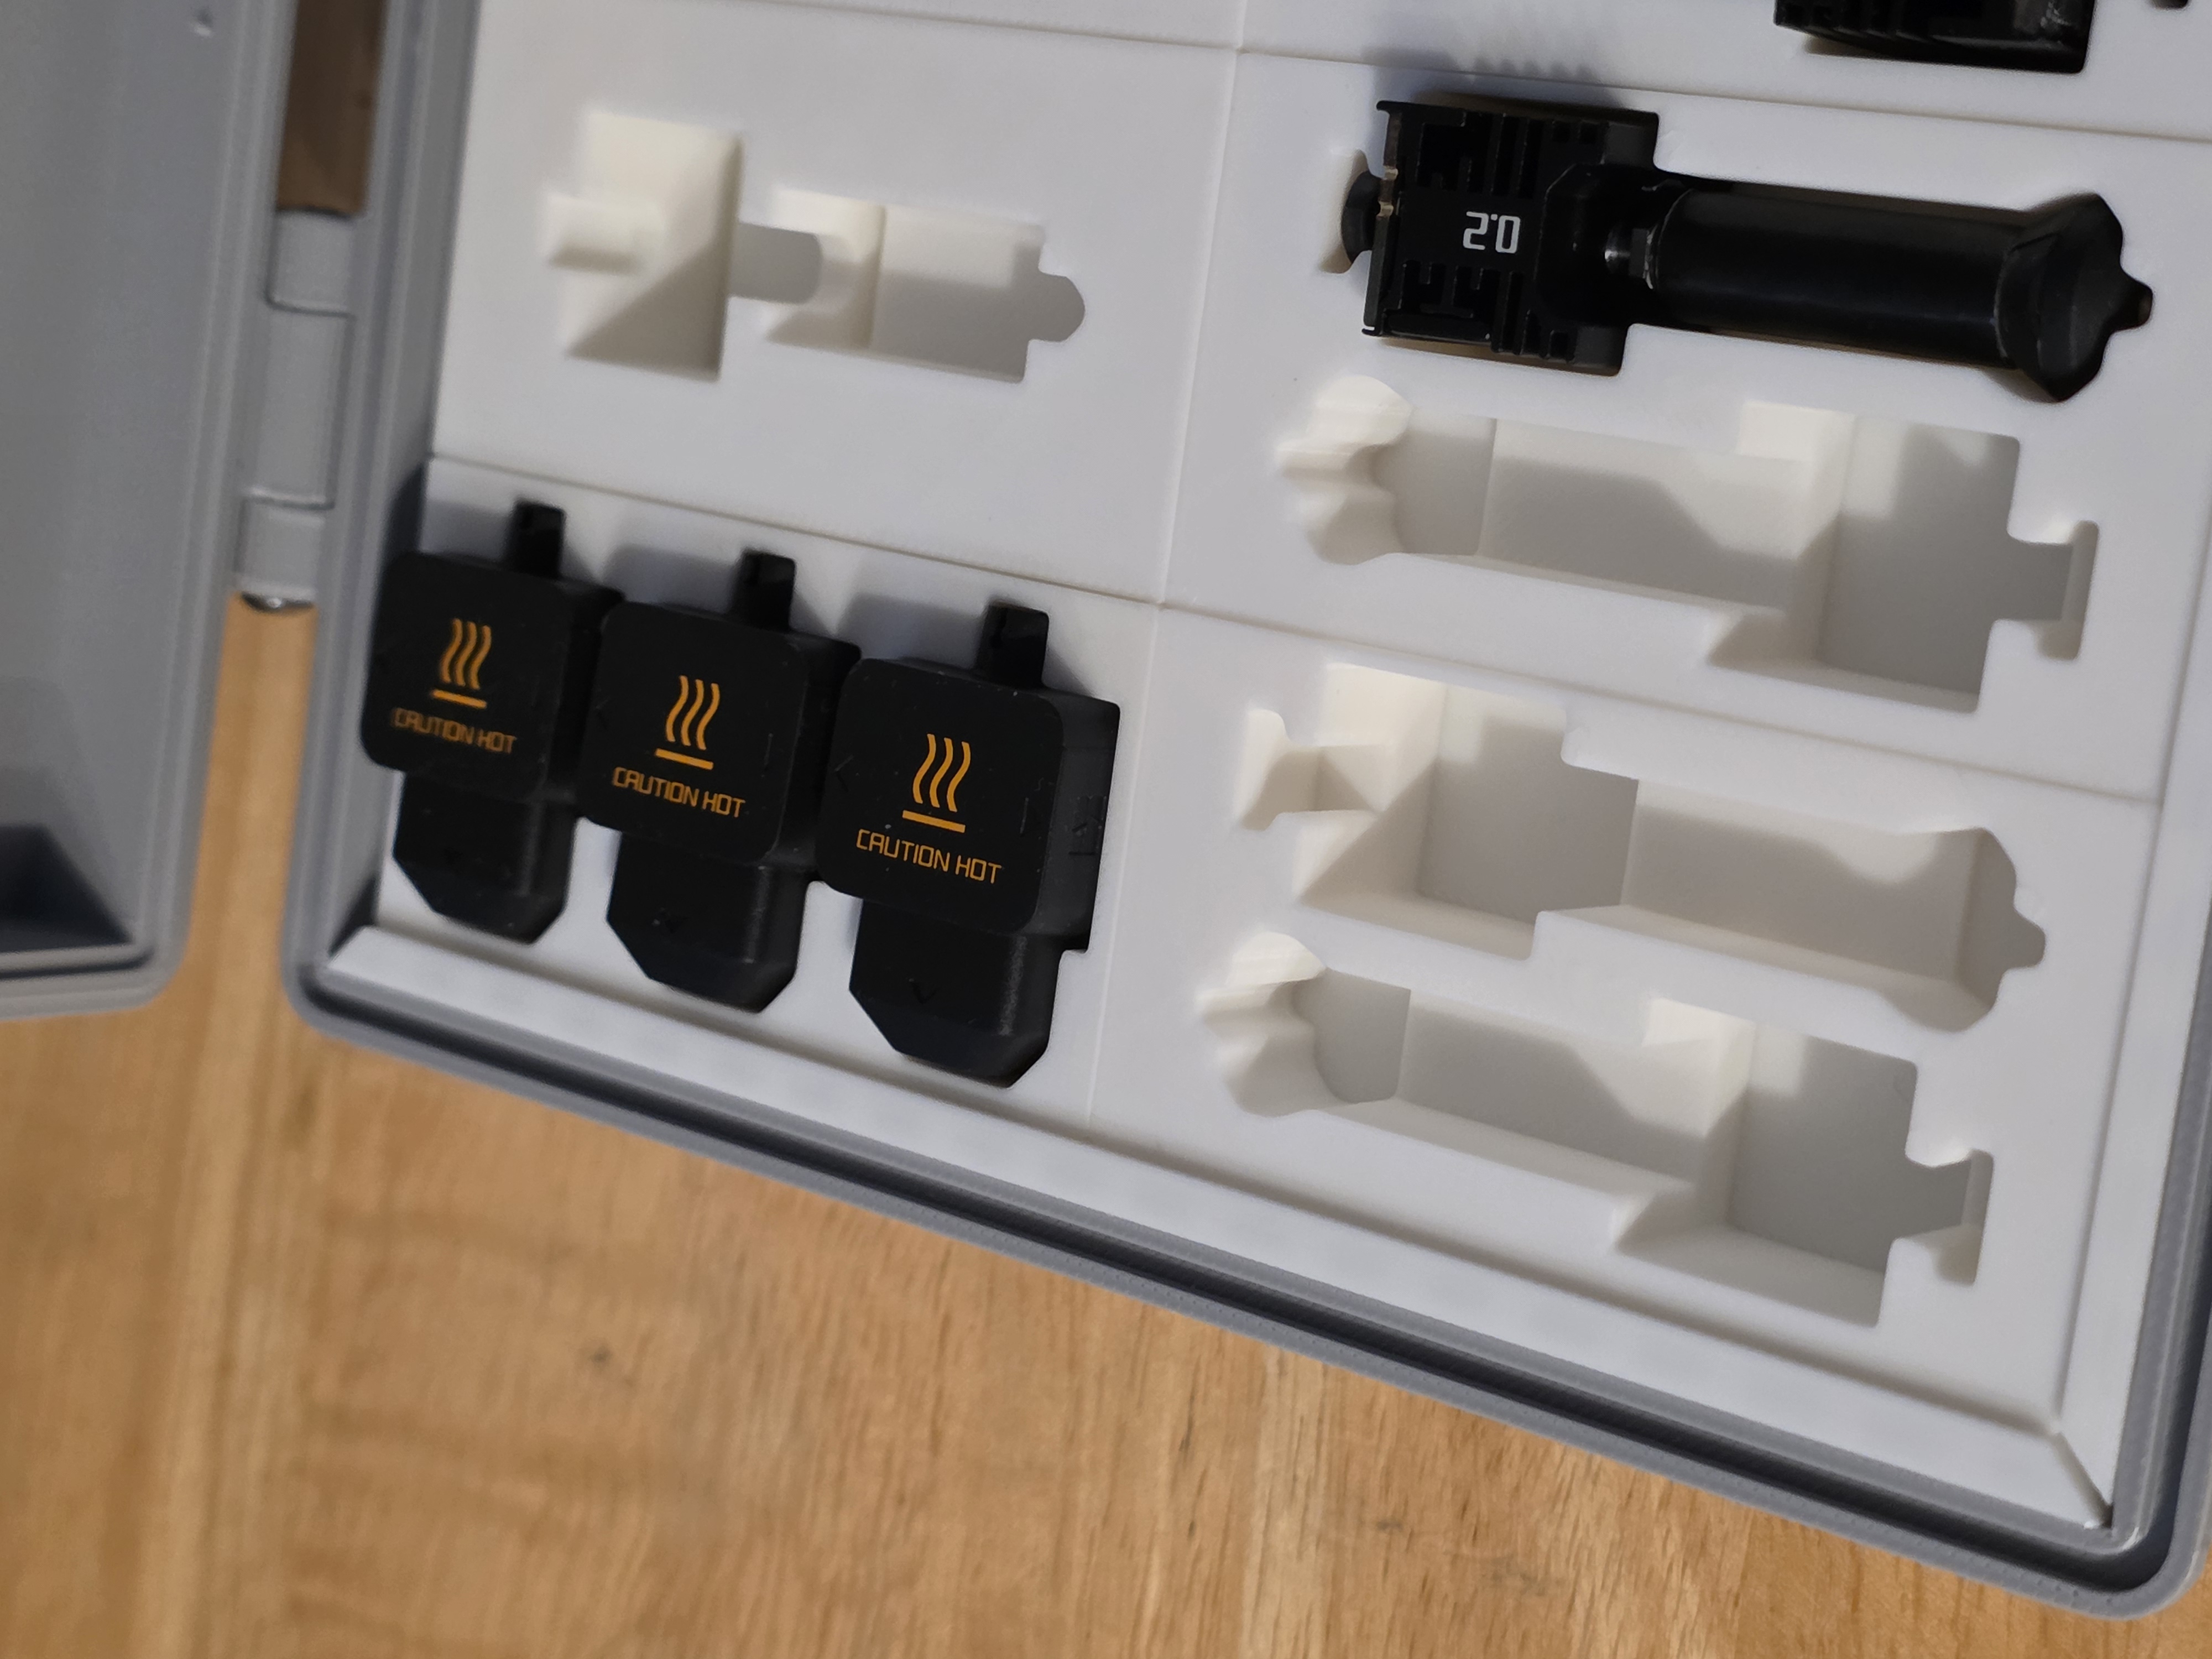
- Note: spacers are designed to be 1mm taller than the insert boxes. All boxes, however, should be flush.
Use a similar procedure for installing the top spacer (as shown)
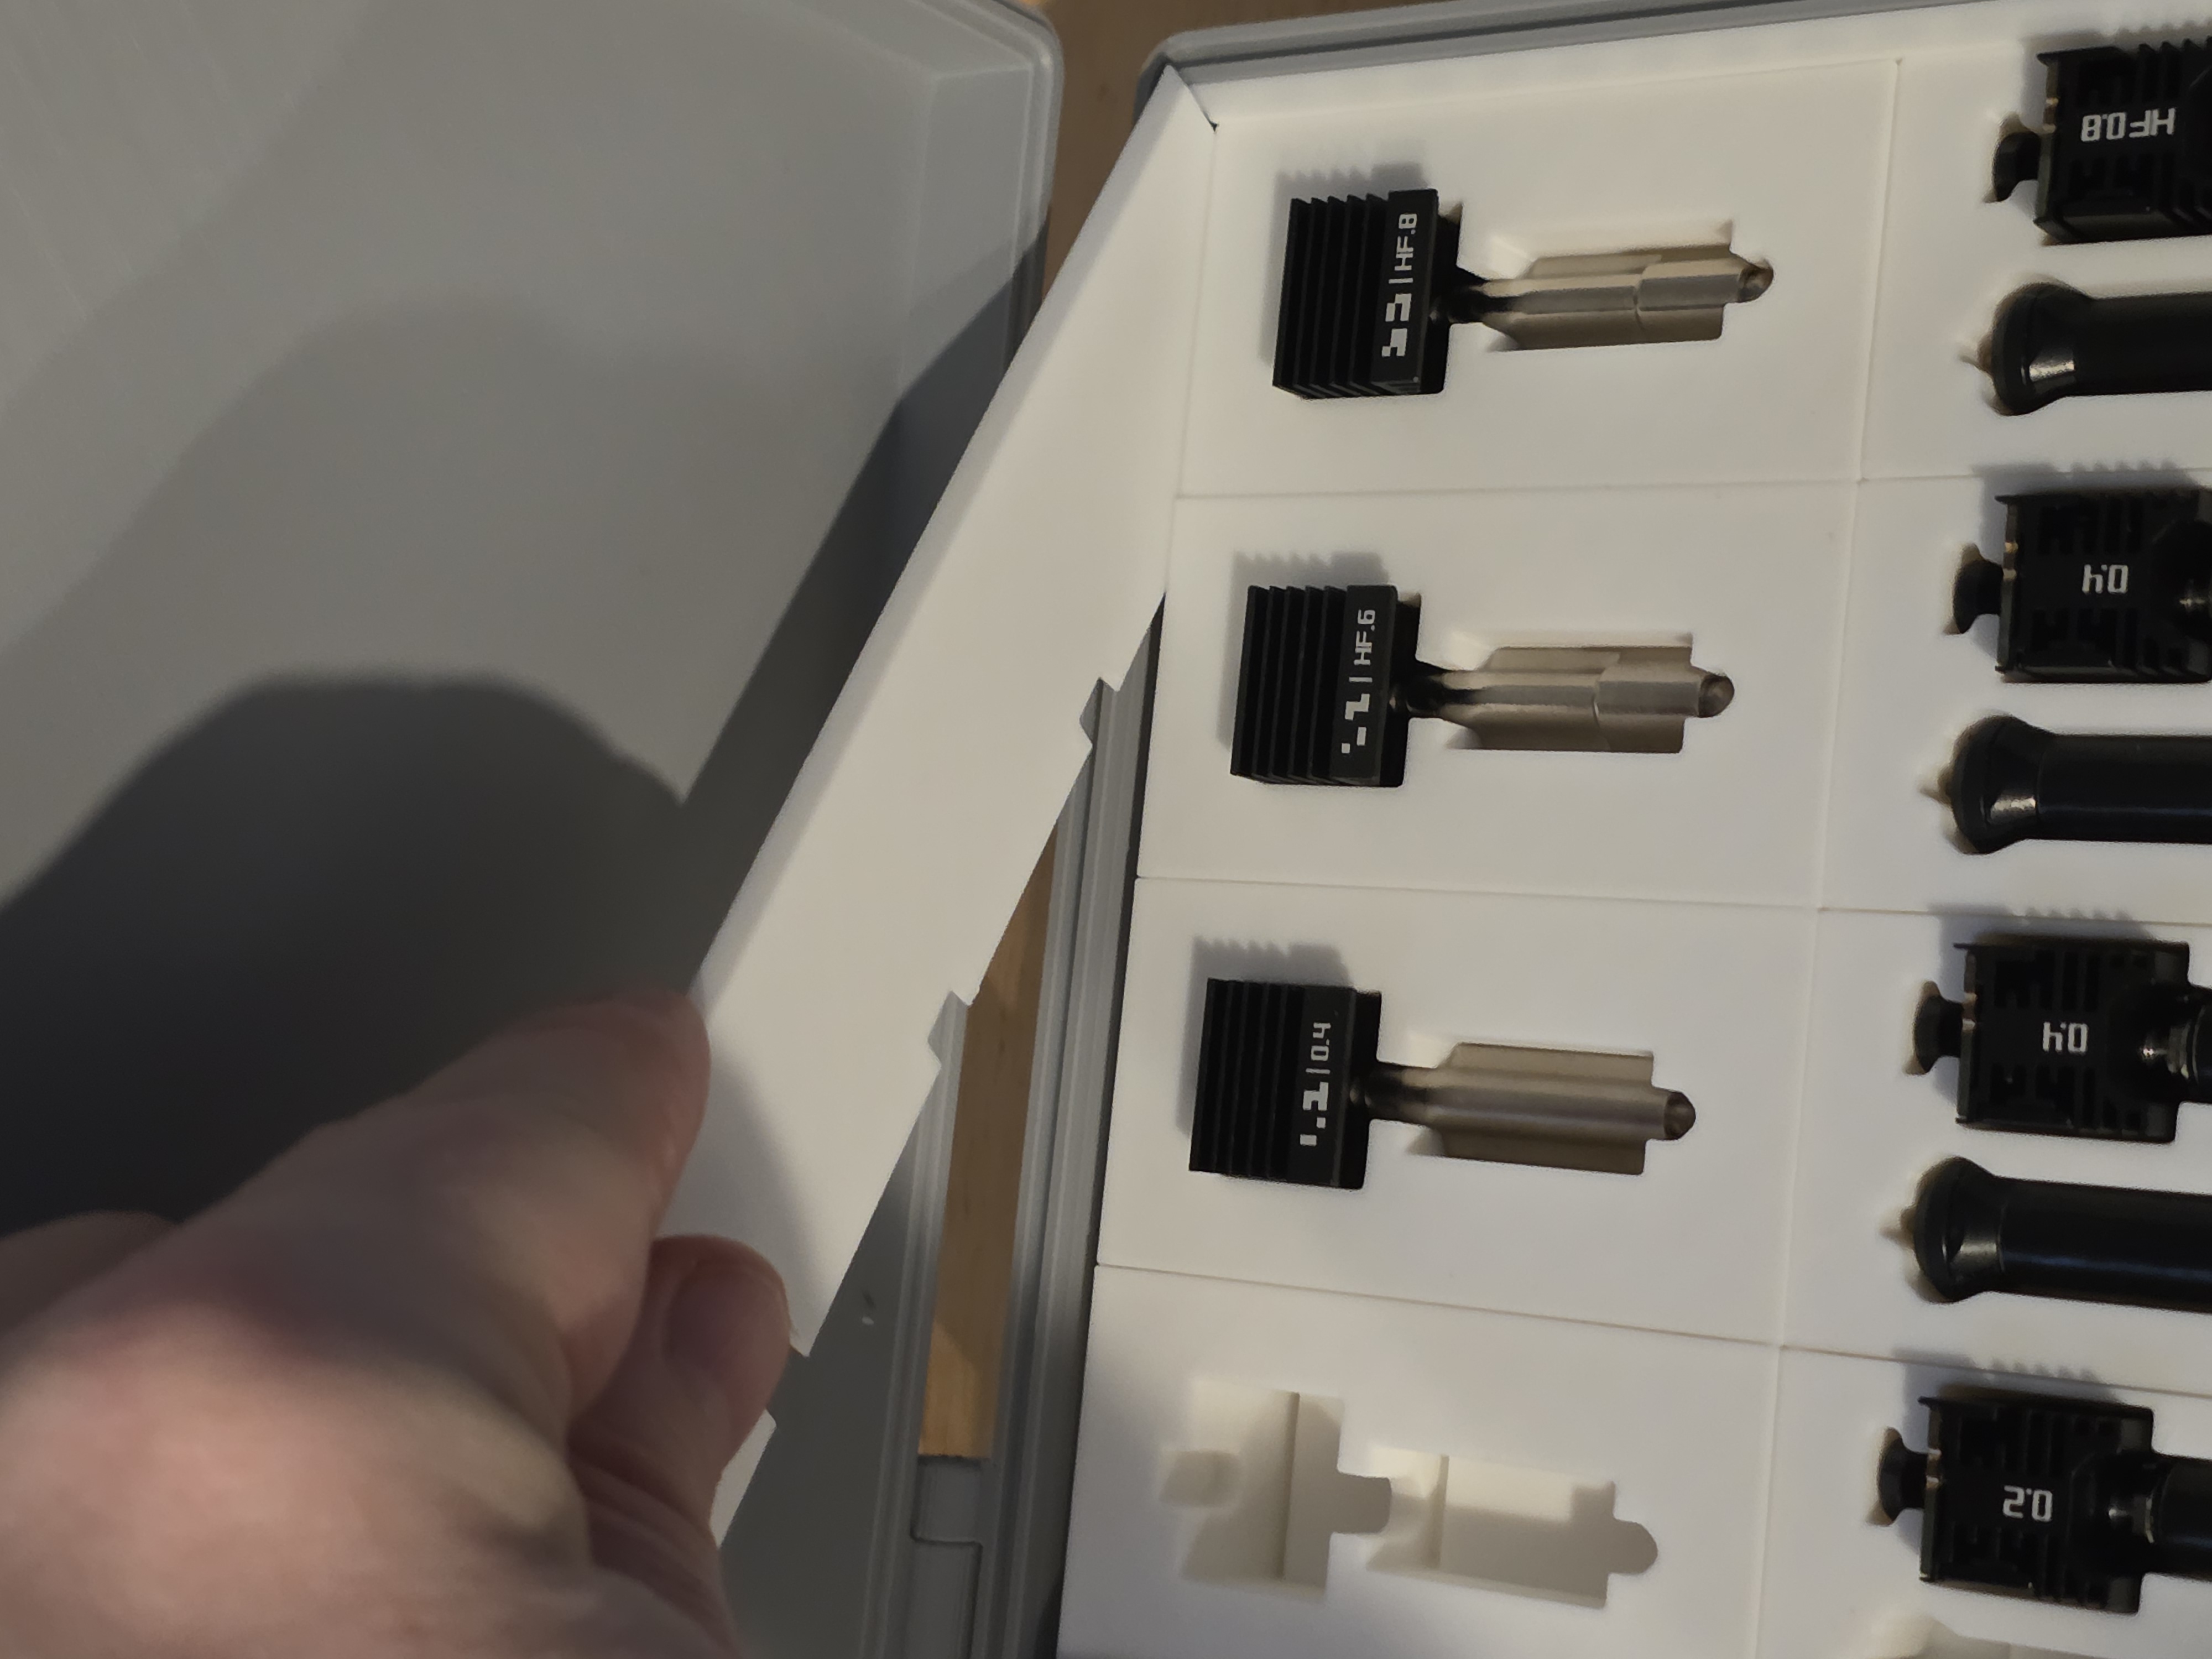
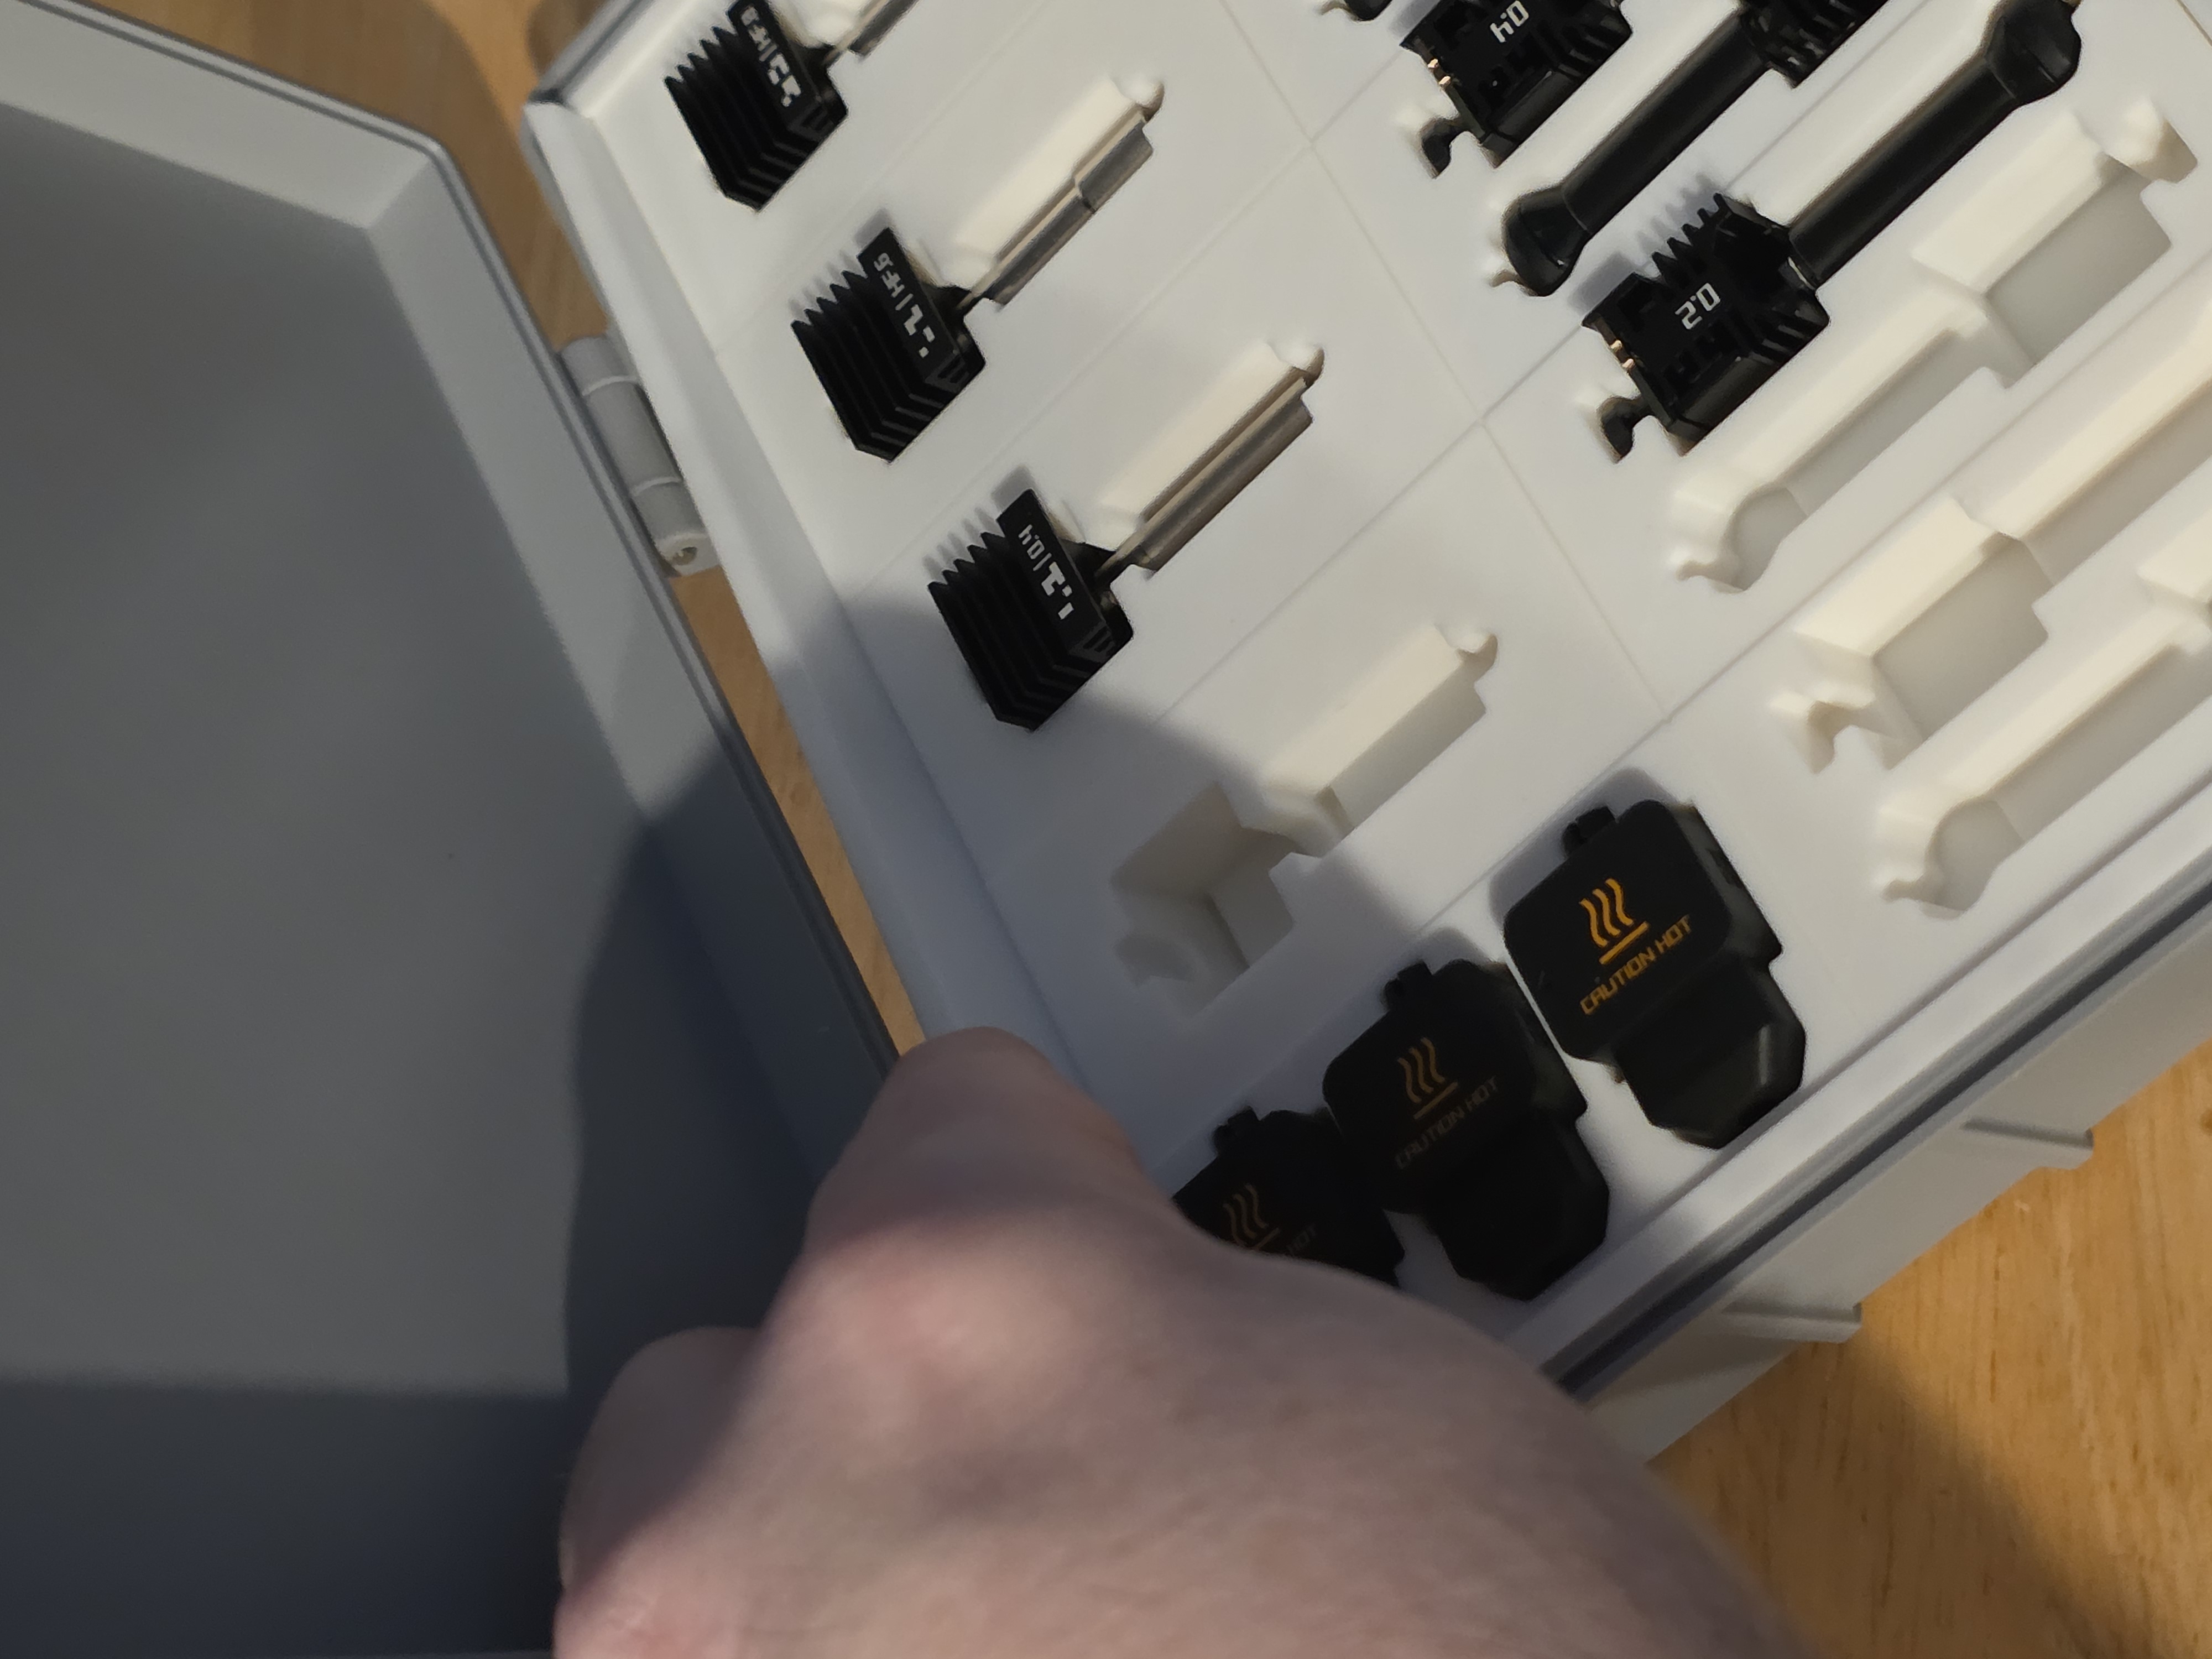
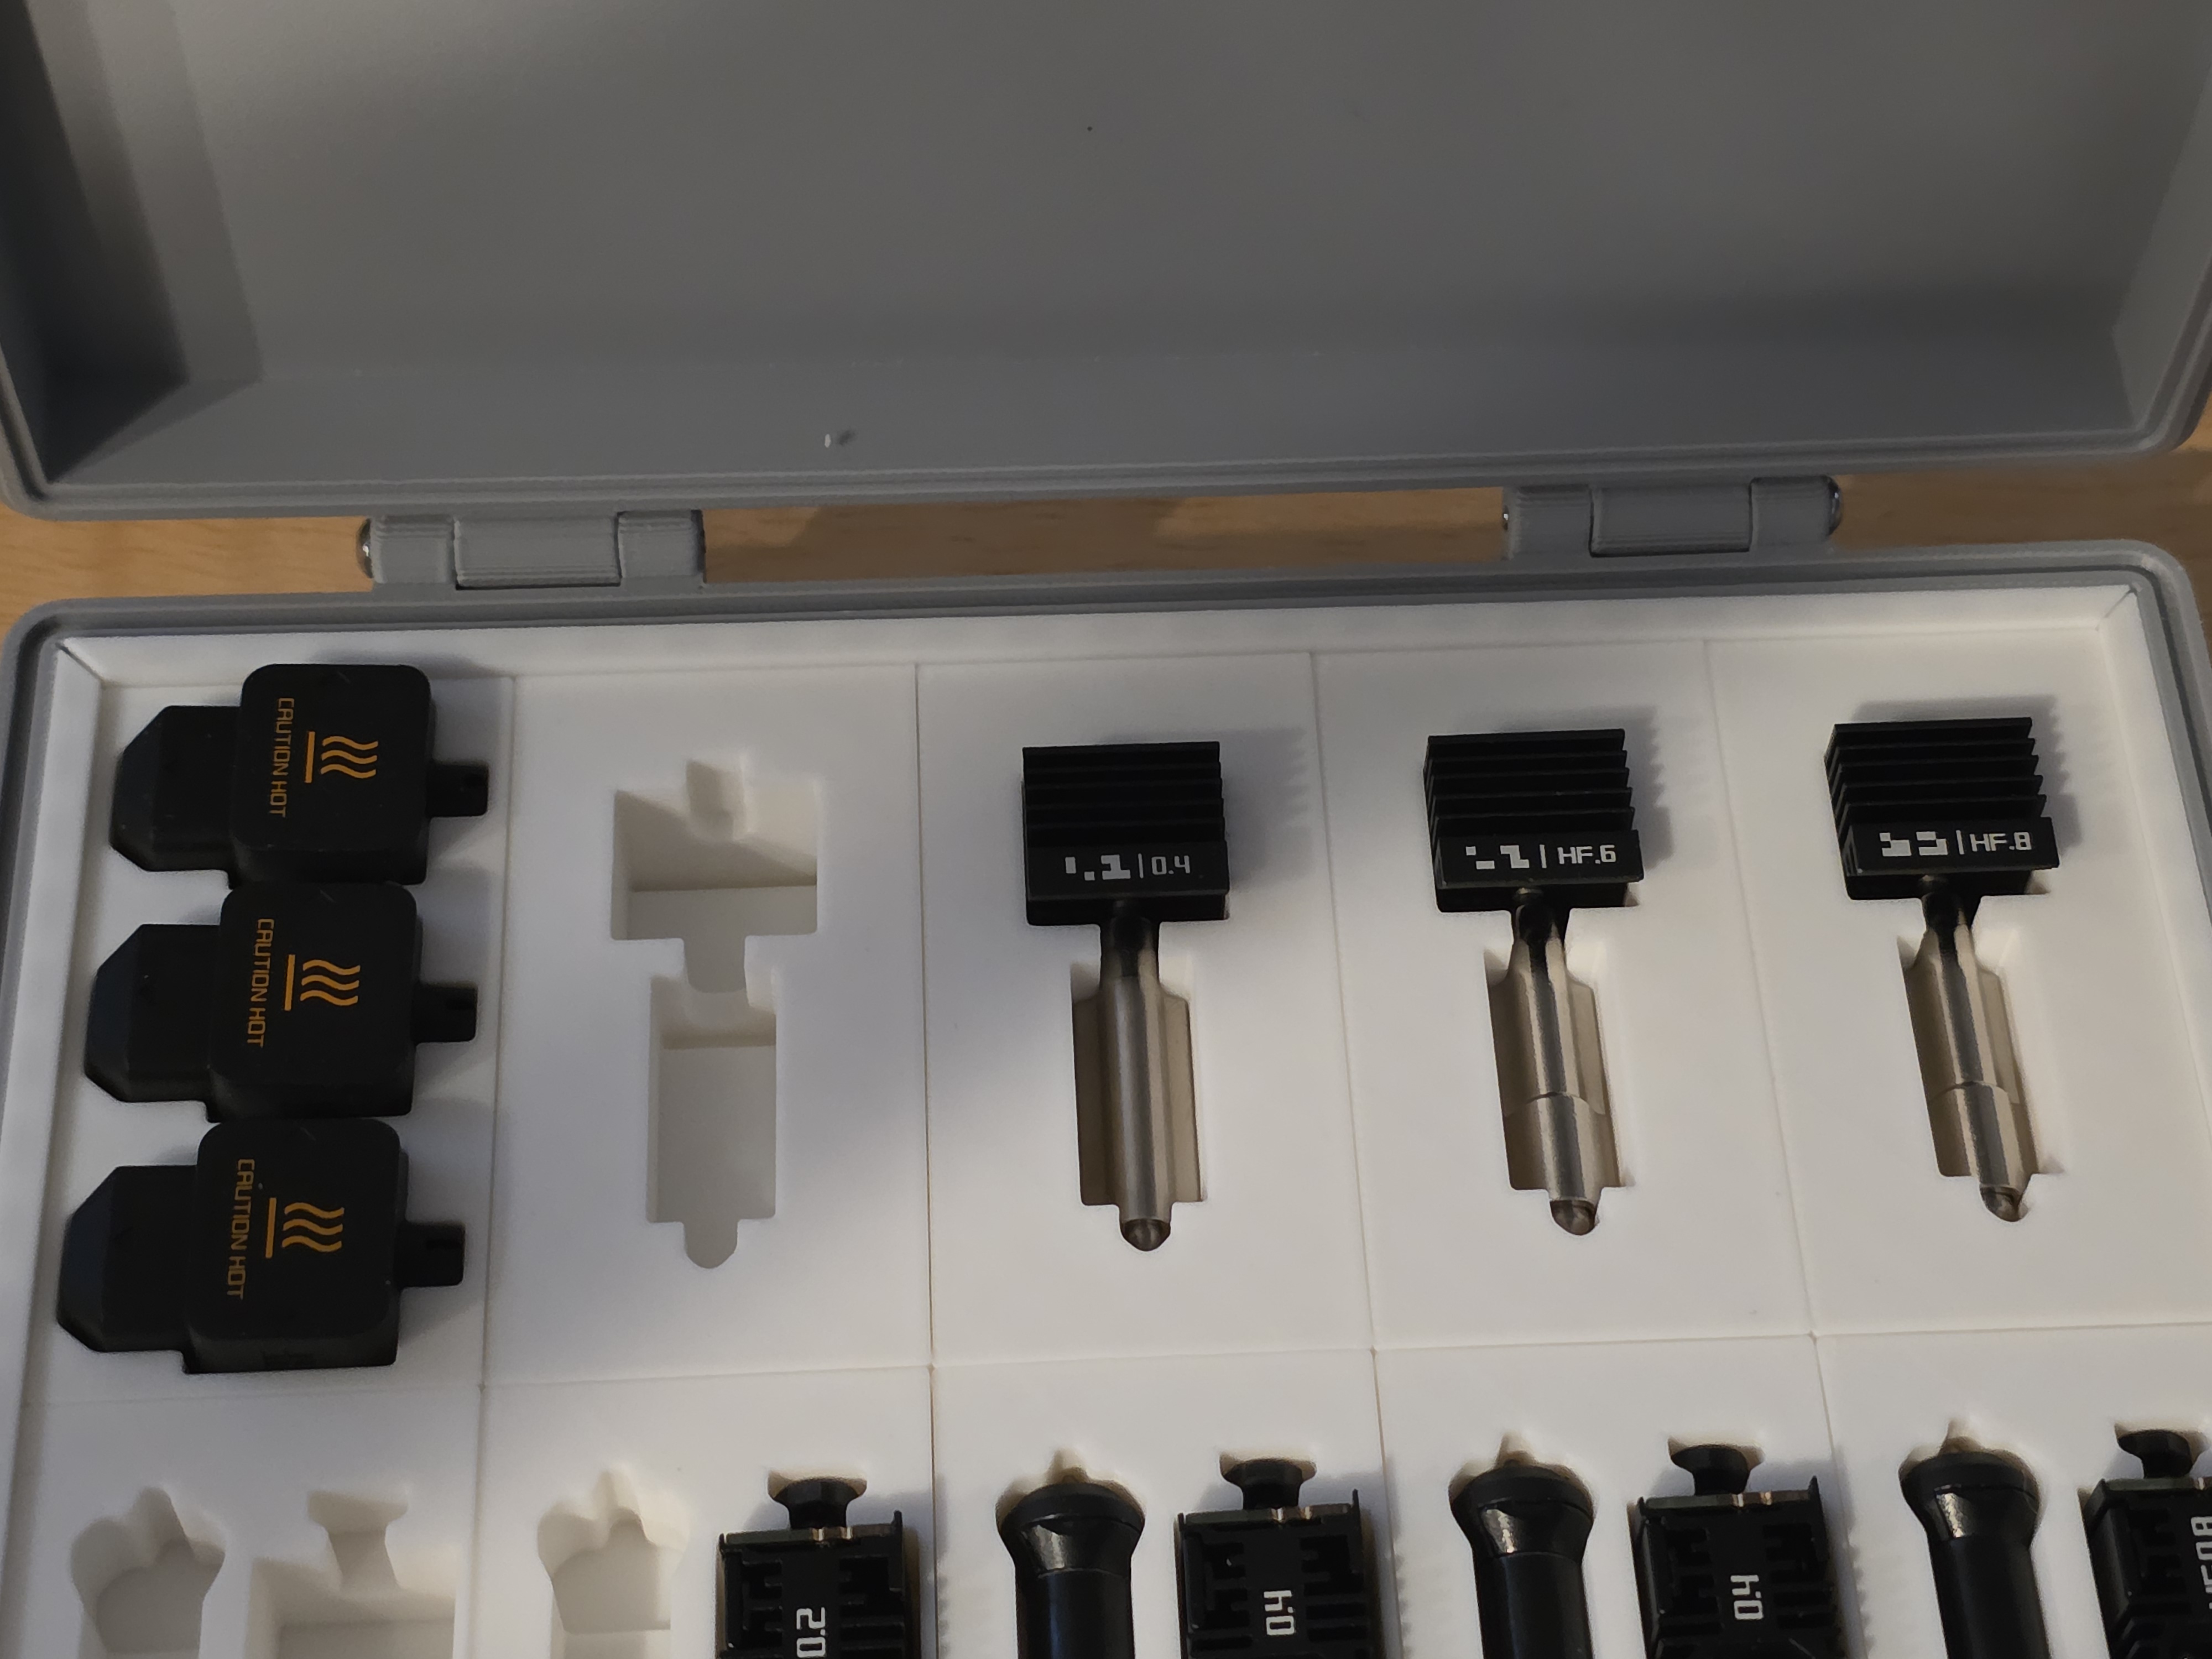
- Using the edge, you can pry a gap and snugly press it into place, starting from an angle, from back to front (as shown)
Customizable Modular Hotend Box (v3)

Publicado em 4 de abr de 2026
Gostou deste modelo? Crie uma conta grátis para salvar seus favoritos e voltar a eles depois.
Criar conta