Você está no 3DFinder
Buscamos em Thingiverse, MakerWorld e Printables ao mesmo tempo para te dar o melhor de cada uma.
Descrição
📦 The Ultimate Heavy Duty Modular Crate System
Stop buying flimsy plastic bins. I engineered this 5-piece heavy-duty storage system to be incredibly strong, perfectly stackable, and optimized to maximize your printer's build volume.
Whether you need to organize heavy tools, pantry items, or desk clutter, these crates are designed to handle the weight.
🛠️ The 5-Piece System
This set includes 3 core sizes, plus 2 specialized stackable variants:
- The Mammoth (Large): 200mm (H) x 248mm (W) x 236mm (L) - Uses almost the entire build plate!
- The Standard (Medium): 100mm (H) x 248mm (W) x 236mm (L) - (Available in Standard & Stackable)
- The Half-Size (Small): 100mm (H) x 122mm (W) x 236mm (L) - (Available in Standard & Stackable)
✨ Key Features
- Ultra-Tough: Designed with reinforced walls and structured ventilation holes to maintain rigidity even under heavy loads.
- Perfectly Stackable: The nesting design on the stackable variants ensures they lock together securely and won't slide around.
- Ergonomic Handles: Deep, comfortable handle cutouts on all sizes for easy carrying.
- Infinite Uses: Perfect for the garage, pantry, kitchen cabinets, office desk, car trunk, kids' toys, or filament storage.
⚙️ Recommended Print Settings
To get the "Heavy Duty" strength, don't skimp on the walls!
- Walls/Perimeters: 3 to 4 minimum (This is where the strength comes from).
- Infill: 15% - 20% Gyroid.
- Material: PLA is great for indoor/pantry use. Use PETG if these are going in a hot car or a garage!
- Supports: I have manually added the supports, for your benefit, do not modify them.
ENGINEERING UPDATE: V2 Optimized Anti-Warping Profile (PLA)
(Medium - Non-Stackable)
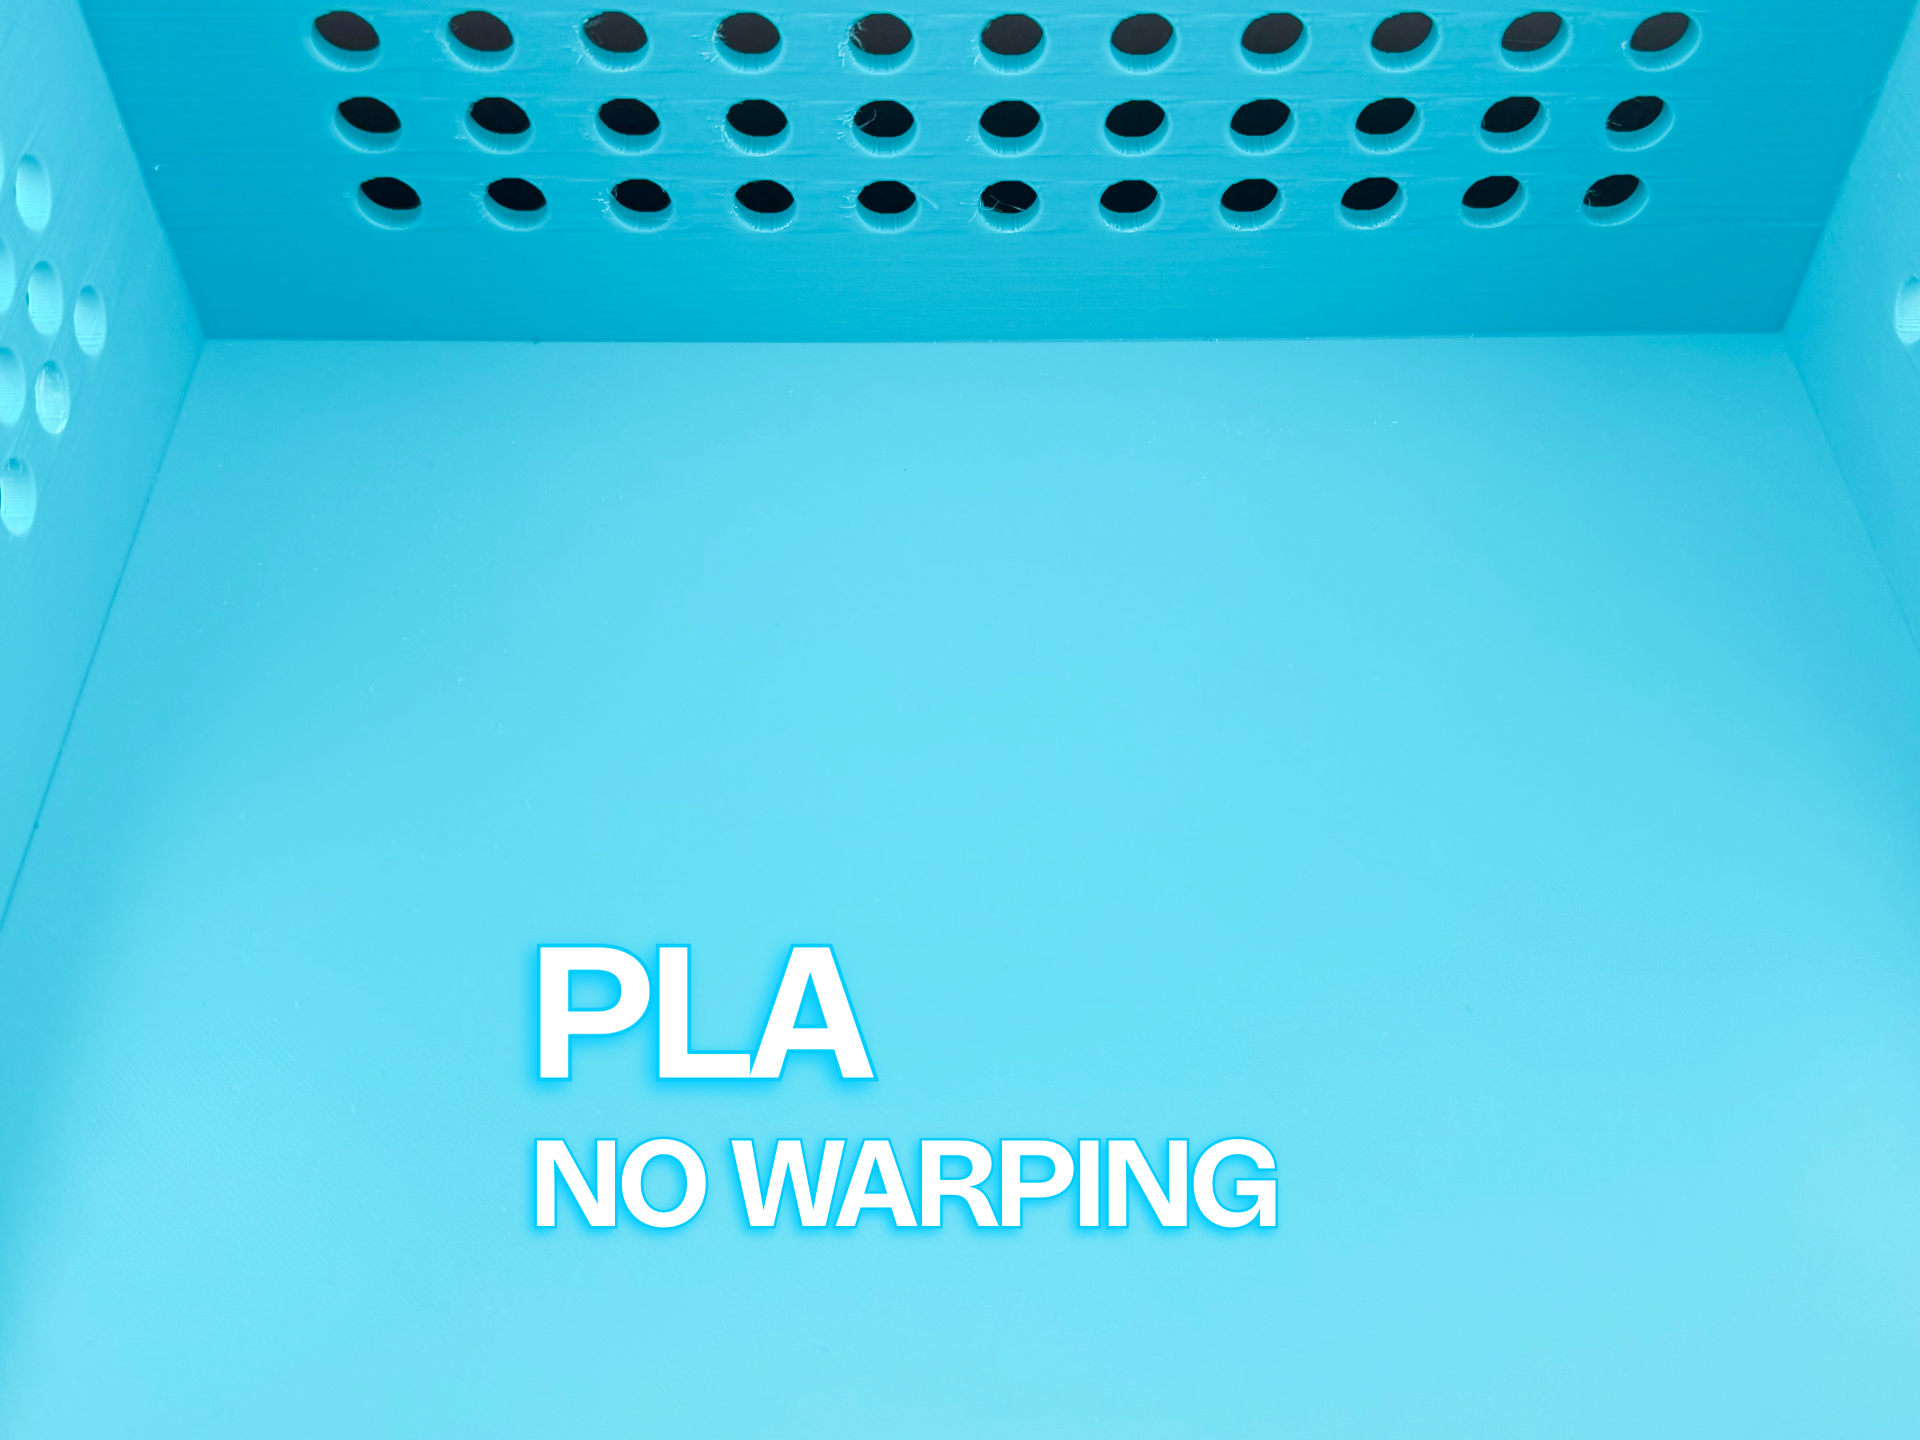
The Challenge: Printing a model that occupies 96% of the “printable area” in the build plate creates extreme thermal tension. As the plastic cools, it shrinks and pulls inward; without room for traditional brims or "mouse ears," the corners will inevitably lift.
The Solution: Instead of fighting physics, this profile uses Structural Stress-Relief Architecture.
I have engineered thermal expansion joints directly into the crate's sub-structure to "break" the contraction forces before they reach the corners.
1. Structural Logic (How it Works)
- Stress-Relief Crossbars: A center dome and four diagonal supports (5 walls, 12% Honeycomb) distribute base tension away from the corners.
- Air Cushion Voids: Each crossbar contains millimetrically placed cylindrical void modifiers (6 walls – HEAVY CORNER BASE). These act as mechanical circuit breakers, interrupting the continuous pull of the infill and preventing cumulative warping.
- Isotropic Infill: The main body uses 8% Gyroid to provide multi-directional strength with the lowest possible internal tension.
2. Mandatory Printing Protocol
To ensure a successful "Full Plate" print, these settings are locked and should not be modified:
- Filament: Optimized specifically for Bambu Lab Basic PLA. If using other brands, ensure you manually match these cooling and flow parameters.
- The "No Aux Fan" Rule: The Auxiliary Fan is strictly Disabled (0%) for the entire print. Testing confirmed that Aux cooling causes thermal shock on the base's bottom and top layers, inducing initial and late-stage warping.
- Thermal Foundations: * Bed Temp: 58°C (Constant).
- First Layer Speed: 15 mm/s (Walls) / 80 mm/s (Infill) for maximum "bite."
- First Layer Width: 0.56mm (on a 0.4mm nozzle) to increase surface contact area.
- Cooling: Strictly disabled until Layer 10-20.
- REMOVE THE PURGE/PRIME LINE AS SOON AS IT STARTS PRINTING IT.
- Venting: You may crack the top glass or front door only after Layer 80, once the base has fully settled and the risk of contraction has passed.
3. Hardware & Plate Care
This profile is tuned for high-precision machines. Success is dependent on the following:
- Immaculate Plate: Wash your Textured PEI plate with warm water and dish soap. Do not rely on IPA; a fully degreased surface is required for this level of adhesion.
- Calibration: Ensure your printer has undergone a full calibration (Vibrations/Bed Leveling) prior to starting.
- No Moving Parts: Do not shift or rotate the components in the slicer. They are positioned with sub-millimeter precision to manage the thermal "tug-of-war" across the heat bed.
4. Safe Removal (The "Cold Slide")
This is a heavy-duty crate with massive surface area. Do not attempt to remove the print while the plate is warm.
- Wait for 0° Delta: Let the plate return to room temperature naturally inside the printer.
- The "No-Yank" Policy: Under no circumstances should you force the crate off the plate. When fully cooled, the differential contraction of the metal vs. plastic will cause the crate to slide off or "pop" naturally. Forcing it while warm can permanently damage your PEI coating.
Note: This is an advanced print for makers who prioritize functional strength and engineering precision. Follow the protocol, and you will get a perfectly flat, heavy-duty crate every time.
I will keep working on the stackable versions and the Large Model!
Thank You for the Support and Feedback!
Storage Box Modular System Heavy Duty Stackable

Publicado em 20 de mar de 2026