Você está no 3DFinder
Buscamos em Thingiverse, MakerWorld e Printables ao mesmo tempo para te dar o melhor de cada uma.
Descrição
Syncodoro - Smart Wi-Fi Pomodoro Timer (ESP32 CYD)
A minimalist, distraction-free desktop Pomodoro timer built on the affordable ESP32 "Cheap Yellow Display" (CYD). Features a custom touchscreen UI, Wi-Fi synchronization, and a sleek 3D-printed enclosure. Zero coding required—flash the firmware directly from your browser!
🛒 Hardware Required
- ESP32-2432S028R ("CYD"): 2.8" LCD with Resistive Touch and USB-C (Available on AliExpress/Amazon for ~$10).
- 3D Printed Case: Files included (Front Bezel, Back Cover, Stand).
USB-C Cable: For power and flashing.
🛠️ Phase 1: Build & Flash (The Quick Part)
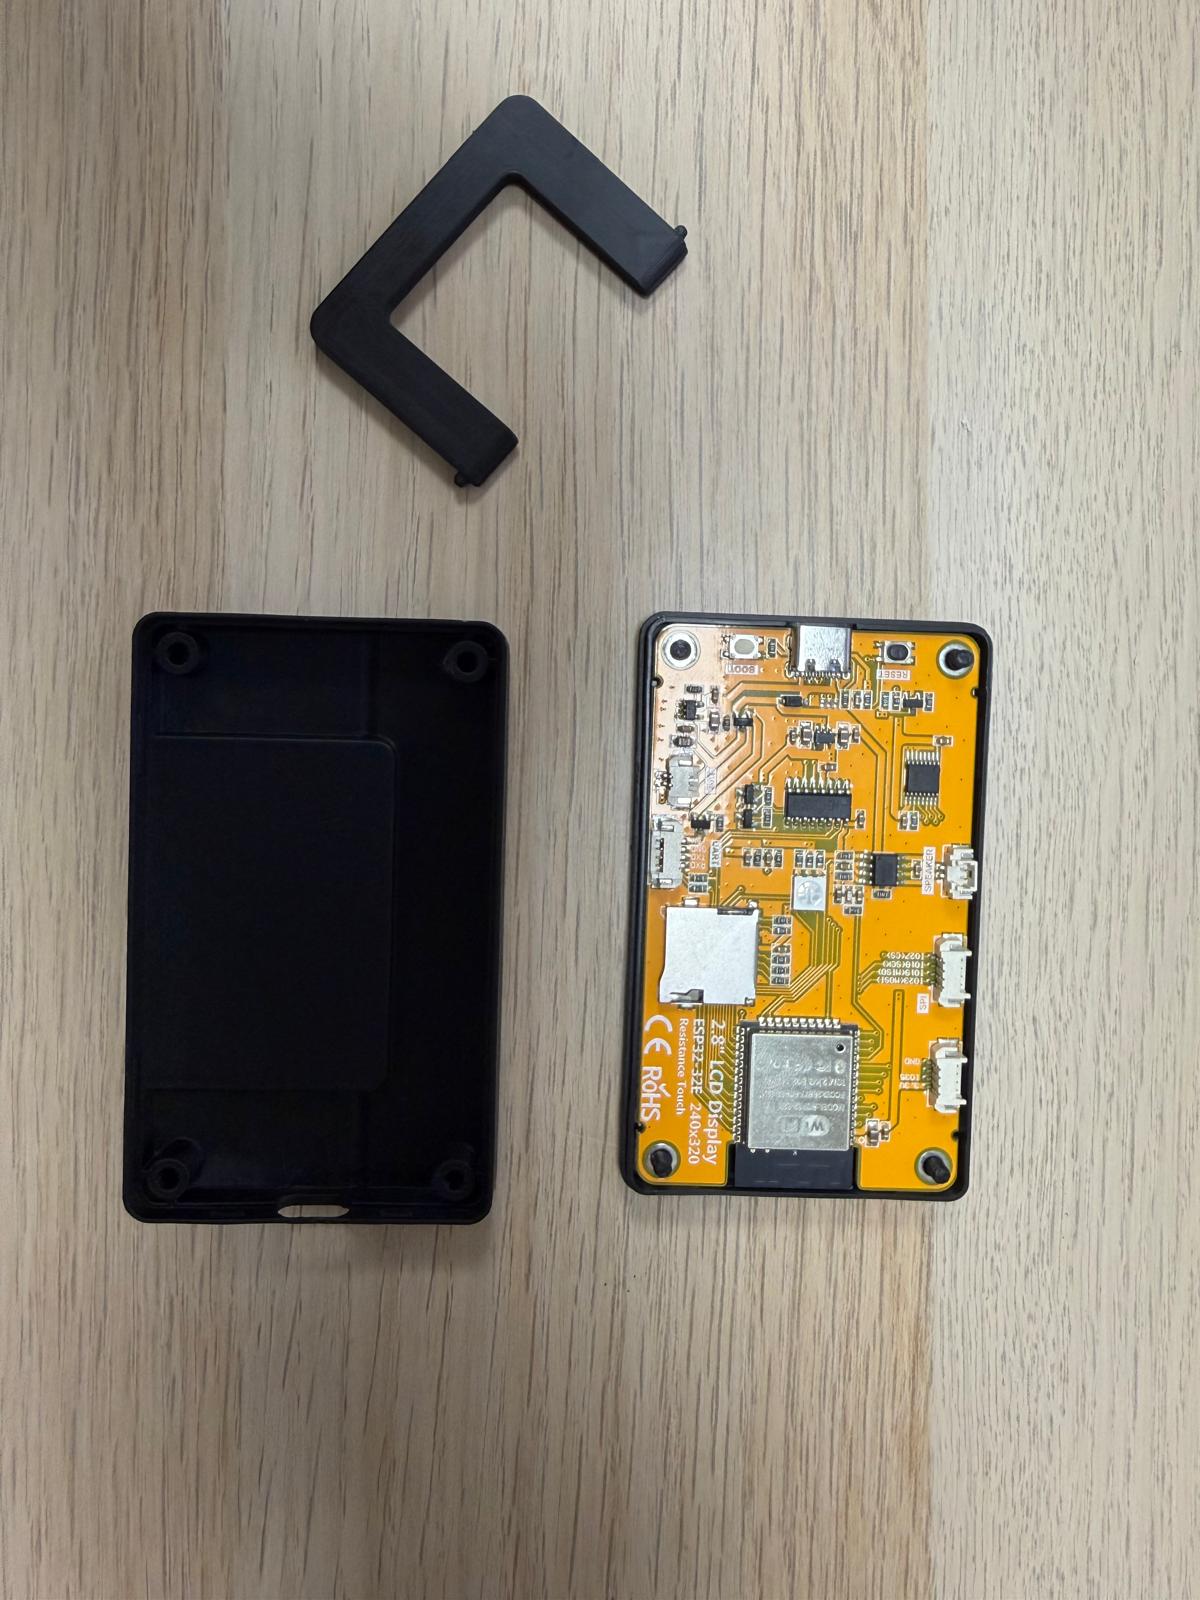
Print the Case: Print the provided STL files. Matte Black PLA/PETG is highly recommended to match the sleek OVERTEC UI. No supports needed if oriented face-down.
- Flash the Firmware: * Plug your CYD into your computer.
- Open Google Chrome or Microsoft Edge (Safari/Firefox do not support Web Serial).
- Go to the Syncodoro Web Installer ([https://mhyeung.github.io/Syncodoro/](https://mhyeung.github.io/Syncodoro/)).
Click "Install Syncodoro", select your USB port, and wait for the "Installation Complete" confetti!
- Assemble: Drop the CYD face-down into the Front Bezel, place the Back Cover over it, and secure it with the 4 screws. Attach the desk stand.
⚙️ Phase 2: Device Setup & Wi-Fi (Detailed)
Because Syncodoro runs independently, it needs to be connected to your local network to log your sessions and sync your data.
First Boot (Setup Mode): Plug the assembled device into a USB power source. Because it doesn't know your Wi-Fi yet, the screen will boot into a blue "WiFi Setup" instruction screen.
Connect to the Device: Grab your smartphone or laptop, open your Wi-Fi settings, and look for a new network named Syncodoro-Setup. Connect to it.

Open the Config Portal: A "Log In" screen should automatically pop up on your phone. If it doesn't, open your web browser and manually type [http://192.168.4.1](http://192.168.4.1) into the address bar.
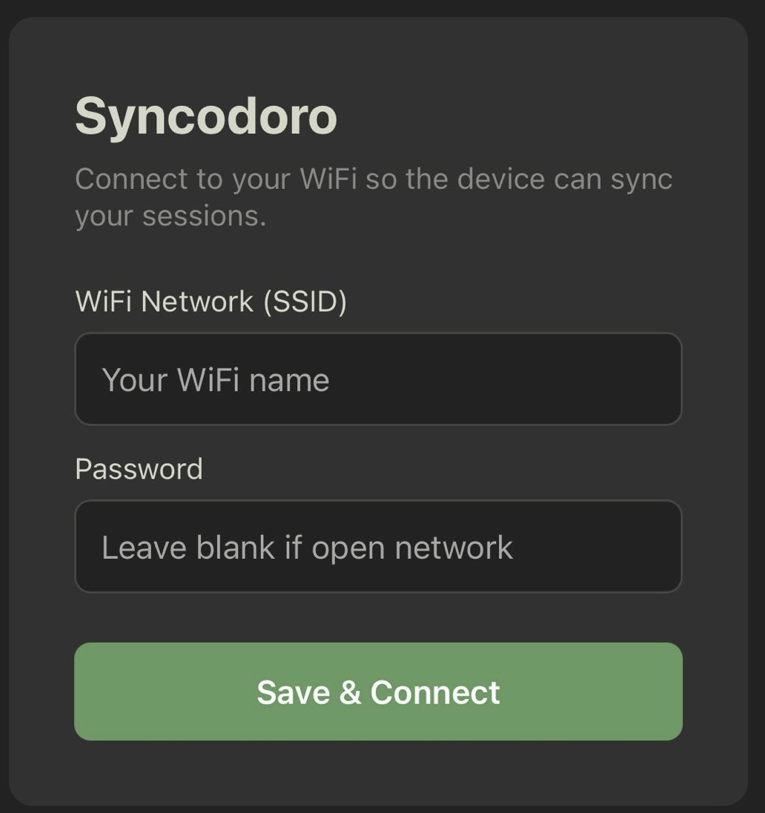
- Enter Credentials: You will see the dark-themed Syncodoro setup page.
- Enter your home WiFi Network (SSID) exactly as it appears on your router.
- Enter your Password (Leave blank if it is an open network).
(If applicable: Enter your Notion Database Integration Key to enable cloud syncing).
Save & Connect: Tap the green "Save & Connect" button. The ESP32 will securely save these credentials to its internal memory (NVS) and automatically reboot.
- Ready to Focus: Upon rebooting, the device will connect to your home Wi-Fi and load the main minimalist circular timer UI. Setup is complete!
- Note: To access your CSV session history logs in the future, simply type the device's new local IP address into your desktop browser to access the Syncodoro Web Dashboard.