Você está no 3DFinder
Buscamos em Thingiverse, MakerWorld e Printables ao mesmo tempo para te dar o melhor de cada uma.
Descrição
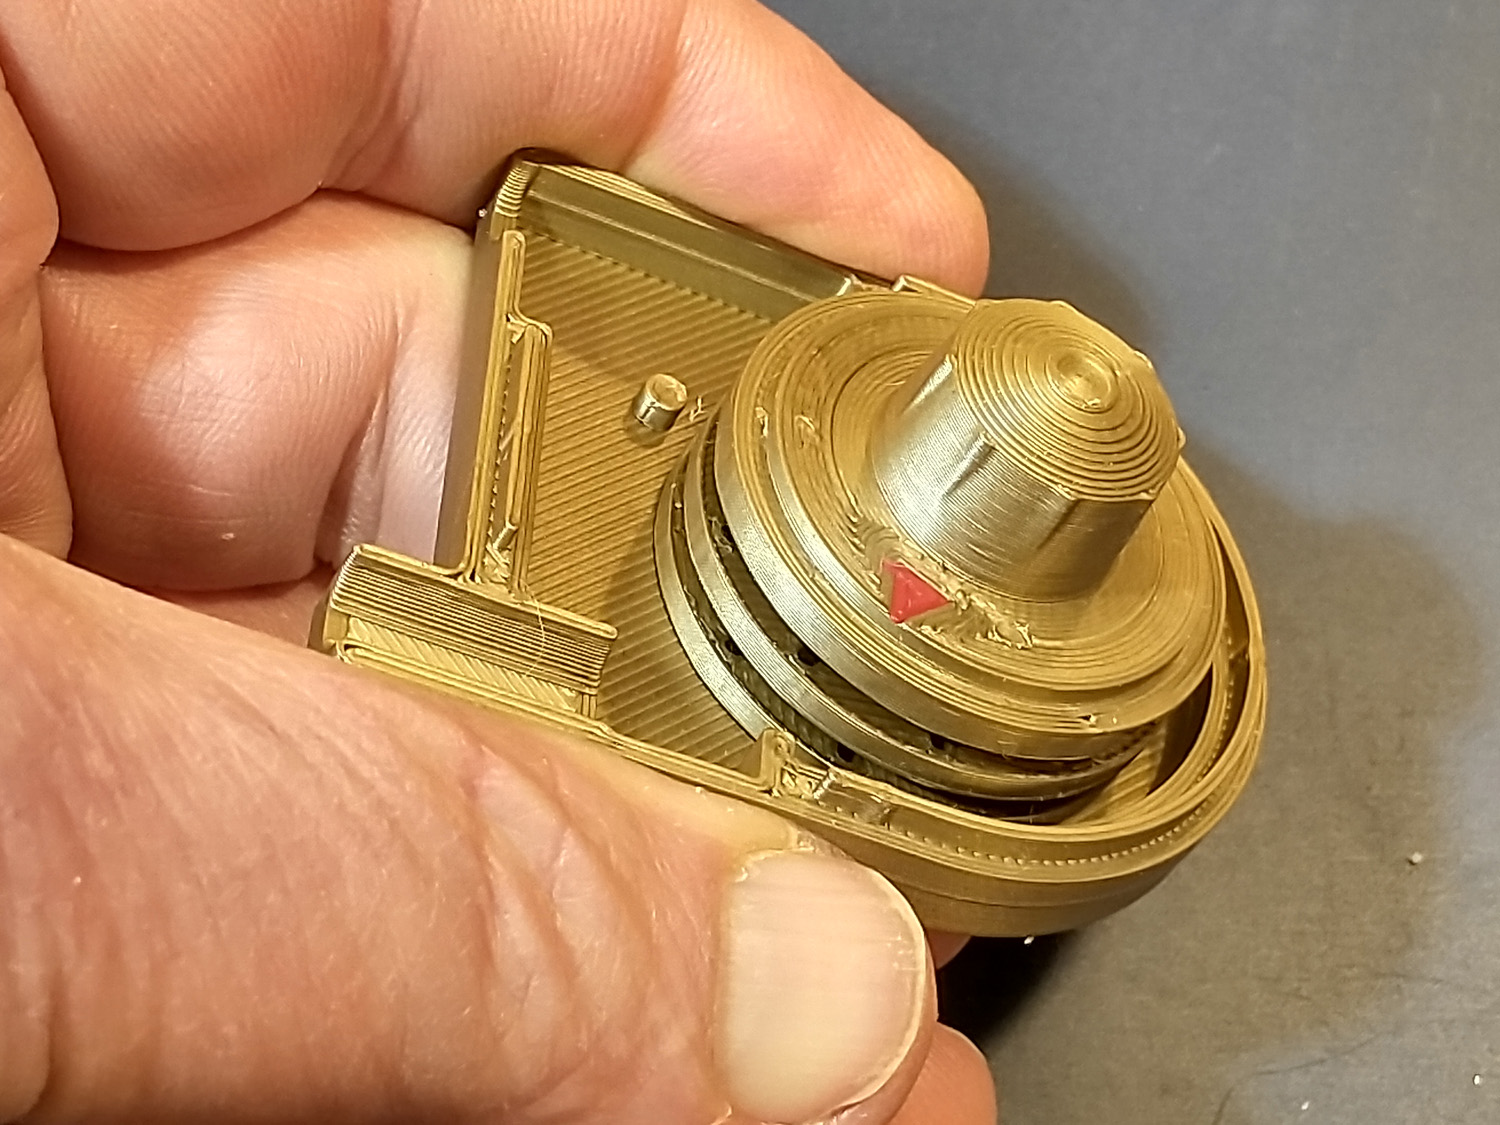
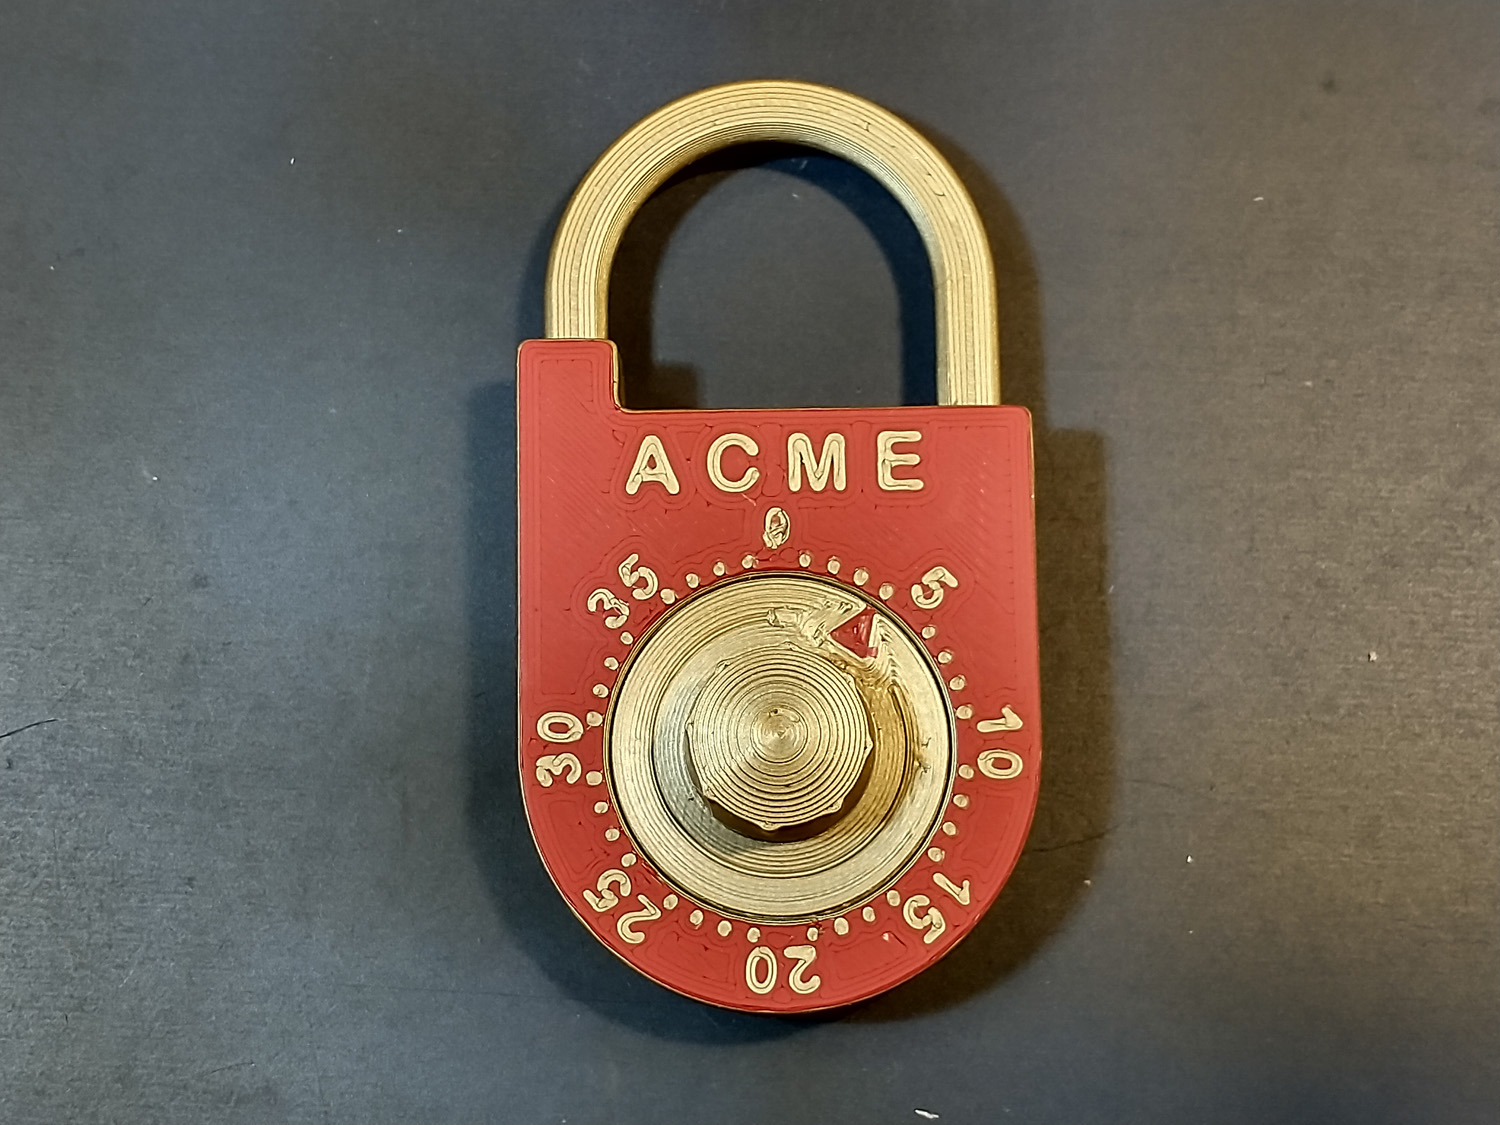
This little padlock is a great demonstration of how a rotary dial combination lock works. Understanding how it goes together is a great educational exercise (i.e: you'll have to read the instructions). And the lock is even usable, that is, if the thieves in your neighborhood happen to be really weak.
This is an improved version of my earlier padlock that is a little larger, easier to assemble, and has an easy-to-read dial. It does require an AMS or dual nozzle printer like the H2D. The combination is customizable with up to 810 different combinations.
Printing (must read this section)
The model is prints easily with no supports, but one thing to note is that the last digit of the combination is actually determined by the location of the arrow on the dial. In the 3MF file, I simply painted the arrow on within Bambu Studio. I've actually included several different versions of the dial:
On the first plate, I've included one dial with 10 arrows painted. If printing from Bambu Studio, you can use the painting tool to un-paint the arrows you don't want, leaving just one in your perferred position.
If using the Bambu Handy app to print, don't print the dial on the first plate. Instead, just print one of the dials, whichever you prefer, from the second plate.
Assembly
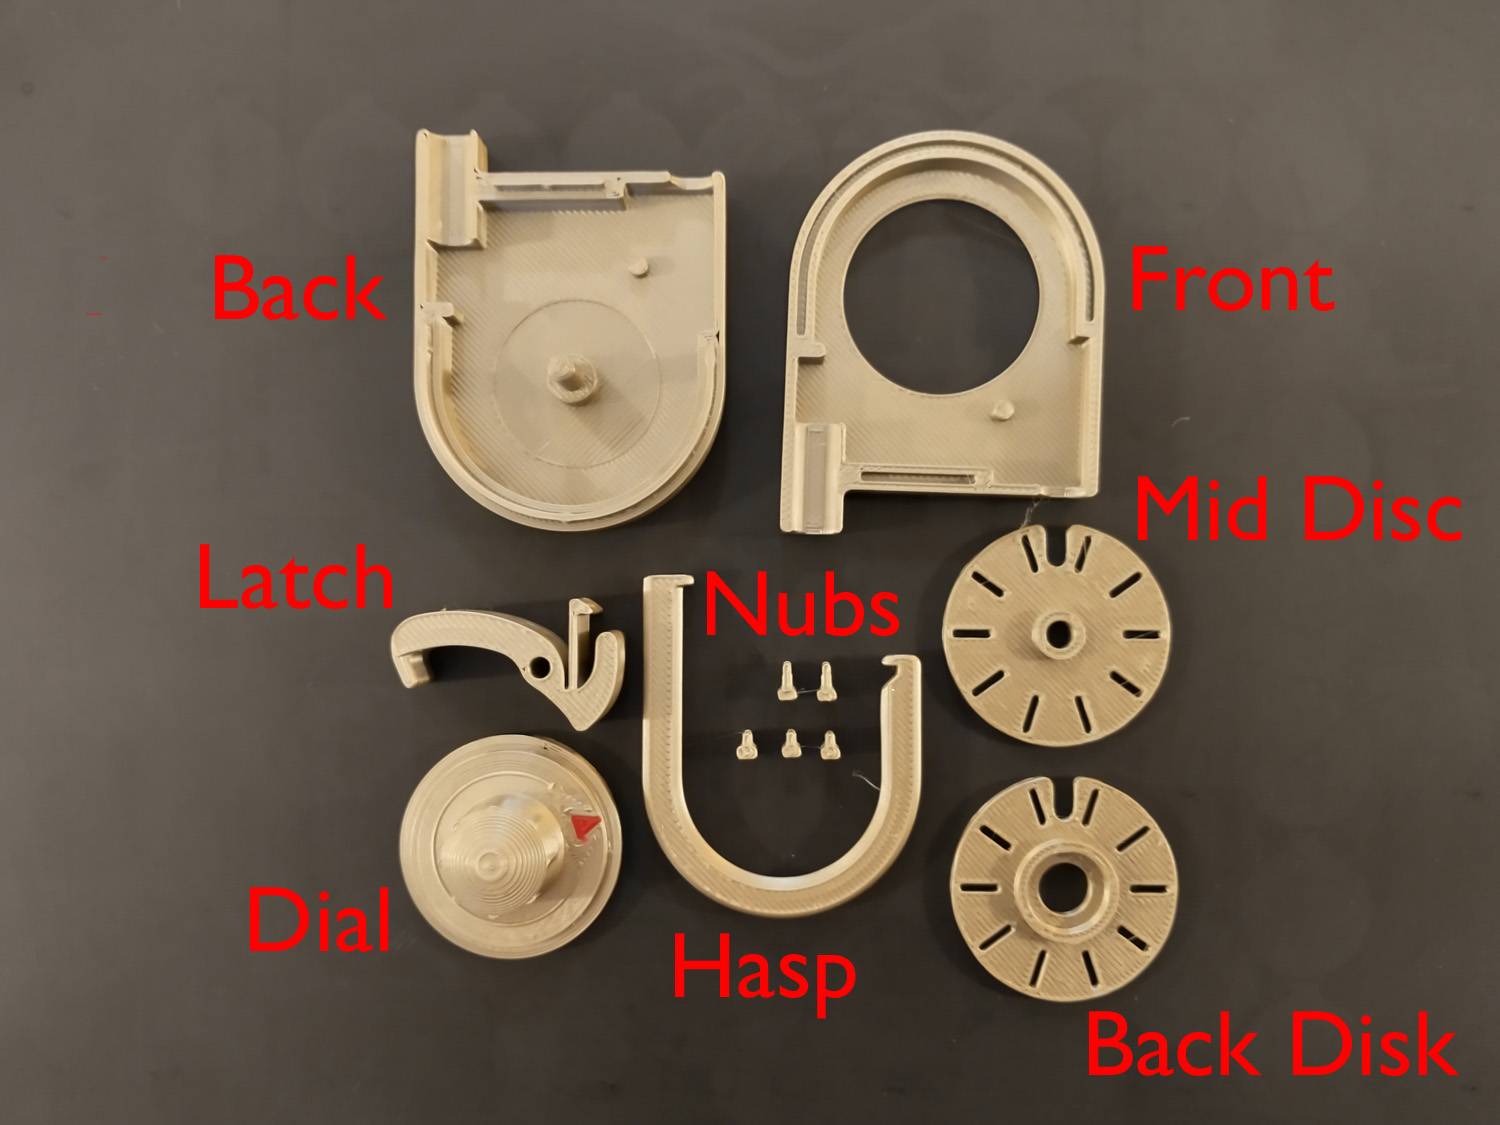
1. Inserting the Nubs
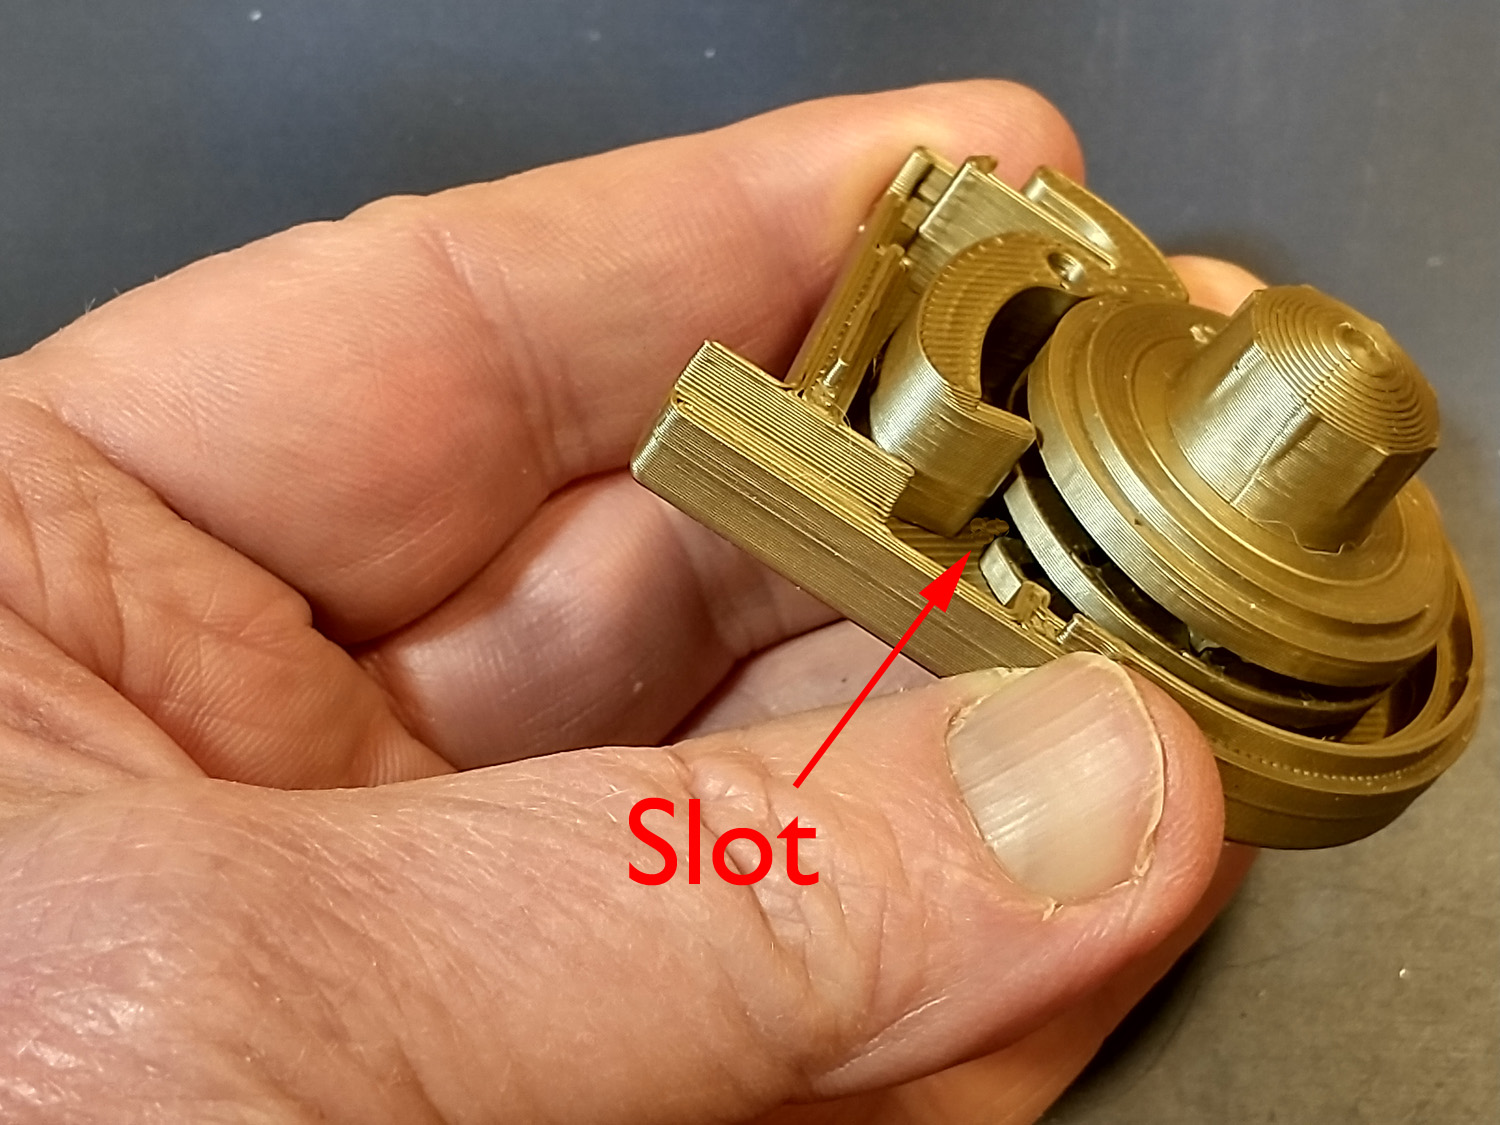
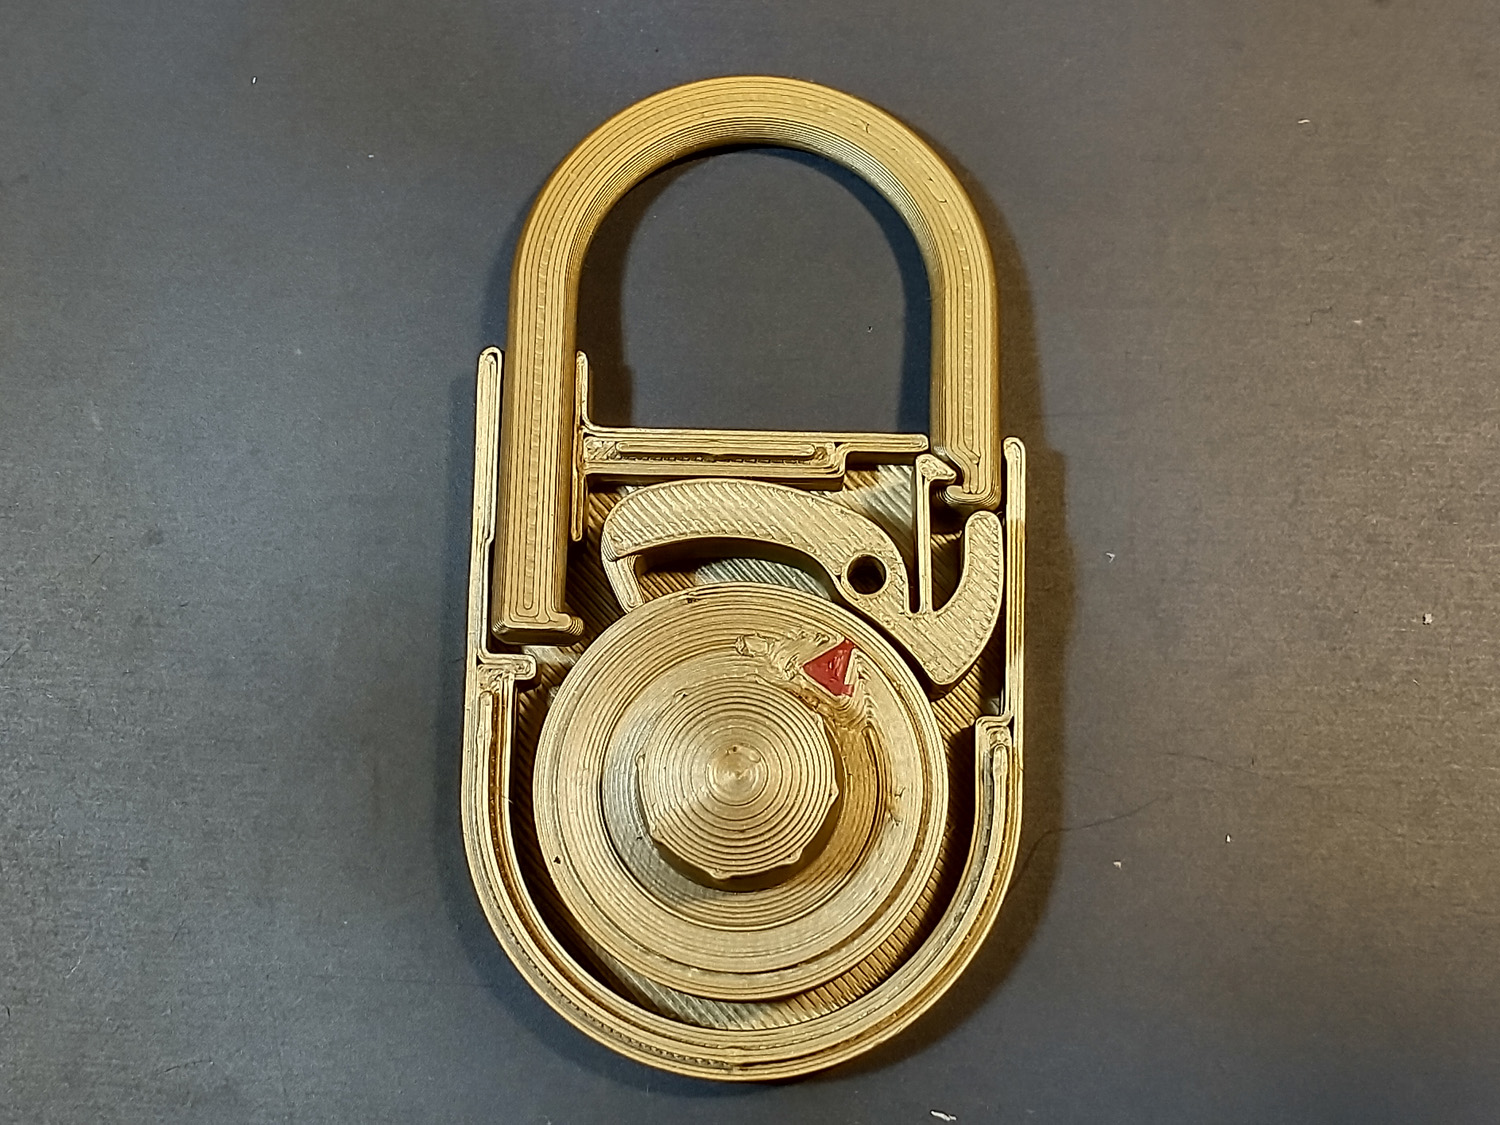
There are two different length nubs - short ones for the back disc and dial, and a long one for the mid disc. (I've included an extra of each on the plate. Start by pressing a short nub into any of the slots in the back disc. Don't worry which one - we'll discover the combination later. The nub should press into place.
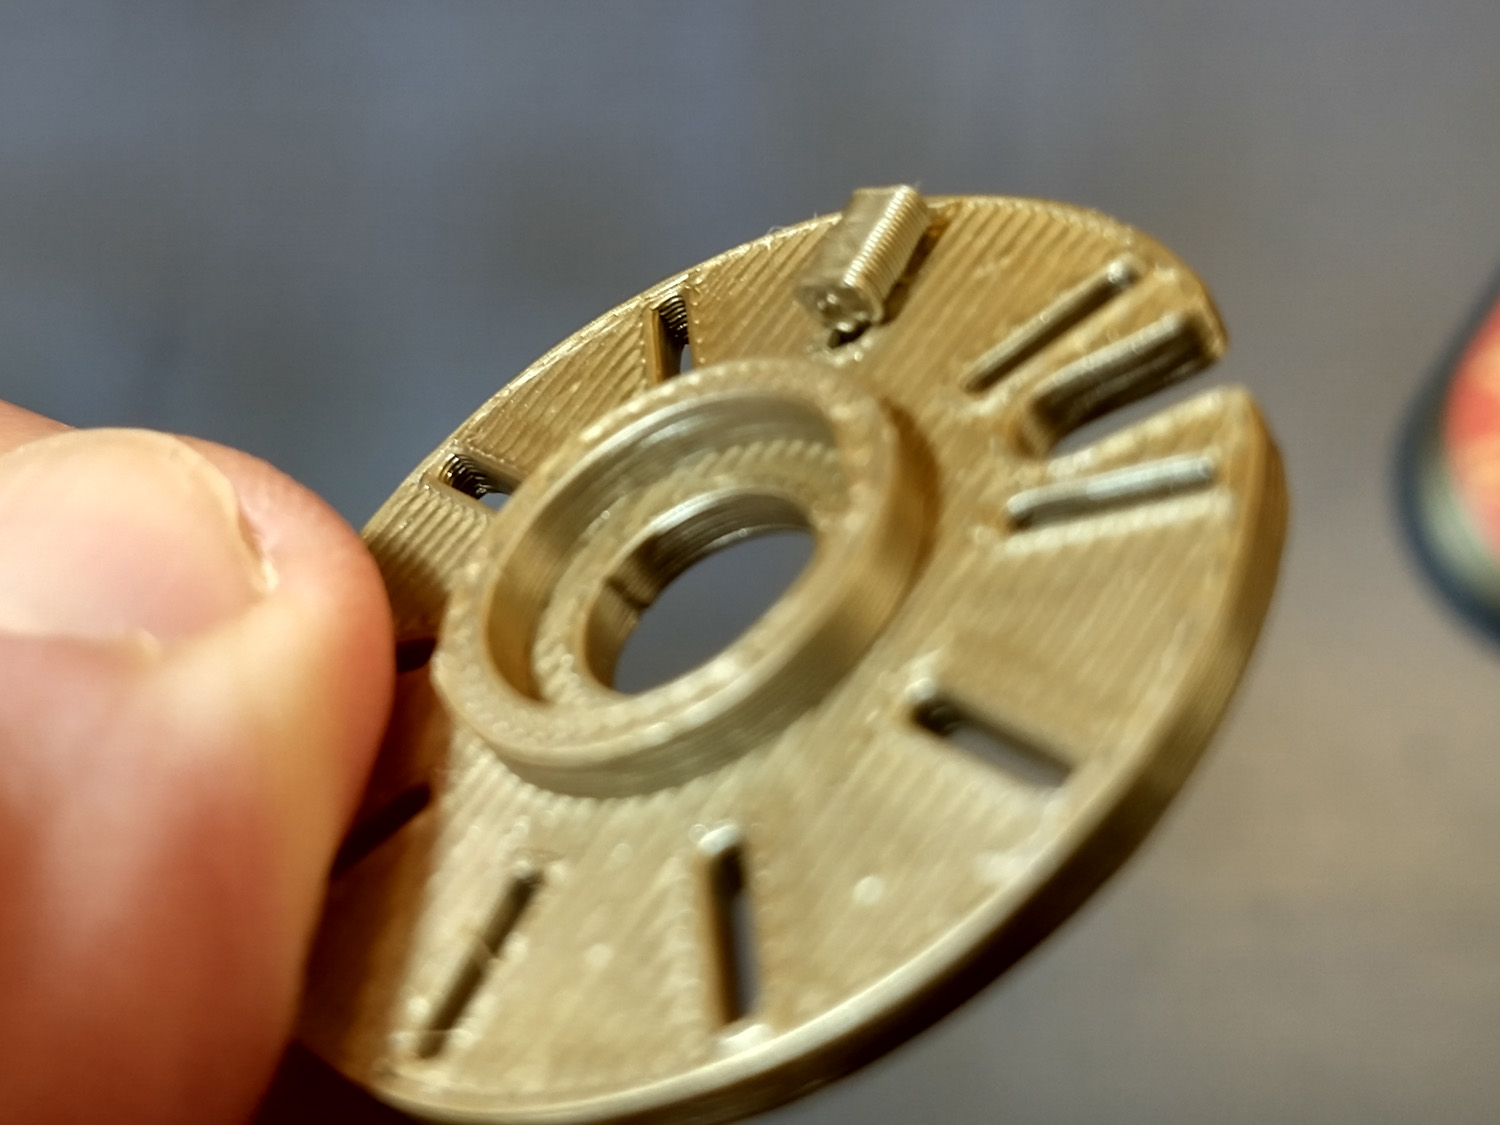
Next press the long nub into the mid disc as shown below. You can pick any slot as long as it doesn't line up exactly with the nub in the back disc. Note that the end of the nub will protrude through the back of the disc.
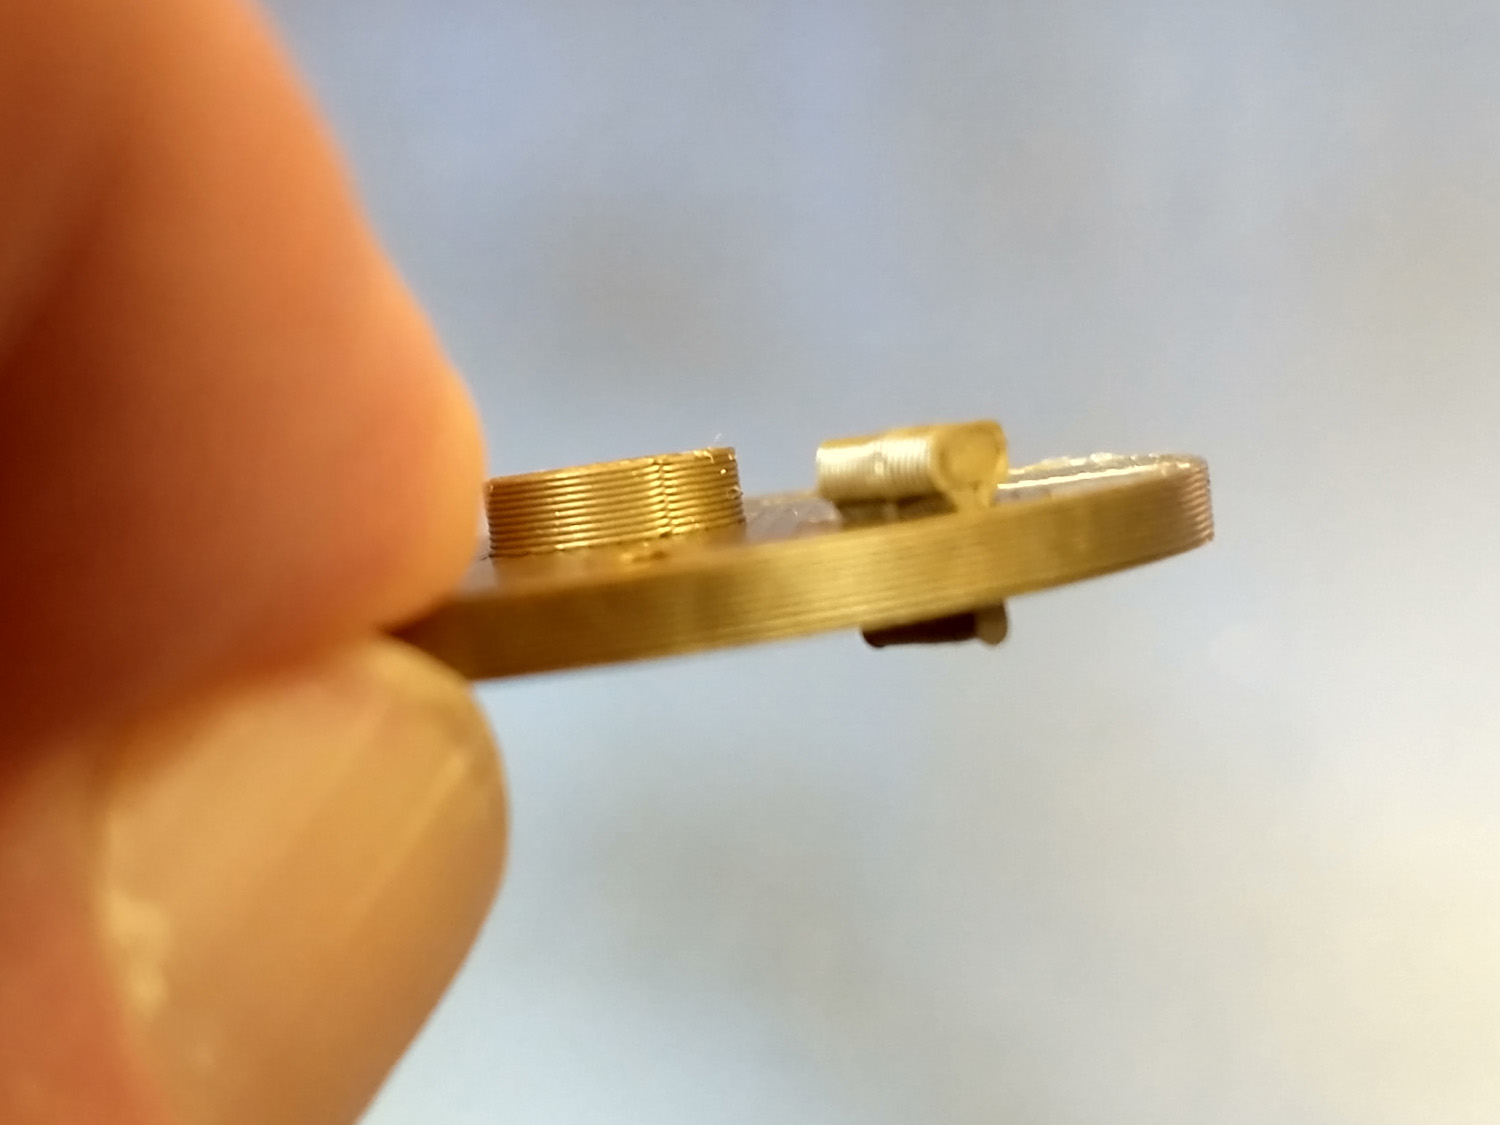
Finally, insert another short nub into one of the slots on the dial as shown below. Again, use any slot except one that aligns with the nub in your mid-disc.
2. Assemble the Discs and Dial
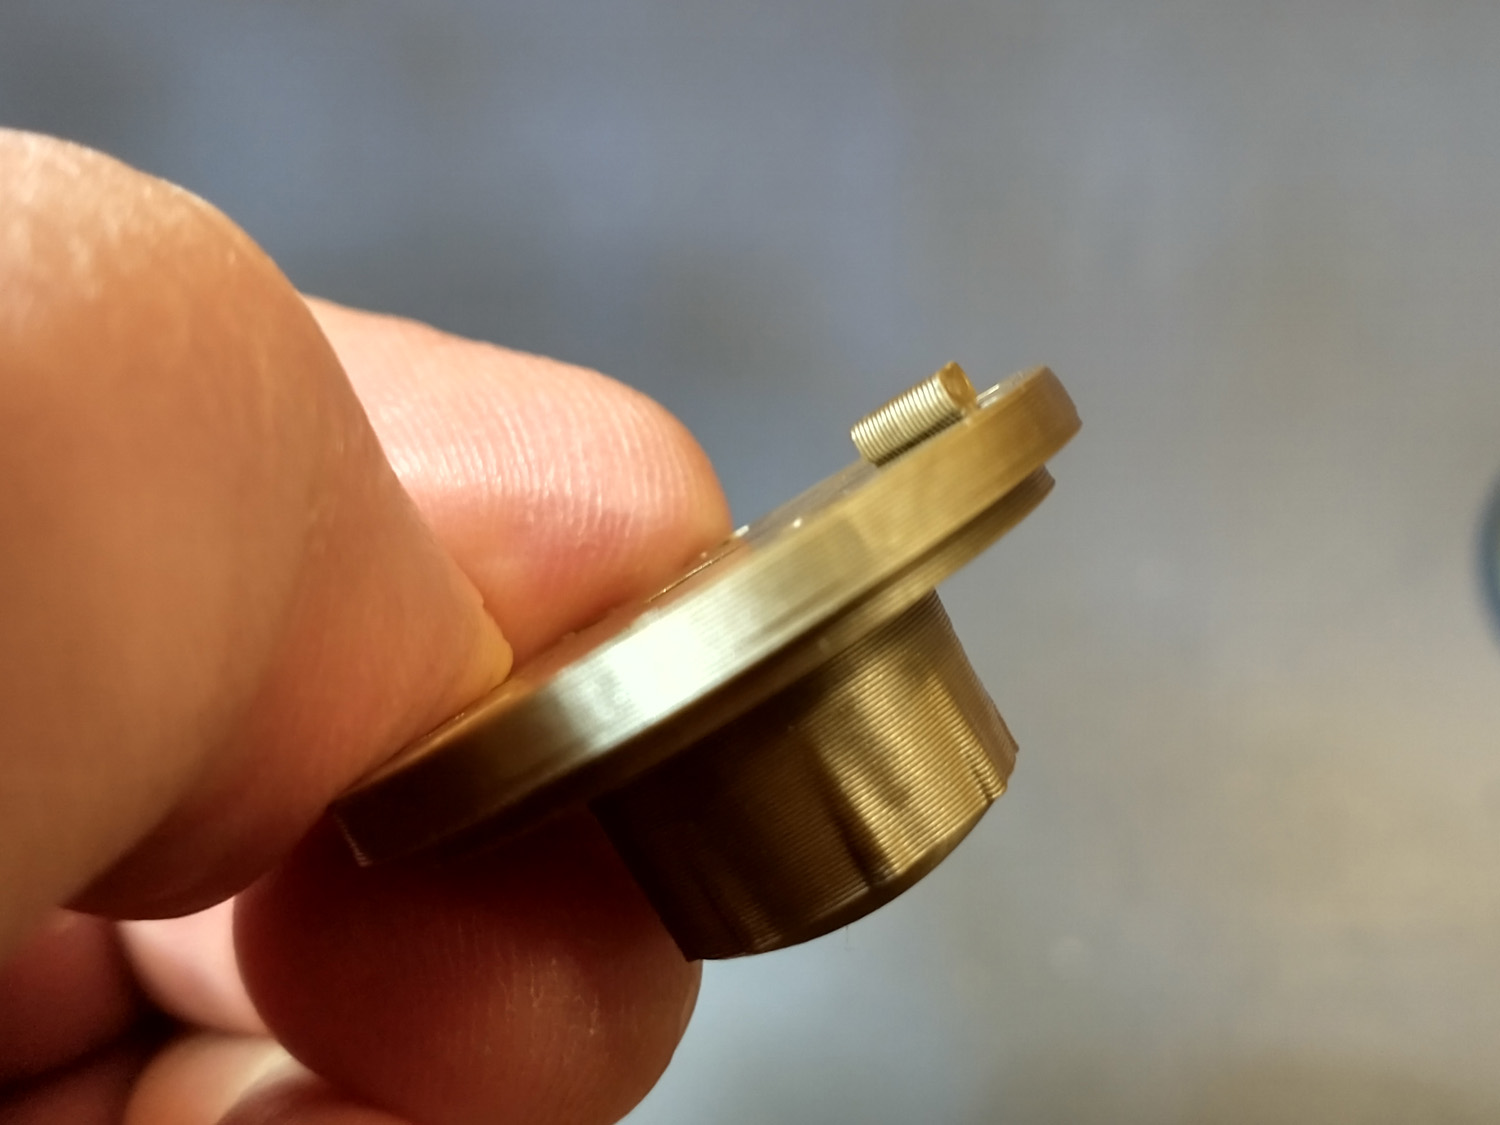
Place the back disc in the back housing, followed by the mid disc, and then the dial, as shown in the photos below:
3. Discover the Combination
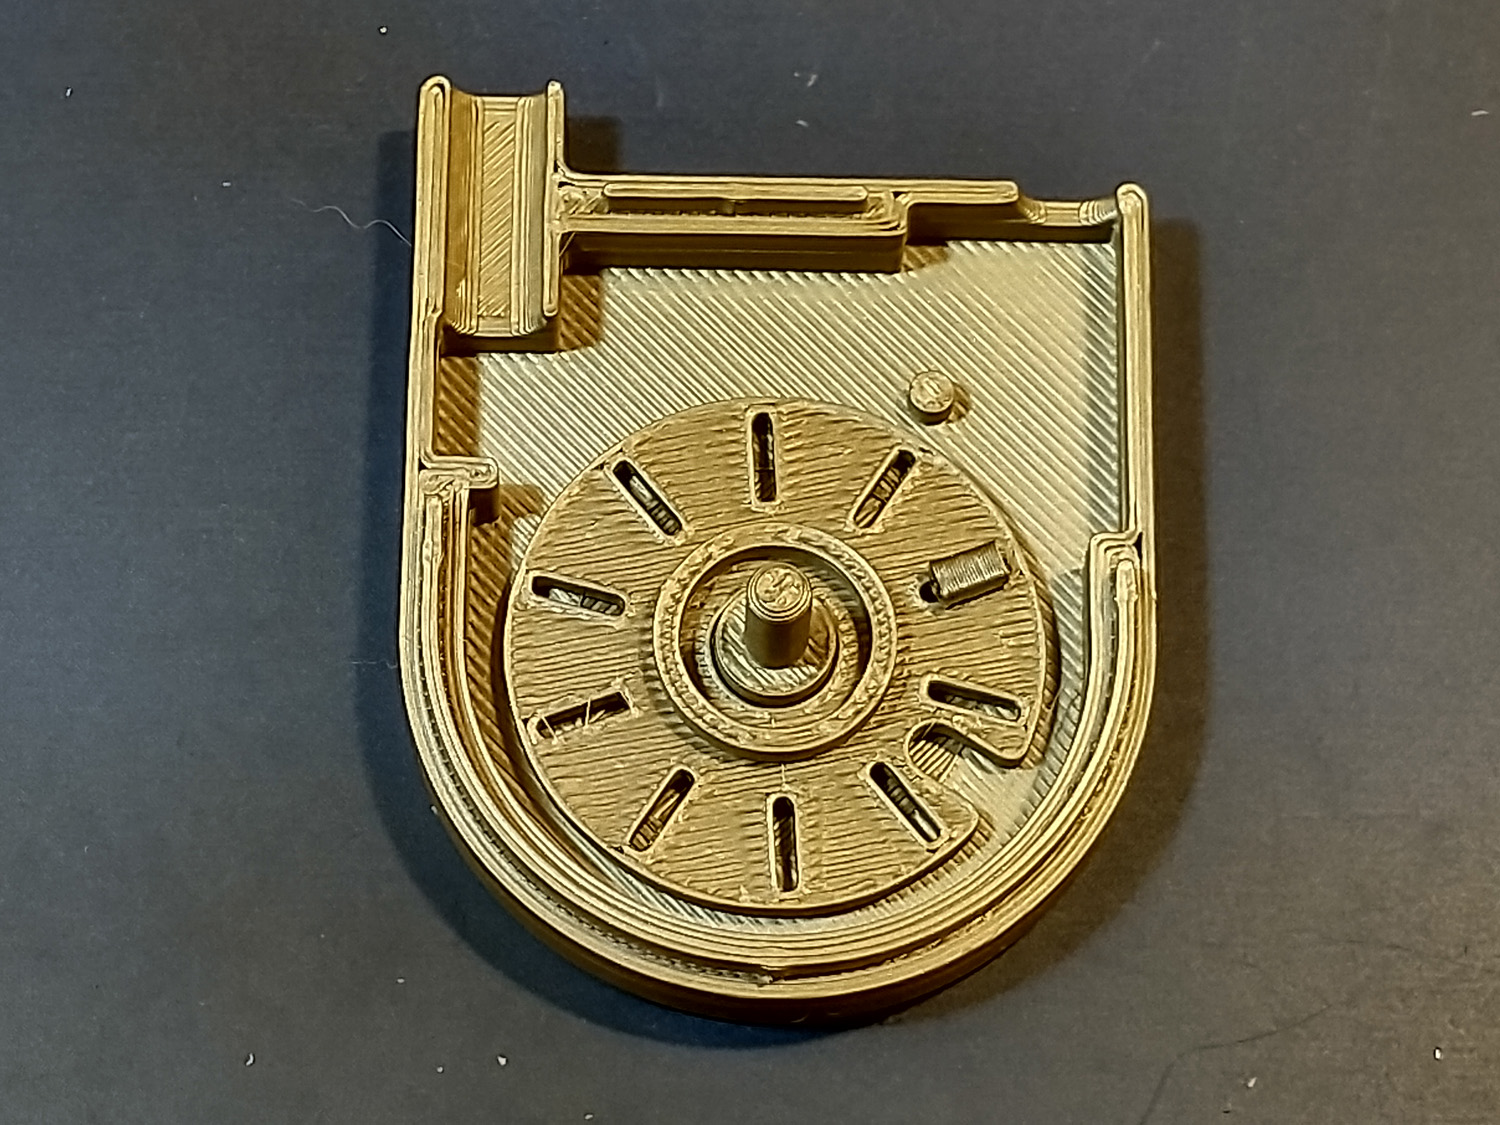
First insert the latch over the little pin in the back housing as shown below:
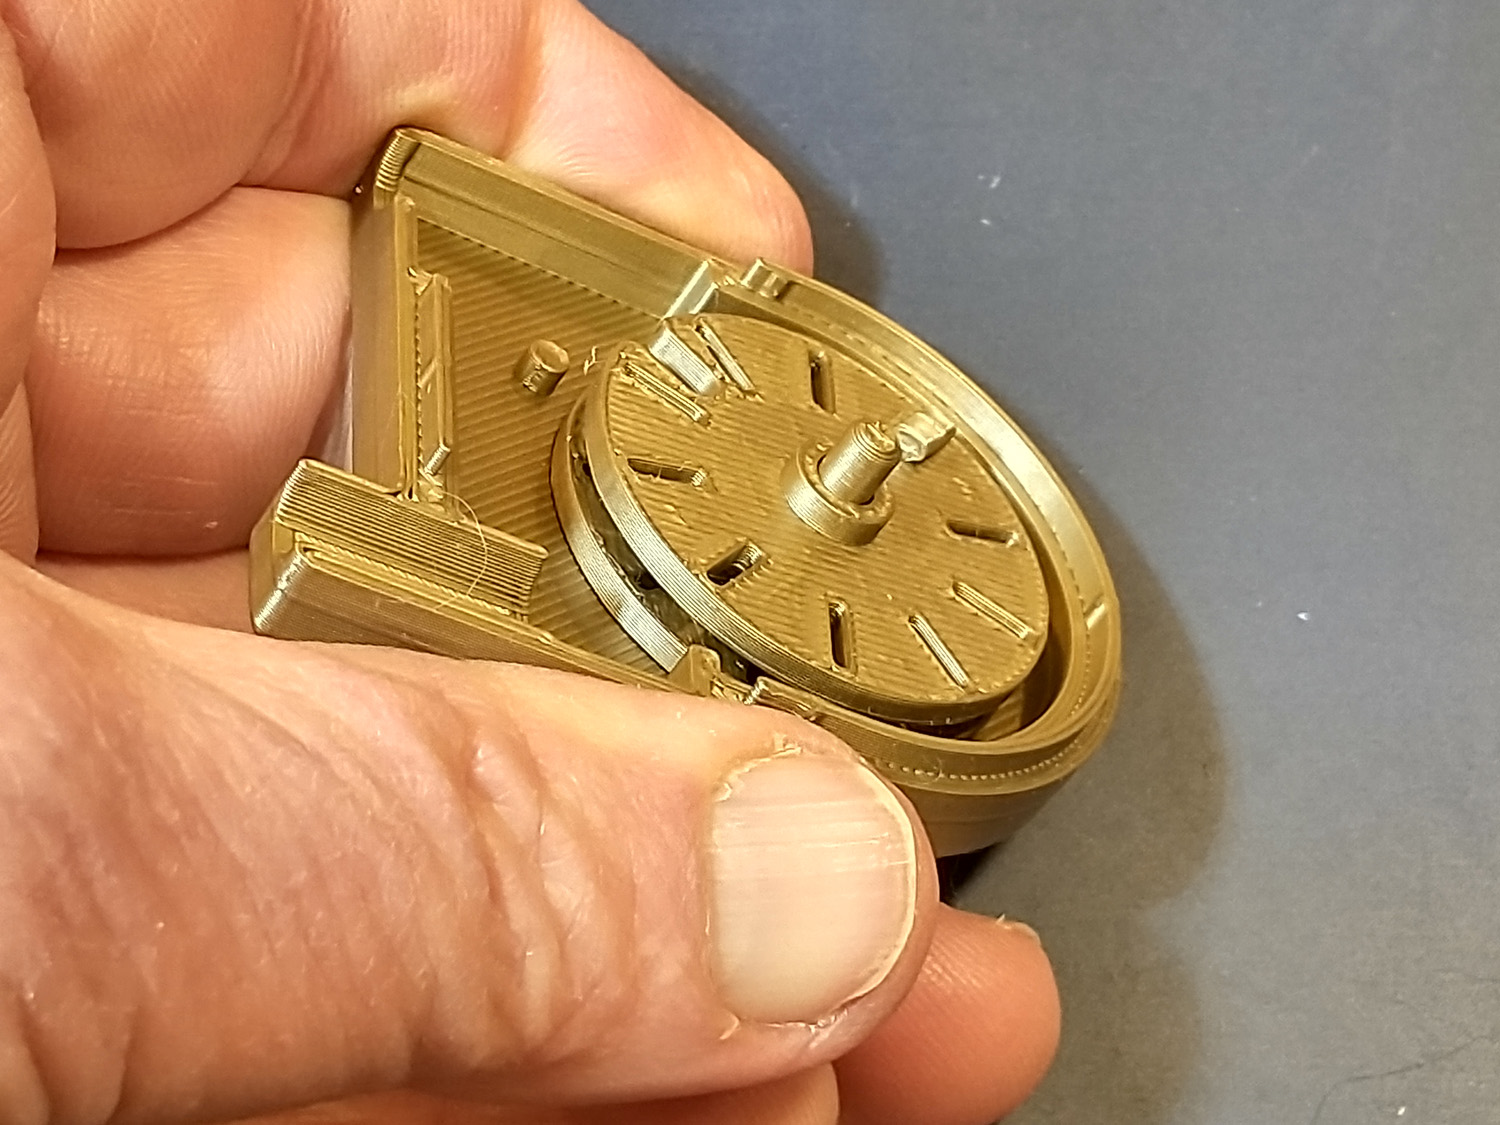
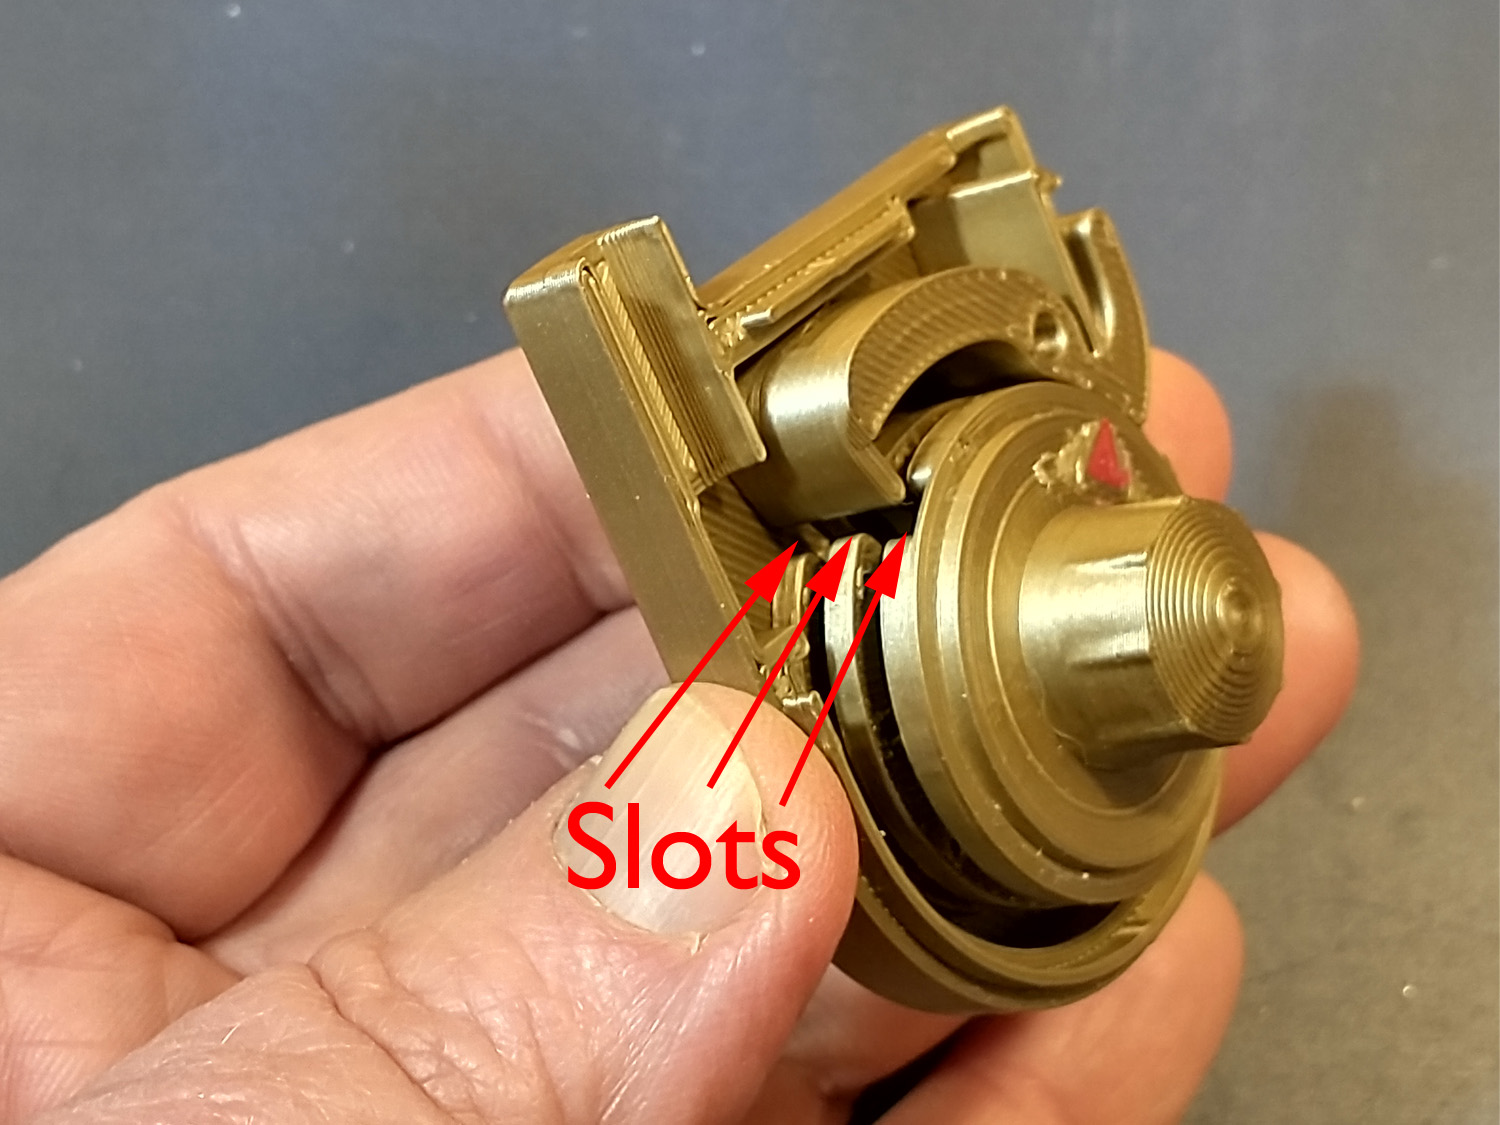
Next rotate the dial several turns clockwise, and then very carefully continue in the clockwise direction until the slot in the back disc aligns with the pawl on the latch as shown above. Carefully let go of the knob without jostling it from this position. Then loosely place the front housing over the assembly (as shown below) and write down the number the arrow is pointing to. This is the first number of your combination.

Next, rotate the dial counter-clockwise one full revolution and then slowly continue to rotate it until the slot in the mid disc also aligns with the pawl as shown below. Again hold the front housing in place and write down the second combintation number.
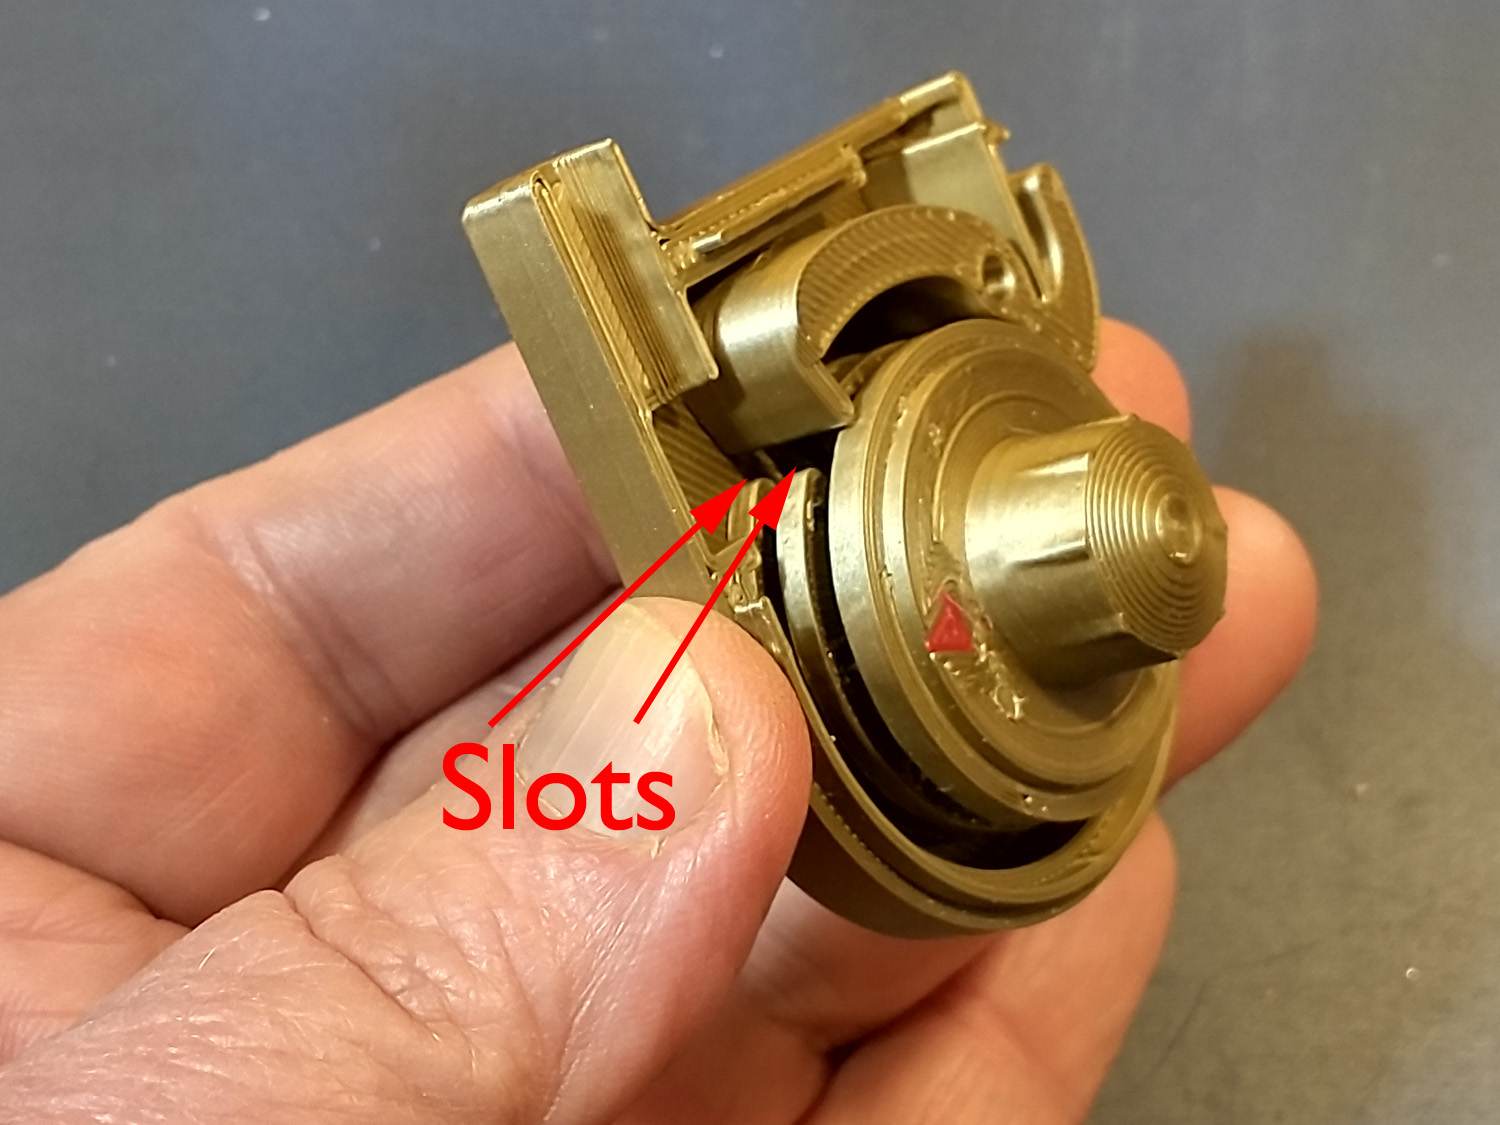
Finally, rotate the dial slowly clockwise again until the slot in the underside of the dial also aligns with the pawl, as shown below. Again, hold the front housing in place and write down the 3rd number of your combination.
4. Complete the Assembly
Next, place the hasp in position as shown below:
And finally, press the front housing on to the back firmly as shown below.
Now test your combination:
- rotate the dial several turns clockwise stopping on the first number of your combo.
- rotate one full turn counter-clockwise and then continue onto your second number.
- rotate clockwise again to land on your 3rd number.
At the point the lock should open. Note that if you spin the dial while the hasp is open, you can still close the lock with a click.
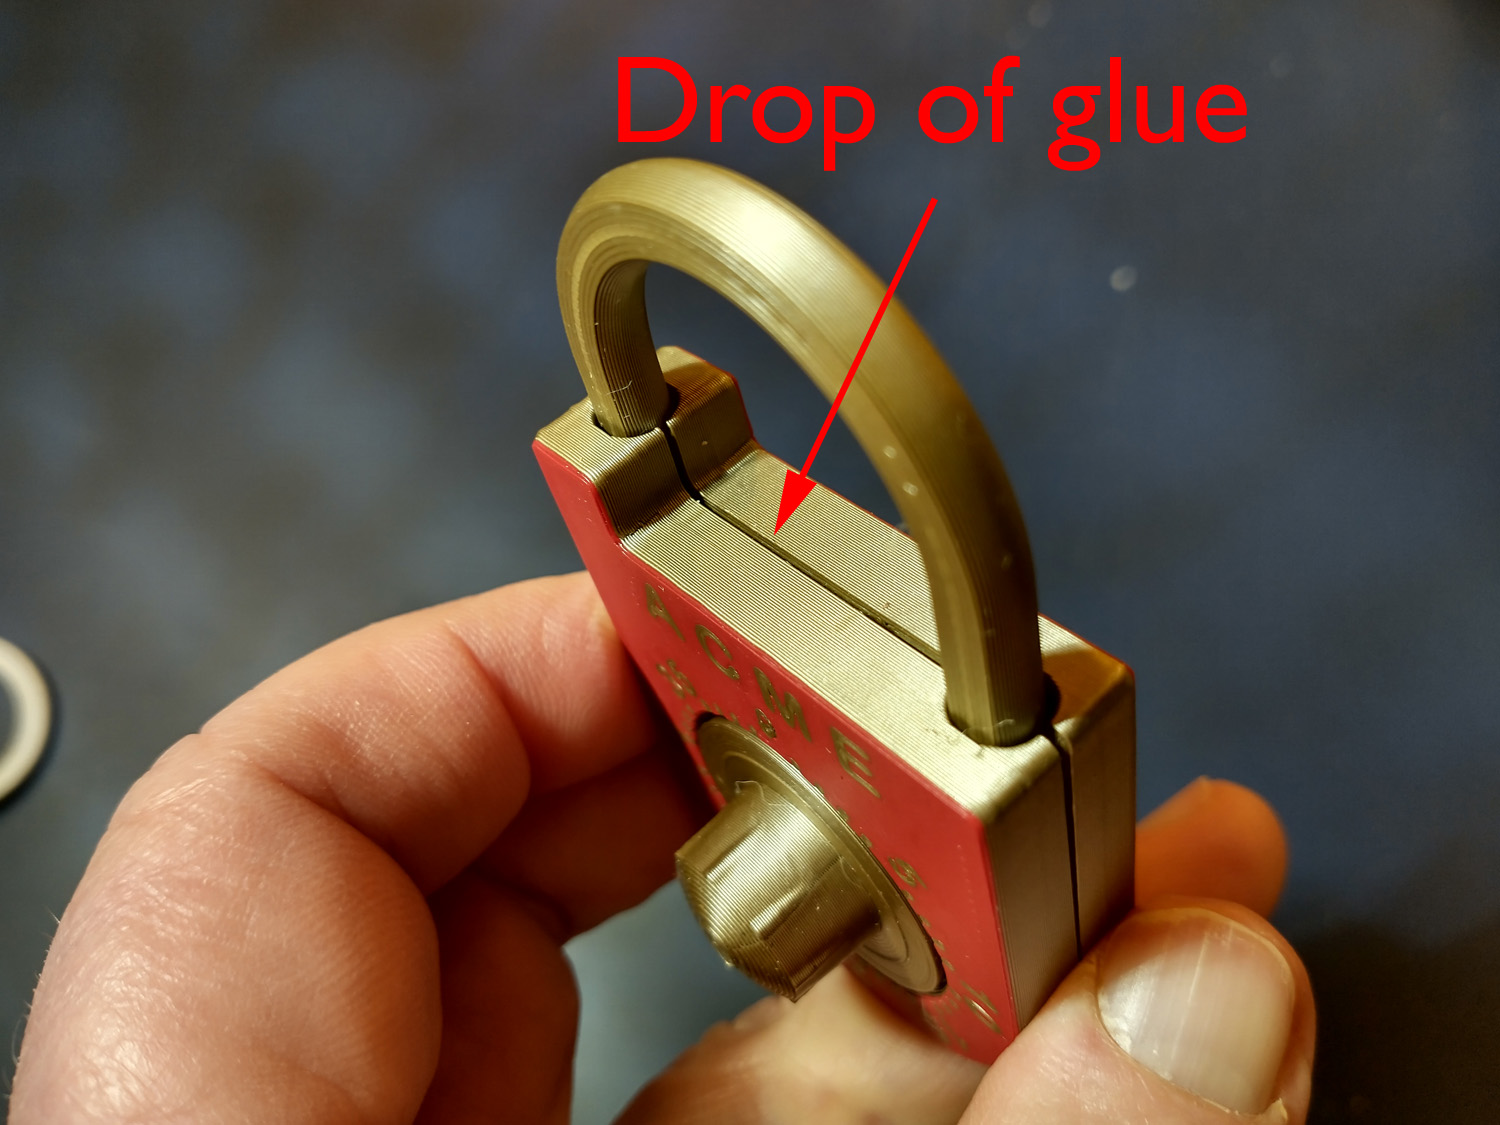
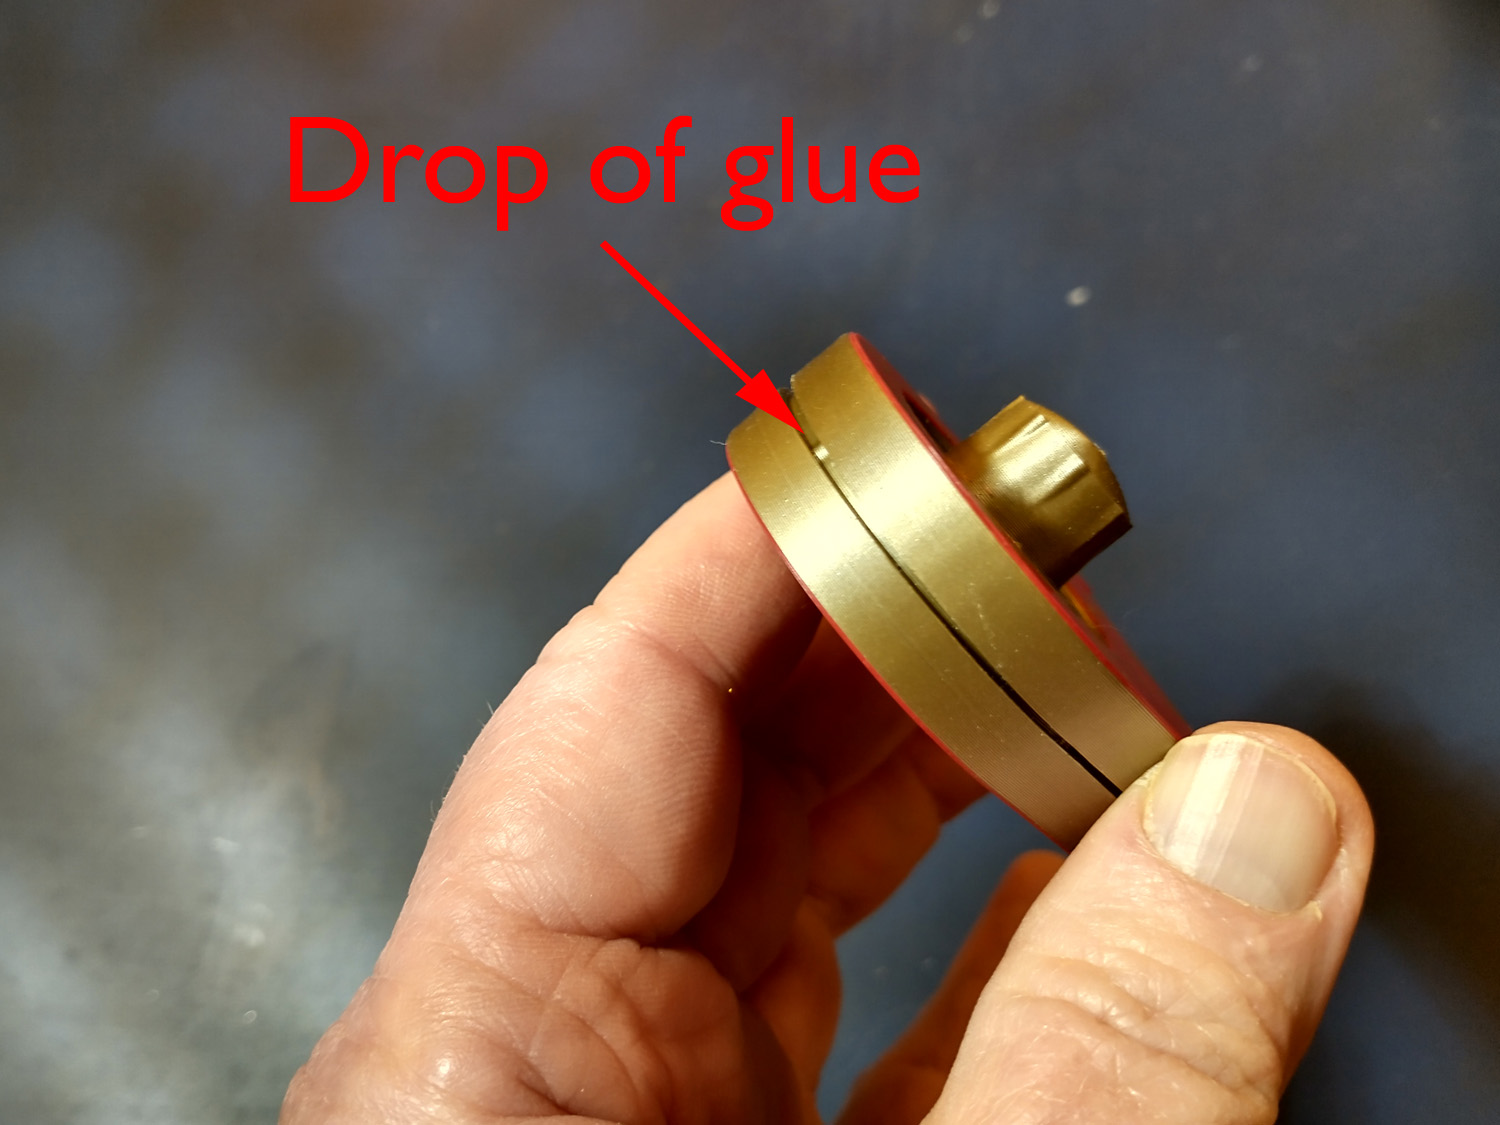
5. Optional Gluing
If you want your lock a little more secure (yeah, like that's going to help), you can use a couple of drops of superglue to glue it shut. Just apply a small drop of superglue to thetop and bottom seams of the lock as shown below, and then press the halves together intil the glue sets.