Você está no 3DFinder
Buscamos em Thingiverse, MakerWorld e Printables ao mesmo tempo para te dar o melhor de cada uma.
Descrição
3D Printed Switch Box – Assembly & Mounting Guide
Overview
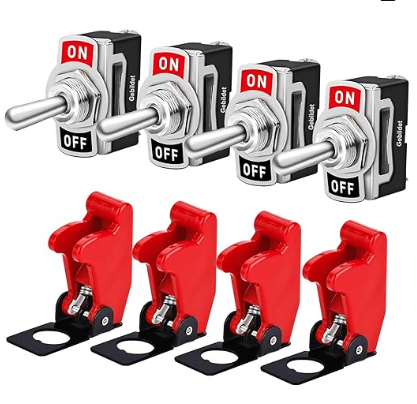
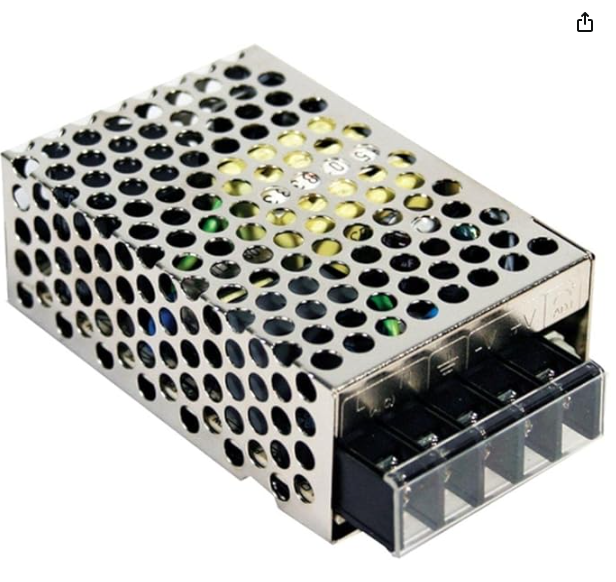
This is a custom-designed 3D printed enclosure, printed in black PLA, intended to house 4 rocker switches (reference switches on Amazon), an ESP32 development board, and a mini AC-DC power supply module (reference PSU on Amazon). The box features a rear slide-in closure panel and a perforated back wall for cable routing and passive airflow.
Parts
- Main box (printed in black PLA) — houses all components
- Rear closure panel (slide-in, printed in black PLA) — closes the back of the box
- Hole covers (printed in red PLA, 3×3 grid layout) — decorative and structural covers for the switch mounting holes
Assembly Instructions
1. Fit the Rear Closure Panel
The rear panel slides vertically into dedicated grooves on the sides of the box. Before inserting it, lightly file or sand the edges of the rear panel to ensure smooth insertion. A few passes with fine-grit sandpaper (120–180 grit) or a flat file on the sliding edges should be sufficient. Avoid over-sanding — you want a snug but smooth fit.
2. Install the Hole Covers
The red hole covers are designed to be placed on both sides of the front panel wall (one on the outside, one on the inside) around each switch cutout. Once positioned, insert the rocker switch through the hole — the switch itself acts as the fastener, clamping both covers firmly against the panel wall when tightened. This sandwich-style assembly significantly improves structural rigidity around the switch holes and prevents cracking of the PLA wall over time.
3. Install Components
Insert the 4 rocker switches (see reference) through the front-face cutouts.
Mount the ESP32 board and the mini power supply (see reference) inside the box, using the available internal space.
Route cables through the perforated holes on the rear wall, which also provide passive ventilation for the electronics.
4. Mount the Box to a Surface
Choose your preferred mounting method based on your use case:
- Double-sided tape — quick and tool-free, ideal for smooth flat surfaces
- Screws — for a permanent, solid installation; use the base footprint as a guide for pilot holes
- Velcro strips — for removable mounting with a clean finish

Gostou deste modelo? Crie uma conta grátis para salvar seus favoritos e voltar a eles depois.
Criar conta