Você está no 3DFinder
Buscamos em Thingiverse, MakerWorld e Printables ao mesmo tempo para te dar o melhor de cada uma.
Descrição
The Fourth Dimension - Infinity Mirror Cube
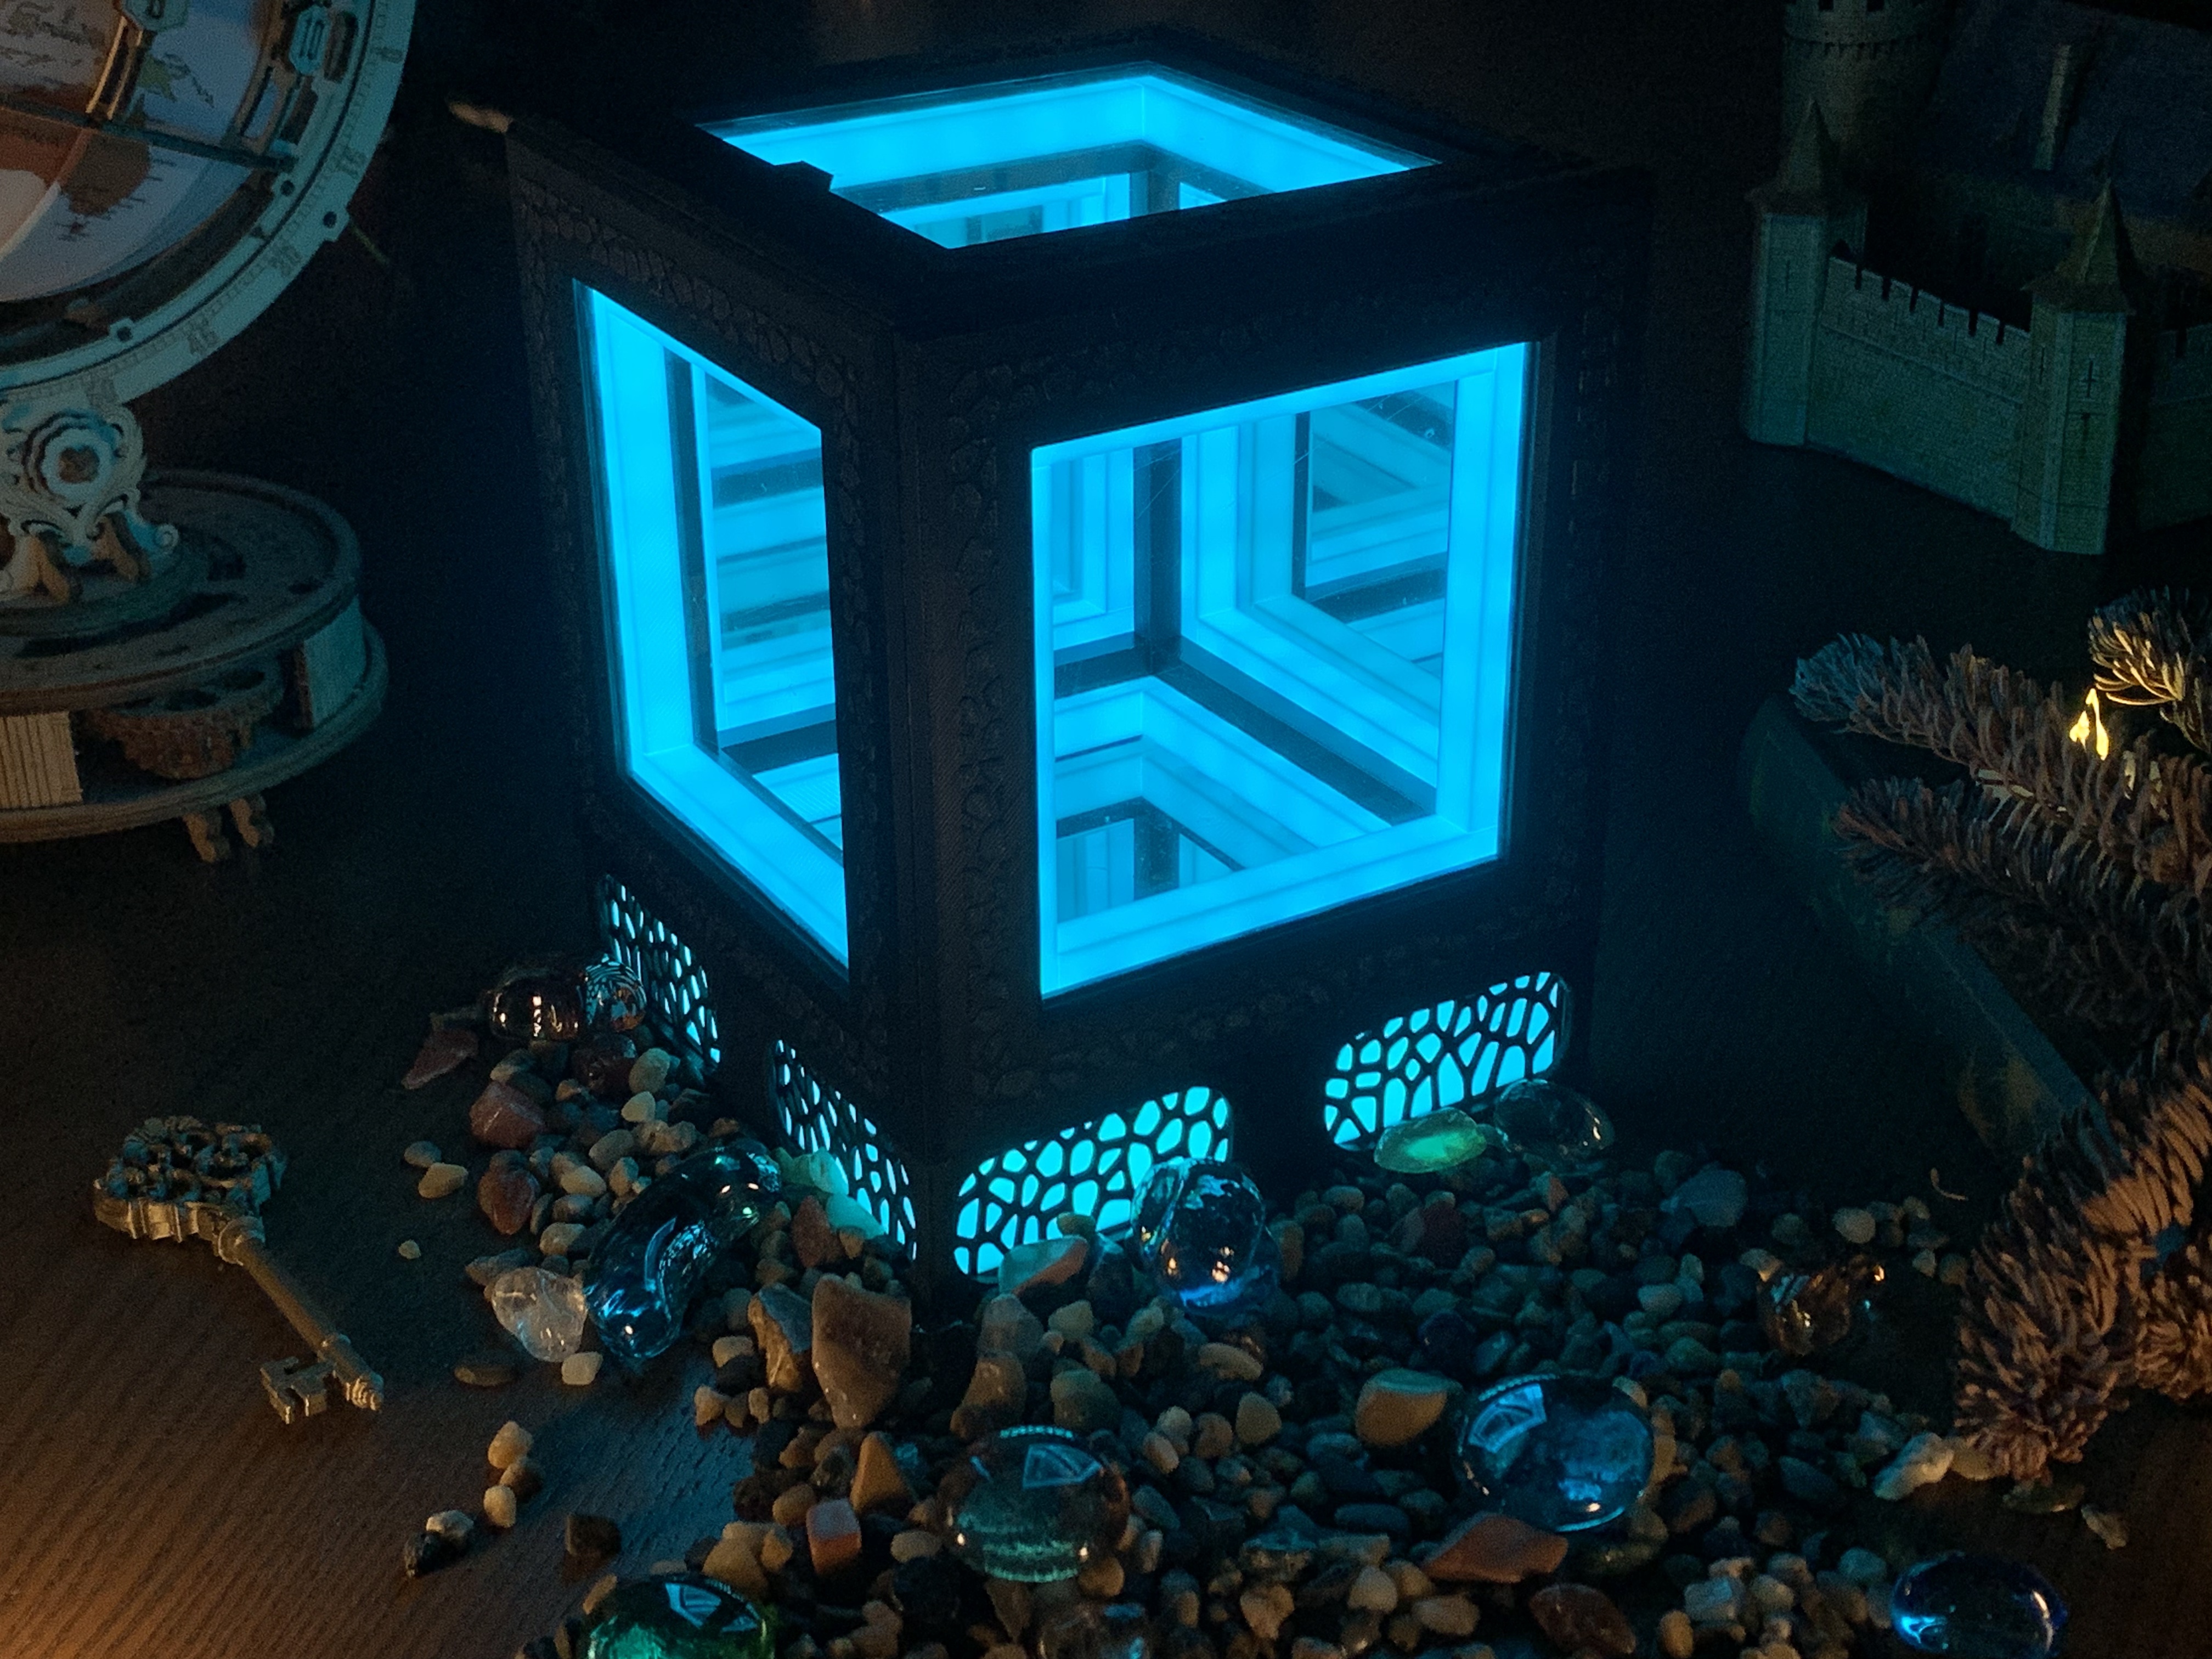
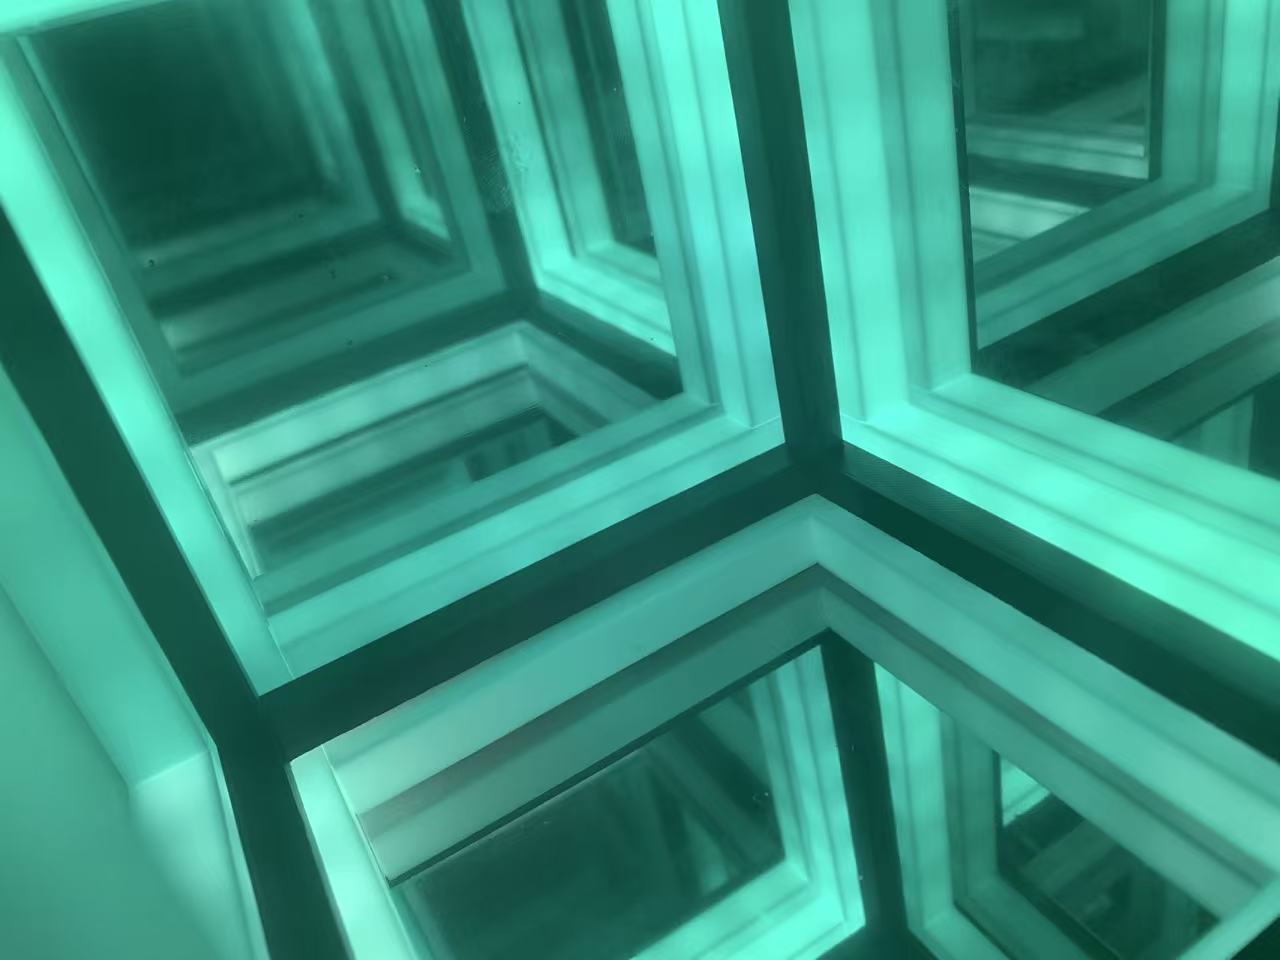
This cube is designed to look like a forgotten relic found sitting on an old explorer's desk, buried under dusty books and maps. When dormant, it appears as a heavy, solid mirror locked inside a forged metal frame. Once the lights hidden inside are awakened, the two-way mirrors create an optical illusion that shatters the solid walls, revealing an endless, three-dimensional grid of spectral light expanding within the box
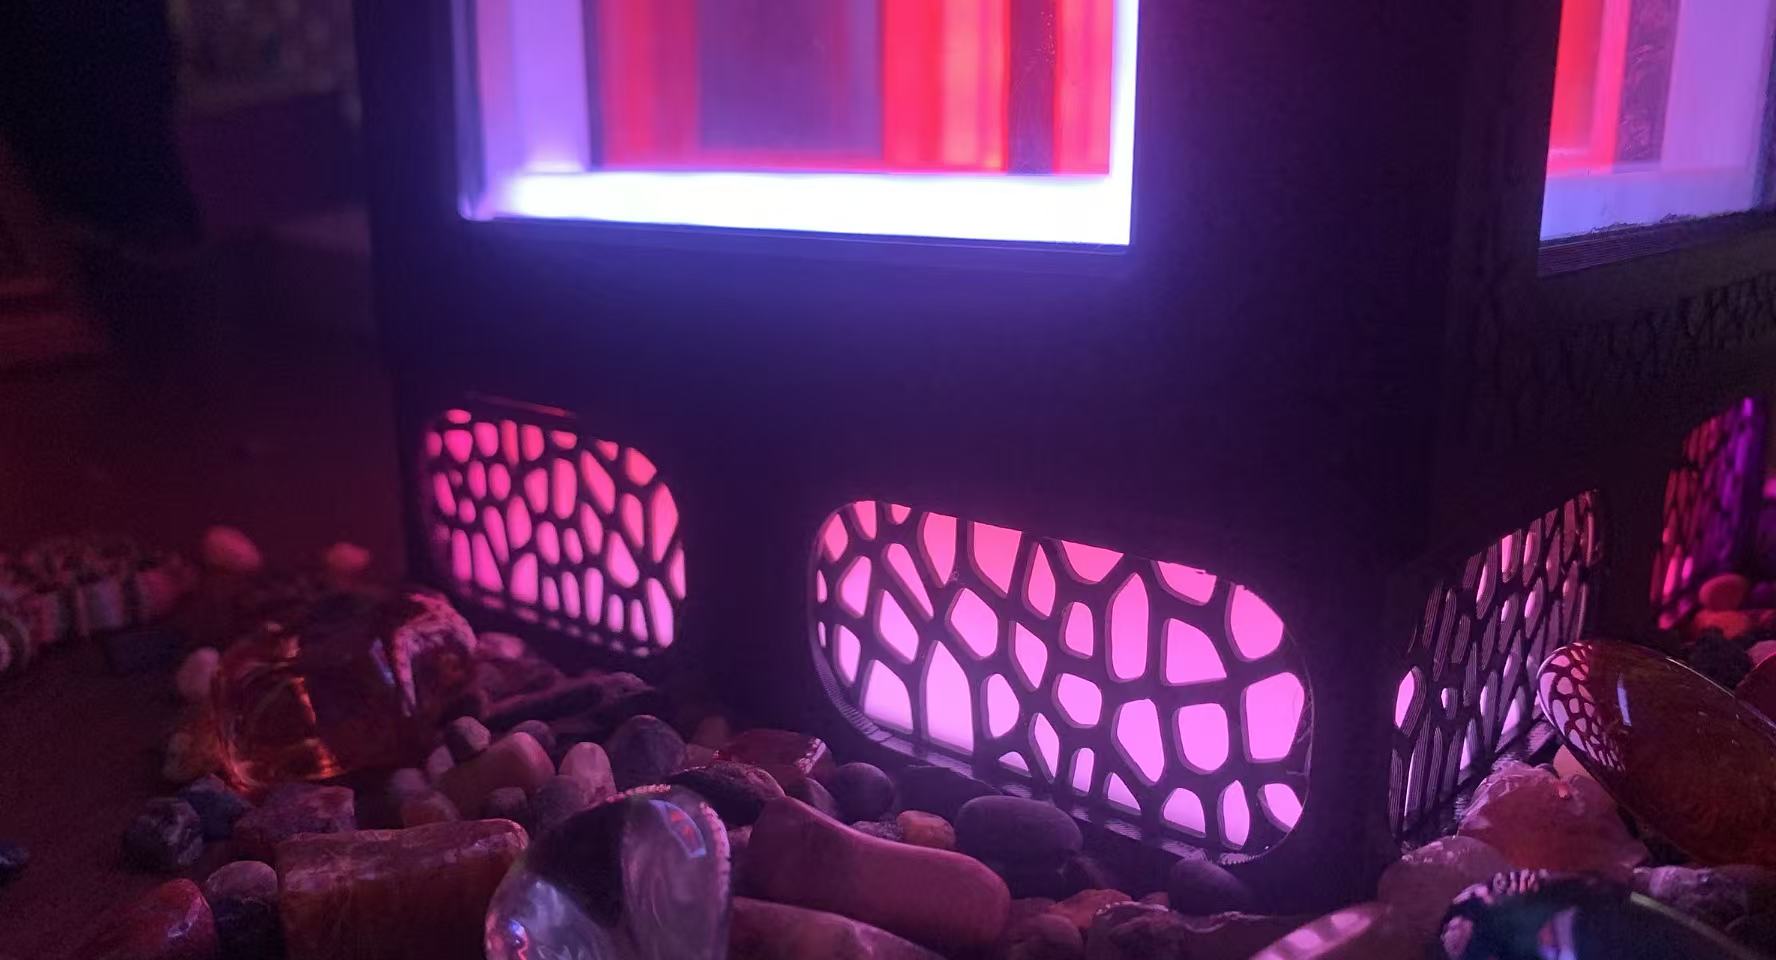
A natural Voronoi pattern on the base allows light to spill out organically onto the surrounding environment.
Hardware Needed:
- 6x Clear Acrylic Squares (100x100x3mm)
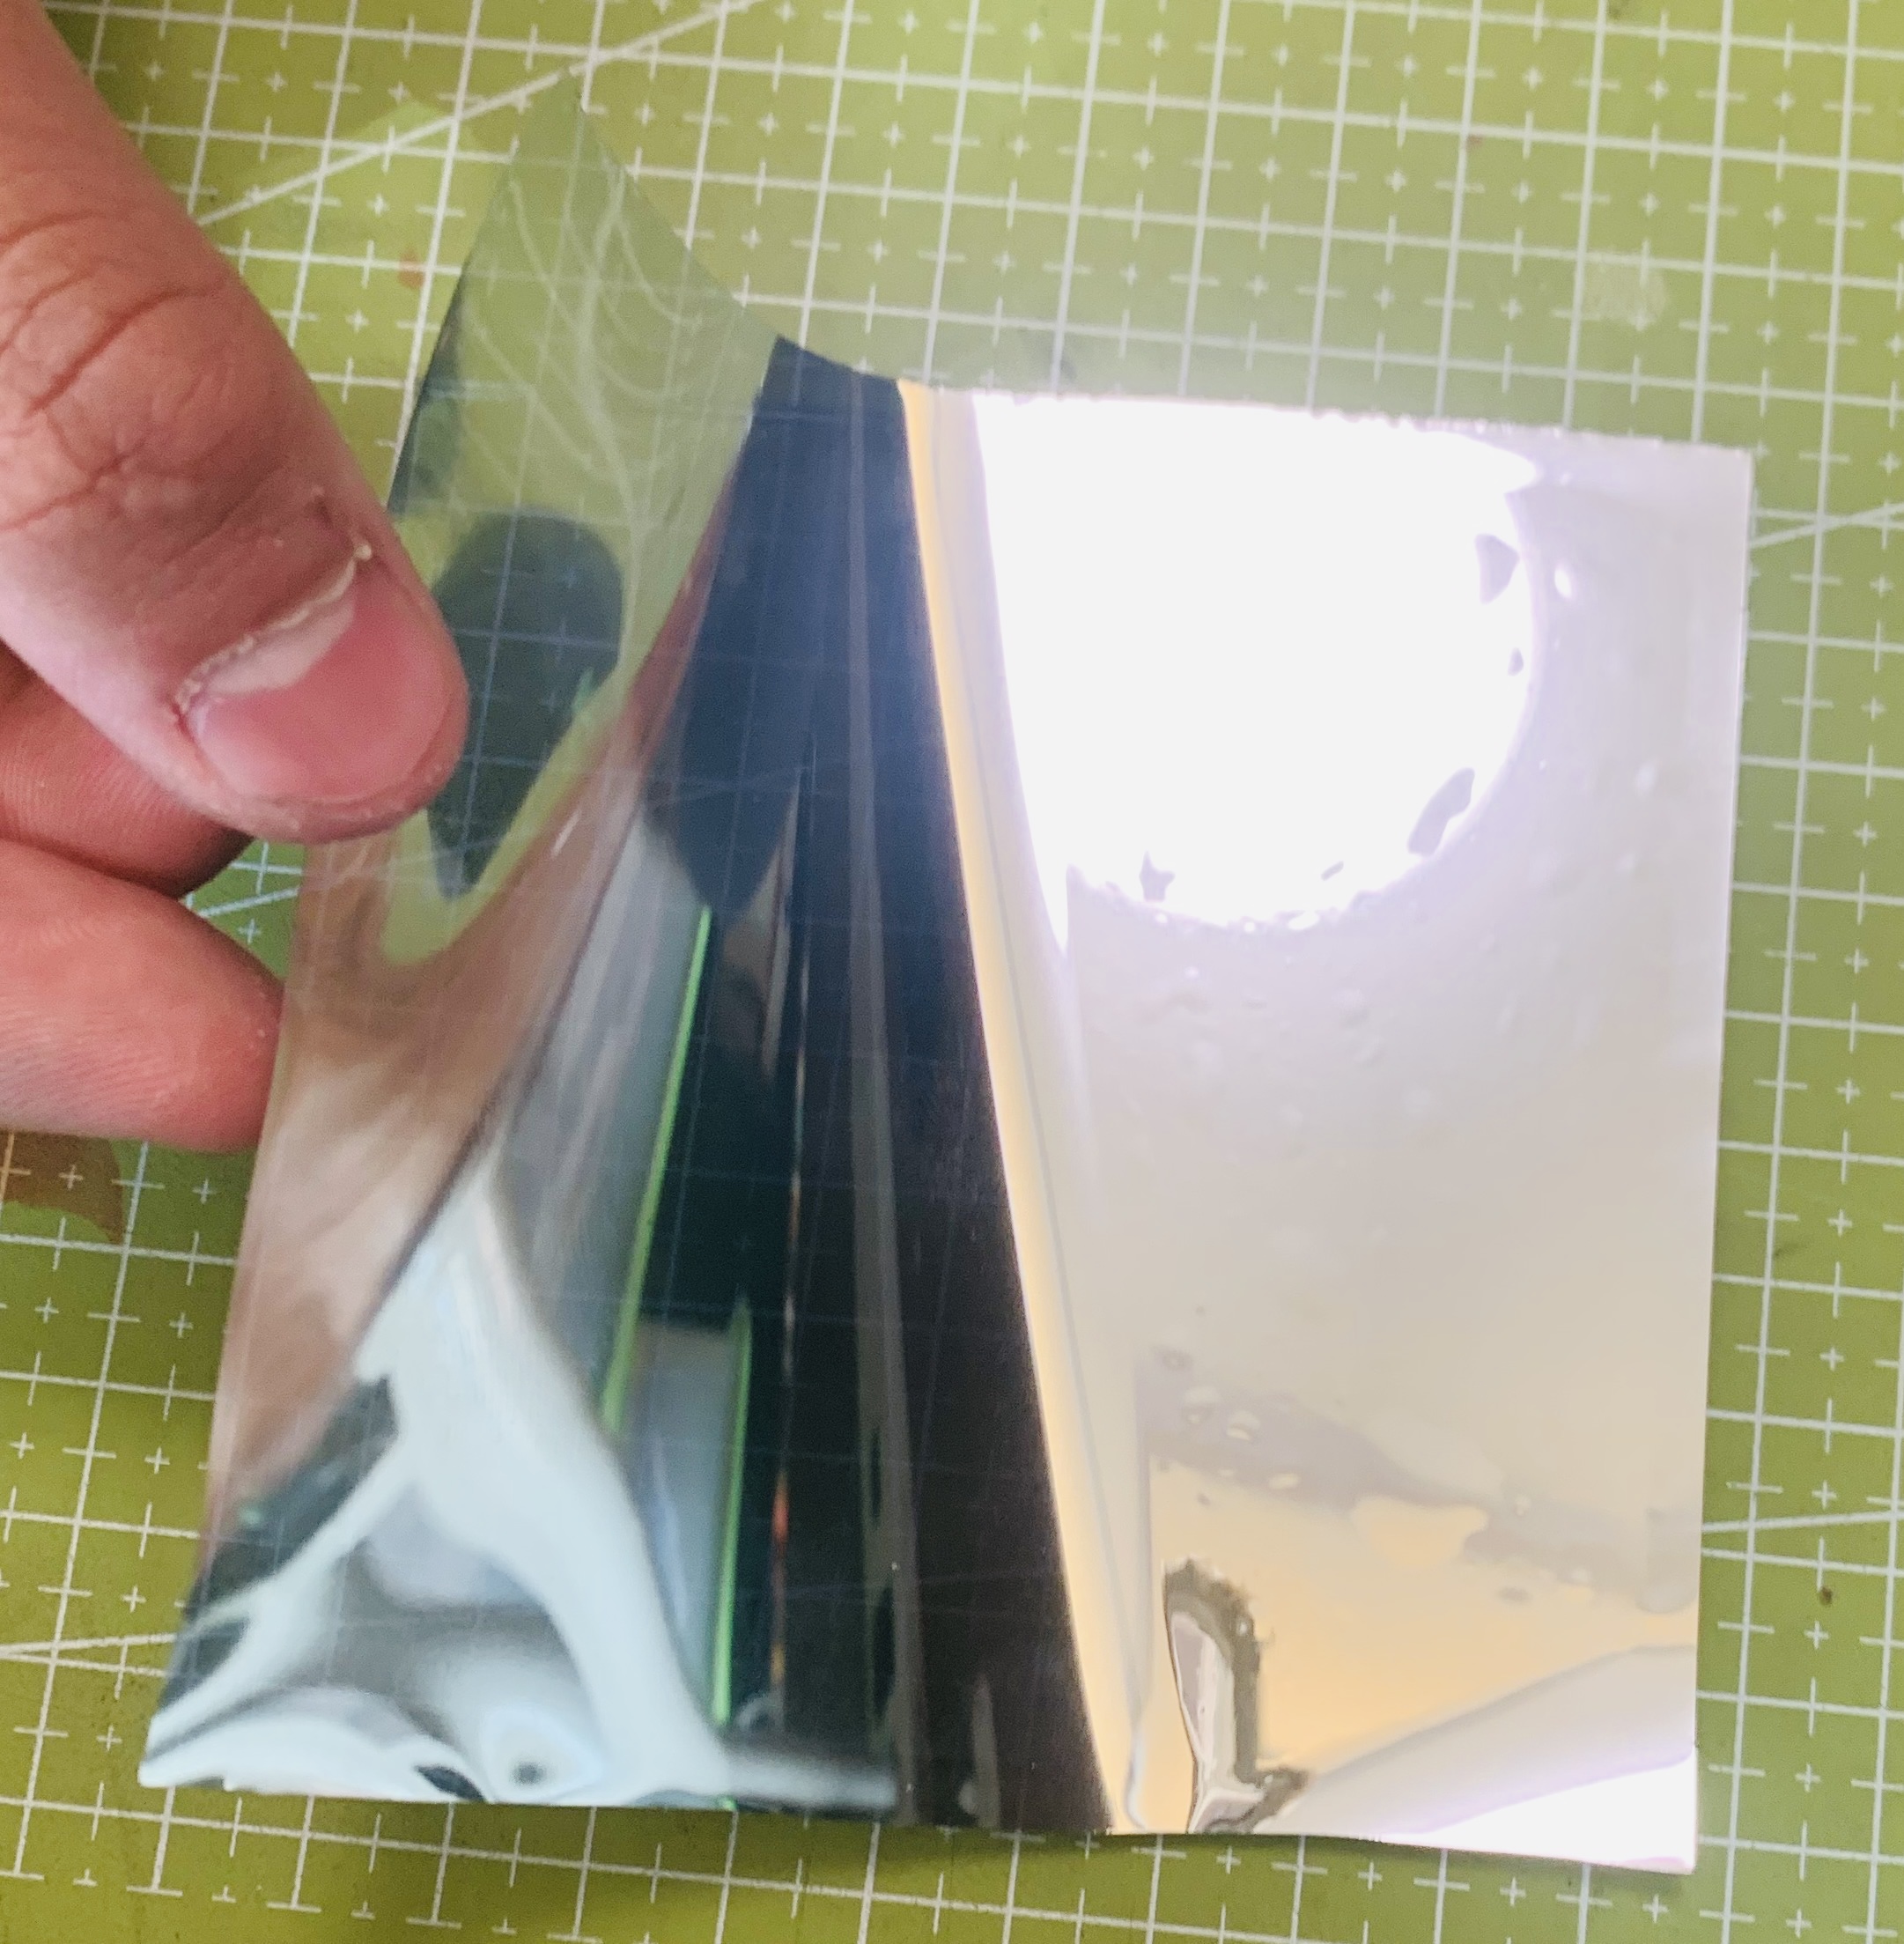
- Two-Way Mirror Film (Window tint)
- Bambu Lab WS2812B RGB LED Strip Light
Assembly Guide:
1. Optical Surface Preparation: Apply the two-way mirror film to the acrylic panels using the "wet method." A mixture of water and a drop of dish soap allows for precise positioning and easy removal of air bubbles with a squeegee. Once dry, trim the excess film flush with the acrylic edges using a precision craft knife for a seamless fit.
Note: For maximum clarity in the 3D grid, ensure the acrylic is thoroughly cleaned of dust and fingerprints before film application.'
2. Internal Illumination: Route the LED strip through the internal 3D grid to achieve a cohesive light distribution. This placement ensures the structural lattice is backlit. Once positioned, verify that the light is unobstructed for a uniform glow.
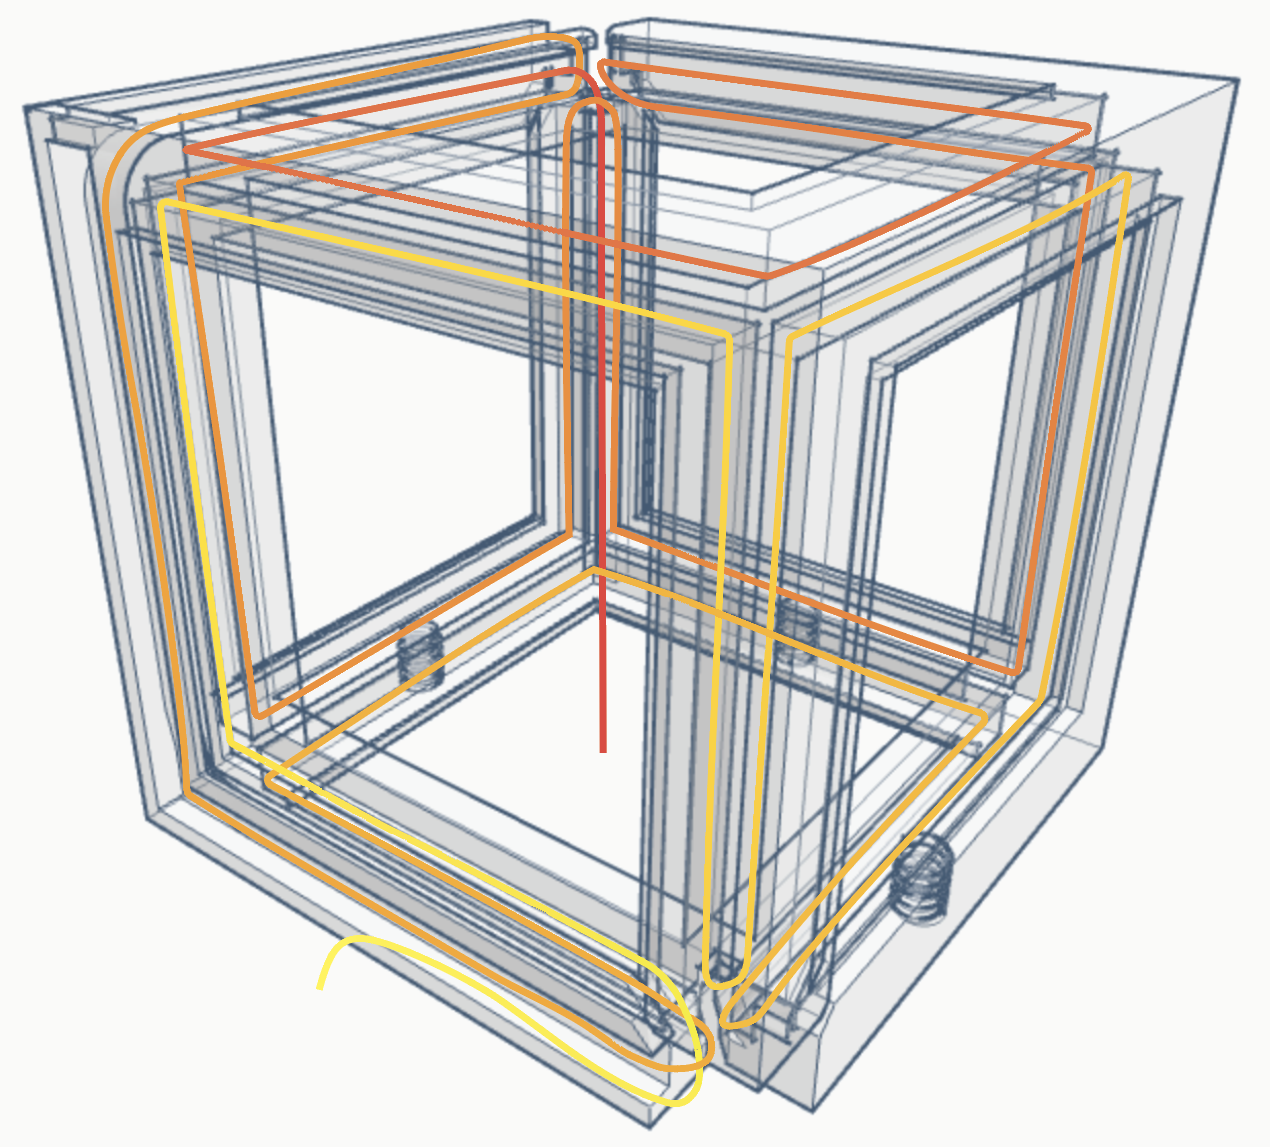
Follow this path for the LED strip↑
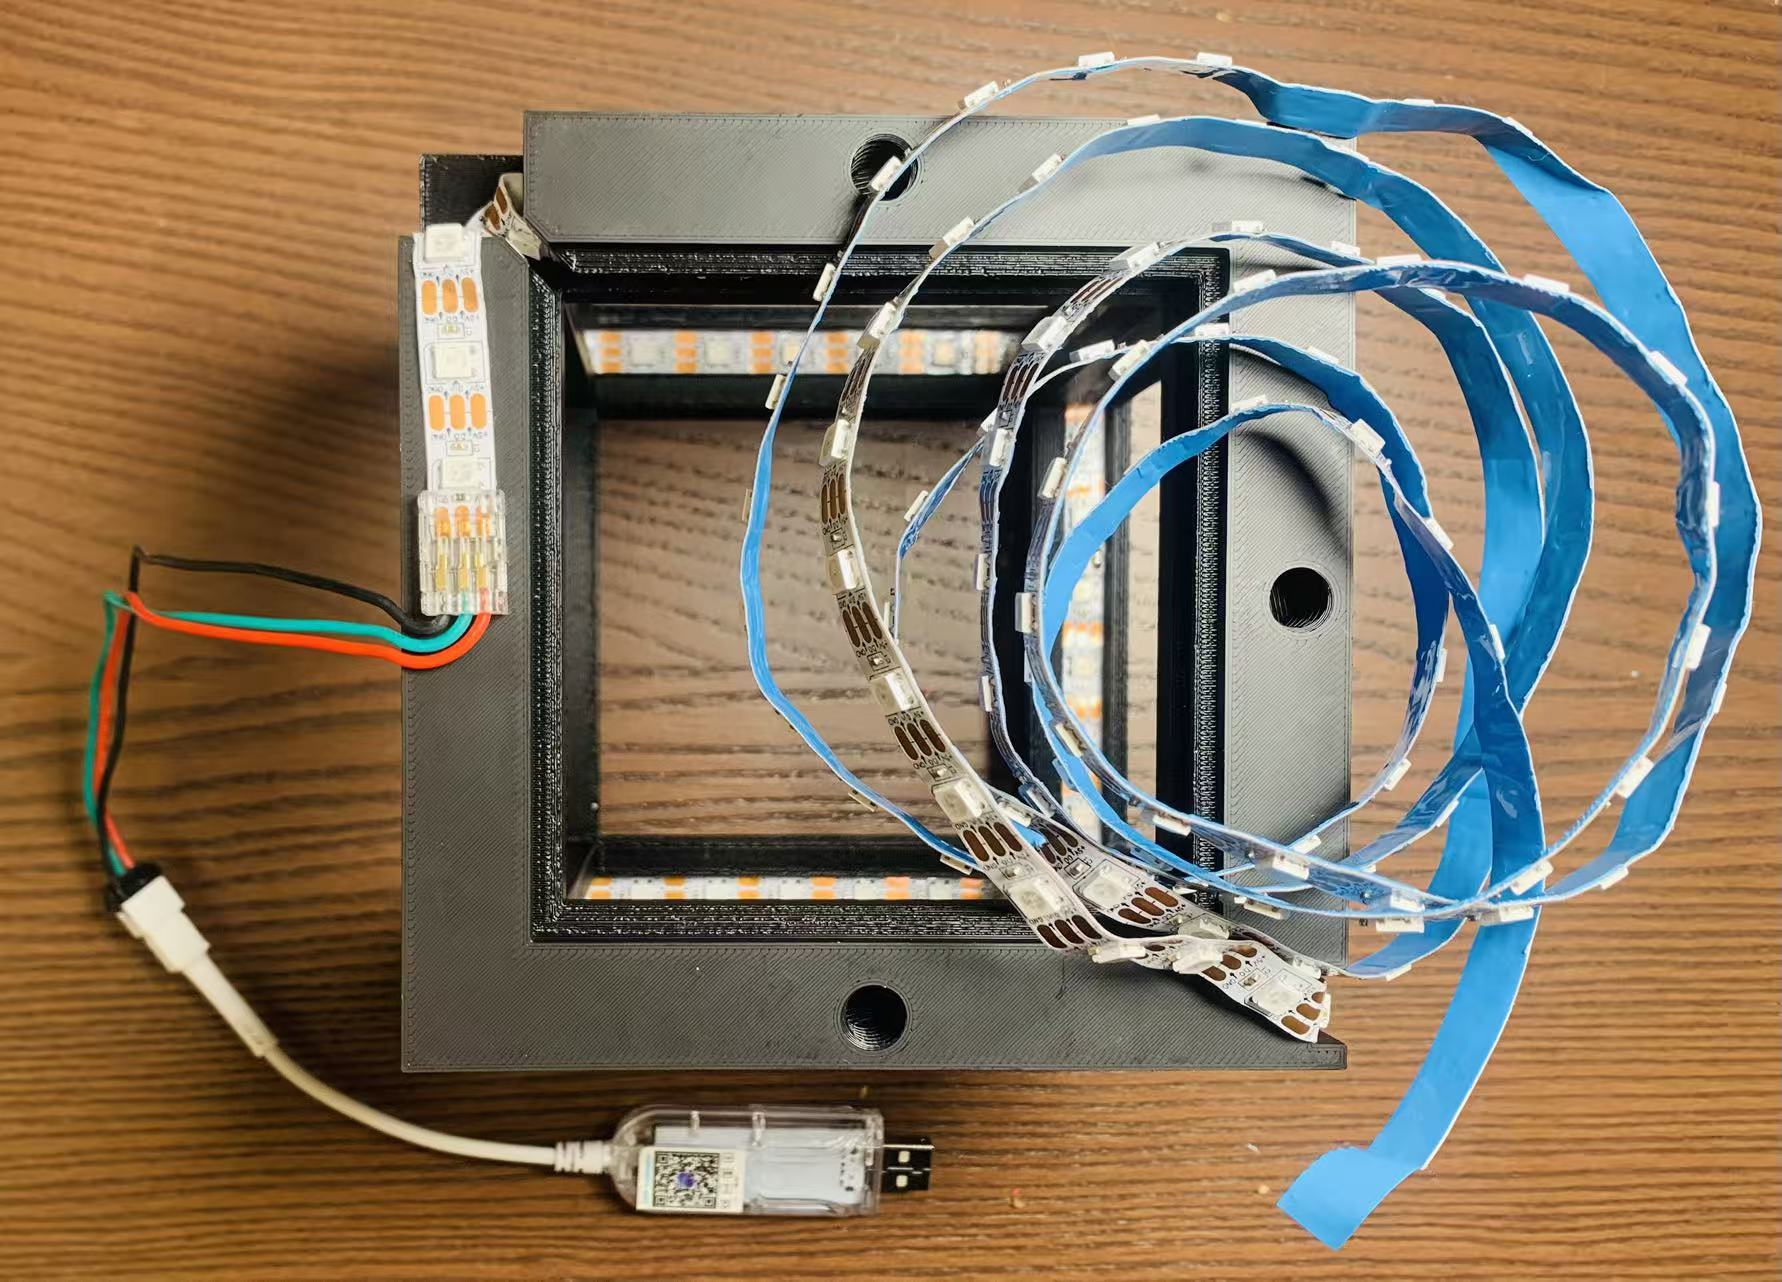
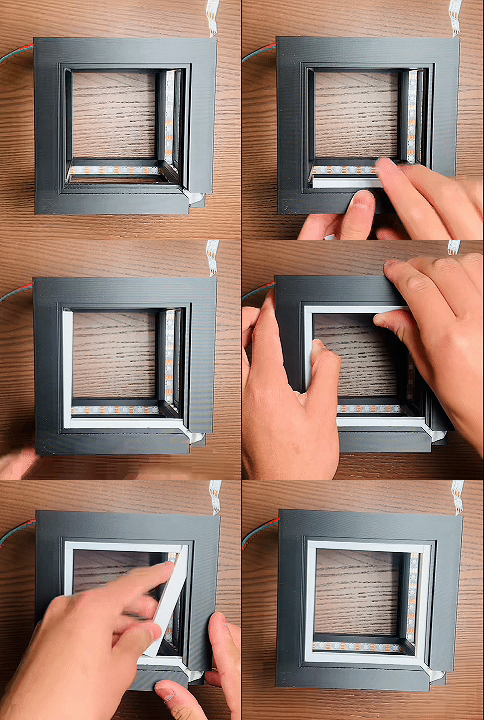
3. Diffuser Installation: Slide the 24 diffusers into the internal slots of the 3D grid (4 per face). Ensure each panel is fully seated and flush against the frame to provide optimal light diffusion and a clean, uniform finish for the exterior geometry.
4. Mirror Assembly: Secure the mirrored acrylic panels into the housing slots on the bottom and four lateral faces using a suitable adhesive. The 102mm specification ensures a universal fit, maintaining compatibility with both standard 100mm and 4-inch square formats.
Crucial: The reflective film side must face inward toward the LED core to facilitate internal reflection and achieve the infinity effect.
5. Top Mirror Access Door Assembly Secure the final mirrored acrylic panel into the housing slot of the top access door. Ensure the reflective film faces inward toward the light.
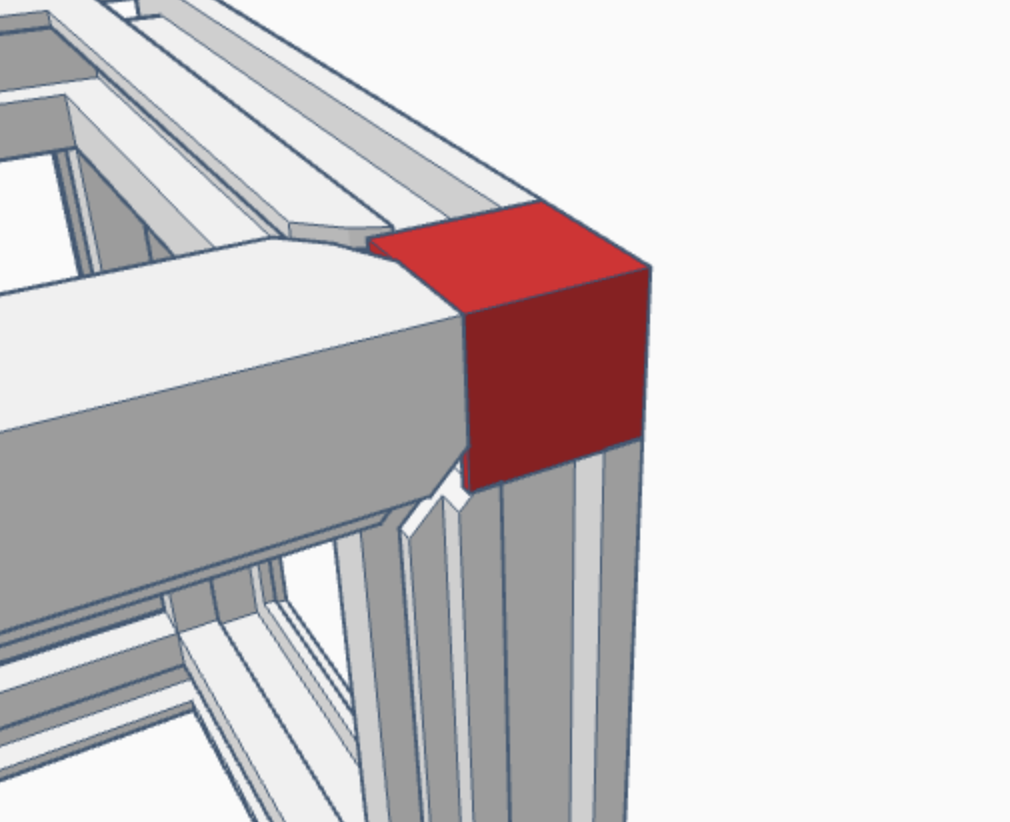
6. Corner Piece: Affix the corner cap to this top corner to avoid light spilling out from the small gaps. Apply a small amount of adhesive to the inner contact points of the cap before pressing it firmly into the corner.
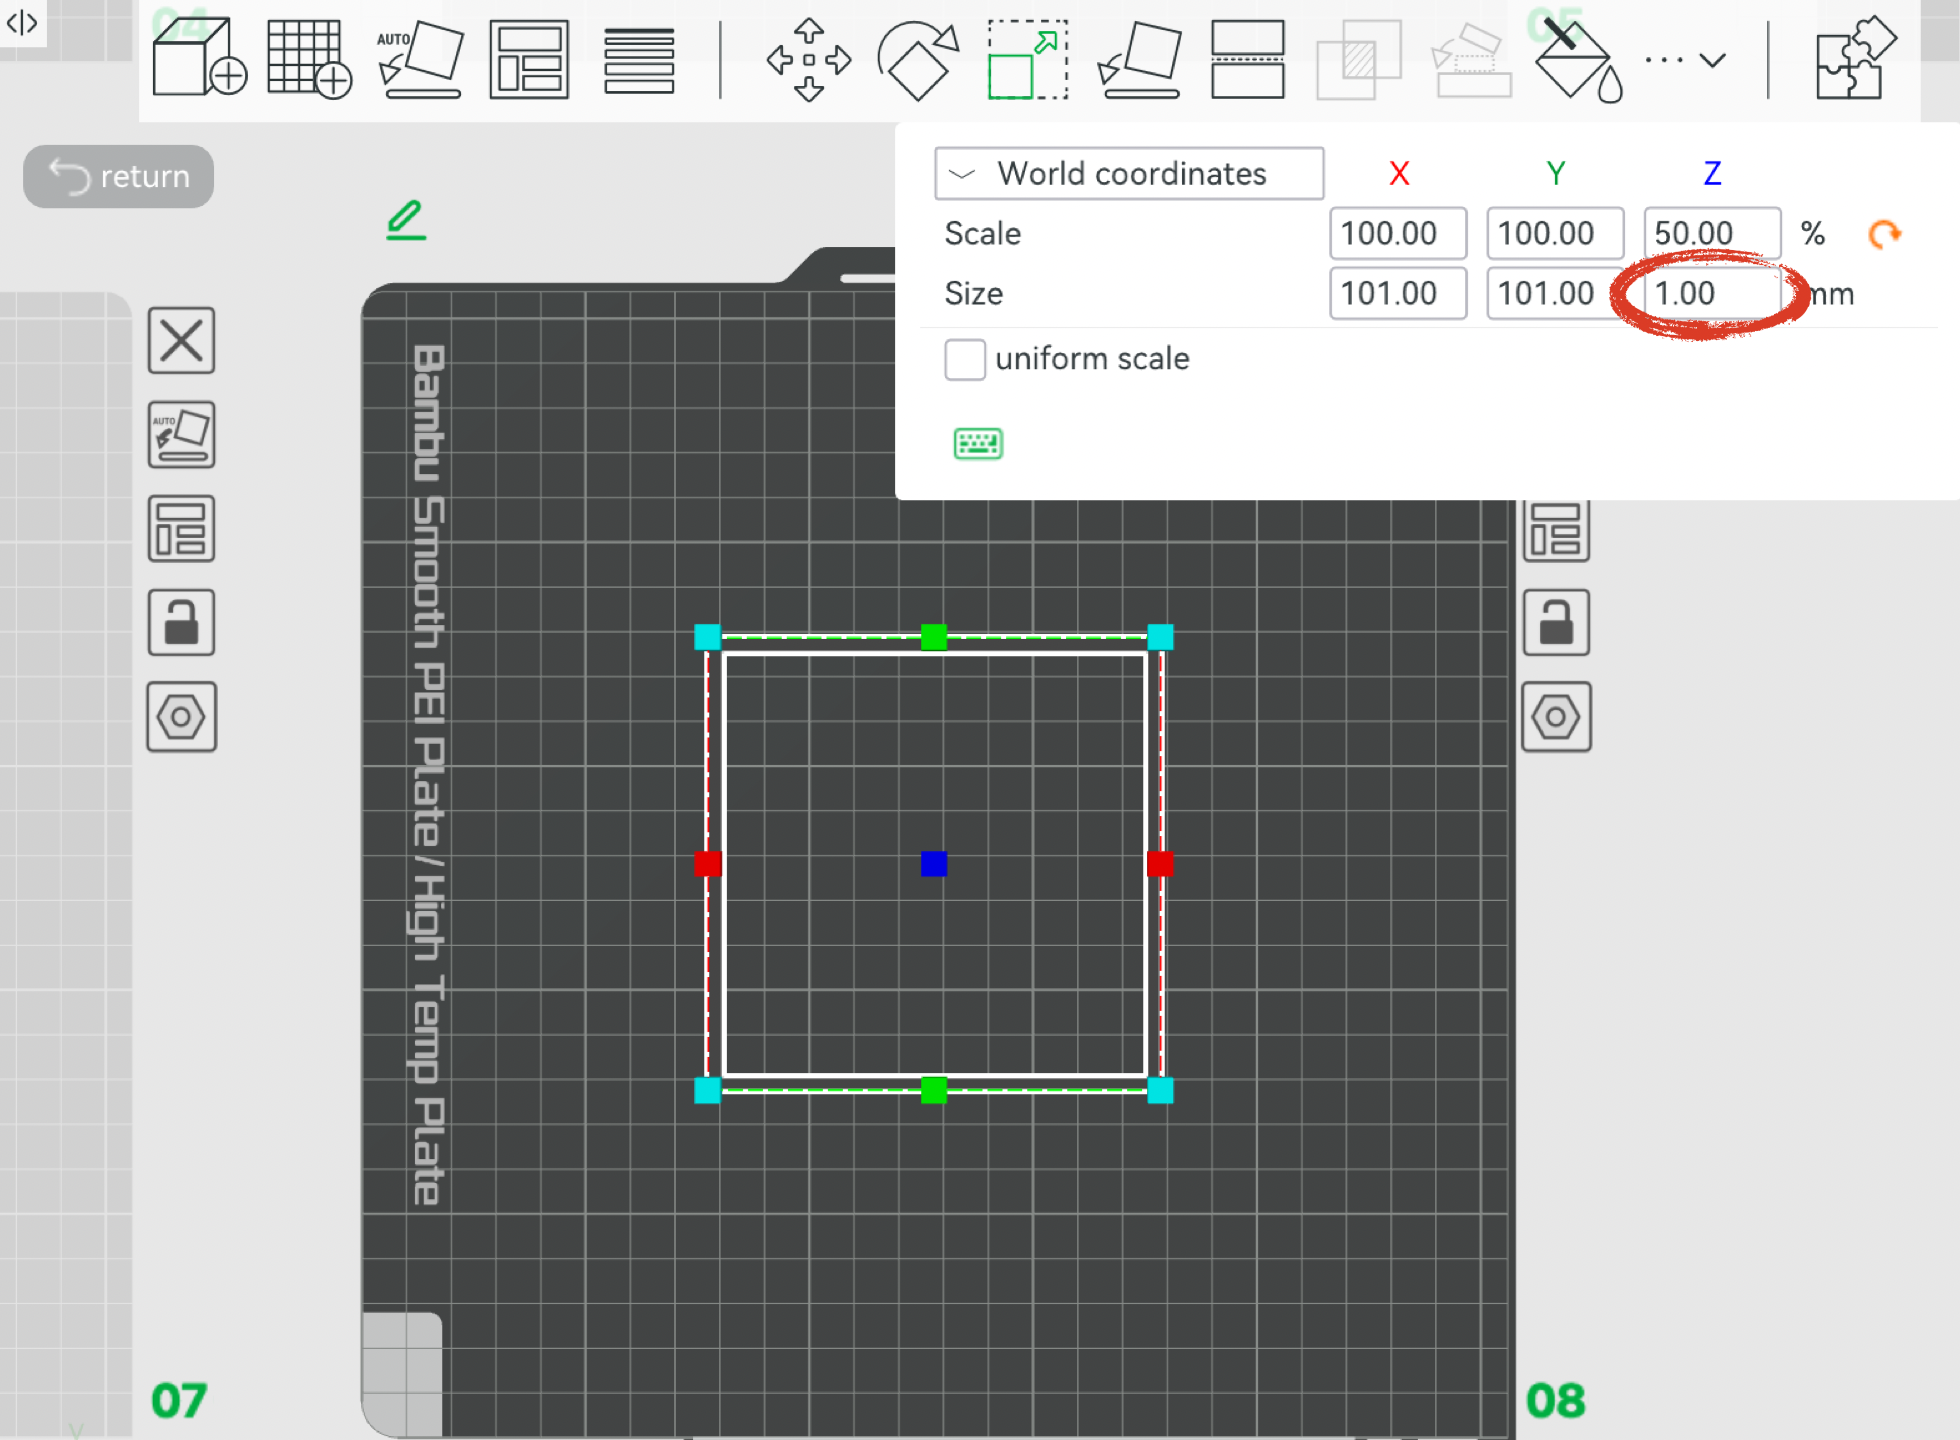
7. Exterior Finishing Apply the textured cladding panels to the five exterior faces. Use the four standard panels for the side faces and the specialized door cladding for the top. Use a high-strength adhesive to bond the cladding to the frame. (If there is a small gap between the cladding and the mirror, measure the gap, size the square on plate 8 to the needed height, and print it.)
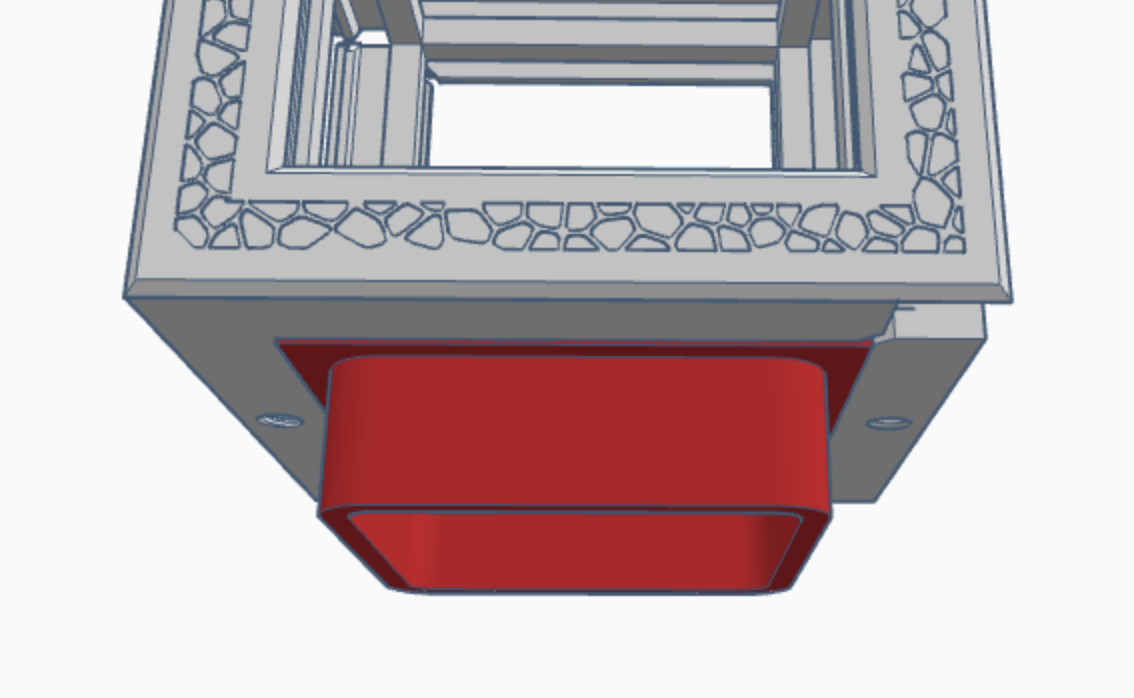
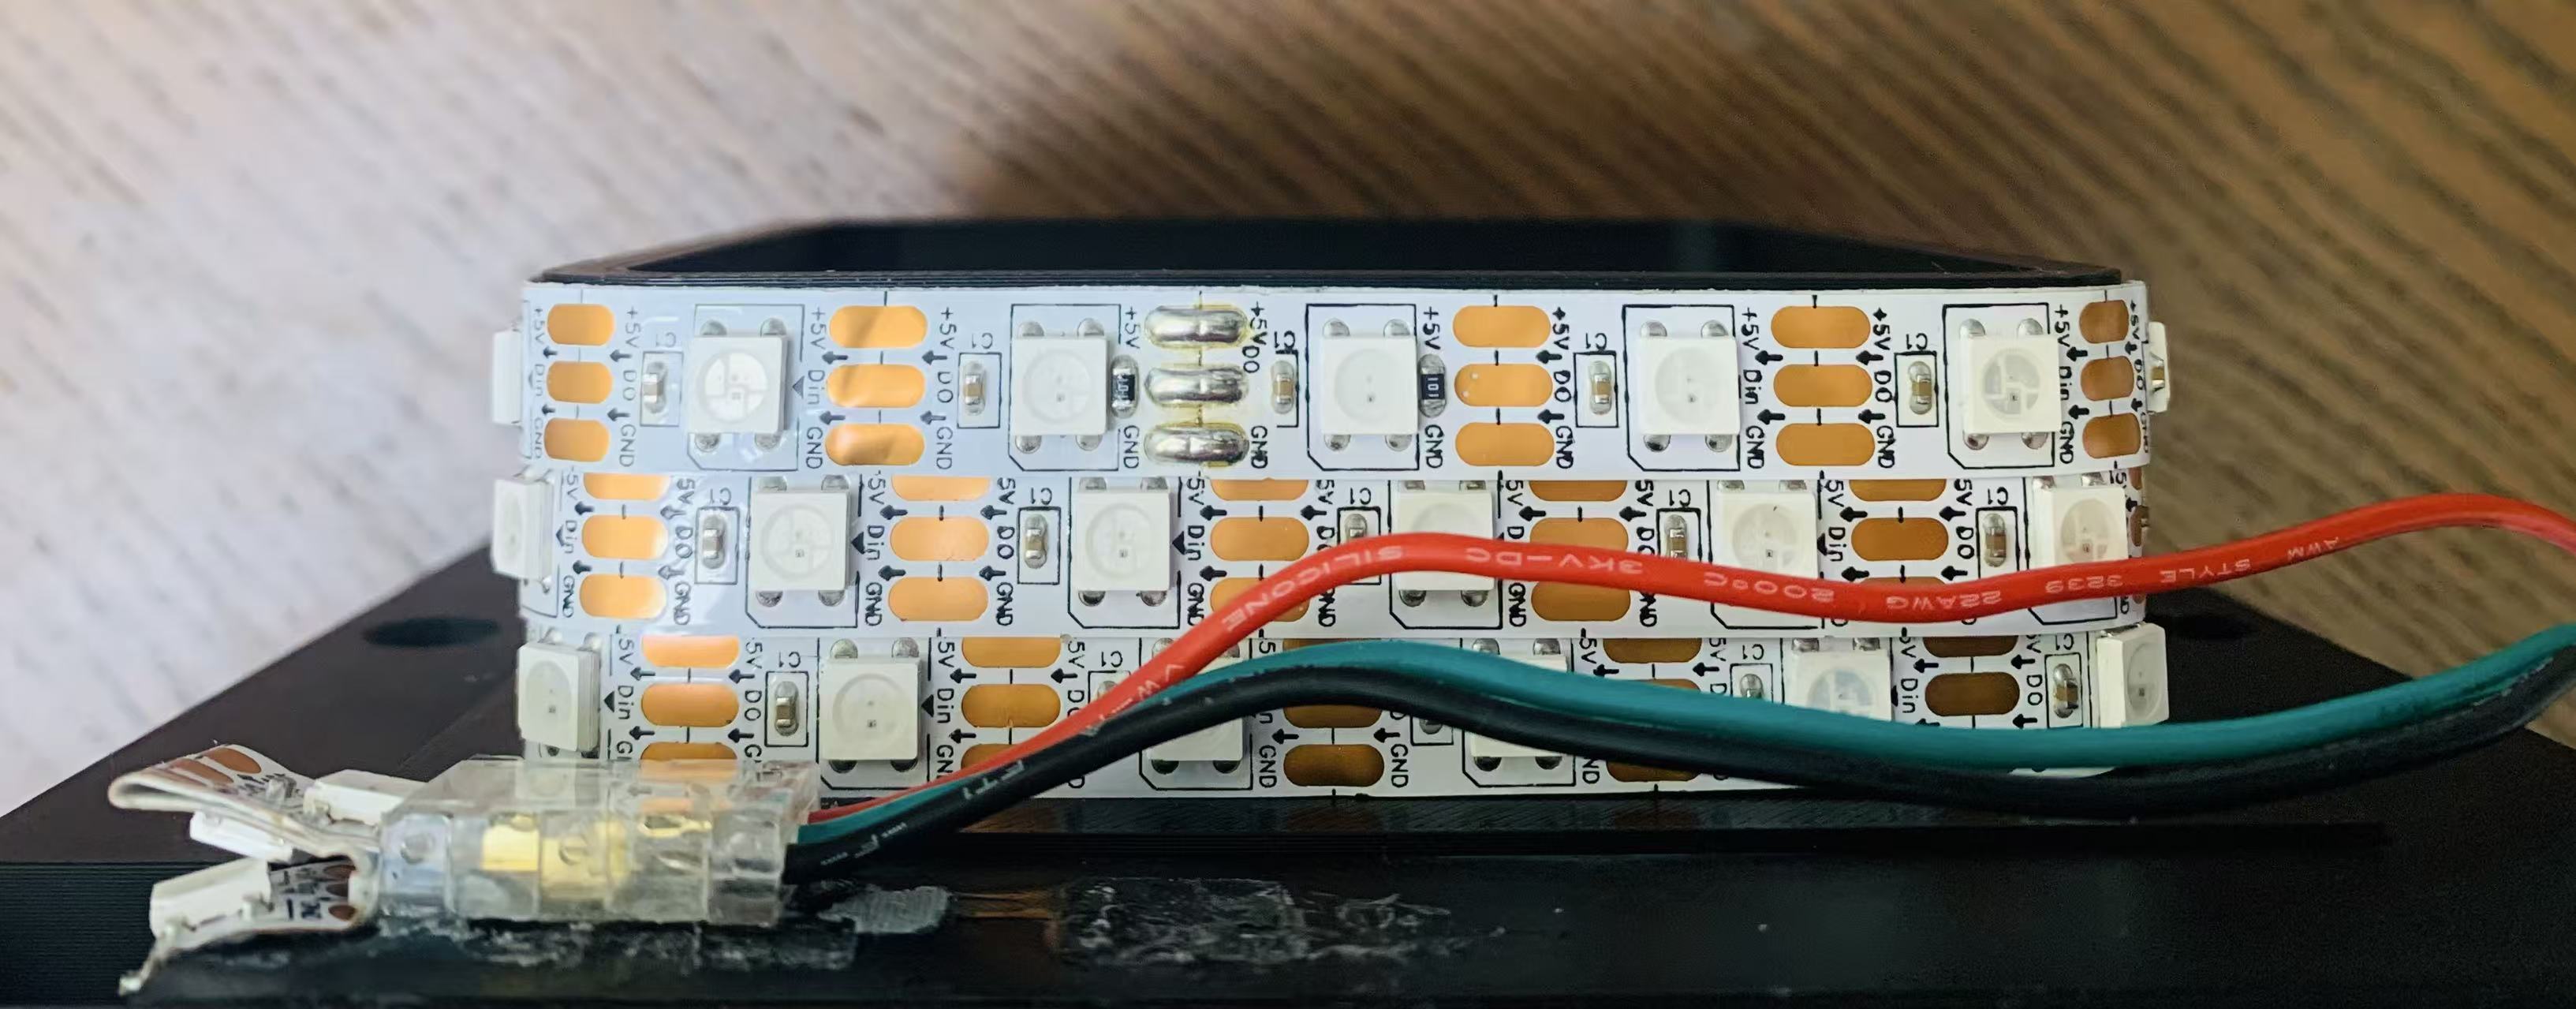
8. Core Illumination Wrap: Glue on this (red) core to the bottom mirror and secure the terminal end of the LED strip to it. Carefully wind the remaining LED segment around the perimeter of this central hub. This concentrated layout ensures high-intensity light is distributed evenly toward the Voronoi light box. If necessary, trim any excess length strictly along the designated copper "cut" markers to maintain circuit integrity.
9. Base Plate & Foot Installation
Align the base plate with the bottom of the main frame. Secure the assembly by installing the support feet into the designated corner mounting holes. Fasten the screws through each foot to lock the base plate and the external housing together, providing a stable foundation for the cube.
Design Note: This assembly relies entirely on mechanical fasteners—no glue is required, ensuring easy access for future maintenance.
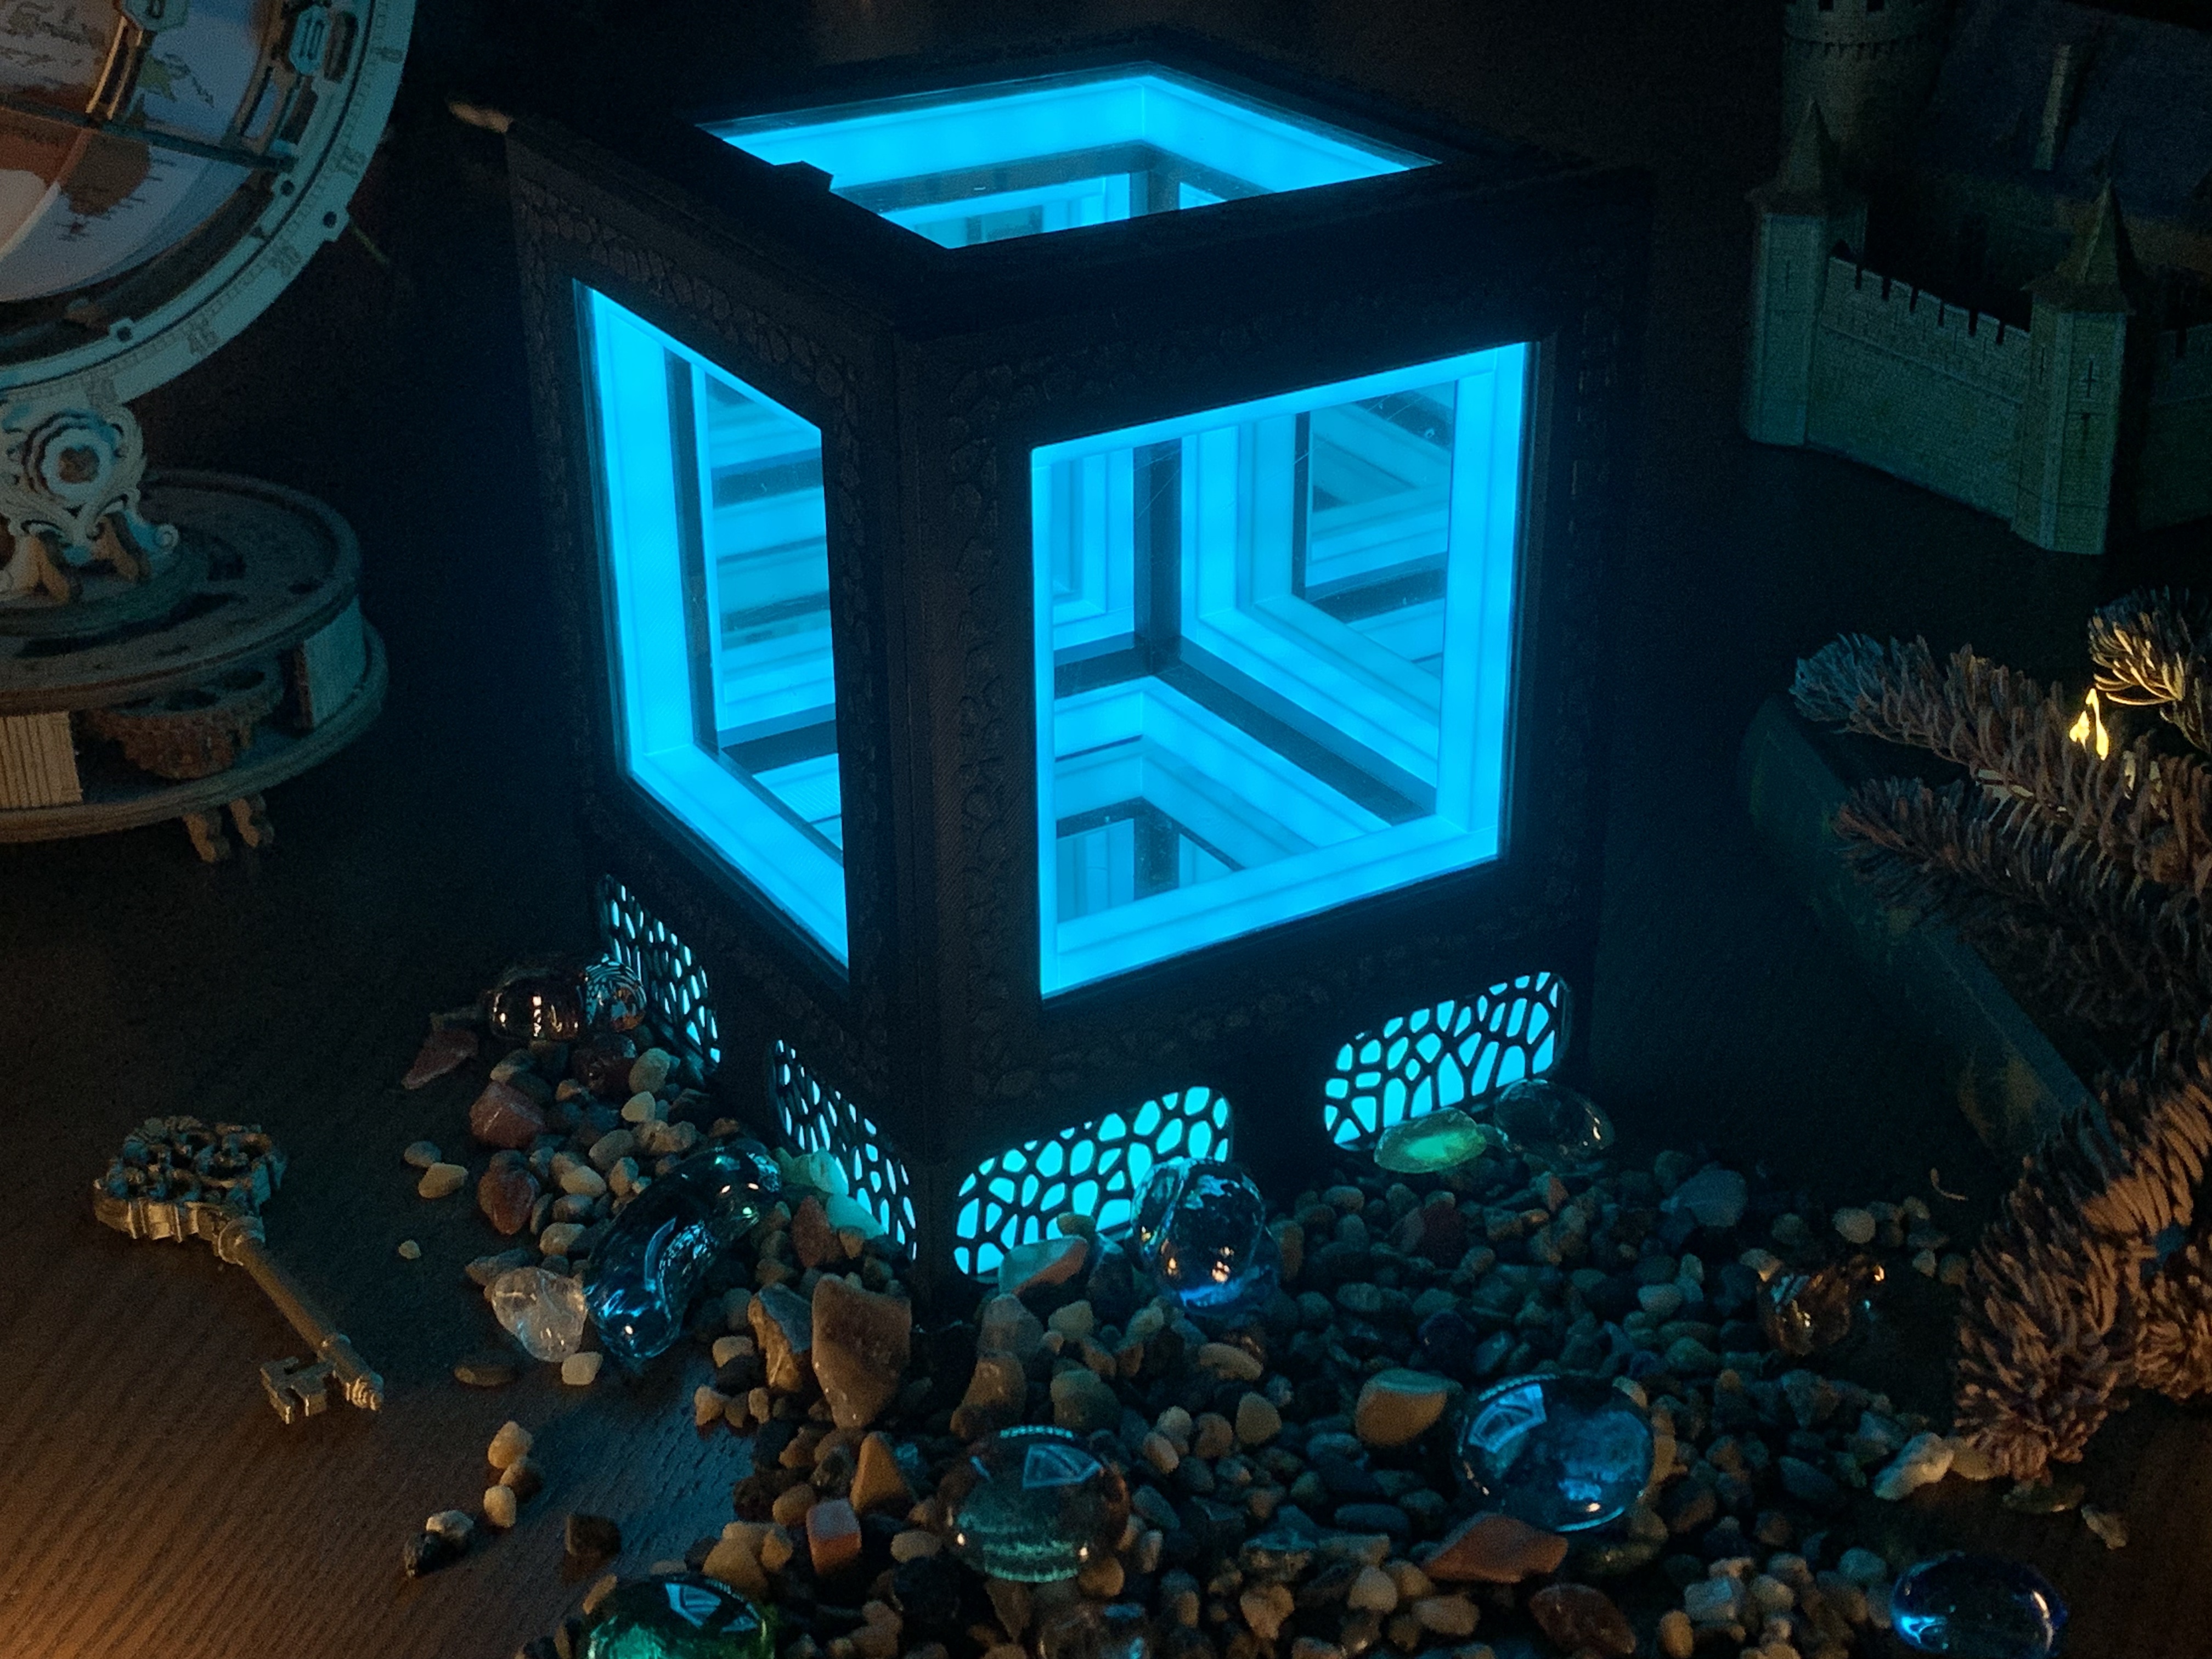
10. Awakening the Artifact Connect the power source, dim the room lights, and ignite the internal core. Watch as the solid silver walls shatter into an endless, glowing 3D grid. Be amazed by your completed relic!
If any issues arise during the assembly or wiring process, please leave a comment below. Feedback is appreciated to help refine the design and instructions.
The Fourth Dimension -- Infinity Mirror Cube

Publicado em 13 de mar de 2026
Gostou deste modelo? Crie uma conta grátis para salvar seus favoritos e voltar a eles depois.
Criar conta