Você está no 3DFinder
Buscamos em Thingiverse, MakerWorld e Printables ao mesmo tempo para te dar o melhor de cada uma.
Descrição
I wanted a side spool holder that doesn't require the BL metal bracket wich i didn't have.
After searching for different models, none was satisfying or didn't work fine (Filament too hard to pull and leads to under extrusion).
So, i came up with the idea or merging two different design all together to do what i intended.
I simply used the idea from Poli27 but I’ve redone the whole design from scratch with Onshape.
I adapted the design so i can fit the spool design from Termiman.
BENEFITS:
- No OEM bracket required.
- Easy spool swap
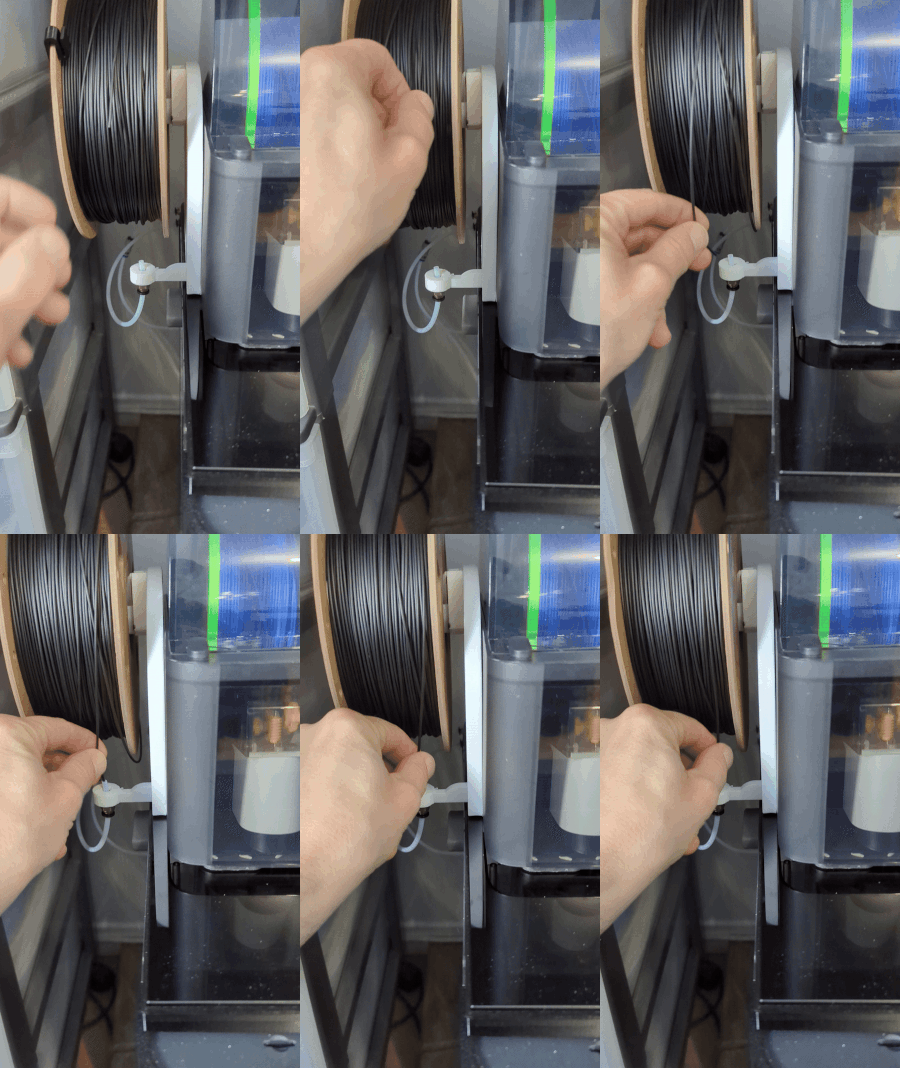
- Easy to feed filament inside the PTFE
BOM:
- 2pcs 608 bearing Amazon link
- 1pcs PC4-M10 PTFE connector Amazon link
- 4pcs M4 x 20 Bolts
- 4pcs M4 x 20 Bolts
- 8 pcs M4 Nuts
- 17cm PTFE from Bambu Lab *Important so the filament slide freely.
PRINTING:
- Nozzle: 0.4mm
- Layer Height: 0.2mm
- Walls: 4+
- Infill: Gyroid
- Infill : 15%
- Brims: Disabled
- Textured PEI plate
Support required for the roller (under and at both ends) *This part will require a little bit of sanding for the bearing to fit
Other parts only need support for the nut’s holes, so they are clean of any lost filaments.
Keep the profile's orientation and settings for better strenght.
I used Sunlu PLA+ which is enough for the weight from a 1kg spool.
Make sure to use the profile settings or use PETG if you prefer.
AMS:
There seems to be different versions of the AMS. So before you print the clamps, check the rib size of your AMS.
This should enable all model to be compatible but i only have one model, so this have to be checked.
ASSEMBLING:
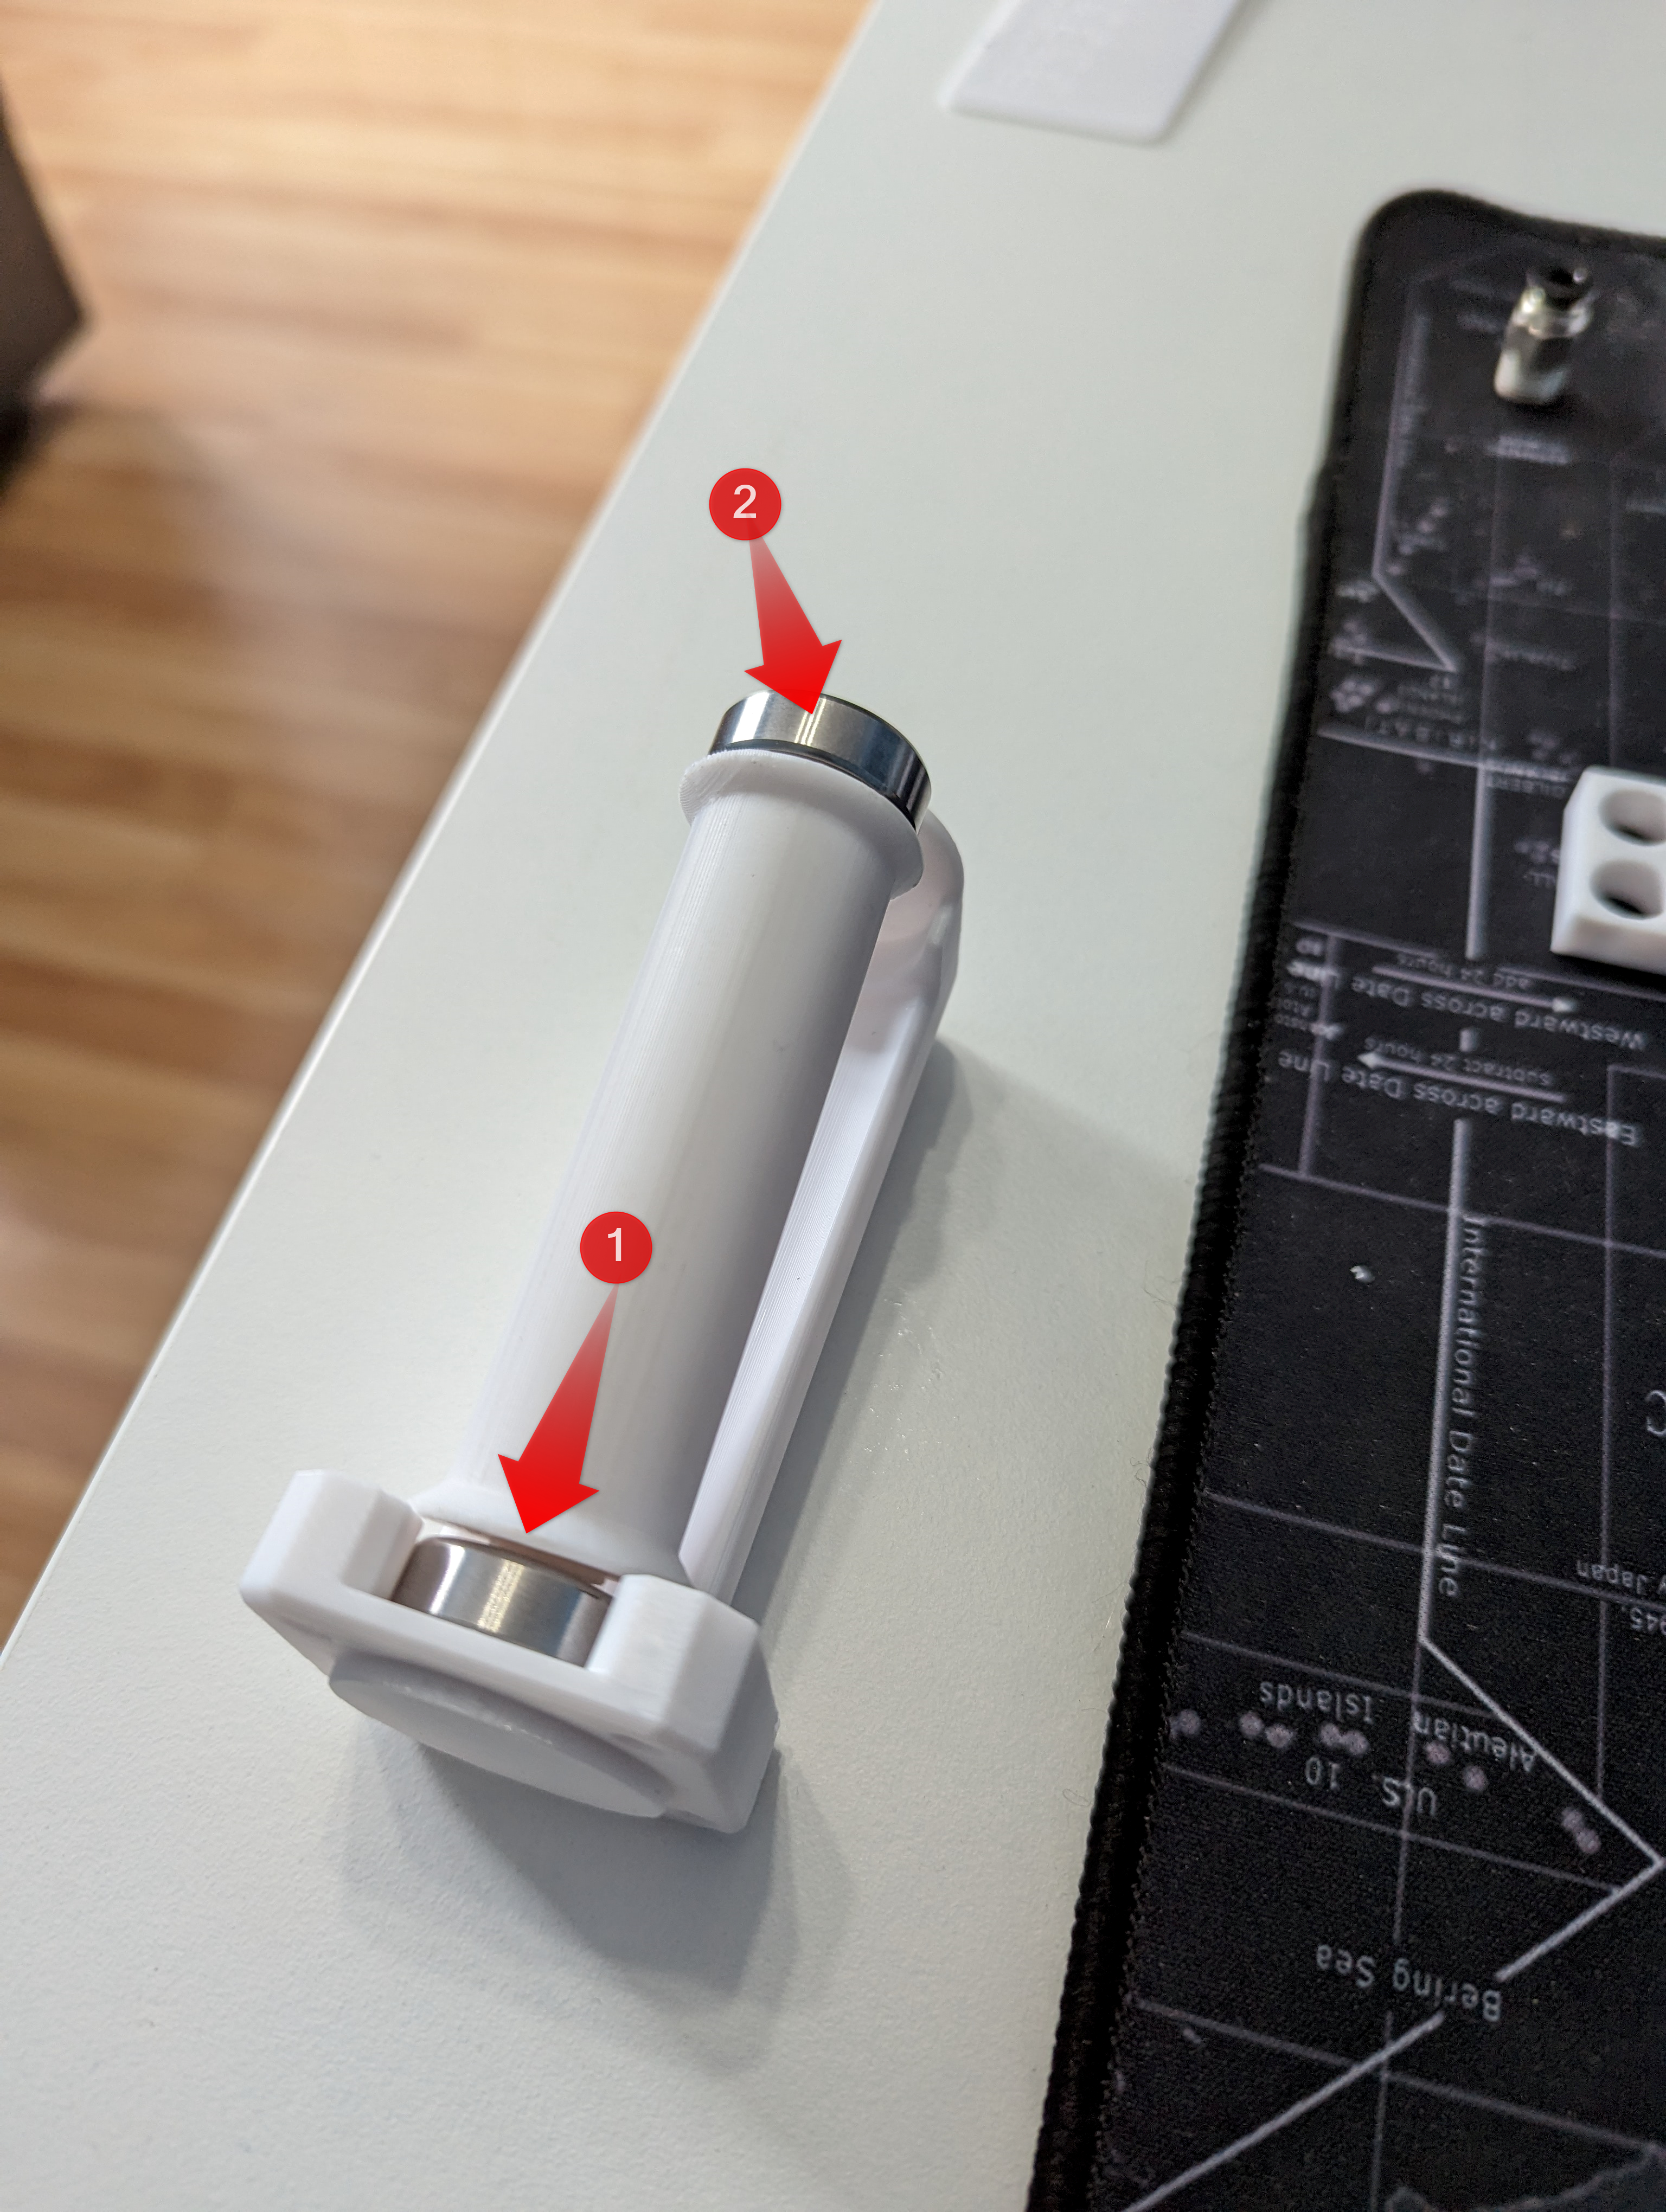
- Insert One bearing on the spool and fit the roller where the four mountings’ holes are. Then insert the second bearing and gently fit the bearing at the other end of the "Guide".
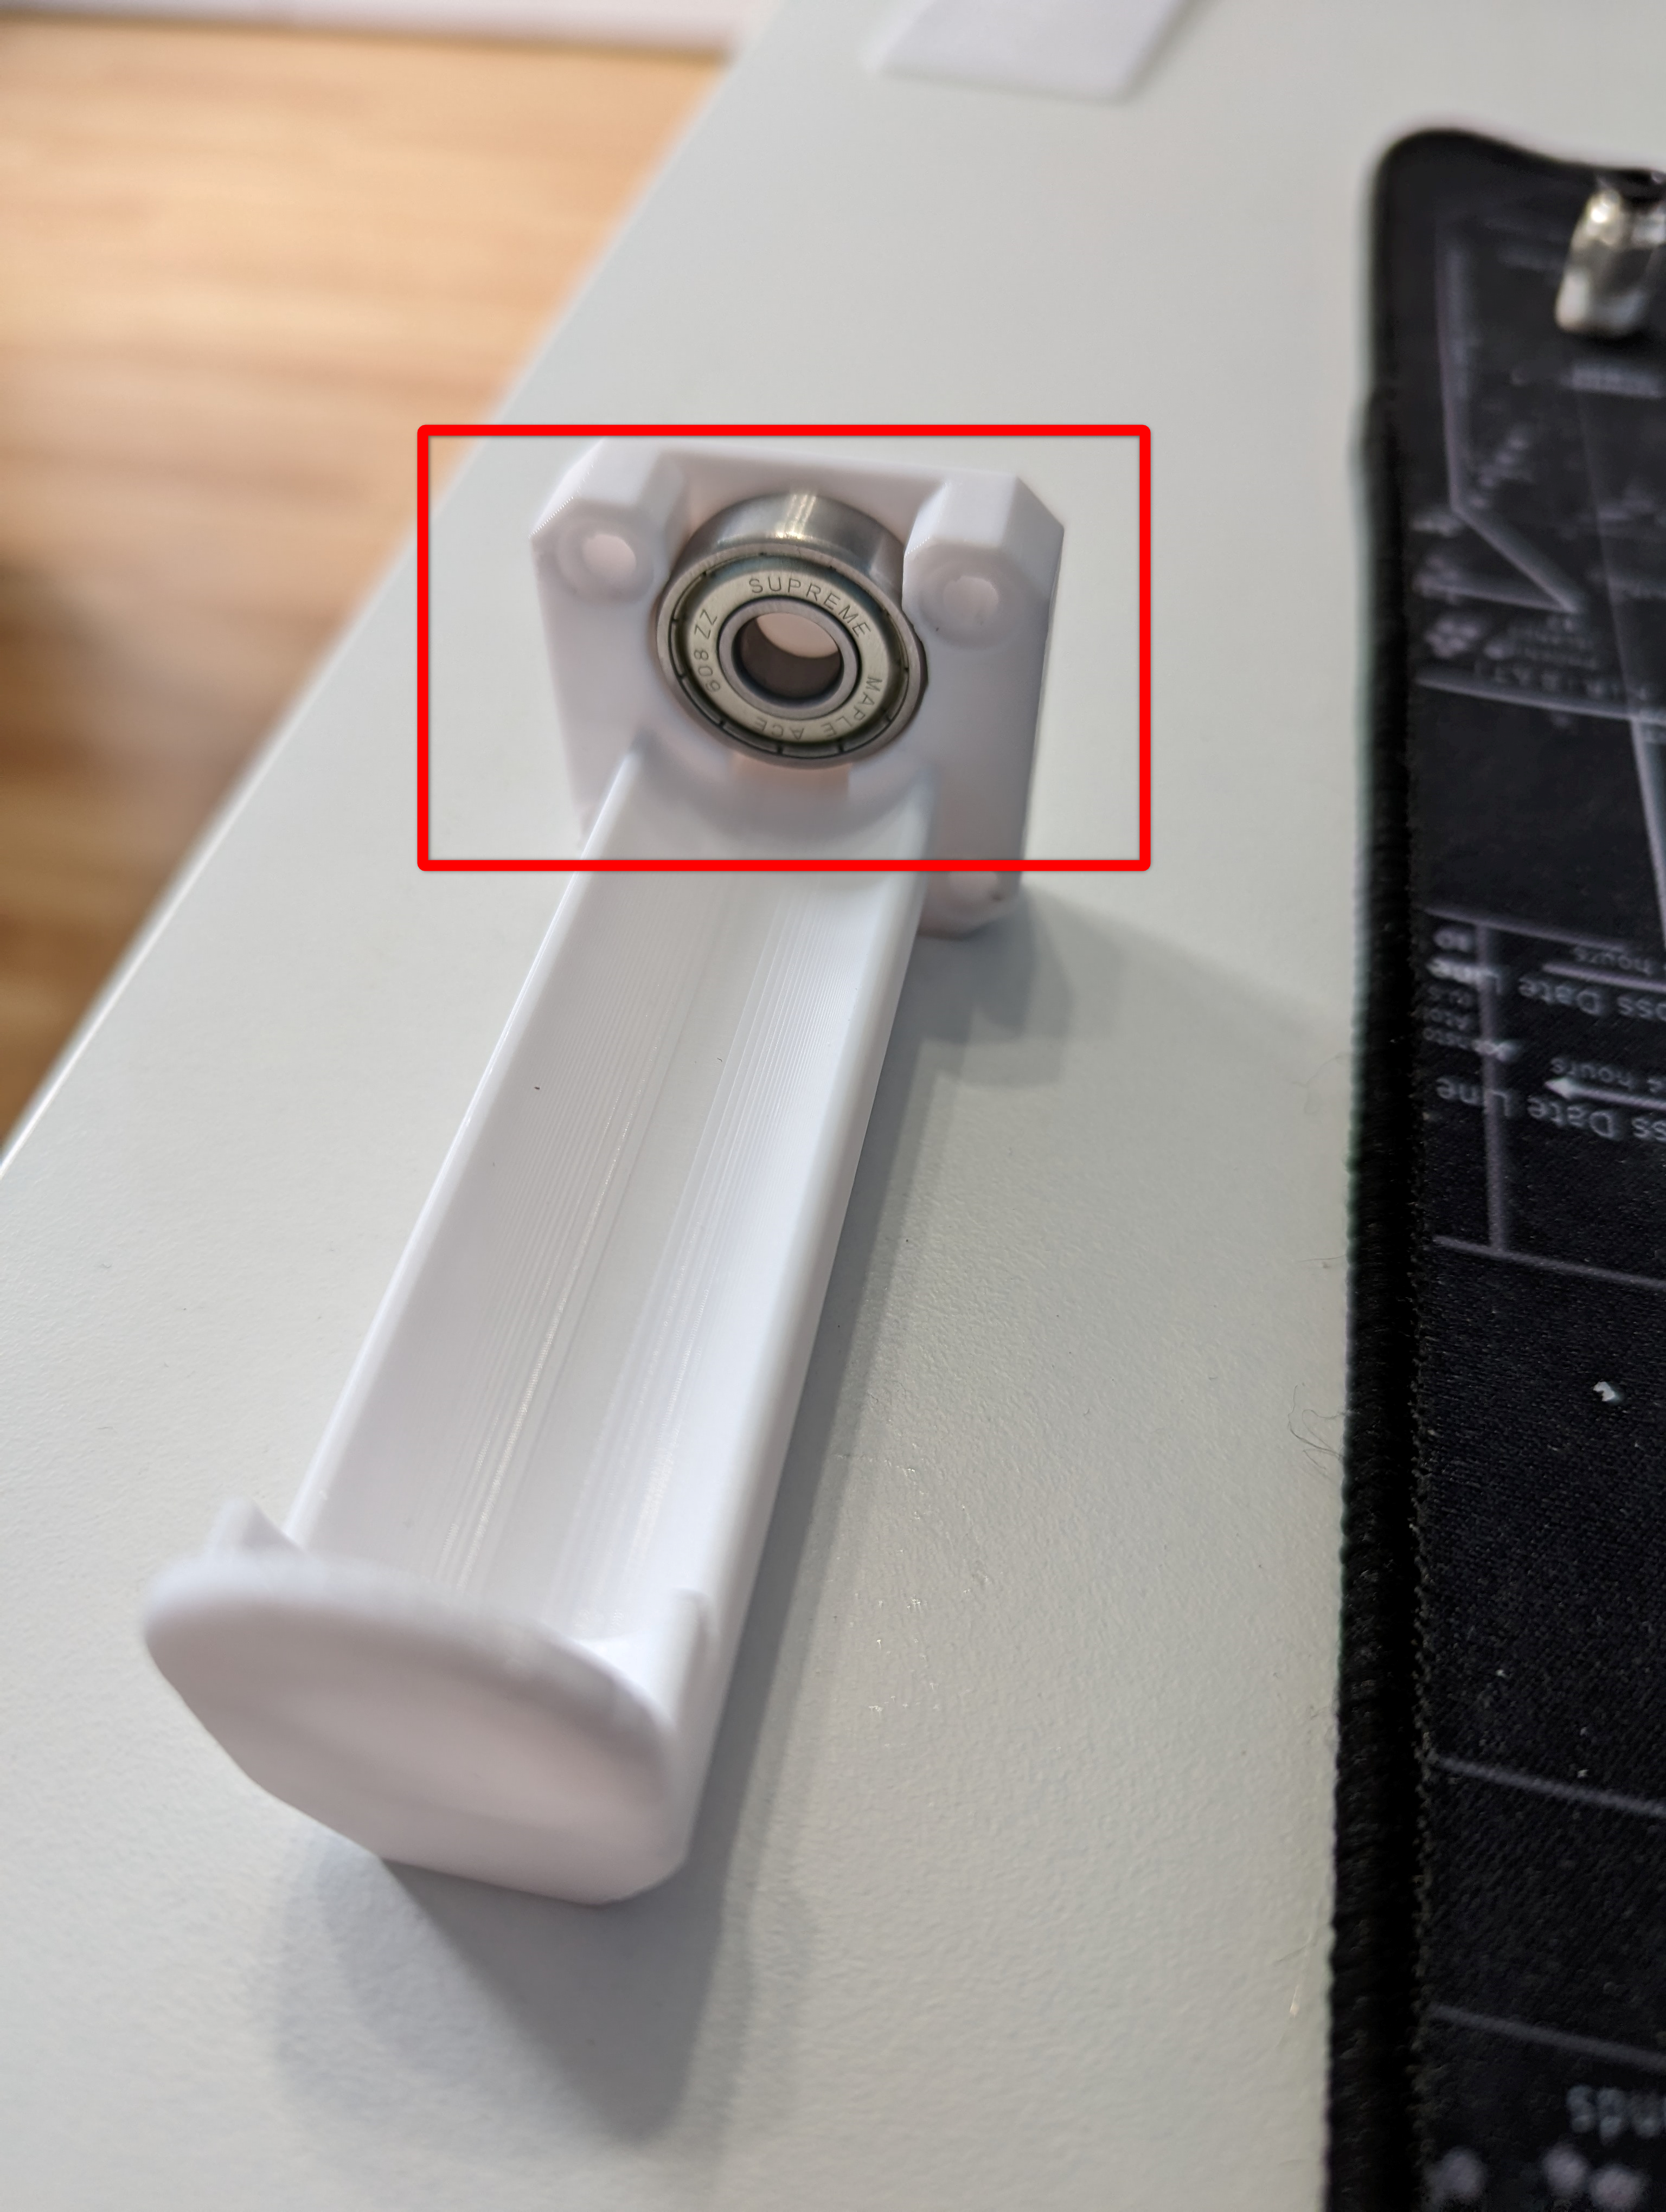
- Insert 4x M4 Nut on the back of the "Side Bracket" also on each "clamp"
- Screw the "Guide" with 4x M4 x 20 screws.
- Screw all three clamps at the bottom with 3x M4x16 screws but don’t tight them yet.
- Screw the M4-10 pneumatic connector making sure not to tear of the mount (should be pretty strong but...)
INSTALLING:
- Take off the AMS from the printer.
- Loosen the 3x M4 screws and slide the clamp inside the ribs making sur they seat all the way in and tight all three screws.
- Put the AMS flat on a table a make sure its stays on all four rubber feet (not the printed bracket).
- Put the AMS back on the printer.
- Attached the PTFE tube with the Y connector you are using. (I'm using 17cm PTFE reaching the Y connector on the back side.)
NOTE:
This design is compatible with the Y connector "The Smoothy". Longer PTFE tube may be required with another Y connector.
Go check this excellent design: [https://makerworld.com/en/models/18174#profileId-17021](https://makerworld.com/en/models/18174#profileId-17021)
SPECIAL THANKS:
Big shout out to Poli27 and Termiman for their work that inspire this remix.
Go check the original design:
AMS side mount spool holder
Publicado em 12 de mar de 2024
Gostou deste modelo? Crie uma conta grátis para salvar seus favoritos e voltar a eles depois.
Criar conta