Você está no 3DFinder
Buscamos em Thingiverse, MakerWorld e Printables ao mesmo tempo para te dar o melhor de cada uma.
Descrição
Description
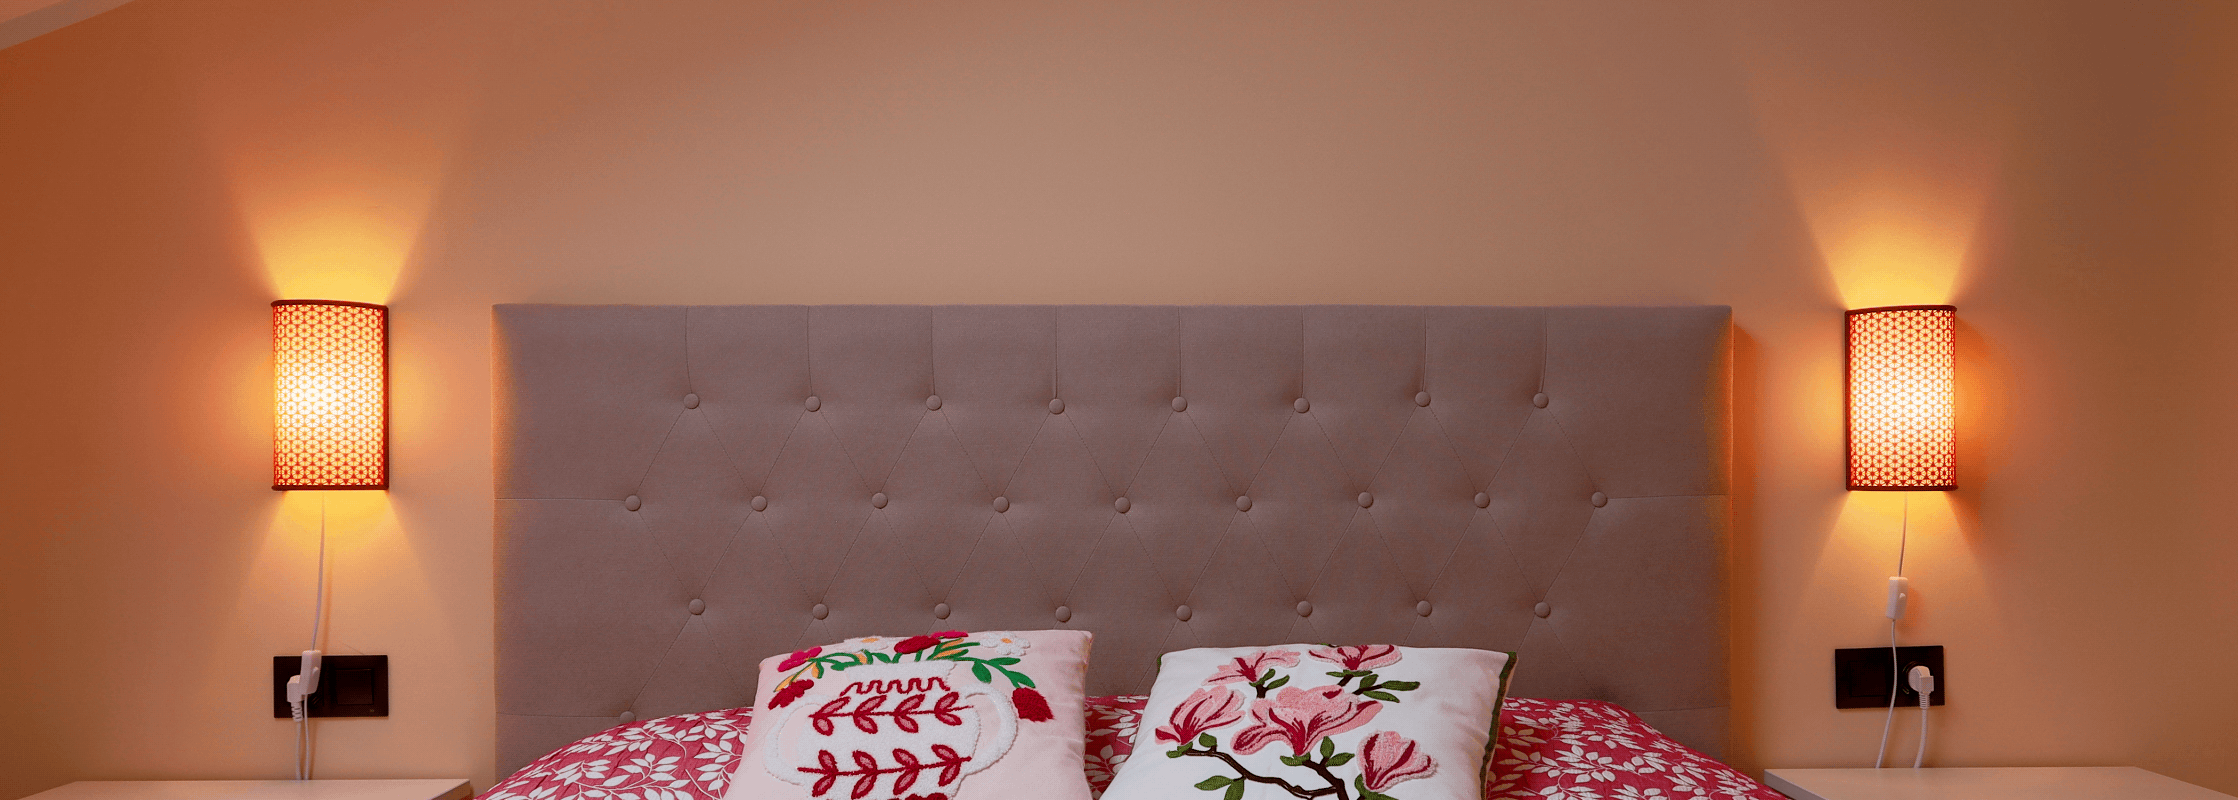
Japanese woodworking inspired wall lamp. An Intricate piece of furniture modelled after the Japanese art of Kumiko; the delicate technique of assembling wooden pieces without the use of nails.
Usable in two different ways: either as a replacement for an existing sconce or as a new installation with light switch connectable to any socket.
Size:
Height: 258mm
Width: 148mm
Depth: 82mm
Made for an E14 lightbulb.
Print time: ~15h
If you liked the model, share a picture in the comments and consider a small donation.
Thank you :)

Printing Tips
General
- Thoroughly clean the print bed before starting, ideally wash it according to the instructions
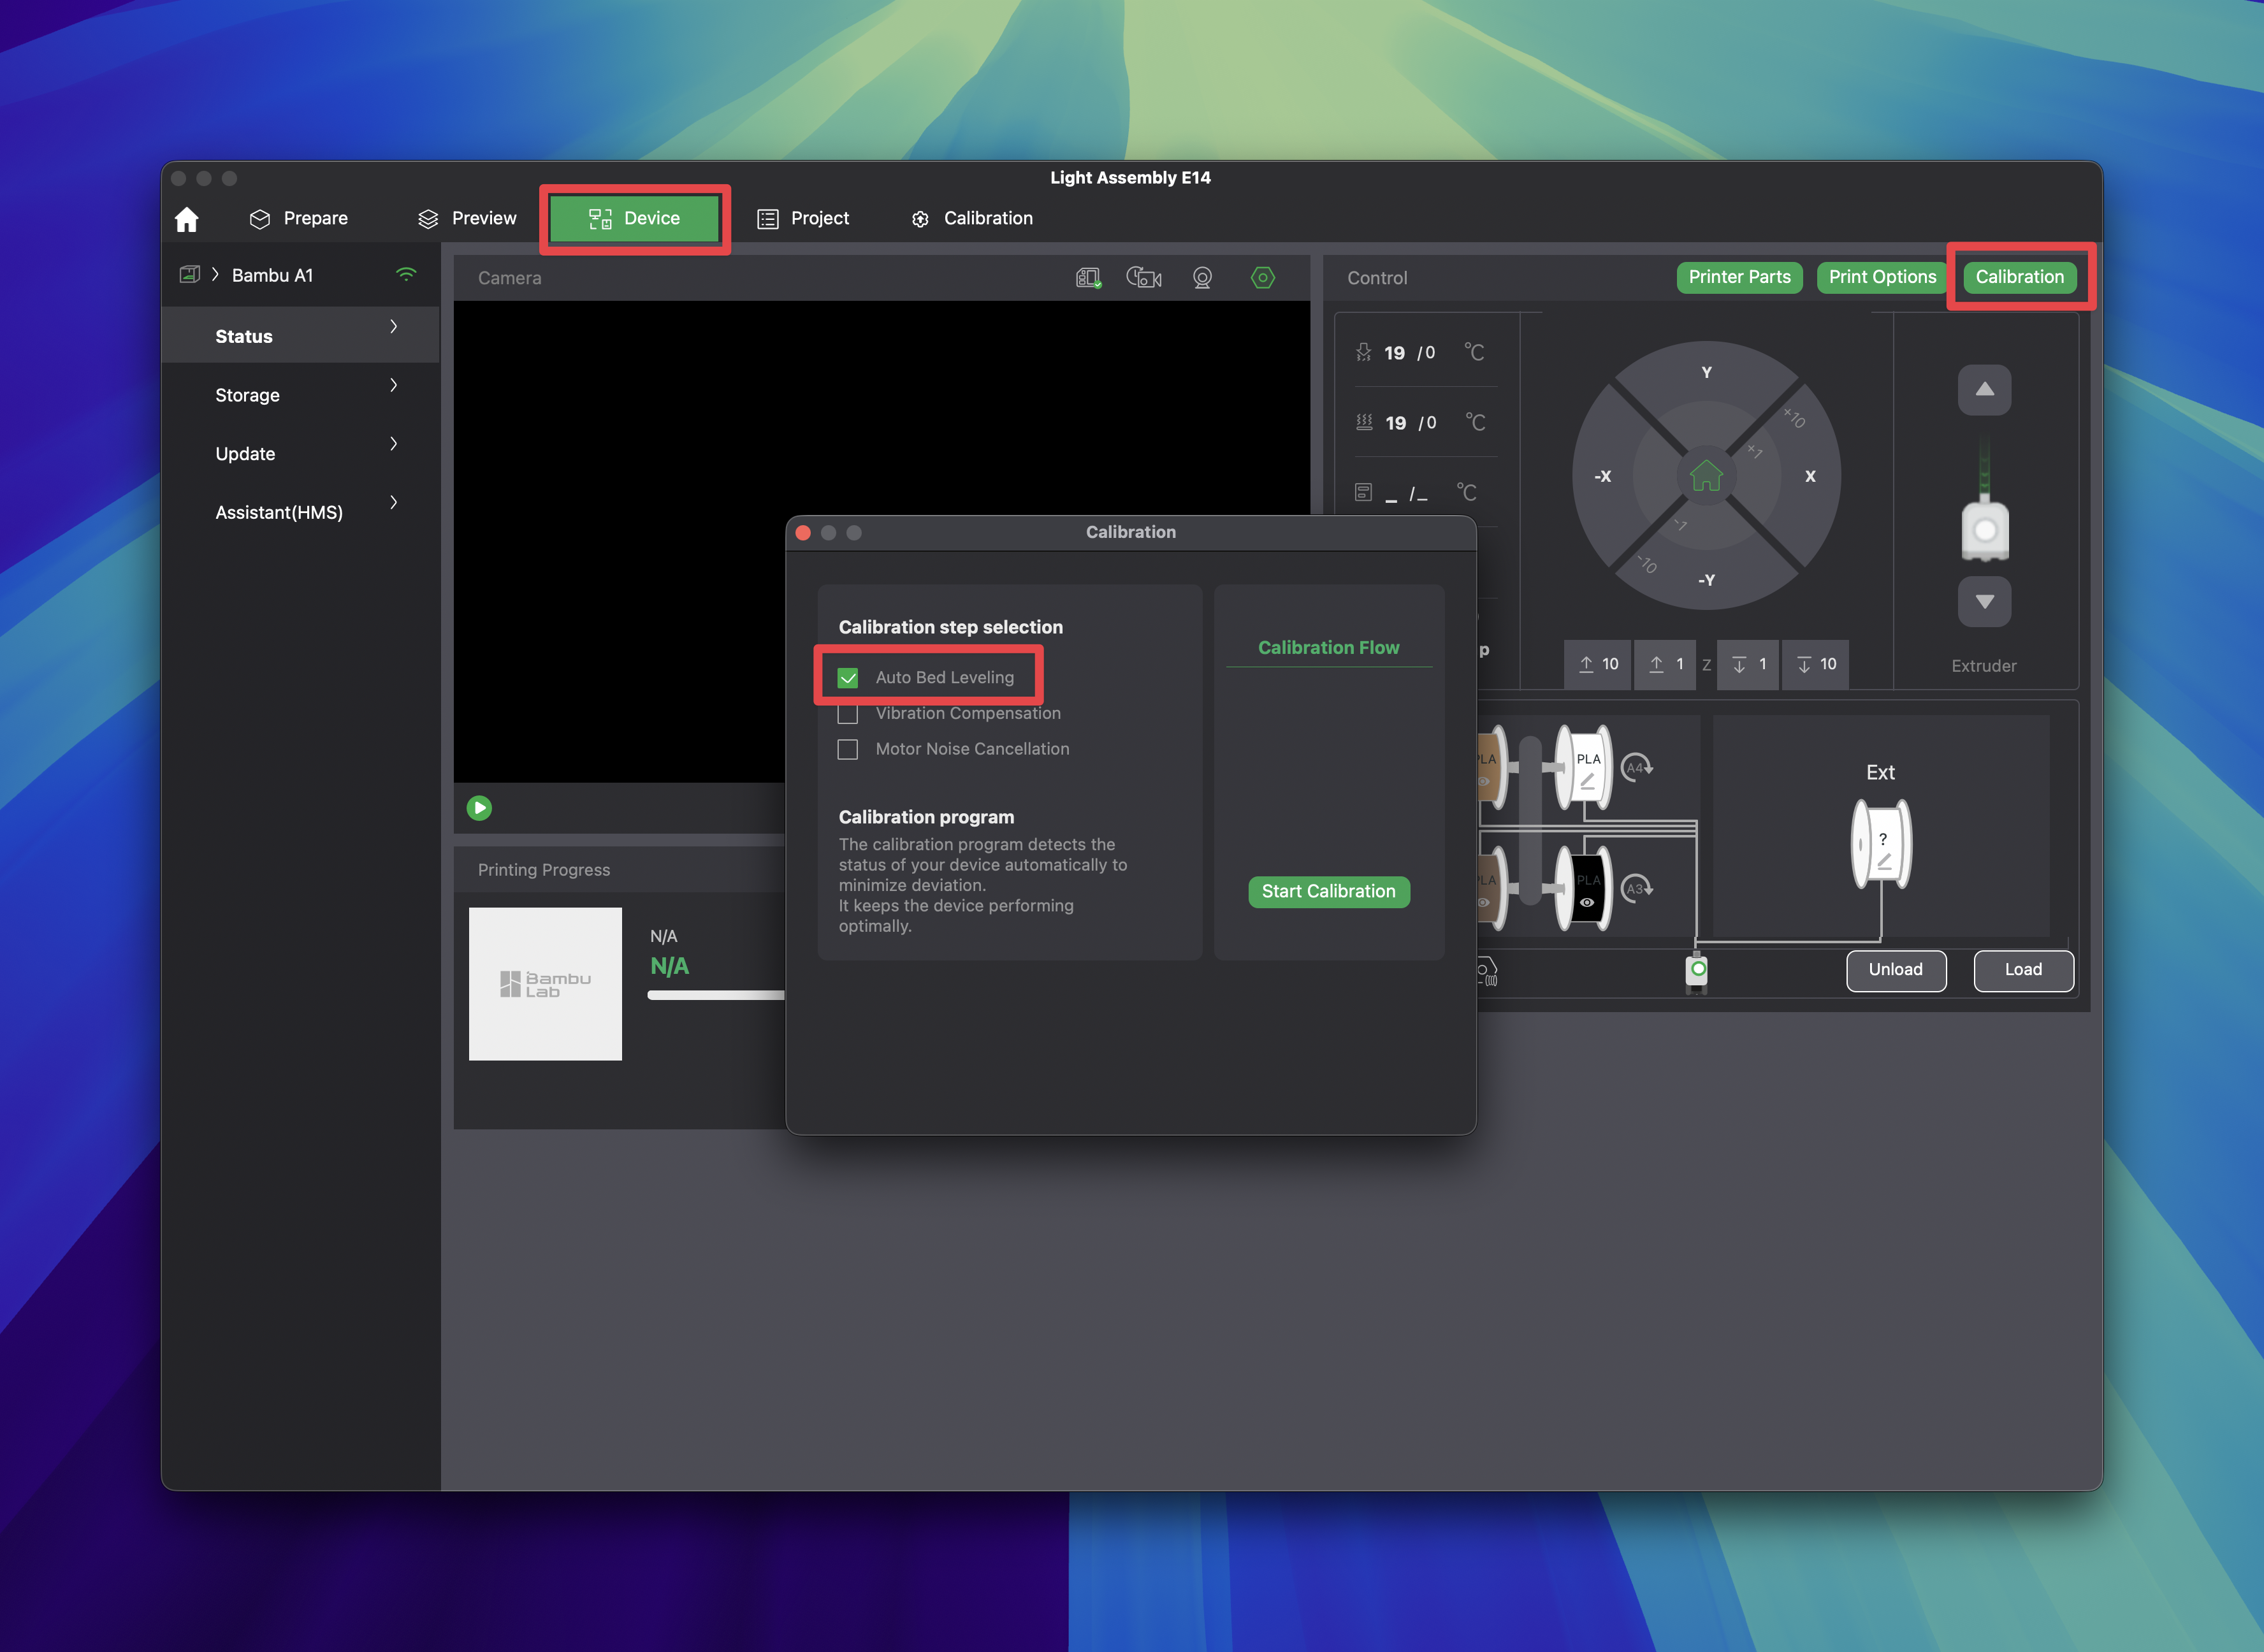
- Run a full “Auto Bed Leveling” calibration before starting (especially helpful if you're having issues printing the Main Shade and Diffuser)
- Layer Height (0.08mm) is crucial for successful printing of the Main Shade and Diffuser, for other plates you can increase it but the finish will be nicer if you leave it unchanged
Diffuser Plate 6, 7 & 8
There are 3 options to print the diffuser
You can use a smooth plate (Plate 6) or a textured plate (Plate 7)
If neither of them work for you, make sure to clean the plate thoroughly and run a full “Auto Bed Leveling” calibration as shown above
If you still struggle to get a good print you can print Plate 8 (just the support structure) and glue baking paper to it
Peel the diffuser off the build plate carefully, if you stretch it too much it may not fit properly
The Diffuser prints with a “Brim”, you may need to use a knife to remove it if it doesn't peel off cleanly
Assembly Instructions
Break off the supports at the top and bottom of each pillar
Clean any print residue from all parts, check for stringing on overhangs and scrape it off before assembly
I suggest running a flat head screw driver through the channels in the pillars and the top and bottom rims to make sure they are free of debris
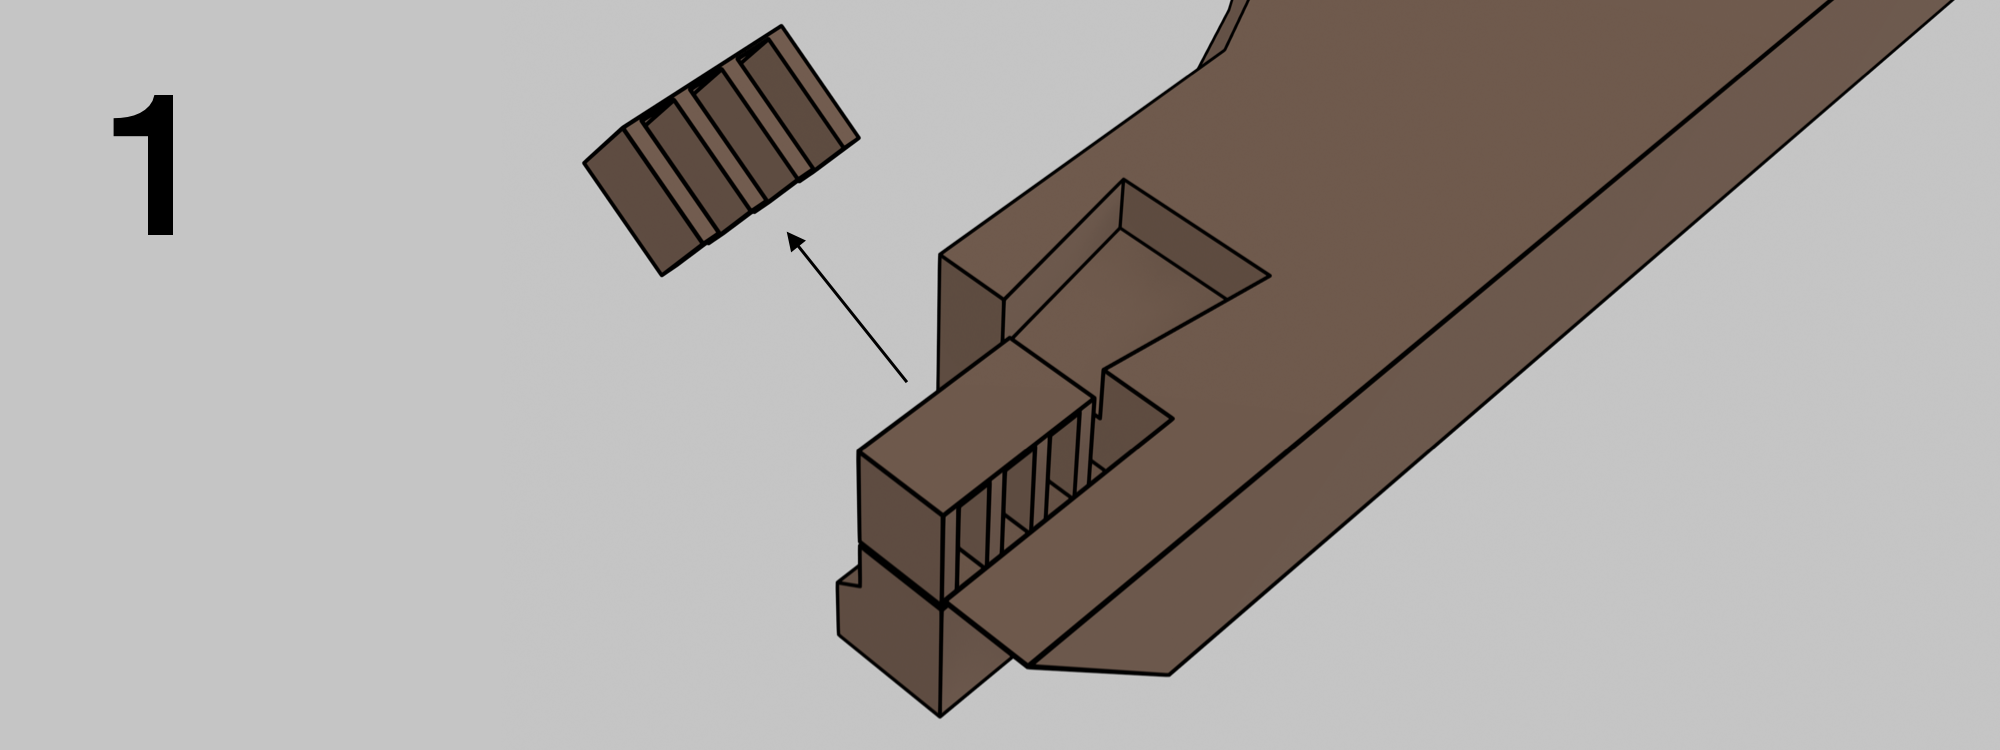
- Connect the two pillars by pushing the puzzle pieces into each other
- Lock them in place by inserting the wedges
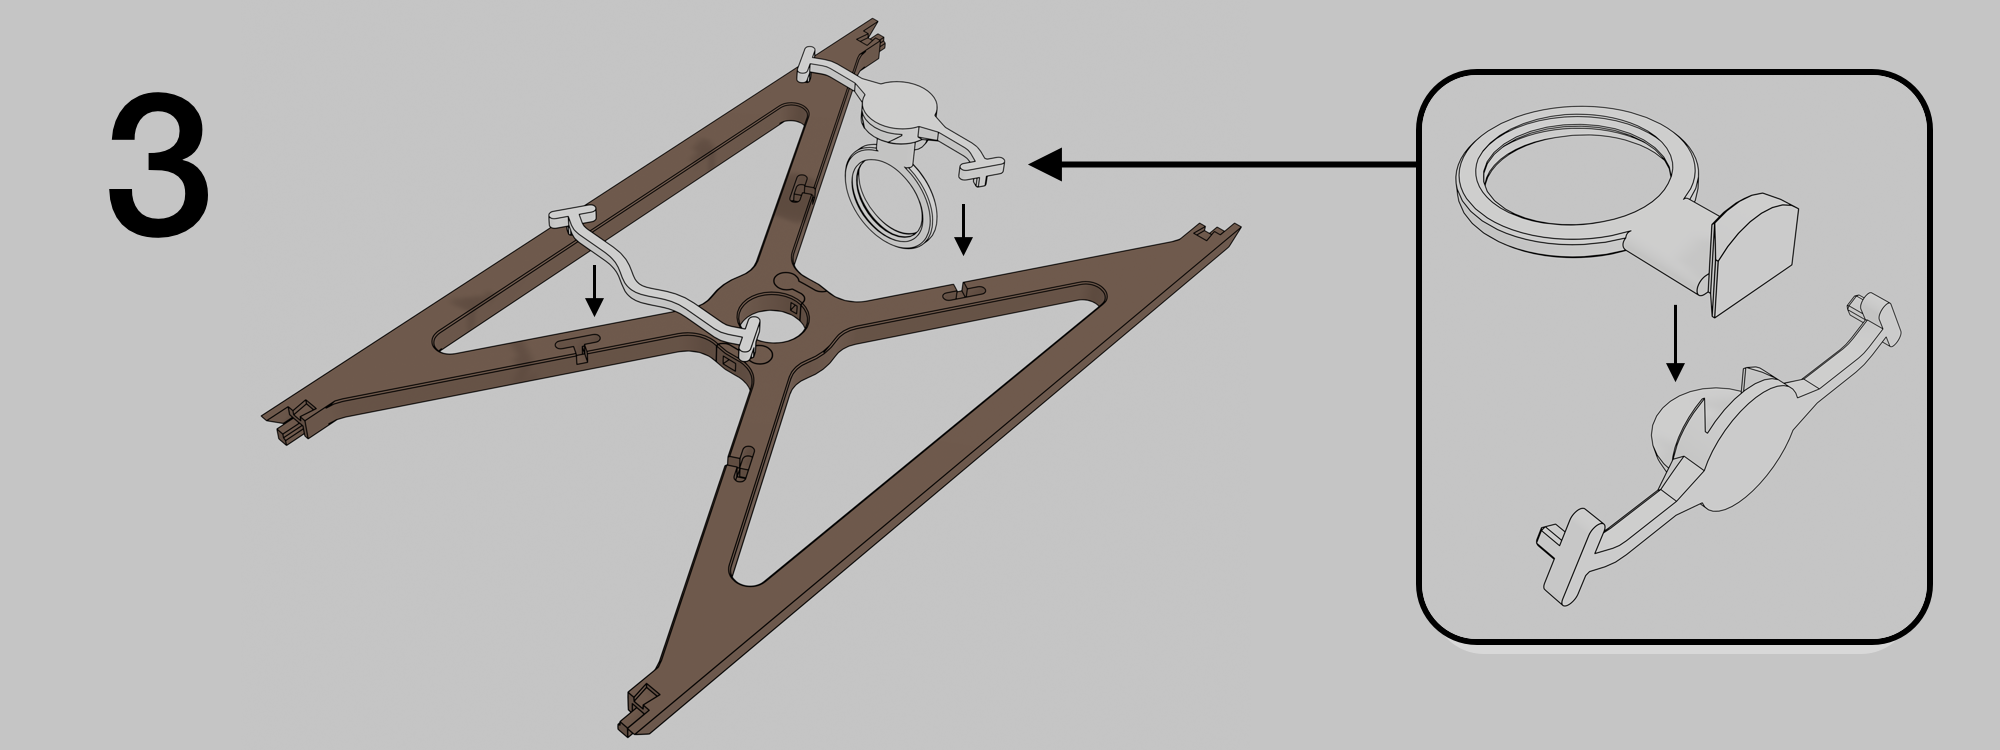
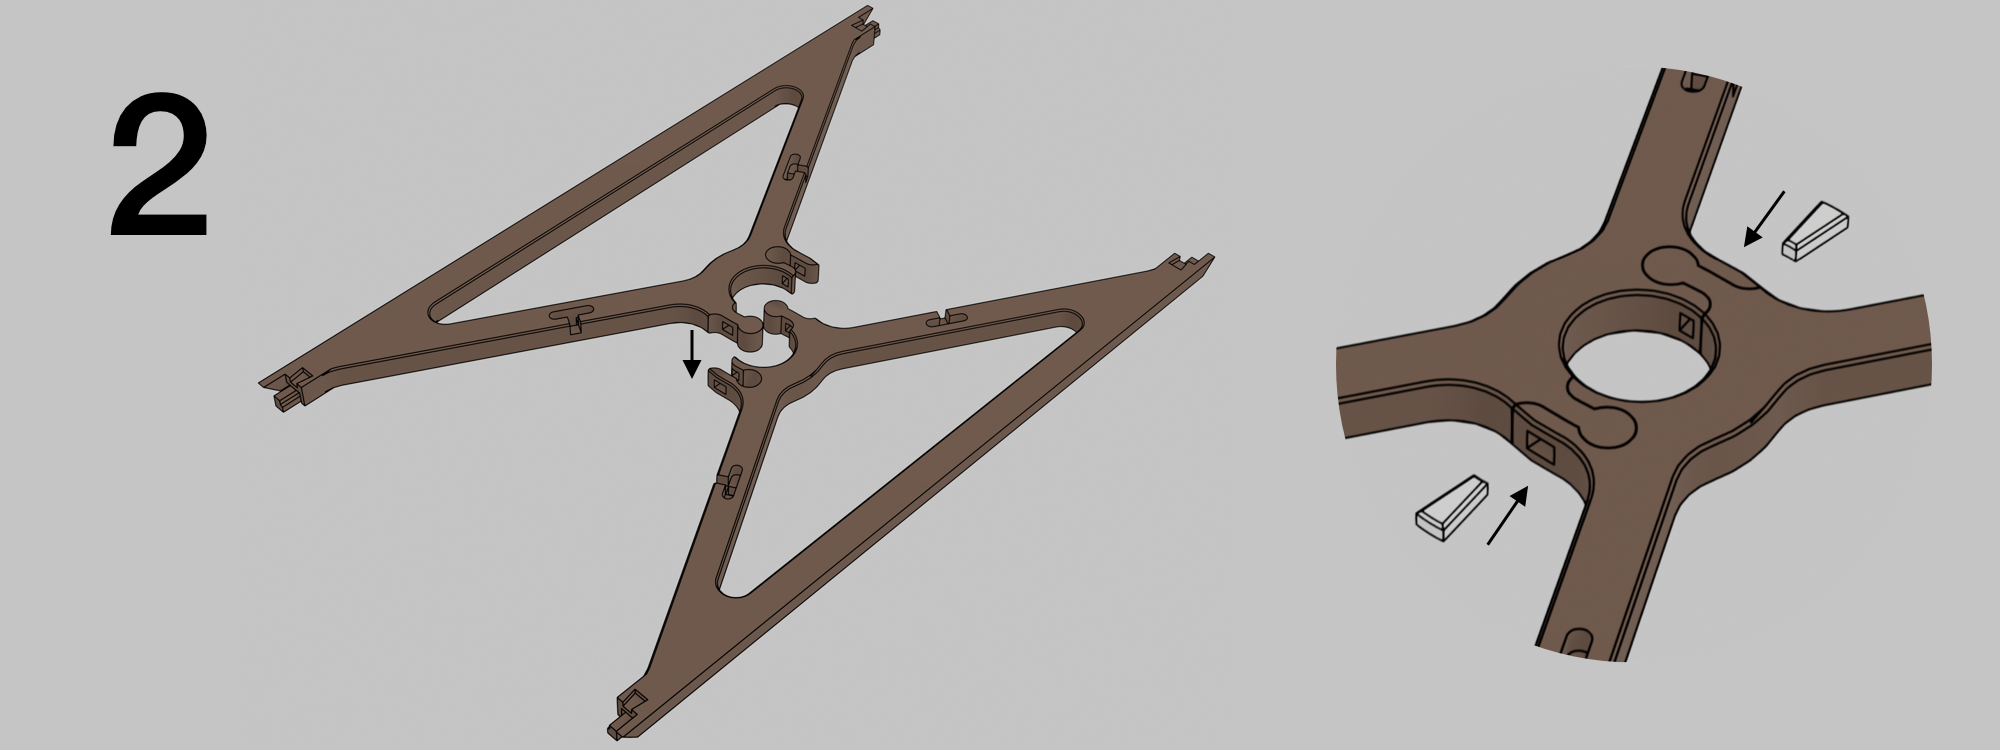
- Combine the two parts of the light bulb support
- Attach the hanger and light bulb support to the pillars
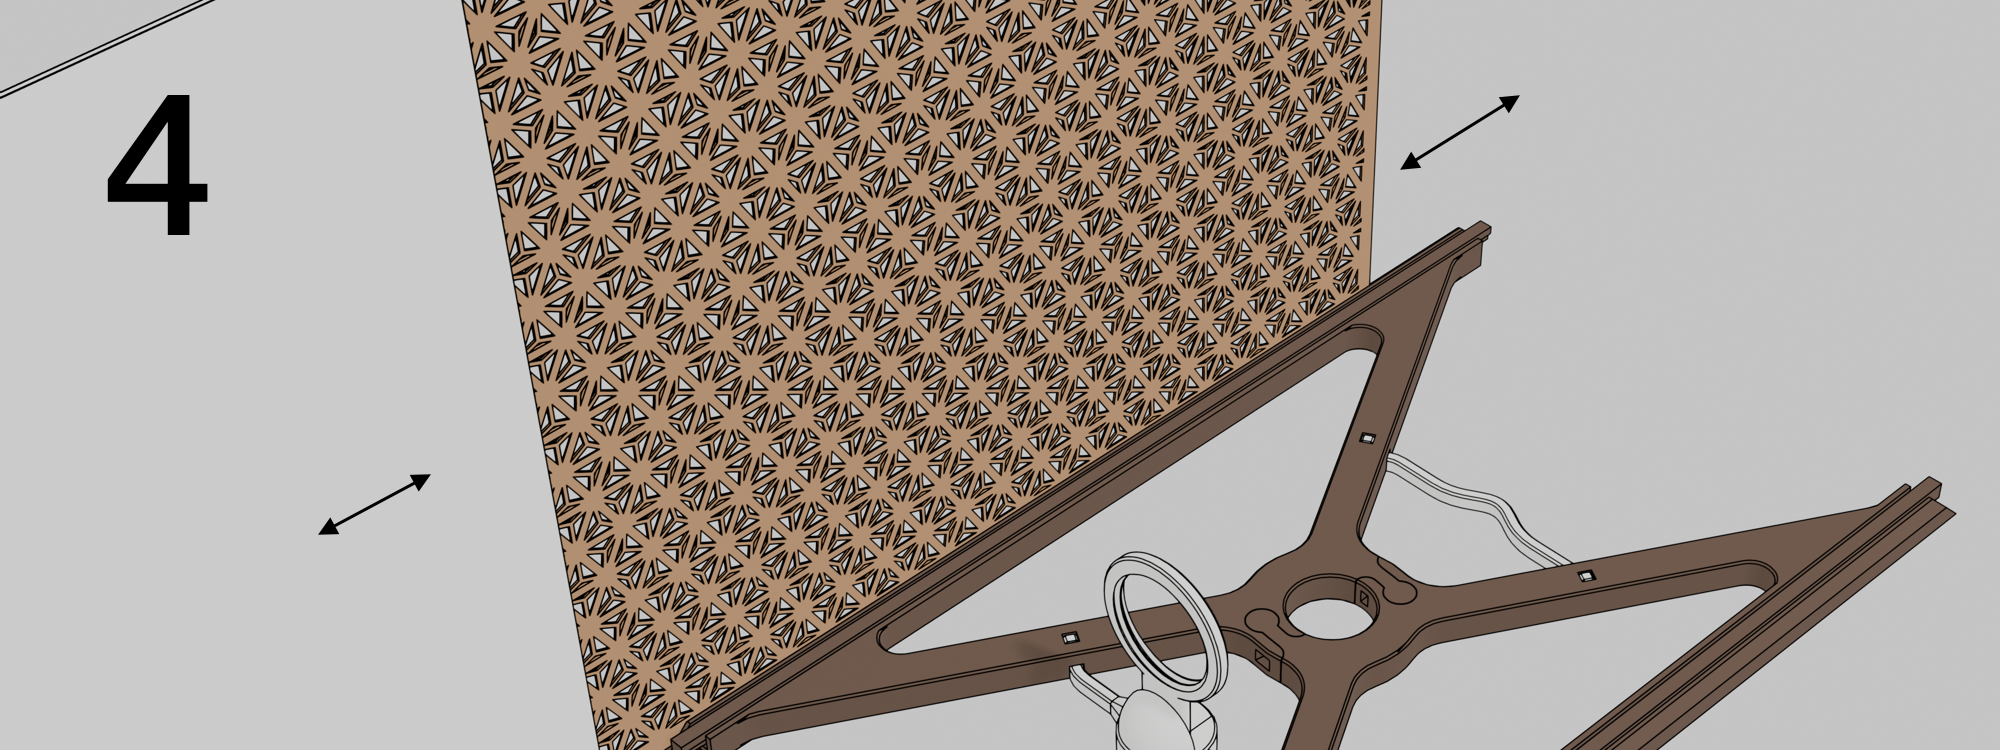
Pass the shade and the diffuser through the channels multiple times to ensure they slide easily without resistance
This will make assembly easier later
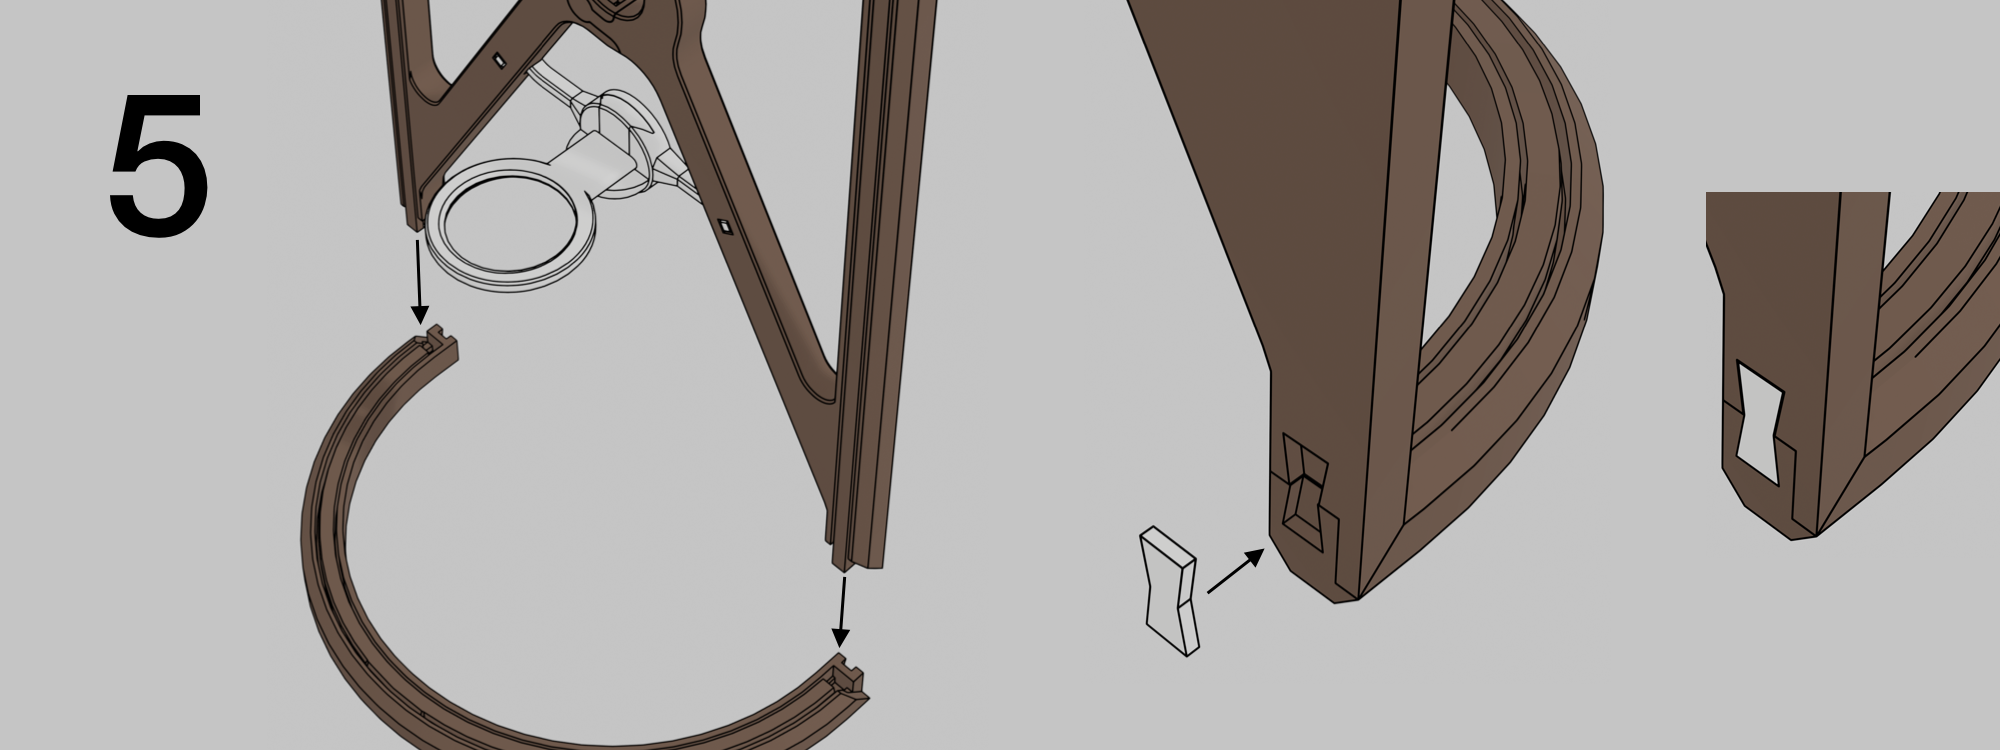
- Attach the bottom rim by pushing the pillars into it
The fit is tight on purpose to avoid wobbling later - Lock it in place by fitting the bow ties
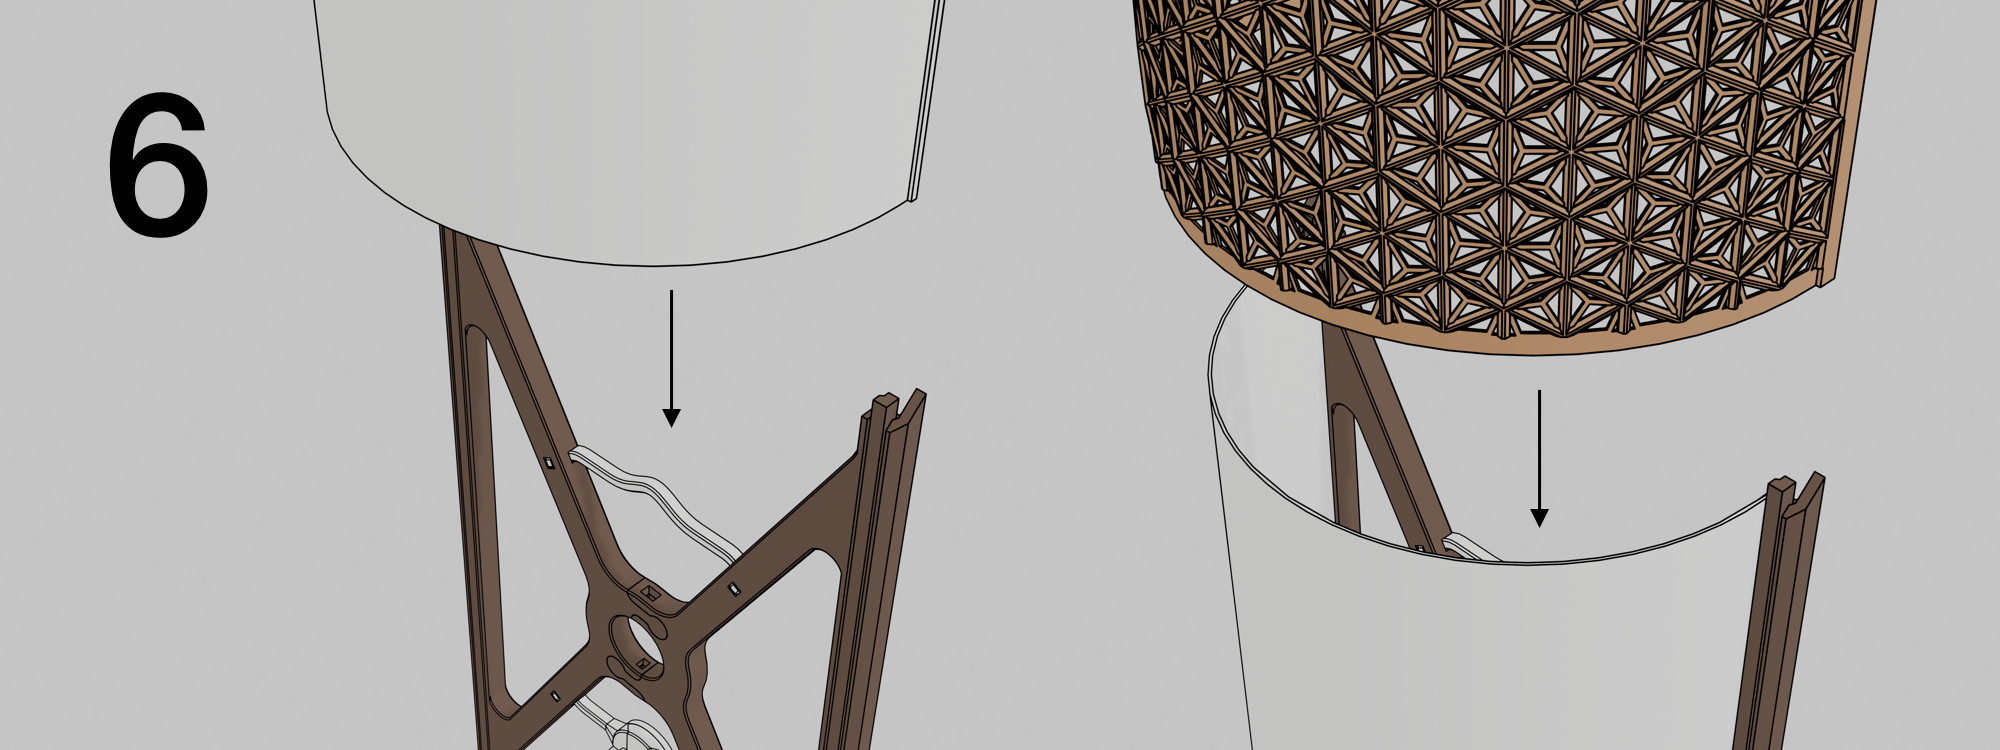
- Insert the diffuser into the inner channel
Push it all the way to the bottom until it is fully inserted into the rim - Bend the screen gently until it takes the right shape
Insert it into the outer channels of the pillars
Push down until it is fully submerged into the bottom rim
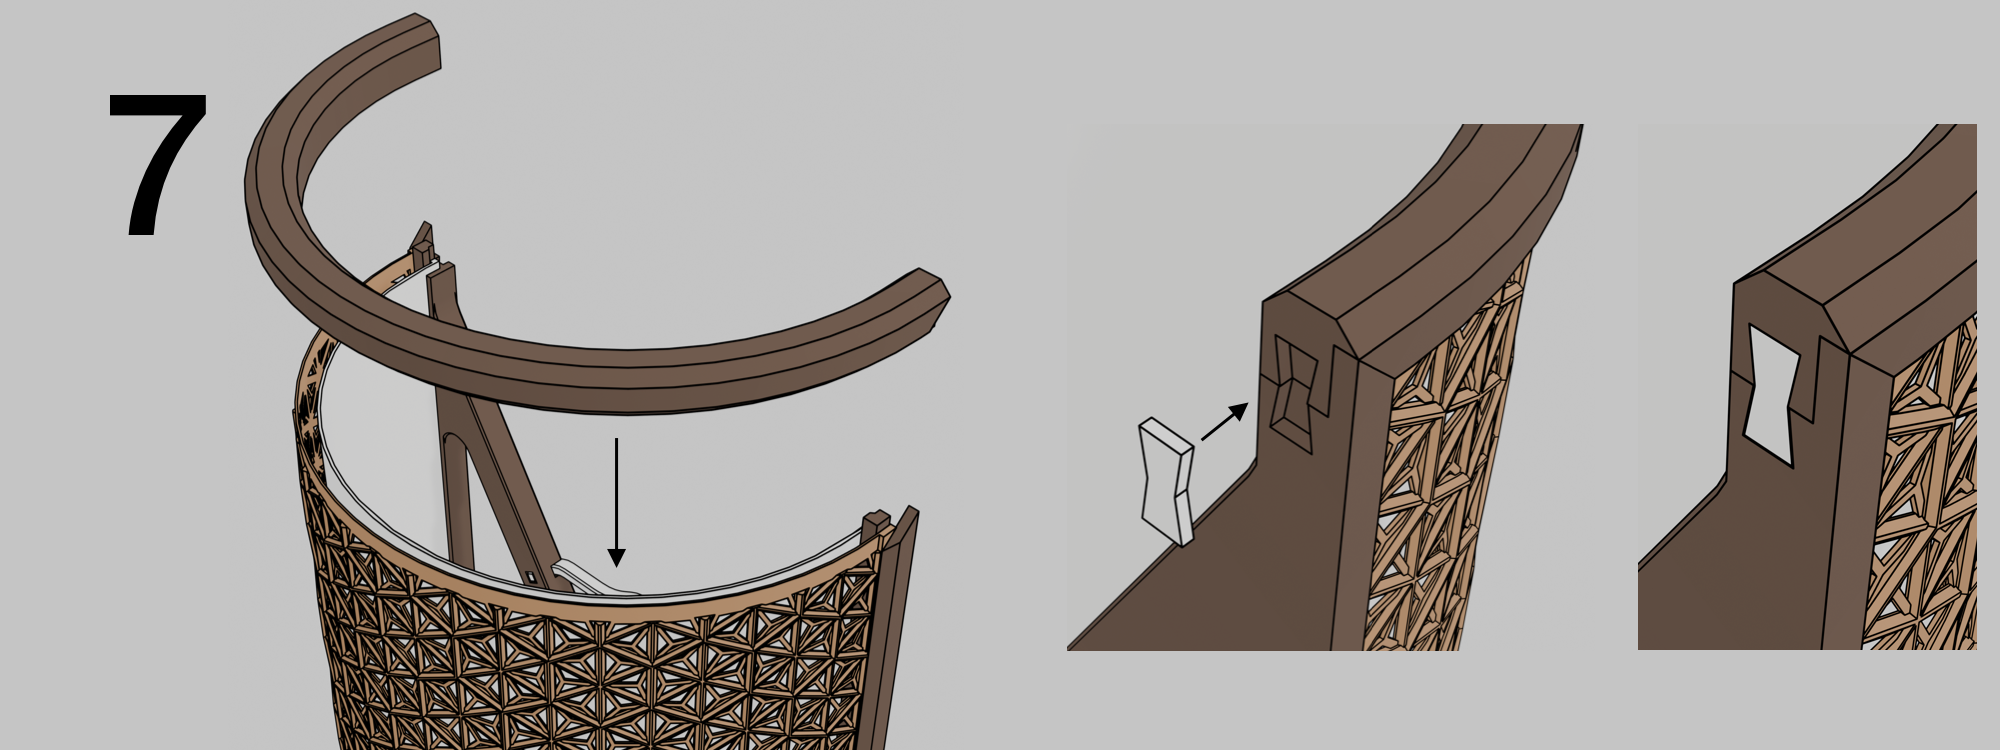
- Attach the top rim
It's easiest if you start in the centre and work your way to the edges - Lock it in place with the bow ties
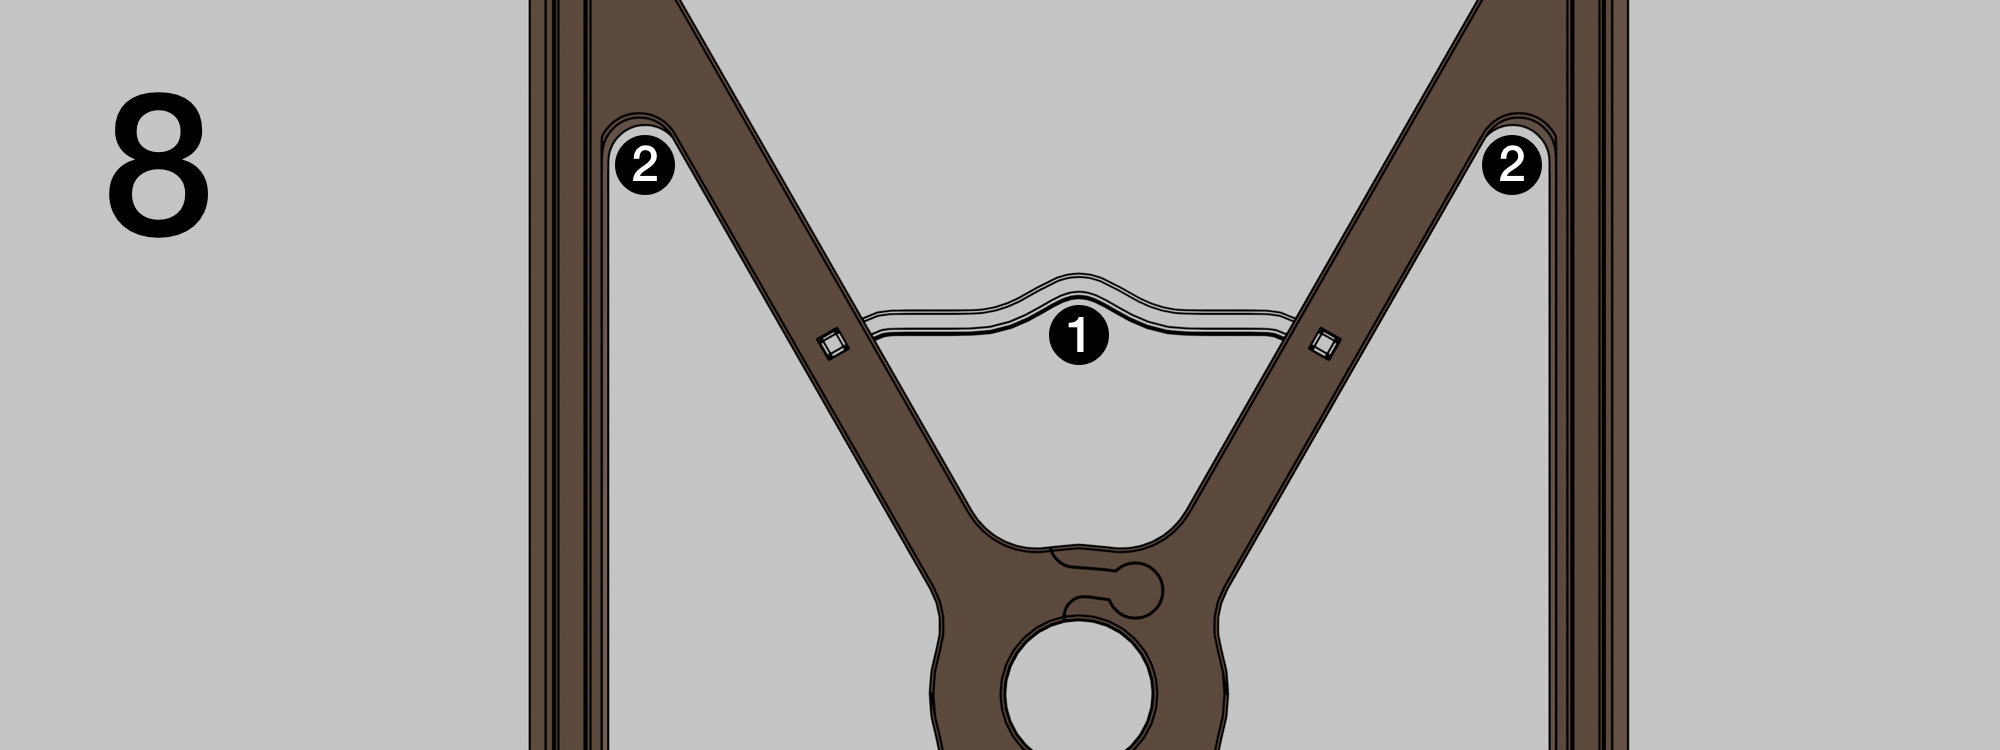
Mounting instructions
When using wiring from the wall, the centre mount (1) is sufficient
When using a cable hanging down the wall to the socket, mount it in 2 points (2) for increased stability
Additional components
E14 light bulb
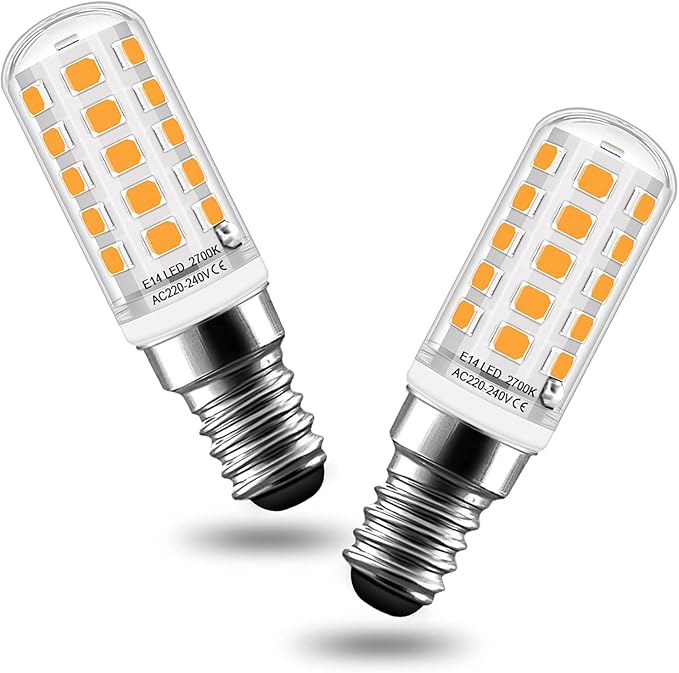
Look for an LED bulb, avoid heat generating bulbs
Get a skinny bulb to make sure it doesn't touch the plastic components
Examples:
- [https://www.amazon.es/dp/B0BMPY3TVP](https://www.amazon.es/dp/B0BMPY3TVP)
- [https://www.amazon.es/dp/B0B24ZGNXZ](https://www.amazon.es/dp/B0B24ZGNXZ)
E14 Lamp Holder
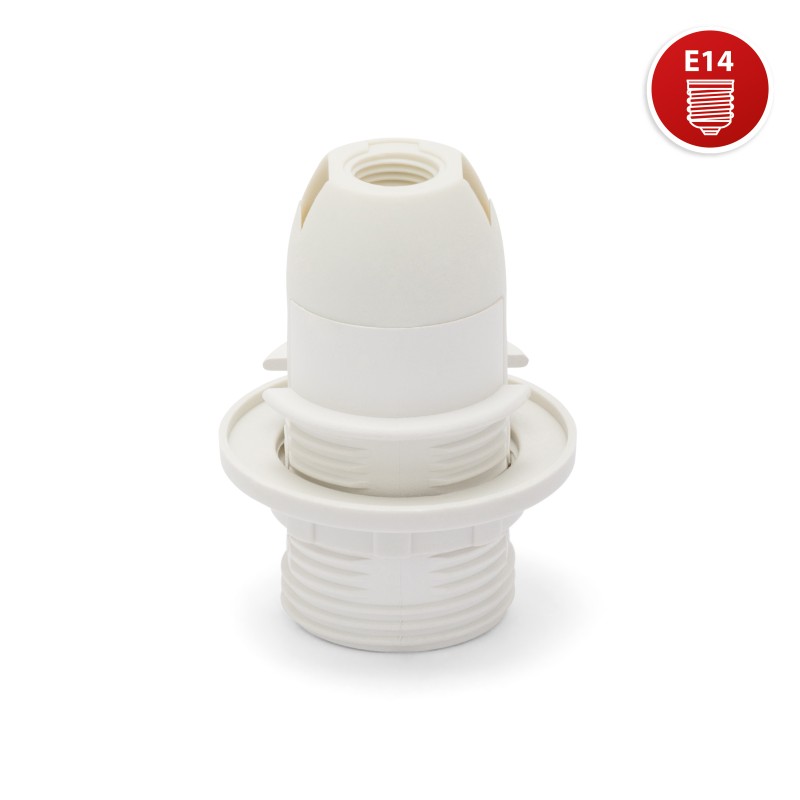
You can pick this up at any hardware store or order it online
Example: AliExpress
You can also buy this as a set with power cord and switch
Example: [https://www.amazon.es/dp/B0CYNX5VNB](https://www.amazon.es/dp/B0CYNX5VNB)