Você está no 3DFinder
Buscamos em Thingiverse, MakerWorld e Printables ao mesmo tempo para te dar o melhor de cada uma.
Descrição
This print is designed to convert my previously released GEPRC MARK5 O3 version to an analog system.
Any parts not included in the 3MF file can be downloaded and printed via the link below.
The design was based on the RUSH Tank Solo VTX, but it should be compatible with most VTX units that use the M2 20×20 mounting pattern.
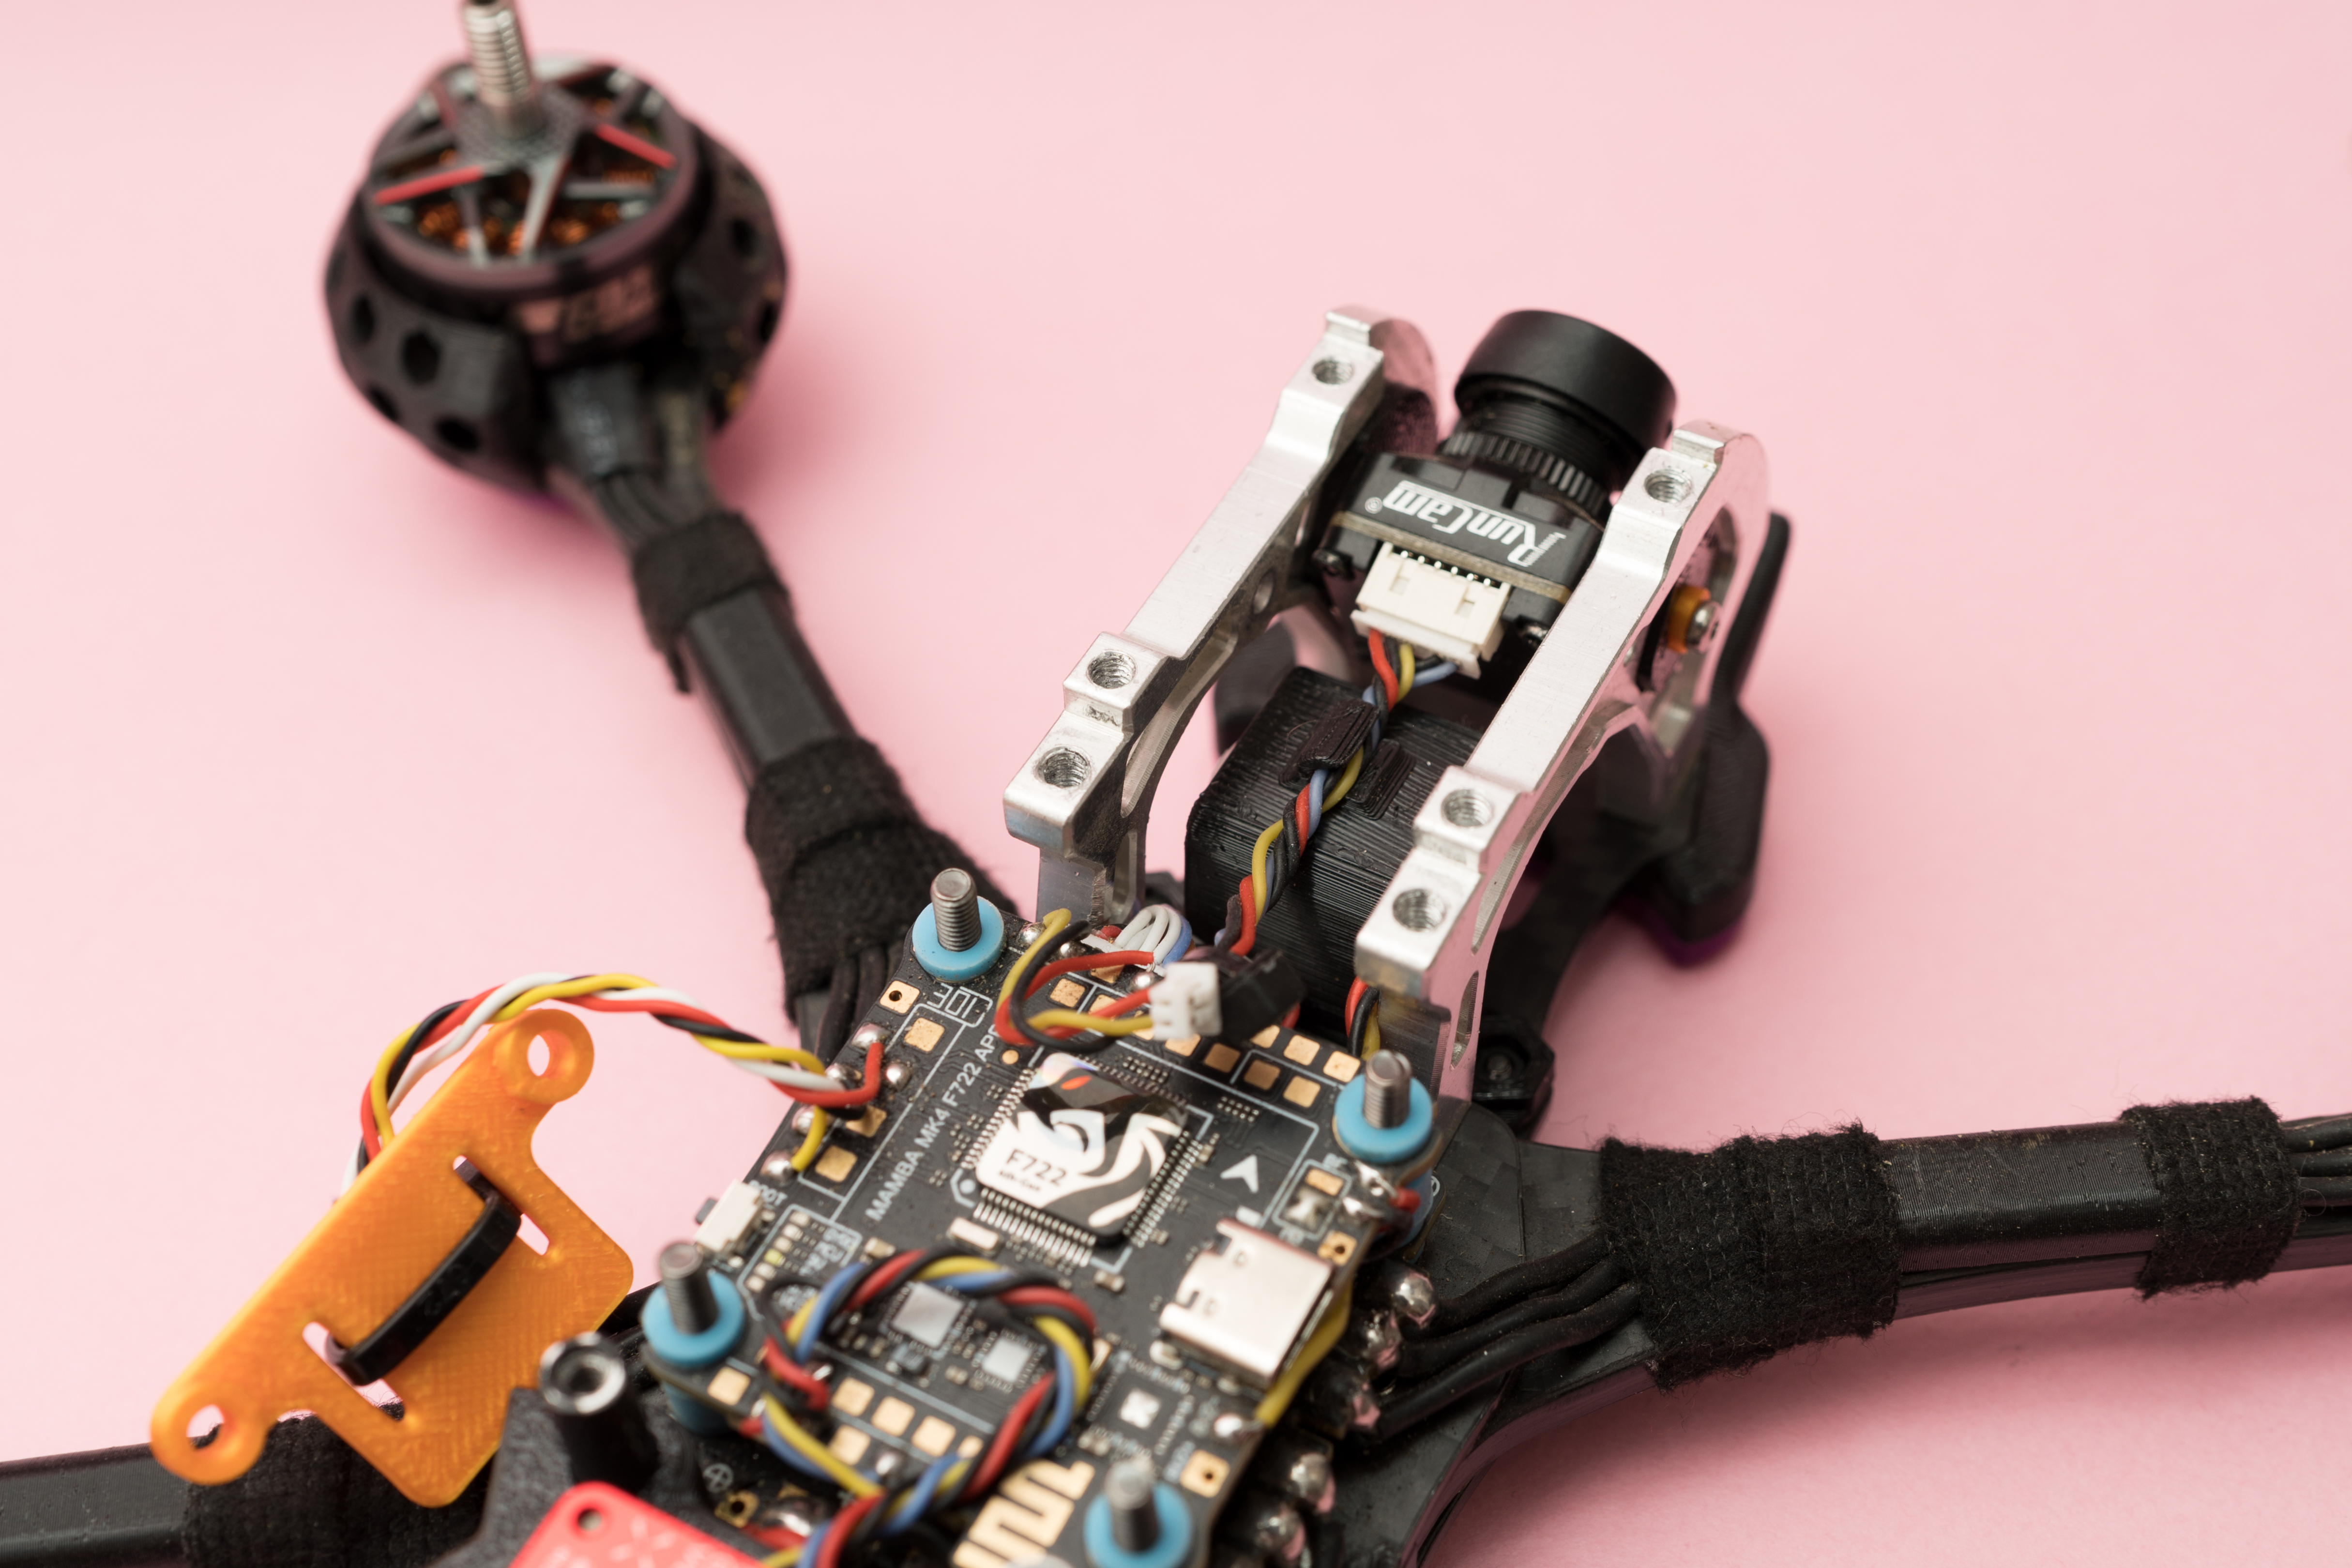
This is the O3 version print part.
It is designed with a lost buzzer housing that helps neatly organize and secure the camera cable.
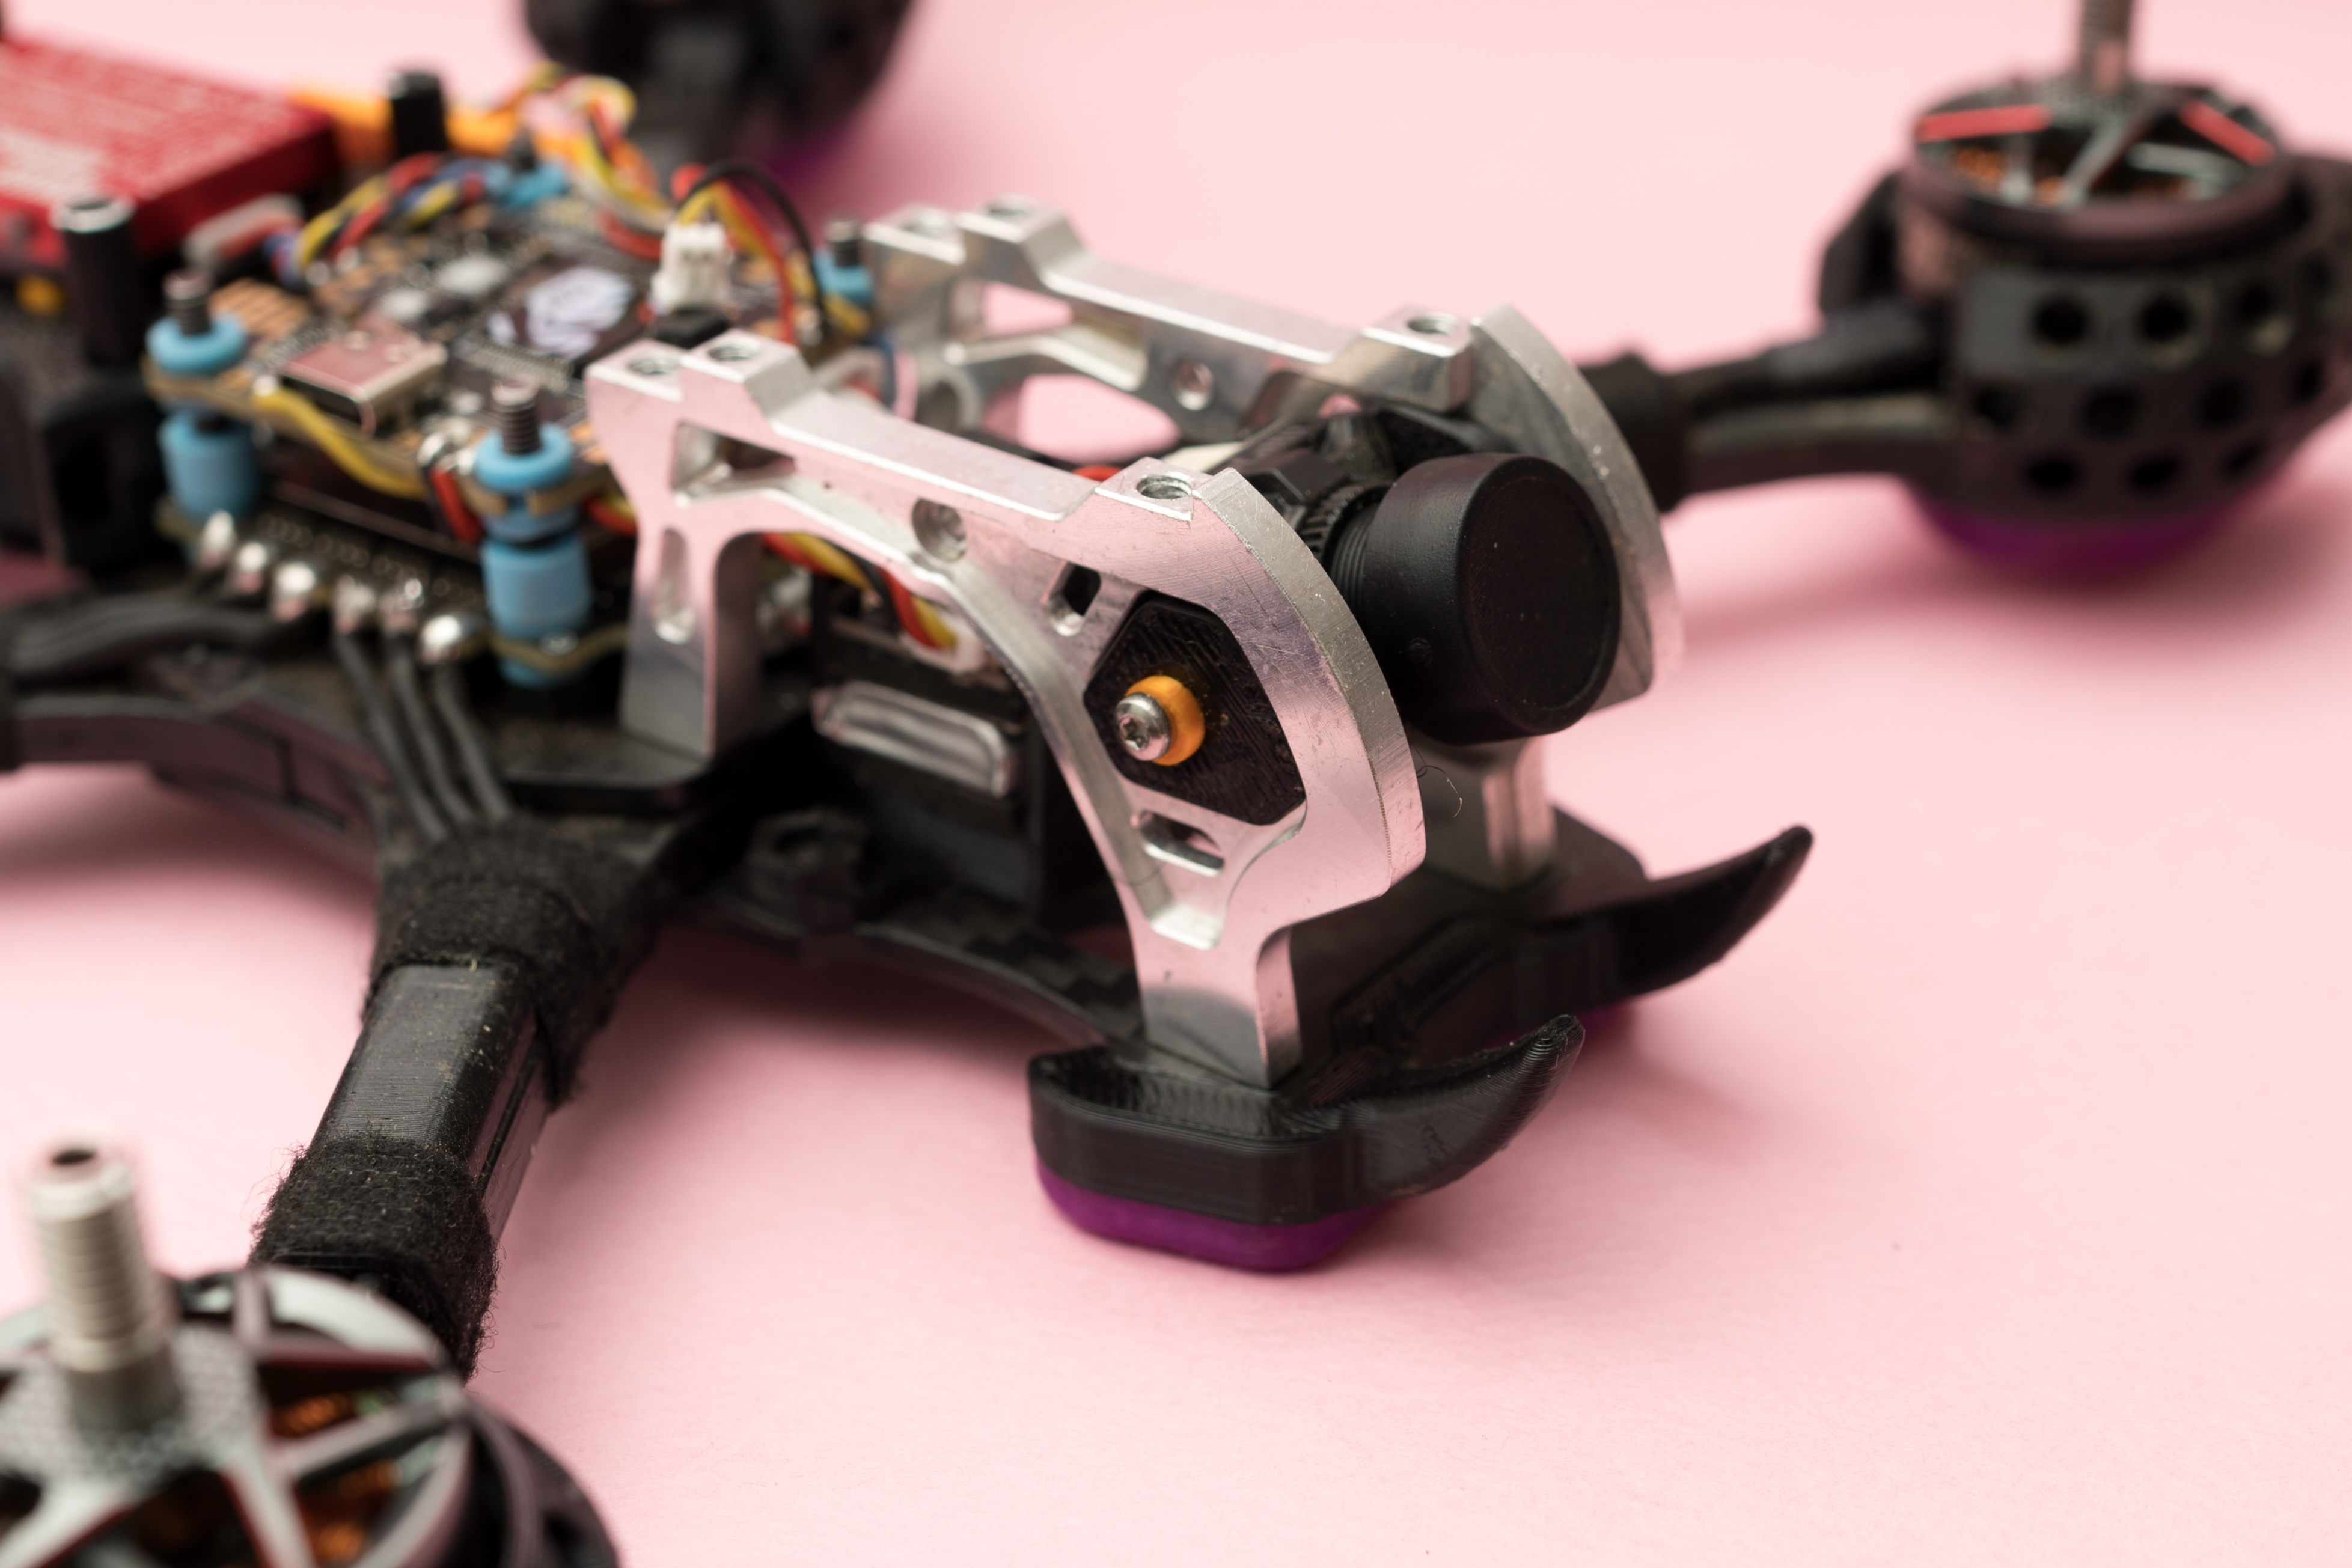
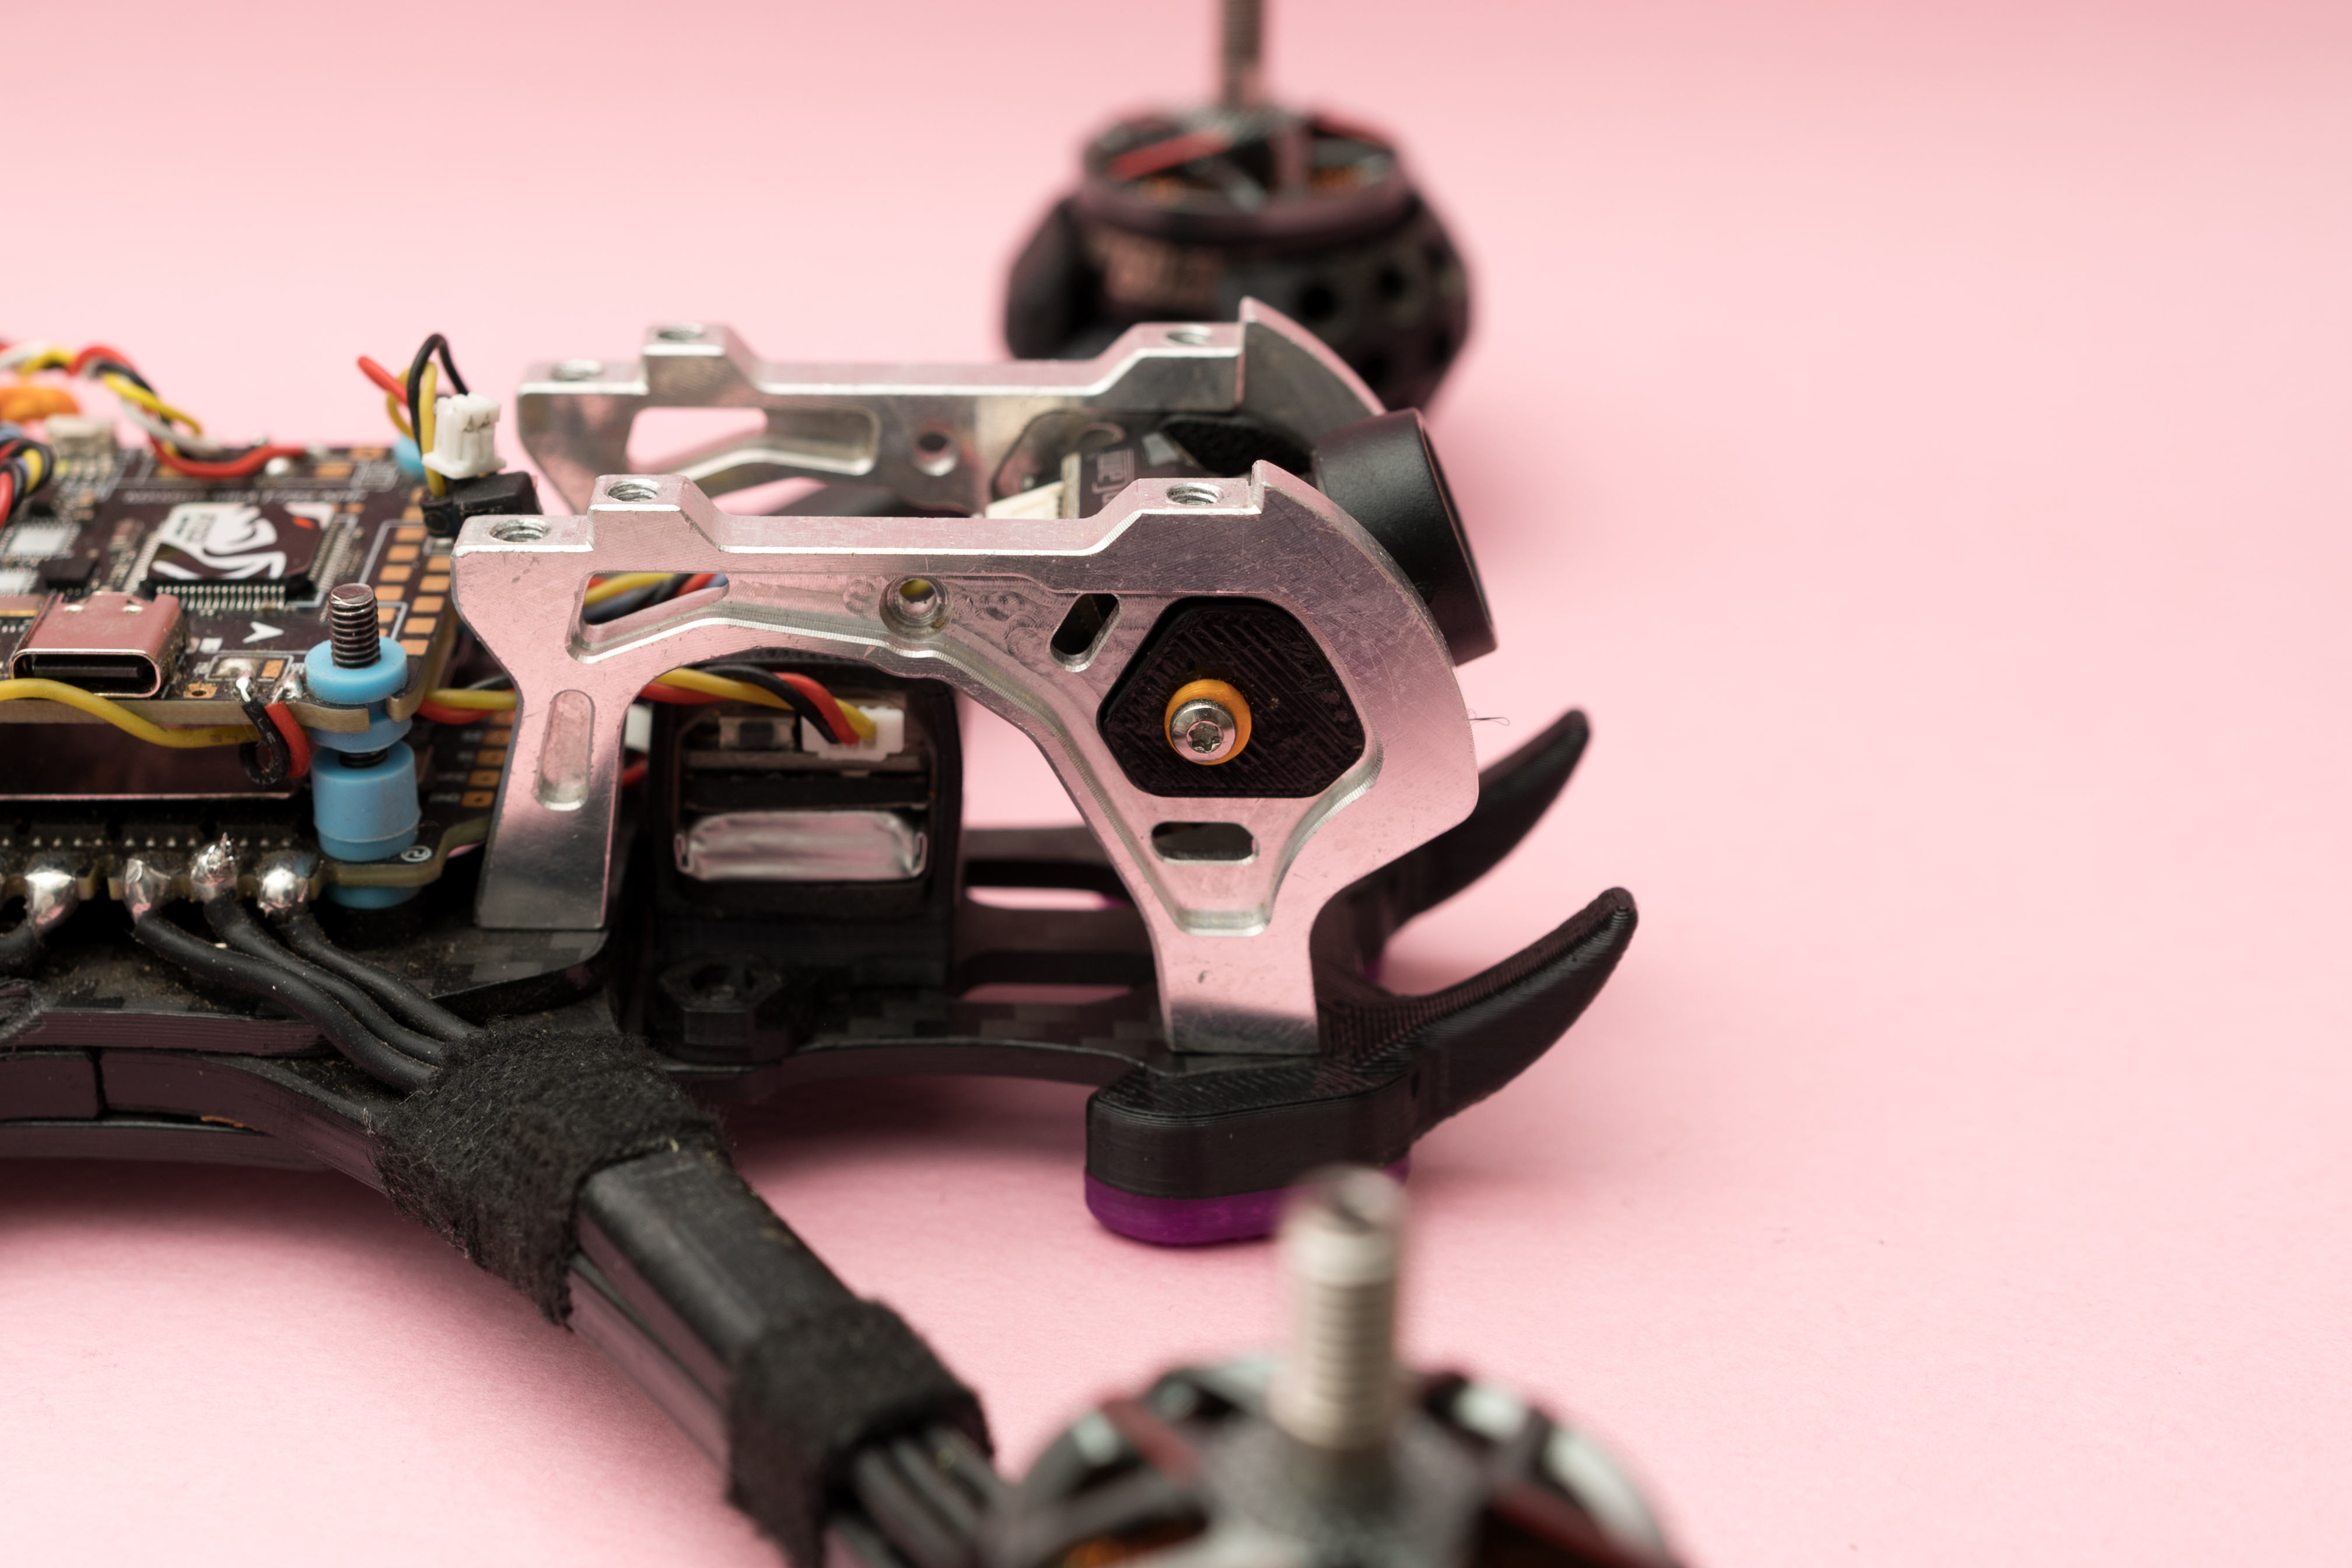
The O3 camera has a width of 20mm, while most analog cameras used on the MARK5 are 19mm wide.
Therefore, the model has been newly redesigned to fit the 19mm camera standard.
(The washers shown in the photos were temporarily installed because the bolts were slightly too long. They are VTX washers and do not require special attention.)
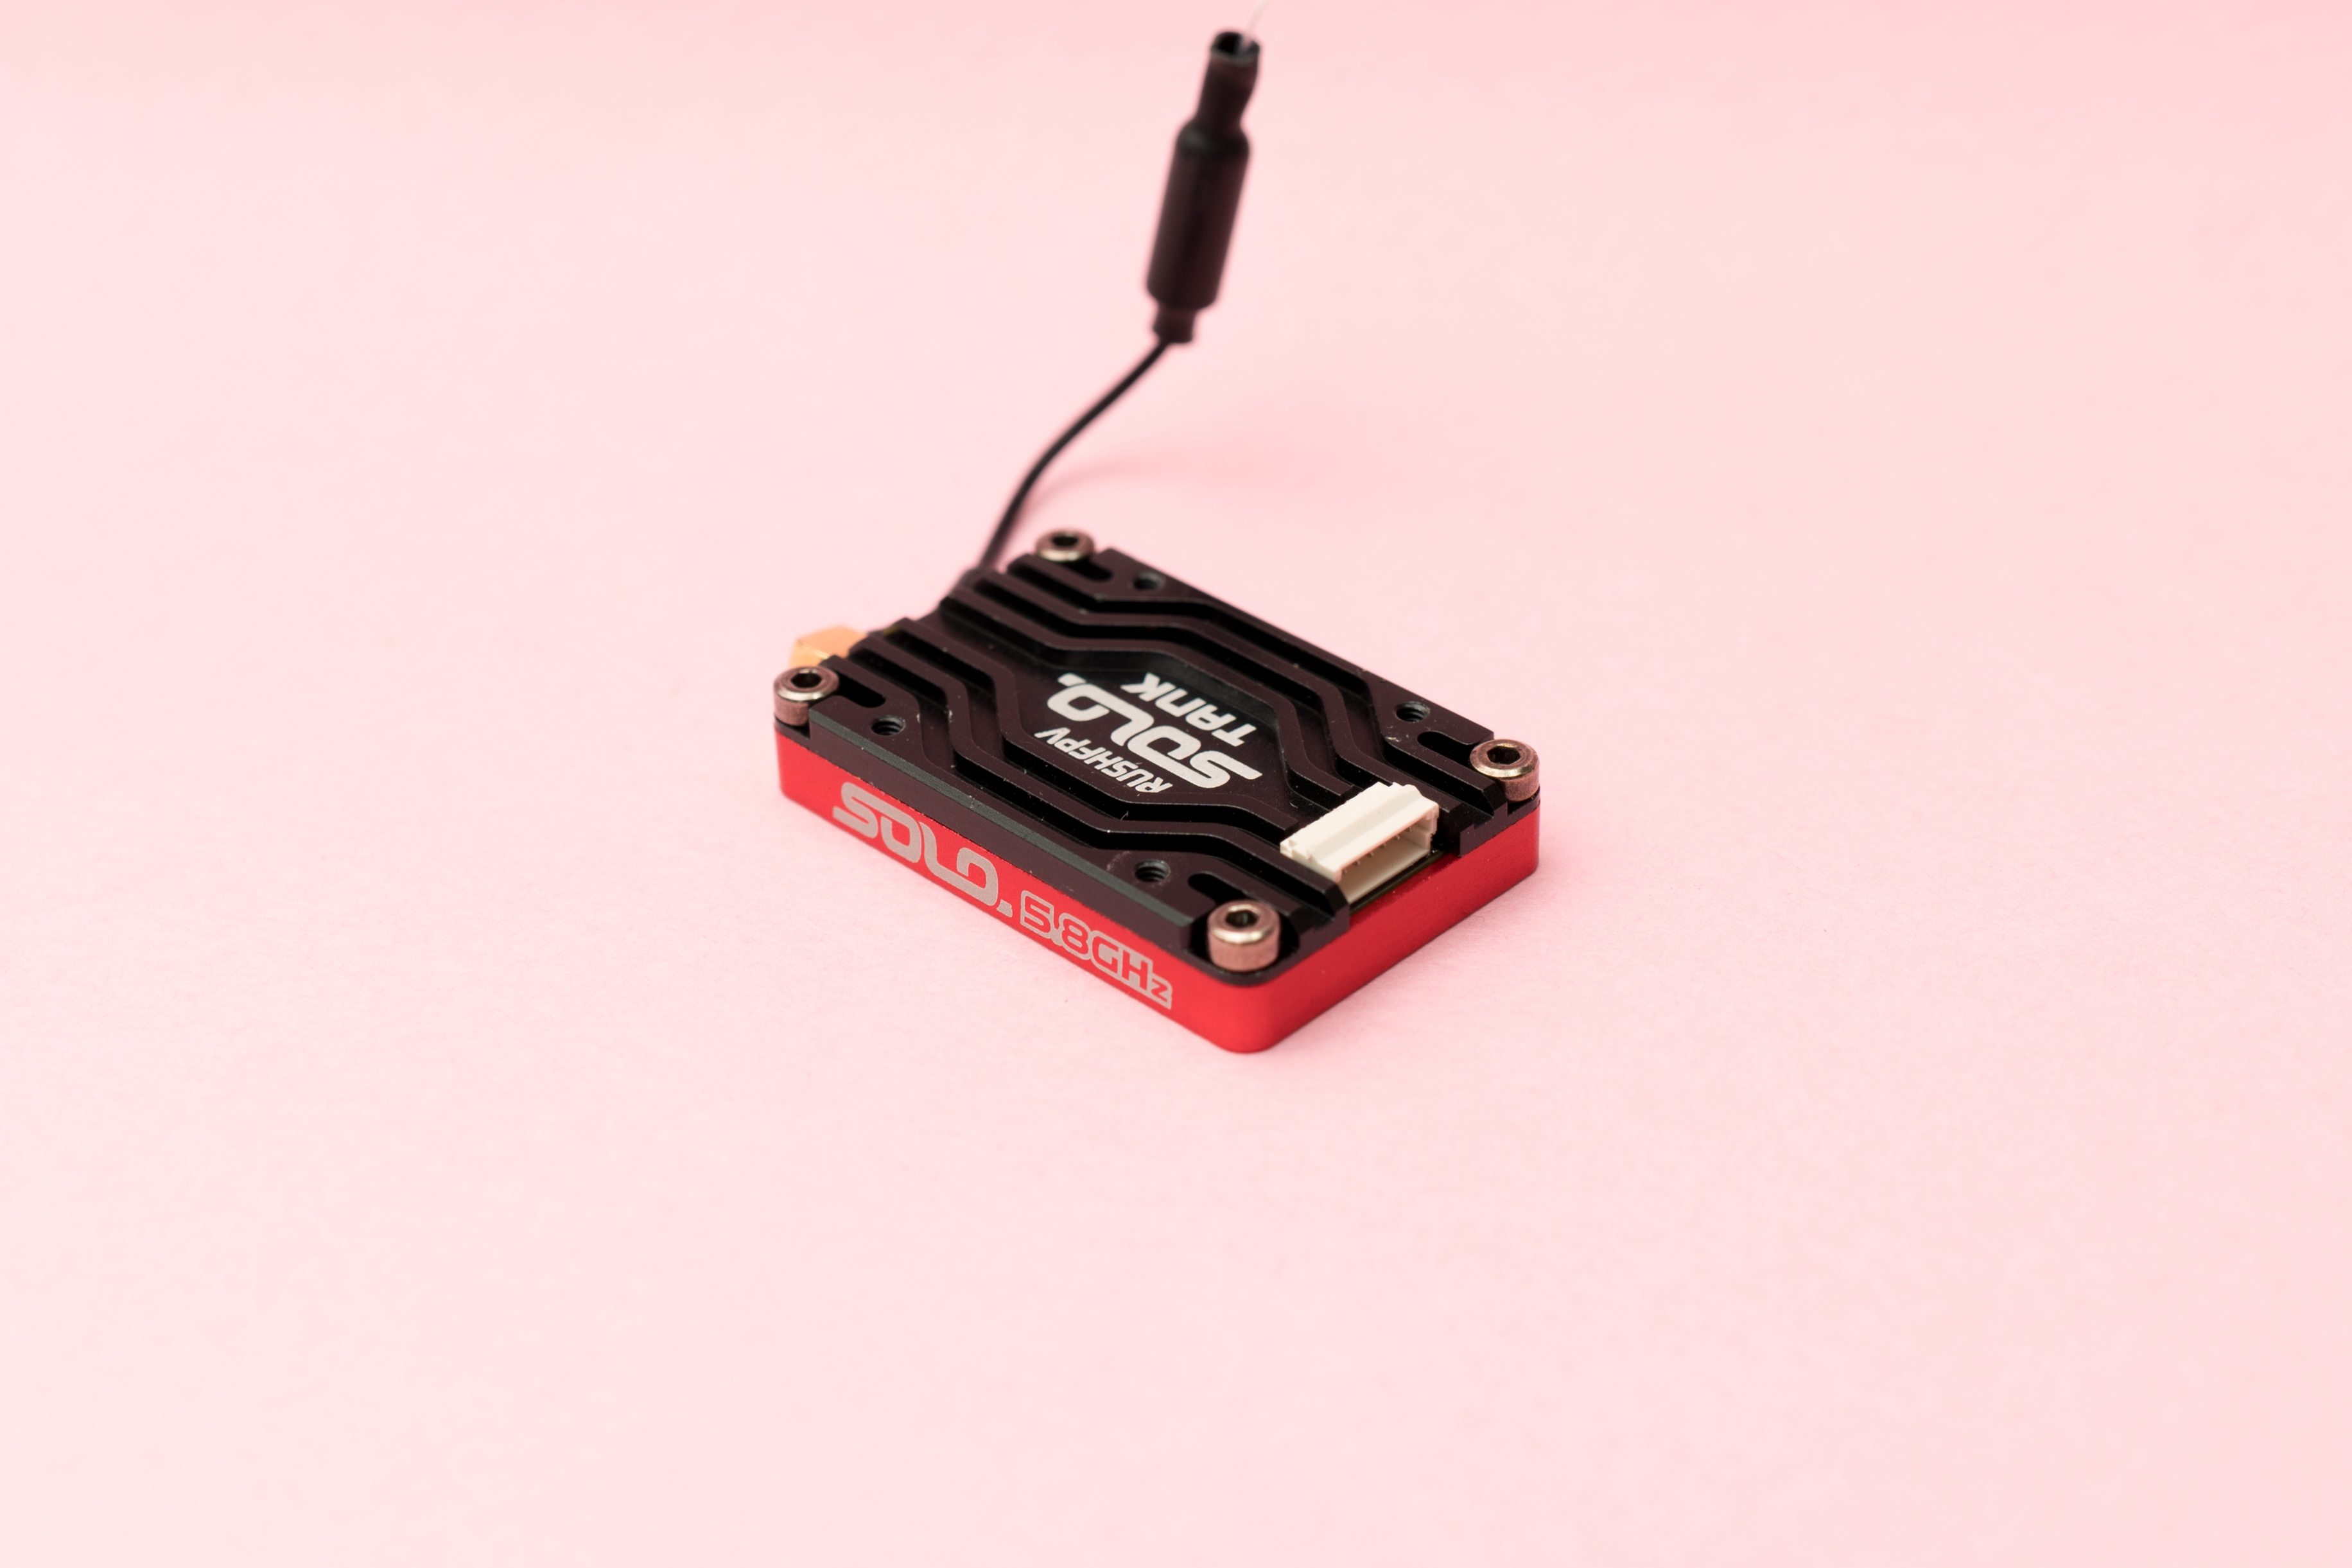
The TANK SOLO features grooves on the bottom heatsink to improve airflow and enhance heat dissipation.
I wanted to make sure this design feature was fully utilized.
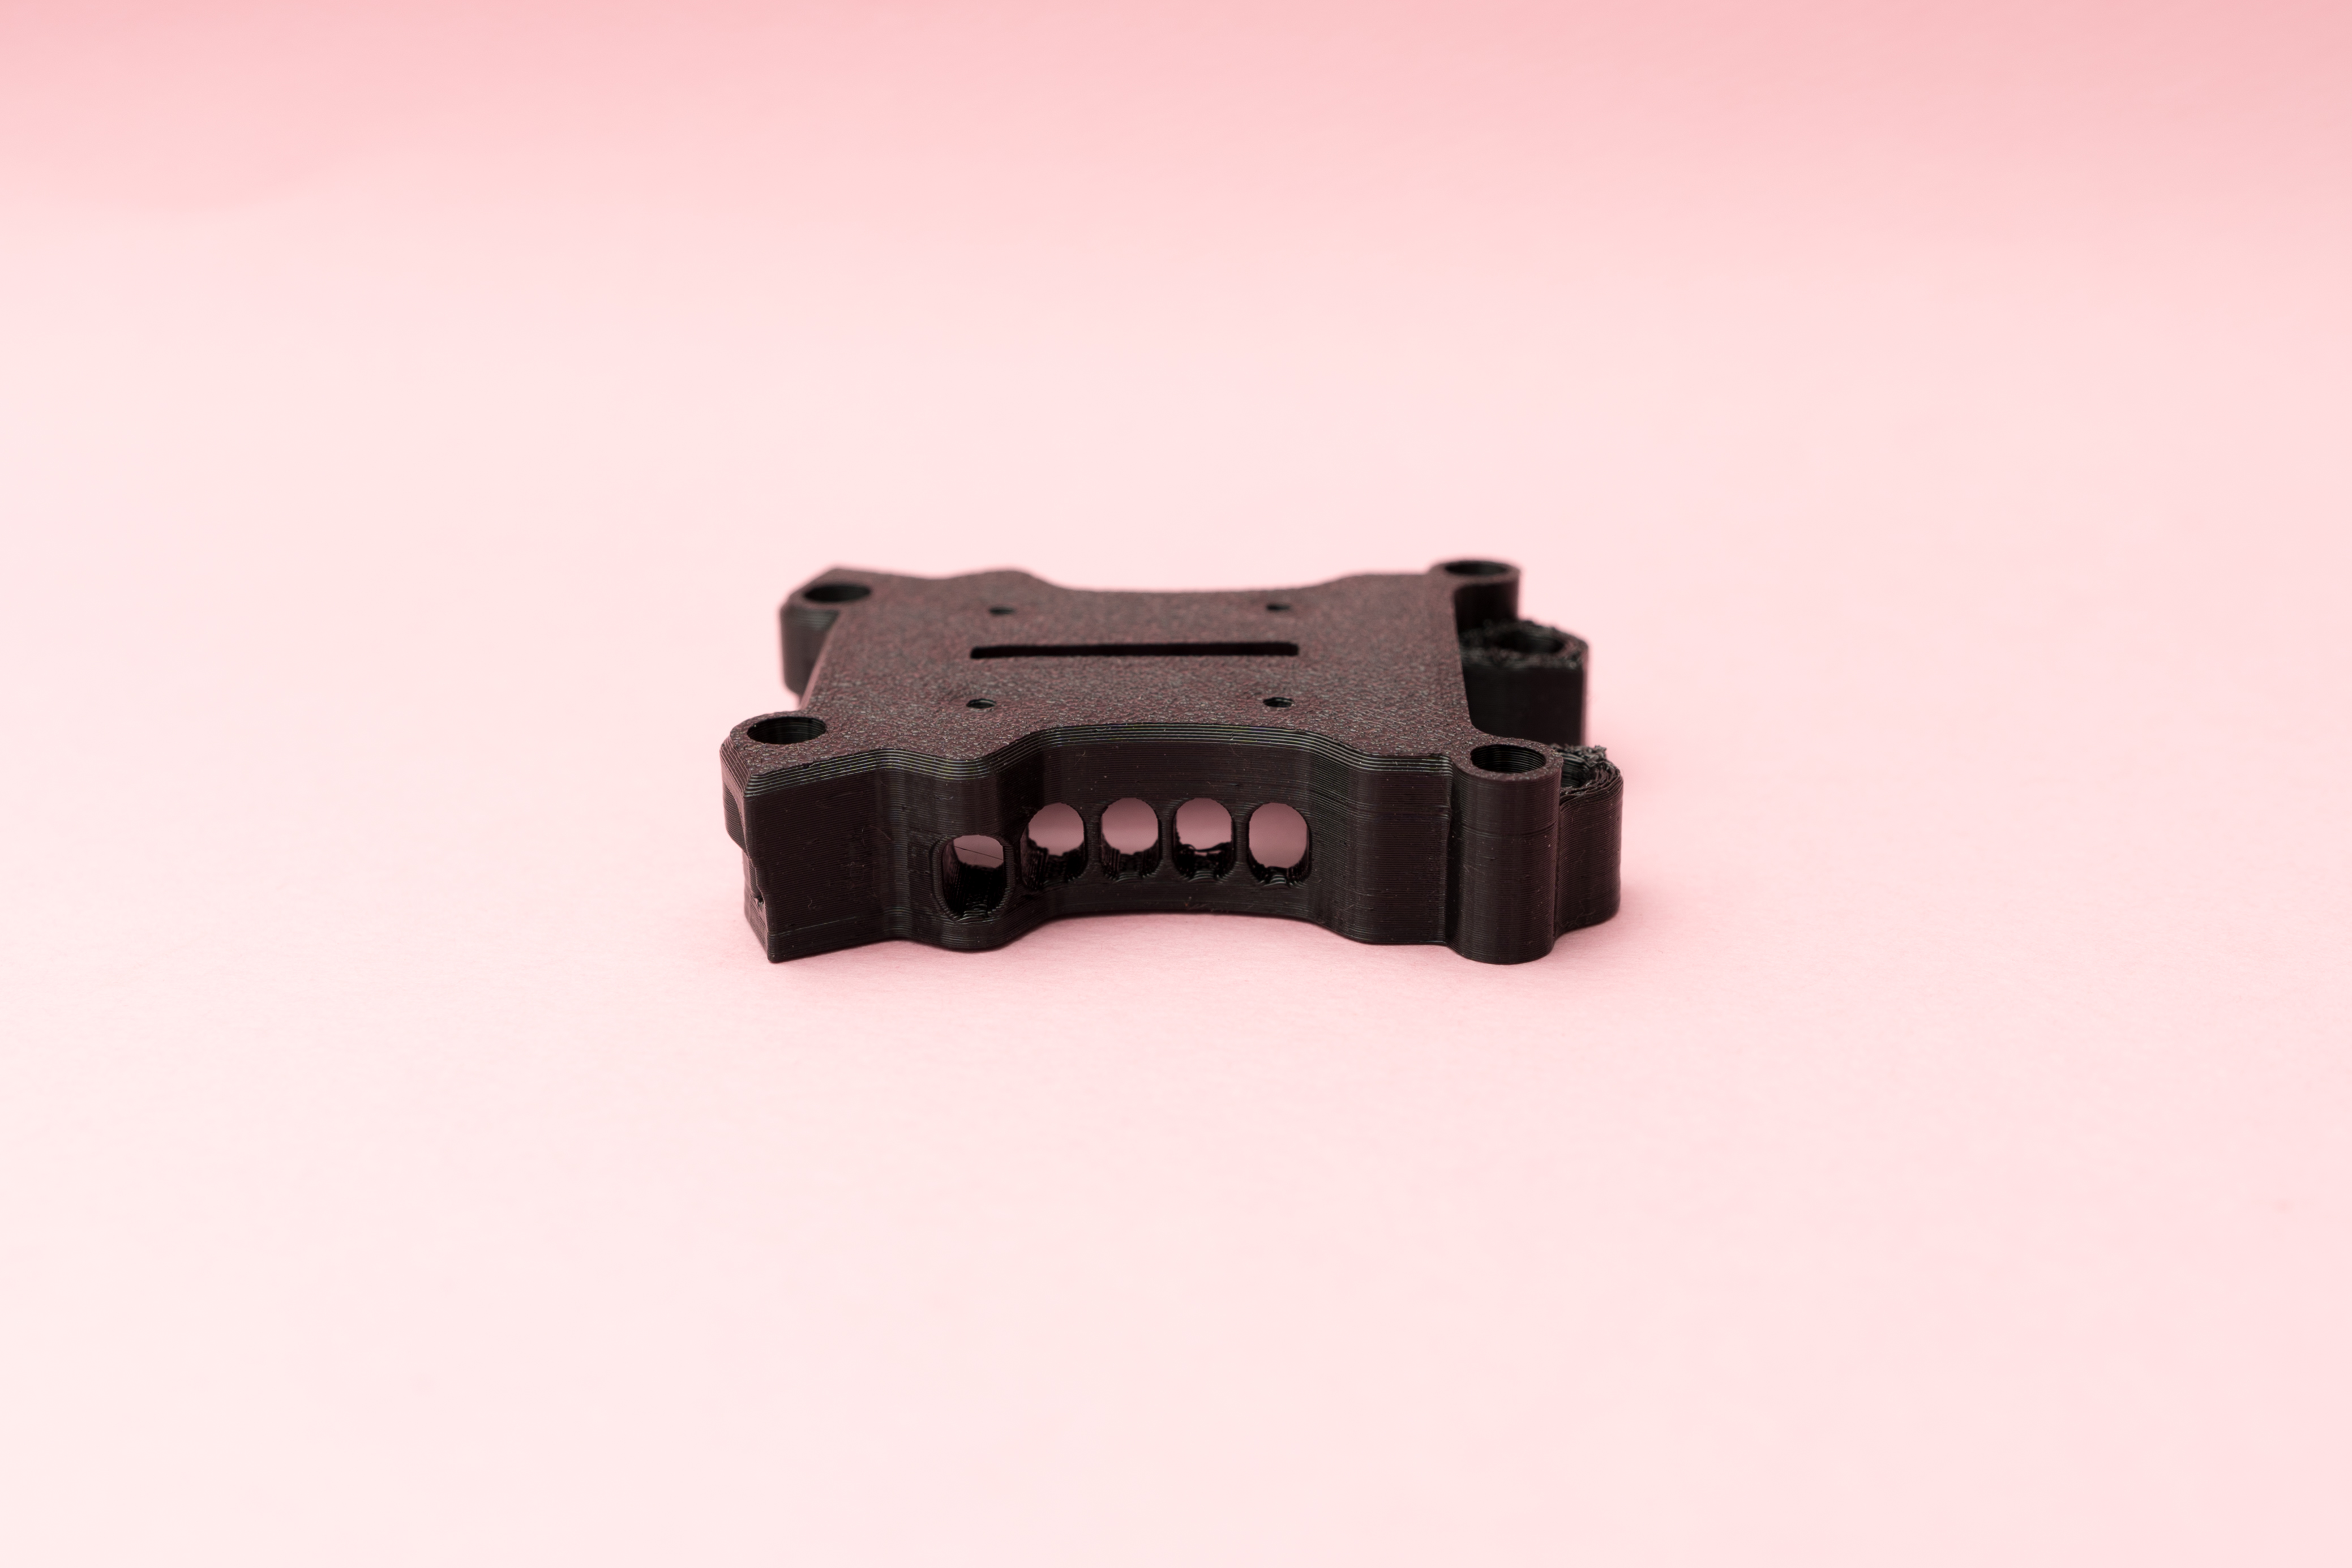
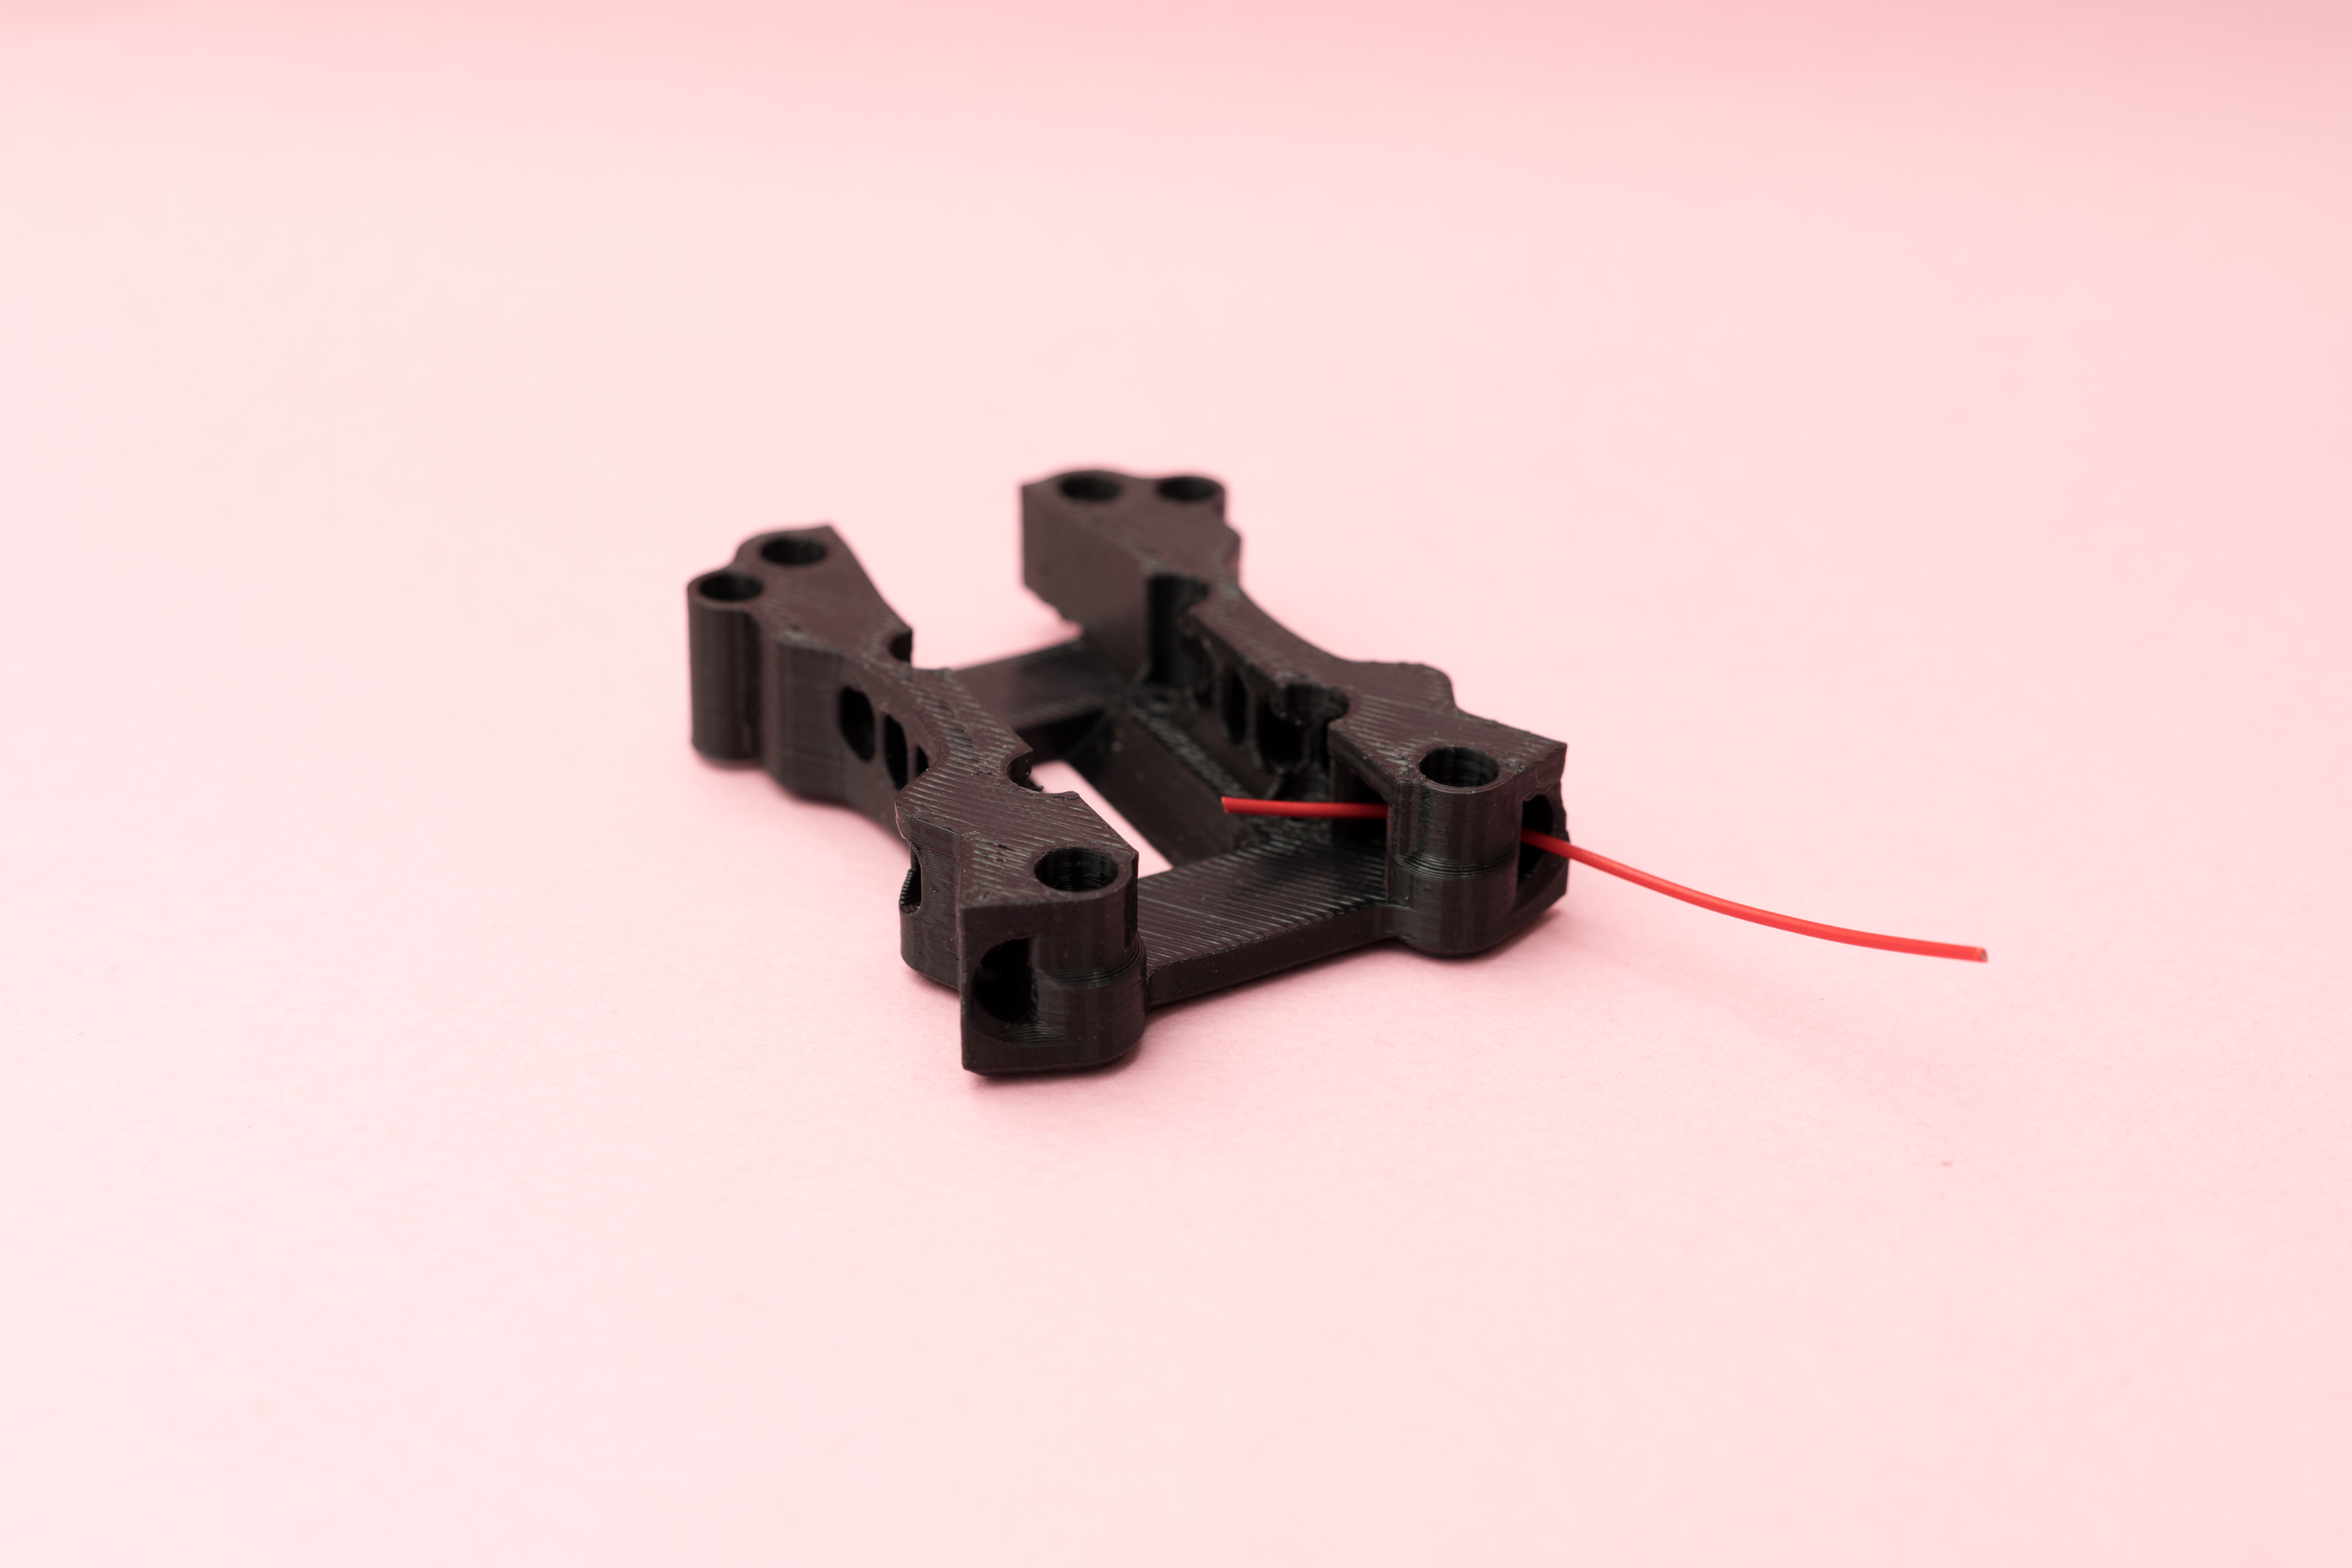
Since the battery leads and capacitor also generate heat, I designed side air ducts to improve airflow and assist with cooling.
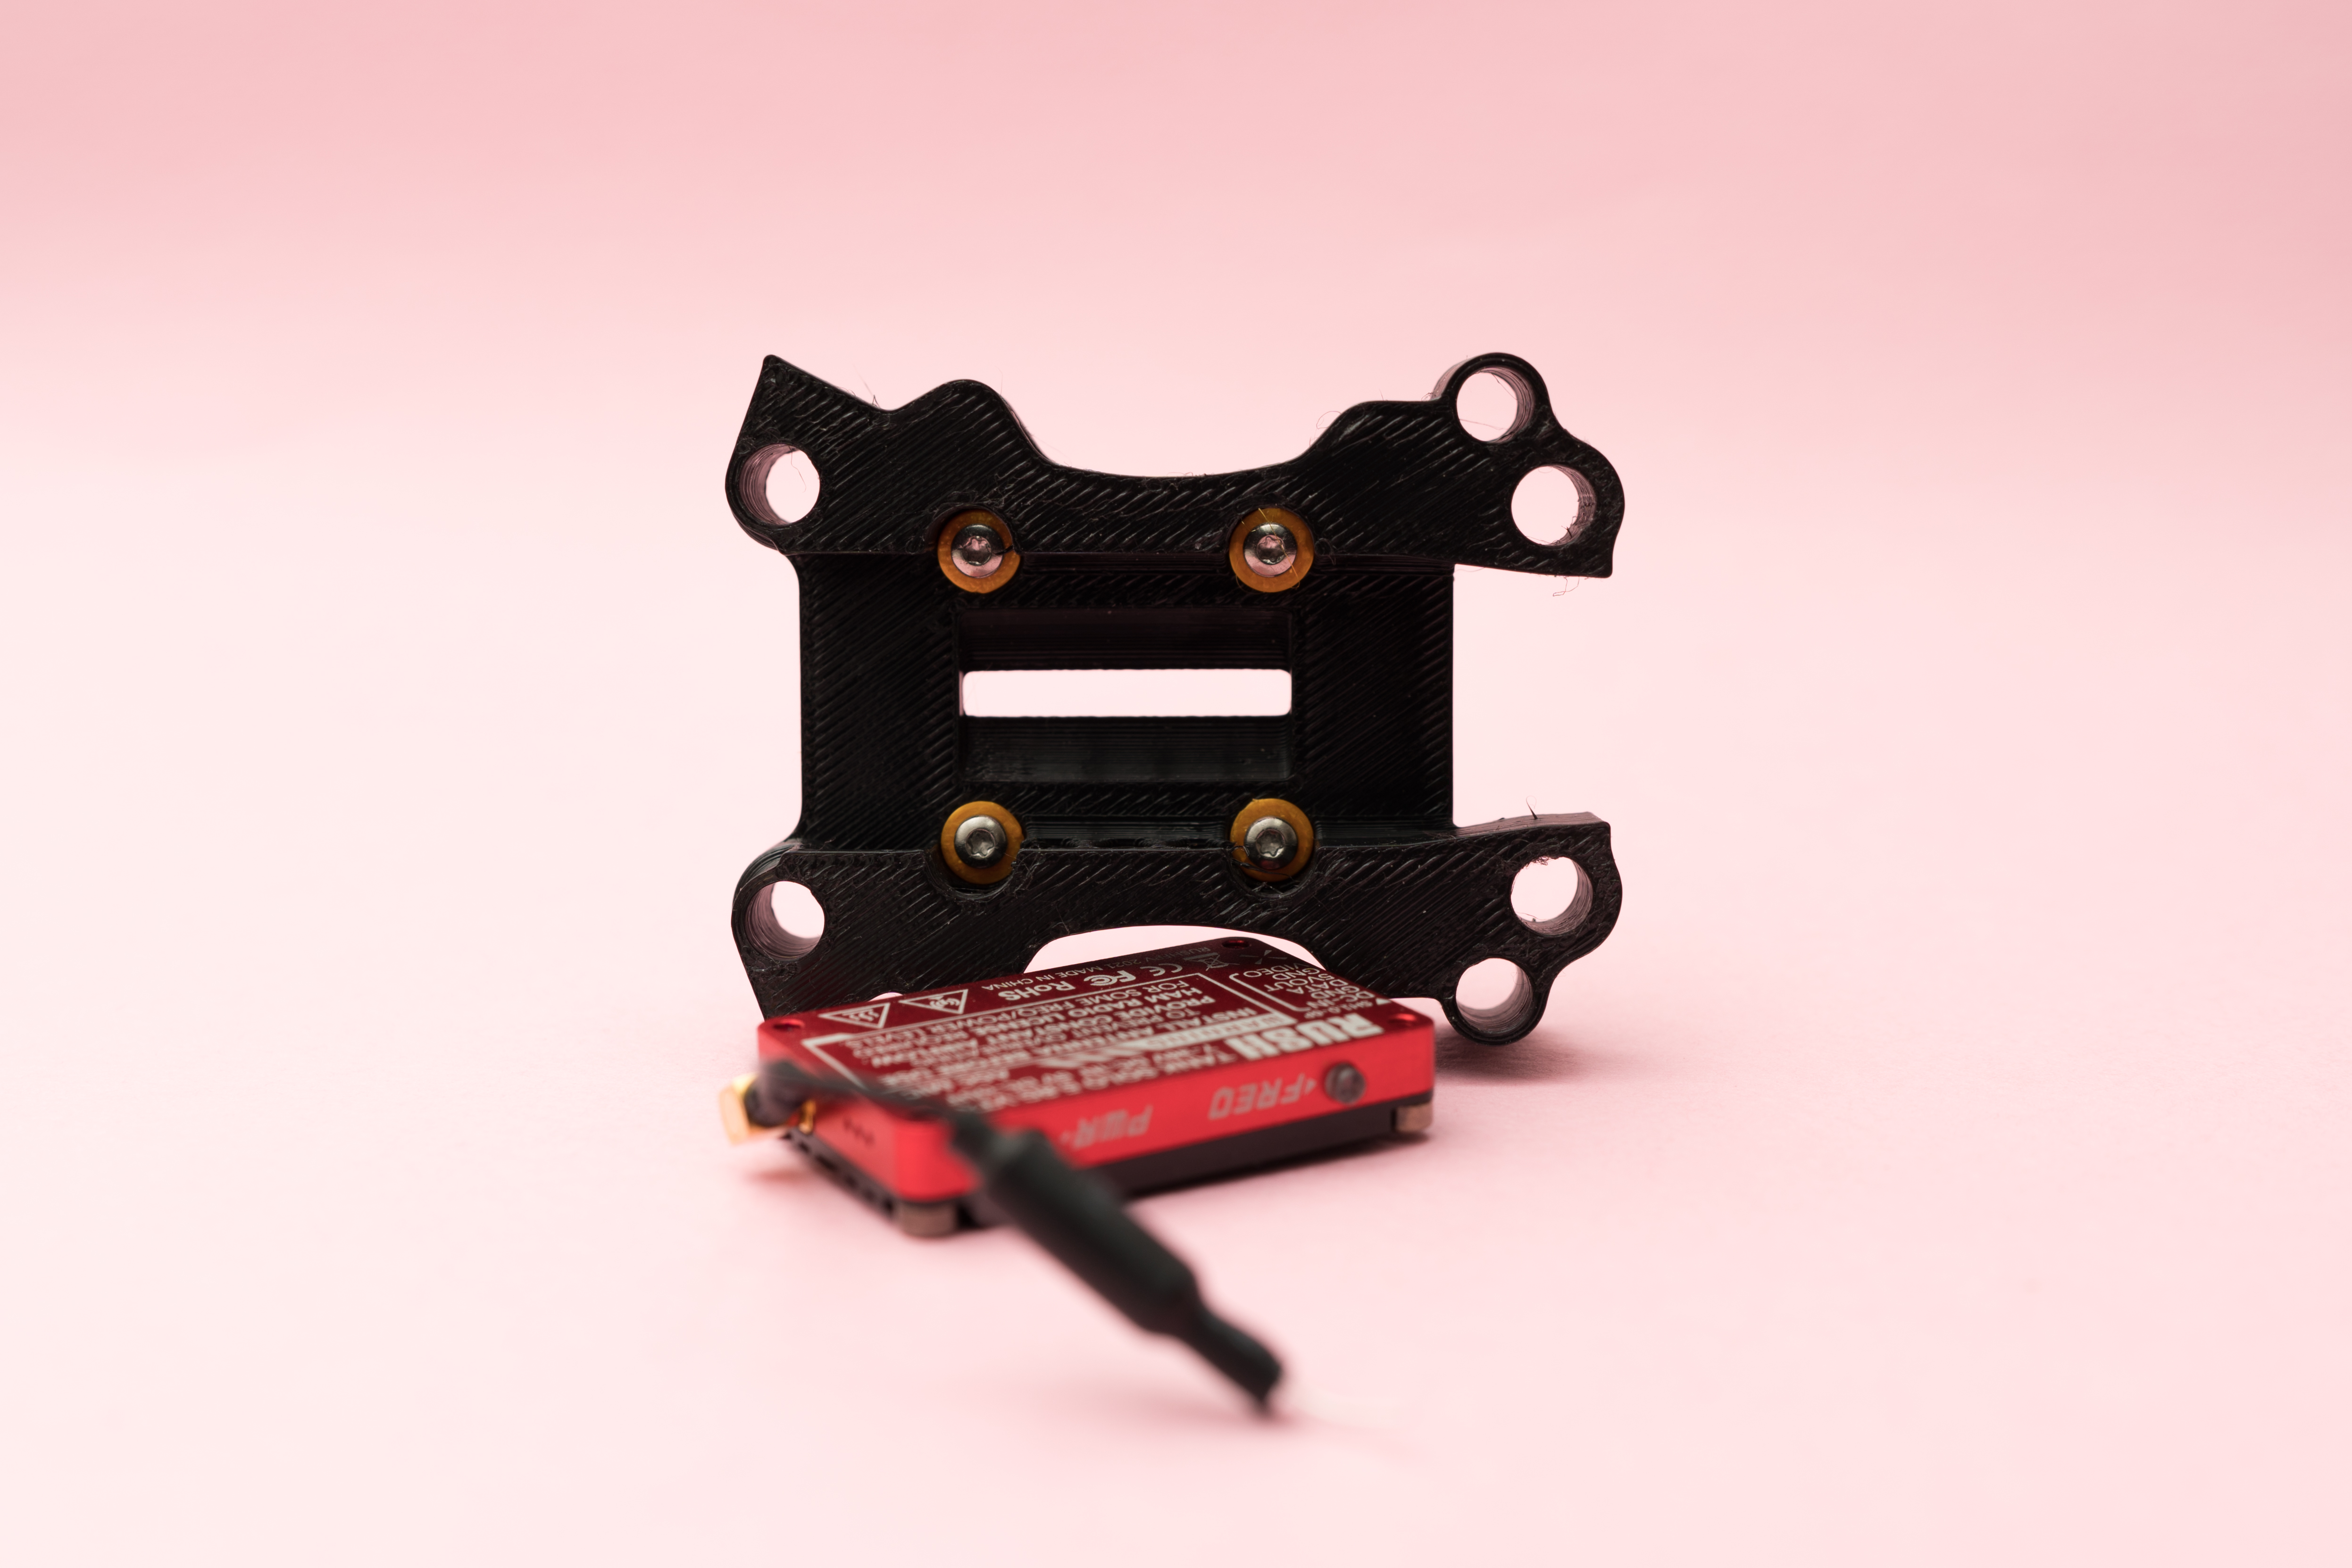
M2×8 bolts were used for installation.
Use the included 1T washers to secure the bolts in place.
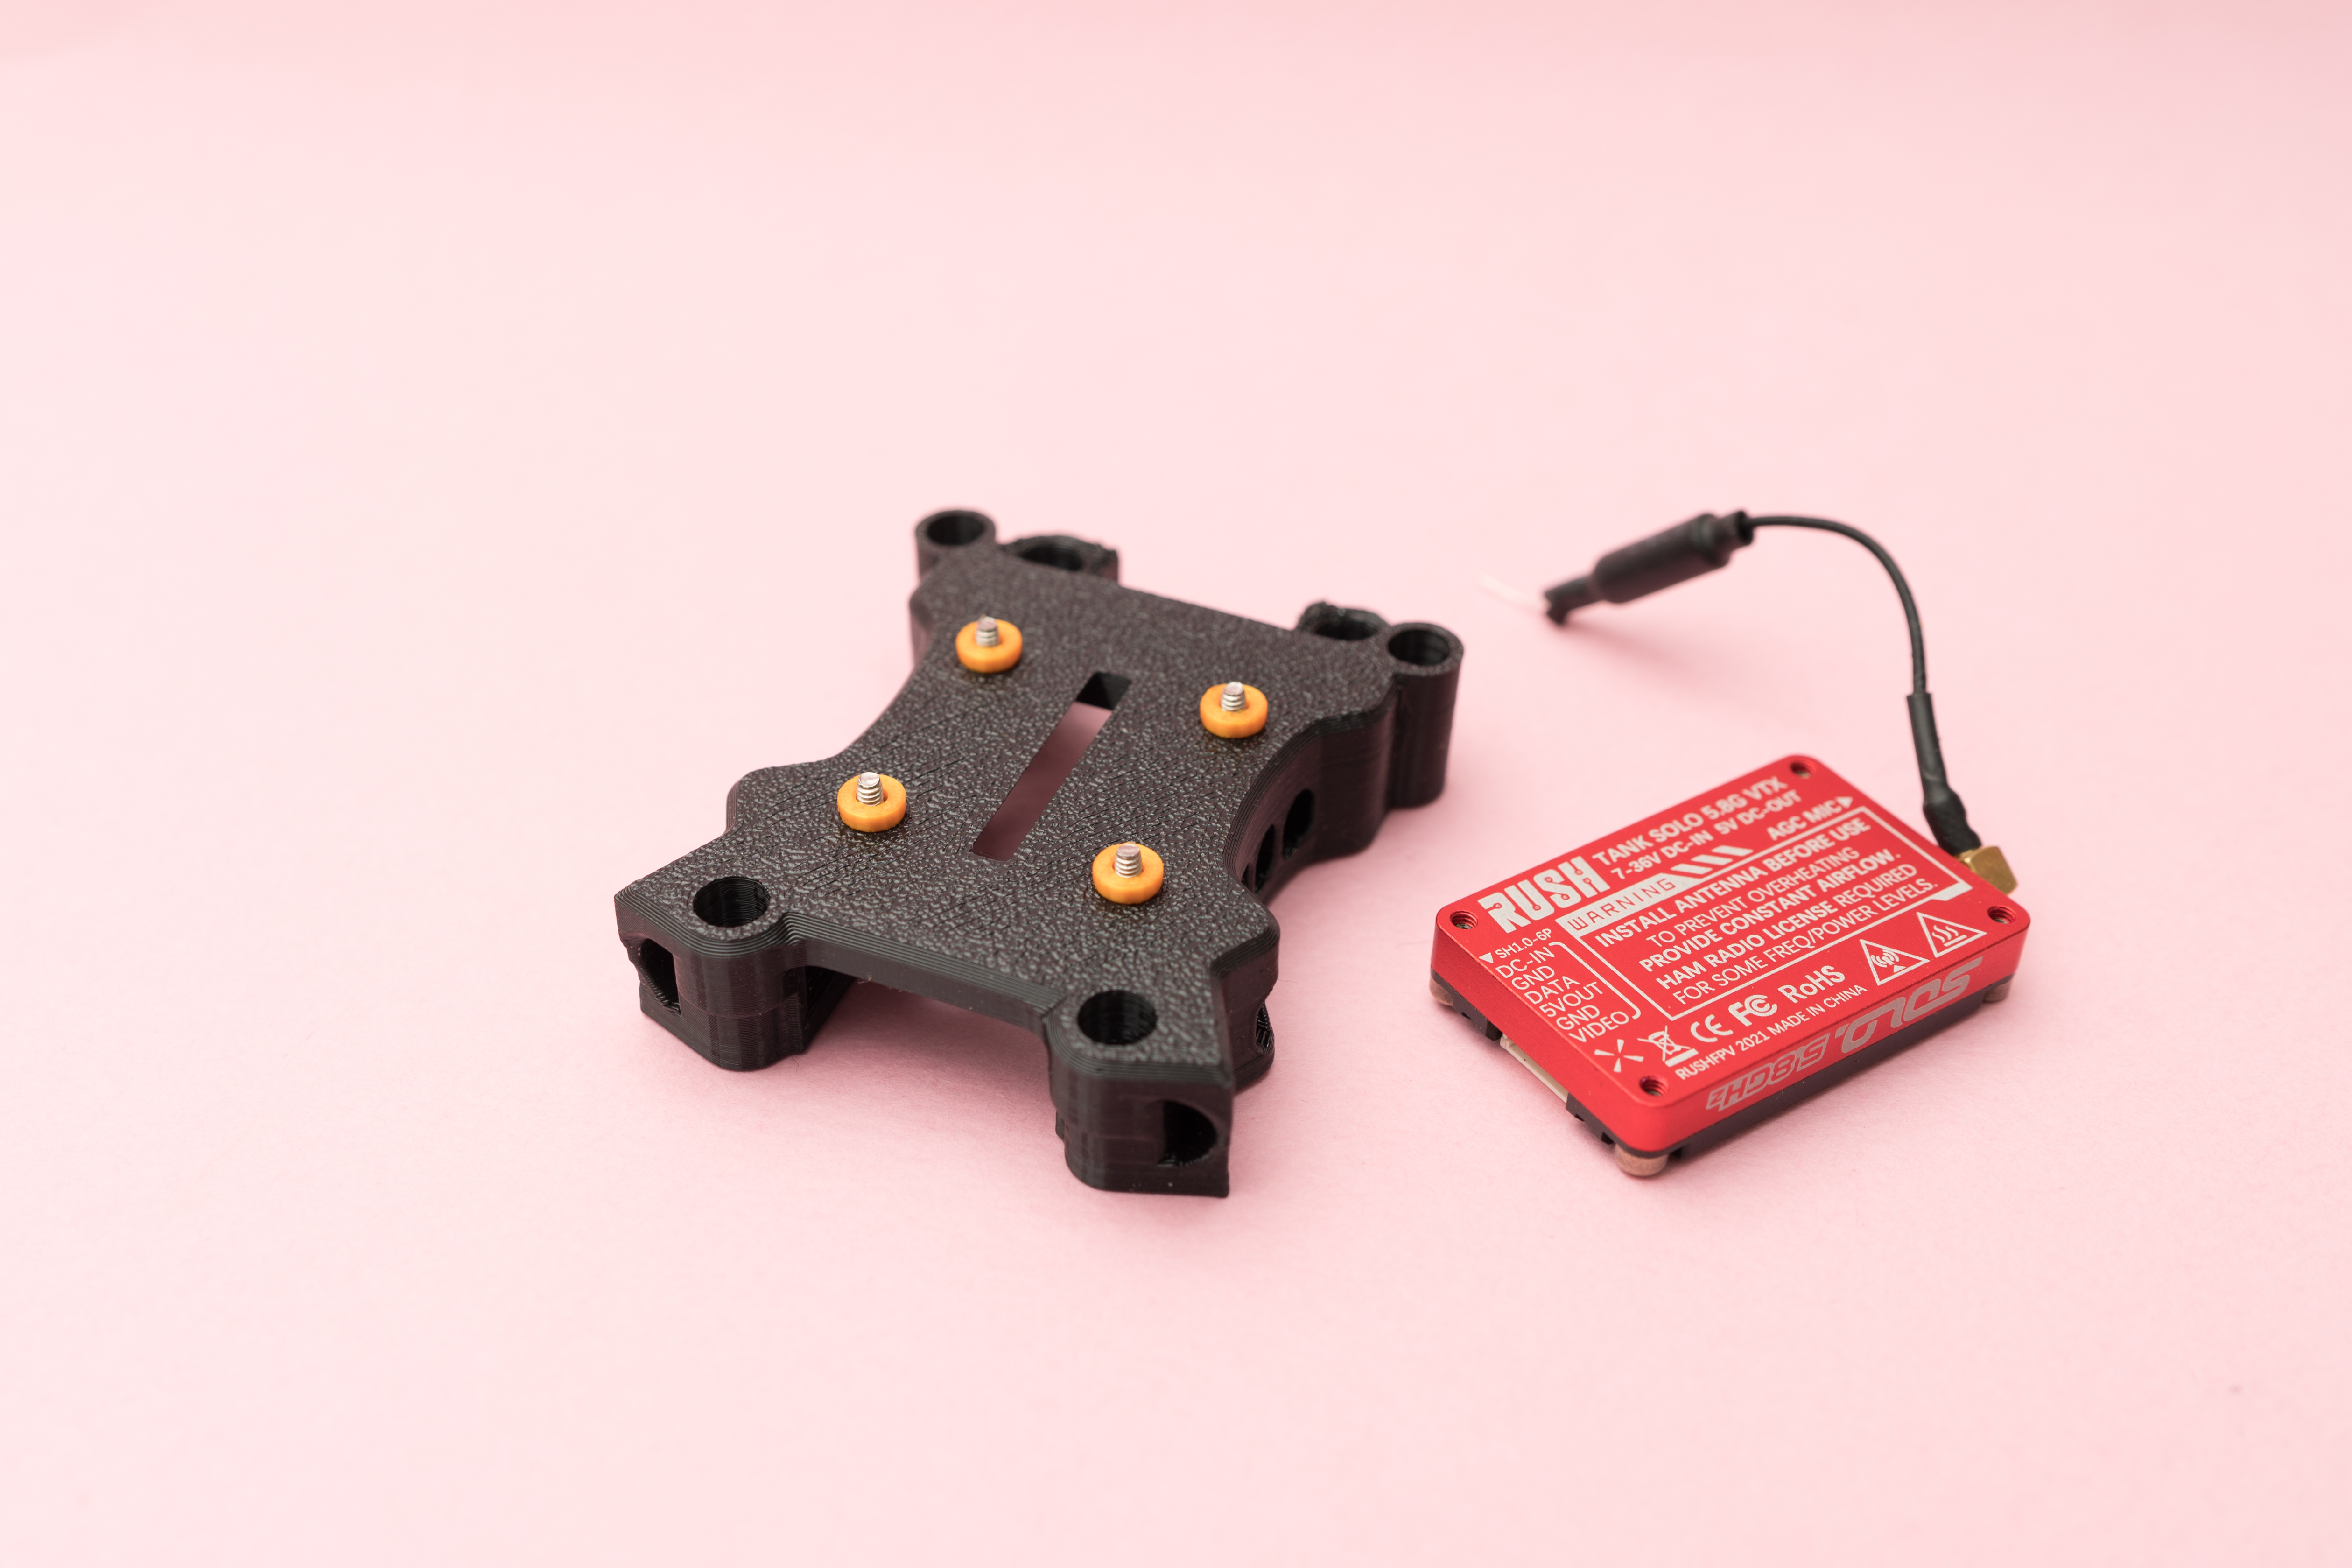
Flip the TPU print part over and insert a 1.5T washer on the top side.
This section is designed to utilize the bottom cooling structure of the TANK SOLO.
A 1.5T washer is placed between the printed part and the VTX to create a small gap, allowing for improved airflow and better heat dissipation.
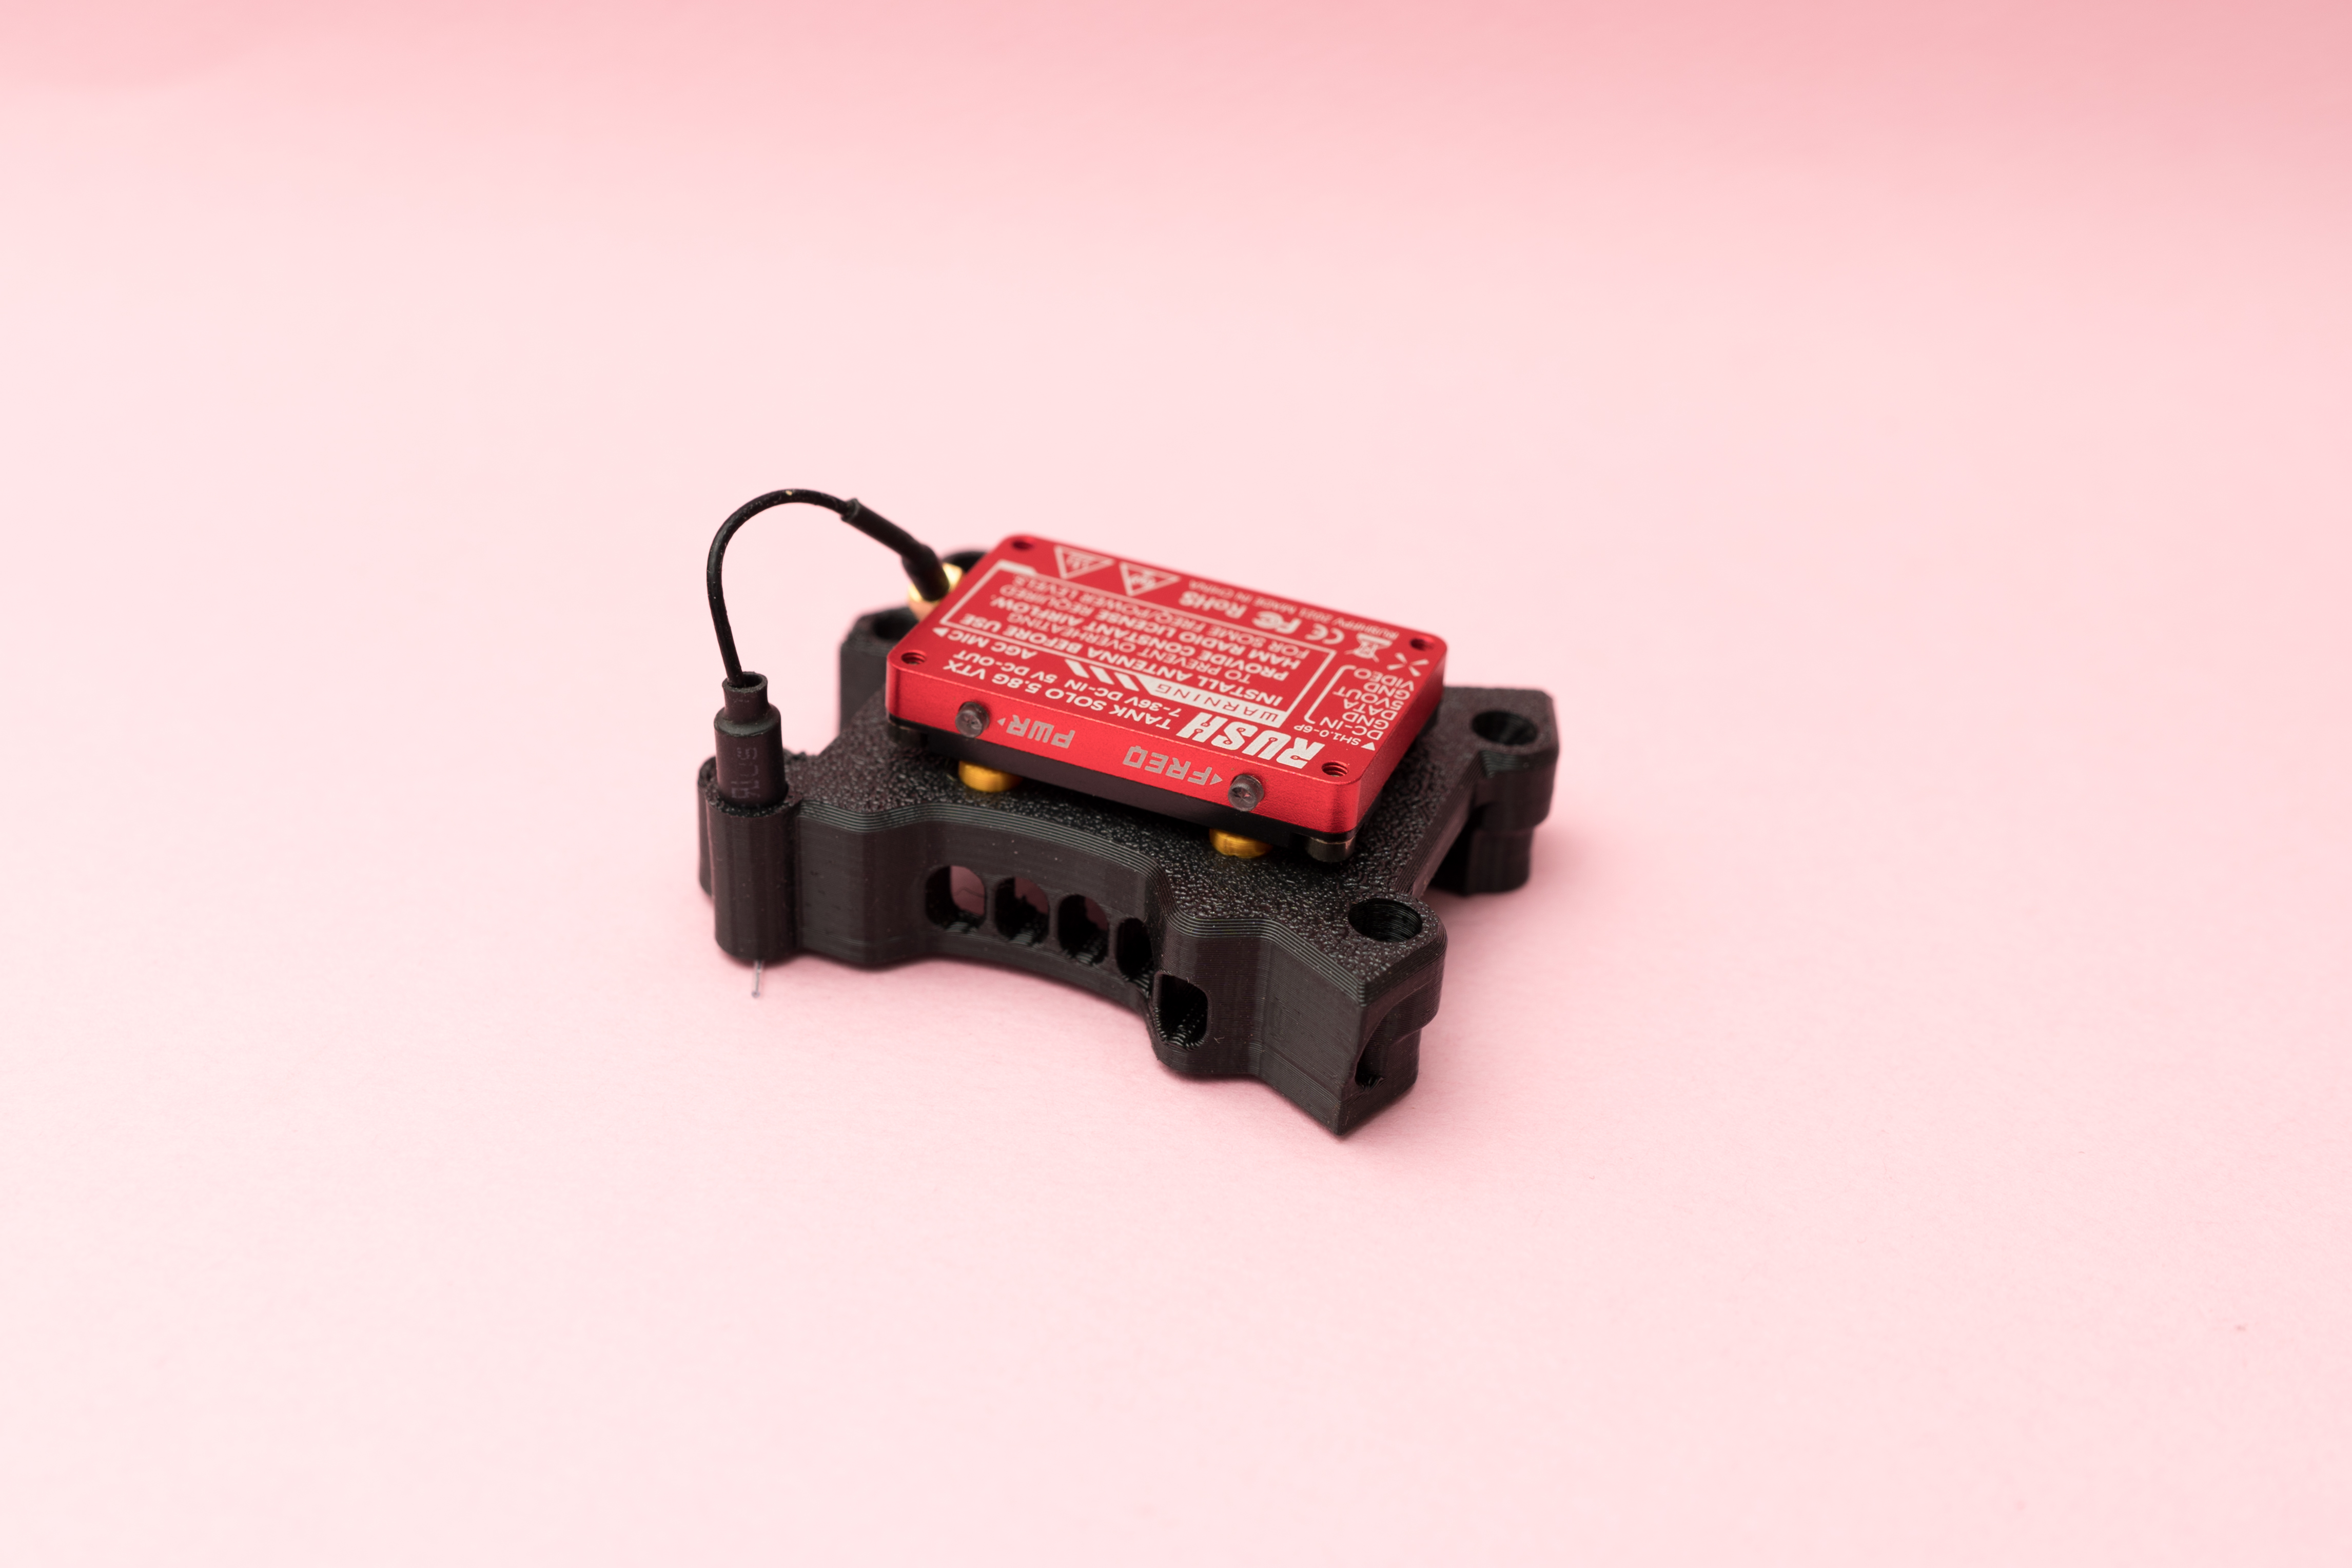
I personally prefer using a flat antenna.
The flat antenna can simply be inserted into the antenna mounting hole designed in the TPU print part.
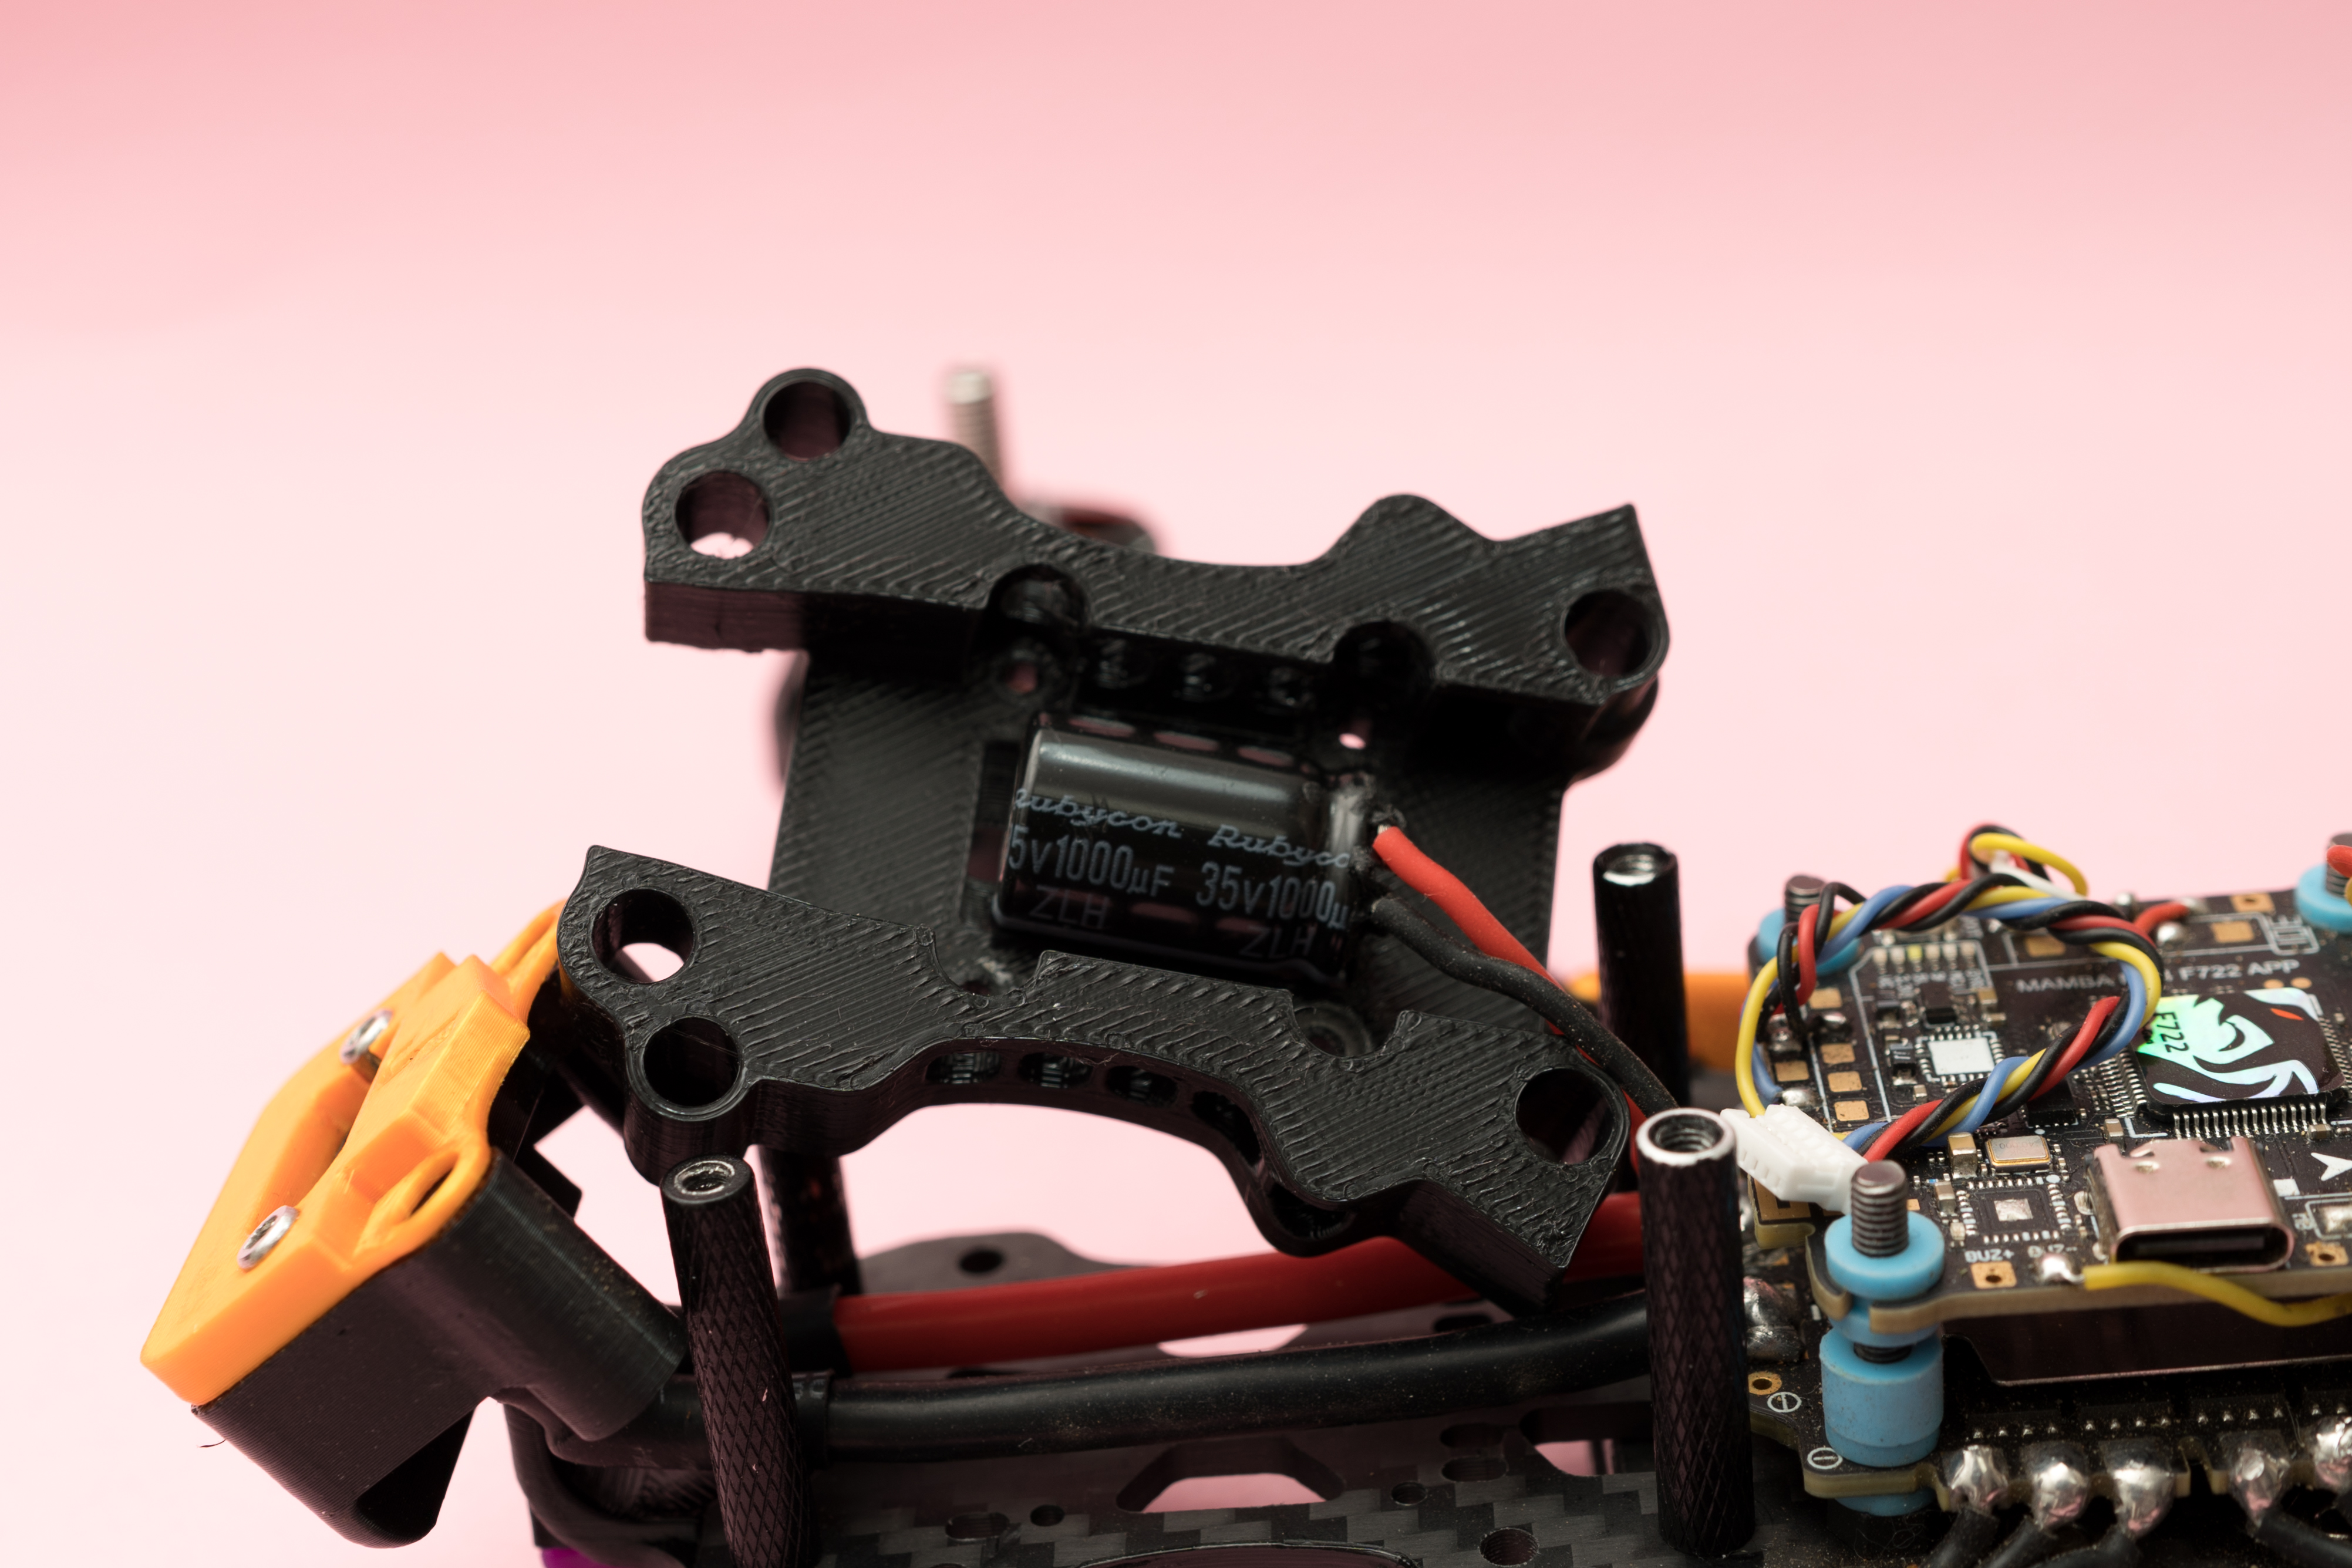
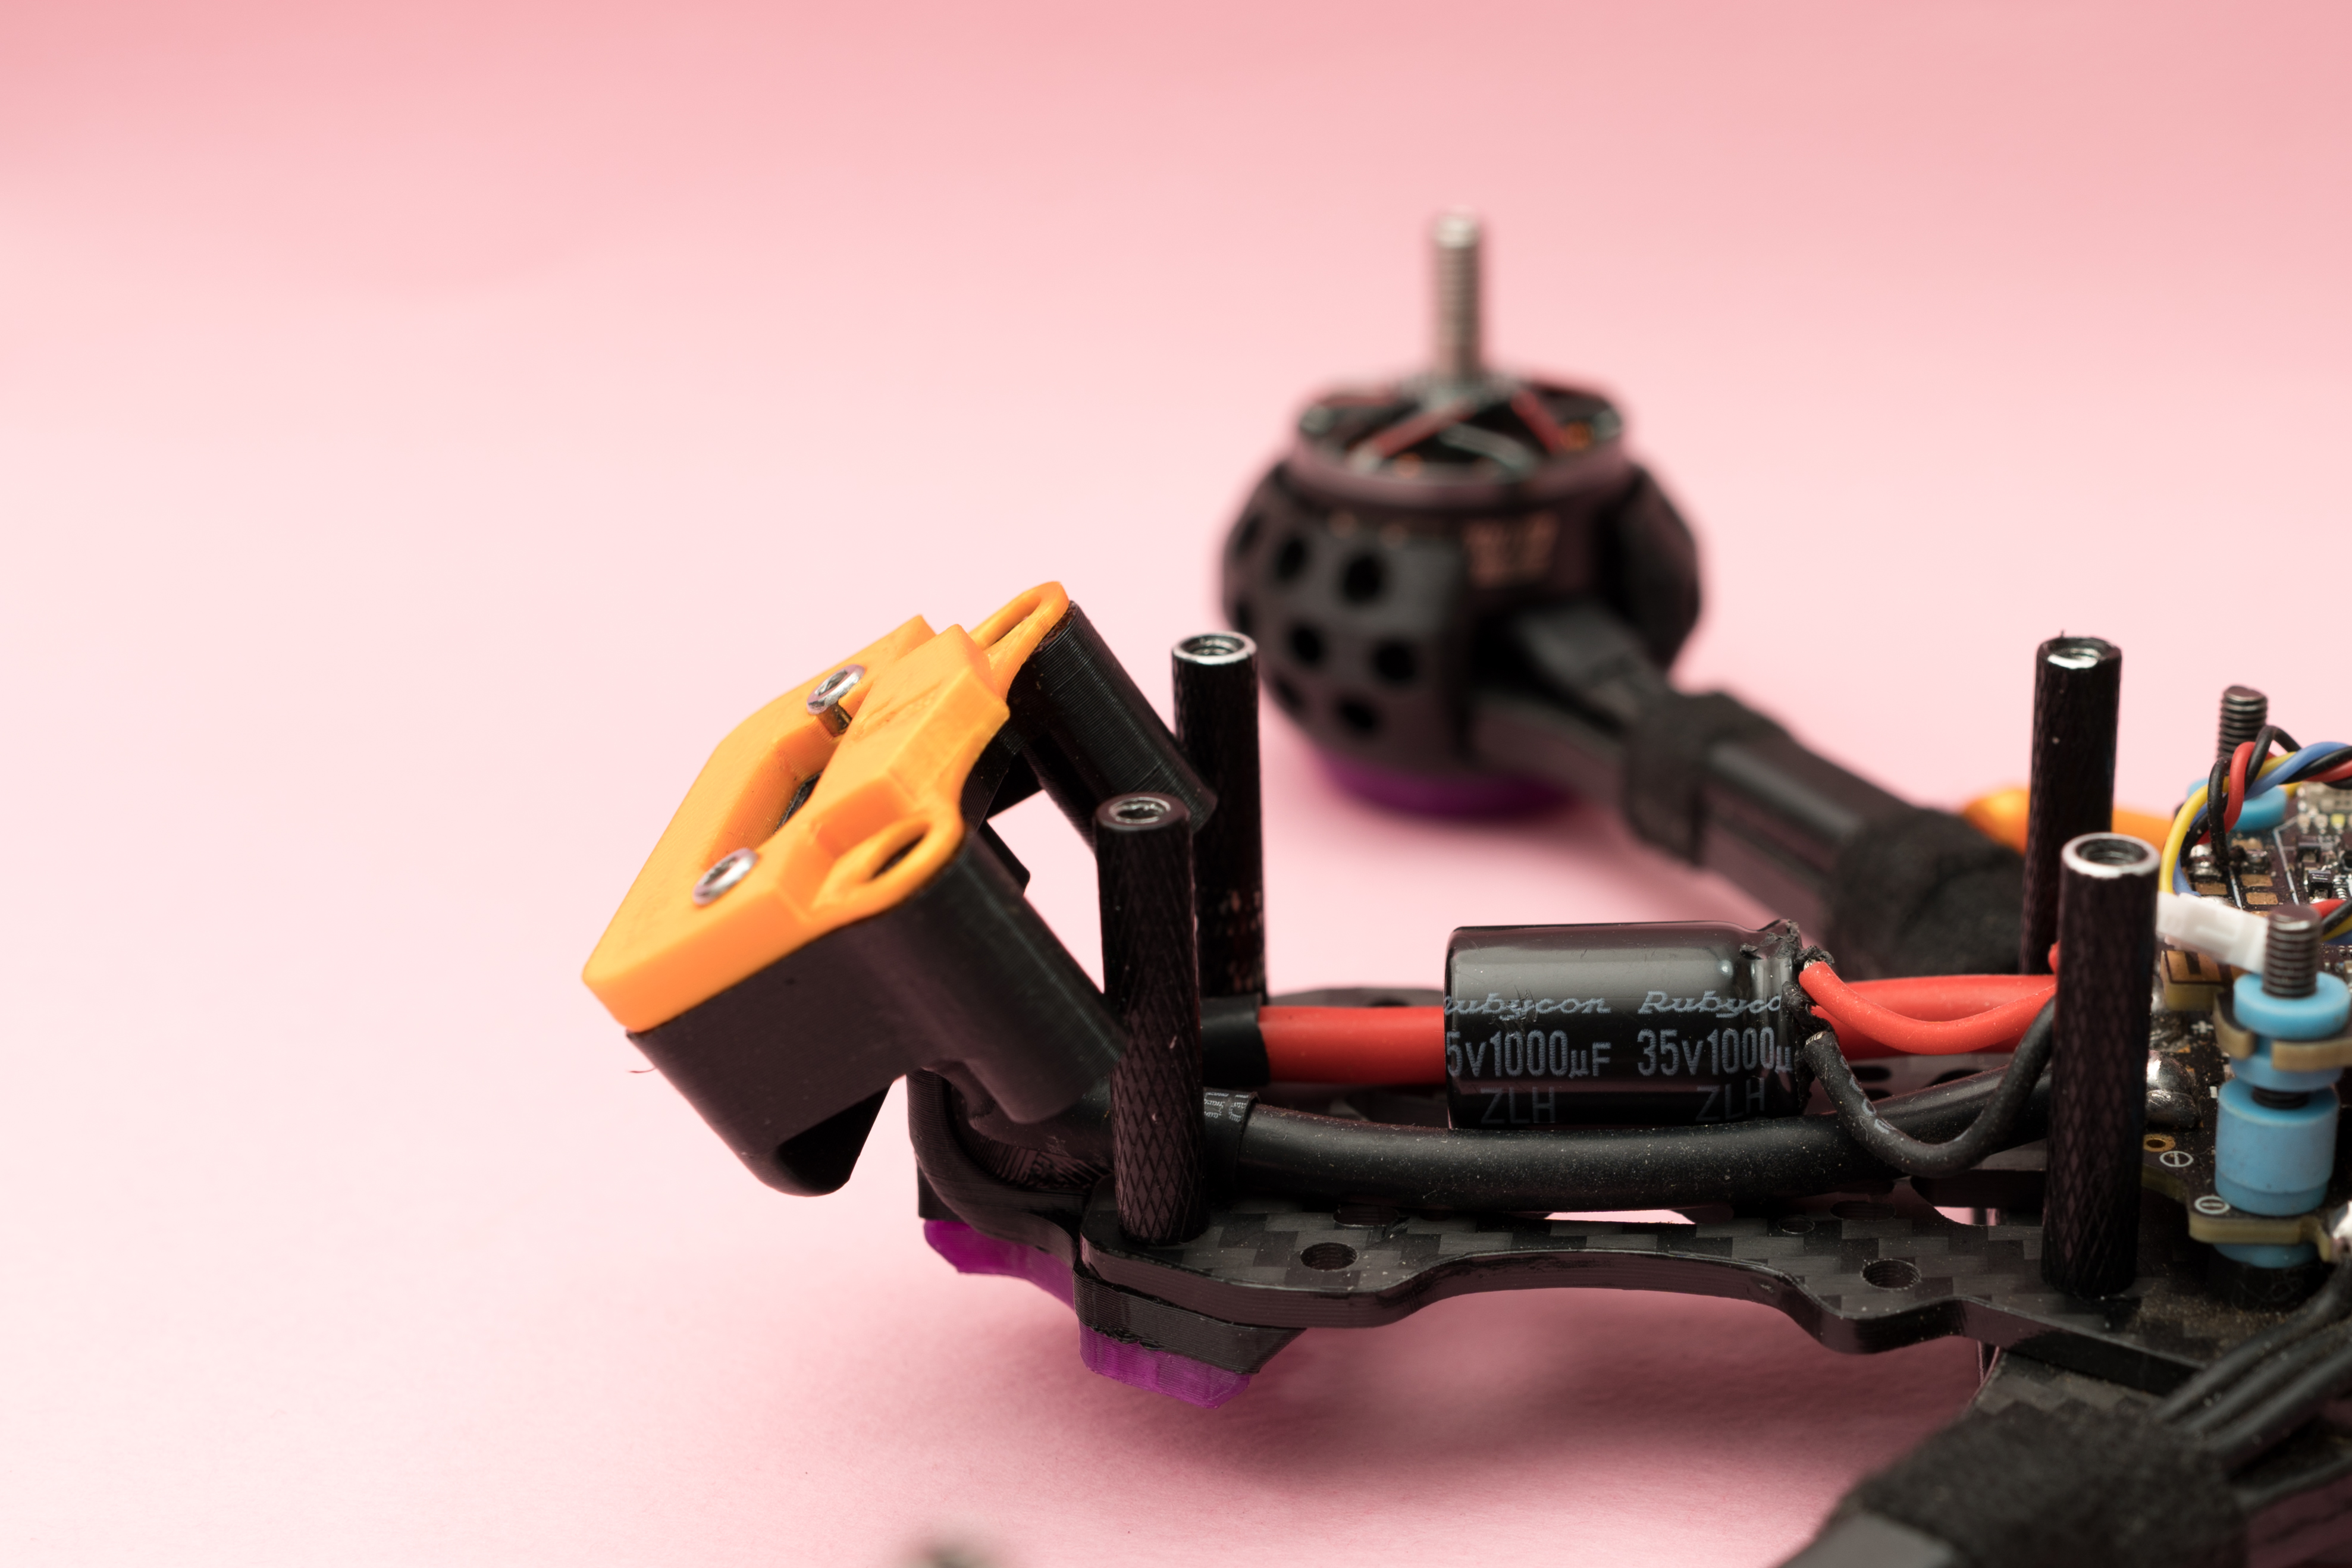
Some of you may have noticed the rounded shape on the bottom of the TPU print.
That section is designed as a mounting space for the capacitor.
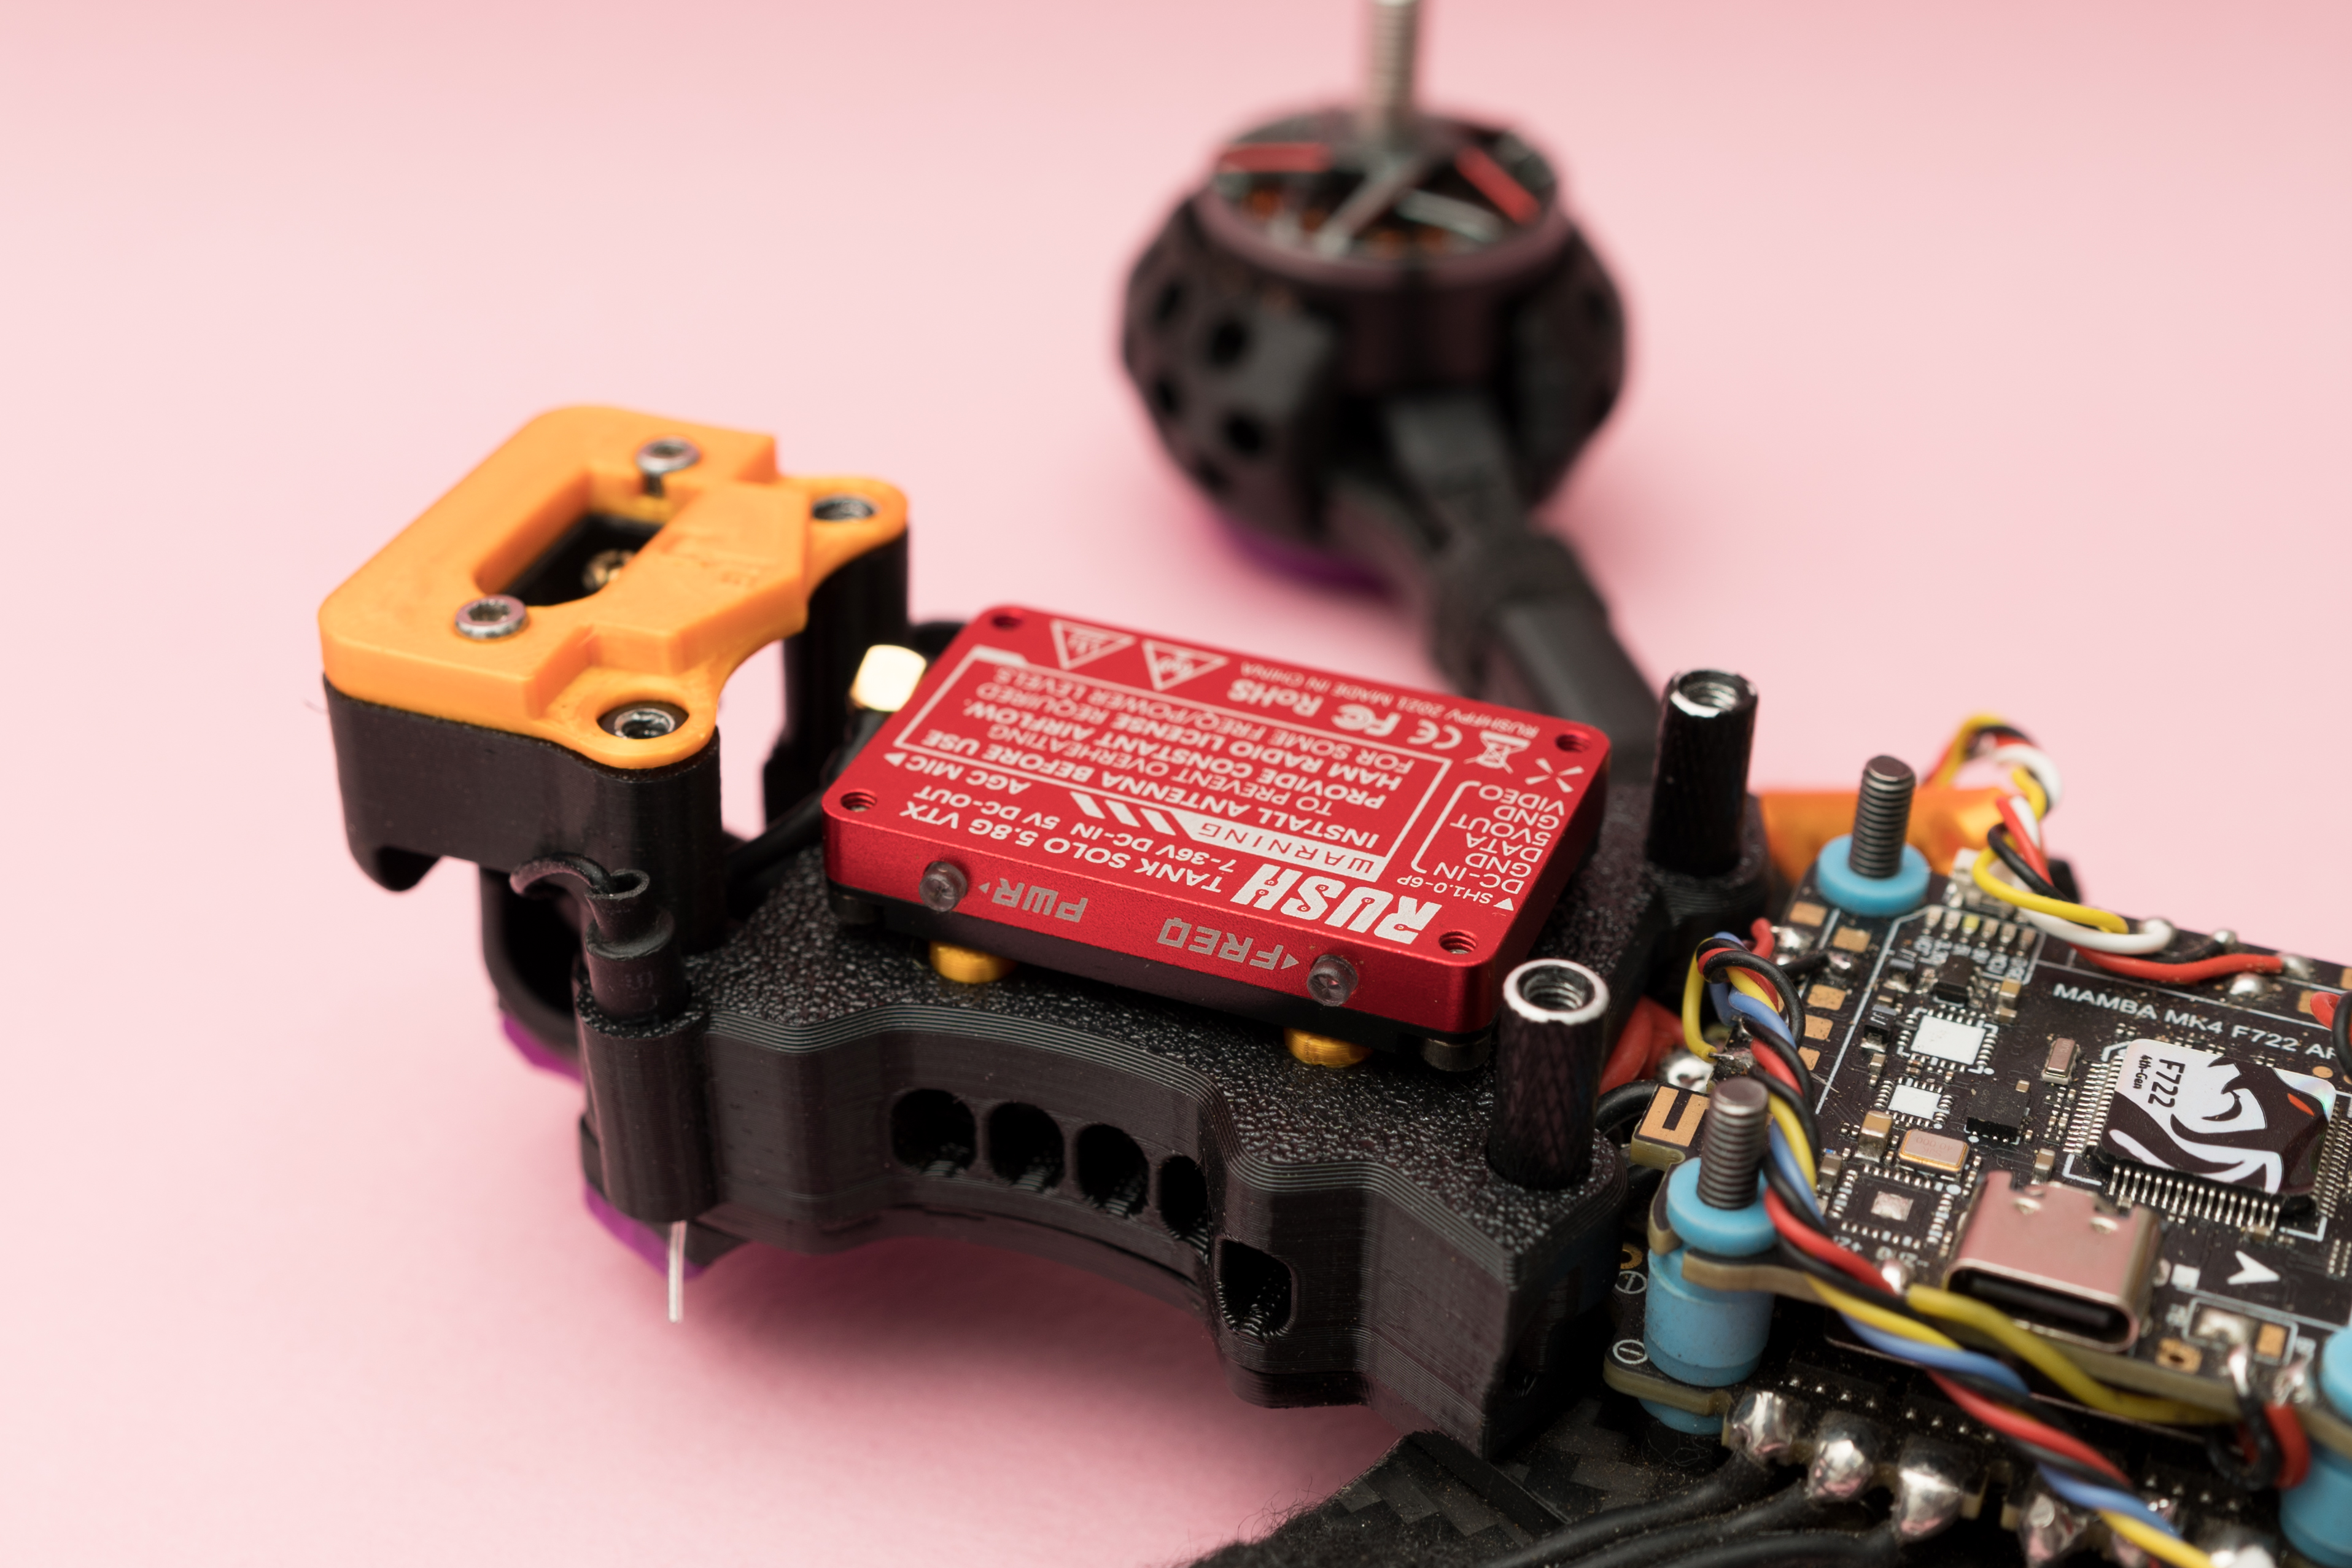
After mounting the TPU print onto the standoffs, install the battery connection part.
The battery connection part is already included in the original O3 print set.

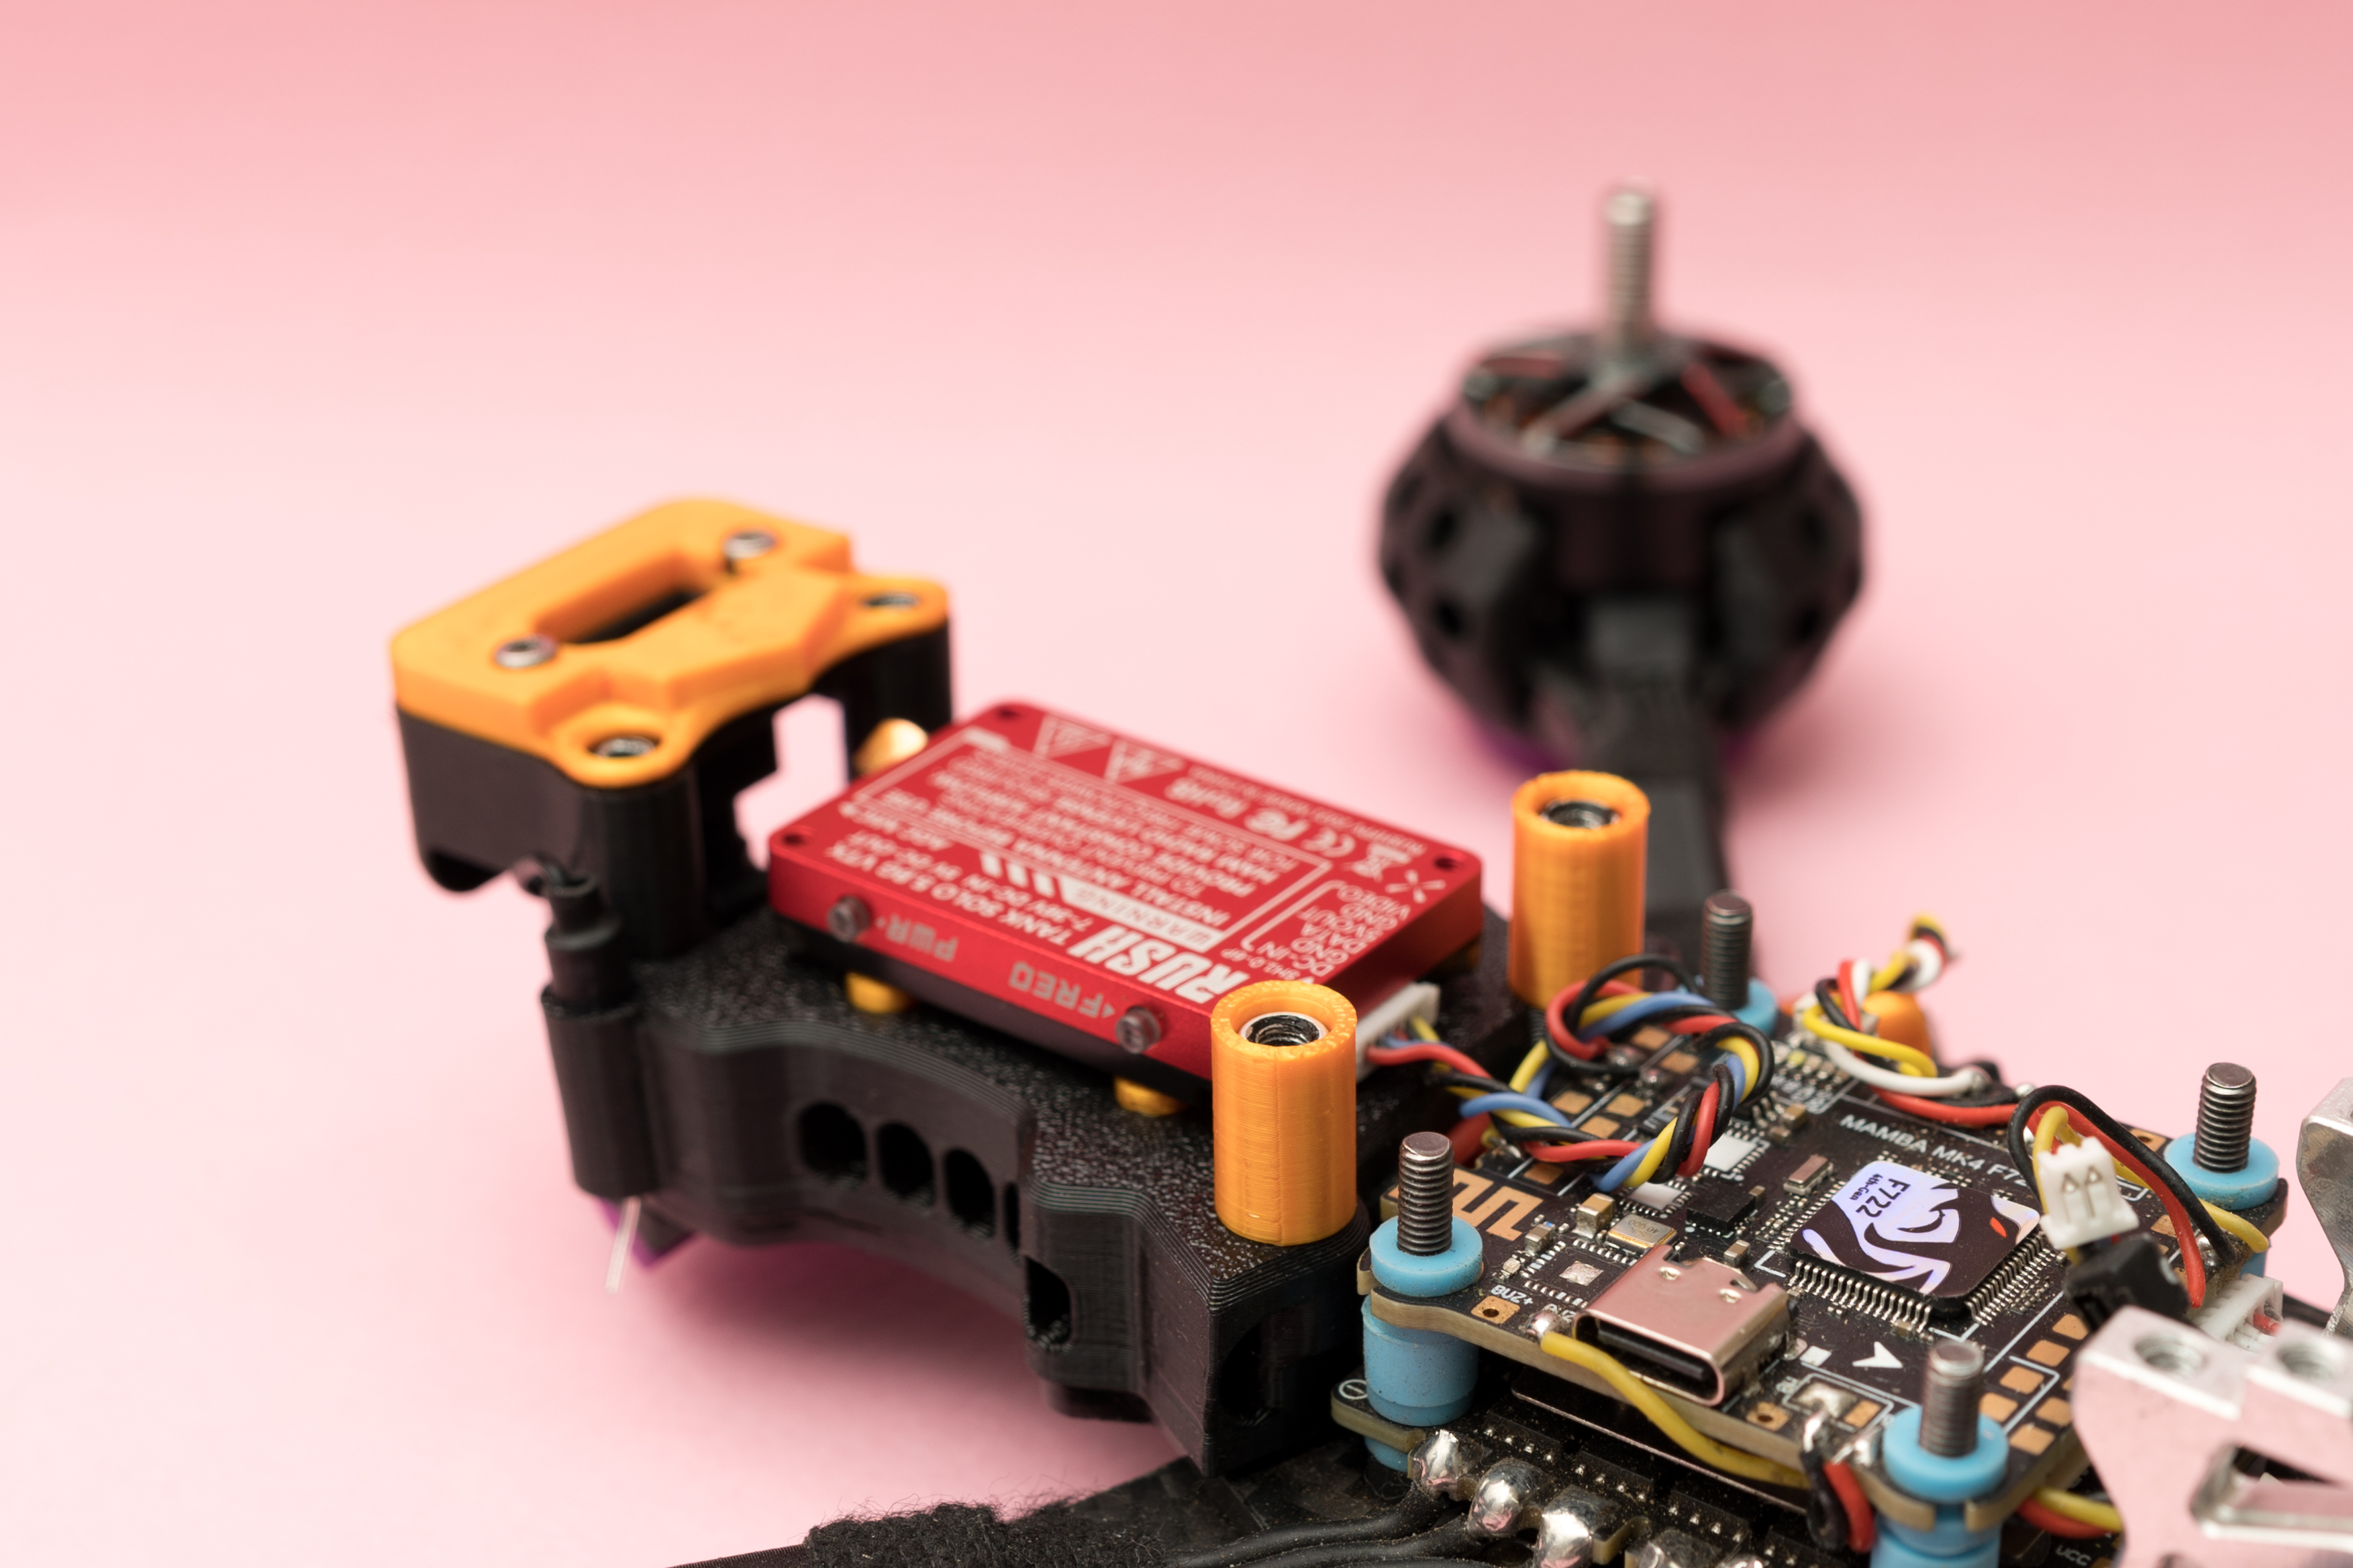
Next, insert the two round cylindrical printed parts onto the standoffs.
These parts allow the carbon top plate to press down on the TPU print, ensuring a secure and stable fit.
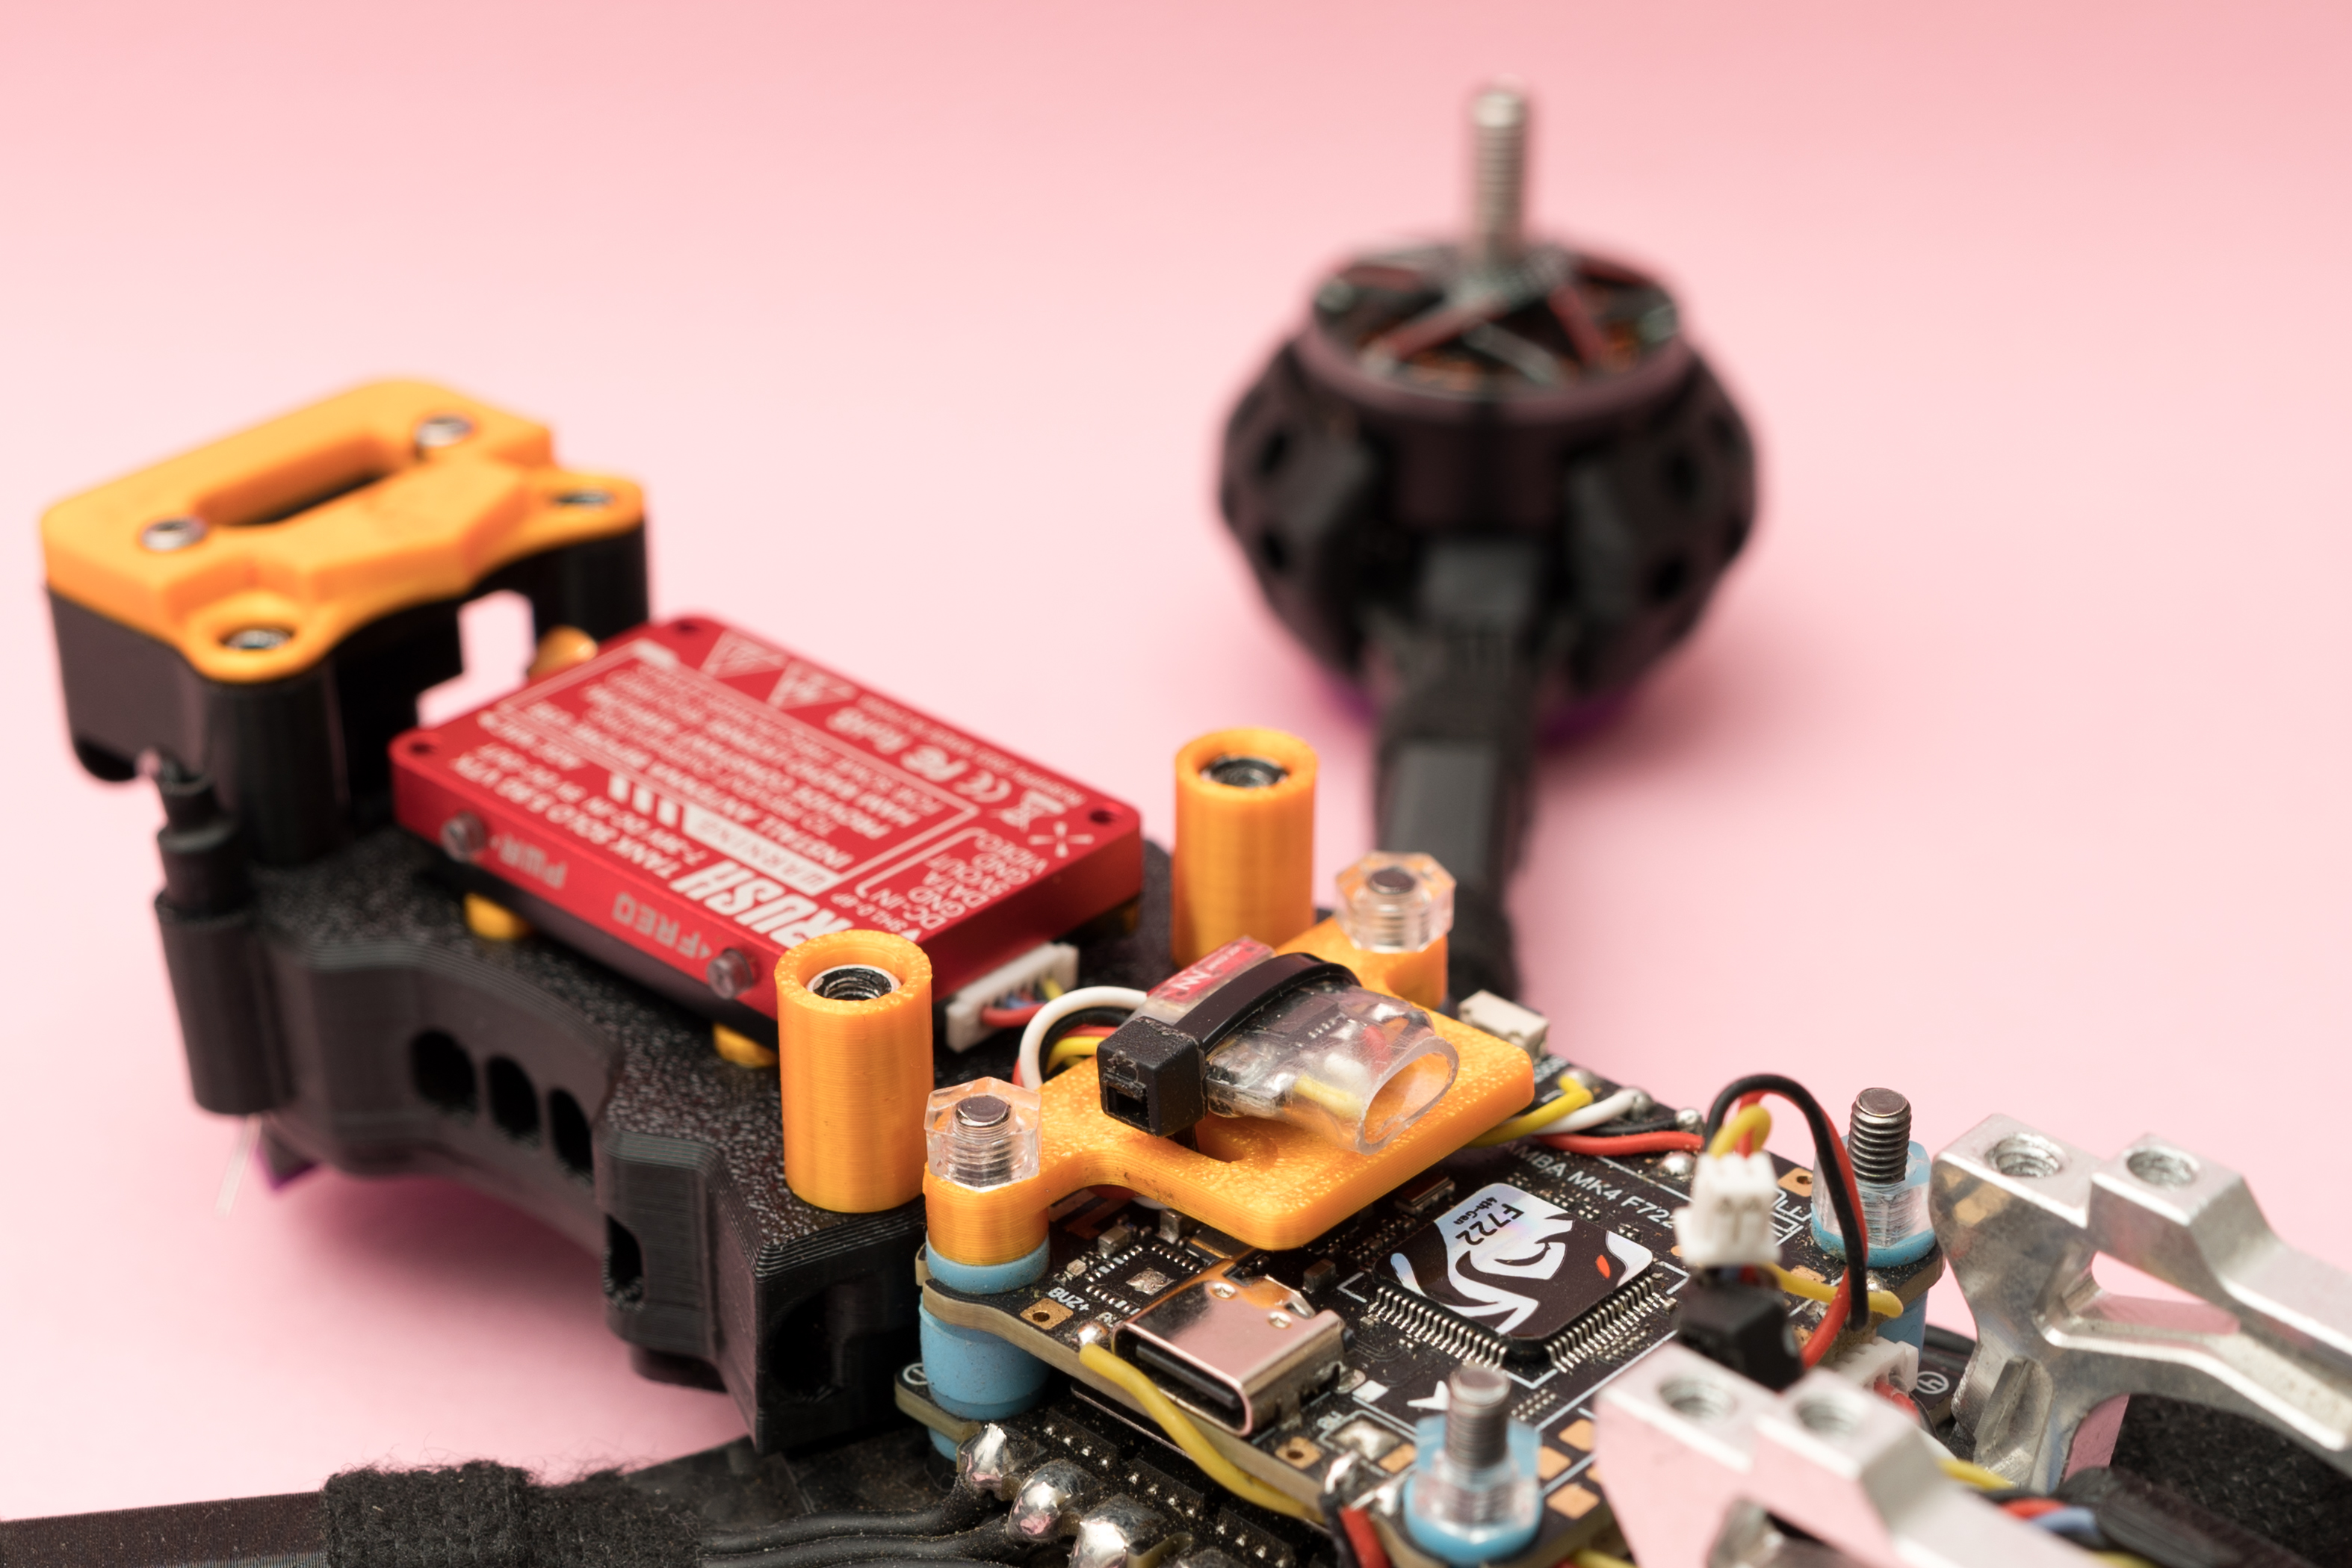
Finally, install the receiver plate included in the O3 print set.
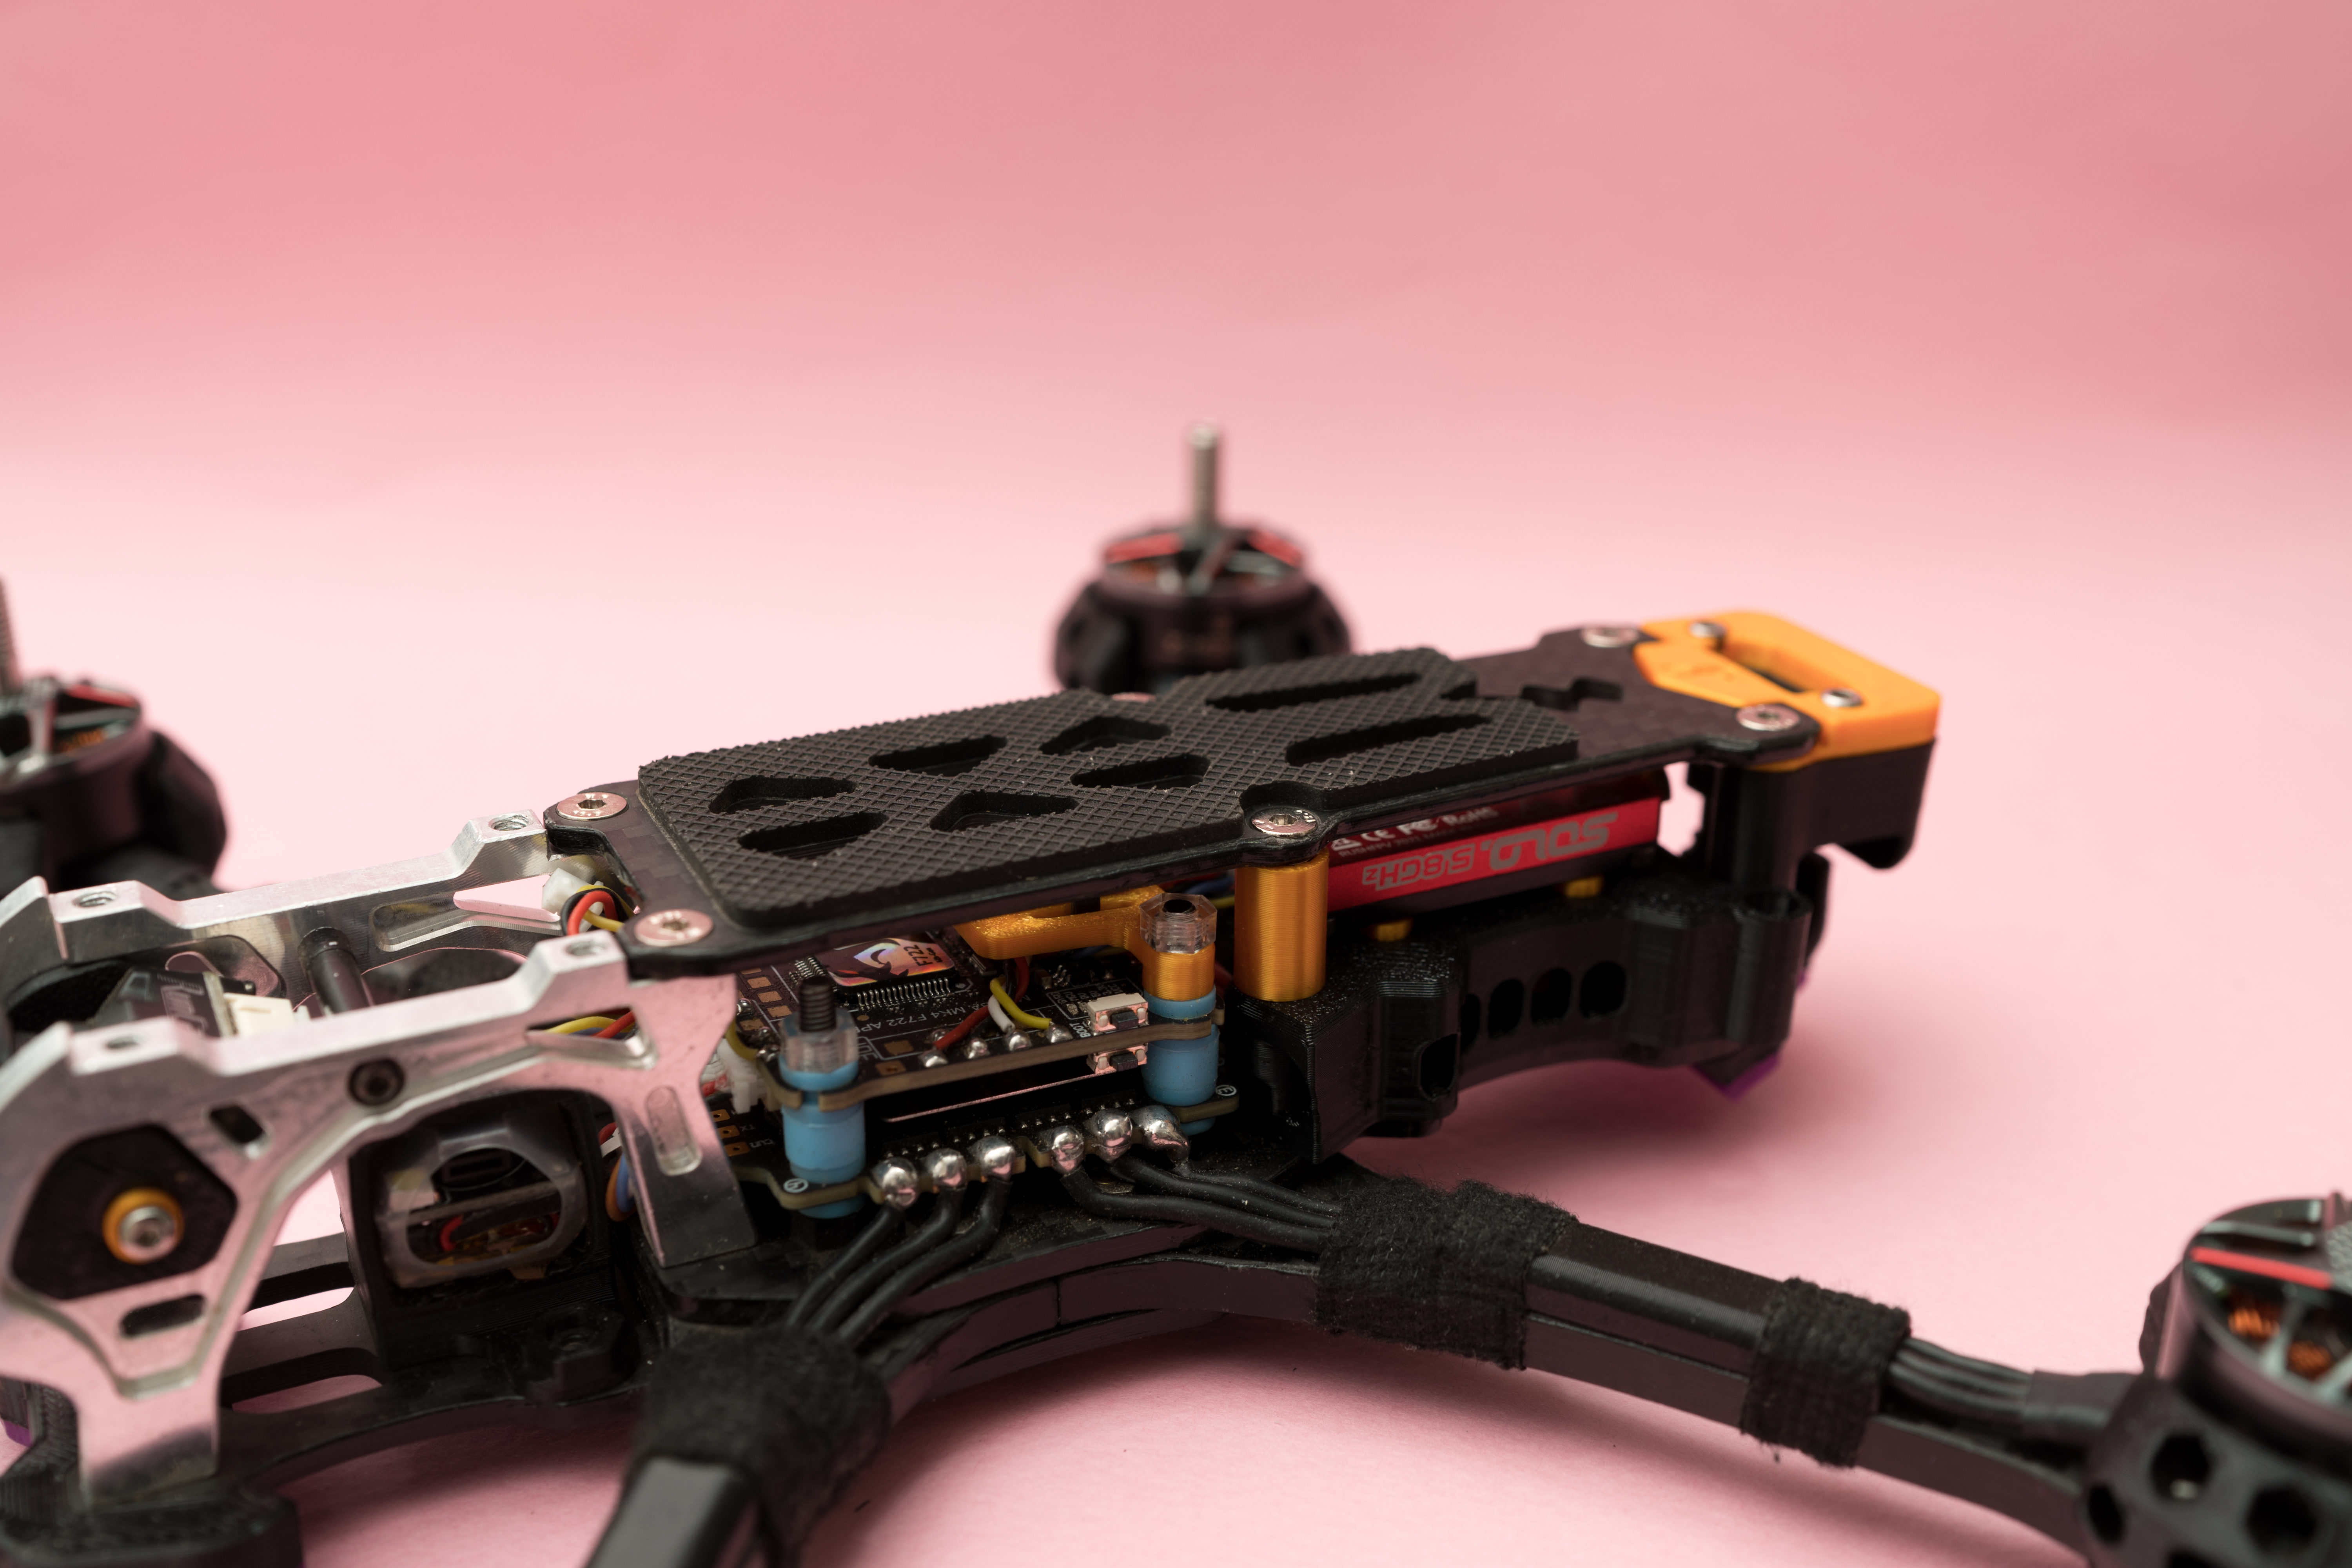
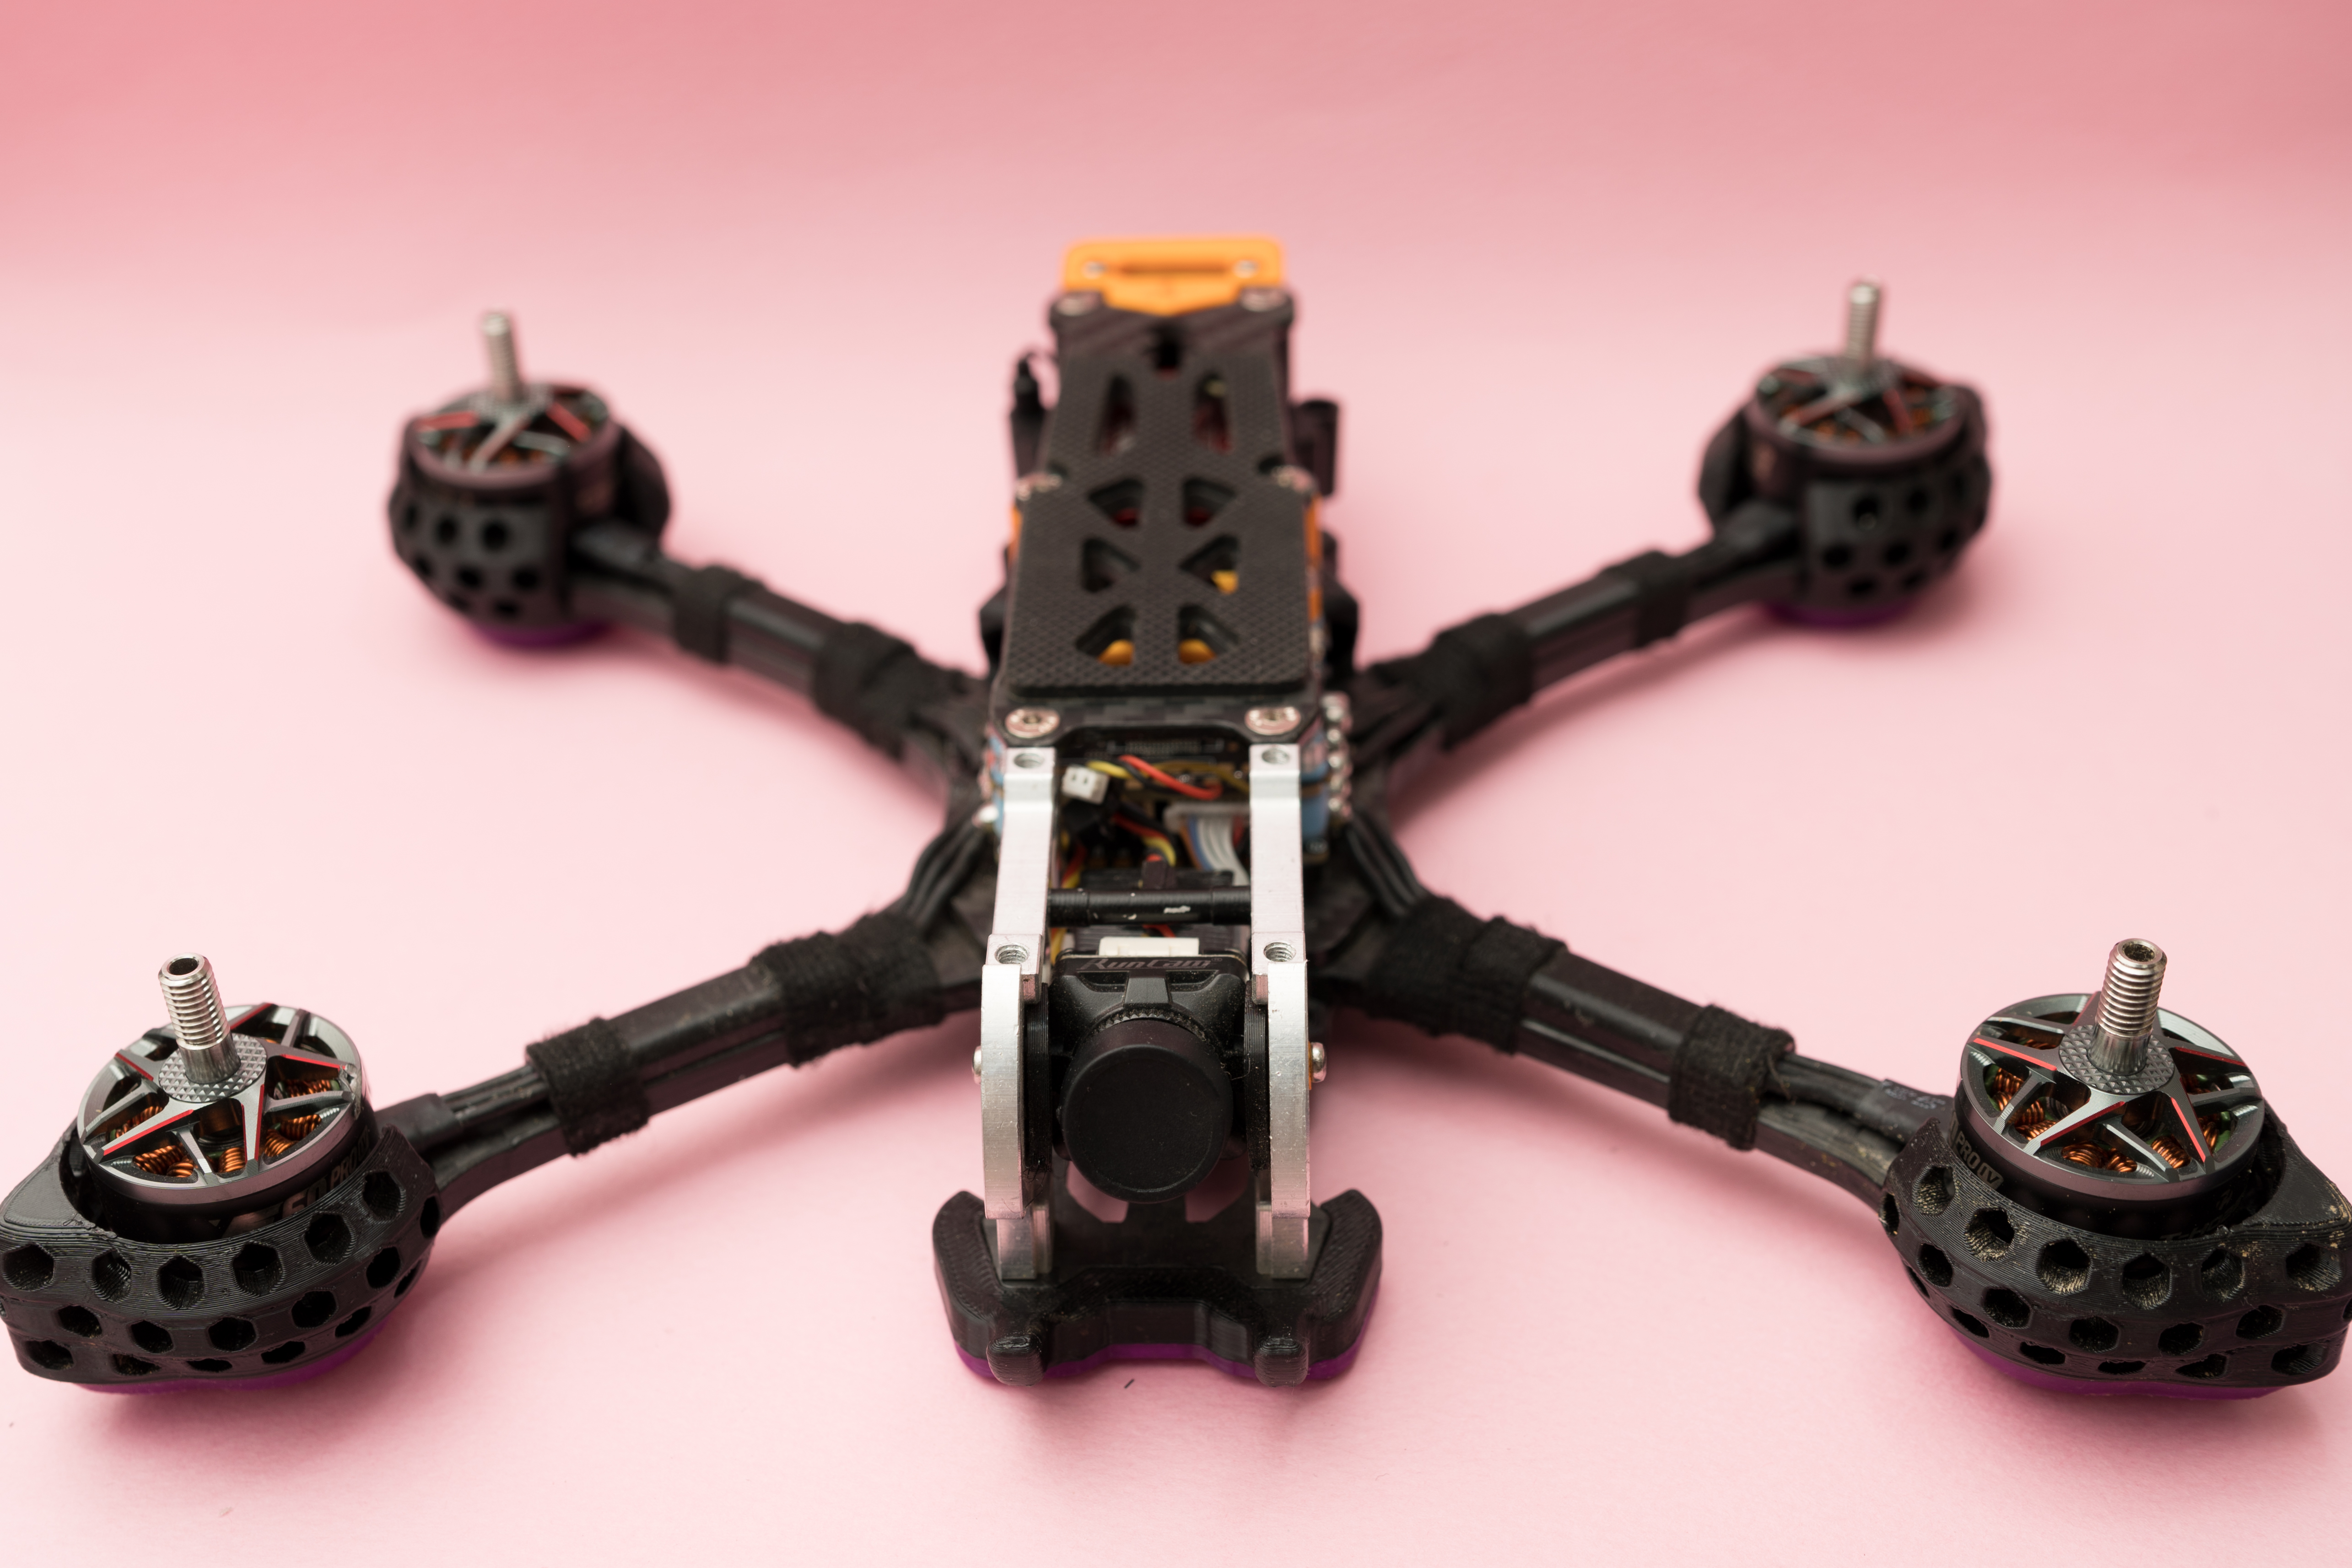
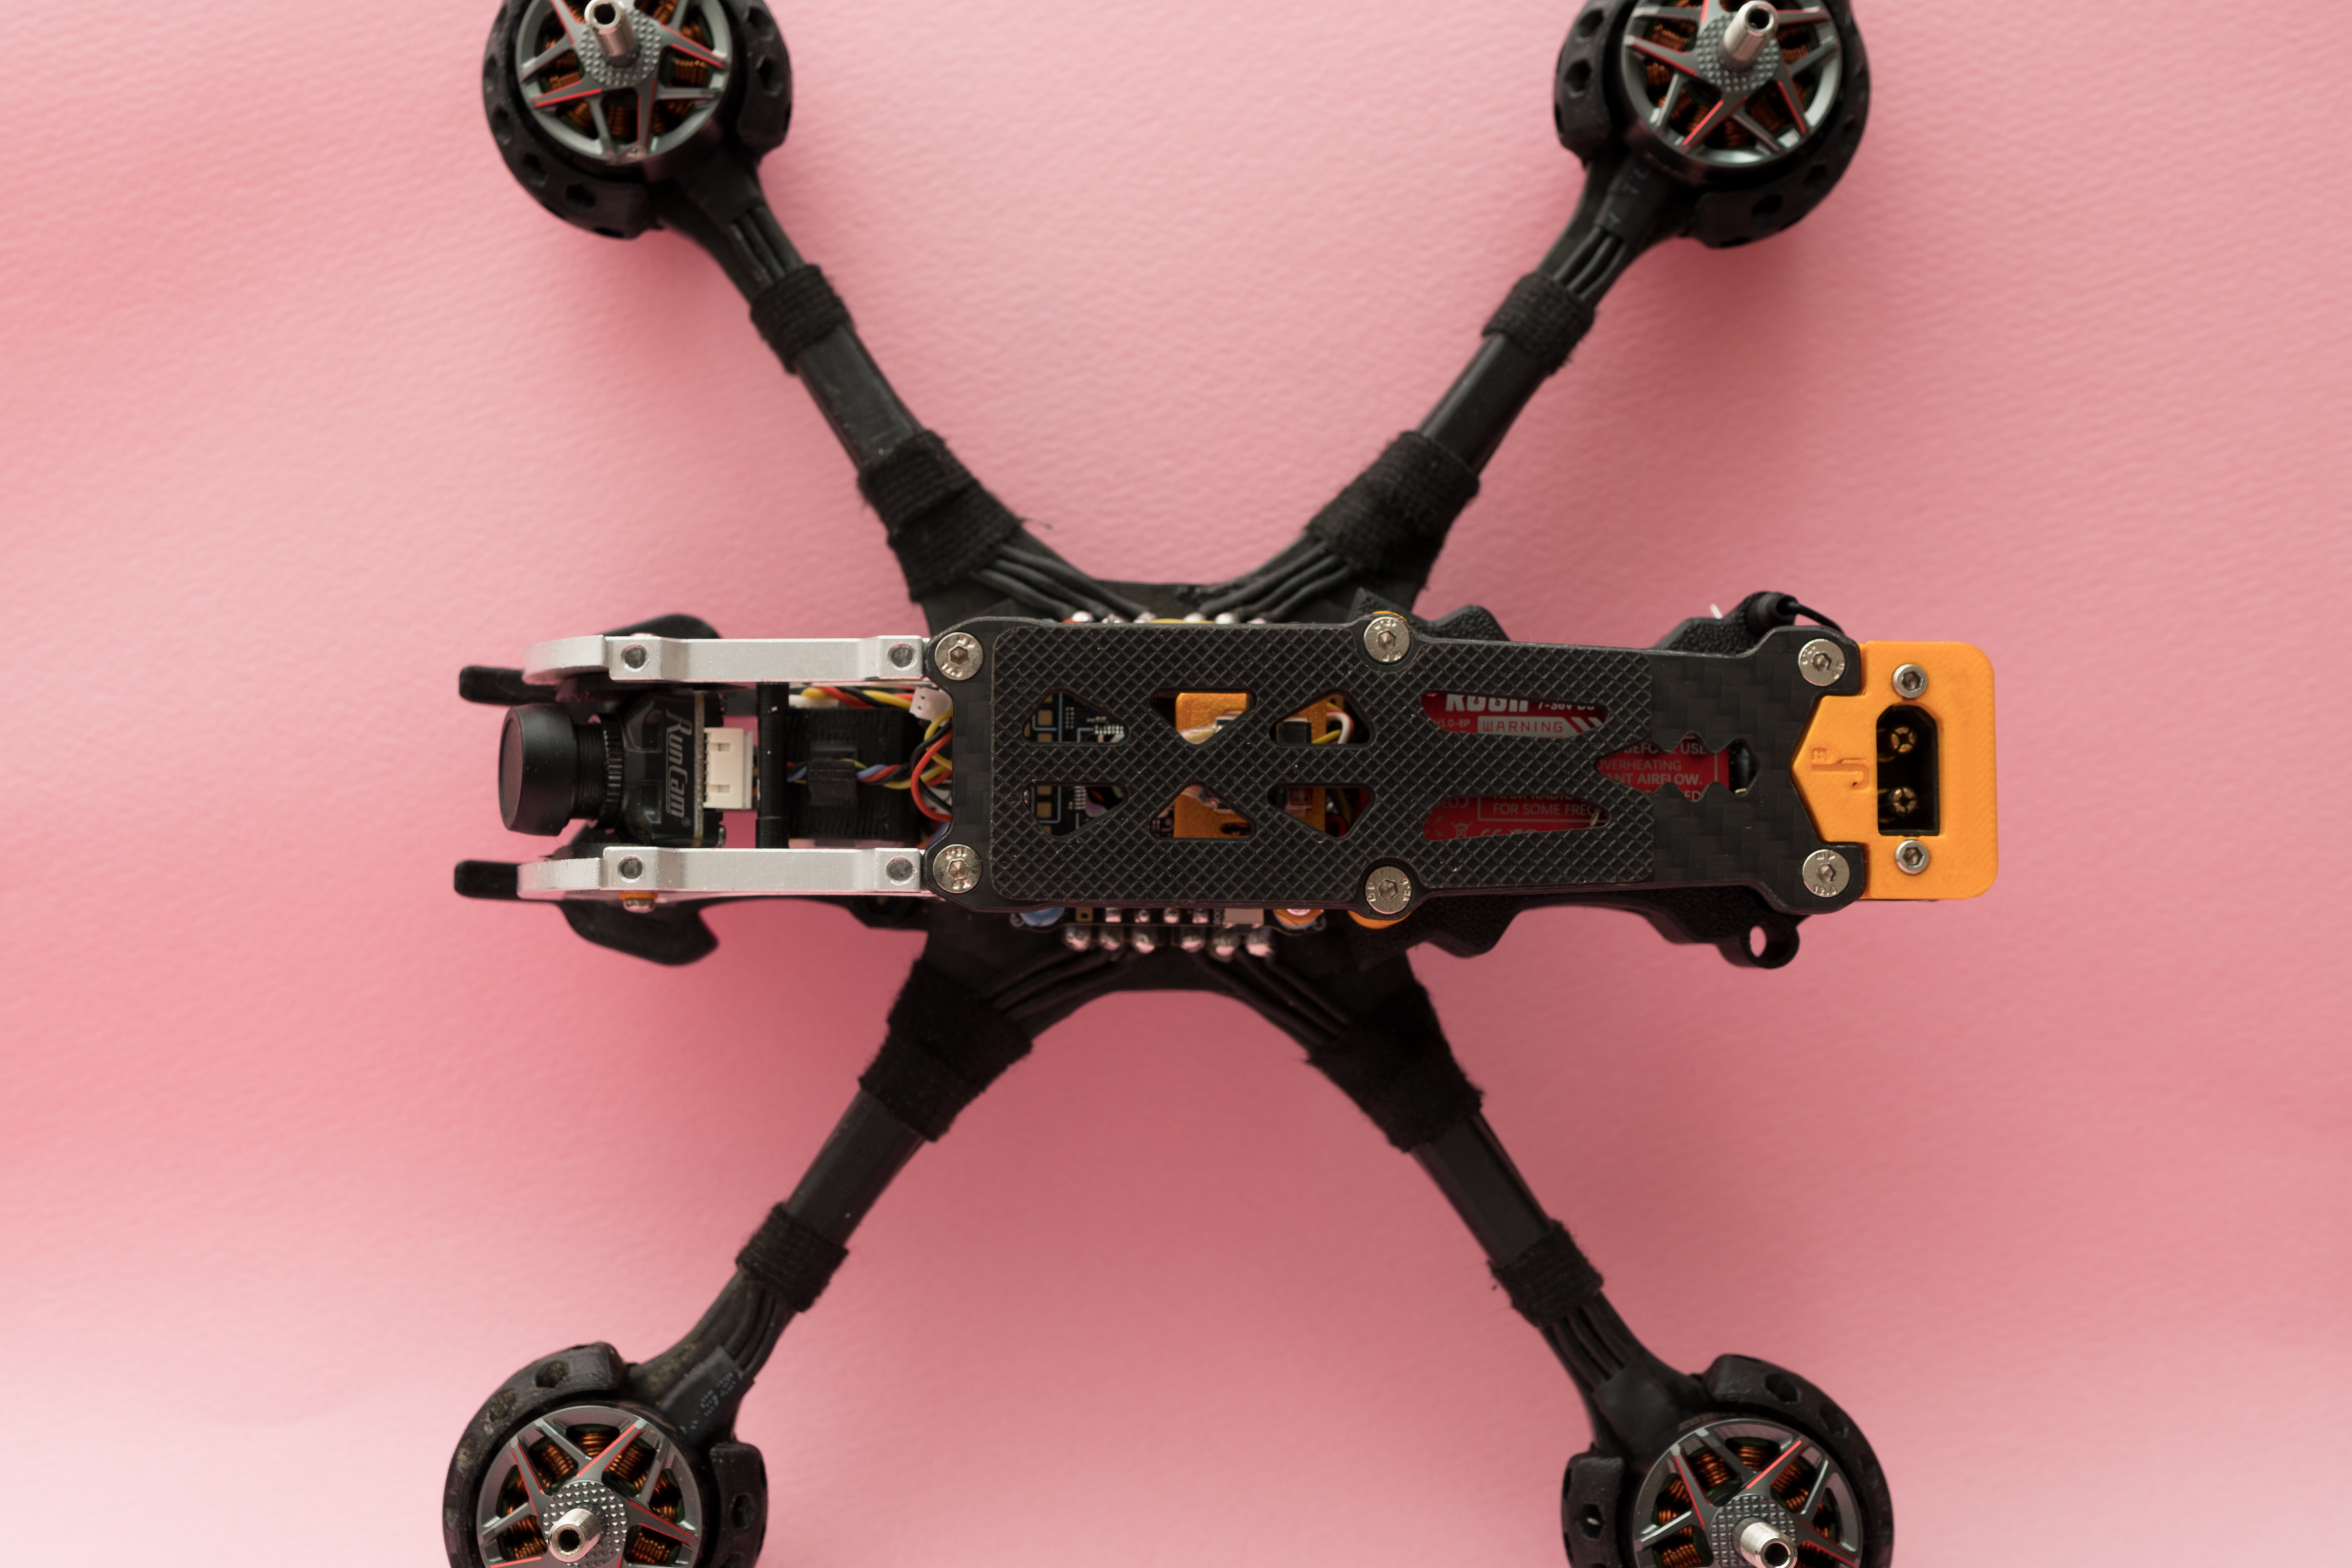
Finally, place the carbon top plate back on to complete the analog conversion.
I recently purchased a DJI Action 2 second-hand, and I’m planning to design a dedicated Action 2 mount for flight footage soon.
(Although there are already many models available, I’d like to create my own version.)
If you like my model, please consider giving it a Like, Collection, Comment, and Boost Ticket.

Gostou deste modelo? Crie uma conta grátis para salvar seus favoritos e voltar a eles depois.
Criar conta