Você está no 3DFinder
Buscamos em Thingiverse, MakerWorld e Printables ao mesmo tempo para te dar o melhor de cada uma.
Descrição
Folding parametric armrest table
Add a stable, high-quality surface to your sofa or armchair with this hybrid 3D-printed and wooden desk. It’s designed to be sturdy enough for snacks, remotes, or a laptop, while maintaining a clean look.
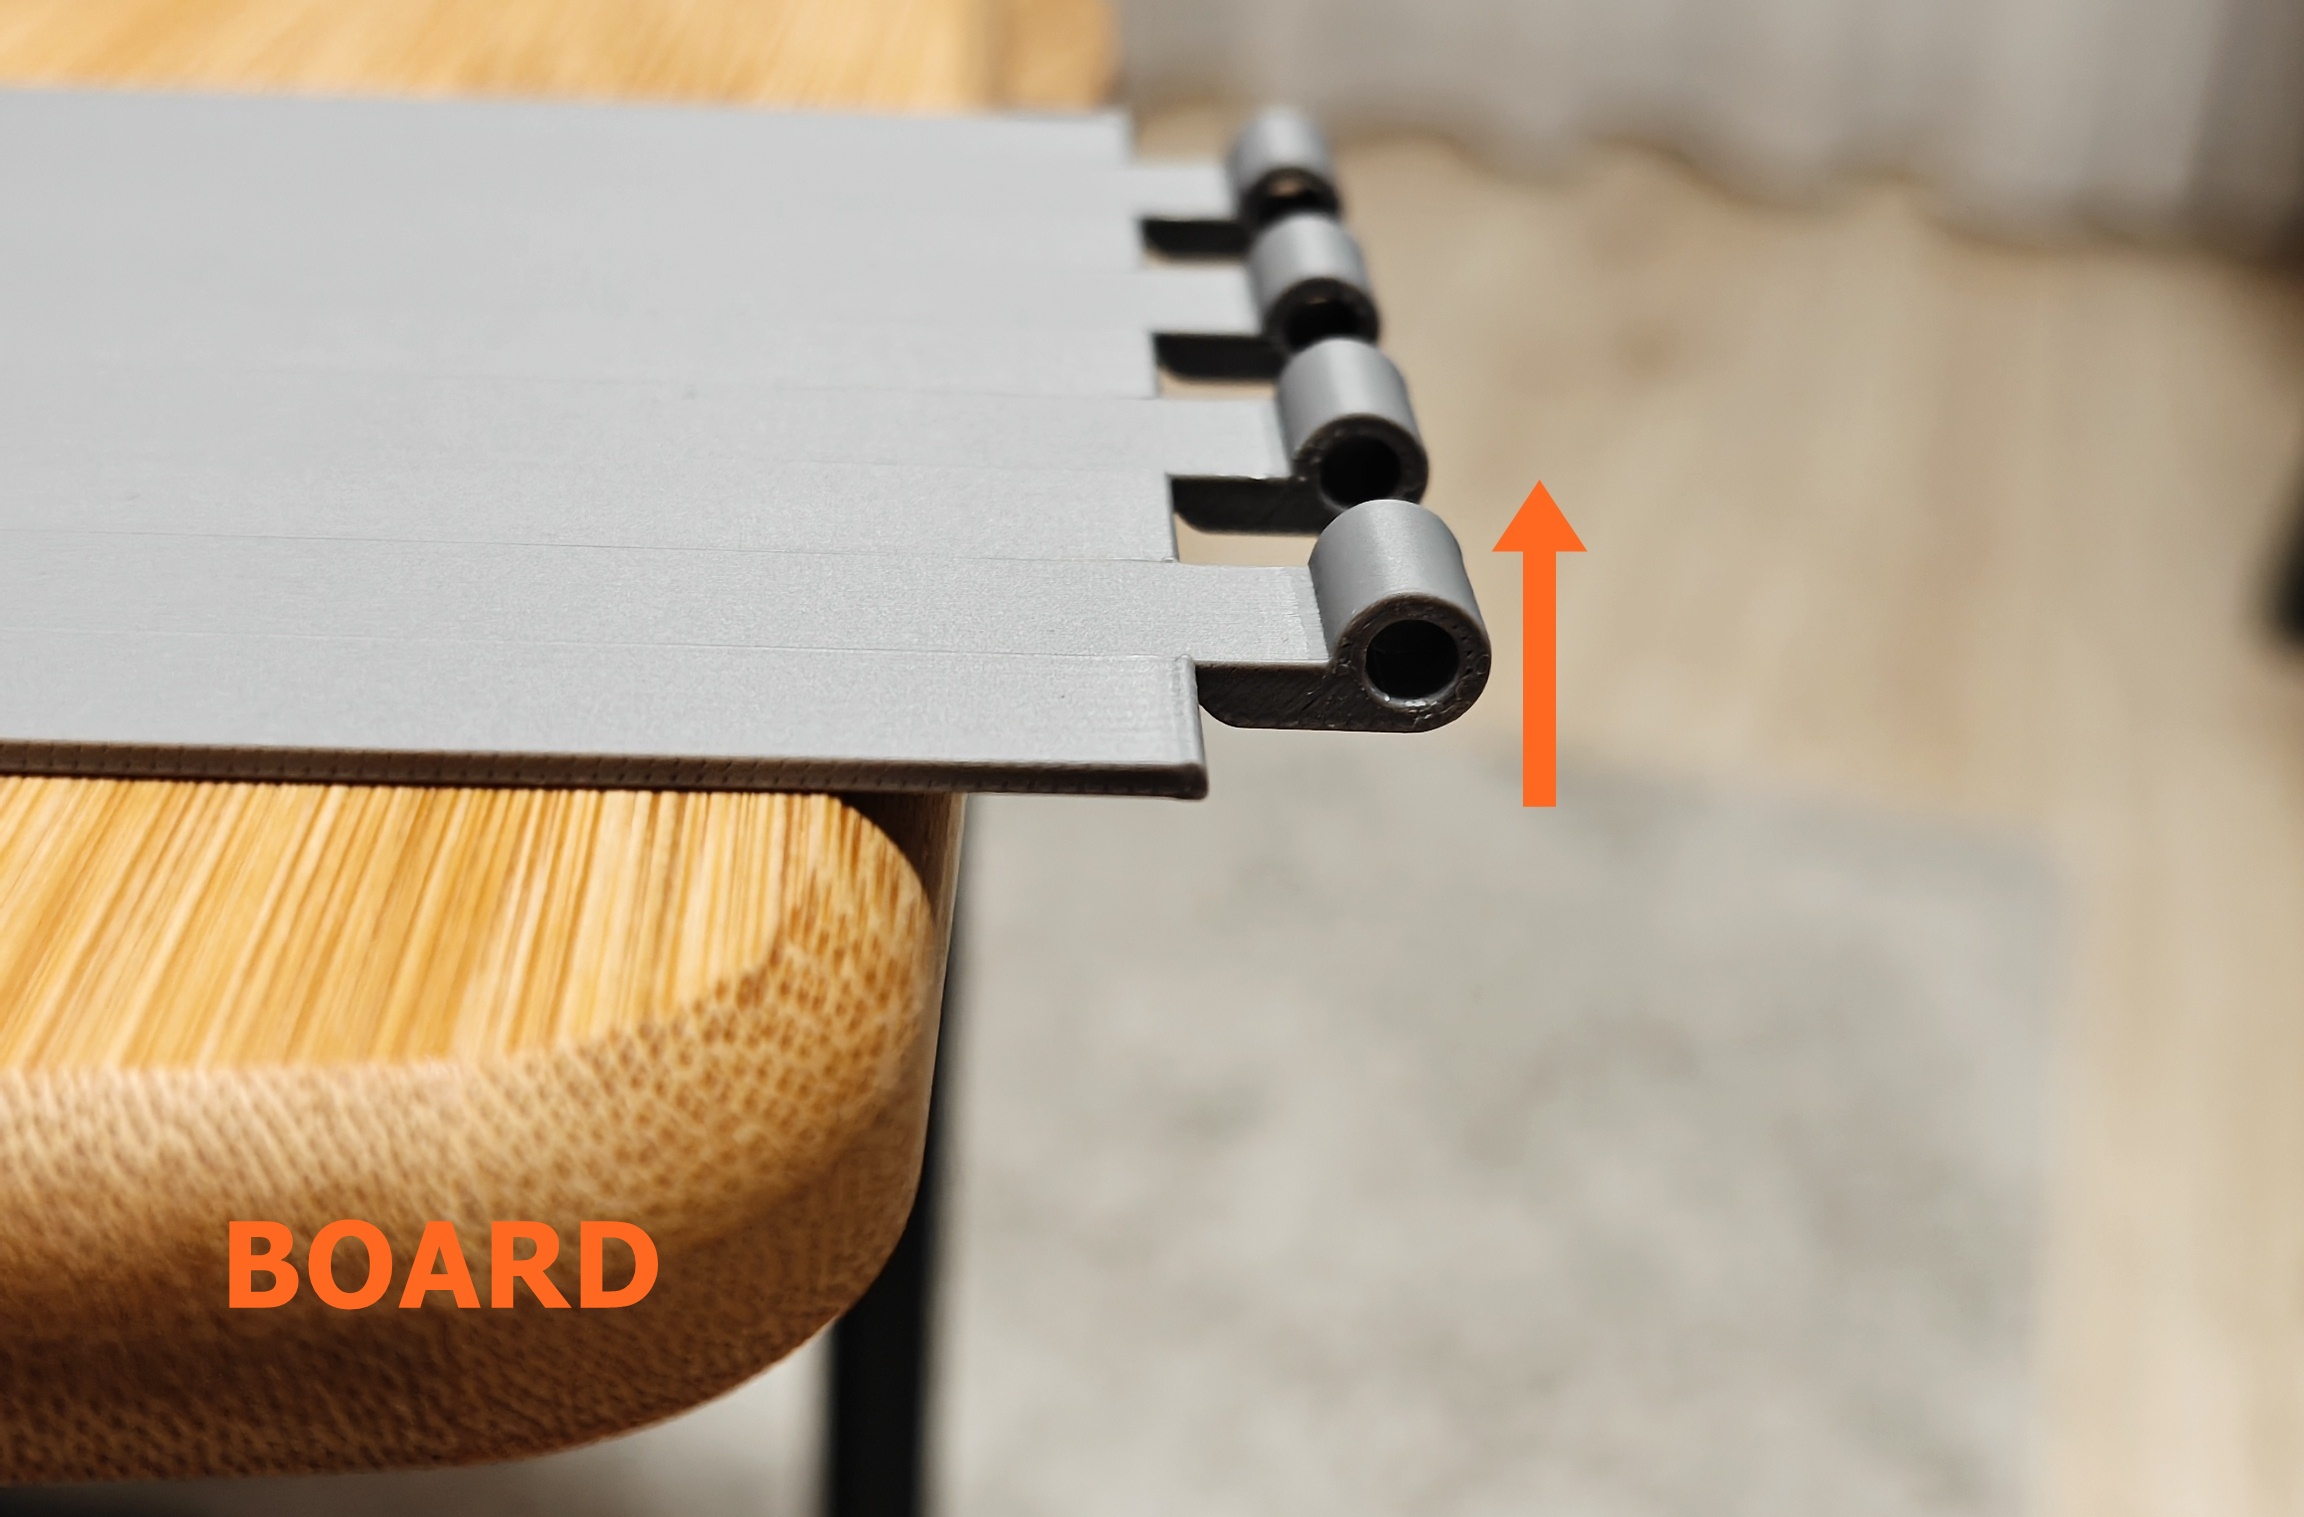
Why the hinge?
The best part of this design is that you don’t have to remove it when you’re done. The integrated hinge allows you to flip the wooden board 270 degrees to the side. This leaves the armrest flat and comfortable for your arm, while the table stays attached and ready for whenever you need it next.
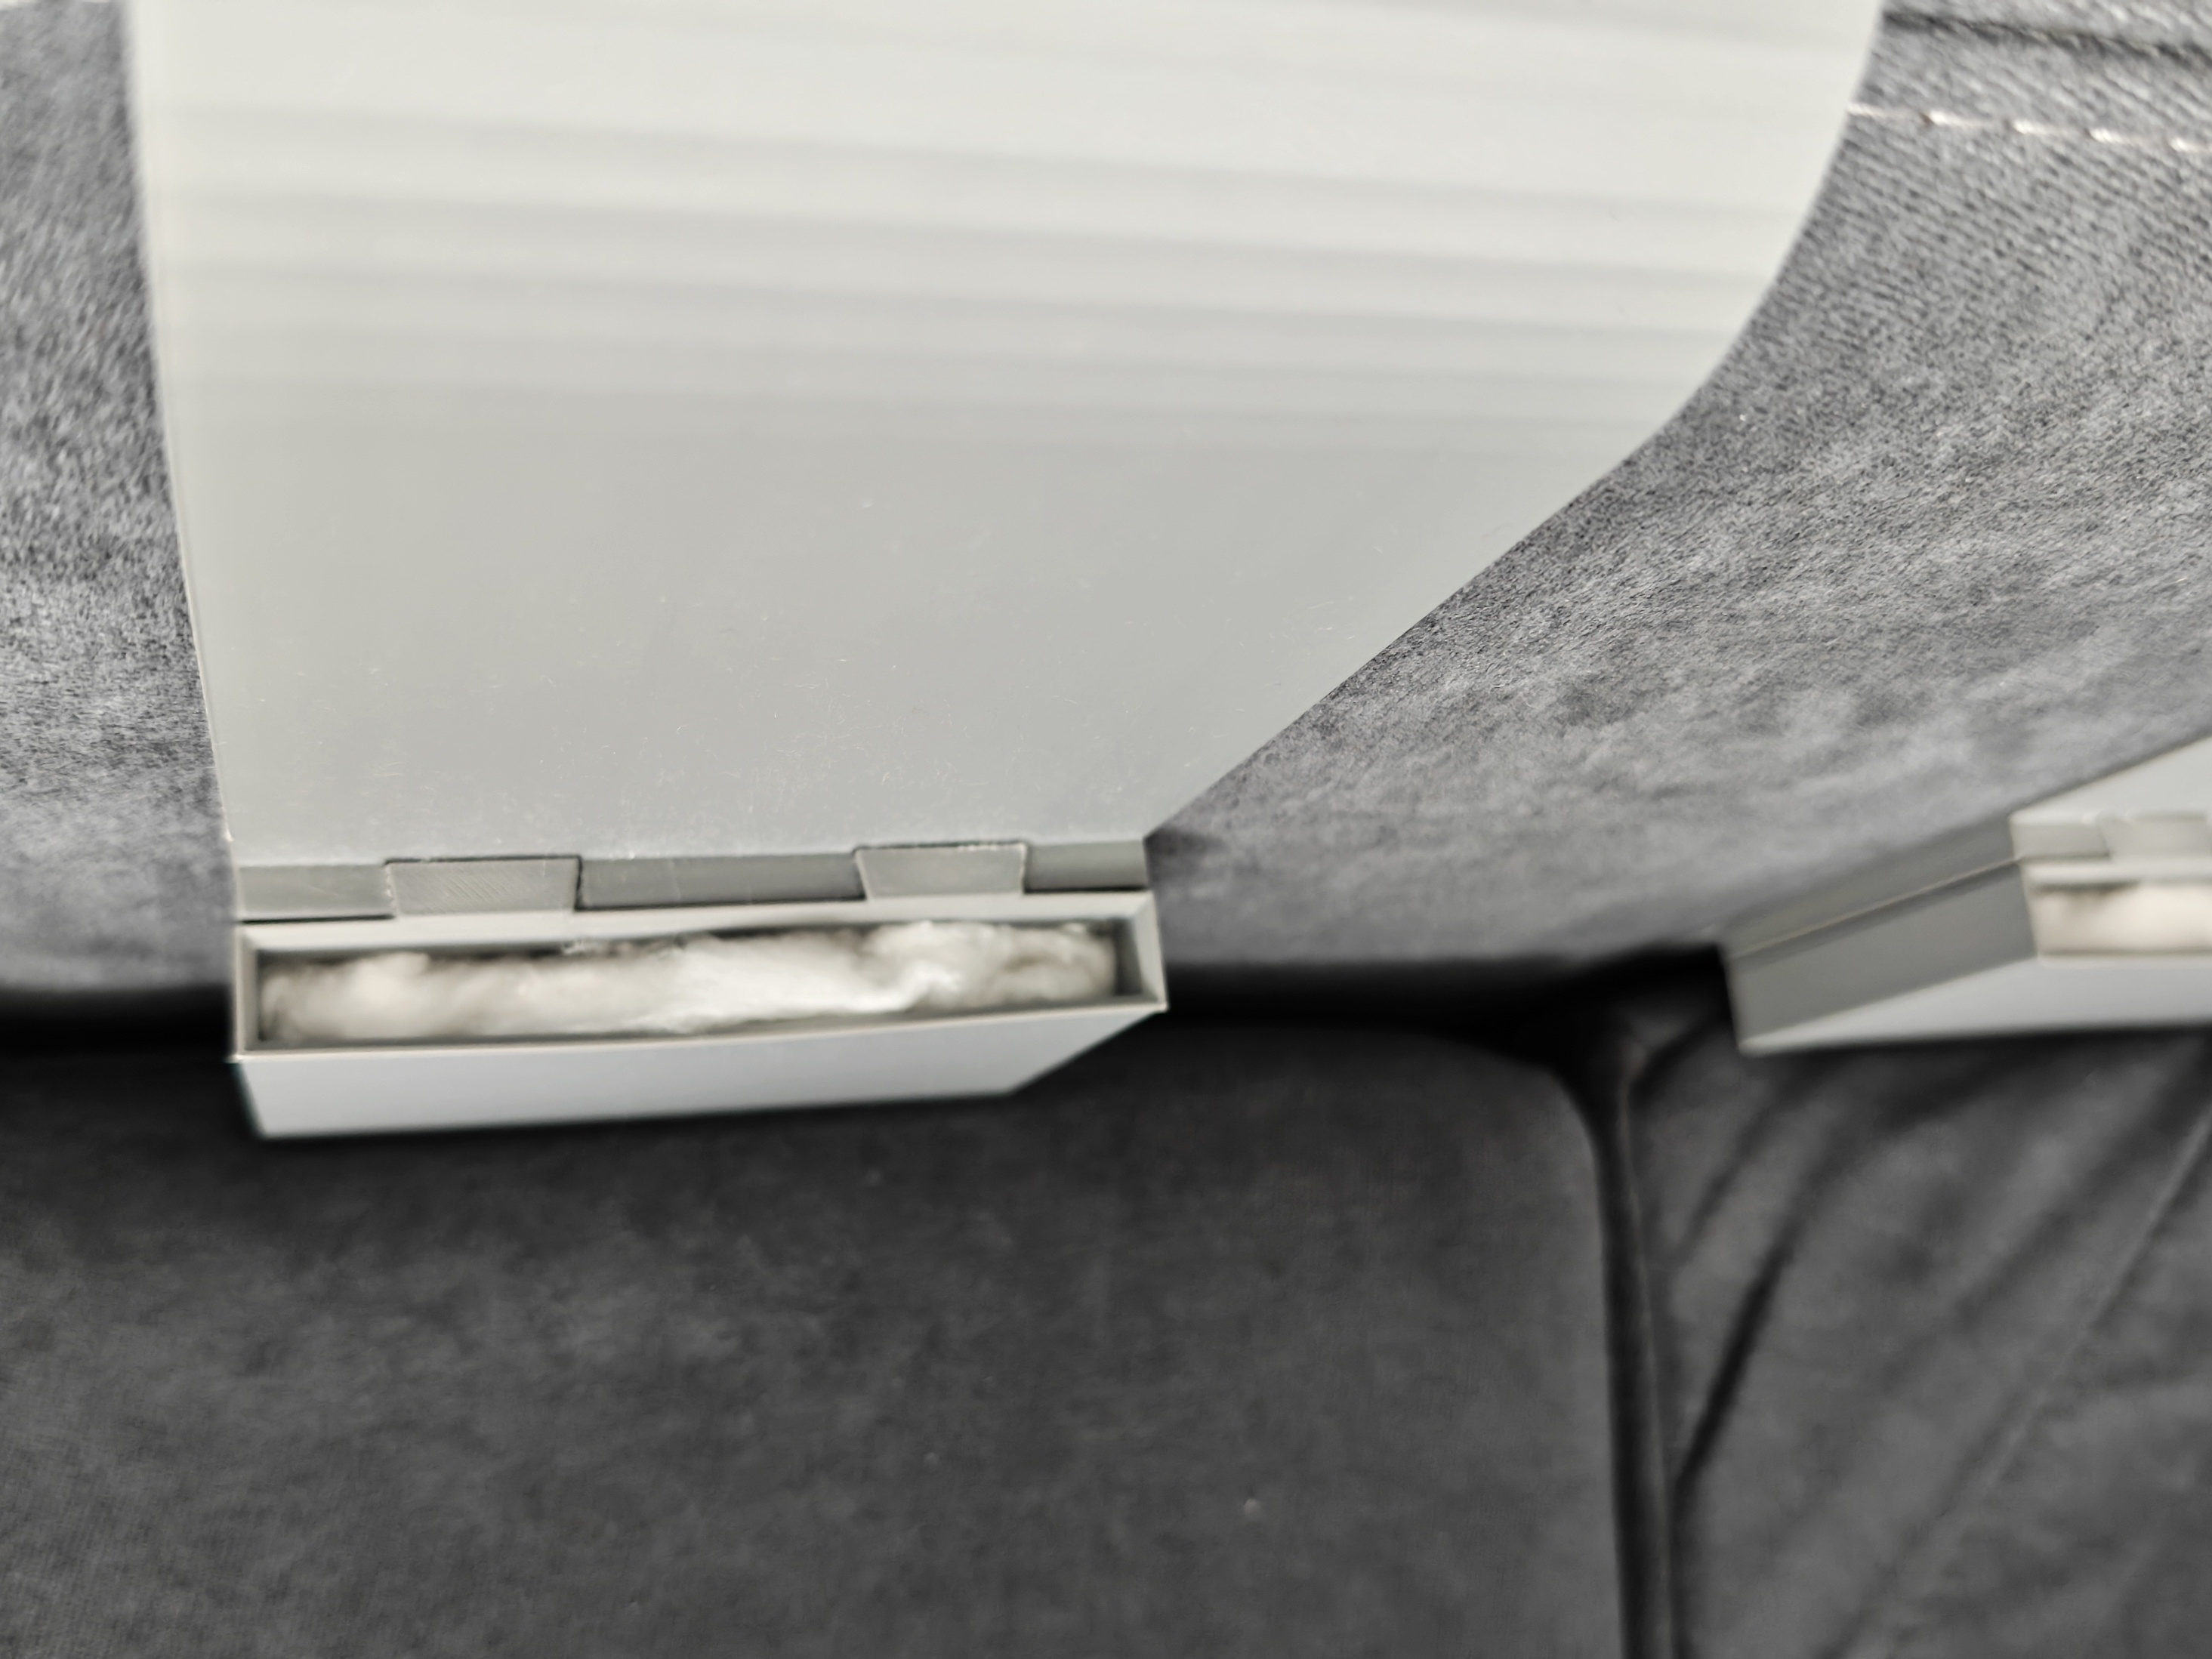
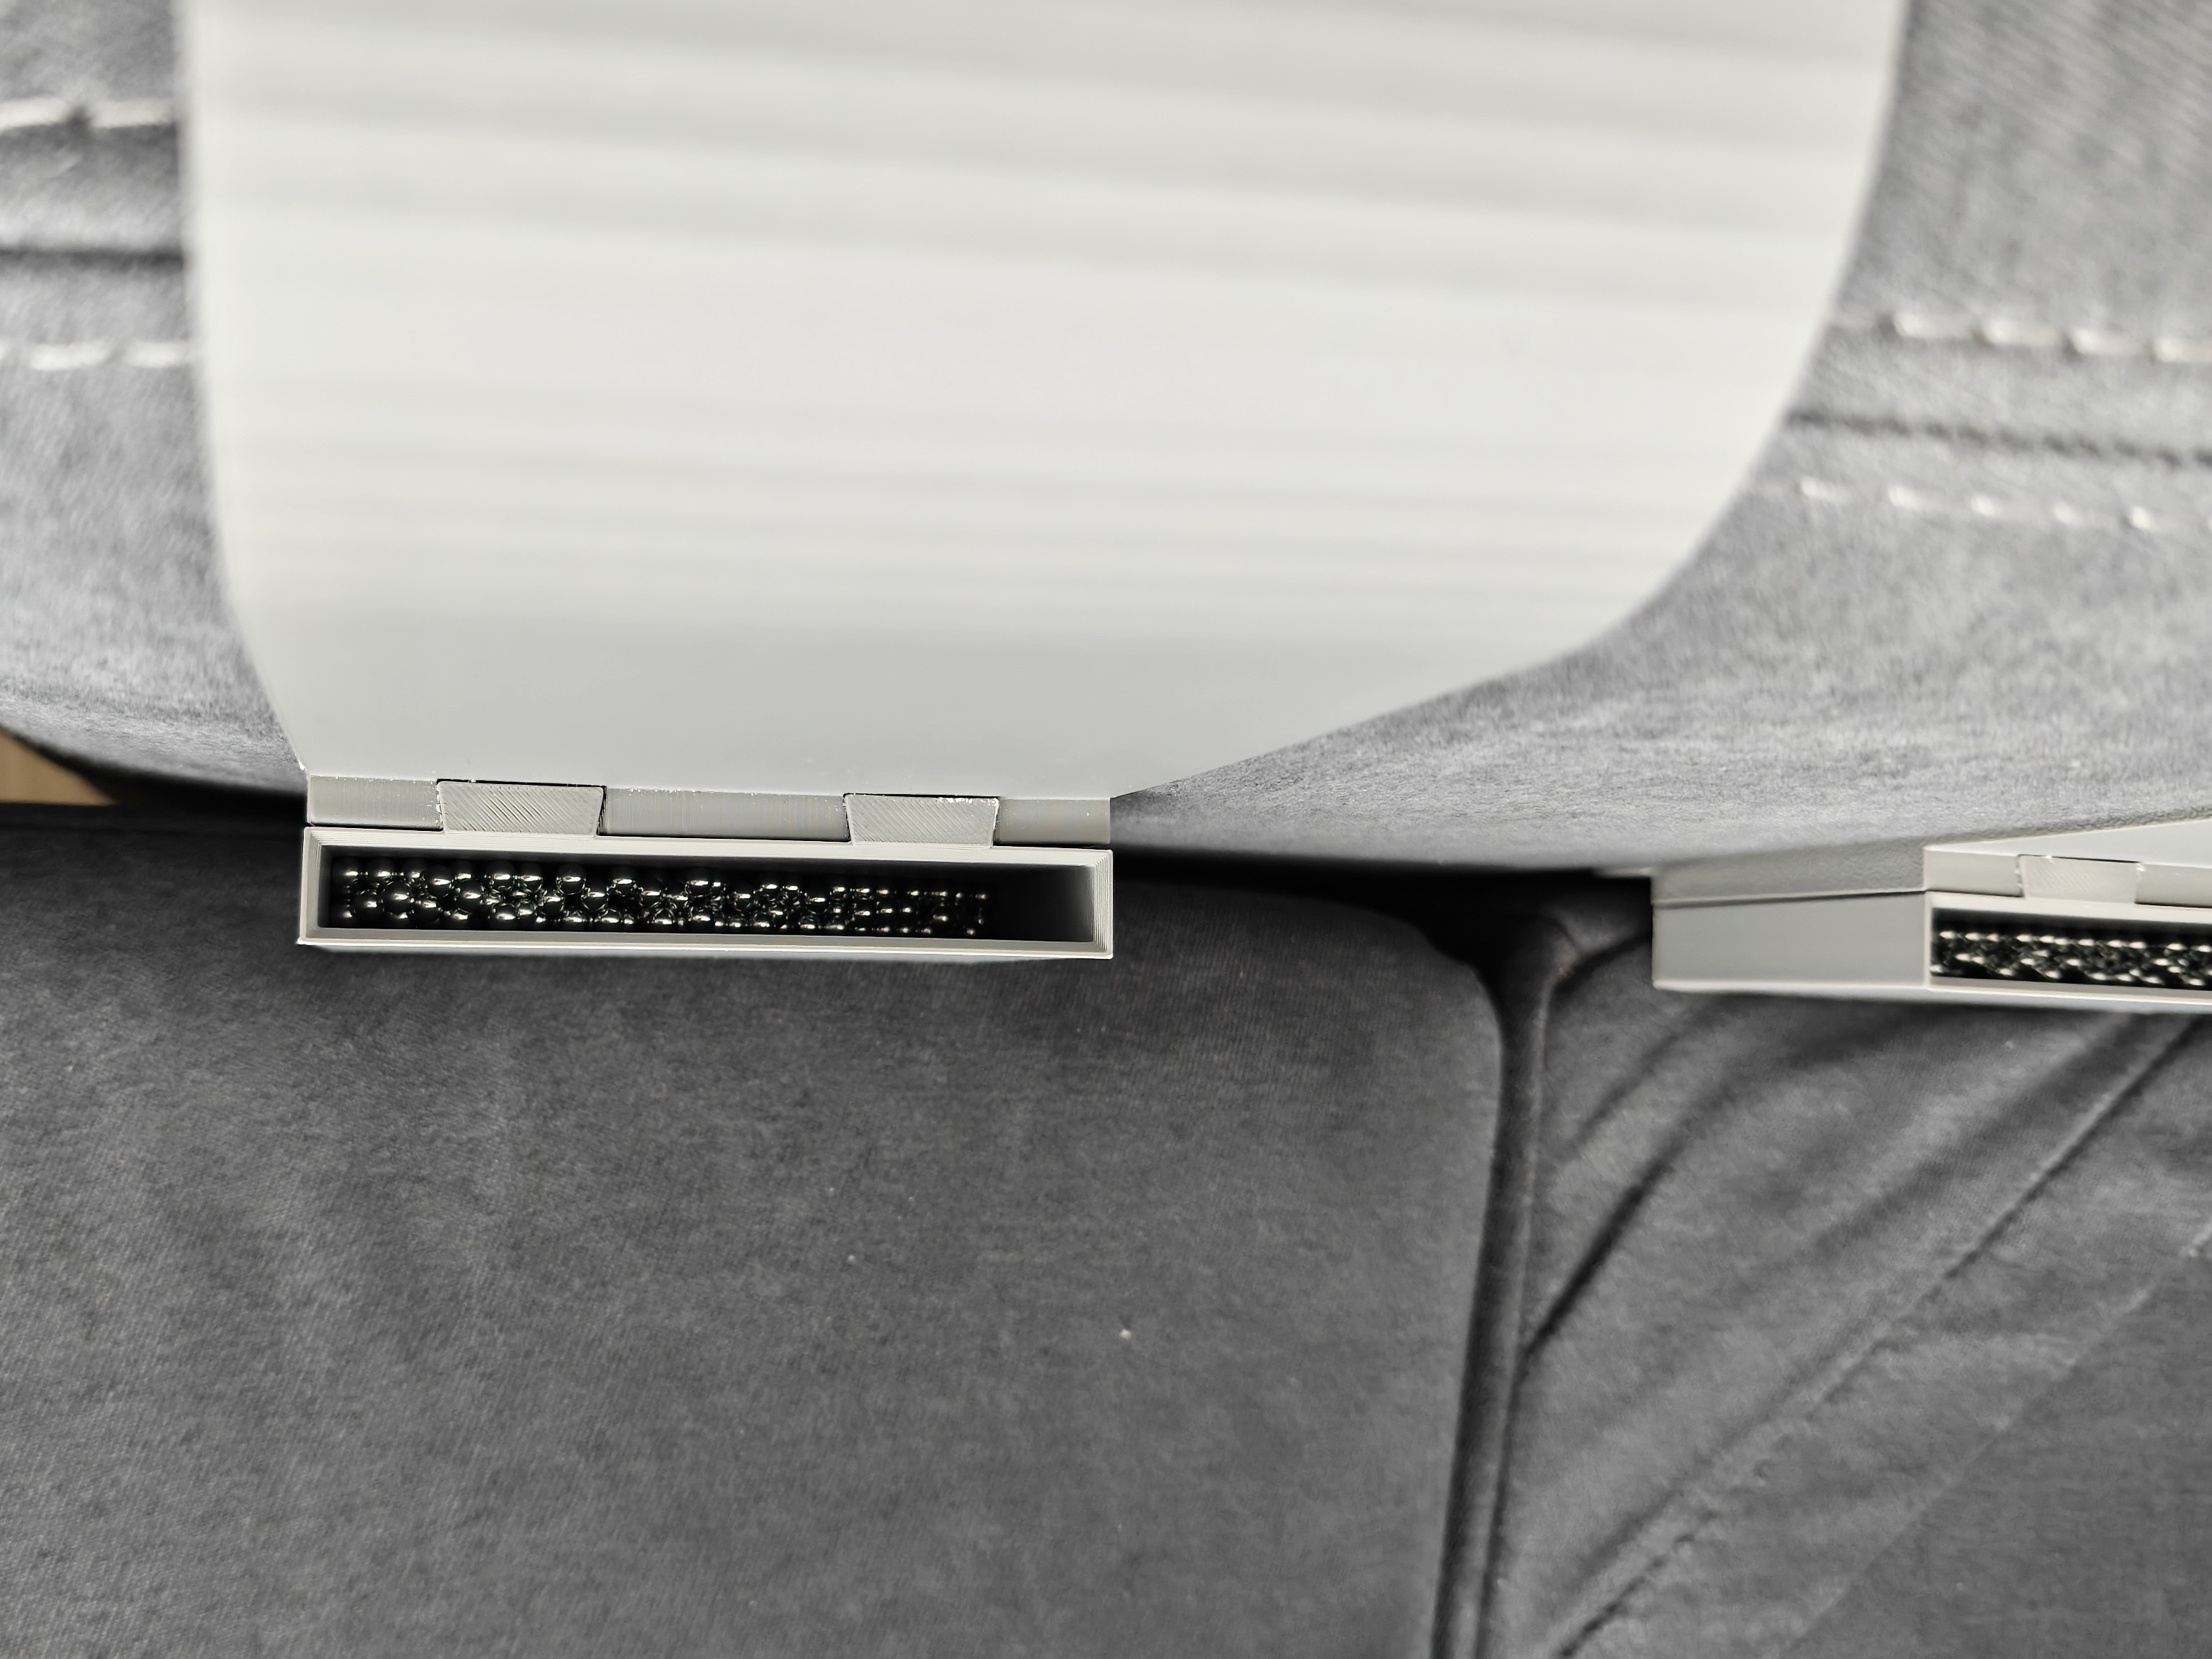
The Counterweight System
I’ve included a detachable weight container to help balance the board, especially for sofas with narrow armrests. Full disclosure: After printing mine, I realized I didn't actually need the weights for my specific sofa—but I only found that out after the fact because physics isn't my strongest suit! If your board feels a bit unstable or "tippy," just slide these containers on and fill them up.
Parametric & Customizable
This model was built using the BOSL2 library in OpenSCAD. It is fully parametric, but keep in mind that not every possible dimension has been tested.
- Customization: If you’d prefer to mount the board with screws instead of glue, leave a comment and I’ll try to add that option. Otherwise, you can easily add "Negative Parts" (holes) in your slicer.
- Slicer Tip: If the model exports as one solid block and doesn't fit your bed, simply use the "Split to Objects" function in your slicer to arrange them.
- Notes: Check the comments in the .scad file for tips on specific parameters.
Key Customization Parameters
Since this model is parametric, you can easily adapt it to your specific furniture and materials. Here are the most important settings you can find in the OpenSCAD file:
- Furniture Fit:
- sofa_arm_width: Adjust this to the exact width of your sofa arm.
- hinge_side_height & counter_side_height: Control how far down the sides the bracket reaches.
- Board & Materials:
- full_board_thickness: Match this to your wooden plank so the hinge sits at the correct height.
- pin_diam: Adjust this based on the thickness of the nail or metal rod you plan to use as a hinge pin.
- Aesthetics:
- fillet_radius_int: Change the corner fillet inside the bracket to match the curve of your sofa arm for a snugger fit.
- Weight System:
- enable_weight_container: Toggle the weight system on or off.
- weight_container_inner_height/width: Change the size of the box based on how much weight you need to pack in.
- weight_adapter_z_offset: Adjust vertical position of weight system on counter arm
- Mechanical Tuning:
- dovetail_clearance & pin_clearance: If the parts are too tight or too loose after your test prints, tweak these values to get the perfect fit for your printer's accuracy.
What I used for my print
- Printed Parts: 2x segments (10cm width).
- Wood: A wooden board (mine is approx. 20x40 cm).
- Hardware: 2x construction nails (4mm diameter, 120mm length) for the hinge pins.
- Counterweight: Steel BB/Airsoft pellets (4.5mm) and a bit of cotton wool to keep them quiet.
- Filament: Bambu Lab Matte PLA.
Of course you don't have to stick to my configuration, model is fully customisable, including overall size and all pin parameters.
Assembly Instructions
- Attach the Board: Glue the Board Attachments to the underside of your plank. Make sure the hinge is facing up when you lay attachment piece on the board! I used Pattex Repair Gel, but any strong mounting or construction adhesive should do the trick.
2. The Weight Container (Optional): Fill it with your weight of choice (pellets, sand, etc.), add some cotton wool to pack it tight, and glue the lid on with Super Glue. Then, just slide it into the dovetail slot on the Sofa Attachment.
3. The Hinge: Place the mounts on the sofa, align the board, and slide your pin (nail) through the hinge.
Printing Tips
- Test the Fit: I recommend printing a thin slice (2-3 cm segment width) of the sofa attachment and board attachment first to make sure it fits your armrest perfectly before committing to the full print and you can verify your hinge settings.
- Dovetail Warning: If you use the weight container, print a small test of the dovetail joint first. Make sure to print it in the same orientation as the final part. If you don't, the "support scars" will be different, and you might end up needing a lot of sandpaper to get them to slide together.
- Orientation: The parts are oriented in the code for printing, but always double-check in your slicer.
- Supports & Brims: Use Tree Supports for the hinges and dovetails. I also highly recommend using a Brim for the sofa_attachment and board_attachment to prevent the corners from lifting.