Você está no 3DFinder
Buscamos em Thingiverse, MakerWorld e Printables ao mesmo tempo para te dar o melhor de cada uma.
Descrição
1. WHAT IS THIS PROJECT?
This model is inspired by traditional Kumiko patterns. The triangle dimensions are taken as a reference, but the entire connection and mounting system has been designed completely from scratch.
✅ Minimal parts
✅ Hidden connections
✅ Ready-to-use wall mounting system
✅ No print marks on the front surface
2. HOW DOES IT WORK?
🔧 Parts:
- Contour Panels — these form the "picture frame."
- Inner Panels (Fillers) — these create the Kumiko pattern itself.
🧱 Assembly:
Assembly proceeds from left to right, top to bottom:
- Start with the Top Left corner panel.
- Move down to the Bottom Left corner panel.
- Then shift right and repeat the process — up to the Top Right and Bottom Right corner panels.
📐 Panel dimensions are determined by the fillers:
• Top/Bottom Middle — defines the width.
• Main Middle — defines the internal filling.
🧠 The assembly is intuitive. The main rule is to maintain the order: top to bottom, left to right.
3. WALL MOUNTING (IMPORTANT!)
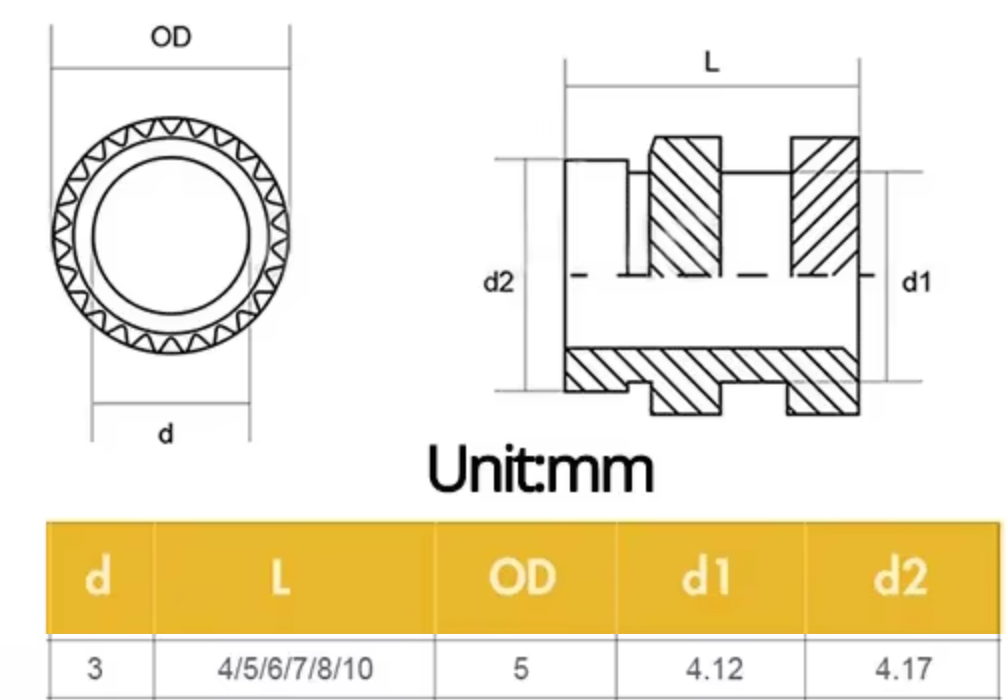
Grooves for brass nuts are provided in the top edges of each "Top" type panel.
🔩 Mounting Hardware:
- Inserting the Nuts
• Brass nuts are inserted (melted) into the grooves.
• Tool: Soldering iron.
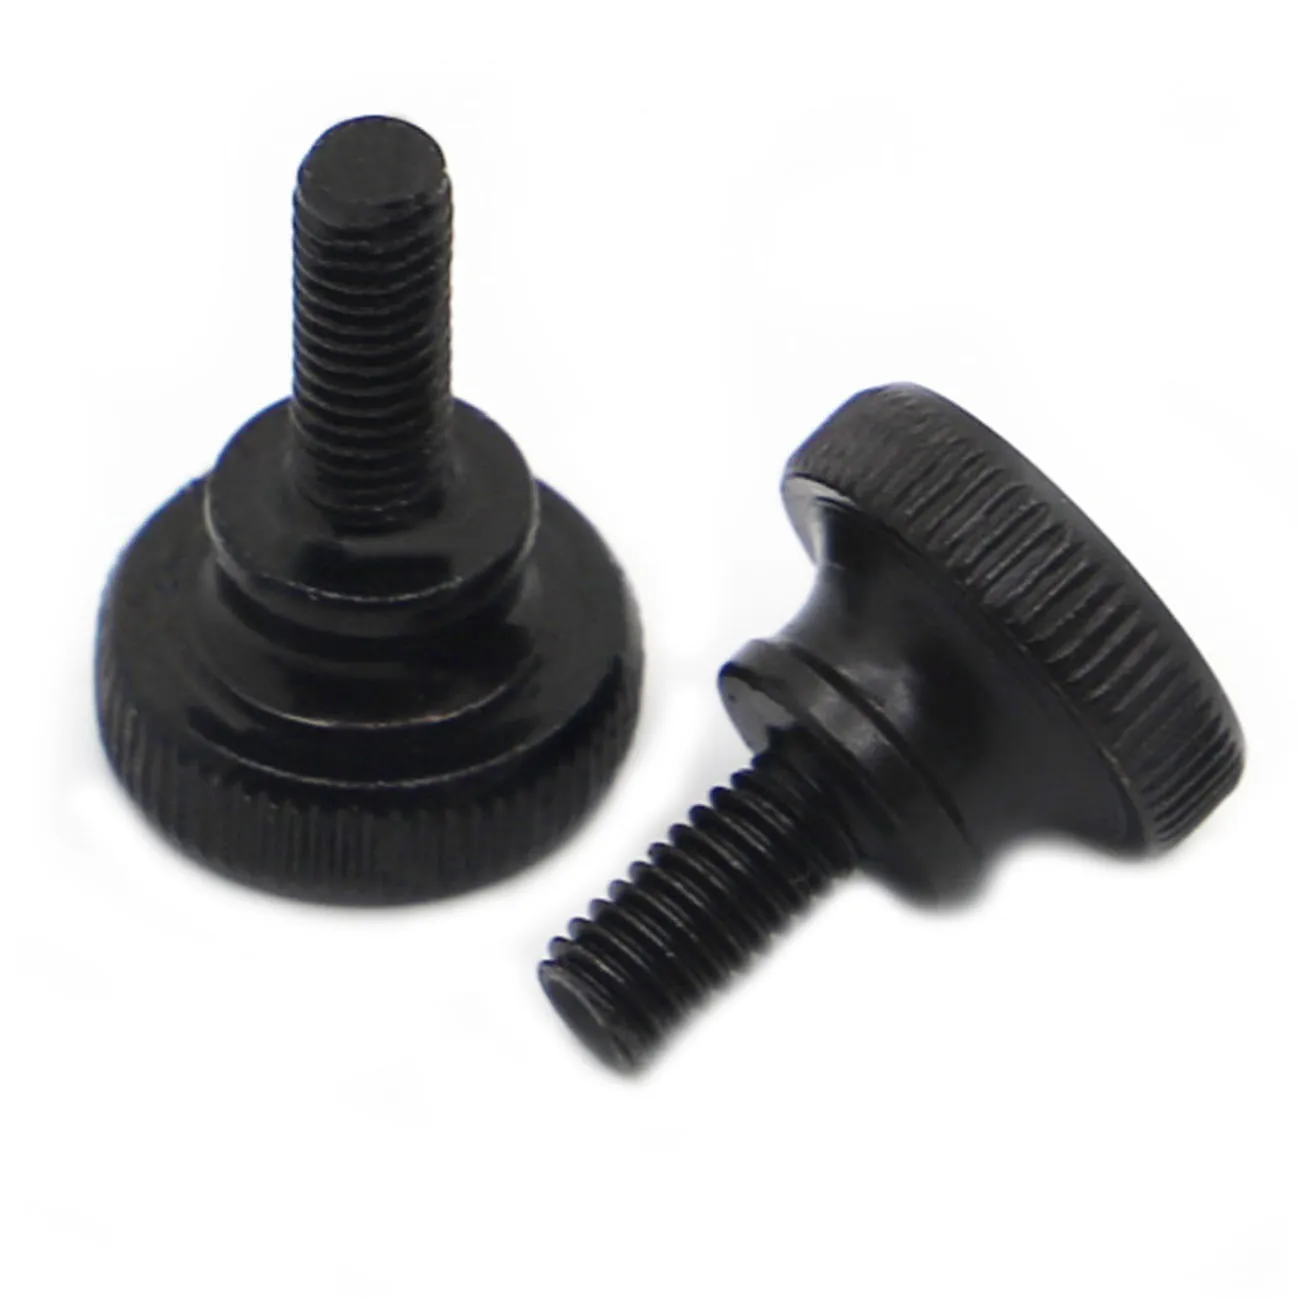
• Quantity: 2 nuts per each top panel. - Knurled Head Screws
• Special screws with knurled/thumbscrew heads are screwed into the nuts.
• They allow you to hang and remove the picture without tools.
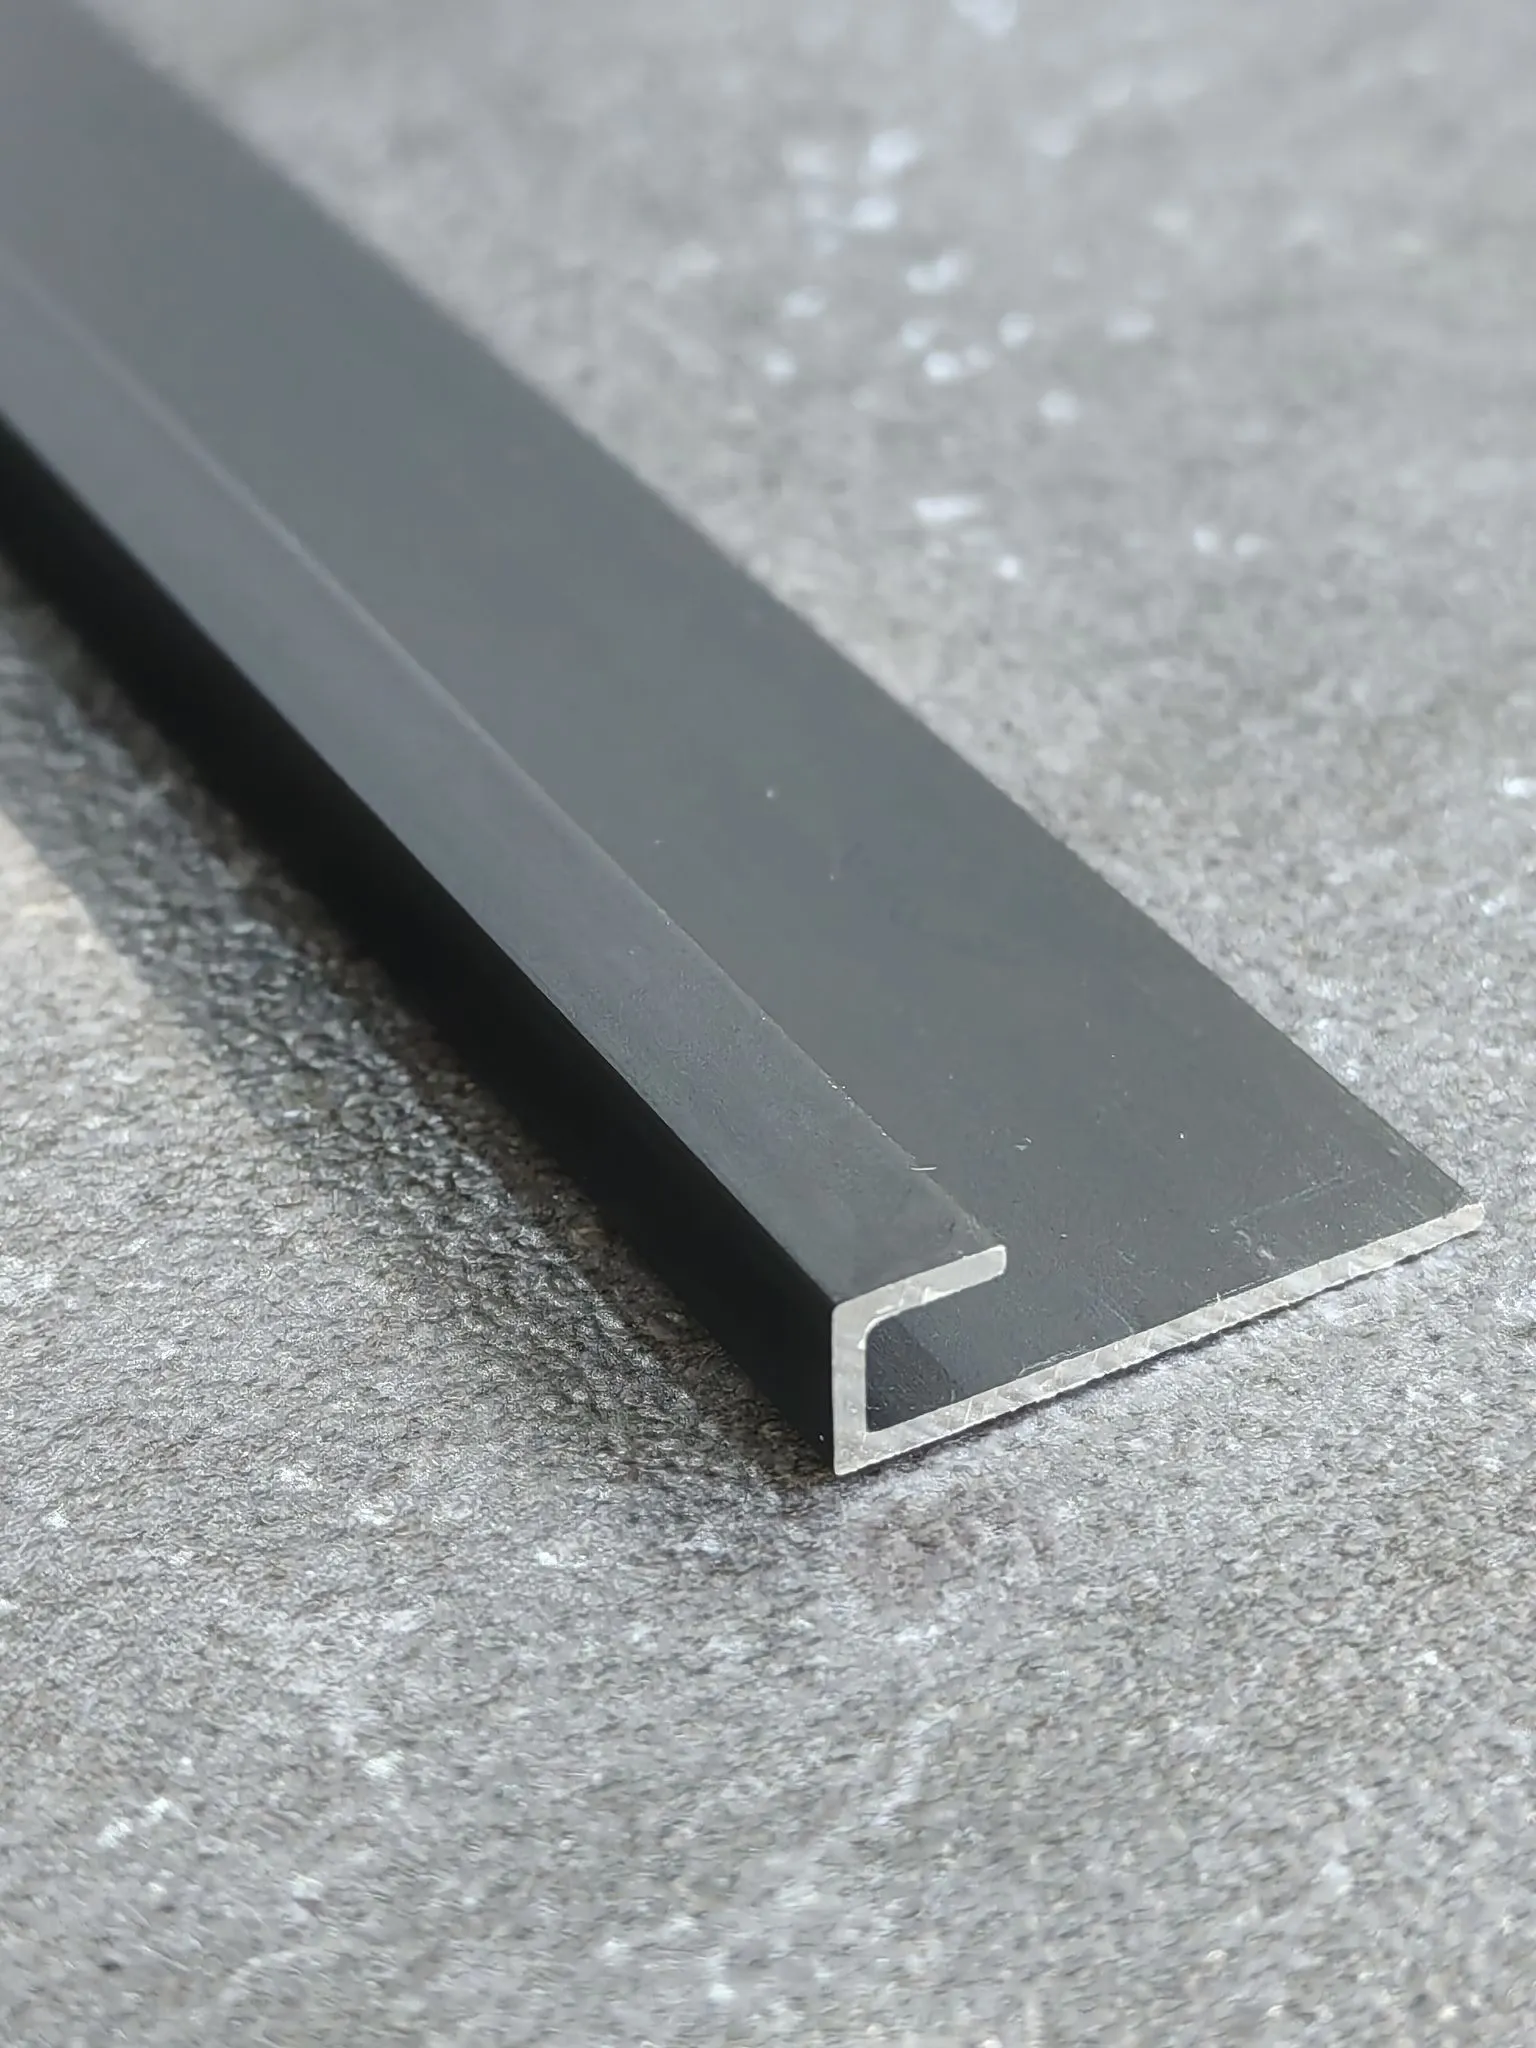
🧱 Mandatory Mounting Rail (Traverse)
⚠️ Important: Never hang the panel directly on nails or screws inserted straight into the nuts. This creates point loads and can damage the plastic.
✅ The correct solution is a mounting rail (traverse):
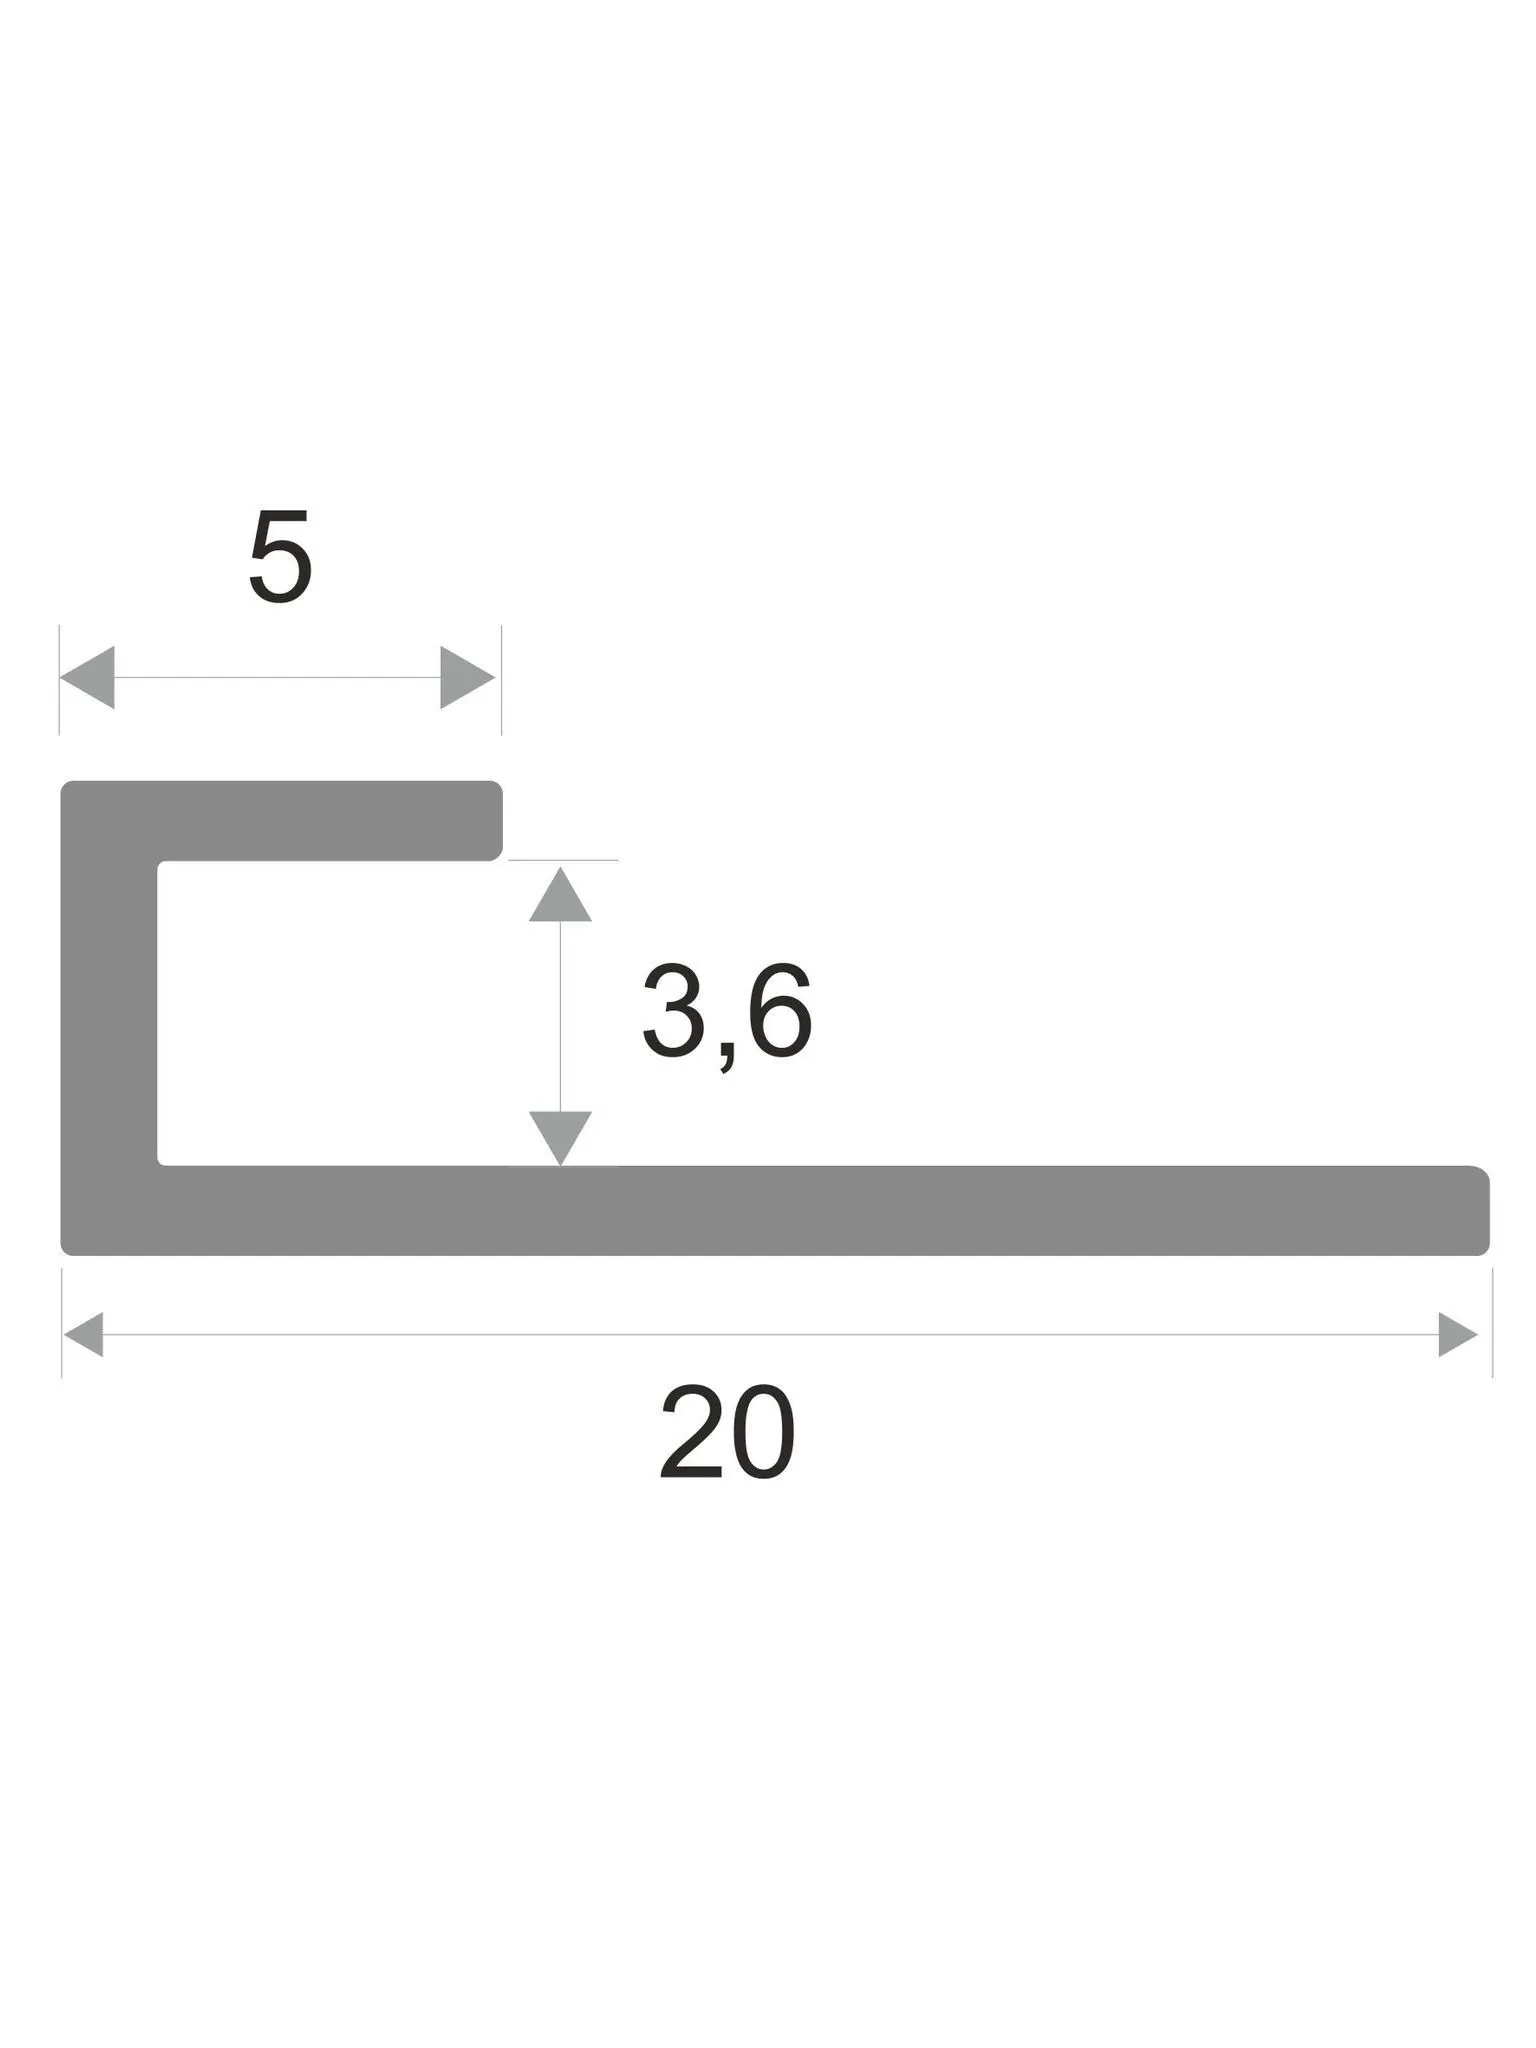
• Profile: L-shaped aluminum profile (typically used for glass panels).
• Thickness: 3.6 mm.
• Installation: The rail is rigidly fixed to the wall (using dowels or screws).
• Hanging: The picture, with its screws installed, is hung onto the shelf of the rail.
📐 How it works:
• The rail takes the load and distributes it evenly along its entire length.
• The knurled head screws simply rest on the edge of the profile.
• The picture hangs stably, without warping or sagging.
4. PRINT SETTINGS
✨ Ironing
In my project, I use Ironing — the final surface smoothing pass.
Important:
• Print time increases by 20–30% .
• If a perfectly smooth surface is not critical for you — simply disable Ironing in your slicer settings.
5. FILAMENT
✅ Recommended: Standard PLA
❌ NOT recommended: PLA Lite
Why?
PLA Lite has greater shrinkage. In my tests, fillers printed with PLA Lite fit more loosely within the triangles.
👉 This is not critical if the panel will simply hang on the wall. But if you plan to frequently move or shake the structure — use standard PLA.
6. WHAT'S INCLUDED IN THE SET?
For now, I have only designed the specific types of fillers that I personally needed for my own project.
📌 If this model proves popular
📌 If you write in the comments which patterns are missing
…I will expand the library and add new filler shapes.
7. QUESTIONS & FEEDBACK
If you have any questions about assembly, printing, materials, or design — please don't hesitate to ask in the comments.
📬 I strive to answer as thoroughly and quickly as possible.
M3 Brass Nuts (OD5) Length - 8mm (You will need: M3 brass nuts (outer diameter 5mm, length 8mm) — 2 pcs per top panel)
Hardware: M3 carbon steel knurled thumb screws — 2 pcs per top panel (length 8-10mm)
Mounting rail: 3.6mm anodized aluminum L-shaped profile (glass mounting type) — cut to desired length
Kumiko Modular System - Author's Version

Publicado em 13 de fev de 2026
Gostou deste modelo? Crie uma conta grátis para salvar seus favoritos e voltar a eles depois.
Criar conta