Você está no 3DFinder
Buscamos em Thingiverse, MakerWorld e Printables ao mesmo tempo para te dar o melhor de cada uma.
Descrição
Description
A spring tensioned filament length counter using a optical rotary encoder that can be hooked up to an arduino.
For an upcoming project I needed a way of counting how much filament is being used so I made this optical rotary encoder filament counter. O-rings makes sure the filament doesn't slip over the wheel. An adjustable spring tensioned bearing with only a small gap for the filament to pass thru makes sure the filament is always in contact with the o-rings and in the right position.
Printed parts needed to make this
|  |
Other parts needed
- 8 x Lock nut DIN 985 M3
- 2 x Hex nut DIN 934 M3
- 2 x Square nut DIN 562 M3
- 3 x Screw DIN 912 6 mm M3
- 4 x Screw DIN 912 8 mm M3
- 2 x Screw Din 912 16 mm M3
- 4 x Screw DIN 912 20 mm M3
- 1 x Bearing 608-2Z
- 2 x Springs 6 x 19 mm
- 2 x O-ring 35 x 2 mm
- 1 x Optical Rotary Encoder
Assembly instructions
 |  | Start by putting one o-ring on each of the wheel halves and assemble them together using three lock nuts and 8 mm screws. Make sure the flat parts in the holes are aligned. |
 | 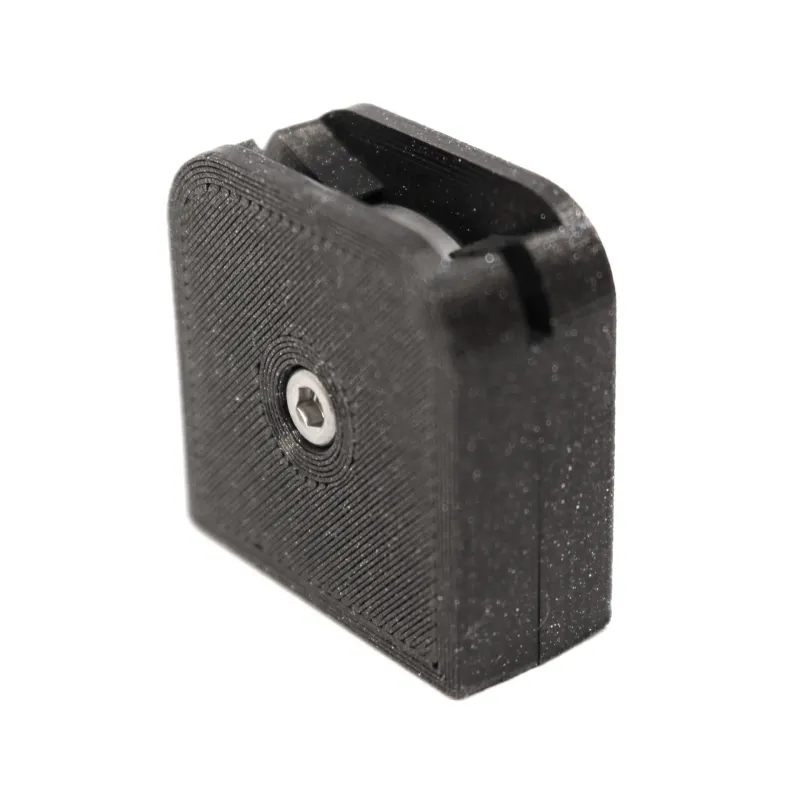 | Put the bearing on one of the bearing holder sides, put the other side on top and fasten with a lock nut and a 8 mm screw. |
 | 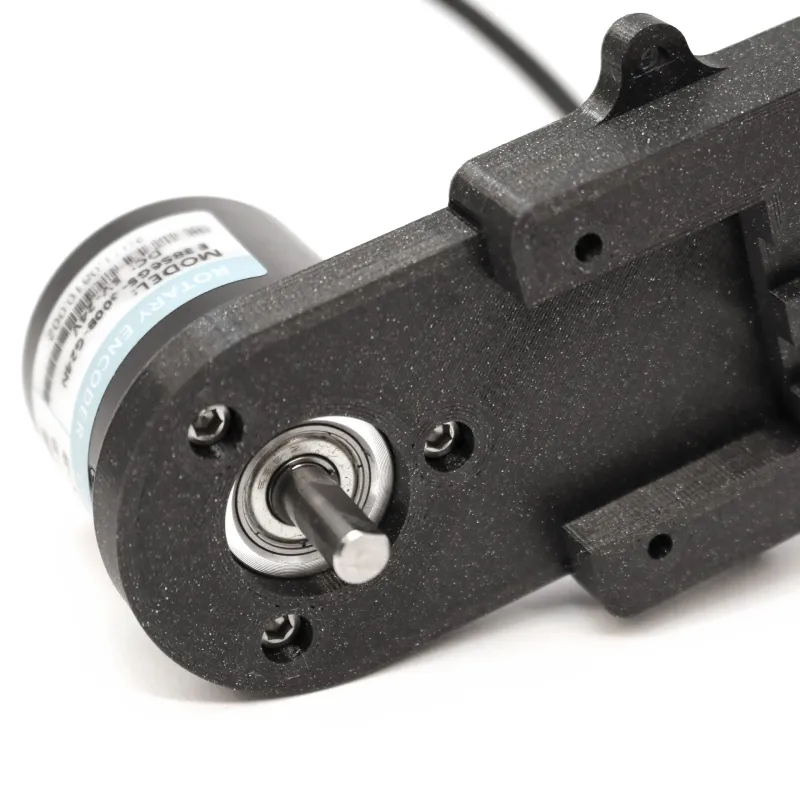 | Mount the rotary encoder on the base using three 6 mm screws. |
 |  | Fit the assembled wheel on the shaft of the rotary encoder and put the bearing holder in place. |
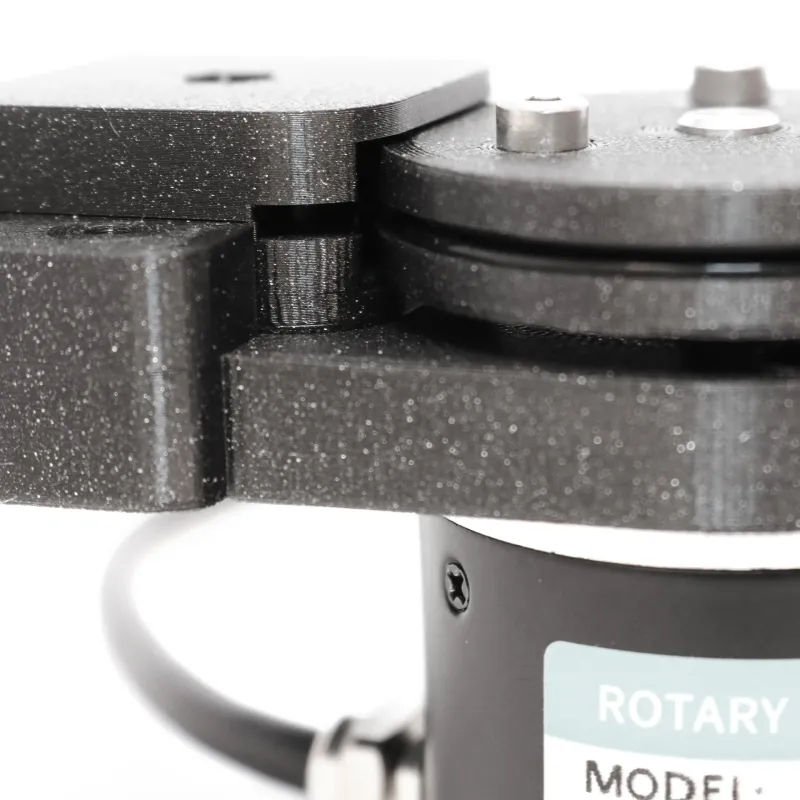 |  | Make sure there is air between the bearing holder and the wheel so it can spin without touching the sides. Insert the spring stops into the springs. |
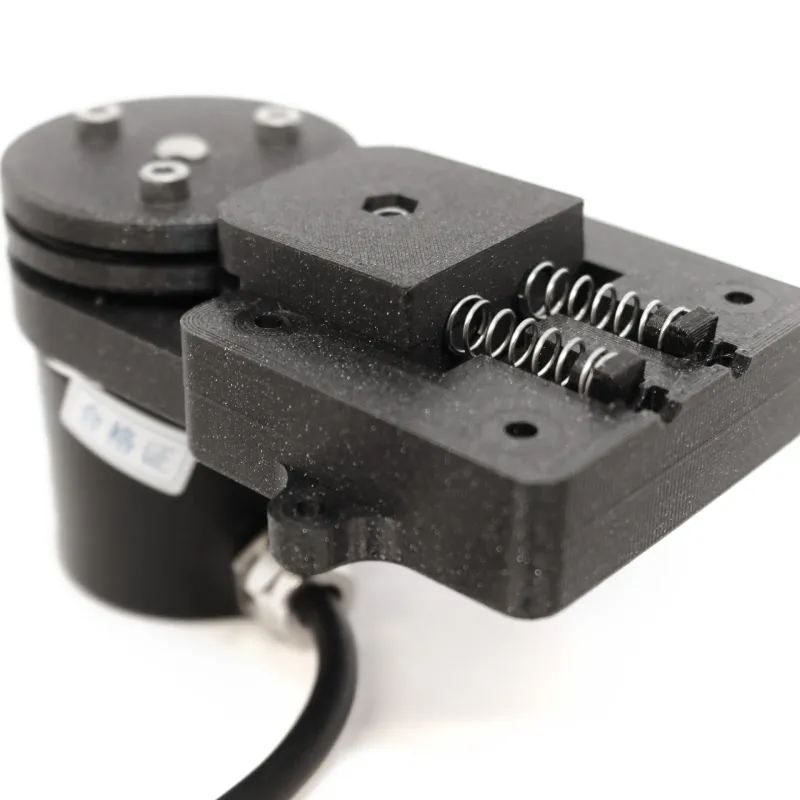 |  | Put the springs in place and insert the square nuts. |
 |  | Mount the lid of the base using for lock nuts and 20 mm screws. Make sure not to over tighten so the bearing holder can move freely. Put the hex nuts on the 16 mm adjustment screws and screw them in place. Adjust the tension and secure the adjustment screws by tightening the hex nuts. |
I also included a .step file so you can make your own modifications with ease.

Gostou deste modelo? Crie uma conta grátis para salvar seus favoritos e voltar a eles depois.
Criar conta